
10,741 views ·
32 replies
11k views
32 replies
The art of not drilling into electricity, water pipes and drains?
Unfortunately, there's no room for more than 45 in height and even that is pushing it. And when I measure 45x45 on the wall, it clearly doesn't look great, so I'm aiming for 25x38 and hoping it will hold. When I look at the material, it seems reasonably dimensioned, but at the same time, it's hard to know what forces it will be subjected to.Mikael_L said:

Without countersinking the French screw into the wooden beam, the screw is almost a bit short; it wouldn’t have hurt if it had been 100 long.
http://www.vsbyggskruv.se/pdf/VSB_Infastningsguiden.pdf
I would have started by drilling with a 10mm concrete drill bit and then enlarged with an 11mm or possibly an 11.5mm metal drill bit. Drilling with a 12mm concrete drill bit in lightweight concrete and then inserting a 12mm anchor carries a high risk that the anchor won't hold and will spin around in the hole.
Almost all the load on the anchor/hole/screw is tensile load, with minimal shear load.
http://www.vsbyggskruv.se/pdf/VSB_Infastningsguiden.pdf
I would have started by drilling with a 10mm concrete drill bit and then enlarged with an 11mm or possibly an 11.5mm metal drill bit. Drilling with a 12mm concrete drill bit in lightweight concrete and then inserting a 12mm anchor carries a high risk that the anchor won't hold and will spin around in the hole.
Almost all the load on the anchor/hole/screw is tensile load, with minimal shear load.
I was considering countersinking, but I'm afraid the strength of the timber will suffer as it is only 25 mm thick. Countersinking should be 10 mm, leaving only 15 mm of material.
Longer screws mean longer plugs, I suppose?
Yes, I have drilled into the walls a few times, and the bit often cuts through like butter, so it's important to be careful and avoid moving the drill back and forth too much.
My thought was also to use an 11.5 mm drill bit and then manually make it larger with the same bit, but I haven't checked to ensure I really have that size.
Longer screws mean longer plugs, I suppose?
Yes, I have drilled into the walls a few times, and the bit often cuts through like butter, so it's important to be careful and avoid moving the drill back and forth too much.
My thought was also to use an 11.5 mm drill bit and then manually make it larger with the same bit, but I haven't checked to ensure I really have that size.
For 25mm material thickness, you have chosen the perfect screw and plug.S snowjim said:
The screw should go through the bottom of the plug by a few mm. And the drill hole should be a little deeper than the entire screw needs in space.
Plug 60mm, screw 90mm material 25 means the screw goes 5 mm through the plug = perfect.
The hole in the wall should thus be at least 65mm, but a little over that, i.e., 70mm is good.
(But then I think that is the length of the screw minus the head; if it's the total length, it is a bit too short to provide maximum attachment force)
If you have concrete walls, it will be pleasantly stable; you don't even need an 8mm screw, 6mm would suffice with good attachment in the concrete wall.
If it's a bit softer wall material, like brick, concrete block, slag wall, etc., it's probably good to go with 8mm for a little security.
If you have lightweight concrete walls, it's questionable if these are even suitable materials for attachment; there are special lightweight concrete gadgets for that.
Drill with a maximum of 10 mm and tap the plug in with a hammer. If it seems tight, run the drill a bit in and out. The risk with 11.5 is that the hole will be too large on the first try.S snowjim said:I was considering countersinking but I'm afraid the strength of the rule will be compromised since it's only 25 mm thick. Countersinking should be 10 mm and then there's only 15 mm material left.
Longer screw implies a longer plug, I assume?
Yes, I've drilled a few times in the walls and the drill often cuts through it like butter, so it's important to be careful and avoid drilling too much back and forth.
My thought was also to use an 11.5 mm drill and then manually make it larger with the same drill, but I haven't checked to make sure I really have that size.
I will apply one more coat of paint on the strips, then they will go up on the wall.
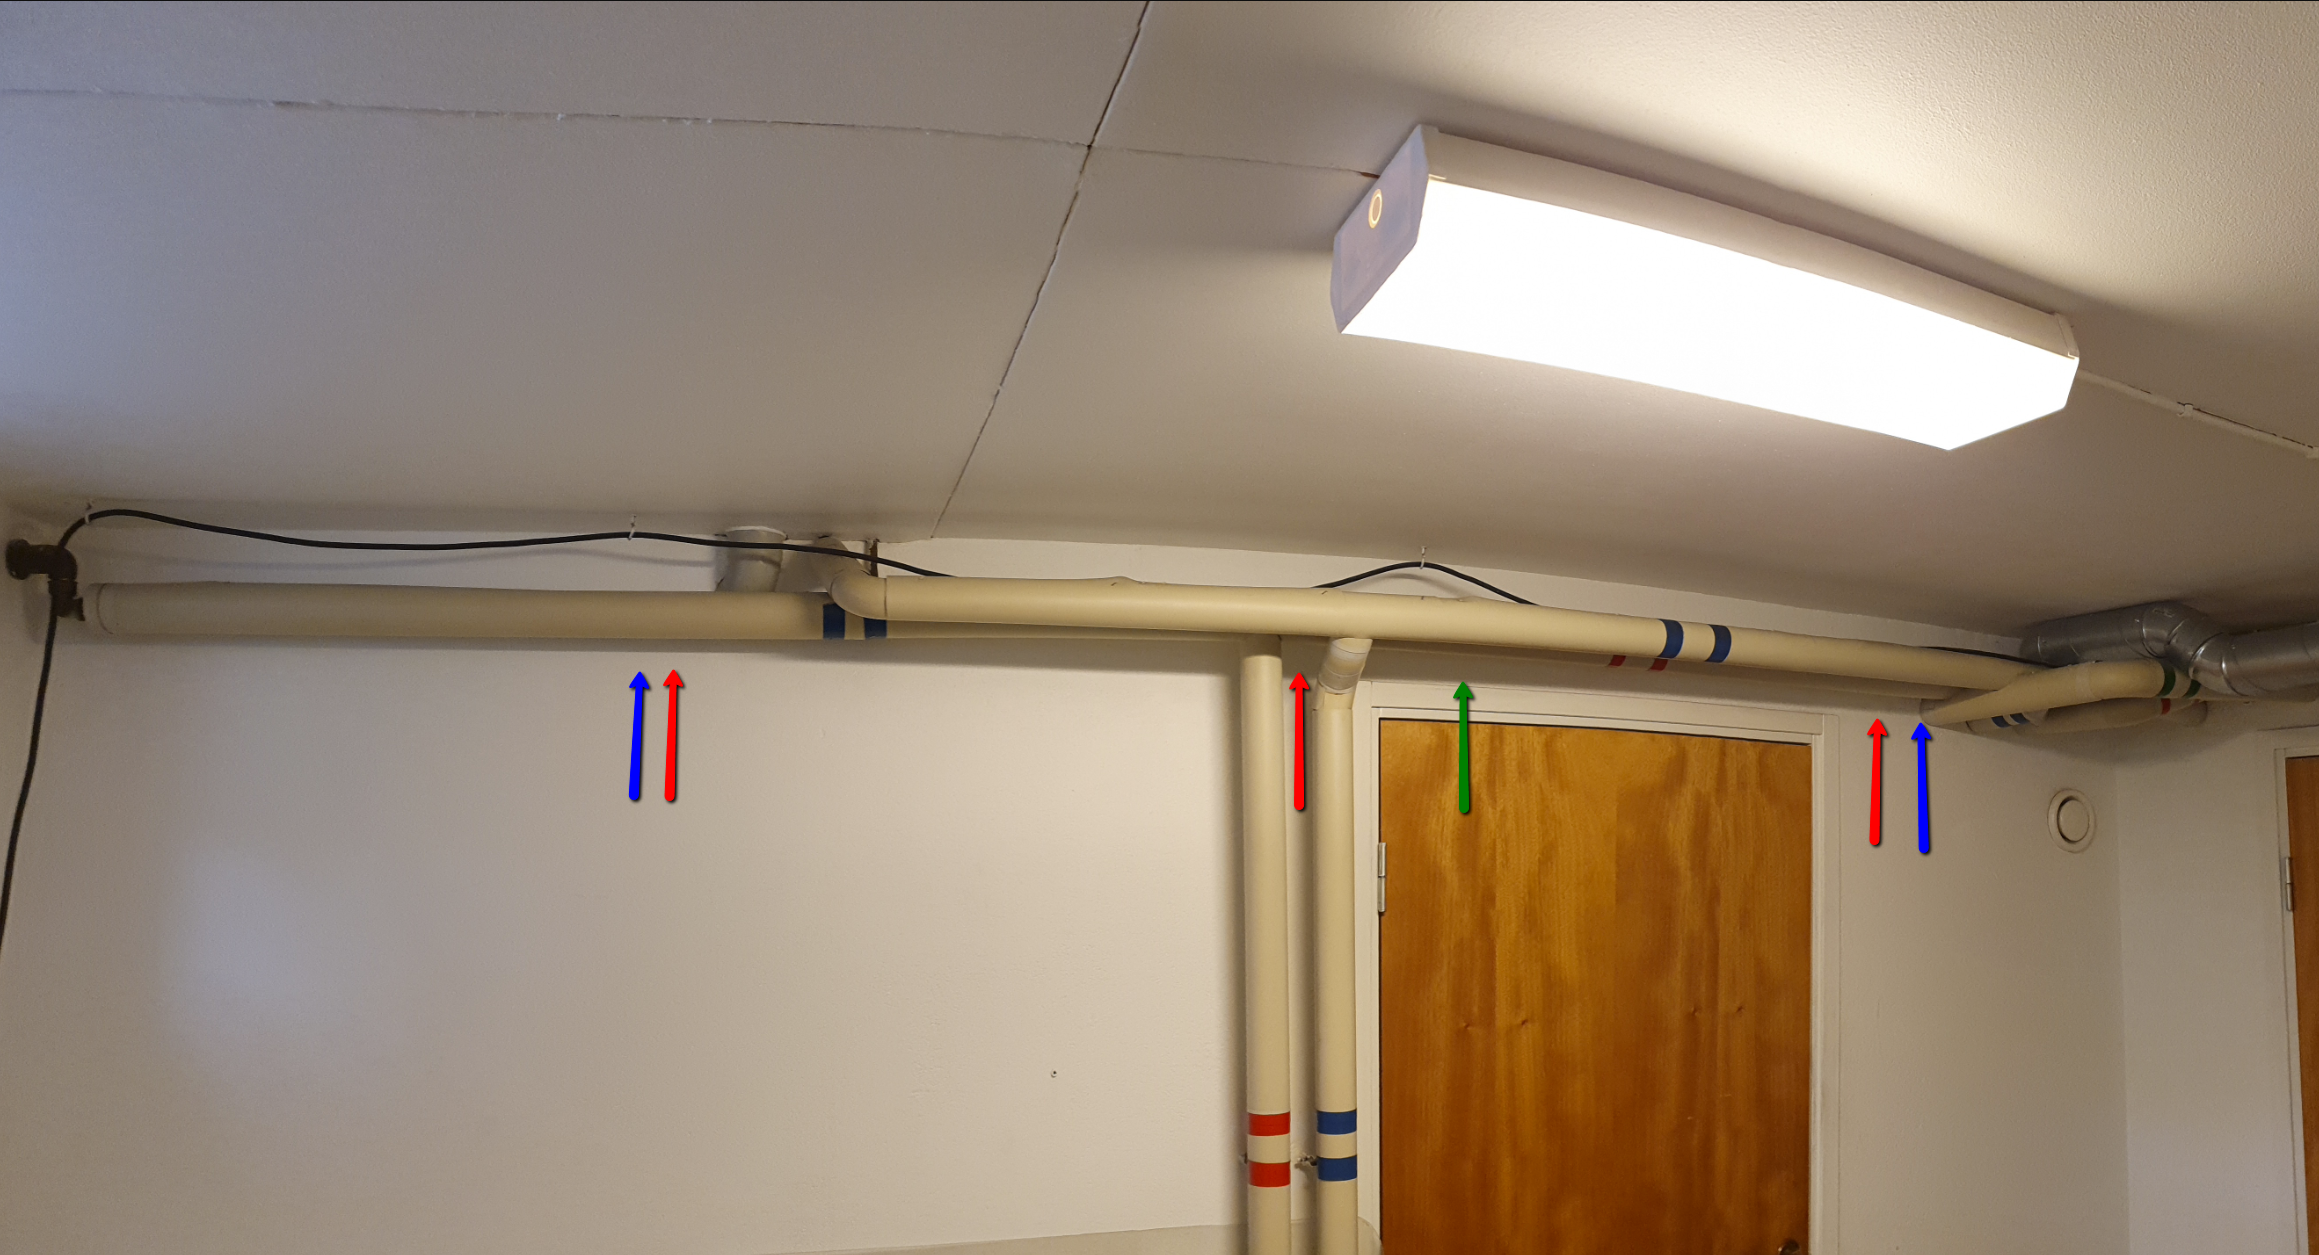
The strip is 2300 mm, the blue markings show where it will start and end. My plan is to place screws at the red arrows. Ideally, I would have liked to place them just above the door where the green marking is. The problem is that I don't want to drill into the walls too close to openings as it might lead to cracks.
The left red screw will be 5 cm from the edge while the right red screw will be 10 cm. This is because there is a drainage pipe nearby on the left side.
How would you place the screws?
The strip is 2300 mm, the blue markings show where it will start and end. My plan is to place screws at the red arrows. Ideally, I would have liked to place them just above the door where the green marking is. The problem is that I don't want to drill into the walls too close to openings as it might lead to cracks.
The left red screw will be 5 cm from the edge while the right red screw will be 10 cm. This is because there is a drainage pipe nearby on the left side.
How would you place the screws?
The red arrow to the right in the picture seems to be roughly in line with the light switch inside that door? Maybe there is a junction box in the wall above the switch? There’s a 99.99% chance that the pipe from the switch goes upwards...S snowjim said:I will apply one more coat of paint on the slats, then they will be mounted on the wall.
[bild]
The slats are 2300 mm, and the blue markings indicate where they will start and end. My plan is to place screws at the red arrows. Ideally, I would have wanted to place one right above the door where the green marking is. However, the issue is that I don't want to drill into the walls too close to openings as it might lead to cracks.
The left red one will be 5 cm from the edge while the right red one will be 10 cm. This is because there is a sewage pipe on the left side nearby.
How would you place the screws?
Exactly, on the other side there's a switch that leads up to a junction box, everything is surface-mounted, at least as far as I can see. This should mean there should be no problem drilling here unless there are other electrical wires inside the wall.P petererlandsson1194 said:

Otherwise, the best way to be absolutely sure where you have all the wiring is to hire a hole driller, they will definitely find them. 
I think @Dowser4711 means that the hole cutters find cables/pipes/etc by drilling/sawing into them.S snowjim said:
It turned out that I didn't have a size 11 concrete drill and they aren't very common either. But I think I've found a local store that has one, so I'm going to go buy it today.
One thought is perhaps to glue one side in place? That is, only put 2 bolts in the wall and let the glue hold the rest. The downside is, of course, if something goes wrong, then it's a lost cause, the plaster will likely come down with it. The advantage is that I don't have to worry about drilling into the waste pipe or water pipes.
One thought is perhaps to glue one side in place? That is, only put 2 bolts in the wall and let the glue hold the rest. The downside is, of course, if something goes wrong, then it's a lost cause, the plaster will likely come down with it. The advantage is that I don't have to worry about drilling into the waste pipe or water pipes.
Member
· Västernorrland
· 12 030 posts
I had mounted the bracket with long, thin nail plugs instead and maybe angled them alternately up and down a bit. Porous walls are hopeless in that way and with some weight pulling straight out, it might loosen over time and length. With long nail plugs that go in 100-150mm and are angled upward and downward, they brace against each other.
Have now got the tricky one in place, this is how it turned out:
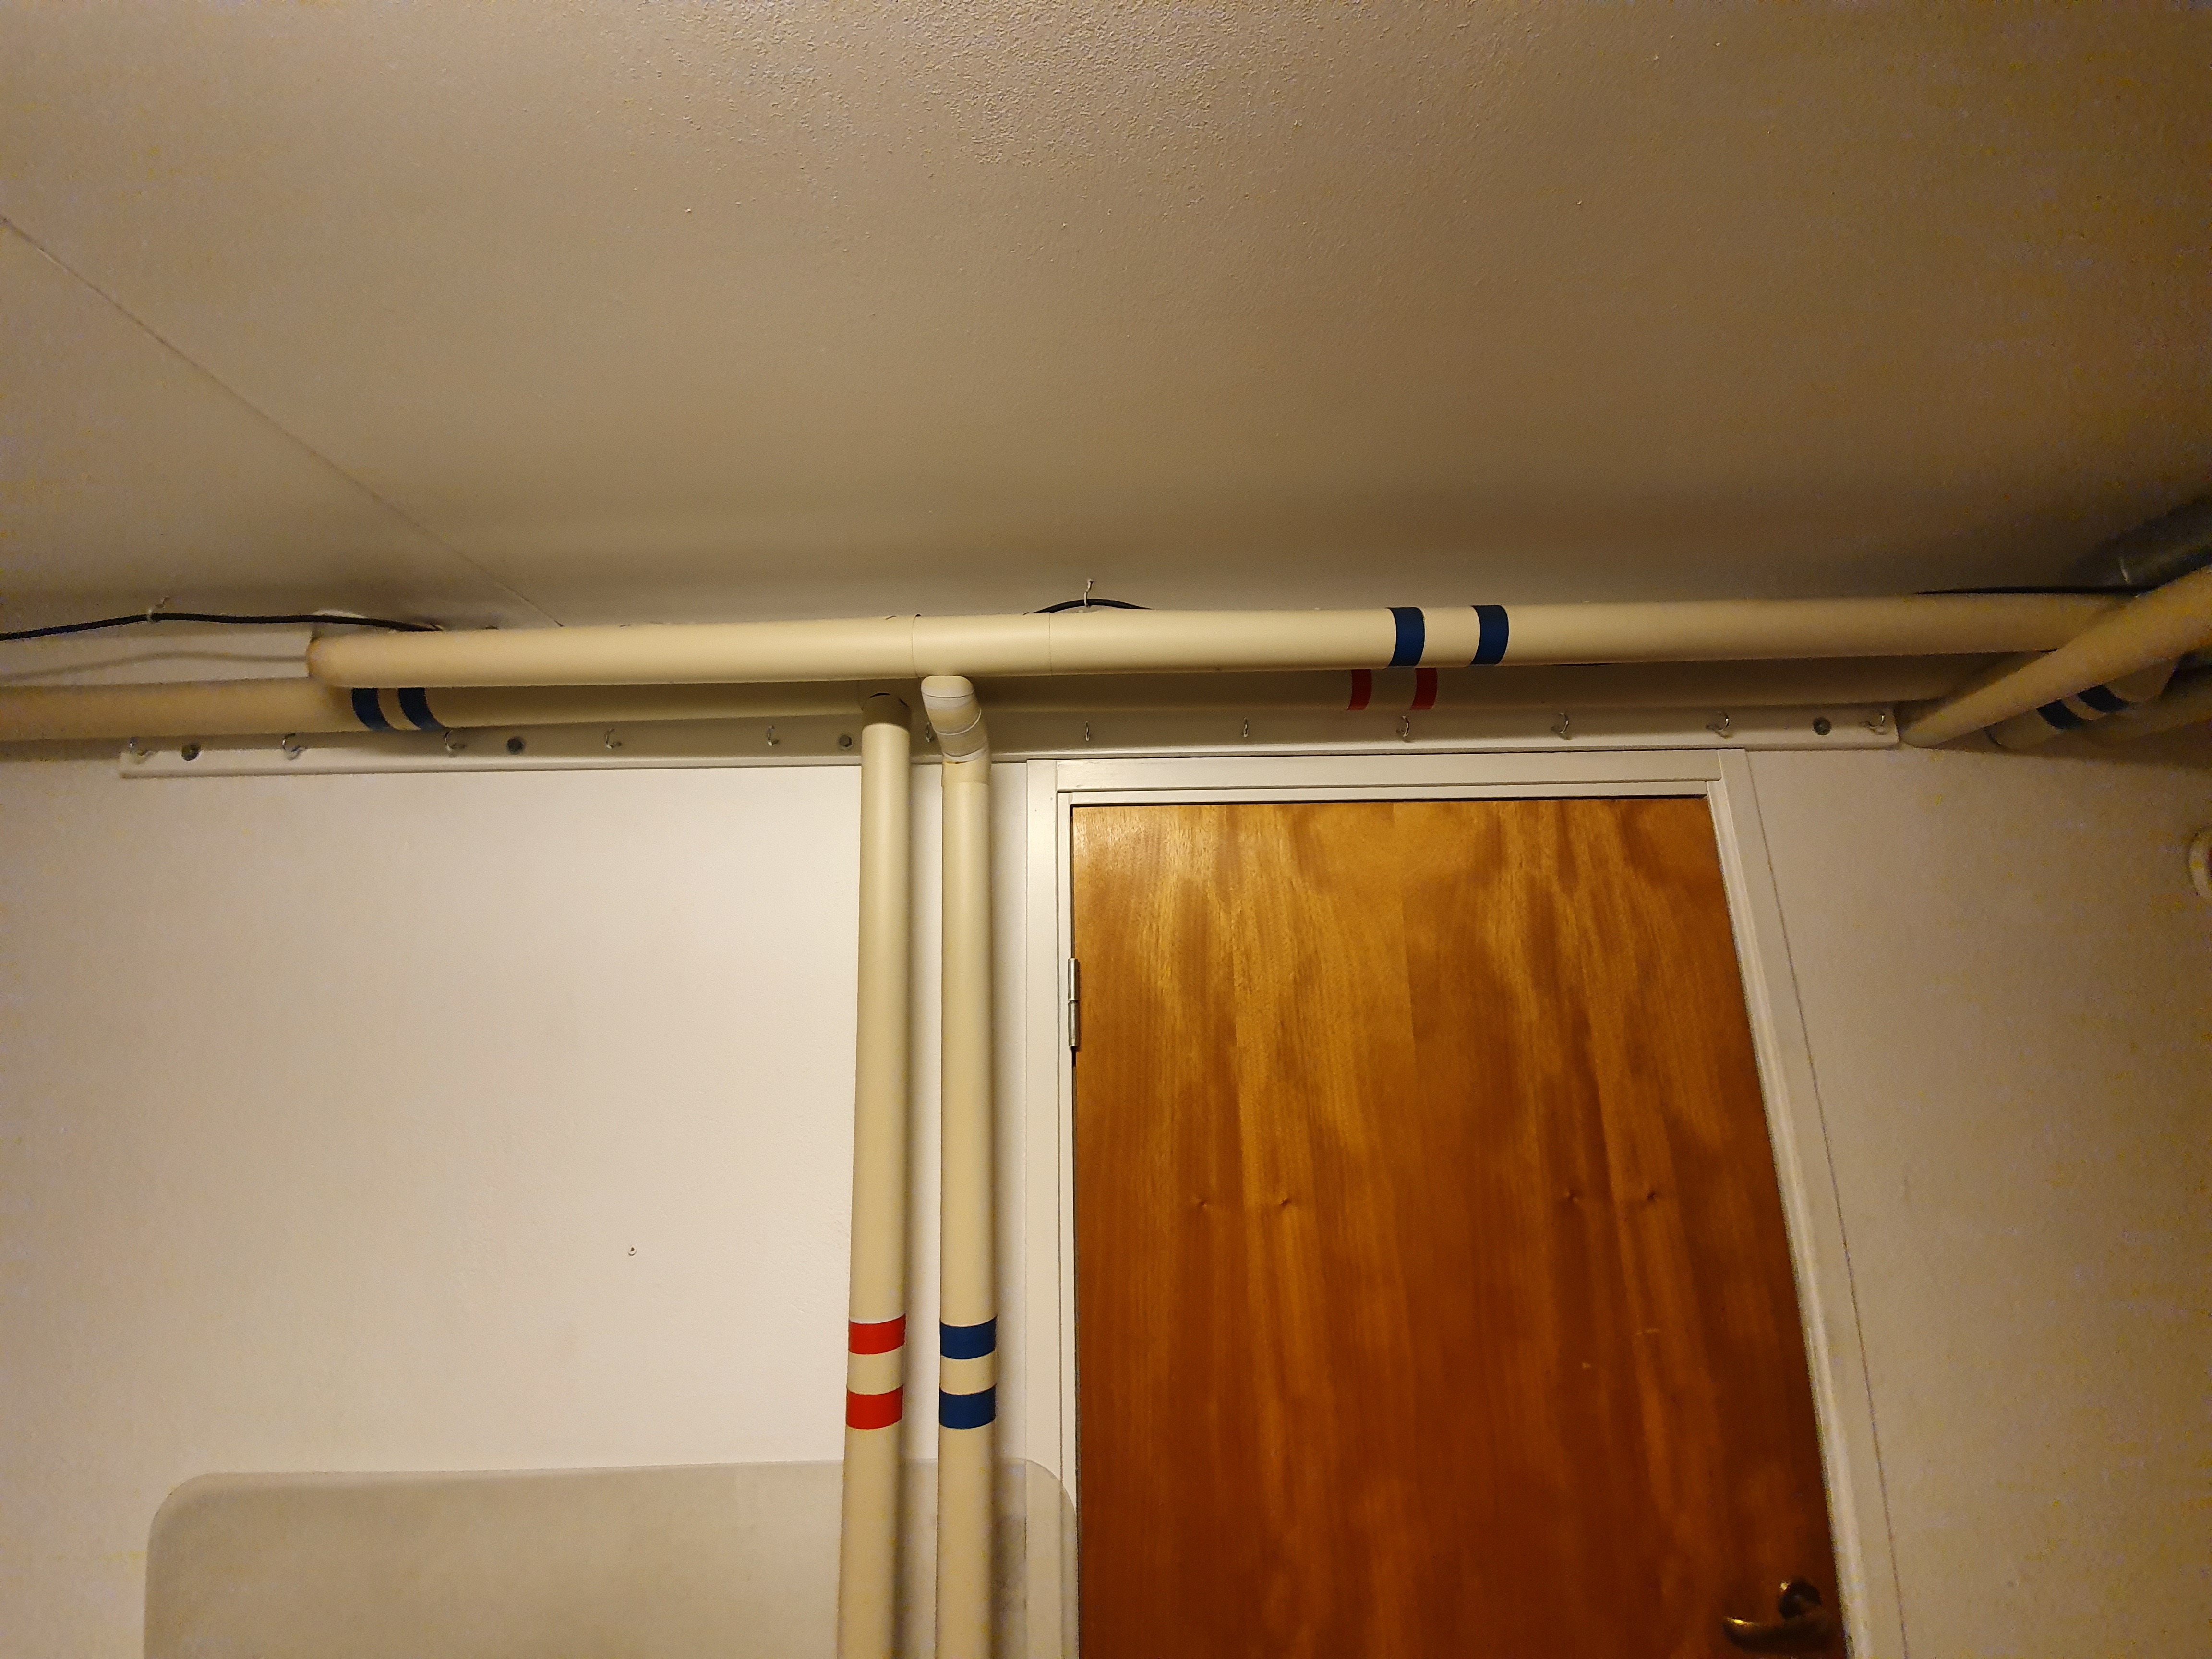
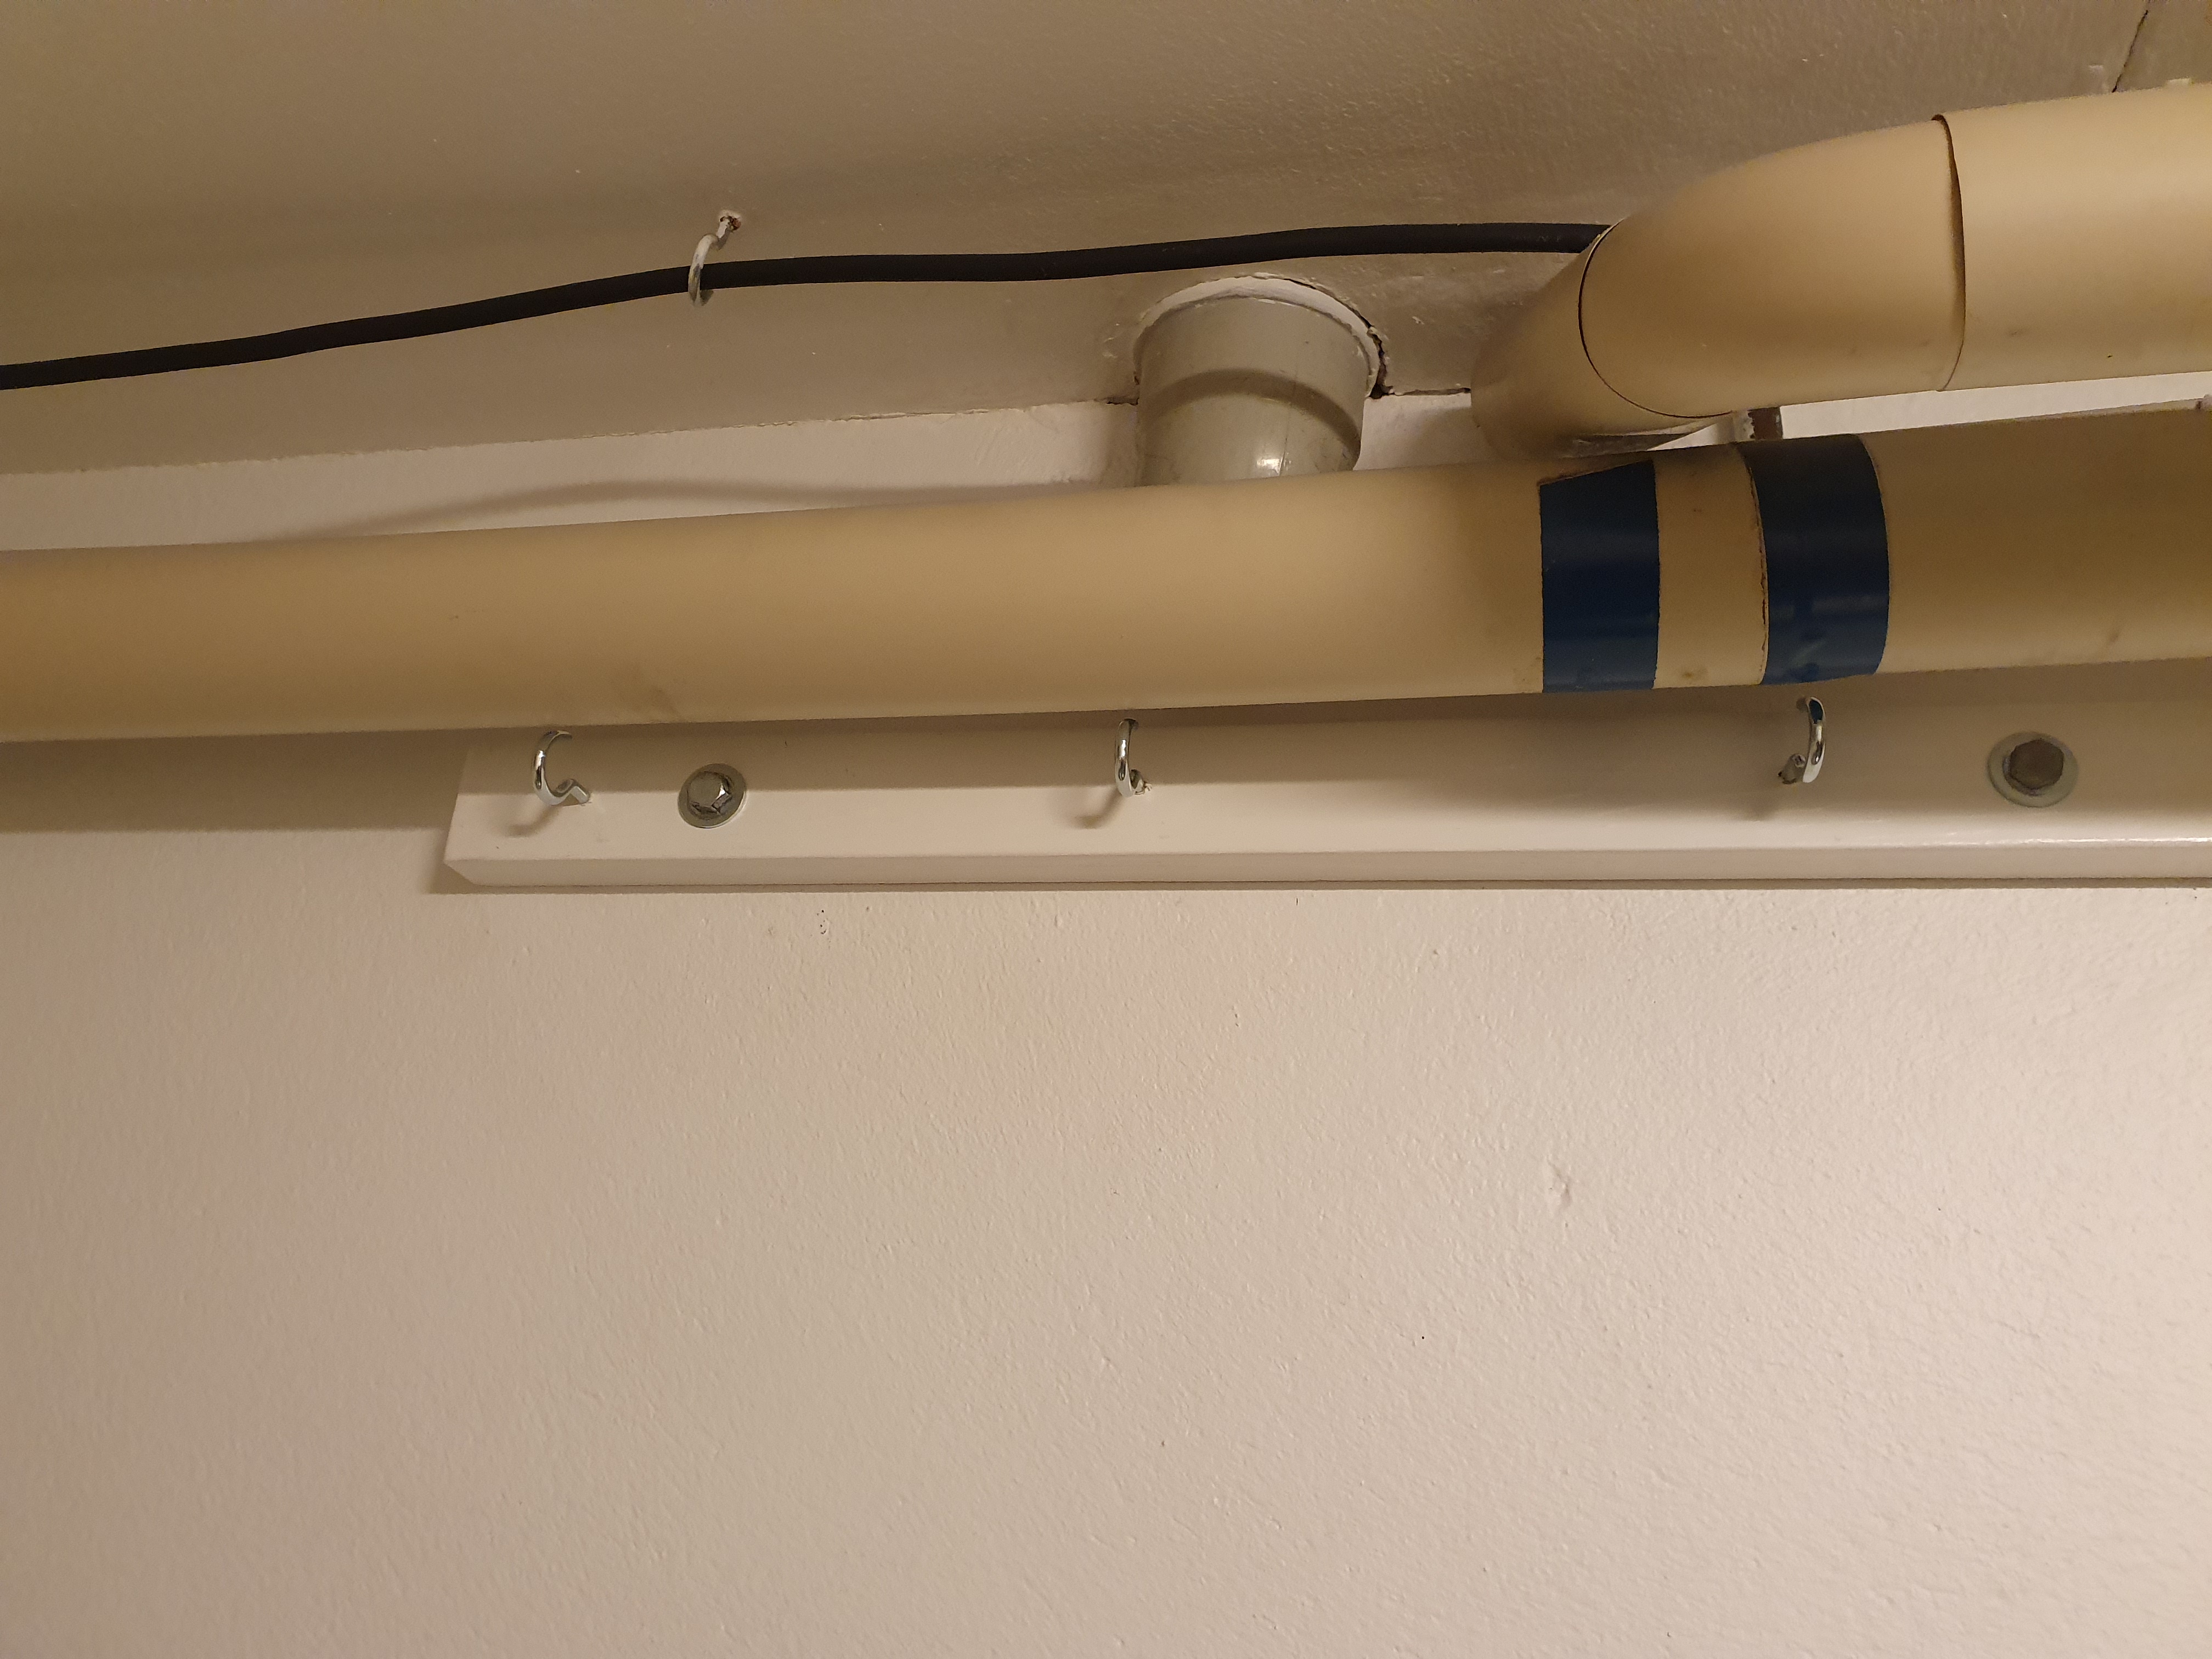
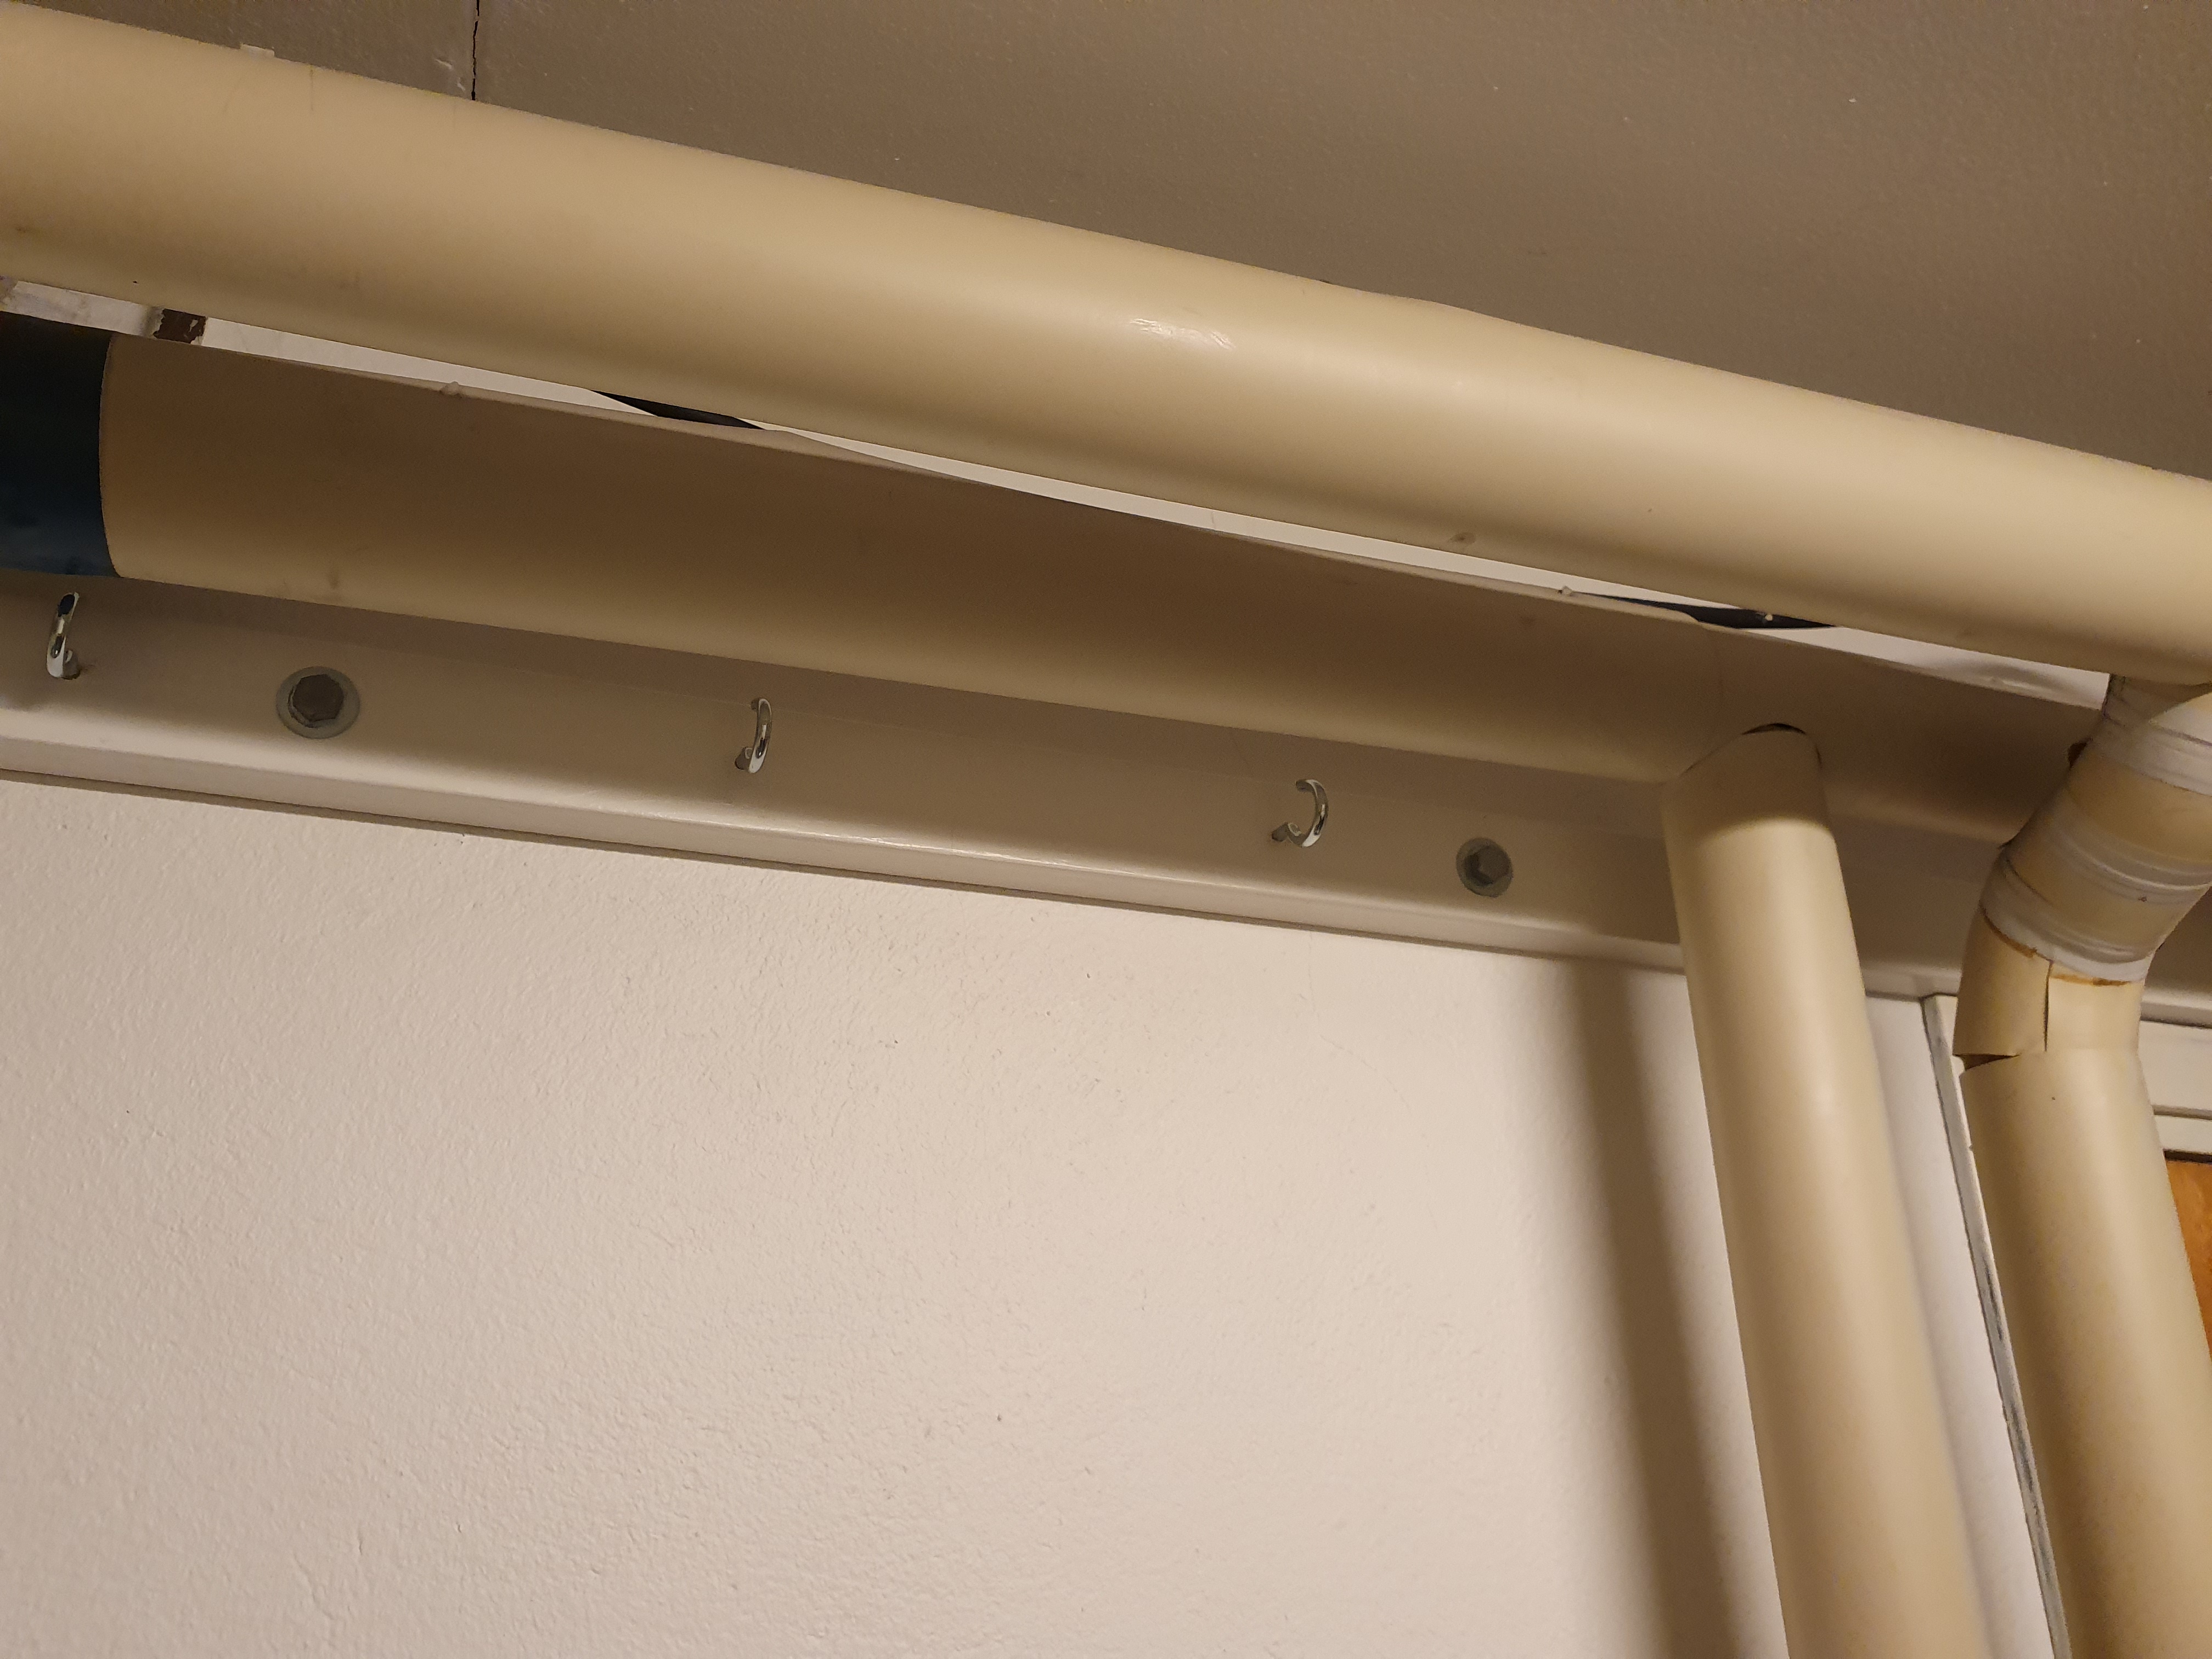
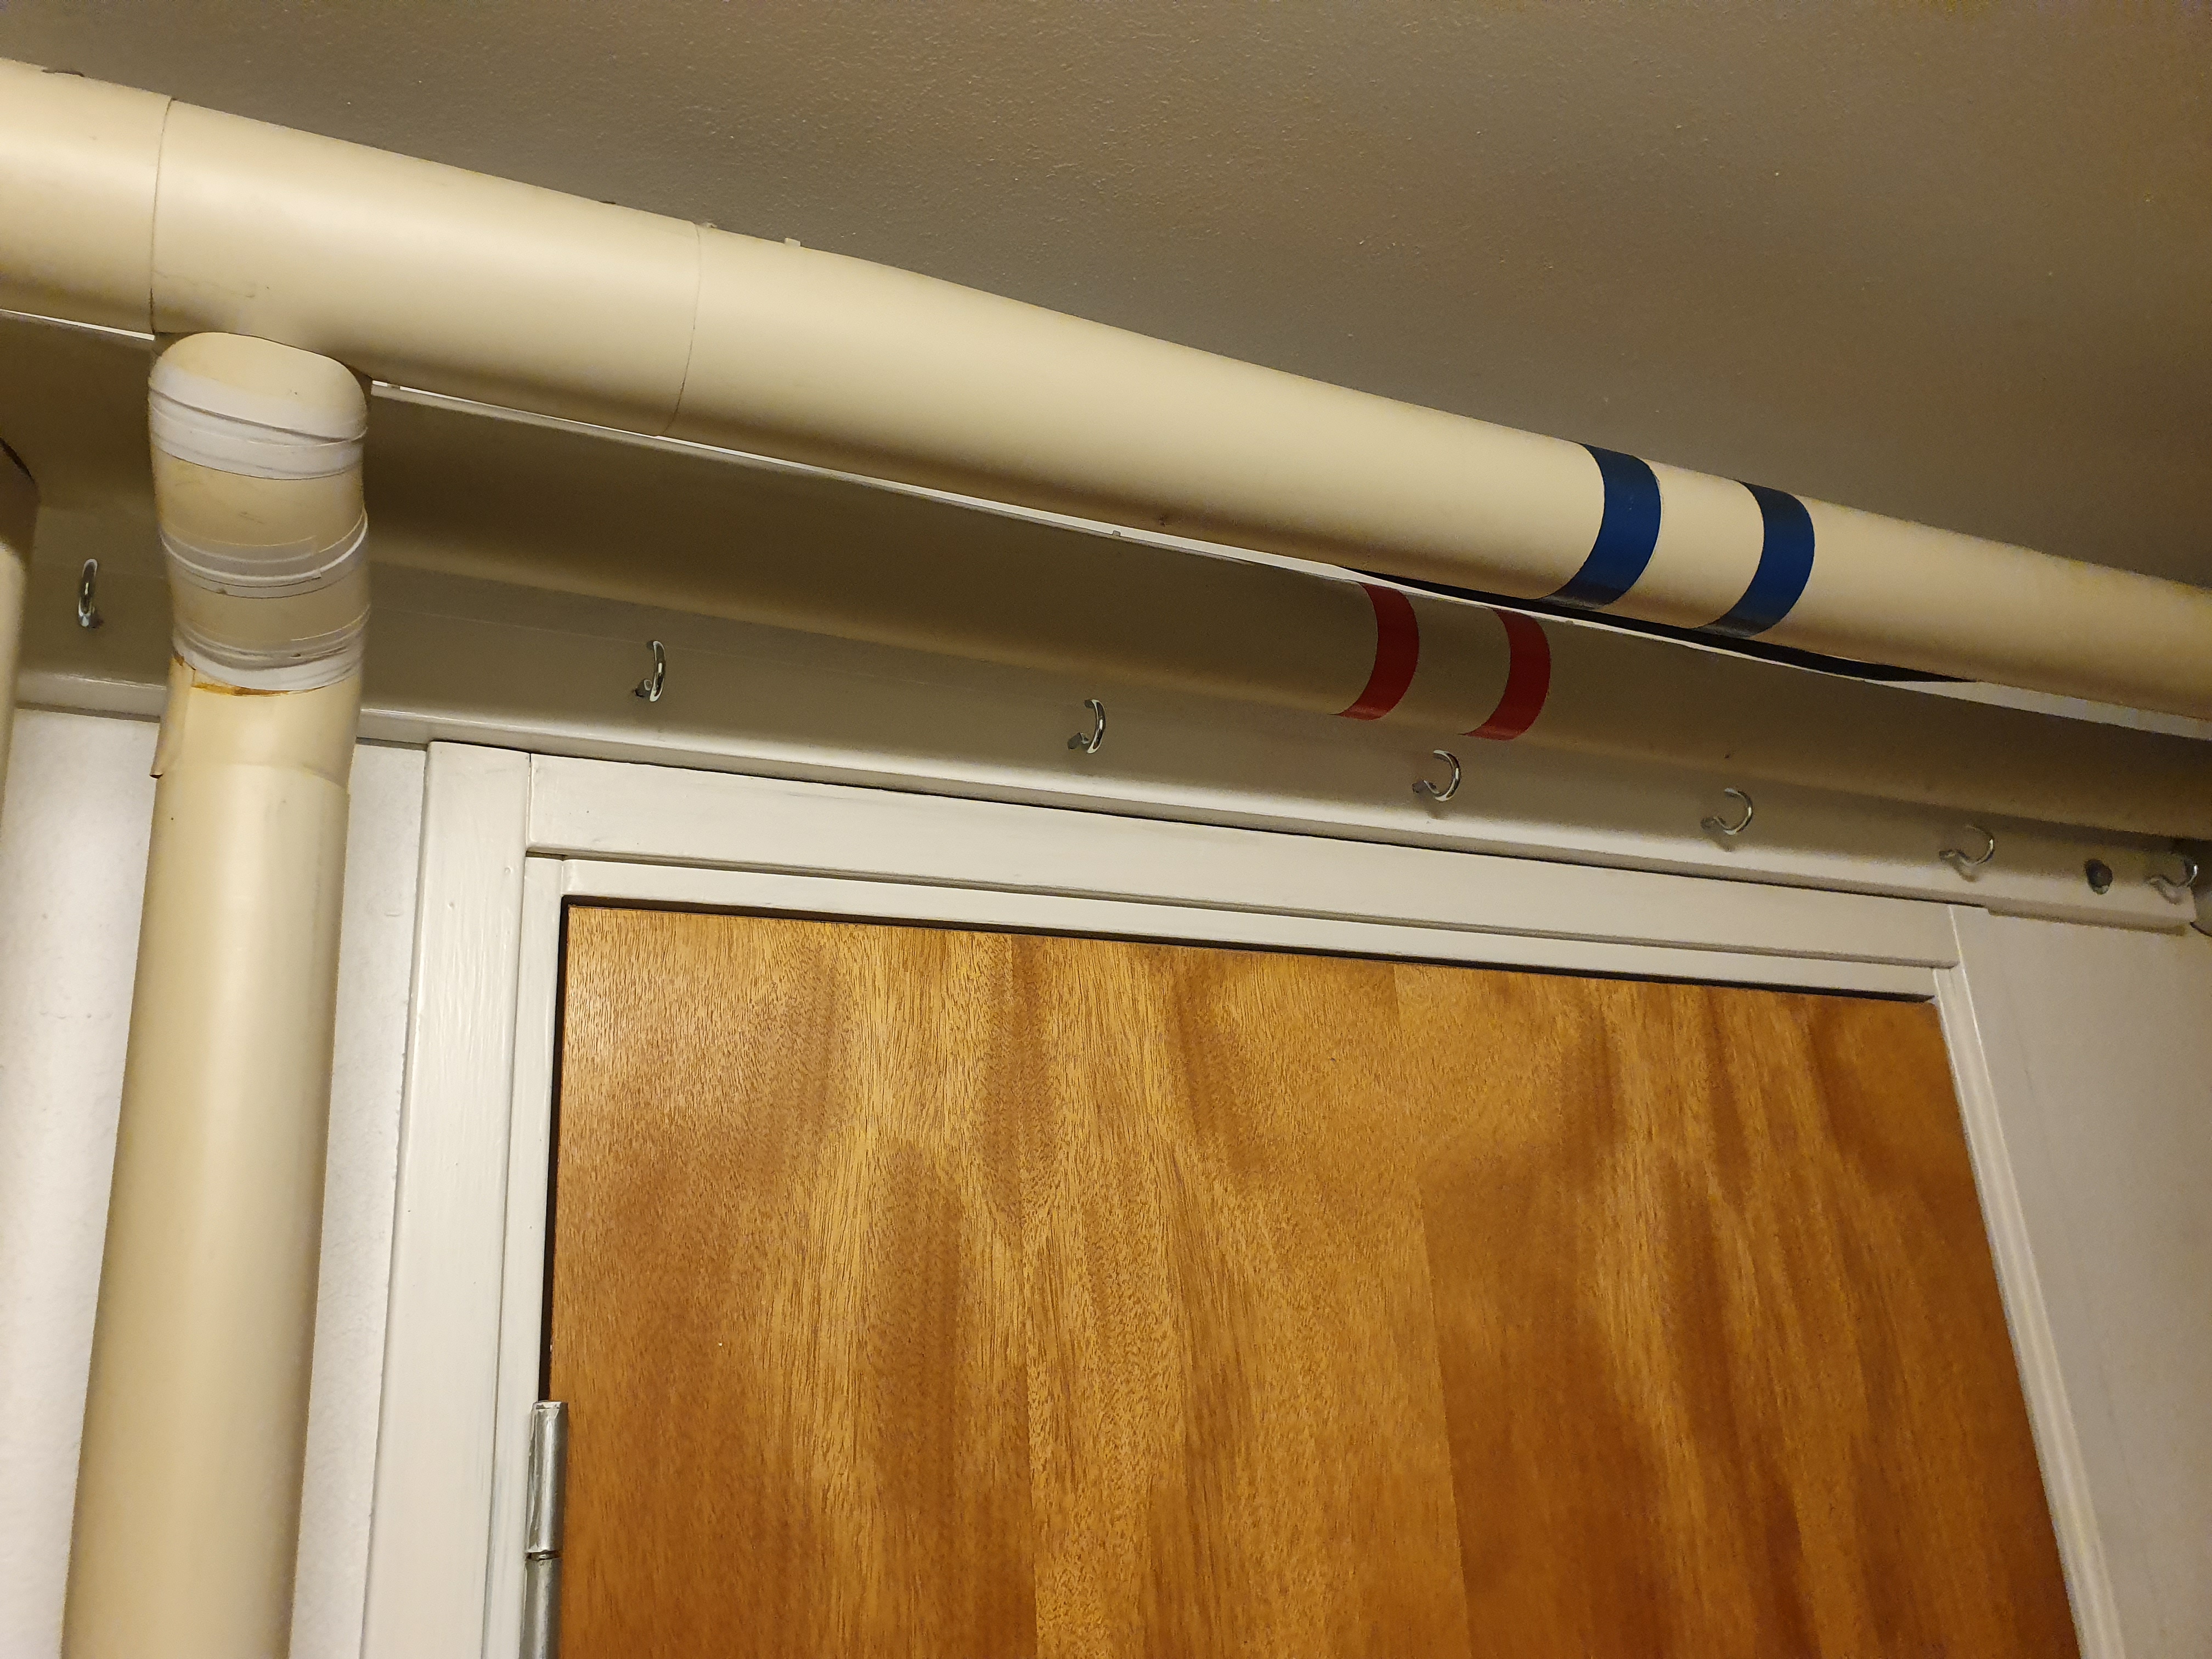
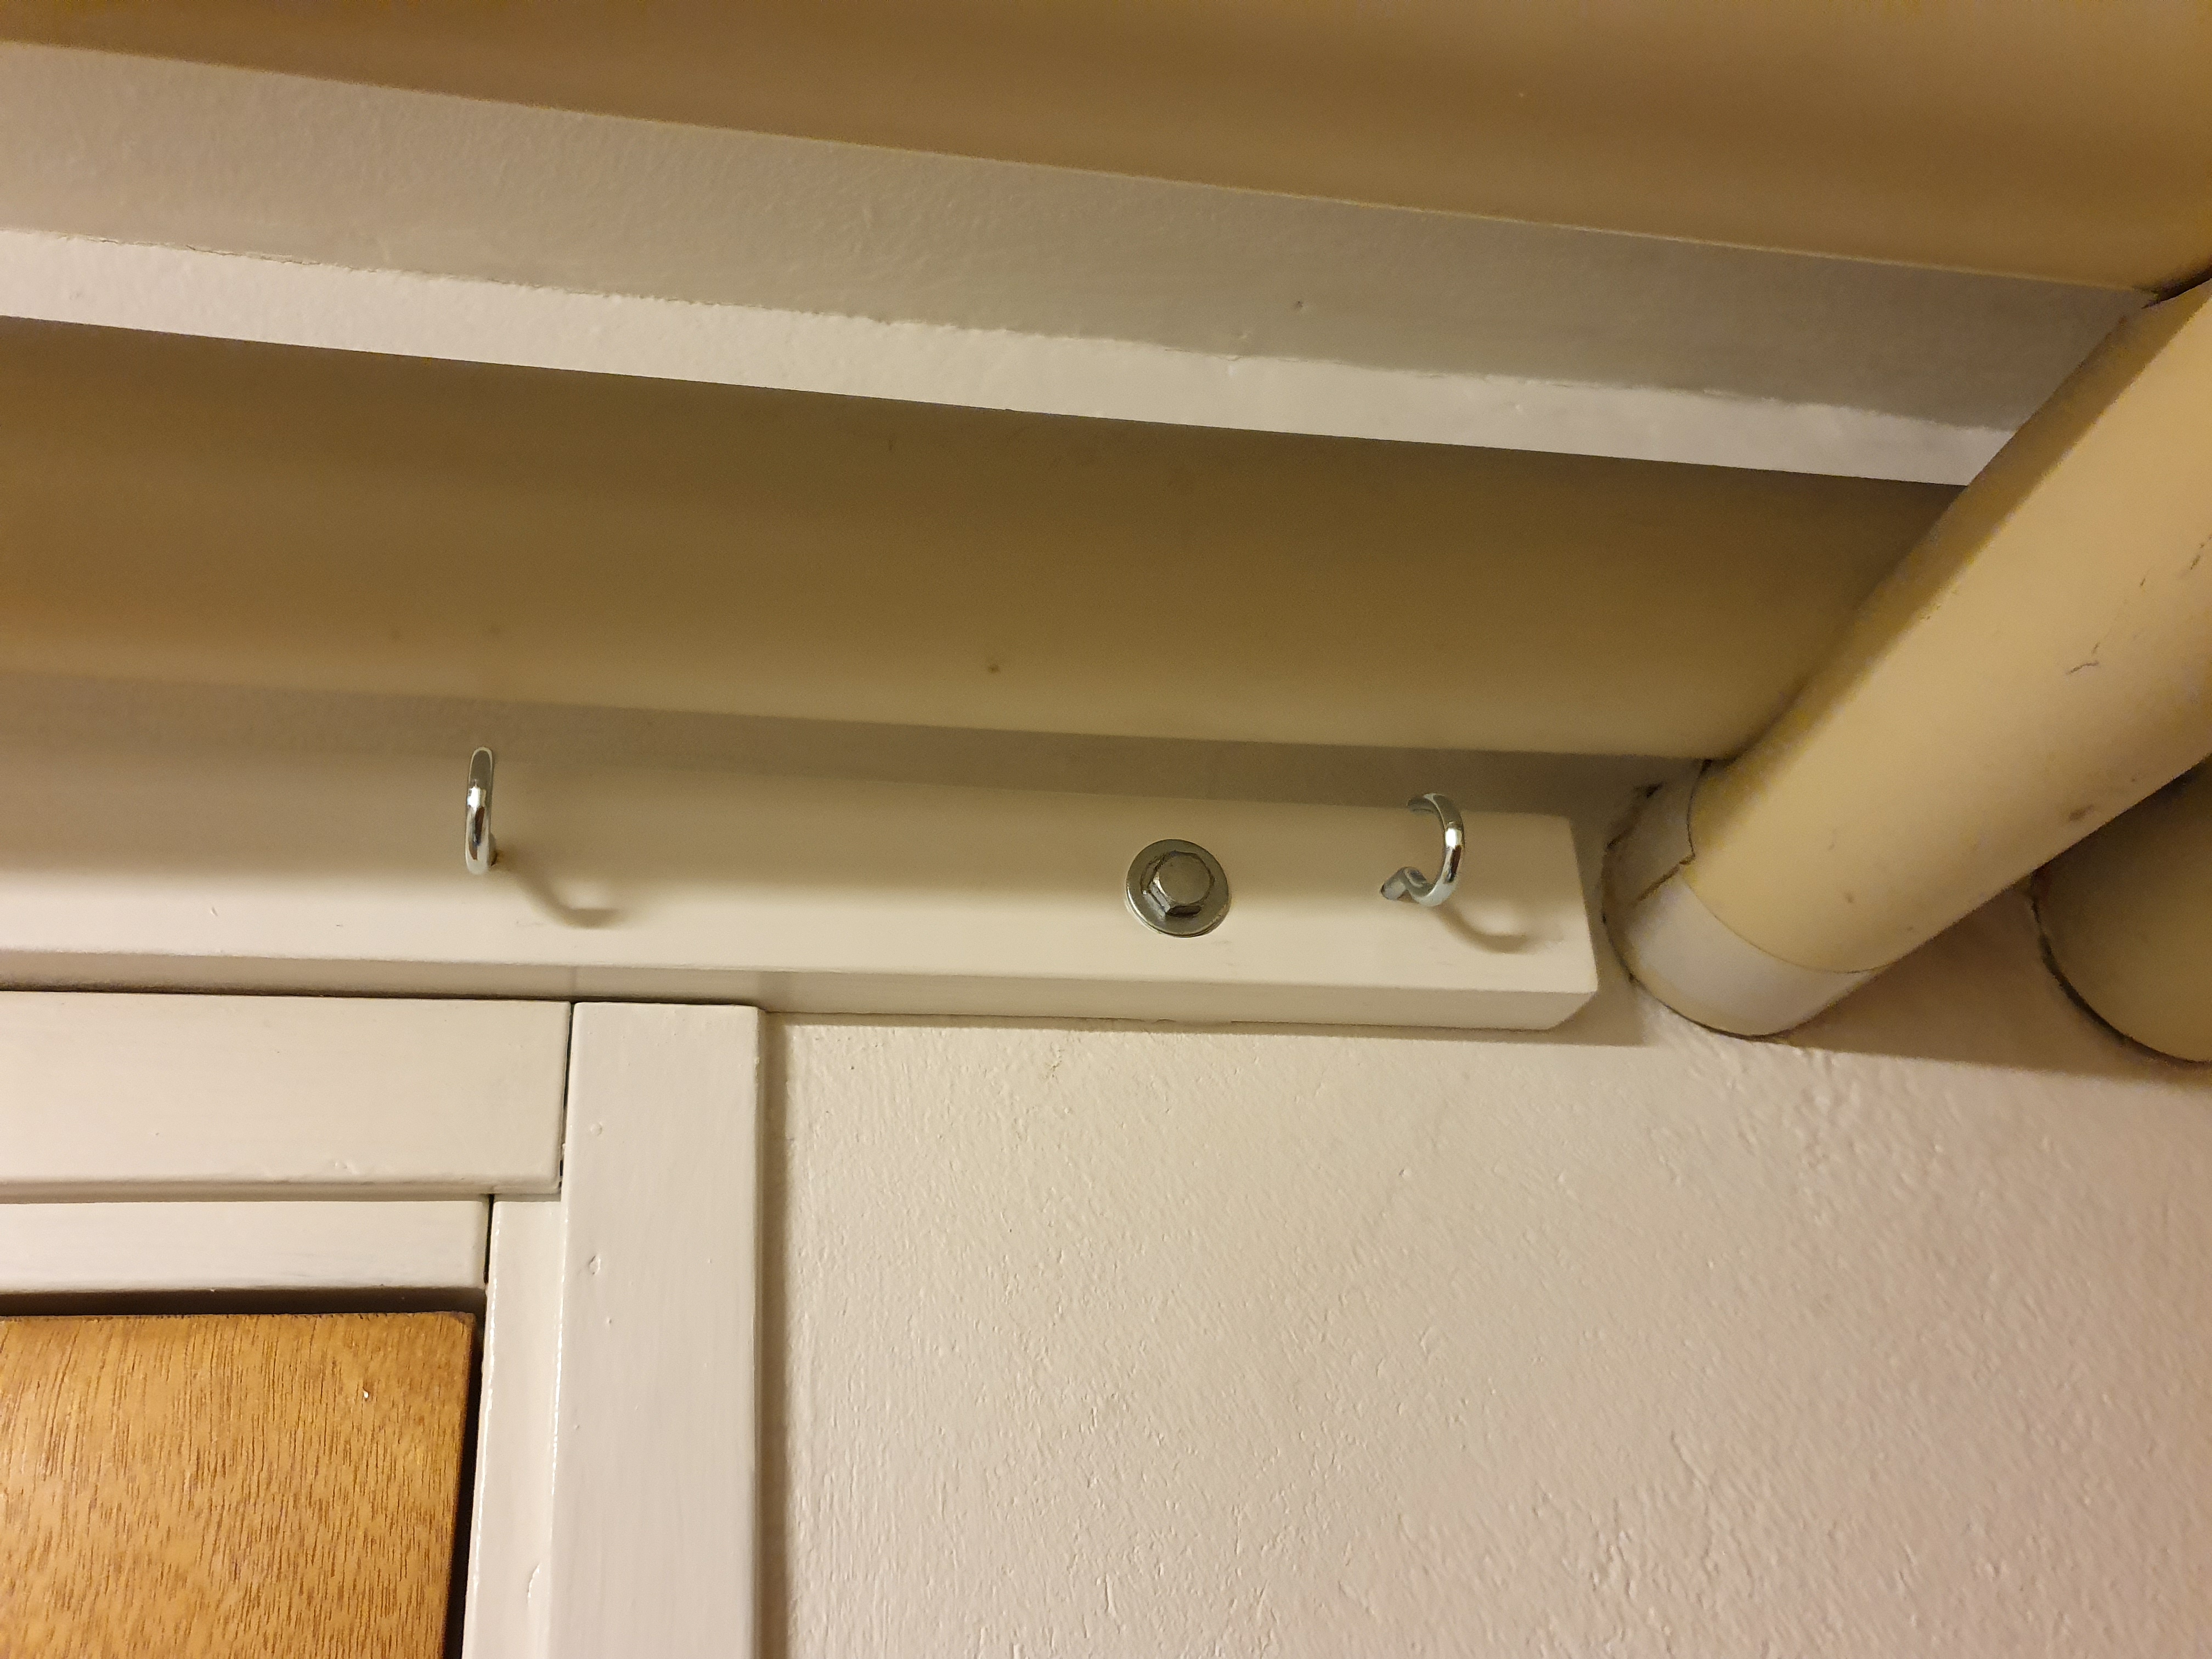
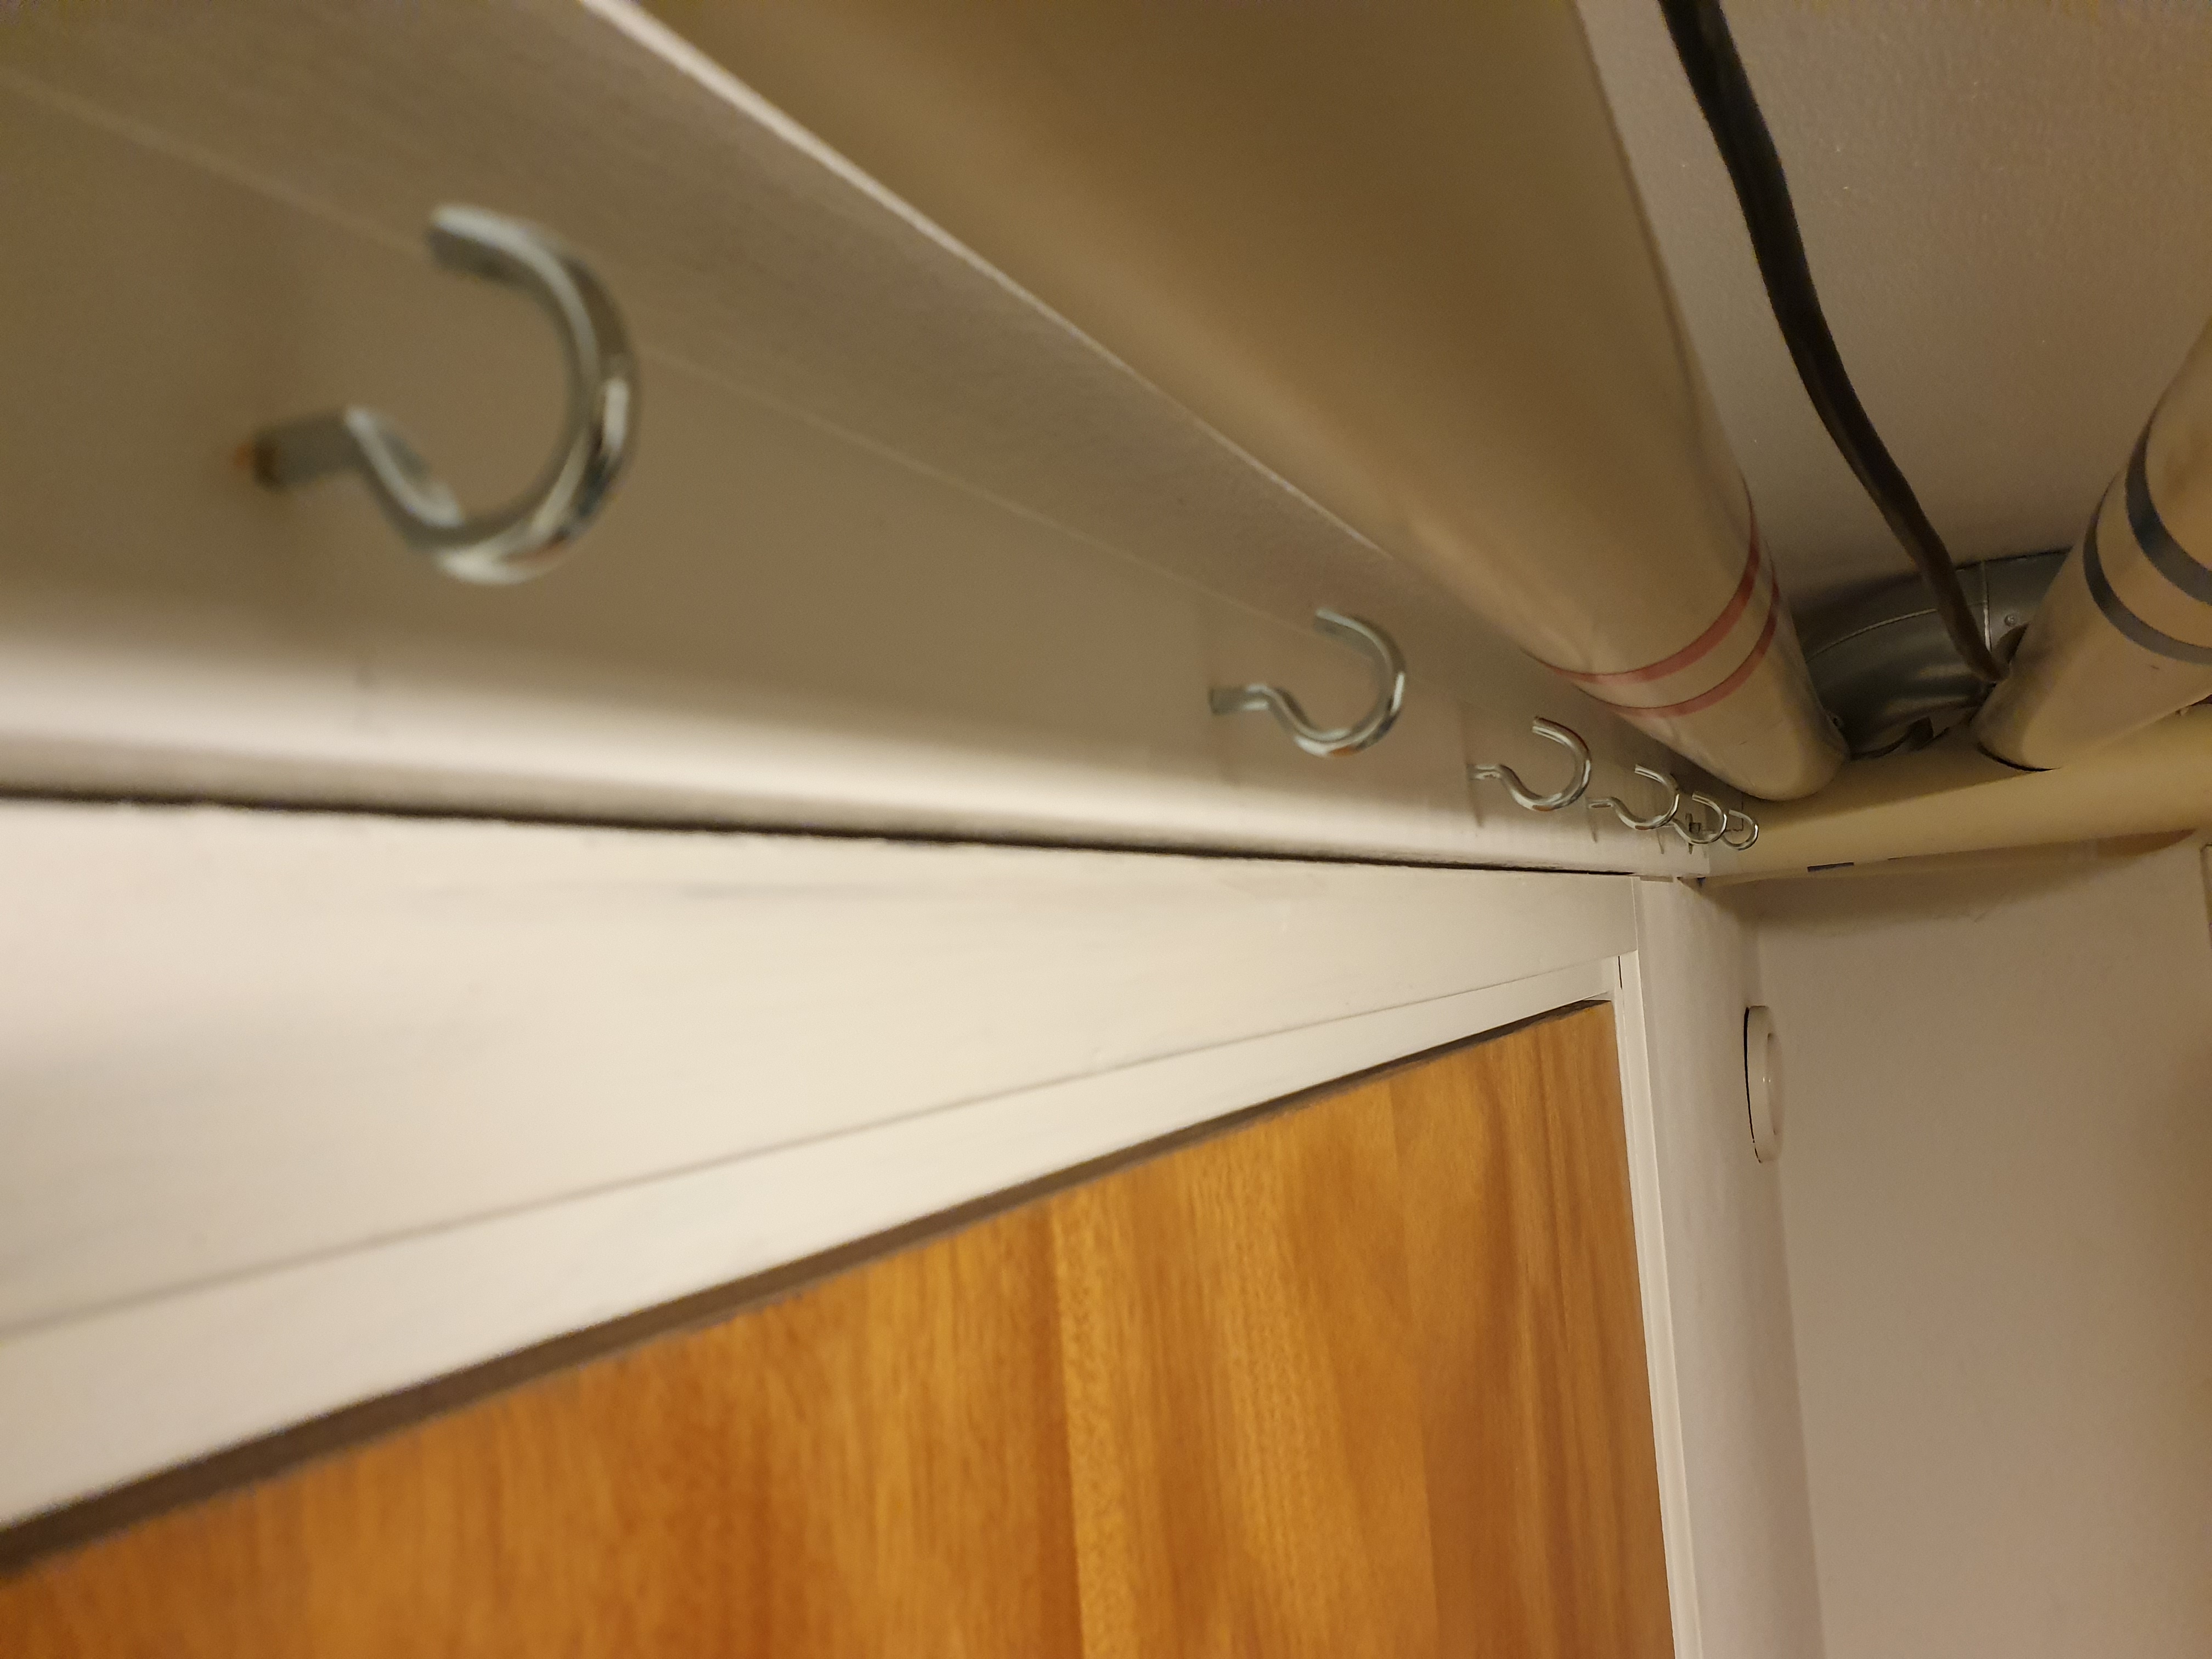
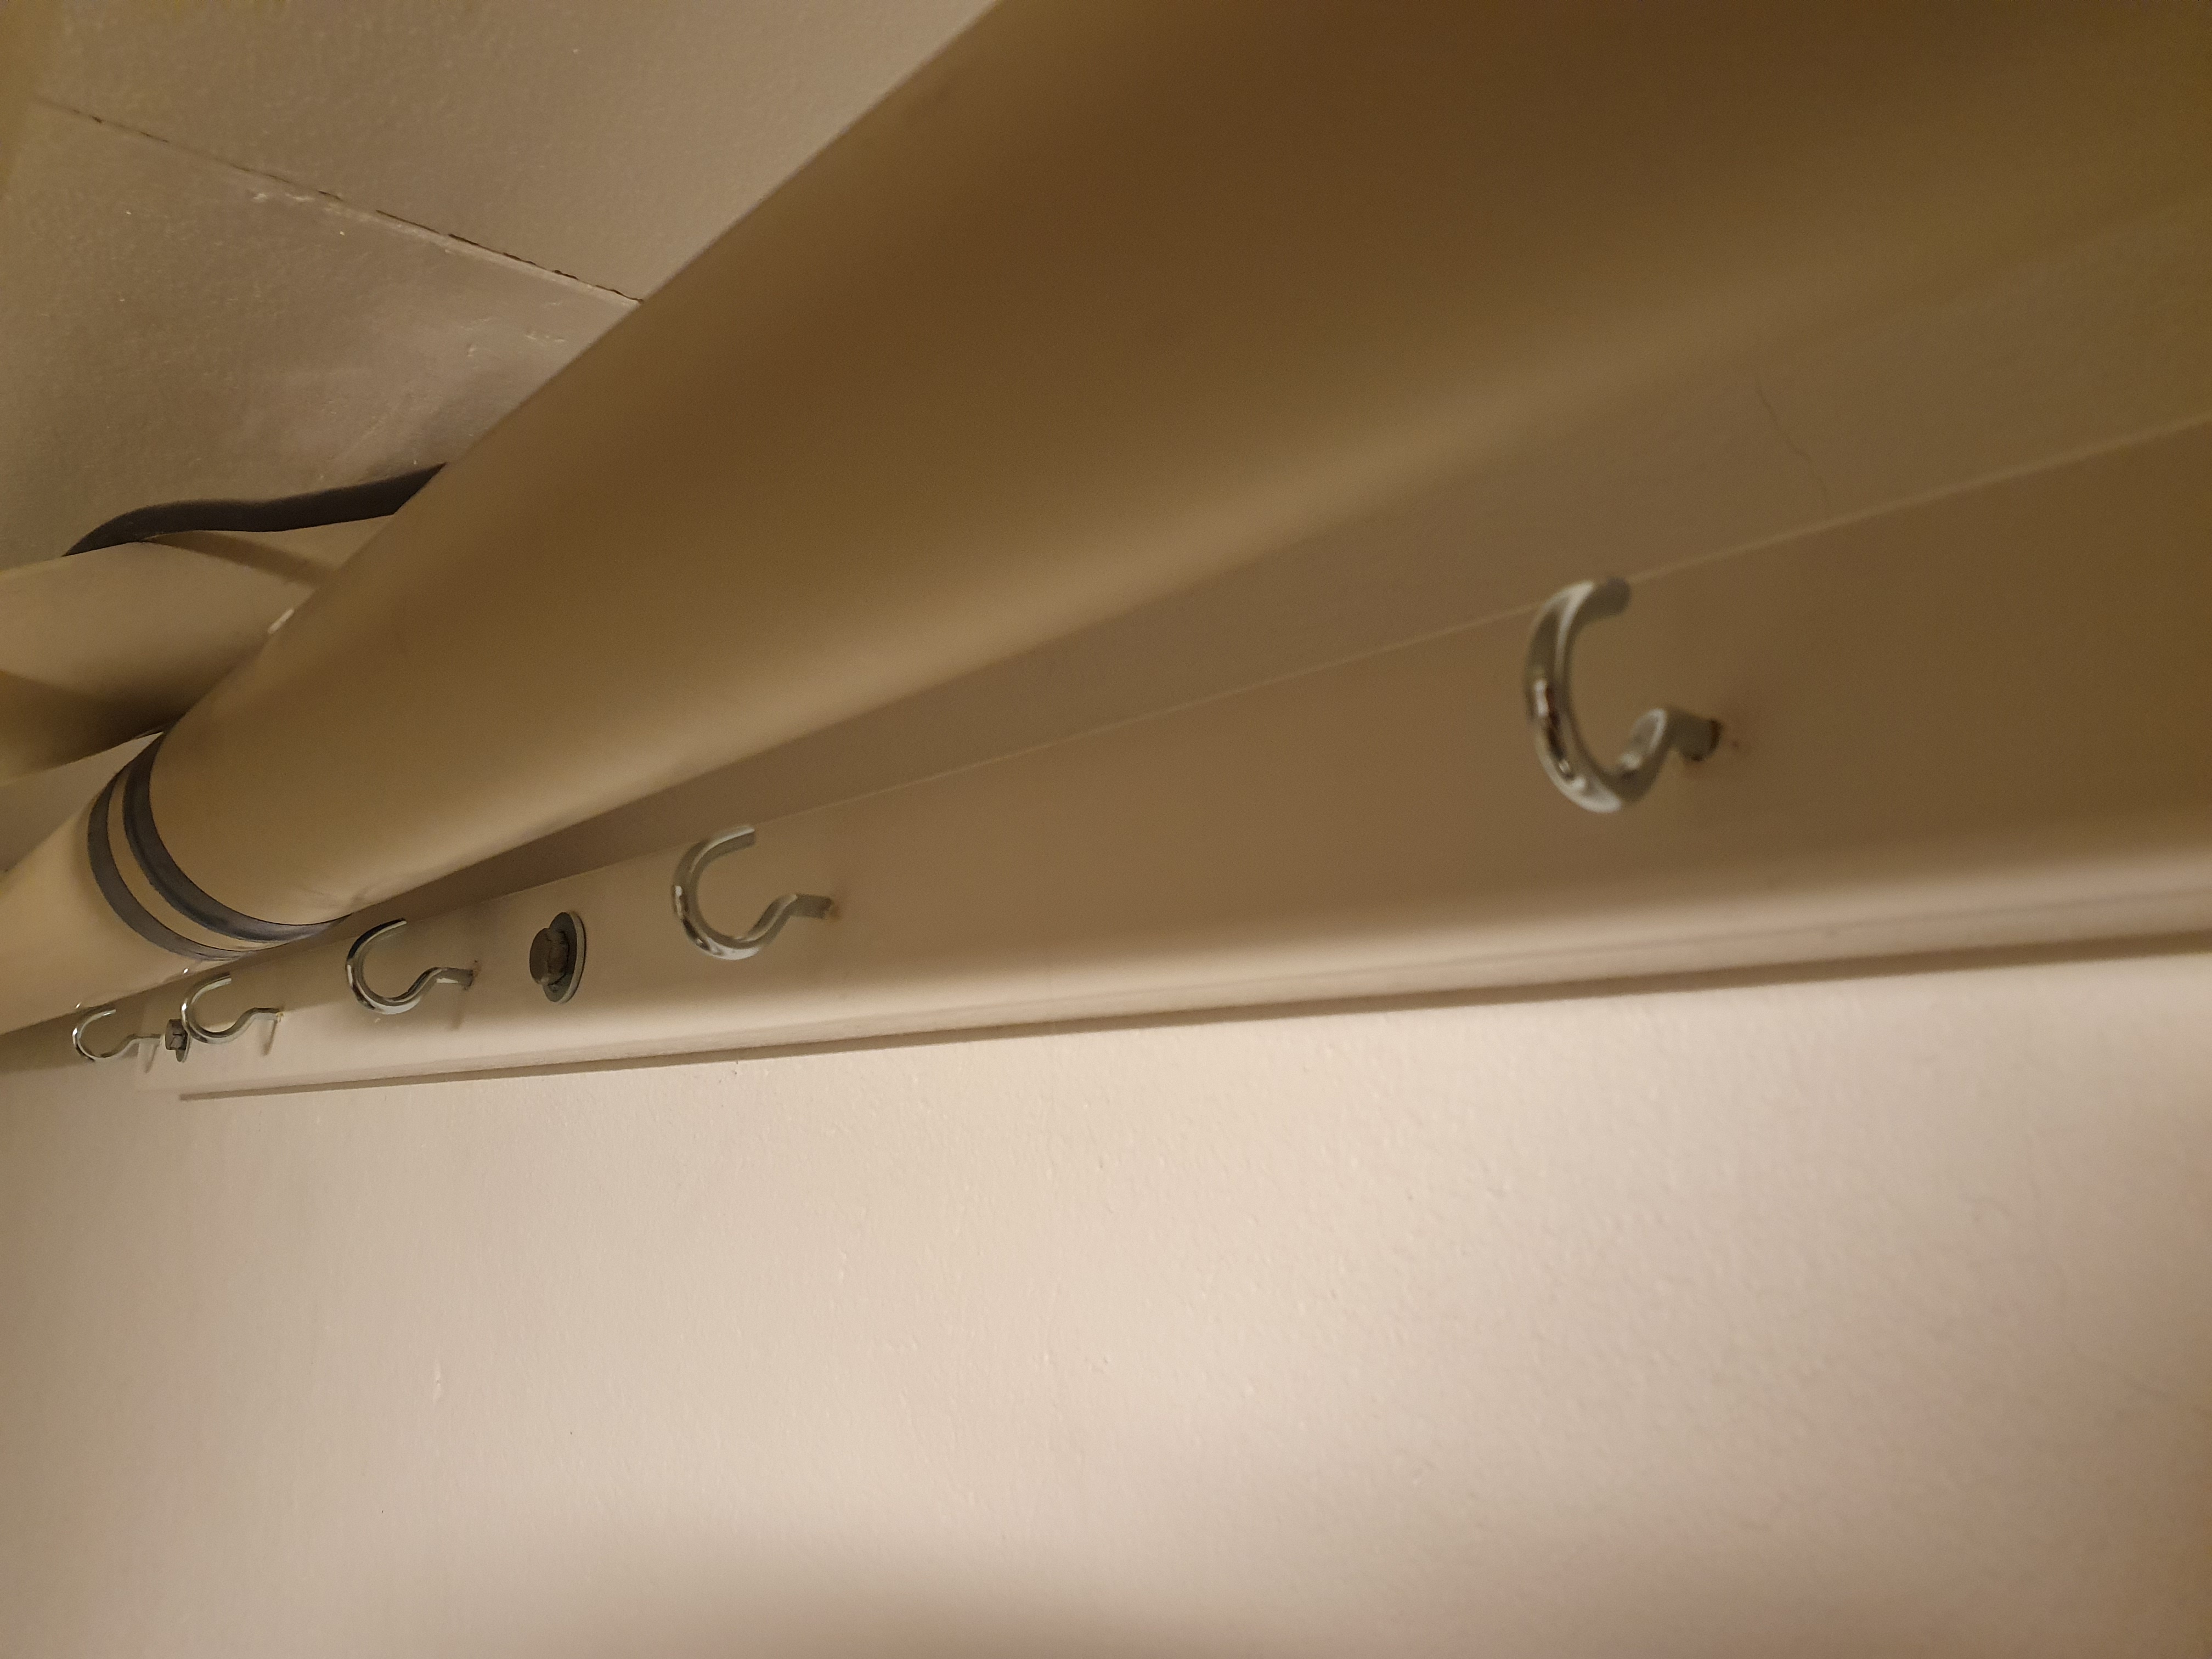
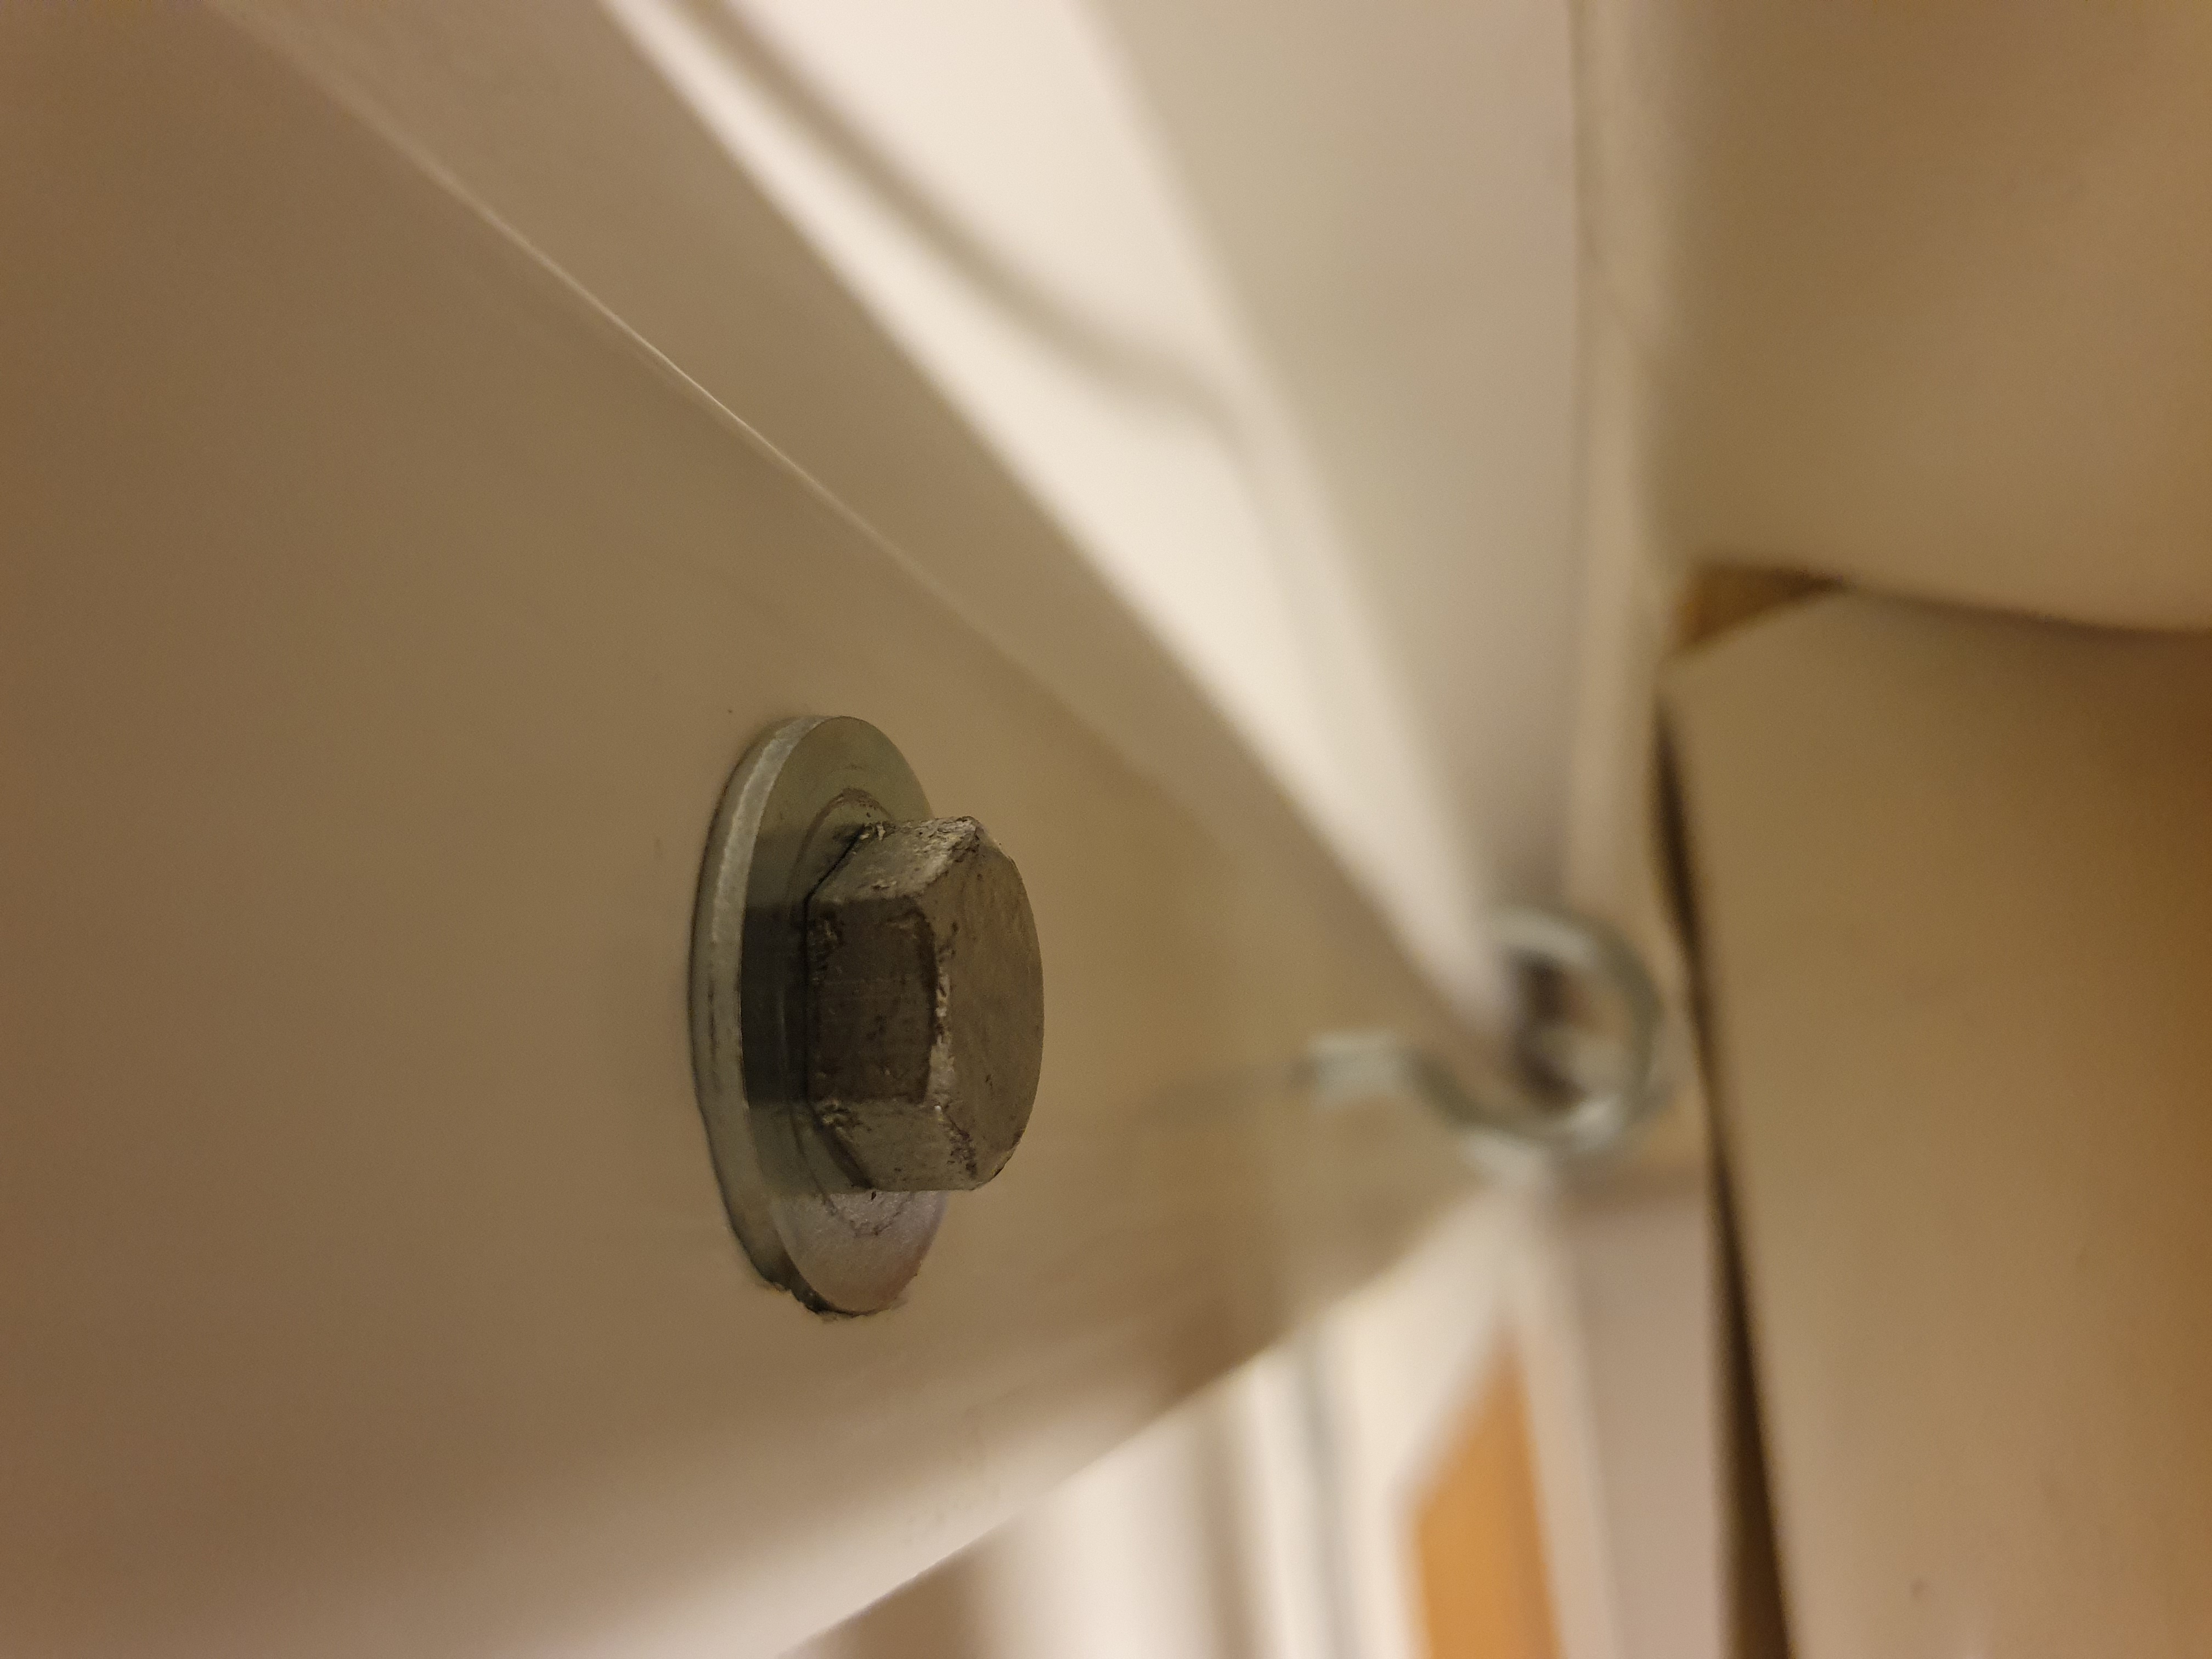
Put some no nails Pattex glue behind each bolt and above the door. However, I missed scraping off the paint first, but I hope it holds well enough anyway. Just above the door, it's currently under pressure for better support.
As you can see in the last picture, one of the screws went in crooked (couldn't reach well with the hammer drill), which of course made it cut into the wood a bit.
I was dumb enough to put some glue in the drilled holes which quickly became a problem for 2 of the holes, the plugs wouldn't go all the way in, sticking out almost 10 mm. Had no choice but to cut it off. The bolts tightened well though, so I hope it doesn't cause any problems.
Now just the next one has to go up, it's much easier to set up, but I have to keep an eye on the drill so it doesn't go through the wall into the bathroom on the other side.
Put some no nails Pattex glue behind each bolt and above the door. However, I missed scraping off the paint first, but I hope it holds well enough anyway. Just above the door, it's currently under pressure for better support.
As you can see in the last picture, one of the screws went in crooked (couldn't reach well with the hammer drill), which of course made it cut into the wood a bit.
I was dumb enough to put some glue in the drilled holes which quickly became a problem for 2 of the holes, the plugs wouldn't go all the way in, sticking out almost 10 mm. Had no choice but to cut it off. The bolts tightened well though, so I hope it doesn't cause any problems.
Now just the next one has to go up, it's much easier to set up, but I have to keep an eye on the drill so it doesn't go through the wall into the bathroom on the other side.