13,225 views ·
12 replies
13k views
12 replies
Knock out brick wall. Tips and answers sought!
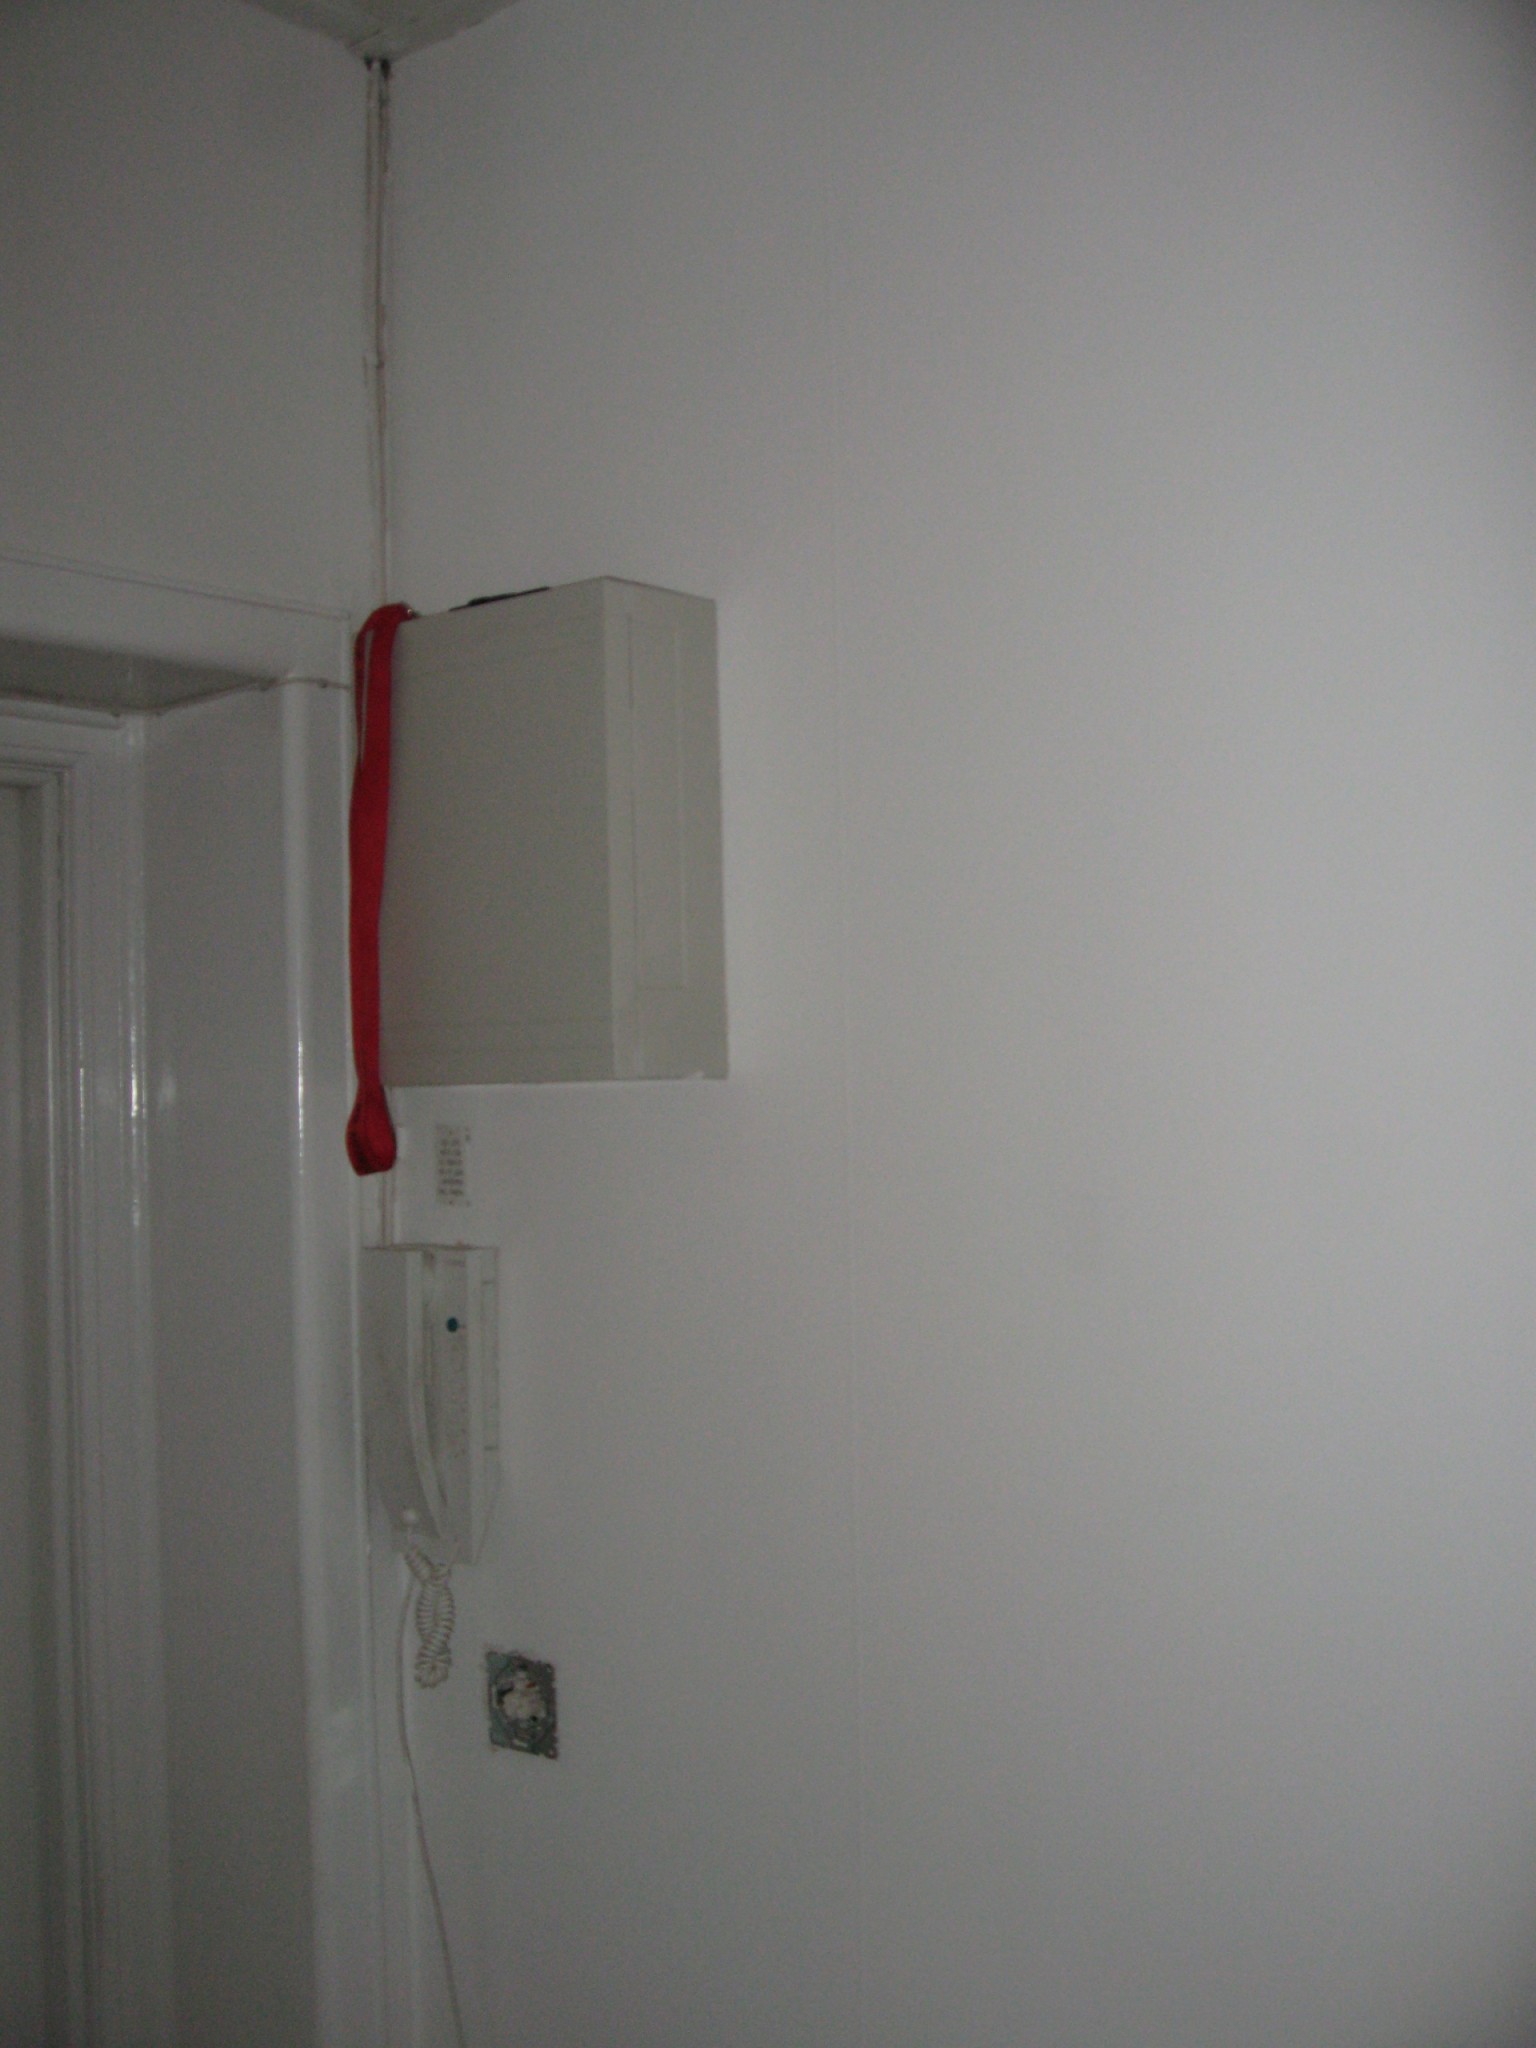
I live in an apartment from the 30s where I'm planning to expose the brick on one of the hallway walls. I understand that the brick may be of mixed quality; but that's perfectly fine if that's the case. The wall is 6 square meters. The plaster is about 1 cm thick and is under a layer of wallpaper. I have a few questions I hope to get help with! -What should I do with the electrical cabinet? (See image). Should I work around it or remove it? -What can I expect in terms of wiring behind the plaster? -How do I handle the transitions to the ceiling and adjacent wall? I want to avoid cracks and damage to the adjacent walls while ensuring a clean and straight transition. The wall to ceiling transition is rounded and not a 90-degree angle. -Best tools for the task? Any other tips are warmly welcome, thanks! /HSV
Last edited:
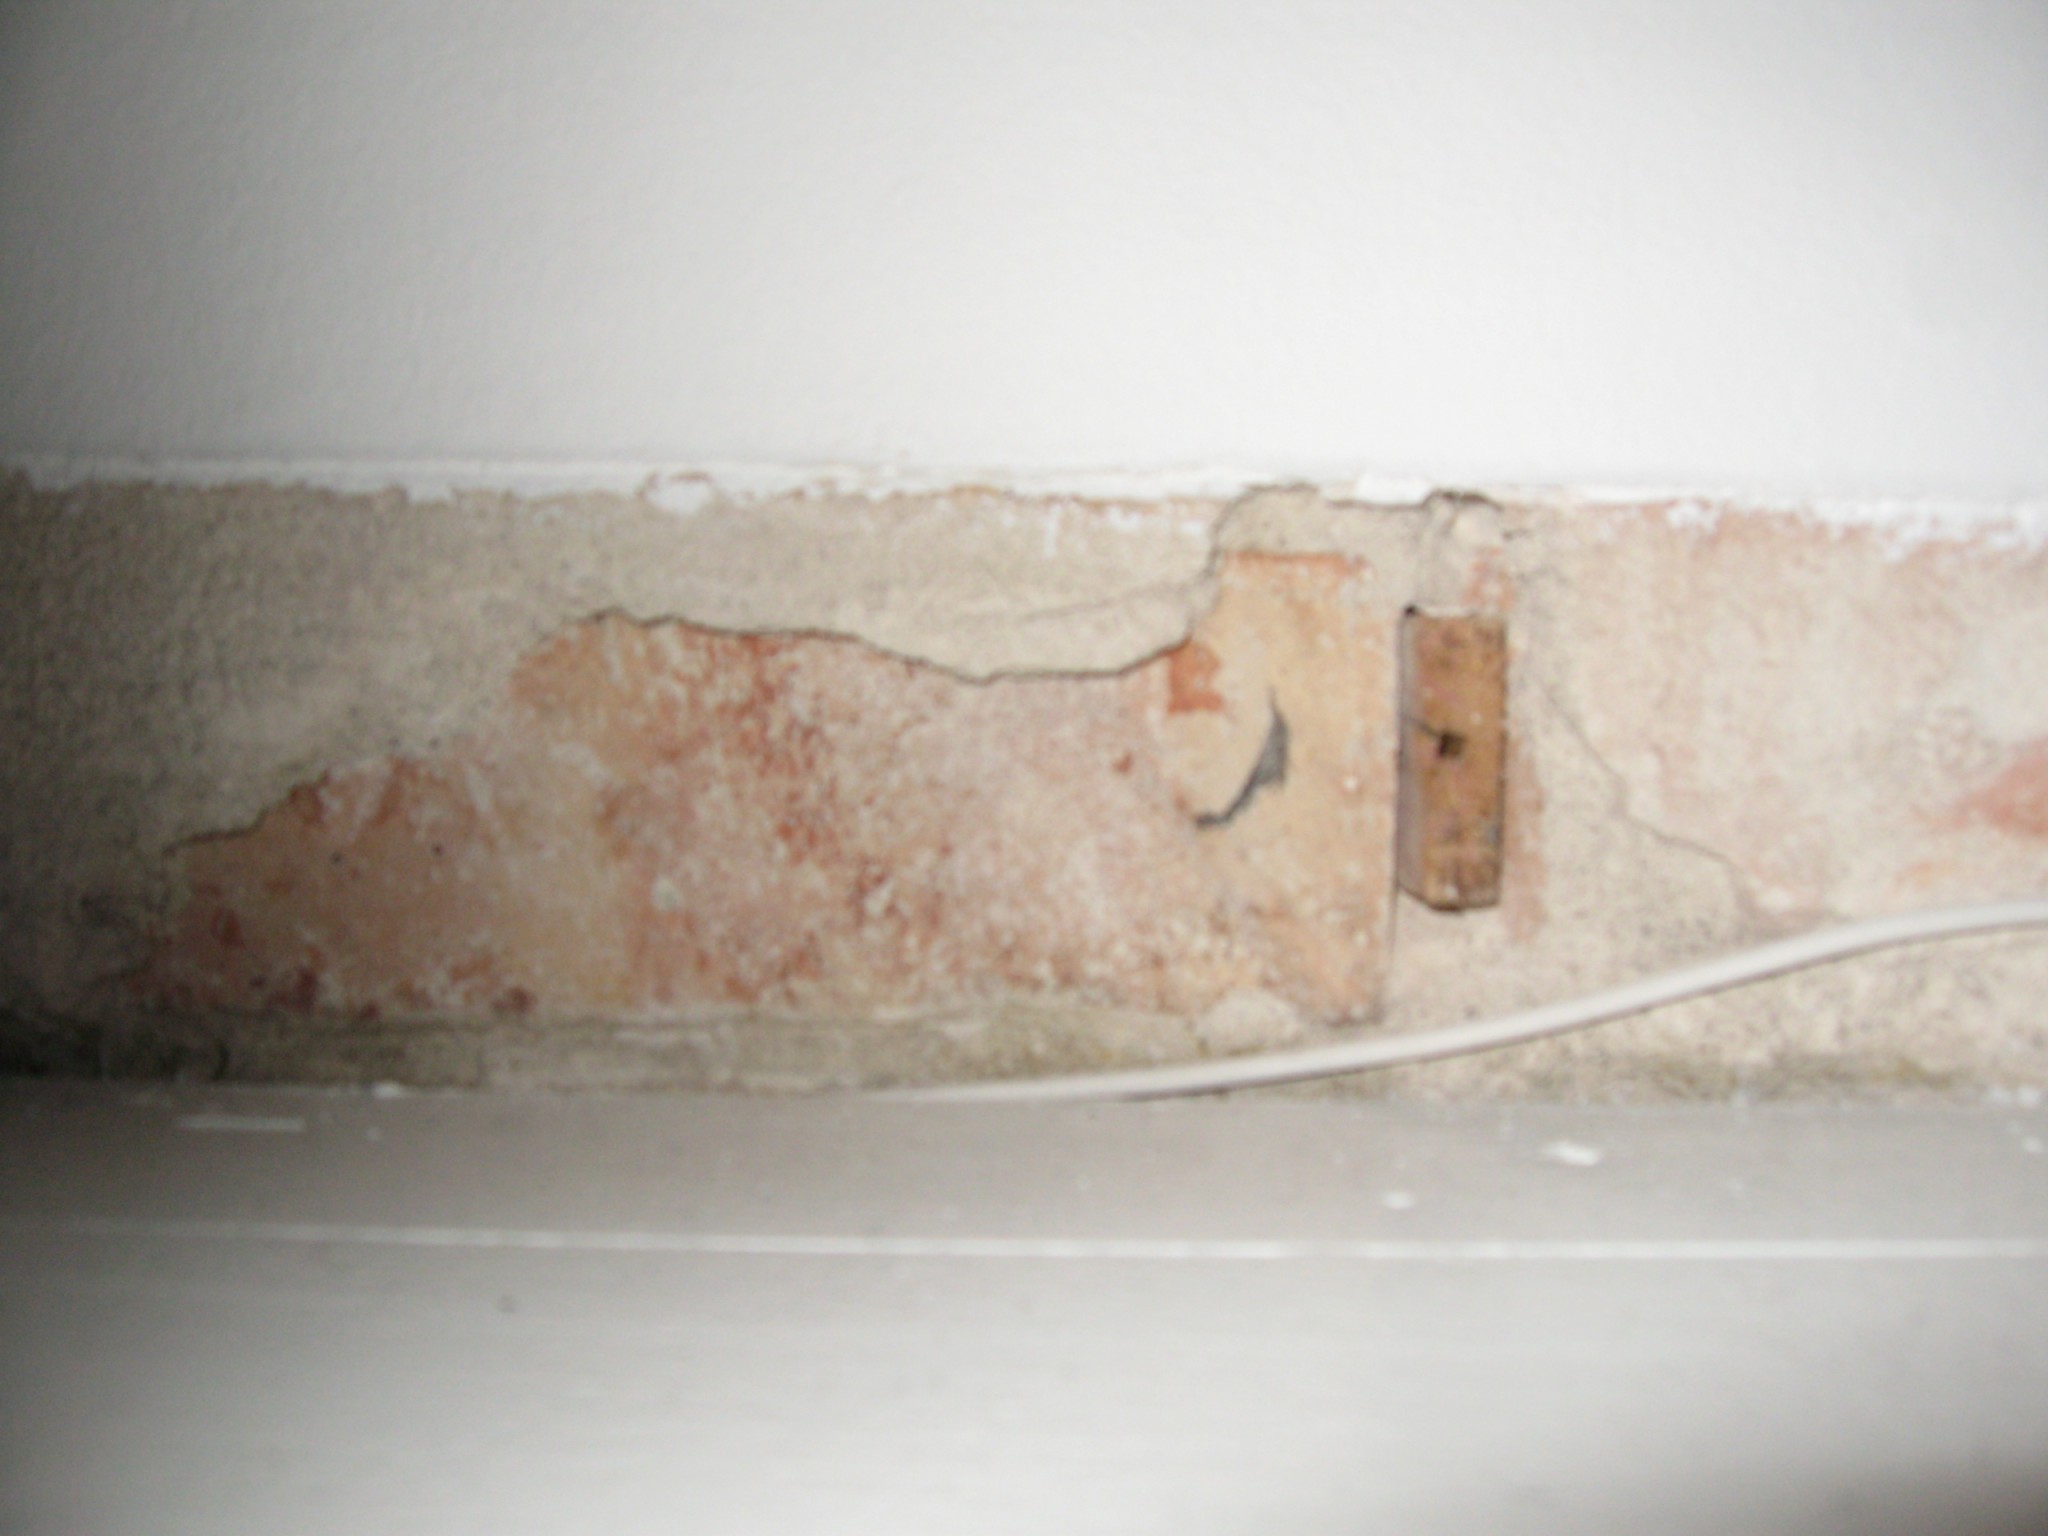
One tip might be to chip away some plaster near the electrical cabinet and at junction box covers first. In the best case, you have untracked brick underneath, in the worst (and unfortunately perhaps not too unlikely) you discover that they have tracked into the brick for electrical wiring. So in other words, don't start furthest away and work your way towards the electrical cabinet.
In our house built in '23, the wiring to all the electrical boxes is mostly grooved into the walls, so on a wall with electrical installations, there's a high risk of finding conduits. Removing the electrical panel is hard to assess from the picture, but you should probably expect to chip away as close as possible, then build/plaster a frame around it or something; that's probably the easiest solution.
The first thought that strikes me when it comes to tools... You need lots of plastic sheeting and tape and a good vacuum cleaner! Preferably a dust meter as well to remove what's flying in the air! In other words, I just want to prepare you for the fact that it's going to be incredibly dusty... ")
Otherwise, a smaller chipping hammer and a chisel are a good start! Preferably harder cardboard or something on the floor since there's a tendency to step on gravel and pieces of plaster on the floor, leaving marks. Now, I don't know what kind of floor you have, but if it's, for example, parquet, it's especially important to protect against falling "cakes" of plaster!
Otherwise, a smaller chipping hammer and a chisel are a good start! Preferably harder cardboard or something on the floor since there's a tendency to step on gravel and pieces of plaster on the floor, leaving marks. Now, I don't know what kind of floor you have, but if it's, for example, parquet, it's especially important to protect against falling "cakes" of plaster!
How you should solve the transition between the ceiling and wall is not easy, you'll probably need to chip away a bit into the ceiling and then apply new plaster to achieve a 90-degree angle, because somewhere the "transition" between the ceiling and wall must begin.
From my own experience, I can say that you're getting into a project that's a real damn tough job, and once you start, you can't restore it. You should also prepare for the extreme amounts of waste you'll have to deal with. Heavy and extremely dusty, as already mentioned. When you then knock down the plaster, you'll probably need to "seal" the joints in the brick in some way, because the joint is likely very porous, meaning you will be able to scrape away sand with your hand or as soon as you touch the wall (this can most likely be felt on the joint in the parts where the wall is already exposed).
From my own experience, I can say that you're getting into a project that's a real damn tough job, and once you start, you can't restore it. You should also prepare for the extreme amounts of waste you'll have to deal with. Heavy and extremely dusty, as already mentioned. When you then knock down the plaster, you'll probably need to "seal" the joints in the brick in some way, because the joint is likely very porous, meaning you will be able to scrape away sand with your hand or as soon as you touch the wall (this can most likely be felt on the joint in the parts where the wall is already exposed).
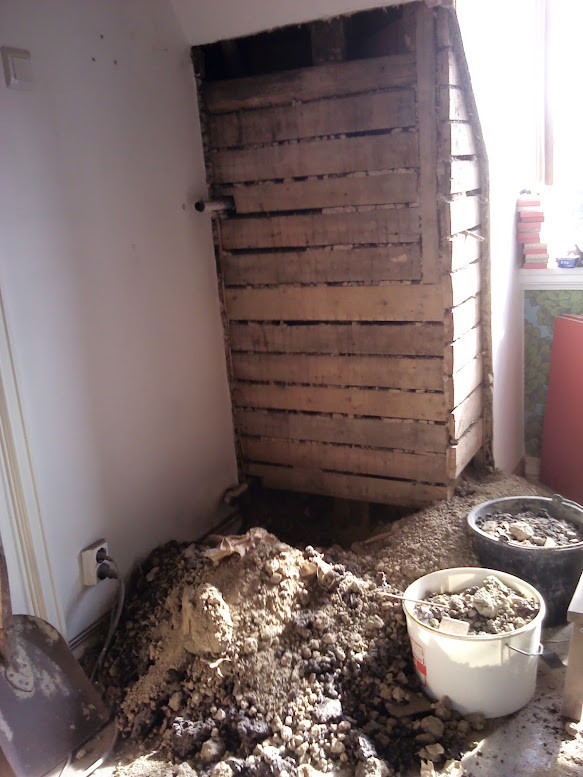
Just to give a hint of what might await you. This is a wall section I was about to demolish, about 70-80 cm wide and maybe 140 high. Perhaps a bit unfair since this is plaster on reed, so the plaster is probably somewhat thicker than in cases where you plaster on brick.

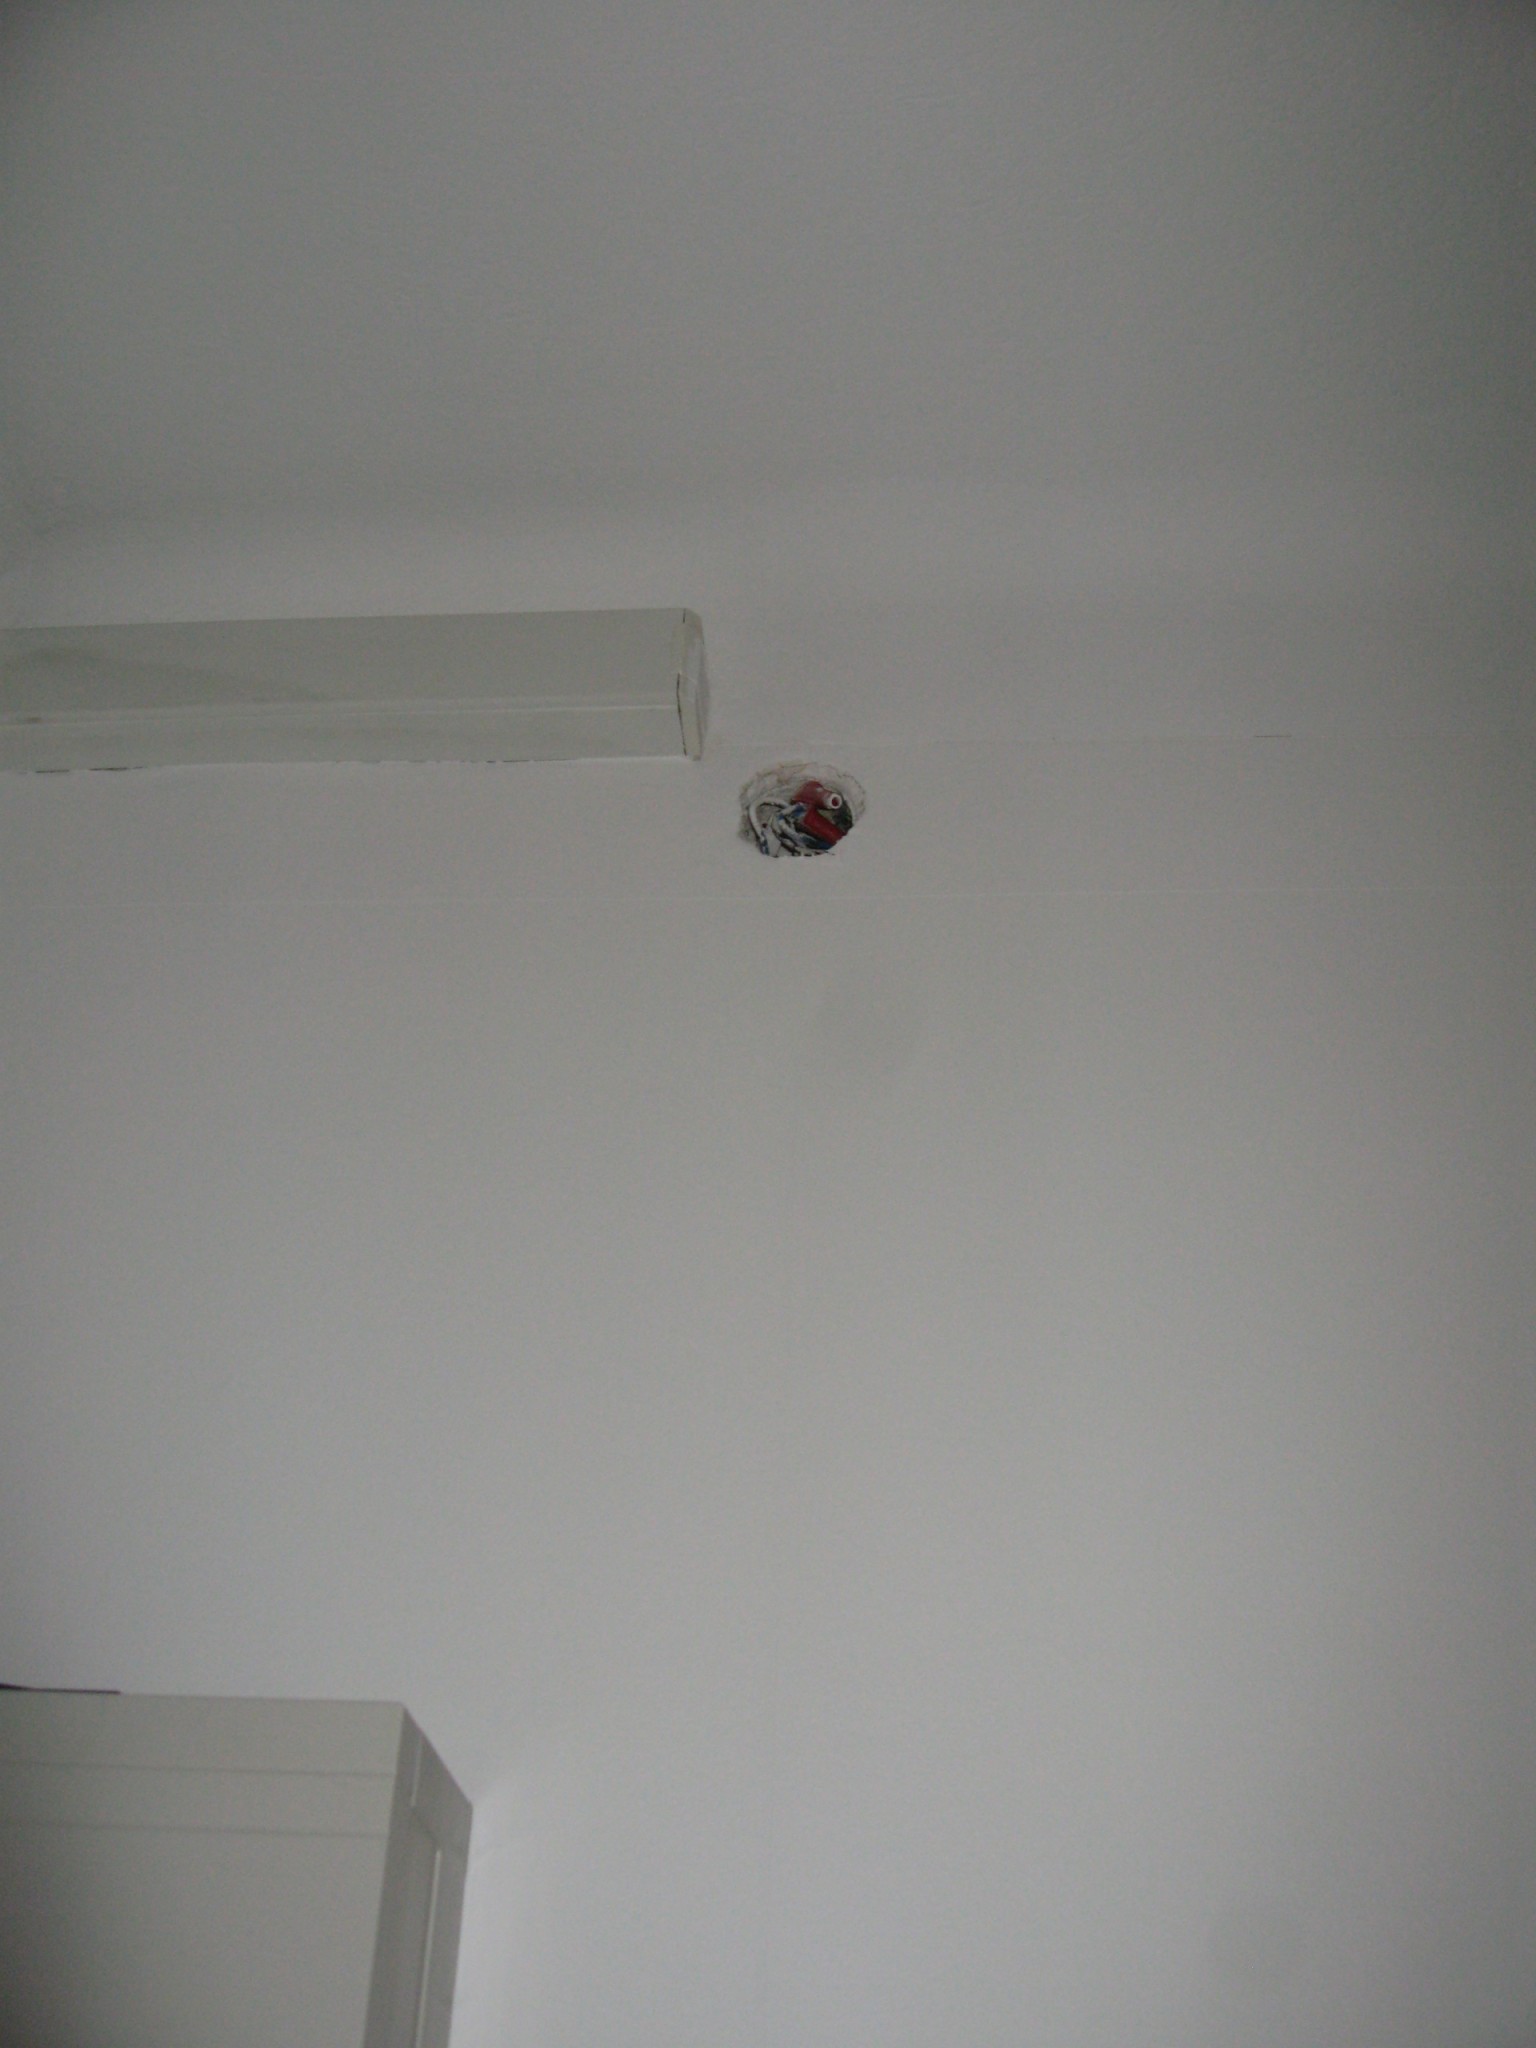
Thank you for the informative answers. That it is heavy, takes time, is extremely dusty, and that the results are variable, are all good reasons to refrain. But I happen to have all the time in the world and access to some extra labor; so I will go ahead anyway. Regarding tracked electricity. Say this is what I find... is there anything that can be tidied up somehow? Preferably with the help of an electrician.
I myself am of the opinion that brick is incredibly forgiving. "Ugly" brick can often be quite lovely. However, that it's hard to keep clean is, of course, less good. How do you mean that this manifests itself?ZipLock said:
Last edited:
I have a friend who did exactly what you are considering. Apart from the massive job of removing the plaster, as mentioned, the brick wall was very ugly. And by ugly, I mean not charming like brick can be on the outside of old English houses. Since the brick wasn't meant to be visible, the builders had used C-grade bricks and hadn't put much effort into making it look good. The joints also had to be redone as large parts of them came loose when the plaster was chipped off.HSV1 said:
When the wall was finished, it really absorbed the room's dust and also left a fine red dust behind whenever it was touched.
After a while, the owners gave up and initially considered having a mason build an attractive brick wall over the old one, but eventually, the wall was covered with plasterboard.
That sounds less fun. I'll have to keep that in mind. A solution I've considered if it turns out that the brick wall is terrible and worthless... is to plaster the wall roughly. But even that is a tough job that you have to be ready to handle.
I chipped away the plaster from part of the brick wall in my old apartment. I only used a hammer and chisel. It went fairly smoothly but took some time - managed about 1 square meter in 3 hours. The plaster was between 1-2 cm thick, so there was some debris, but less than expected. To remove the last remnants of plaster, I used a wire brush (first tried a rotating brush with a drill, but it created a hell of a lot of dust, so switched to brushing by hand). In my case, the brick underneath was nice but a bit unevenly laid, which I thought just made it look better. I then applied silicate primer (Biltema's plaster and masonry primer), which worked quite well to bind dust. I didn't really have major issues with the brick being dusty, but the mortar from the joints came off very easily.
Click here to reply