(The title is a bit wrong, it should be “existing wall” not BRF wall, but it seems like it can't be changed?)
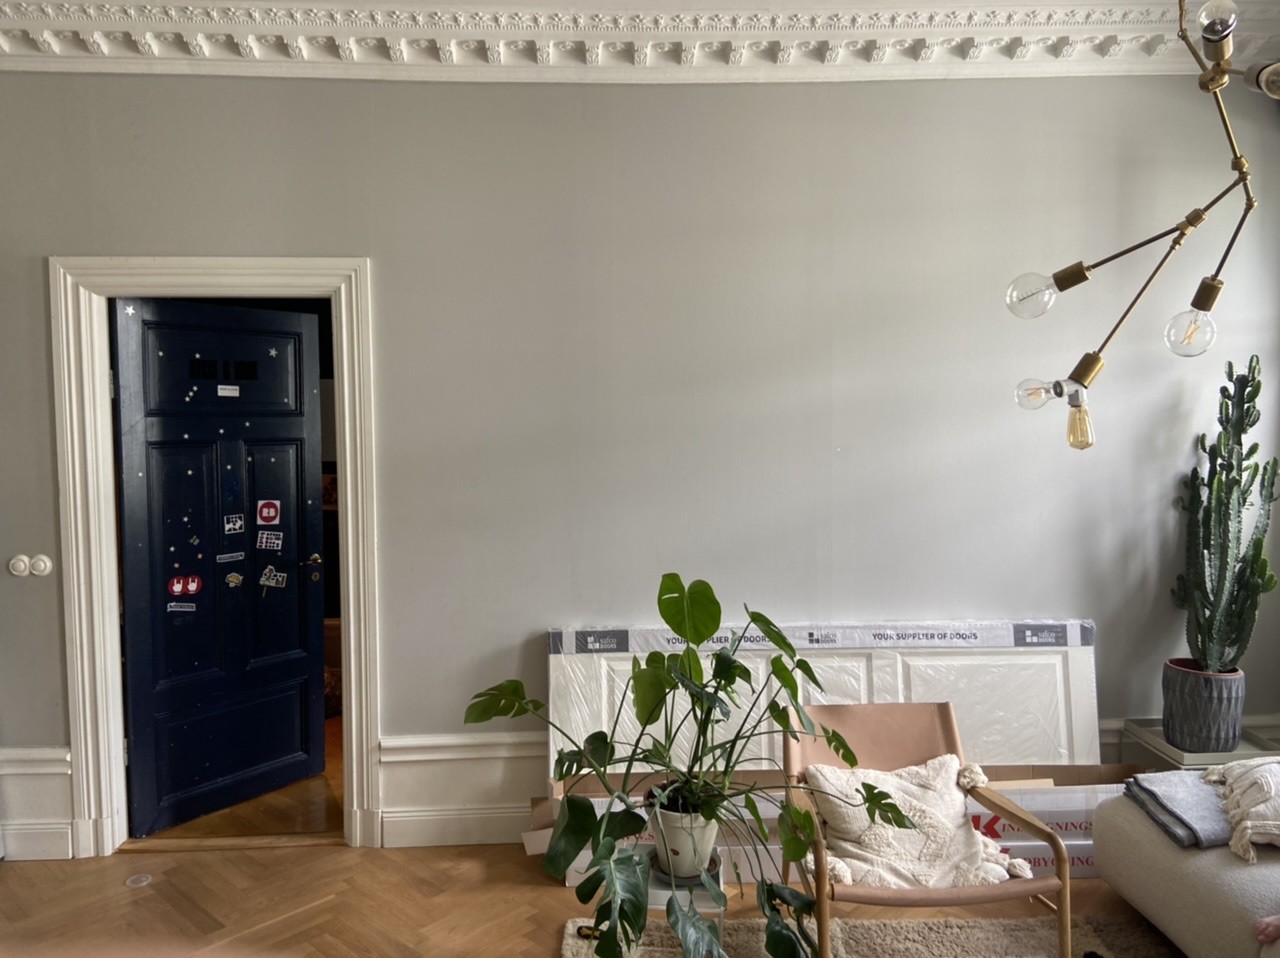
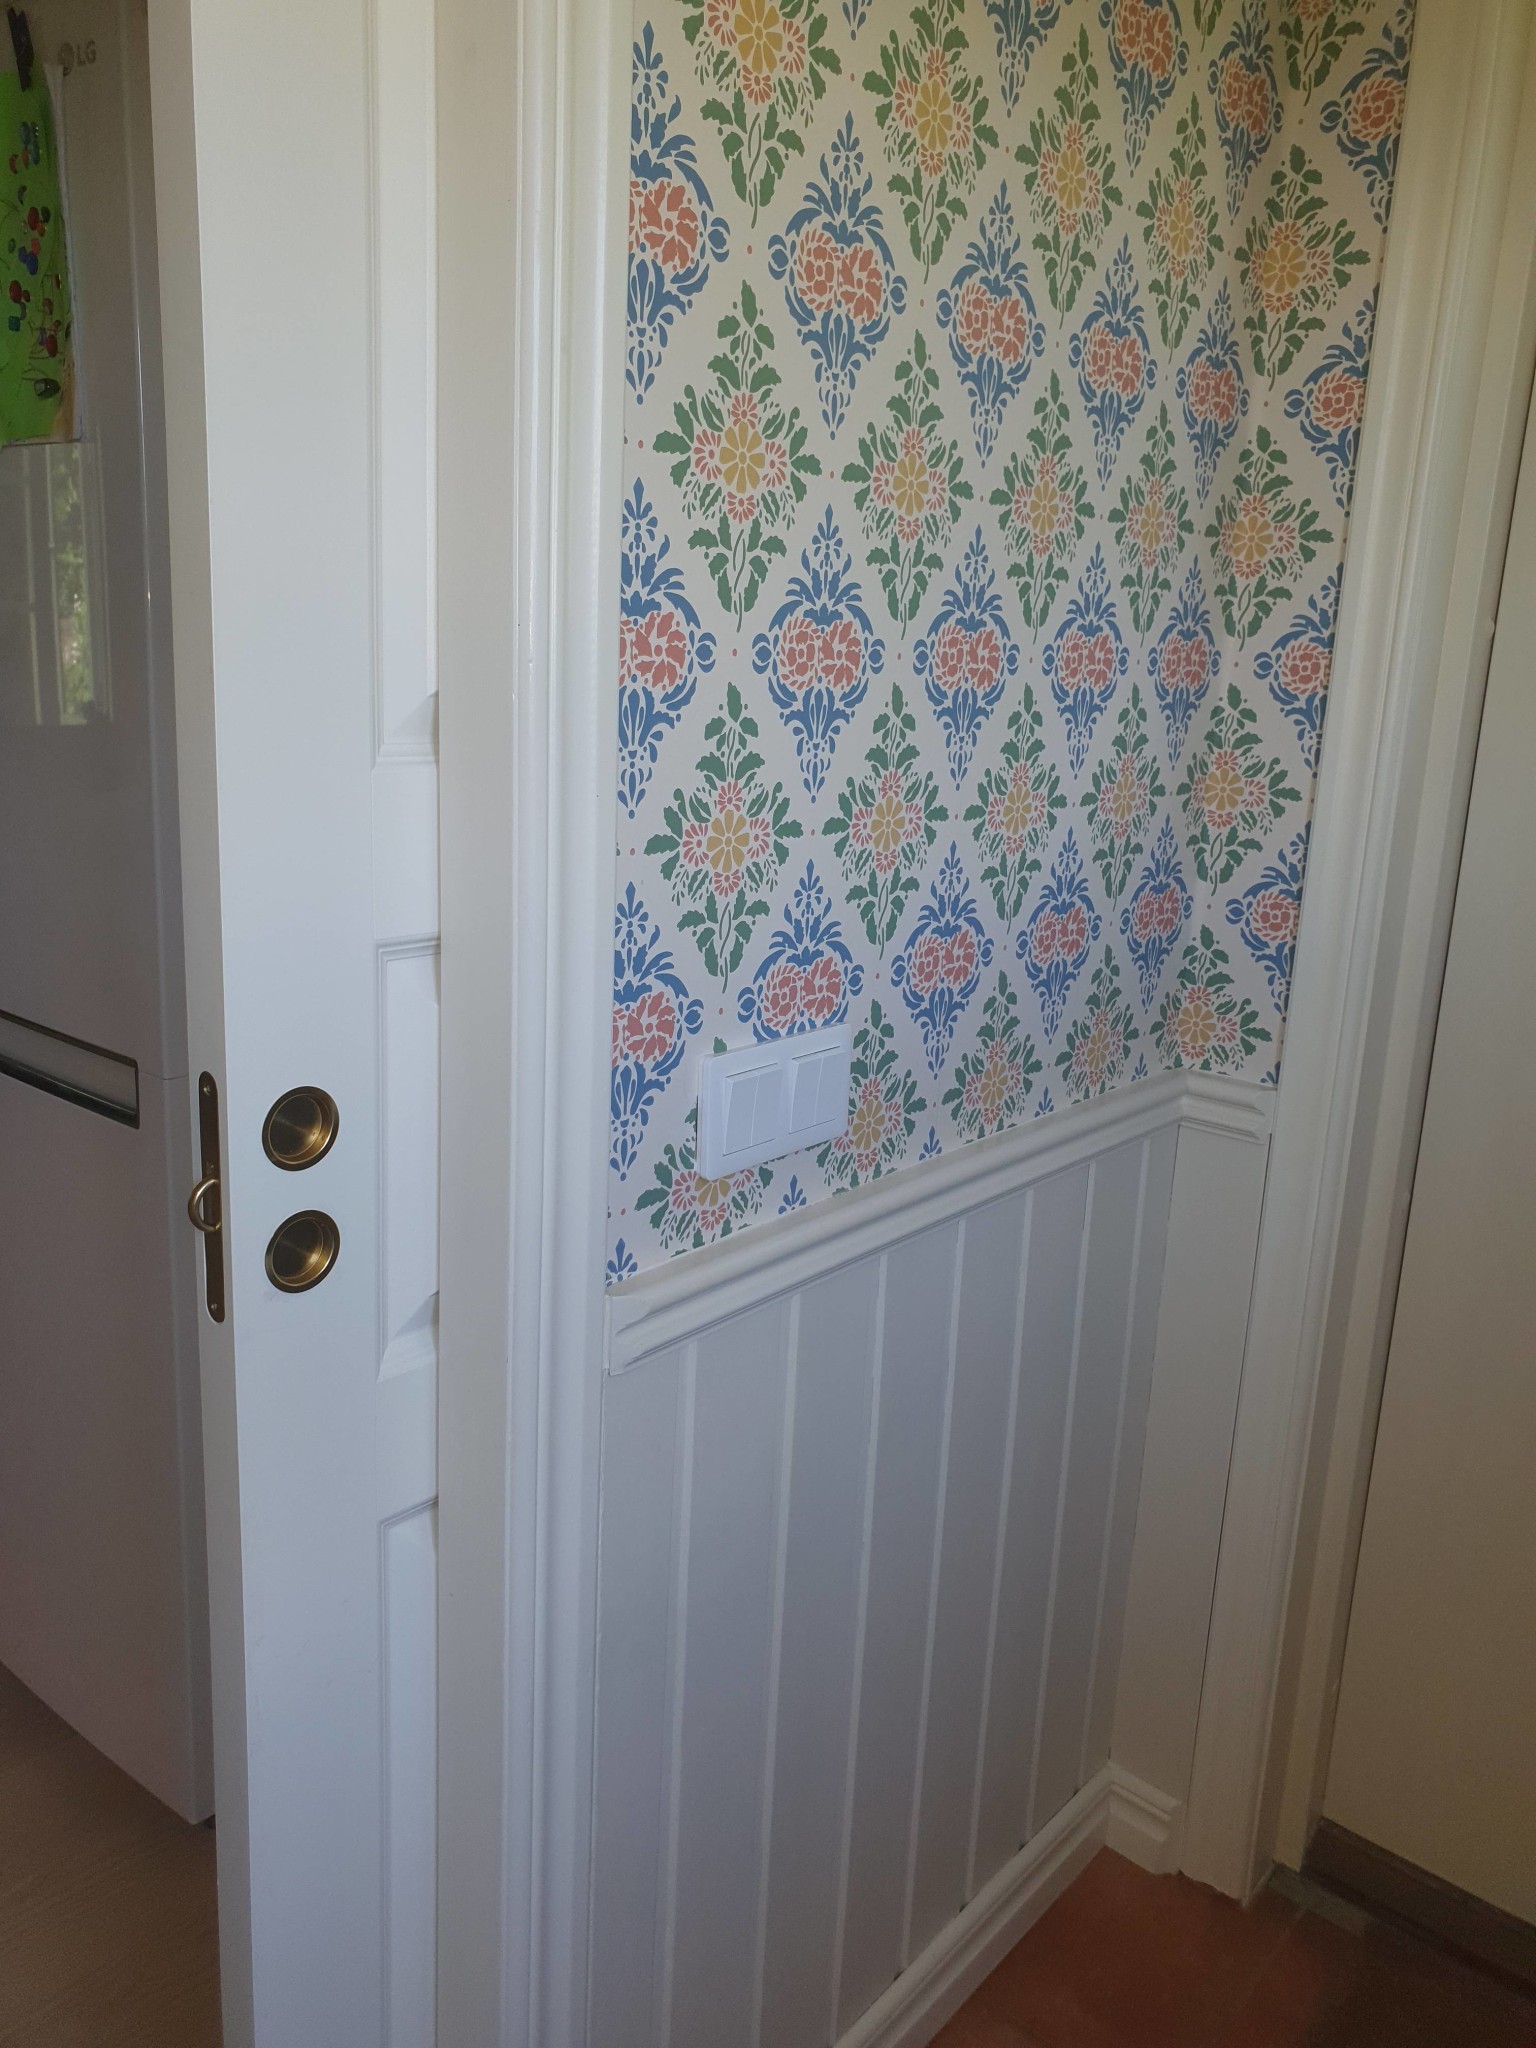
We are going to install a sliding door in a wall that is framed with CC60 + OSB and drywall built 10 years ago. On one side of the wall in the living room, there is a stucco molding installed on the ceiling (turn-of-the-century house) and a ~50 cm high wainscoting along the floor. I hope to be able to remove the drywall and OSB panels only on the bedroom side (which lacks stucco/wainscoting) so I don't have to touch the wall in the living room. The big question is whether it's worth the trouble to try to keep the living room side intact.
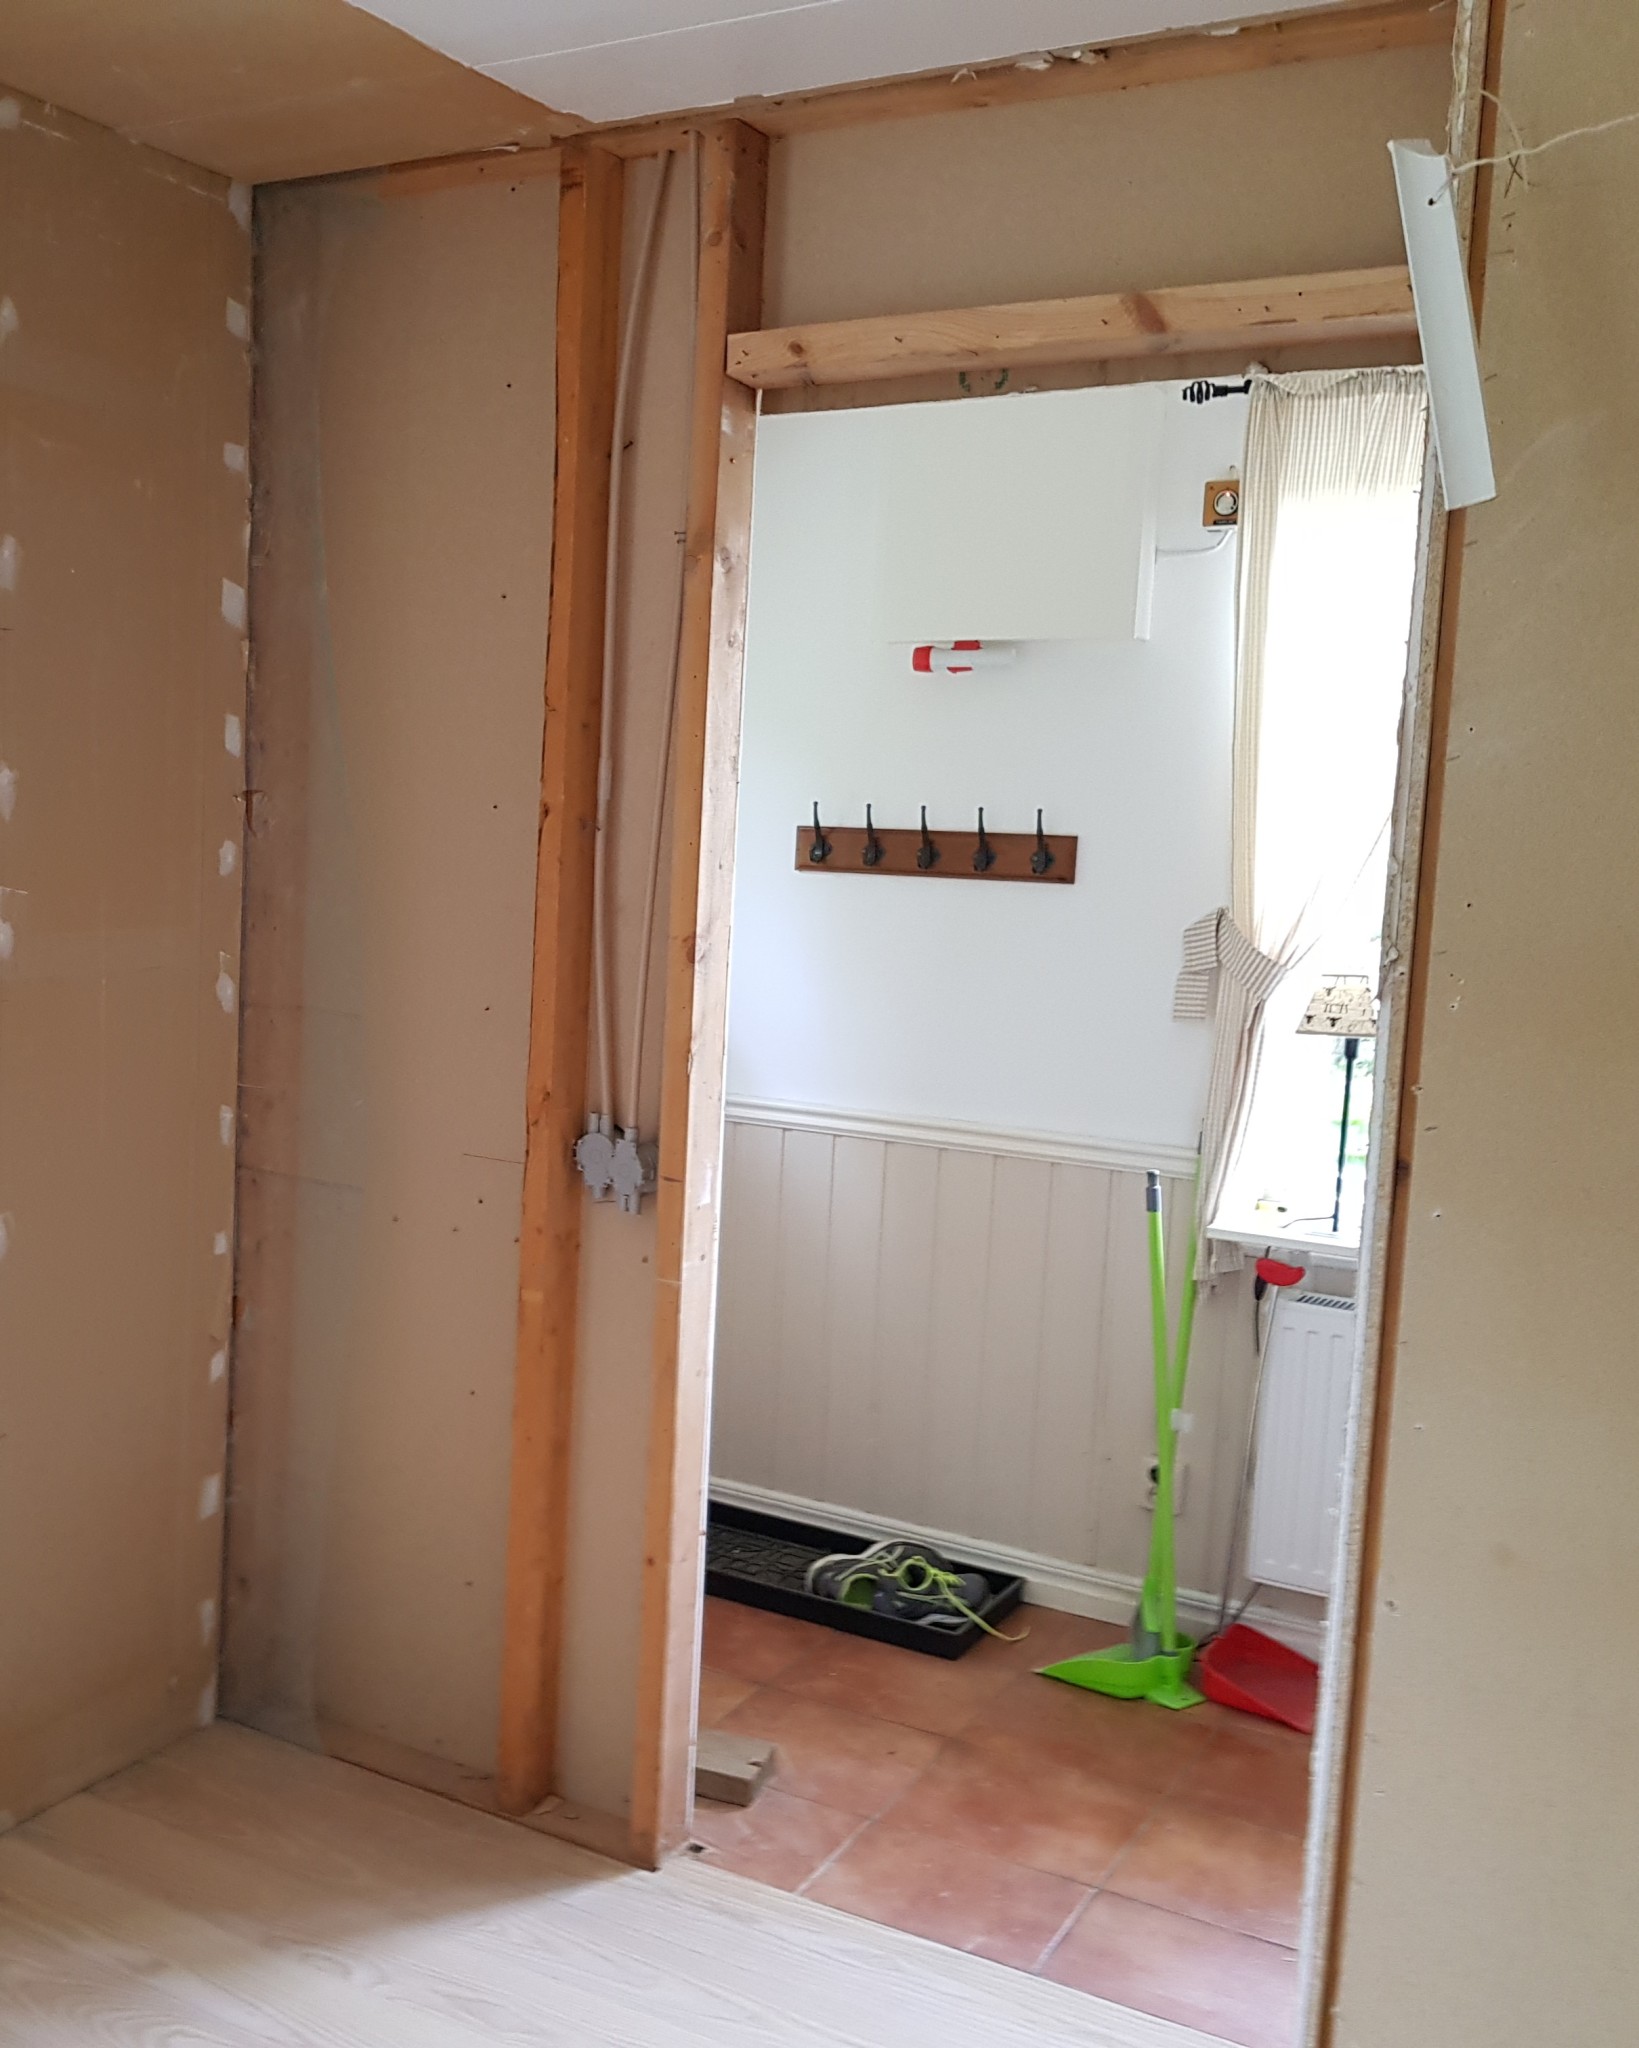
The studs in the wall need to be moved a bit on one side of the door opening (to the right of the door in the image) to make room for the cassette, and I imagine it will be tricky to cut the screws that are driven into the studs from the living room that hold the OSB and drywall panels.
Do you have any tips on how I can remove the old studs if I only have access from the bedroom side?
With a multi-machine, it might be possible to cut the screws between the stud and OSB/Drywall when the wall layer is removed on the bedroom side. But will the living room side really remain unaffected when a stud disappears?
Just did that operation when I installed a sliding door in the kitchen during renovation, didn't want to tear down the entire wall towards the entryway.
1. Remove door frame
2. Tear down wall panels on one side
3. Notch the studs to create space for the door. I used a jigsaw with a demolition blade and left a couple of cm of the stud that the opposing wall was attached to. It worked excellently with the jigsaw with a demolition blade and the opposing wall as a support. (It wasn't the prettiest cut, but as long as it leaves room for the door, it's not too important. The trim hides it.
4. Insert a stud for the track that the door is attached to. It also relieves the weakened studs.
5. Install the door and restore. To avoid adding more studs, I installed double OSB boards that were toe-screwed into the floor and into the stud above and beside the door.
To minimize the installation depth, do not buy pocket frames but instead use separate tracks and sliding door fittings, then use whichever door leaf you prefer.
They are also available in longer lengths, but you have to look around a bit to find a seller who ships full lengths so you can avoid having to splice the track.
I previously had a house from 1925 with intact (but well-maintained) interior. The house was originally a two-family house with a shared hallway. To make as little impact as possible, to create more space, and to retain the interior's beautiful paneled doors, high baseboards, and moldings, a large "box" was built when the door was removed and replaced with an old sliding panel door from 1925 similar to the existing sliding doors in the house. Door molding matching the existing ones. I hired professional carpenters, and it turned out very nicely and was a big plus when the house was later sold.
I would probably do something similar in TS's case. Maybe complemented with some form of built-in bookshelves to soften the impression of the change. And a really nice, wide threshold in the "arch" (I remember this was costly in my case). A significant advantage was that it was easier to furnish the rooms afterward.
To minimize the installation depth, do not buy a pocket frame but rather a separate rail and sliding door fittings, then use any door leaf you want.
This is what I used [link]
Available in longer lengths as well, but you need to look around and find a seller who ships full-length so you don't have to splice the rail.
Hhapazard said:
I just did that operation when I installed a sliding door in the kitchen during renovation, I didn't want to tear down the whole wall towards the hallway.
1. Remove the door frame
2. Tear down wall panels on one side
3. Notch the studs to create space for the door. I used a jigsaw with a demolition blade and left a couple of cm of the stud that the opposite wall was attached to. Worked great with a jigsaw with a demolition blade and the opposite wall as support. (It wasn't the prettiest cut, but as long as it leaves space for the door, it's not critical. The casing covers it.
4. Install a stud that the rail for the door is attached to. Also supports the weakened studs.
5. Install the door and restore. To avoid framing, I used double OSB boards that were angled-screwed into the floor and into a stud above and beside the door.
Ah, that was smart!
Too bad that I already bought a cassette... but I probably don't need to use all the parts if I cut out the studs...