
12,487 views ·
72 replies
12k views
72 replies
How should I plaster the walls best?


That bricklayers today don't have the knowledge to mix mortar from scratch or even know what the mortar contains doesn't surprise me. One buys a product and hopefully follows the instructions from the company. Just like with painters, there aren’t many painters who can explain how paint chemistry works.Rejäl said:
Interesting with the discussions as it shows a lot of knowledge and underlying interest in knowing.
For my part, it will simply be mortar C which is what Finja recommends for brick. So we don't need to involve other technicalities.
In response to an earlier question, I am planning to paint with silicate paint unless someone has a different opinion or suggestion on what might be suitable? I don't want anything that will rub off if you bump into it, which you will.
For my part, it will simply be mortar C which is what Finja recommends for brick. So we don't need to involve other technicalities.
In response to an earlier question, I am planning to paint with silicate paint unless someone has a different opinion or suggestion on what might be suitable? I don't want anything that will rub off if you bump into it, which you will.
Yes, but the floor is roughly level with the lawn outside. The plan is to dig around the outside and replace with gravel, say 20cm. But that's not happening now.Rejäl said:
Is it unnecessary to use silicate or even unsuitable? Please explain the pros and cons if so.
According to the neighbors, the extension has a history of moisture problems since the beginning, but I believe it has been resolved since we've replaced the windows and reroofed.
So one might not expect moisture penetration above ground with double brick walls or that it's enough to breath outward?
I just don't want to risk it coming off later...
I wouldn't worry in your case about using regular indoor paint that is non-breathable.Dr Benz said:
Yes, but the floor is roughly at the same level as the lawn outside. The plan is to dig out around the outside and replace it with gravel, say 20cm. But it won't happen now.
Is it unnecessary to use silicate or even unsuitable? Please explain the pros and cons if so.
According to the neighbors, the extension has a history of moisture problems since the beginning, but I believe that has been addressed as we have replaced windows and redone the roof.
So perhaps one does not expect moisture penetration above ground with double brick walls, or is it enough for it to breathe outward?
I just don't want to risk it peeling later..
If it were a basement, I wouldn't use non-breathable paints, most silicates that paint shops sell are quite non-breathable in themselves.
Yes, it seems that usage has been discussed here.
Interesting.
You can paint with alcro putty.
Not sure if silicate offers any advantage, but maybe.
Then there are different brands of silicate, some are worse.
Interesting.
You can paint with alcro putty.
Not sure if silicate offers any advantage, but maybe.
Then there are different brands of silicate, some are worse.
Last edited:
How have you planned to surface treat the render?What is the difference between rendering mortar C with and without KC?
Mortar and rendering mortar is probably coarser, so I don't want that?
Why does one remove the rendering?
Want a typical facade texture on the render.
How do you remove the metal strips since they look like a T? It should bring too much of the render with it?
Rendering is done with canitz or a scratch float, which is the usual method.
In your case, it might be easier to gather everything with an orange float.
Or you can slurry everything with a ceiling brush.
Remove the metal strips when it becomes a bit hard, and just fill with new mortar.
If the sides start to encroach too much, apply 1mm of c mortar.
And water it and blend the seam.
You will need 1mm of c mortar if you are to align all corners, holes after render hooks, etc.
You can also render the last time thinly with 1mm mortar. Then everything is straight, and you can remove the strip beforehand.
This might be easier for some.
The idea was probably to use a float. I get the feeling that the felt float makes it a bit too rough, but maybe that's the wrong thinking?N neo11 said:How do you plan to finish the surface of the plaster then?
Plastering is usually done with kanitz or a float, which is the common method.
In your case, it might be easier to put everything together with an orange felt float.
Or you could slather everything with a ceiling brush.
Remove the metal tracks when it becomes a little hard, and just touch up with new mortar.
If the sides next to it start coming out too much, then apply 1mm c mortar.
And water it and blend the joint.
You'll need 1 mm c mortar if you're going to put together all the corners, holes after plaster hooks, etc.
You can also plaster the final round thinly with 1mm mortar. Then everything is straight, and you can remove the track before.
It might be easier for some.
Brushing also feels a bit coarser than intended.
Okay, that sounds interesting. I don't want unnecessary amounts of plaster so the metal tracks seem to be the best option, then you can remove them and fill in.
C is about 1mm, or was it thicker? I'll have to look into that.
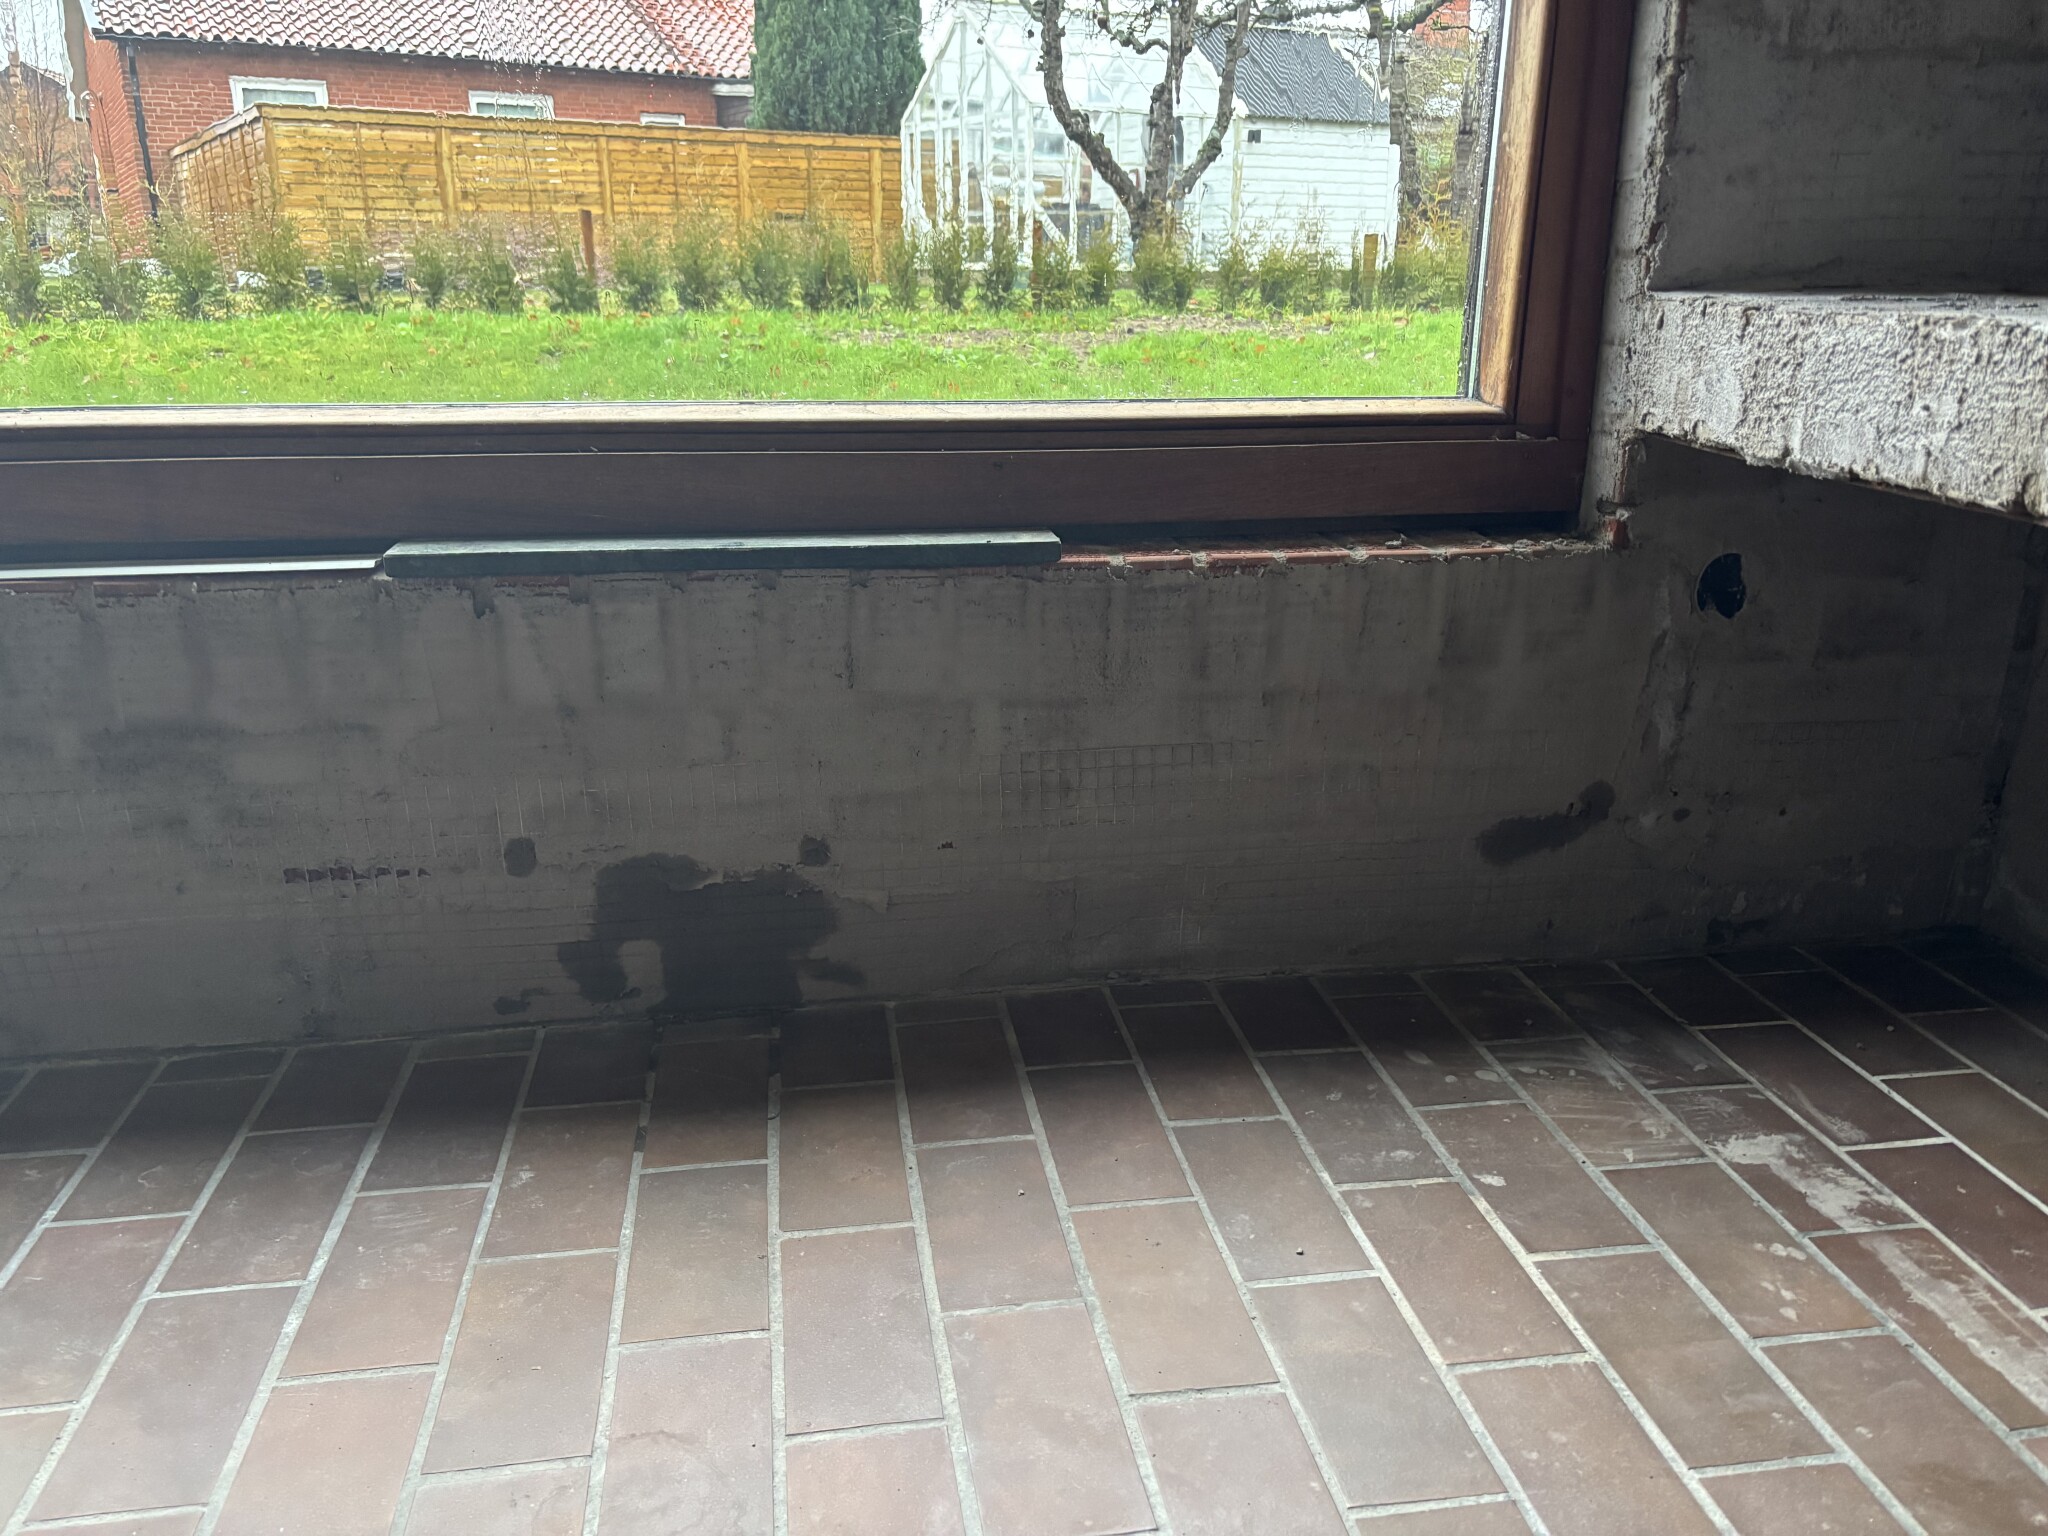
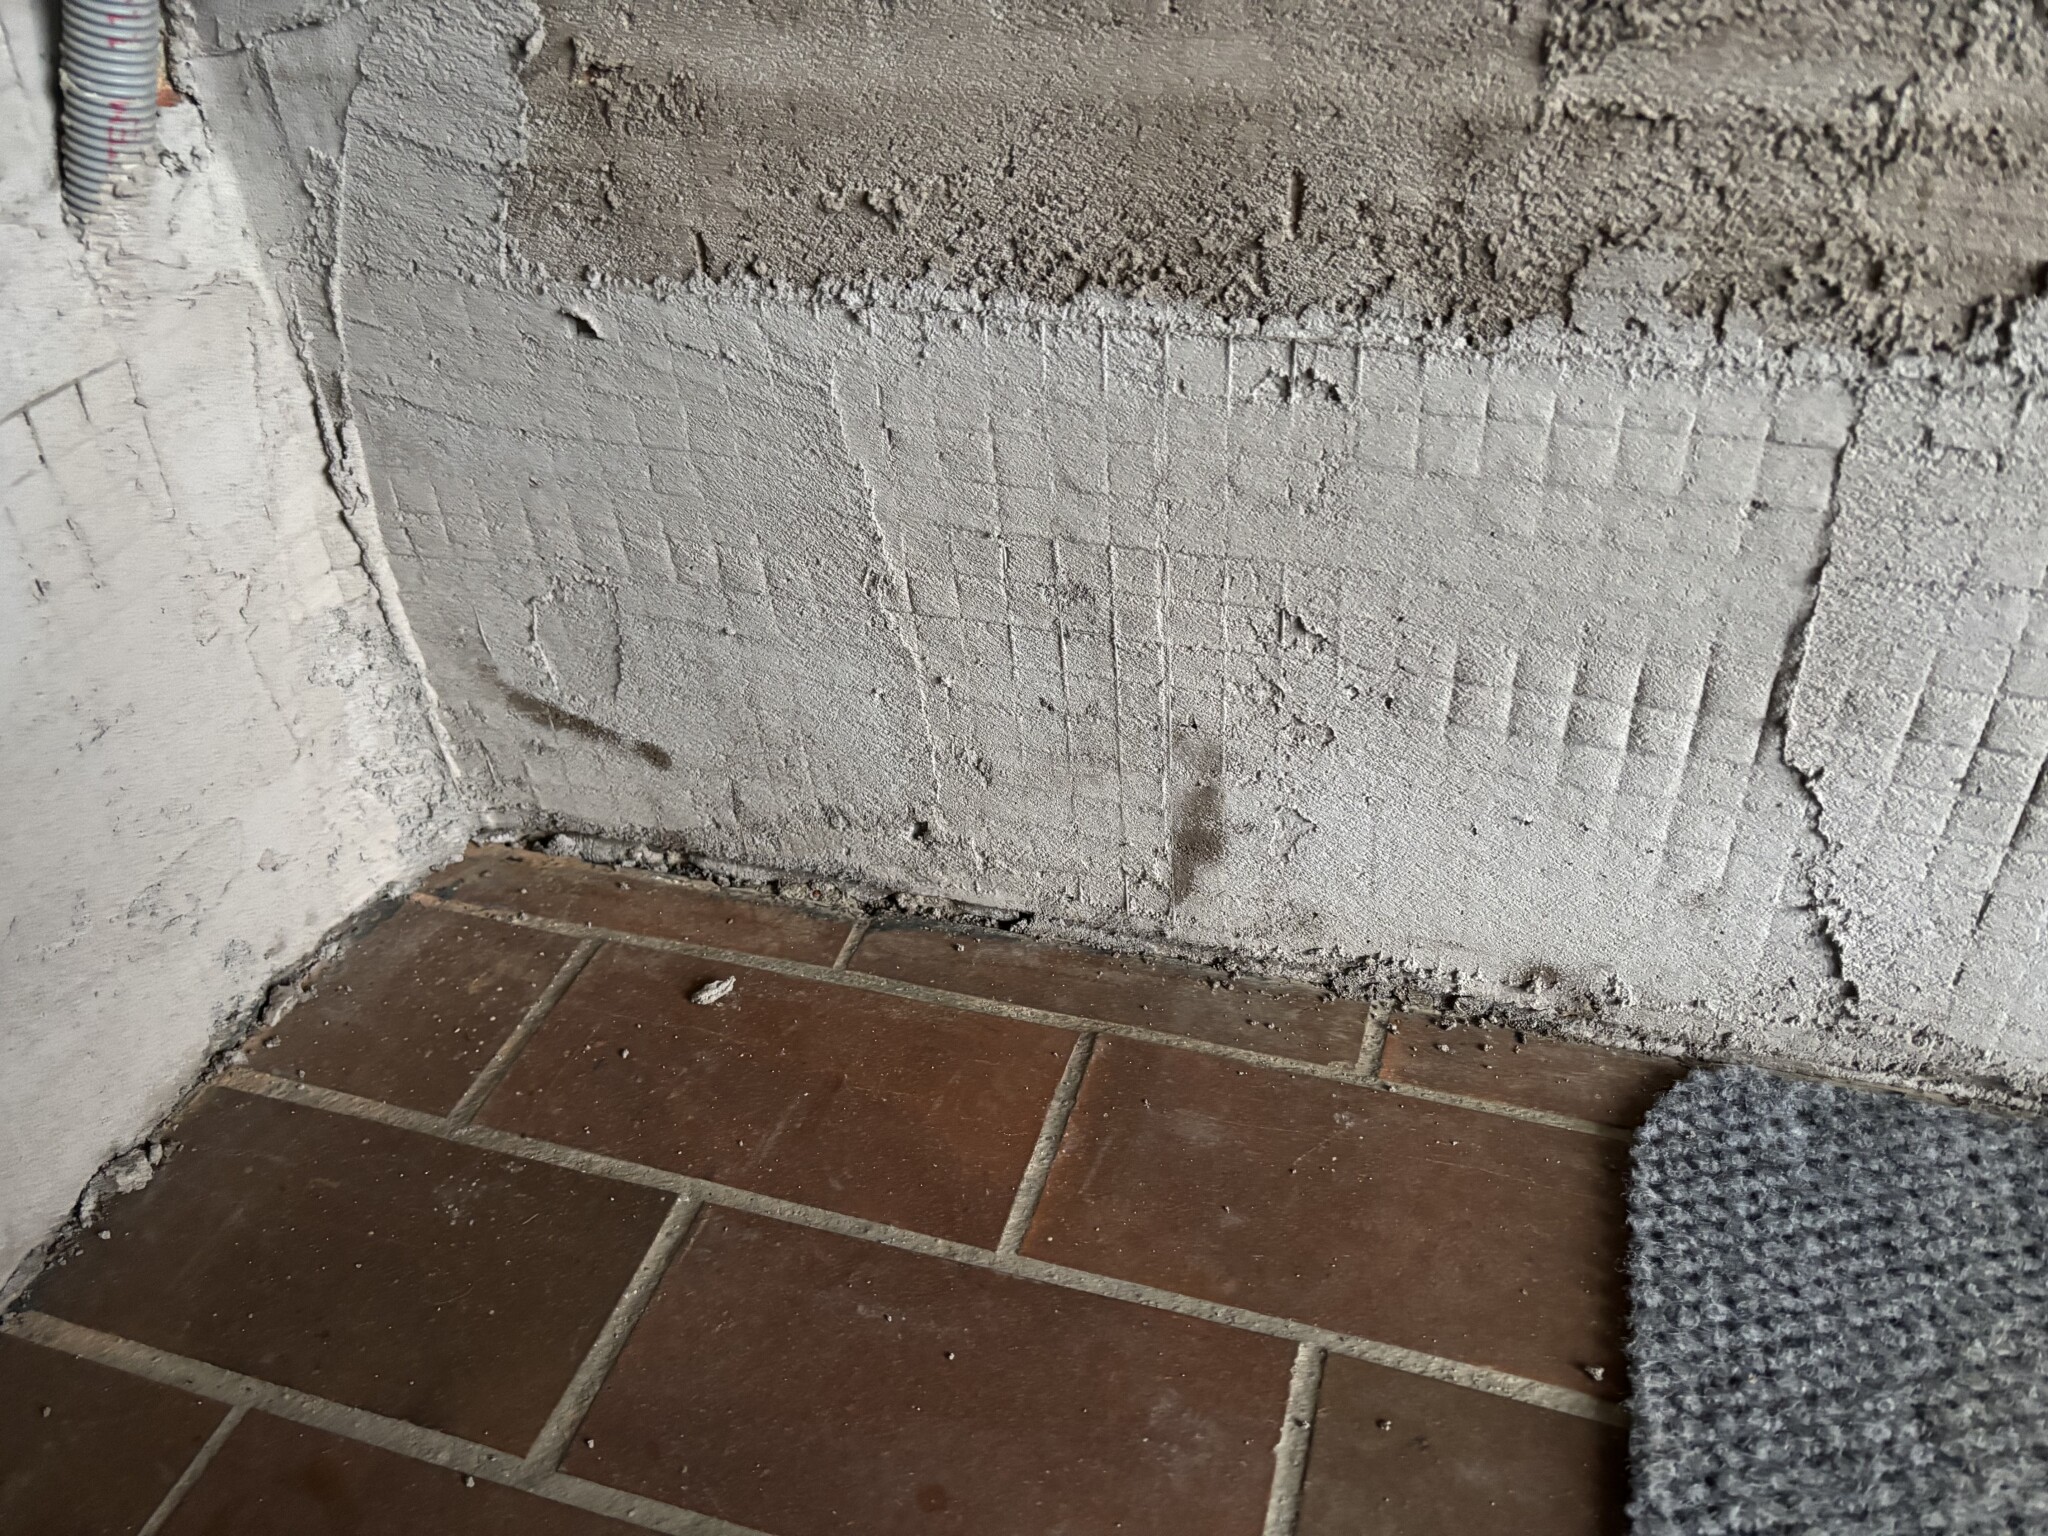
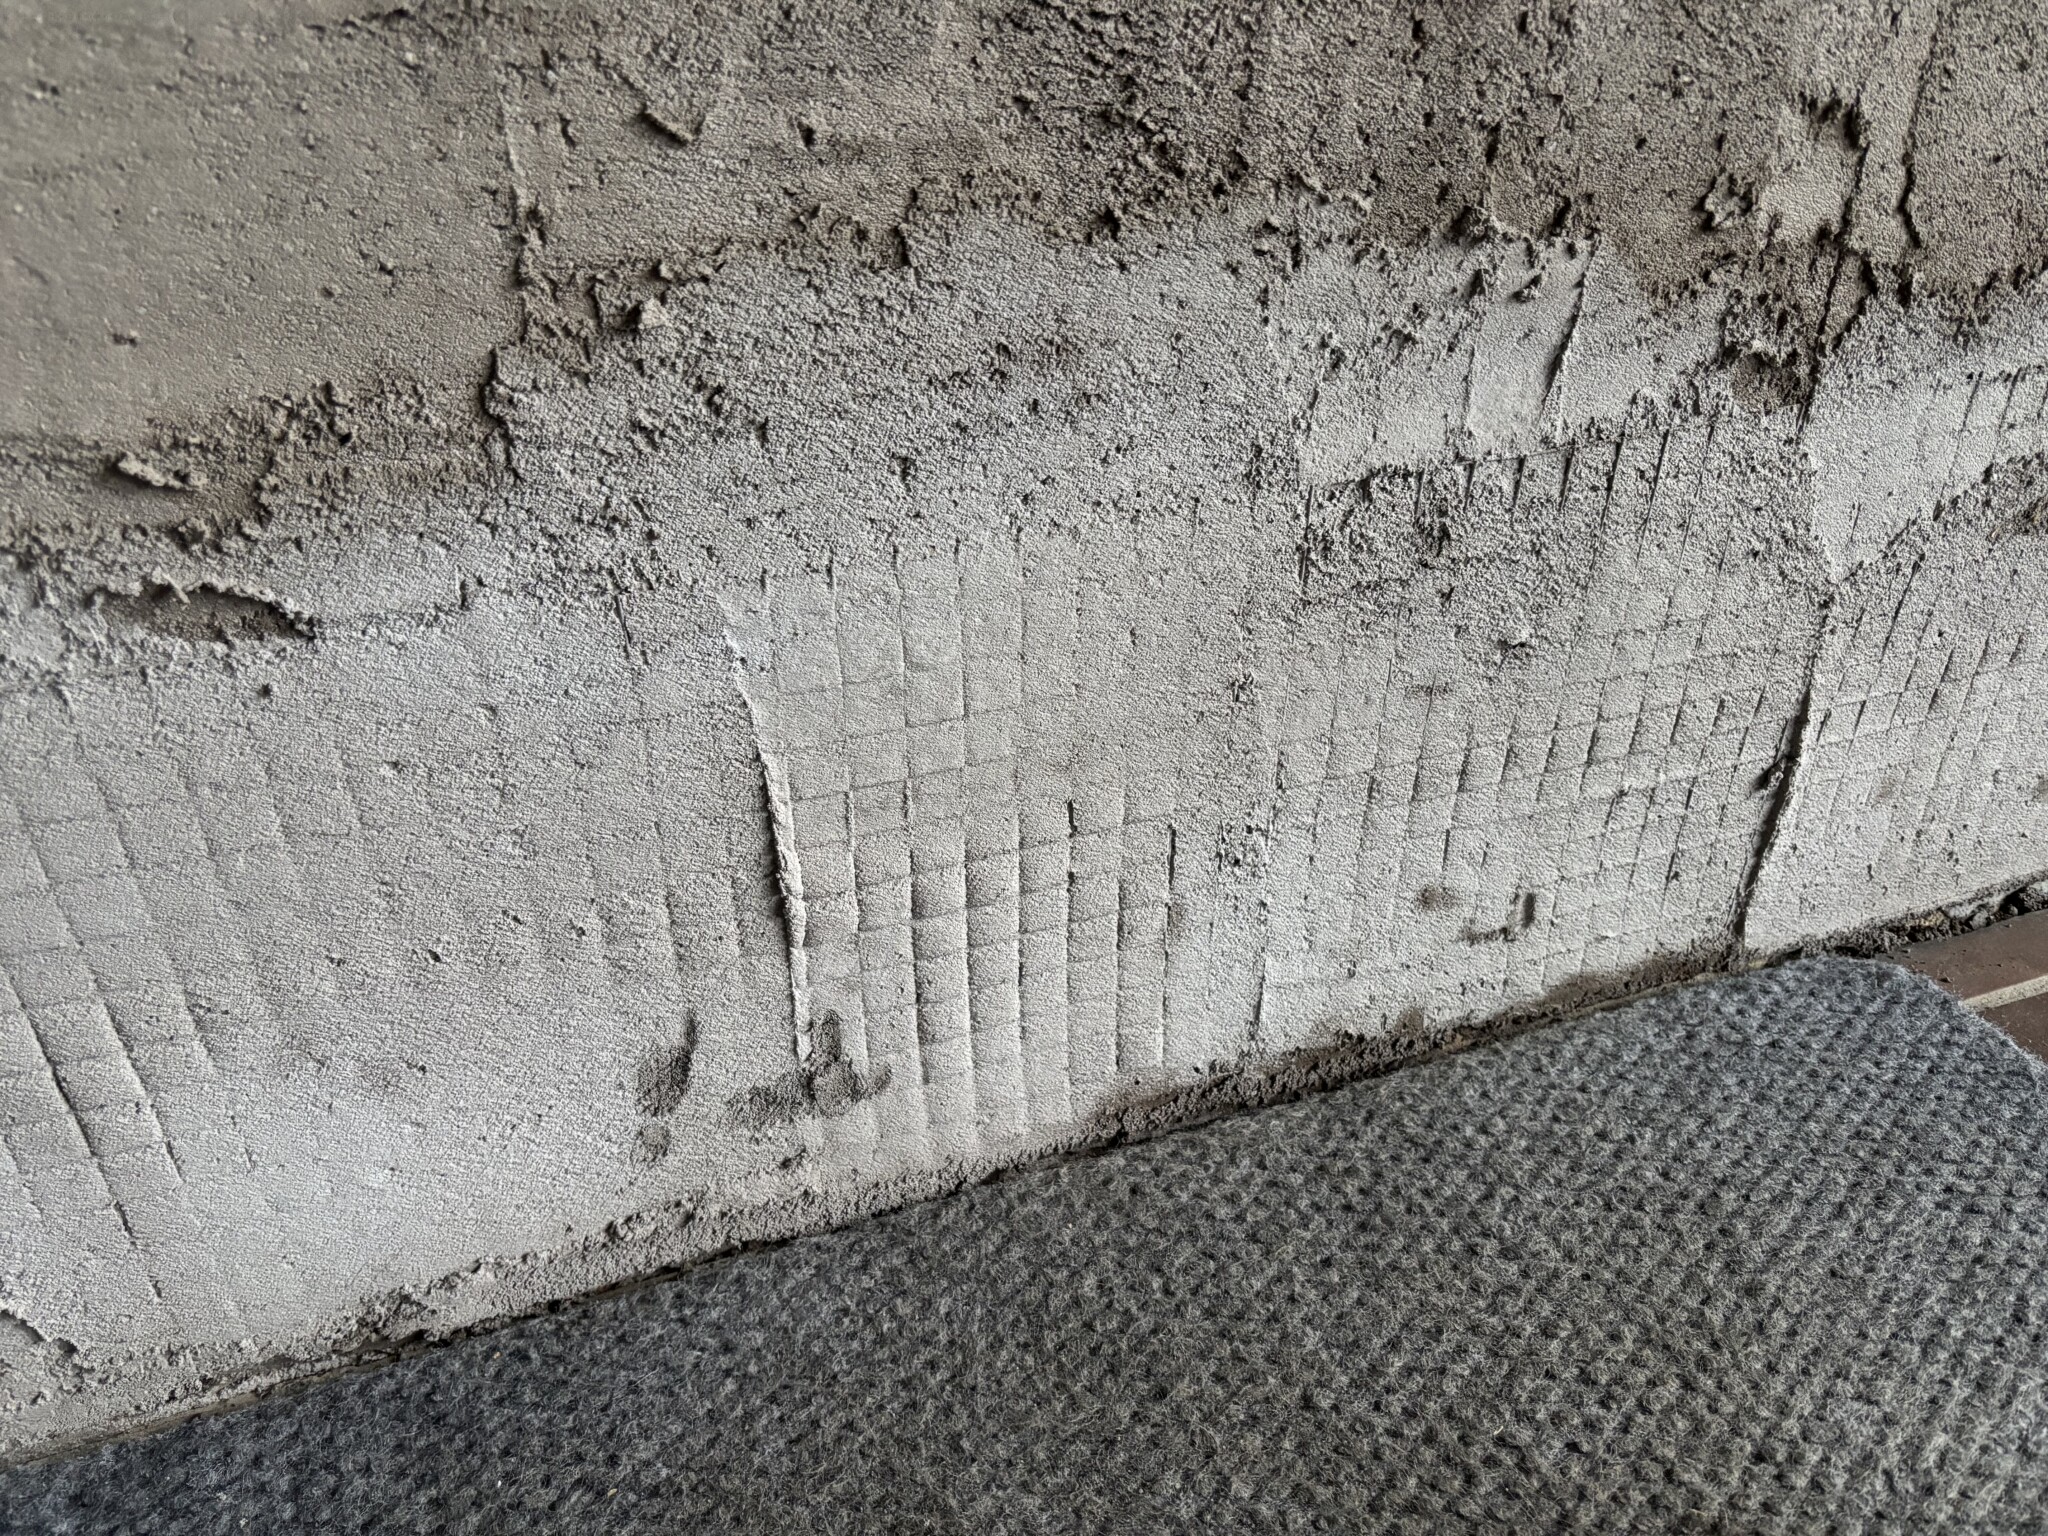
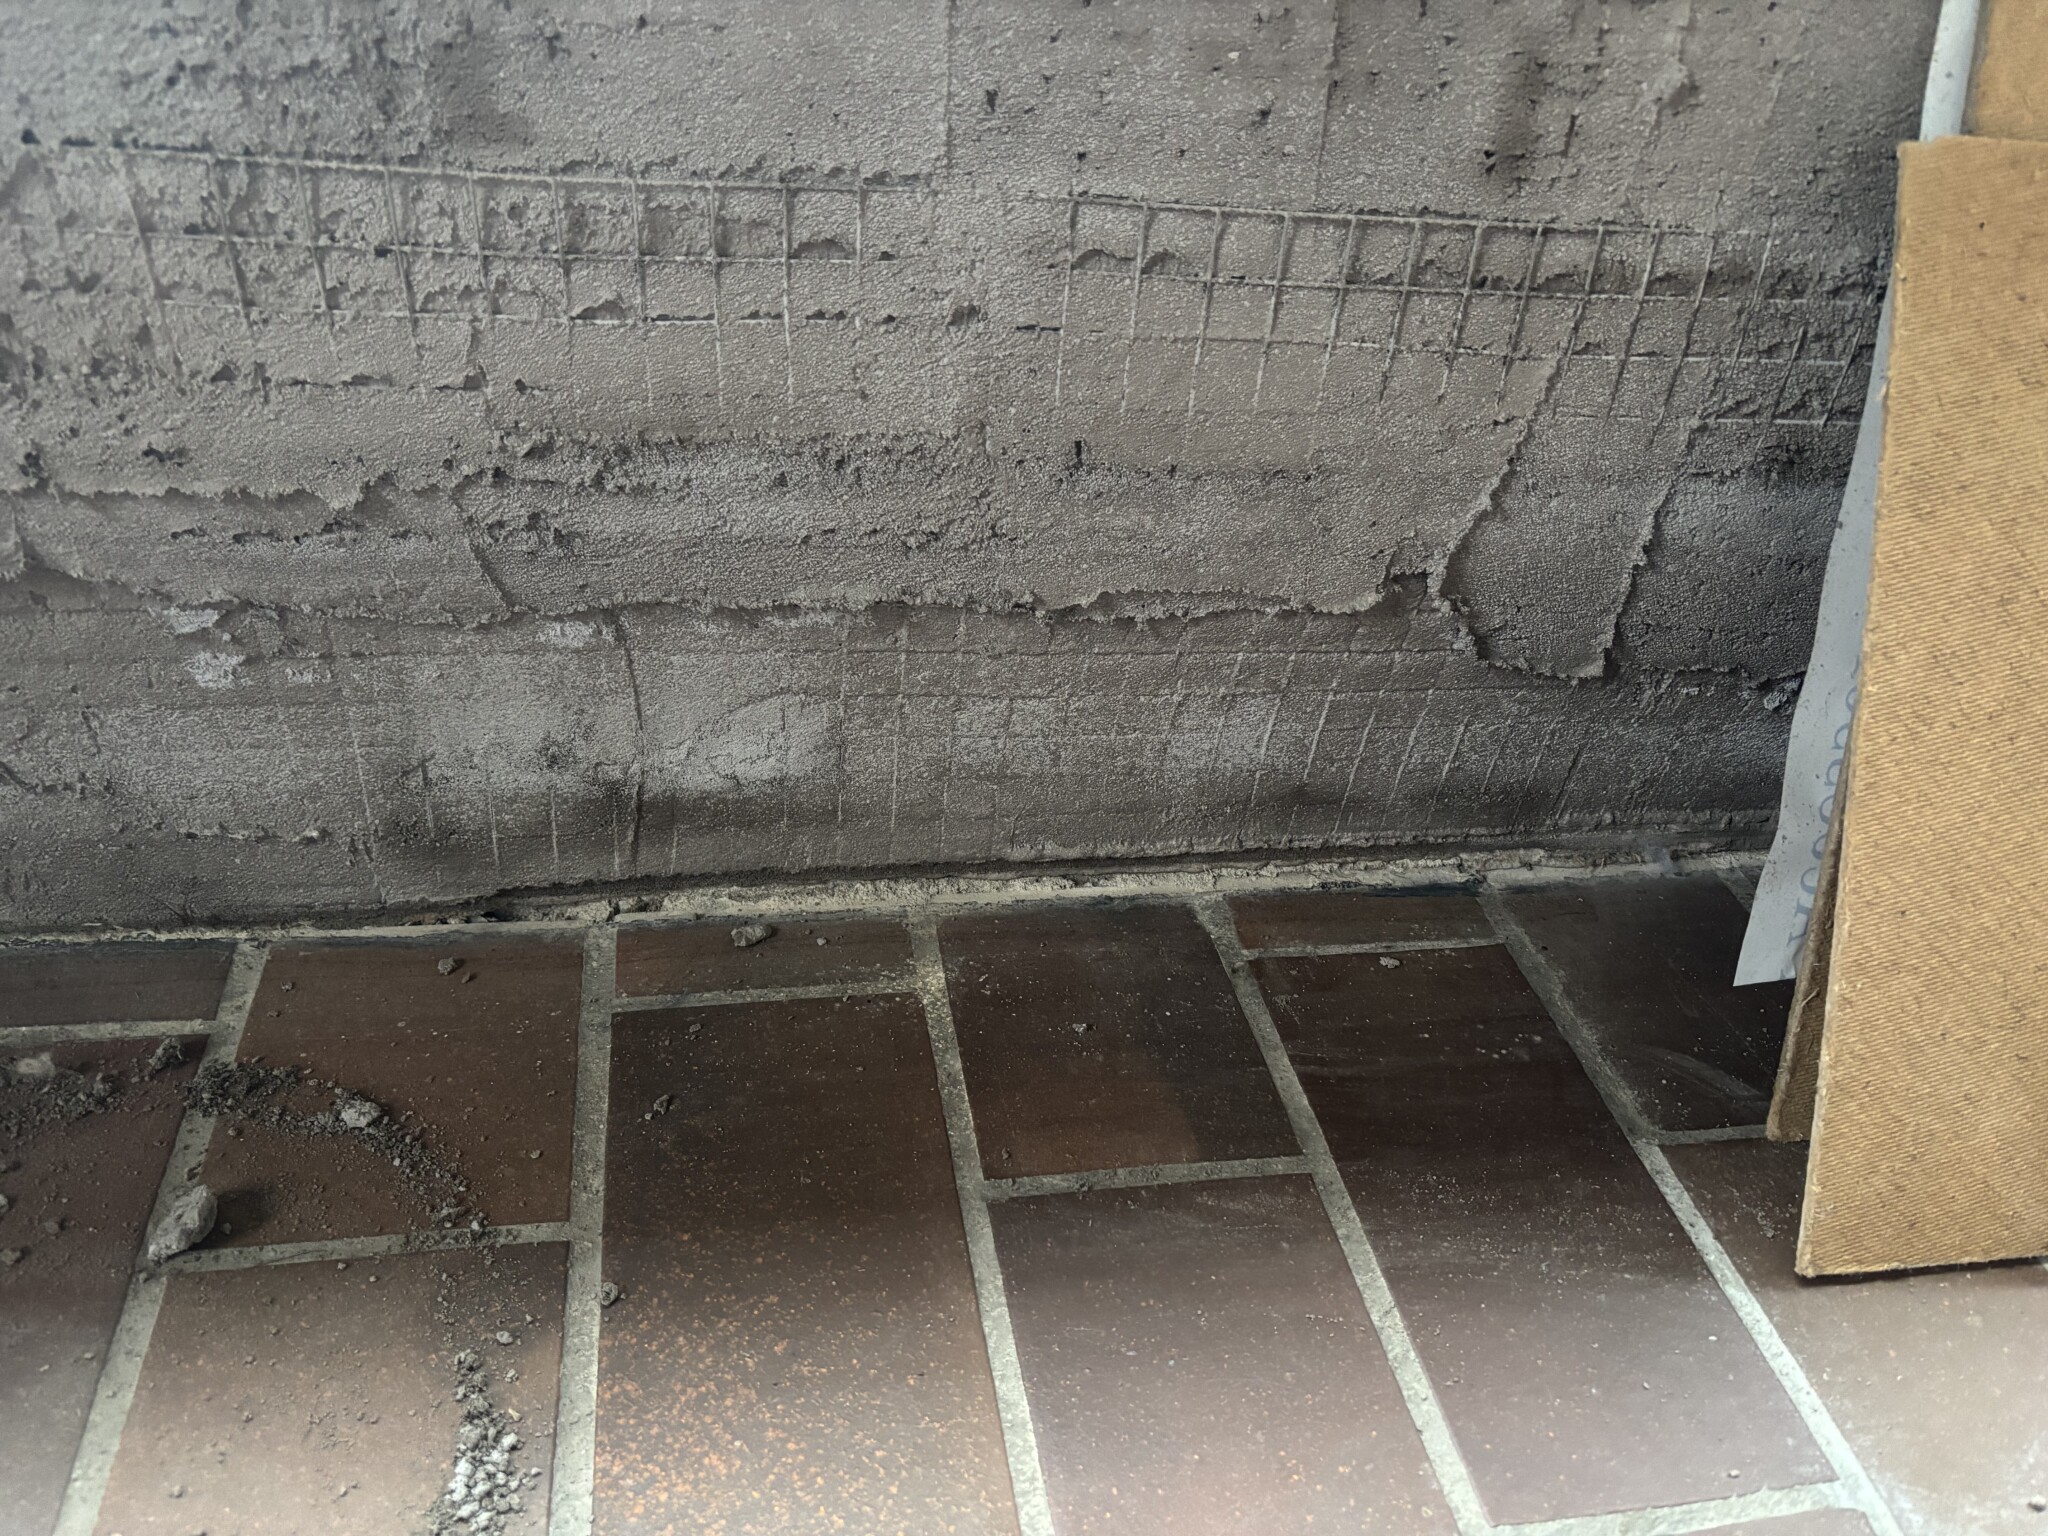
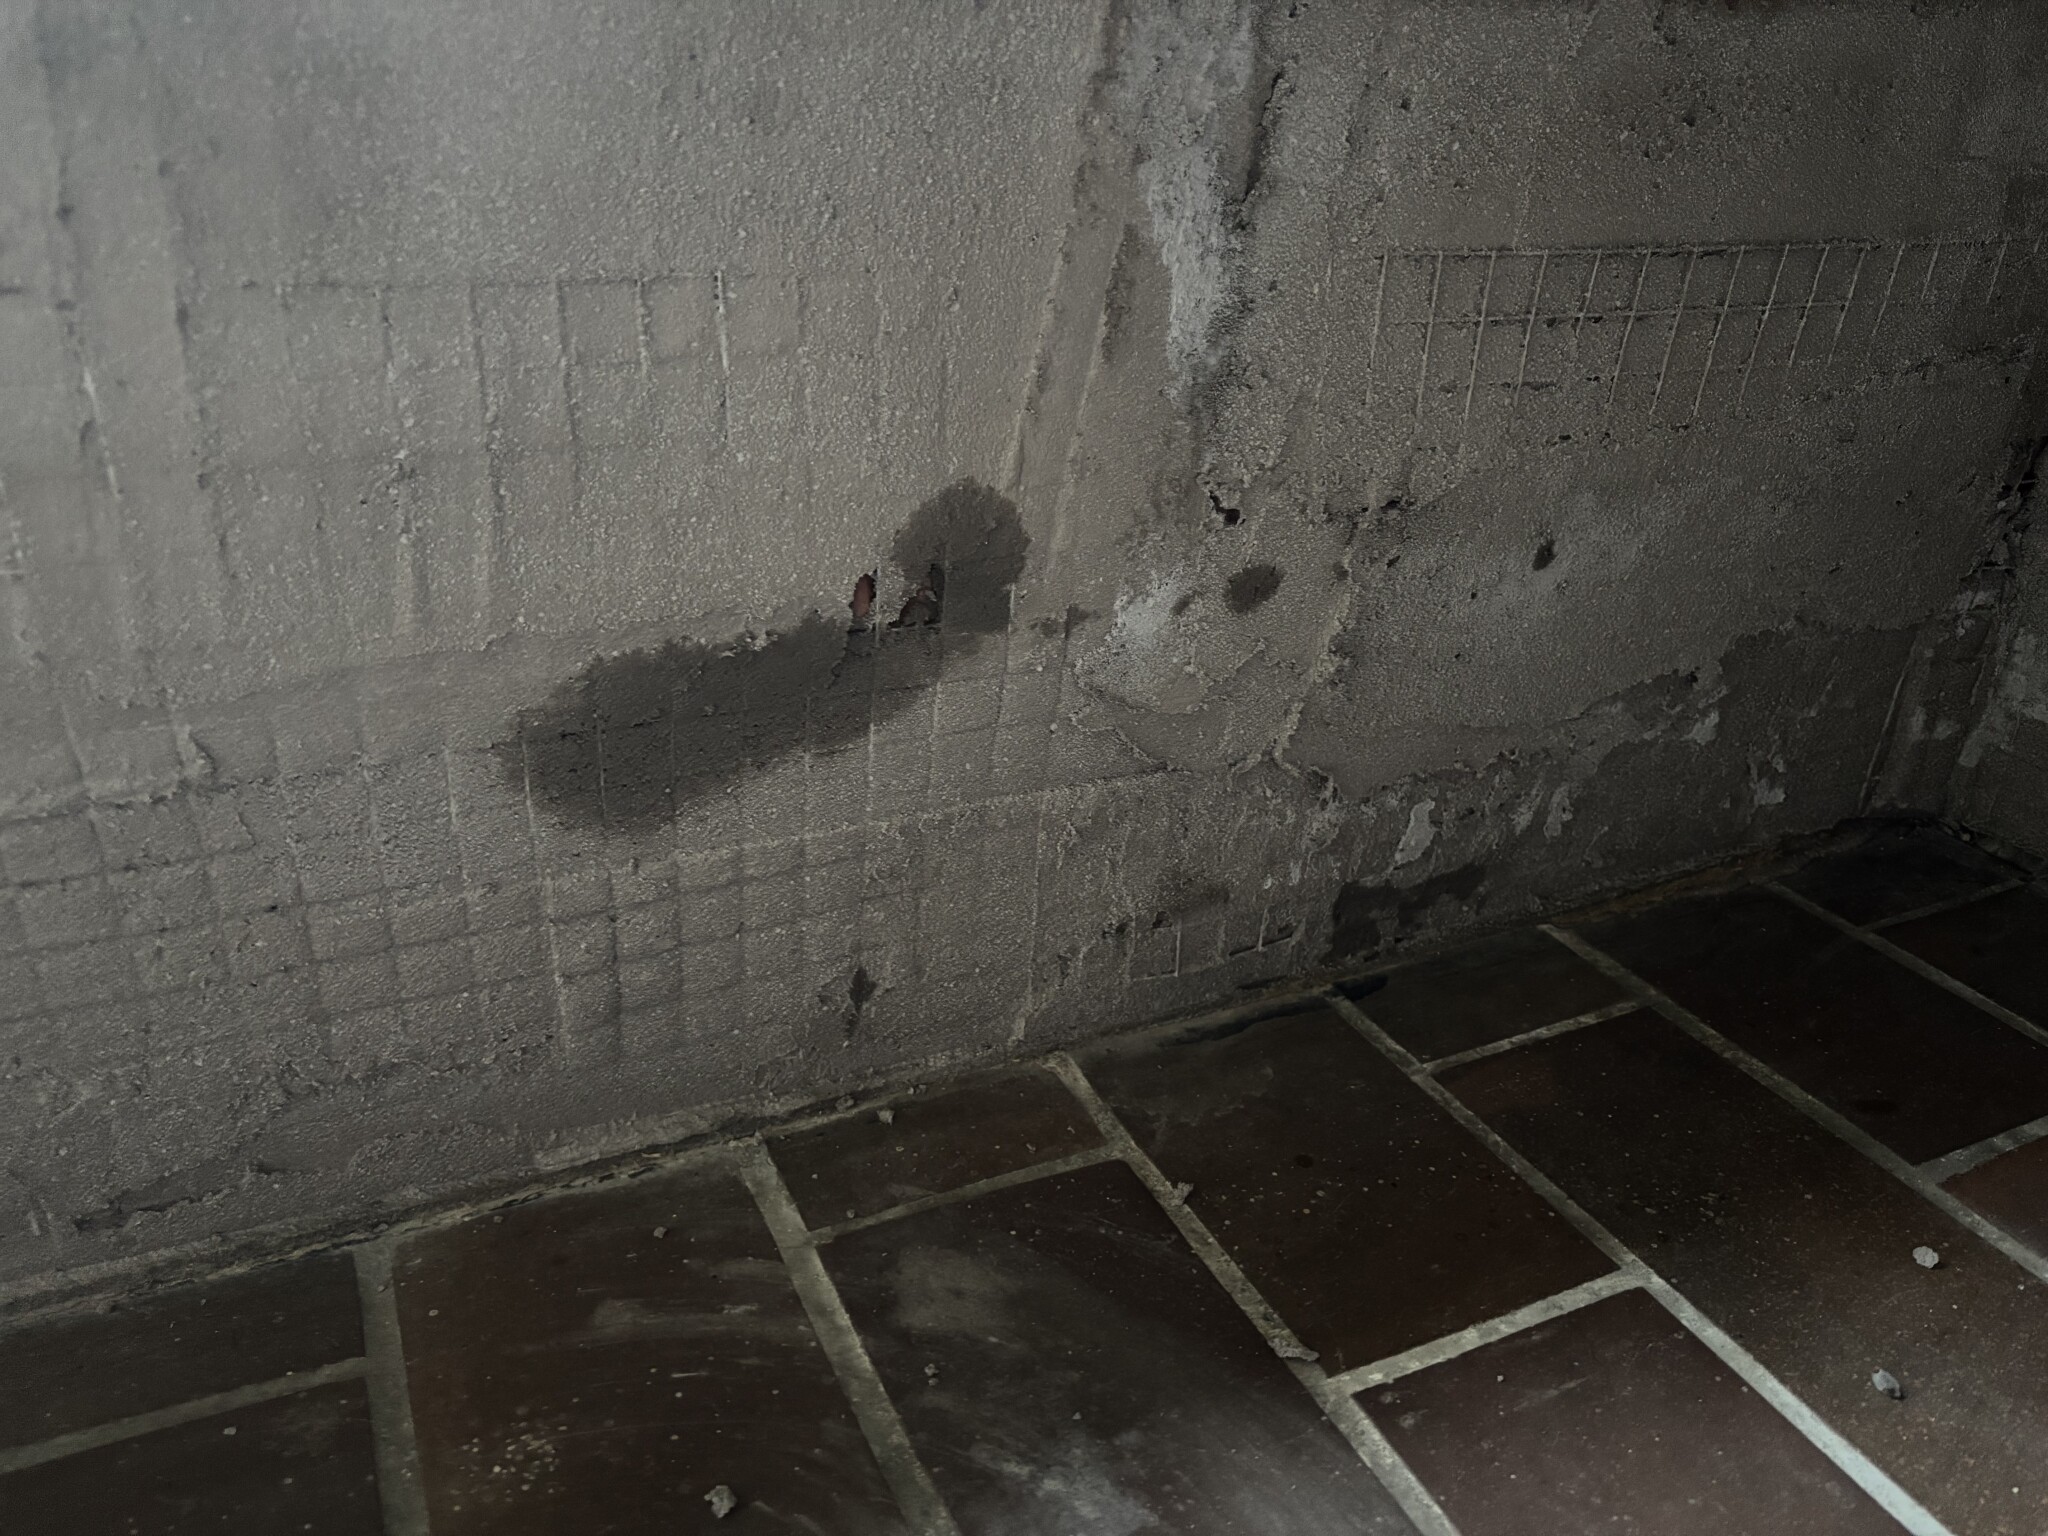
Now it happened like this.... I suspect it's coming from below, but a piece is located a bit higher up on the wall.
Is there any chance of guessing where this could be coming from...? It's double brick so it could pretty much come from anywhere. It has always been like this but became visible now with the plaster on.
The idea is, as mentioned, to dig up around the exterior walls since there is grass outside. That should be able to help a bit, right?
Likewise, it was decided that it has to be a breathable paint regardless if we get it "drained." It could just as well be absorbed from underneath and we will never get to that.
Is there any chance of guessing where this could be coming from...? It's double brick so it could pretty much come from anywhere. It has always been like this but became visible now with the plaster on.
The idea is, as mentioned, to dig up around the exterior walls since there is grass outside. That should be able to help a bit, right?
Likewise, it was decided that it has to be a breathable paint regardless if we get it "drained." It could just as well be absorbed from underneath and we will never get to that.
Yes, kanitz is what you should use.The idea was probably to use a rasp board. It feels like the felt board makes it a bit too rough, but maybe that's wrong?
Sweeping also feels a bit rougher than intended.
Okay, that sounds interesting. Don't want unnecessary plaster, so metal strips seem to be the best option so you can tear them off and fill in.
C is about 1mm or was it thicker? I'll have to look into that.
However, it's not always easy to manage for a layman, so a felt board or slamming might be simpler.
If you remove the metal strips, you use 3mm c mortar, and then finish it with 1mm c mortar.
C is the strength of the mortar and can be bought in both 3mm and 1mm.
3mm is the usual mortar you buy.
You can paint with silicate, but perhaps don't choose the cheapest brand.
Keim is the best.
Then the fact that you grounded with A mortar on the brick inside isn't entirely optimal.
But considering it's partly below ground and with some moisture issues, maybe it's not so bad.
Not really sure, maybe someone else might have an opinion.
Last edited:
Moisture from the ground & you get such a damp spot because the wall was damper there (before you started).
You should dig up then in spring & inspect the outer wall below ground, seal with mortar type A & Isodrän outside is enough.
KC mortar is just KC mortar, slaked lime & cement, the lime creates some air in the mortar and it results in a significantly better finish on larger surfaces because the open time is slightly extended.
In the past, people were careful to label render mortar professionally, as there were many different purposes the mortar had to fulfill.
& almost all masons mixed their own mortar on site using a wheelbarrow or a concrete mixer, a pile of sand, opened cement bags & lime bags, with only a spade as a measure.
The difference between craftsmen and craftsmen has changed a bit over the years, unfortunately.
Well, I'm up and running. It takes a little time to learn what works and what doesn't work as well.
I ended up with guide tracks in metal as per earlier tips since I don't want too thick plaster (it becomes thick anyway because the walls aren't 100). I tried to remove a track after plastering, but it destroys more than it contributes.
Moreover, you can't reuse them, so they might as well stay. When you smooth over, you actually manage to hide them, so it was not a problem. Also in line with previous suggestions.
I'm using a plastic trowel that gives a really good finish. It's easy to fill in holes with leftover plaster. It becomes smoother than the facade-like texture I thought I wanted. But this fits better anyway. Smoother, yet you can still see that it's plastered. Super satisfied so far. Almost done with two sides, but the 📺 last ones are the most troublesome.
Summary.
Guide tracks that remain in place.
Leveling with a straightedge.
Smoothing with a plastic trowel.
Pressing the plaster with a steel trowel.
Loose plaster that evens out when you level off.
I ended up with guide tracks in metal as per earlier tips since I don't want too thick plaster (it becomes thick anyway because the walls aren't 100). I tried to remove a track after plastering, but it destroys more than it contributes.
Moreover, you can't reuse them, so they might as well stay. When you smooth over, you actually manage to hide them, so it was not a problem. Also in line with previous suggestions.
I'm using a plastic trowel that gives a really good finish. It's easy to fill in holes with leftover plaster. It becomes smoother than the facade-like texture I thought I wanted. But this fits better anyway. Smoother, yet you can still see that it's plastered. Super satisfied so far. Almost done with two sides, but the 📺 last ones are the most troublesome.
Summary.
Guide tracks that remain in place.
Leveling with a straightedge.
Smoothing with a plastic trowel.
Pressing the plaster with a steel trowel.
Loose plaster that evens out when you level off.
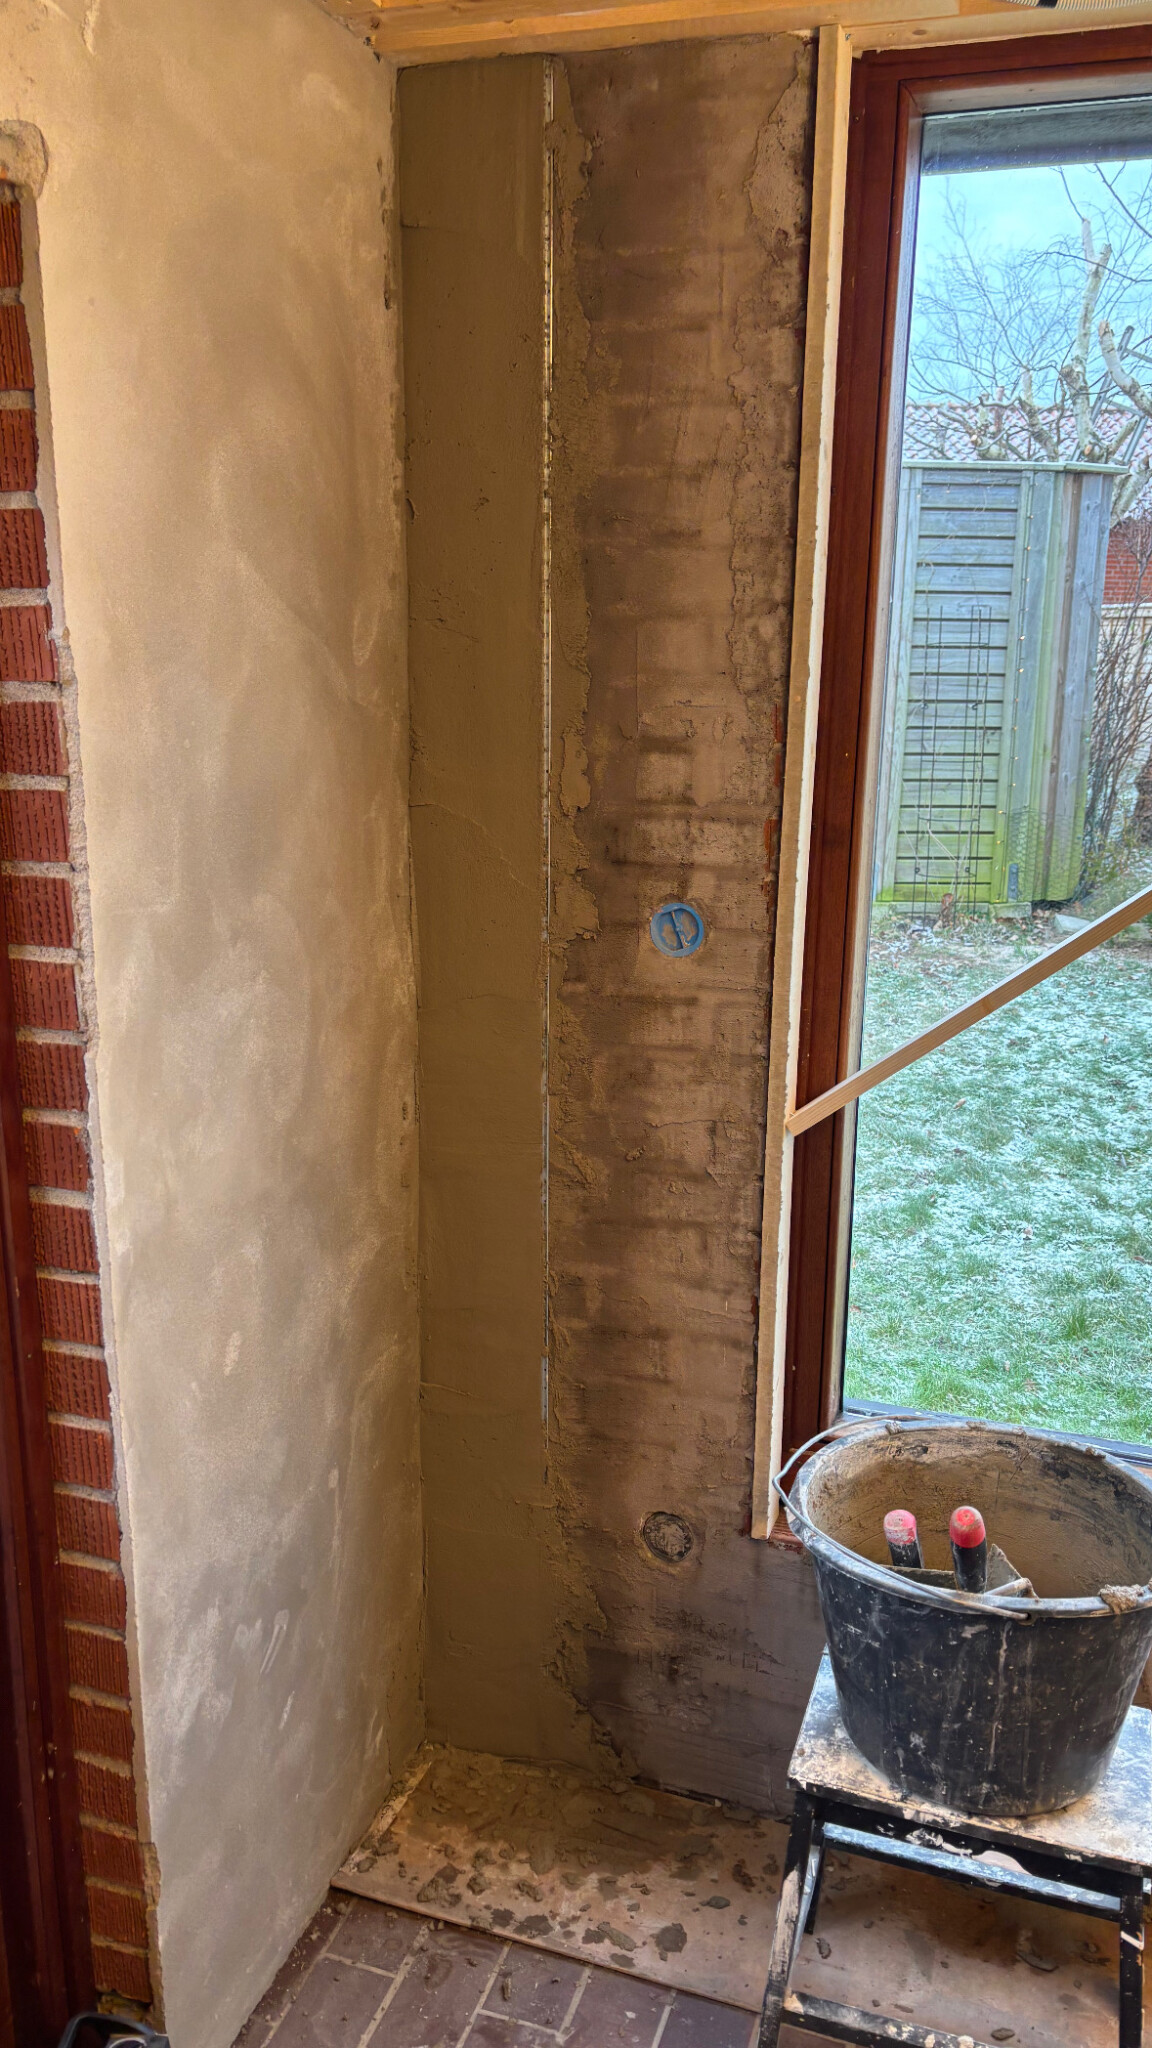
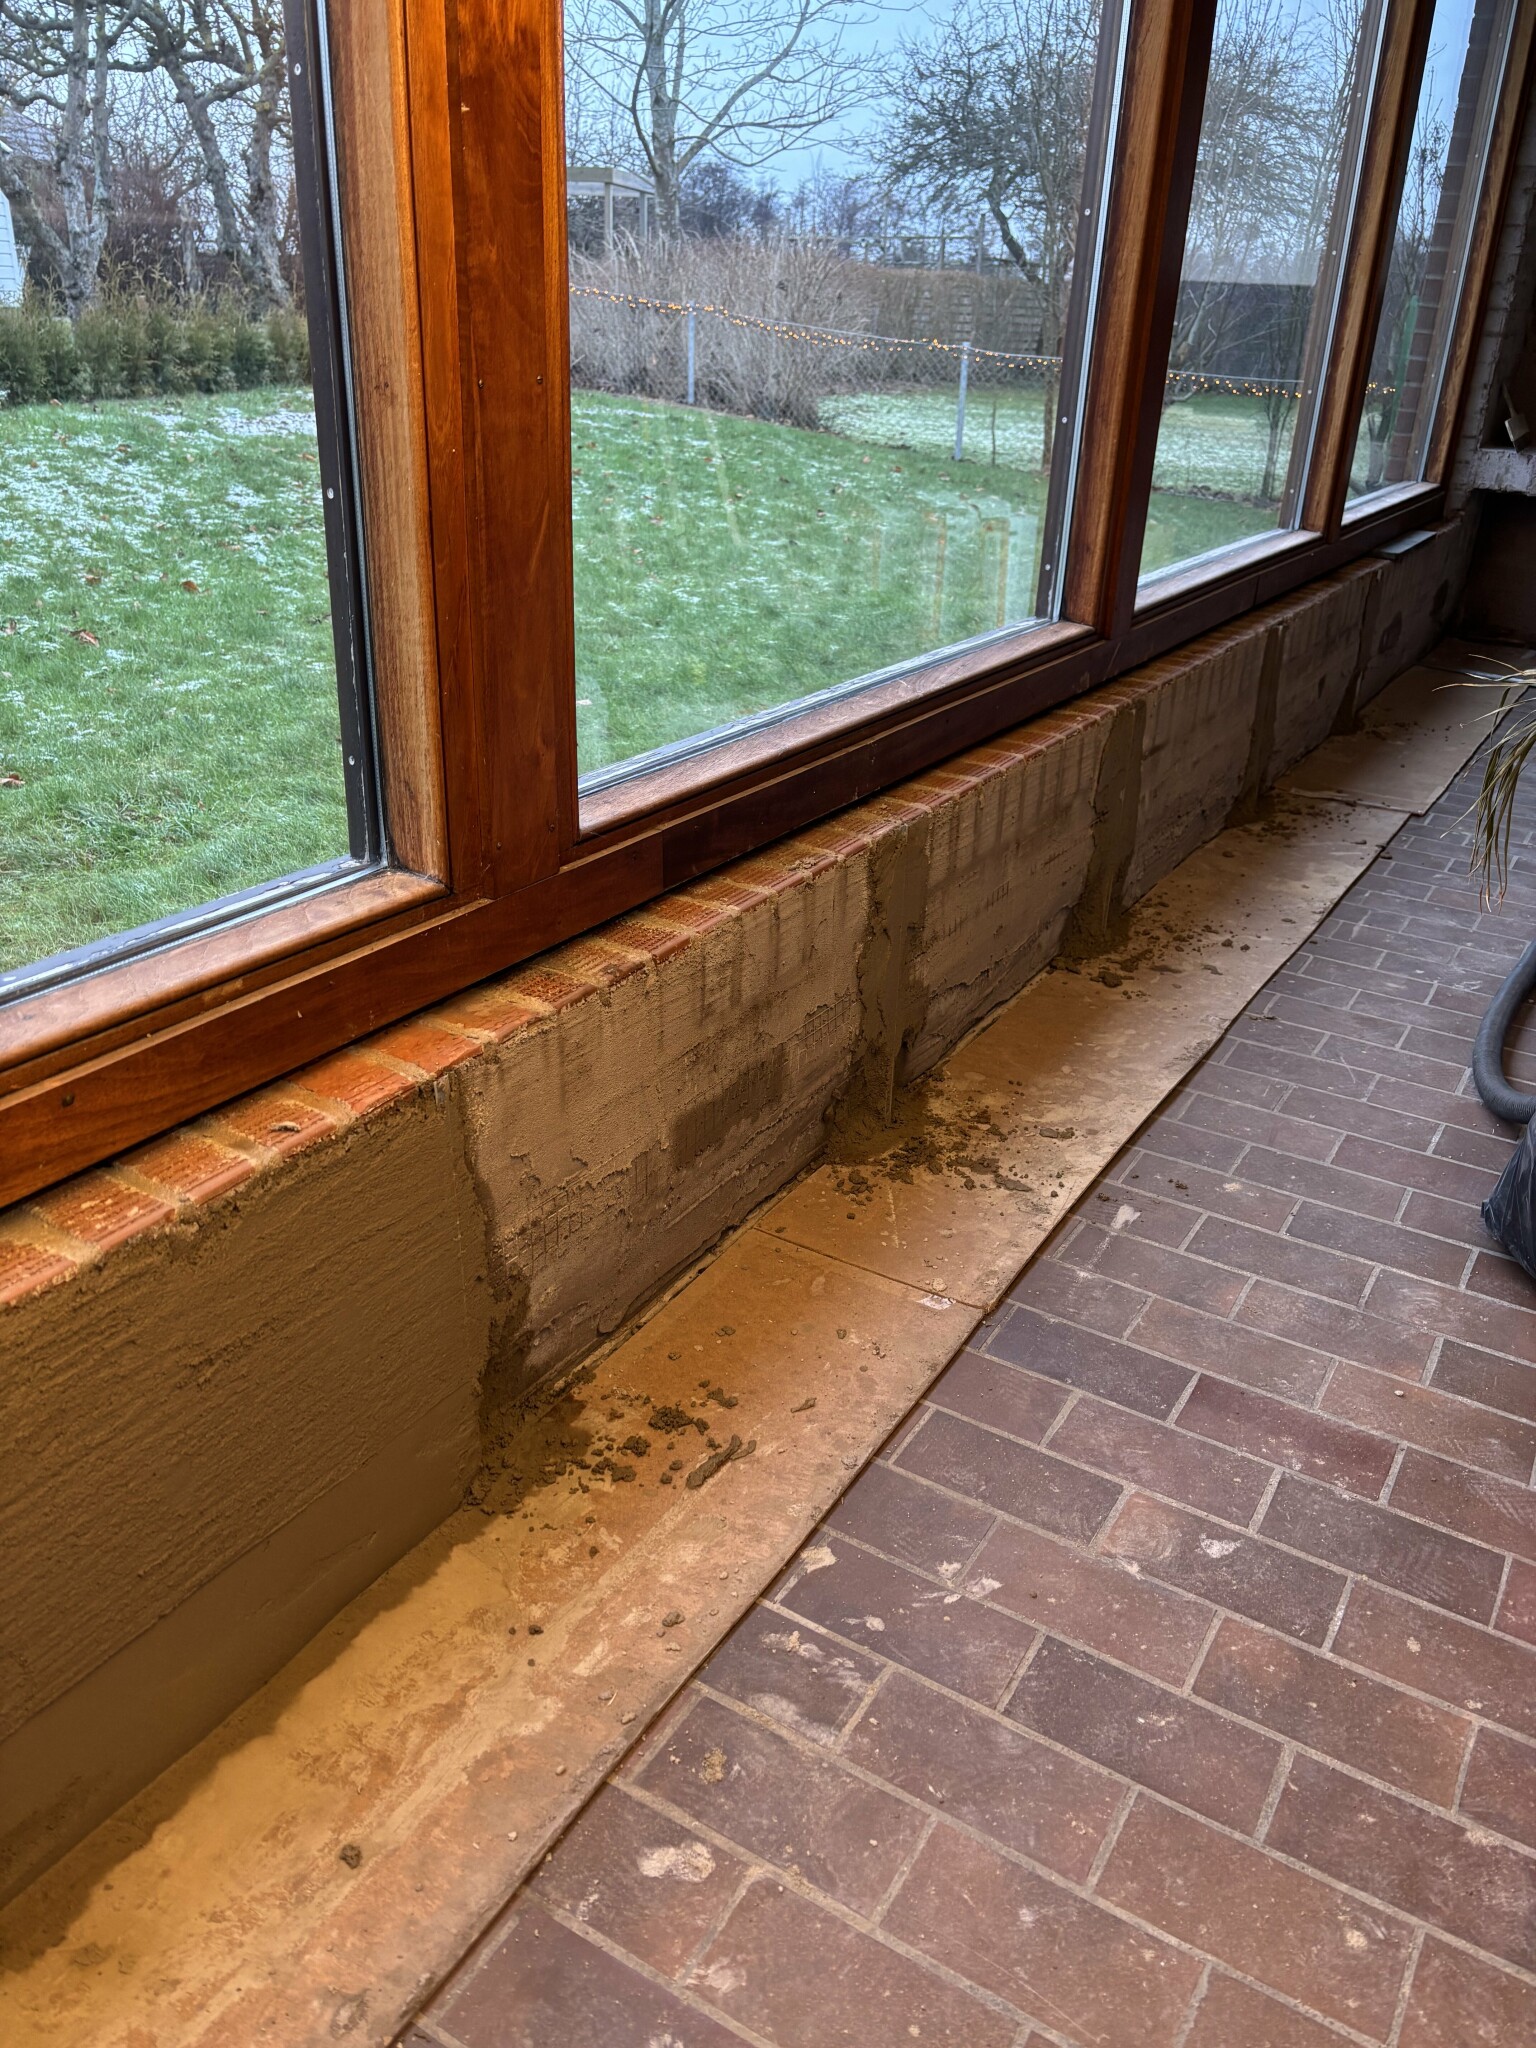
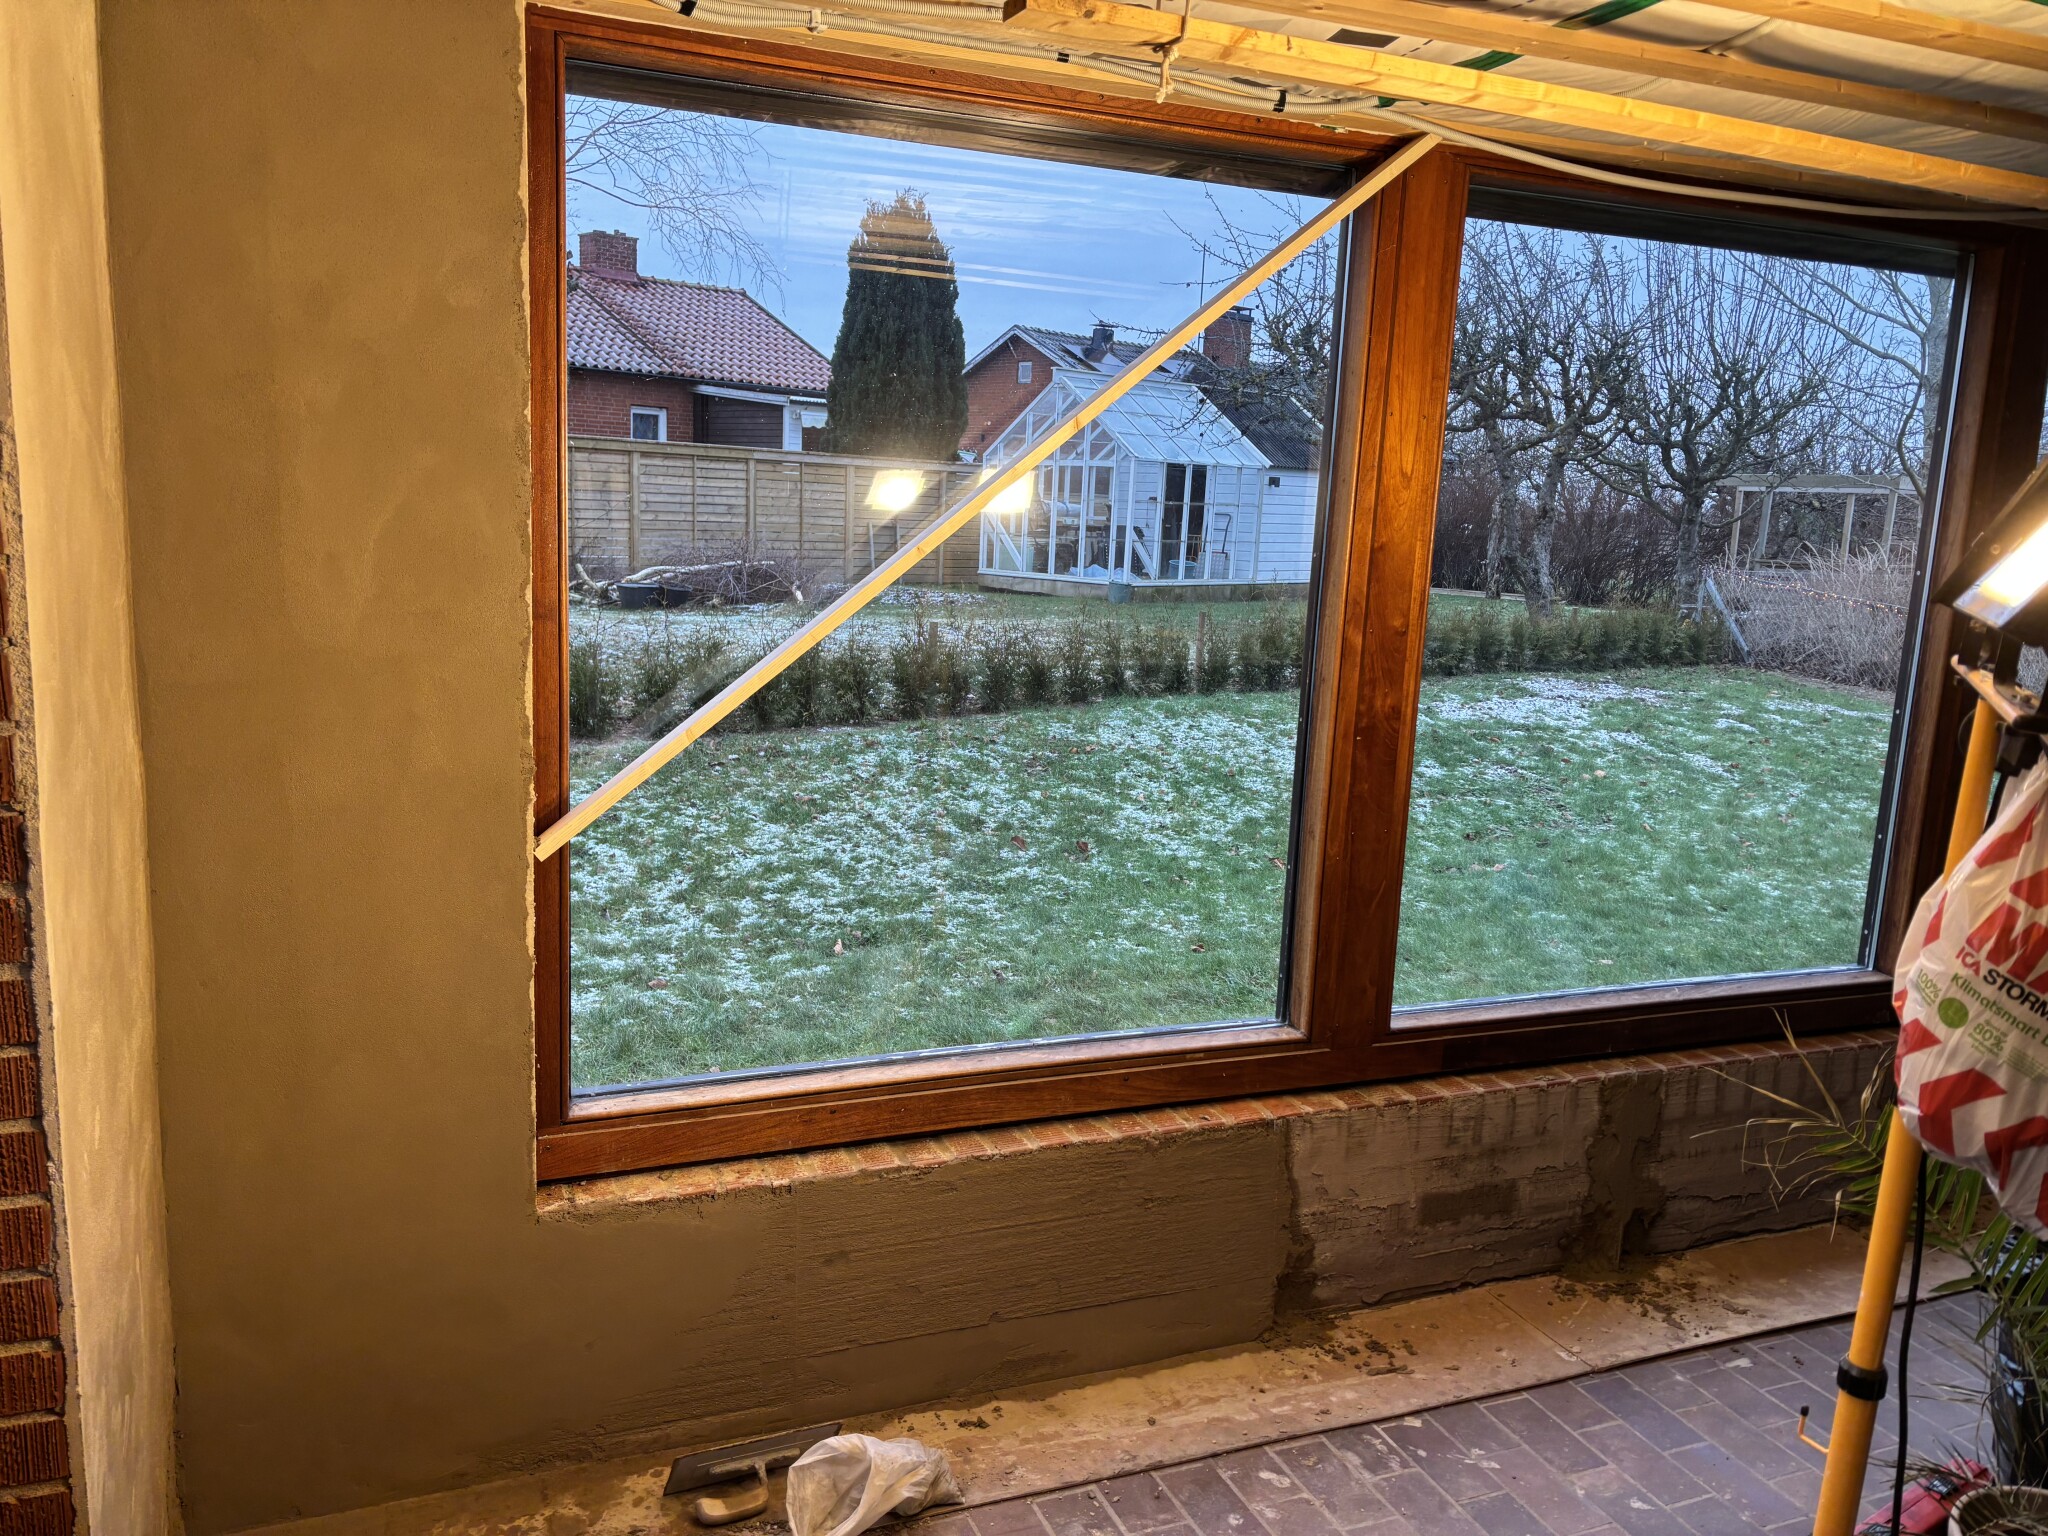
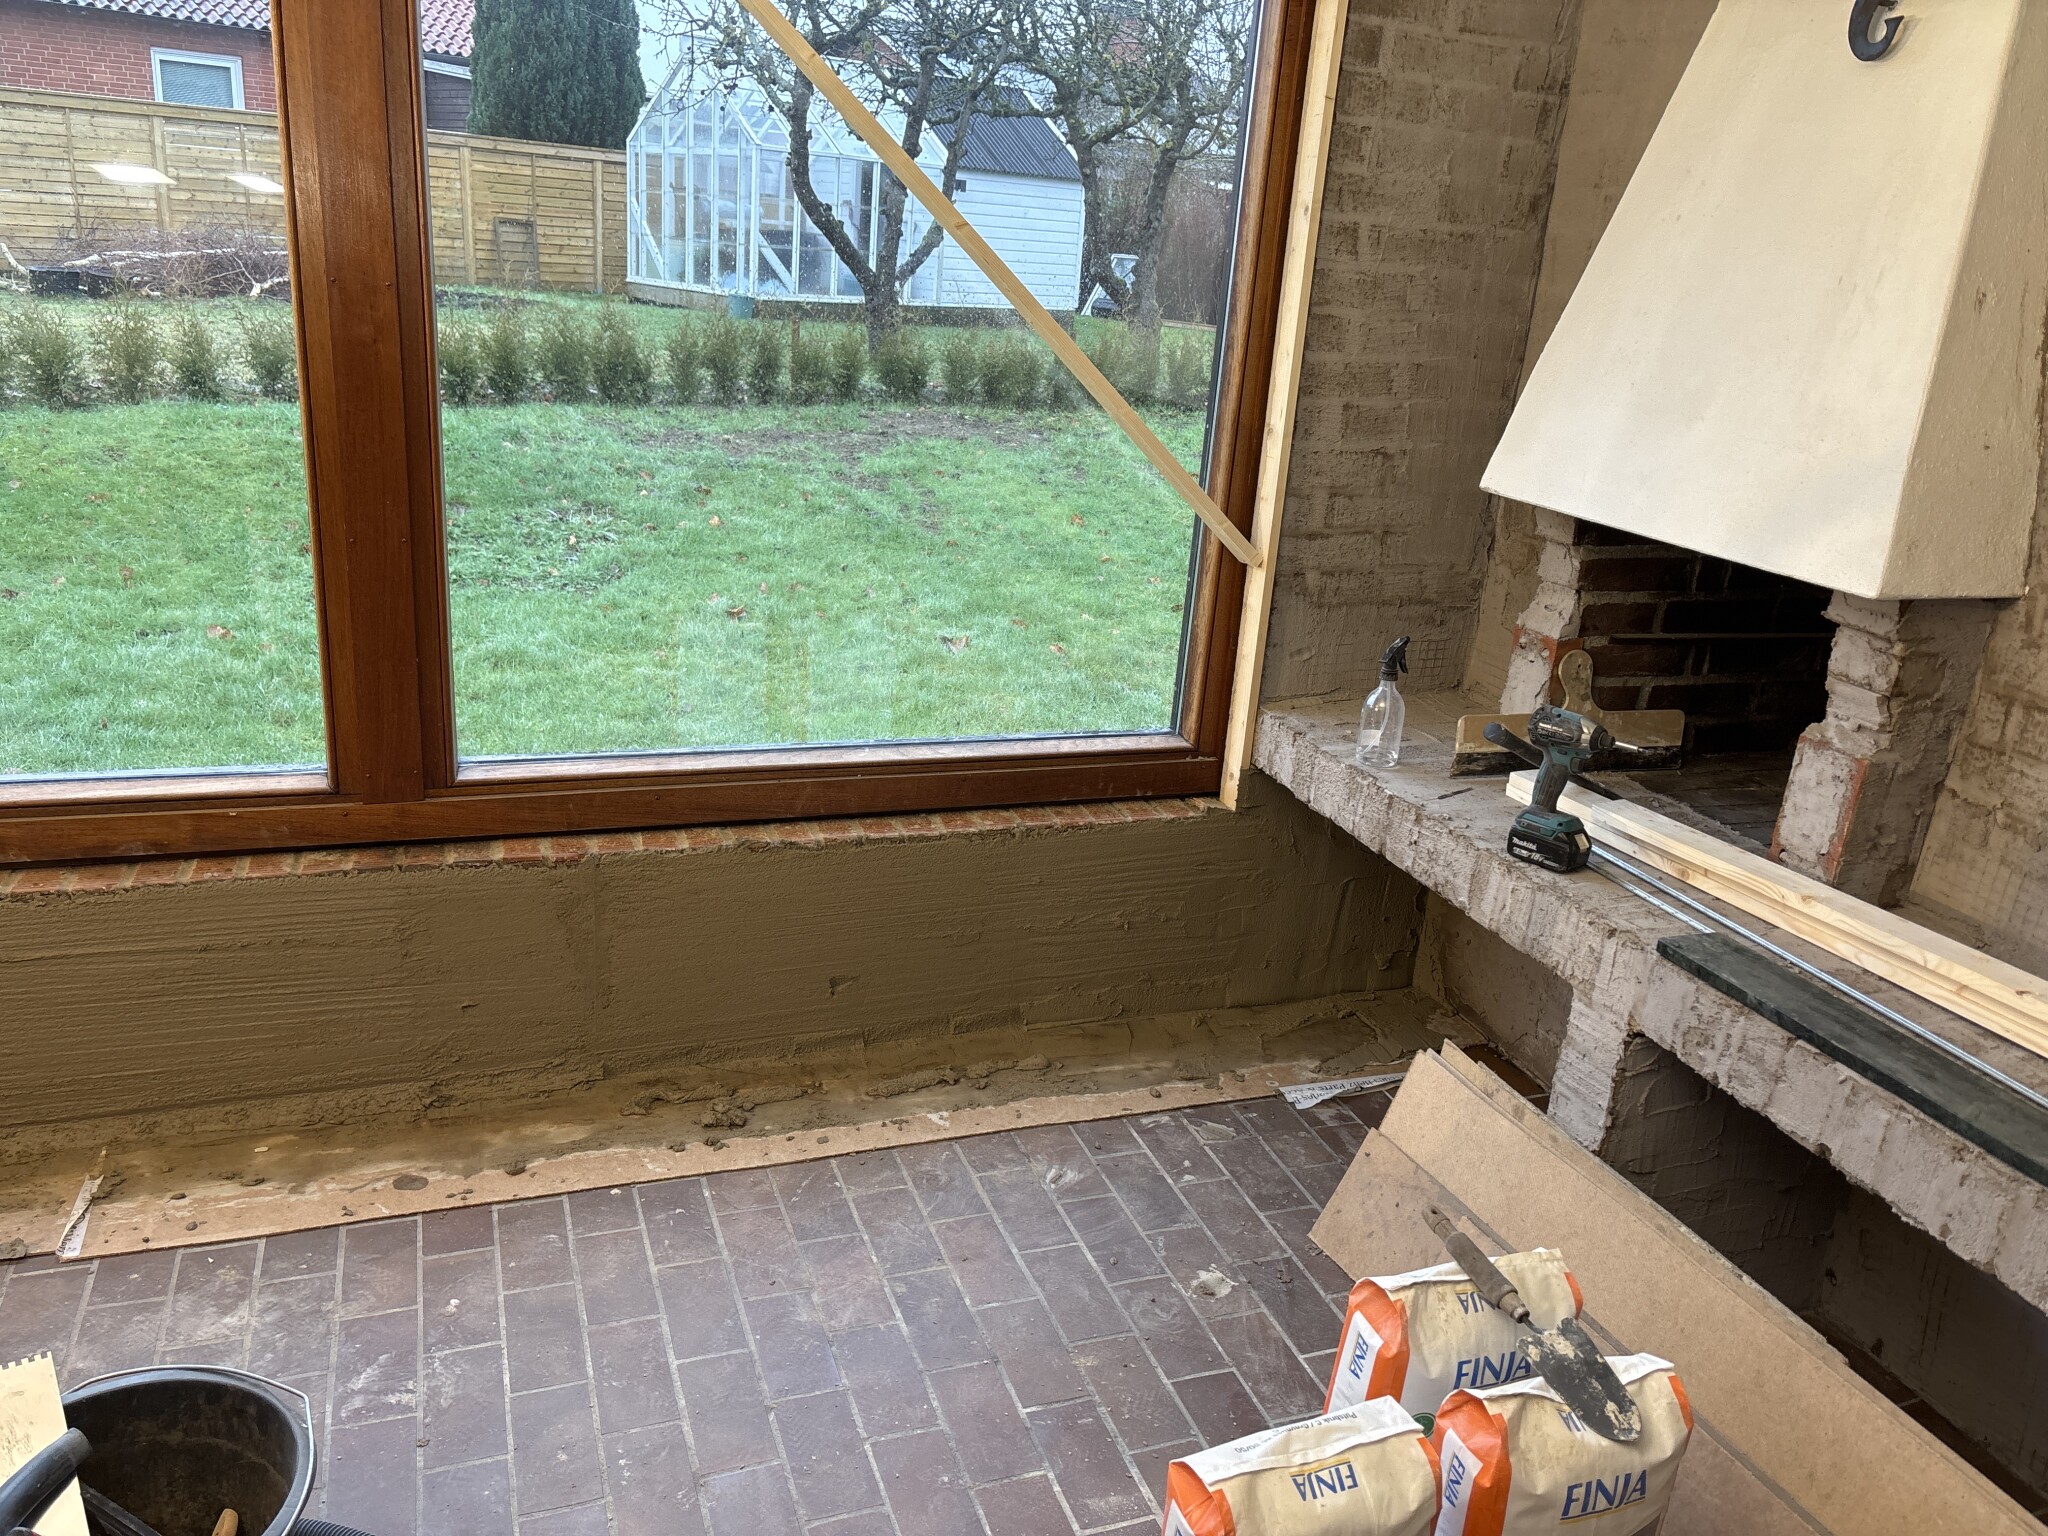
It's coming along.
However, a question. It's quite humid and we don't have any direct heating on. We have a fan that keeps it around 12-15 degrees and not much ventilation as we've blocked it off from the rest of the house.
Is it a disadvantage with high humidity, coolness, and thus burning slowly? Can it go too slowly, or is it only advantageous?
I can increase the ventilation and heat if necessary?
However, a question. It's quite humid and we don't have any direct heating on. We have a fan that keeps it around 12-15 degrees and not much ventilation as we've blocked it off from the rest of the house.
Is it a disadvantage with high humidity, coolness, and thus burning slowly? Can it go too slowly, or is it only advantageous?
I can increase the ventilation and heat if necessary?