7,139 views ·
11 replies
7k views
11 replies
How uneven can the substrate be for tiles and mortar?
I am going to lay tiles in a utility room. It's about 10m2 and a cast concrete slab, which I think is pretty smooth but had planned to lay about 10mm leveling compound before adhesive for the tiles (until I got the quote for self-leveling compound....).
Now I'm wondering if the adhesive won't "absorb" these irregularities anyway? So the question is how bumpy and uneven can it be without causing problems for the adhesive to smooth it out?
And how on earth do you measure these irregularities then? I have a laser, but it can't exactly send the beam along the floor, right???
Ceramic tiles have tolerances regarding warp and curvature, and that tolerance is calculated as follows: The tile's longest edge dimension × 0.5%.N nova383 said:Plan to lay tiles in a utility room.
It's about 10m2 and a cast slab, I think it's fairly smooth but until I got the quote for the leveling compound.... I was thinking of applying about 10mm leveling before adhesive on the tiles.
Now I'm wondering if the adhesive won't "absorb" these unevenness anyway? So the question is how bumpy and uneven can it be without problems for the adhesive to even this out?
And how on earth do you measure these uneven spots then? I have a laser but it can't send out the beam right along the floor, can it???
Place the laser on the floor and measure at various spots with a measuring stick. This will show you the height difference in various places.
+-5mm can be evened out with adhesive anyway
Last edited:

That's good. I don't think it's as much as 5mm actually.T Tompafix said:Ceramic tiles have tolerances when it comes to warping and curvature, and that tolerance is calculated as follows: The tile's longest edge dimension × 0.5%.
Place the laser on the floor, measure at different spots with a ruler. Then you can see the height difference you have in different places.
+-5mm you can level out with fix ivf
A 2m level will suffice as mentioned. If there's any local point that's too low (more than 5mm), buy a bag or two of leveling compound and fix that part locally yourself. You don't need to level the entire surface.
It's a bit trickier to do it yourself in bathrooms, as the slope must be correct.
It's a bit trickier to do it yourself in bathrooms, as the slope must be correct.

Do you have more localized irregularities or is it one end of the floor that needs to be raised in its entirety? If it's the latter, self-leveling compound is needed, but if you only have localized problems, it might be an option to take a wide putty knife and mix some thinset that you spread out.
Haven't checked with a spirit level yet, but as far as I know, it's just a bit rough, roughly. A little bump here and there and probably a small dip here and there, but these are max around 1 cm in diameter. It's "flat" without sloping in any direction.MathiasS said:
ullet
Hobby electrician
· Västerbotten
· 588 posts
ullet
Hobby electrician
- Västerbotten
- 588 posts
As a rule, it's more difficult to handle peaks with adhesive than small holes.
Small holes or depressions can simply be filled with adhesive, but a small peak can, in the worst case, cause the tile not to be level with the other tiles.
Small holes or depressions can simply be filled with adhesive, but a small peak can, in the worst case, cause the tile not to be level with the other tiles.
I was thinking of handling any peaks with a stone disc on the angle grinder, it dusts but should work well.ullet said:
Ok, then I would just take a chisel and knock away any peaks that stick up, and if the depressions are so large that they need filling before you lay it, I would use adhesive for that. The rest will sort itself out when you use the notched trowel and lay the tiles.N nova383 said:
A picture of the uneven areas would probably help and give you better tips.
C Carl Johansson said:
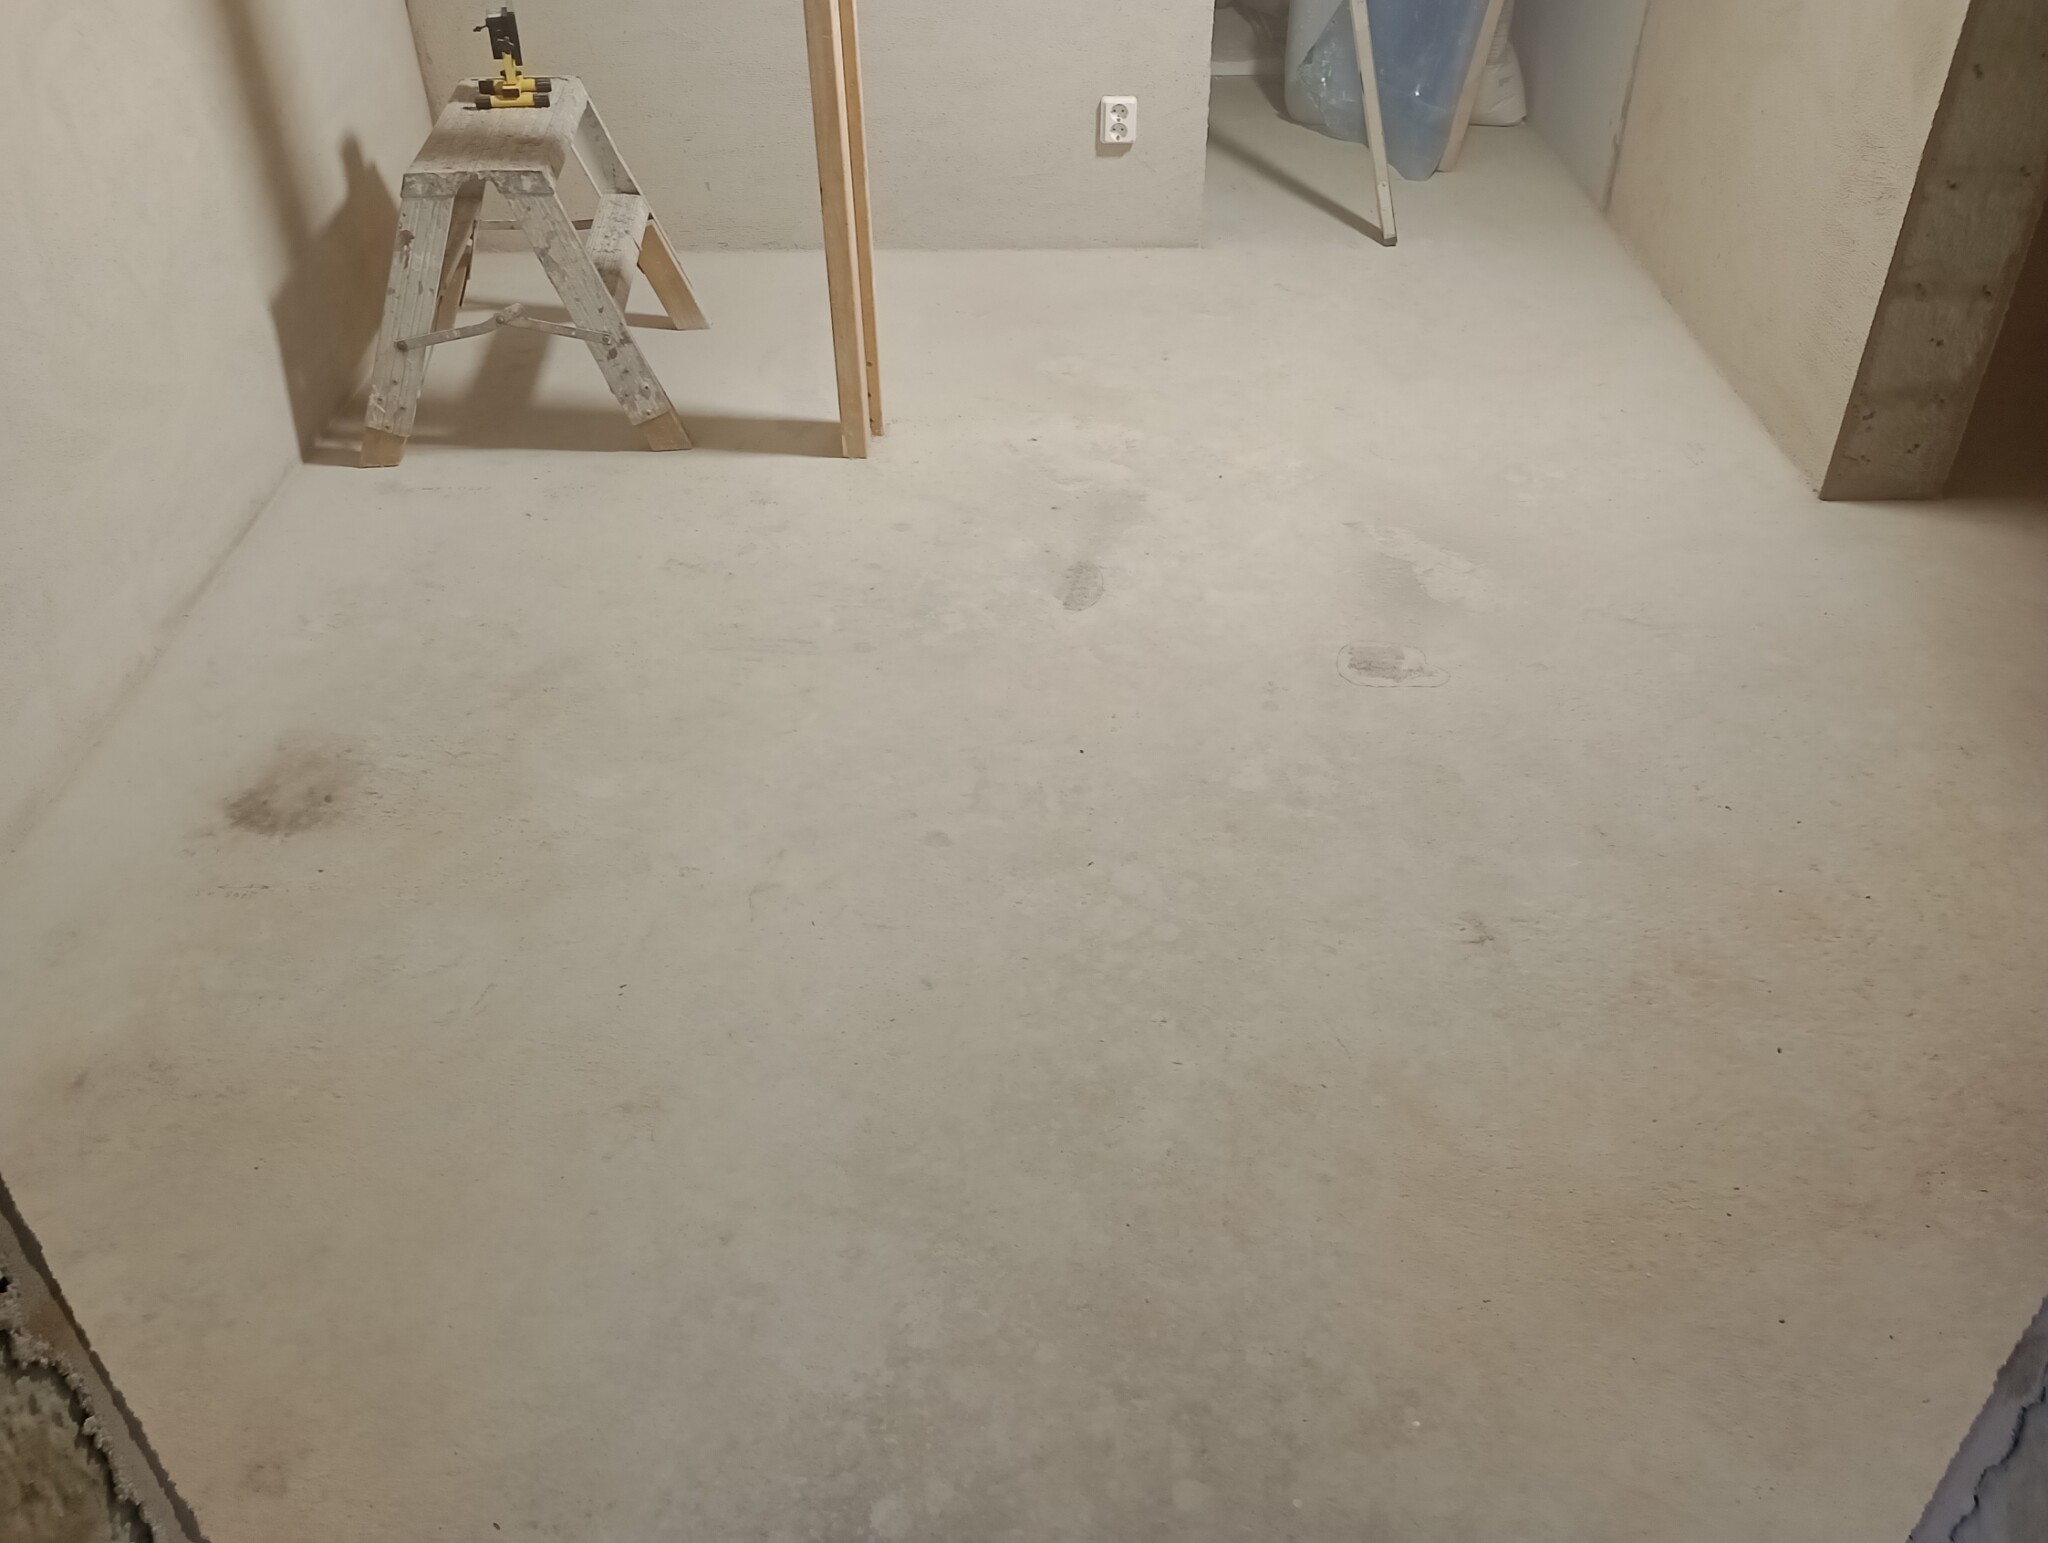
Updating this question a bit. This is how it looks. And how on earth do I deal with the post? I can't remove it, it will be replaced later with the stair post which is supposed to be slightly to the side. 30x60 tiles will be placed in a way that I can wait to install the tile where the post currently stands; I guess I'll place that tile once the stair with its stair post is back in place? But it's a bit higher in the area in front of the doorway straight ahead, it's +5mm there, and there are a few mm lower in other places, so I suppose I have to apply a thin layer of leveling compound, right? The same issue with the post there too. Or do you stick, like, a thin steel rod? A piece of rebar at the bottom or ???
Click here to reply