
13,956 views ·
16 replies
14k views
16 replies
How to solve door jamb and threshold here?
Hello,
I need to install door moldings on the bathroom door. Unfortunately, it requires a bit of extra work, here's what it looks like: http://imgur.com/a/IPPdZ
The height from the floor up to the edge of the floor is 31 mm. The door frame itself is about 1 cm from the floor.
I have been to a couple of stores to see if there's anything ready-made that can be cut to size but haven't found anything suitable. How would you solve the threshold? And what about the door casings? Should it be cut so that it goes down between the door frame and the floor (10 mm)?
I need to install door moldings on the bathroom door. Unfortunately, it requires a bit of extra work, here's what it looks like: http://imgur.com/a/IPPdZ
The height from the floor up to the edge of the floor is 31 mm. The door frame itself is about 1 cm from the floor.
I have been to a couple of stores to see if there's anything ready-made that can be cut to size but haven't found anything suitable. How would you solve the threshold? And what about the door casings? Should it be cut so that it goes down between the door frame and the floor (10 mm)?
Member
· Östergötland
· 253 posts
Planed oak and a small oak molding on top!
Salning/smyg down to the clinker, then make sure the gap is concealed by the vertical oak piece.
Salning/smyg down to the clinker, then make sure the gap is concealed by the vertical oak piece.
Last edited:
So if you have a piece like this:

You should try to remove the heel and build up with an ekbit here? At the same time, also extend on the depth so those 10 mm between the frame and the inner floor disappear. When the threshold is in place, then you can set the trim that should only go down to the tiles, not cut to go further down. Instead, it's the threshold that should go down there.
You should try to remove the heel and build up with an ekbit here? At the same time, also extend on the depth so those 10 mm between the frame and the inner floor disappear. When the threshold is in place, then you can set the trim that should only go down to the tiles, not cut to go further down. Instead, it's the threshold that should go down there.
It's not going fast now! Finally got a baseboard with a high back edge installed, now the question is how to connect it with the floor? It's not easy to achieve this without a router or planer, I suspect I will have to saw with a jigsaw or circular saw to get the right angle as the floor is lower at one end.
https://imgur.com/a/z8s9l
https://imgur.com/a/z8s9l

Had the same problem. Placed a wet room threshold as you did, then I glued an outer corner list in oak onto the tiles that connected to the threshold with silicone.S snowjim said:It's not going fast now! I've finally installed a floor list with a high back edge, now the only question is how to connect it with the floor? It's not easy to achieve this without a router or planer, I suspect I'll have to saw with a jigsaw or circular saw to get the right angle since the floor is lower at one end.
[link]
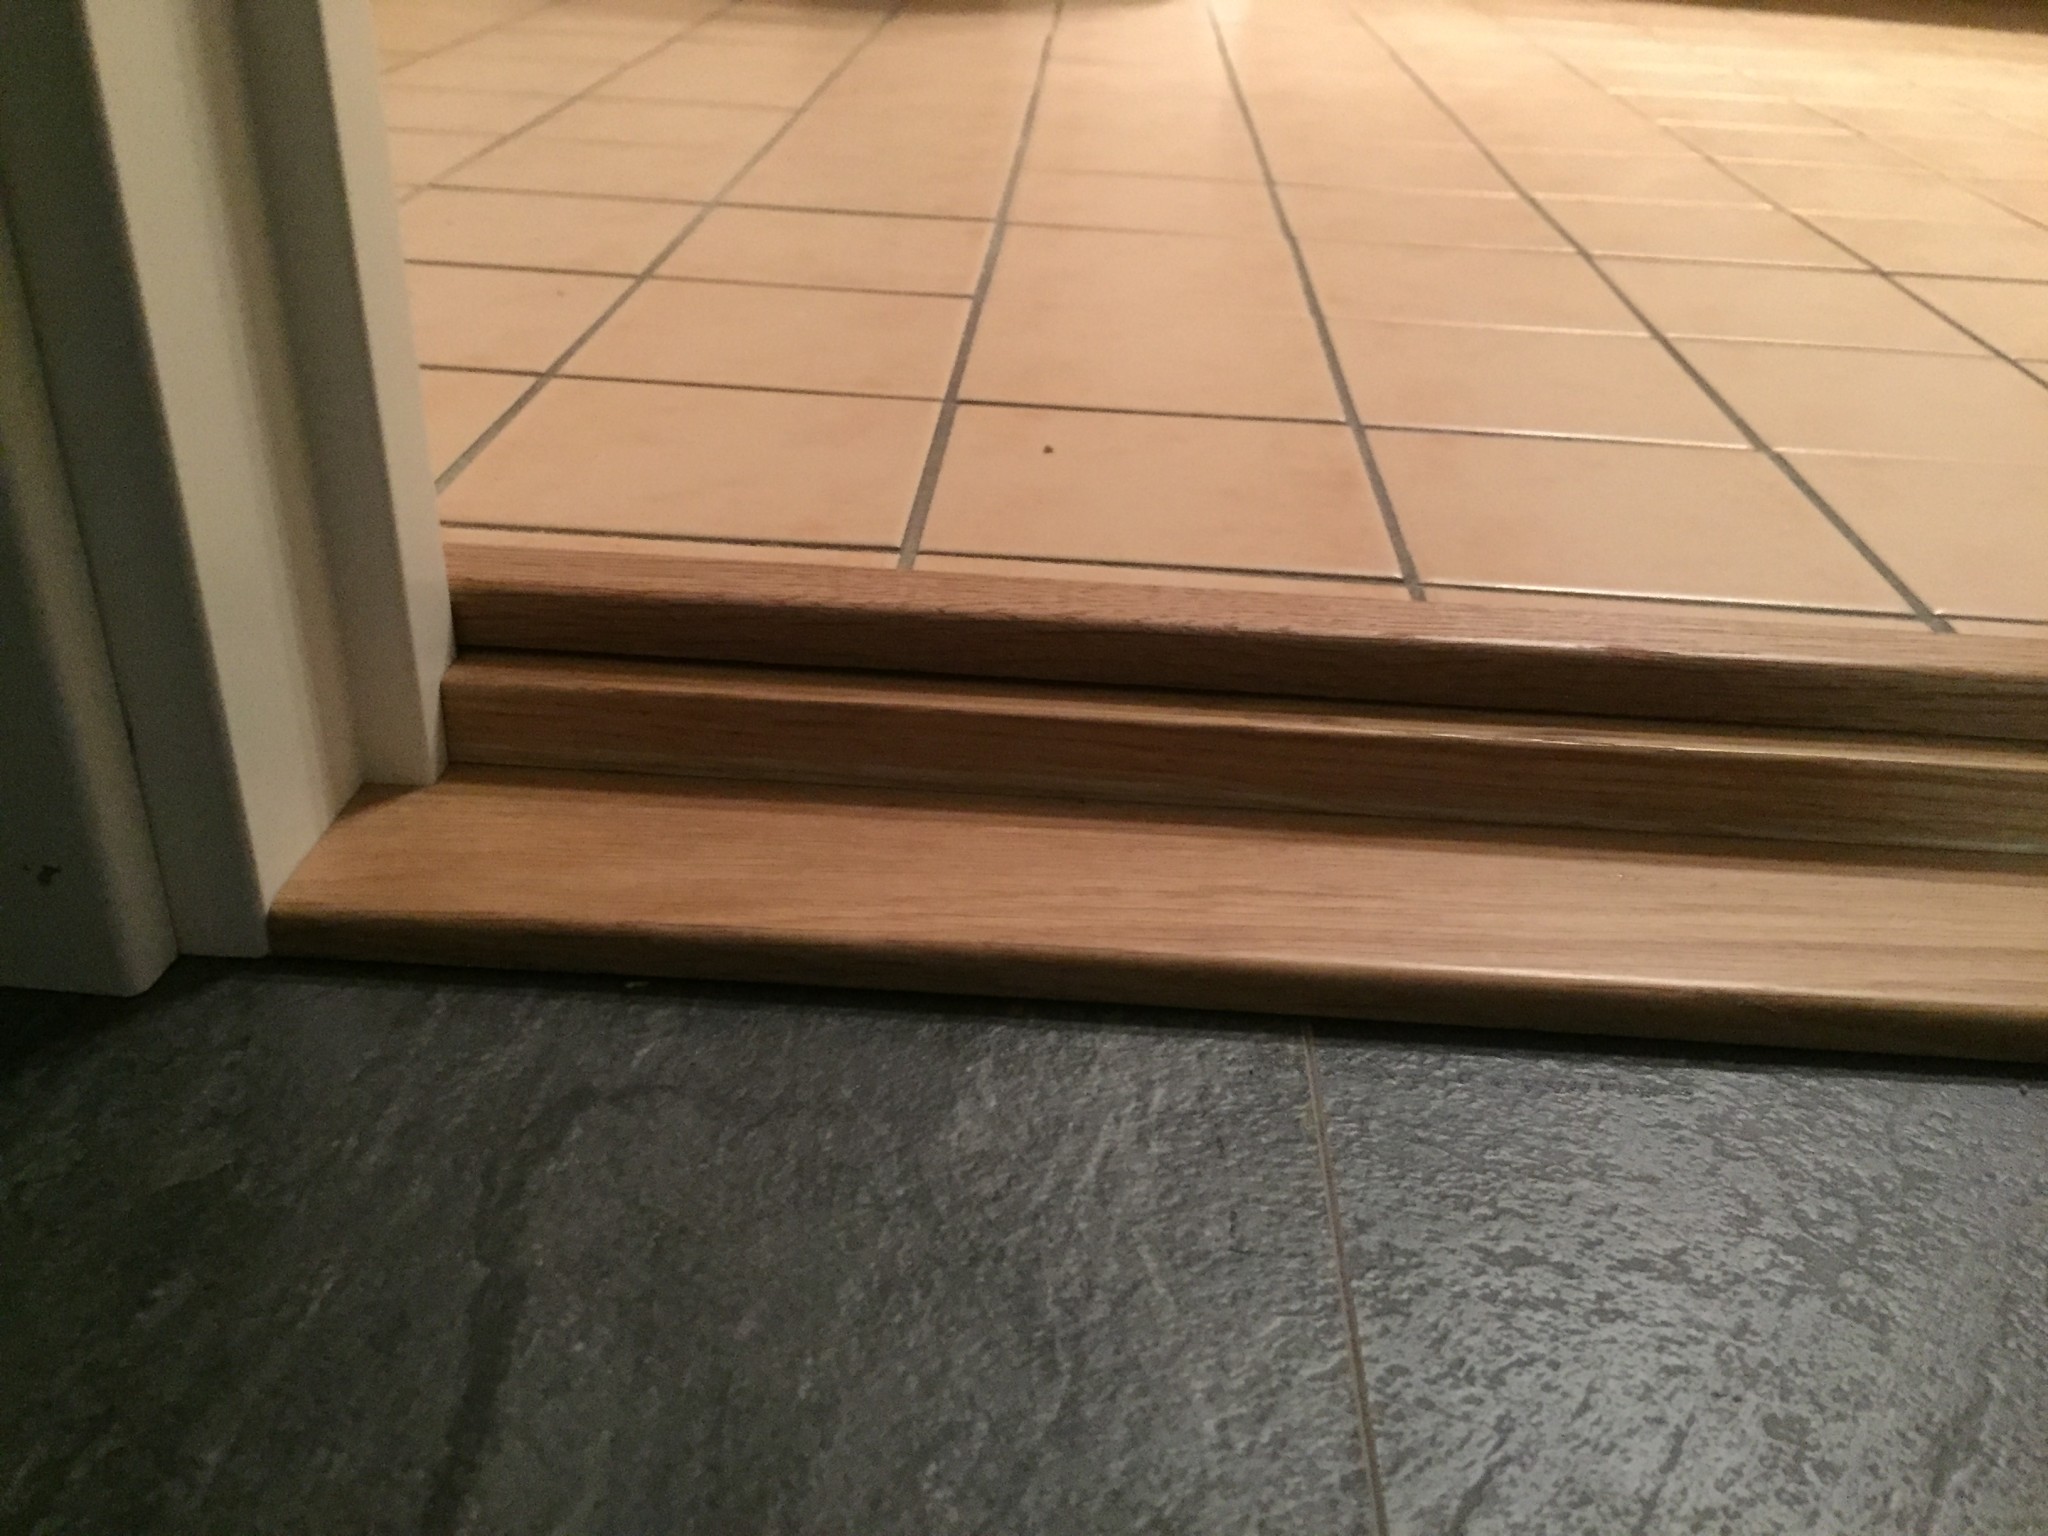
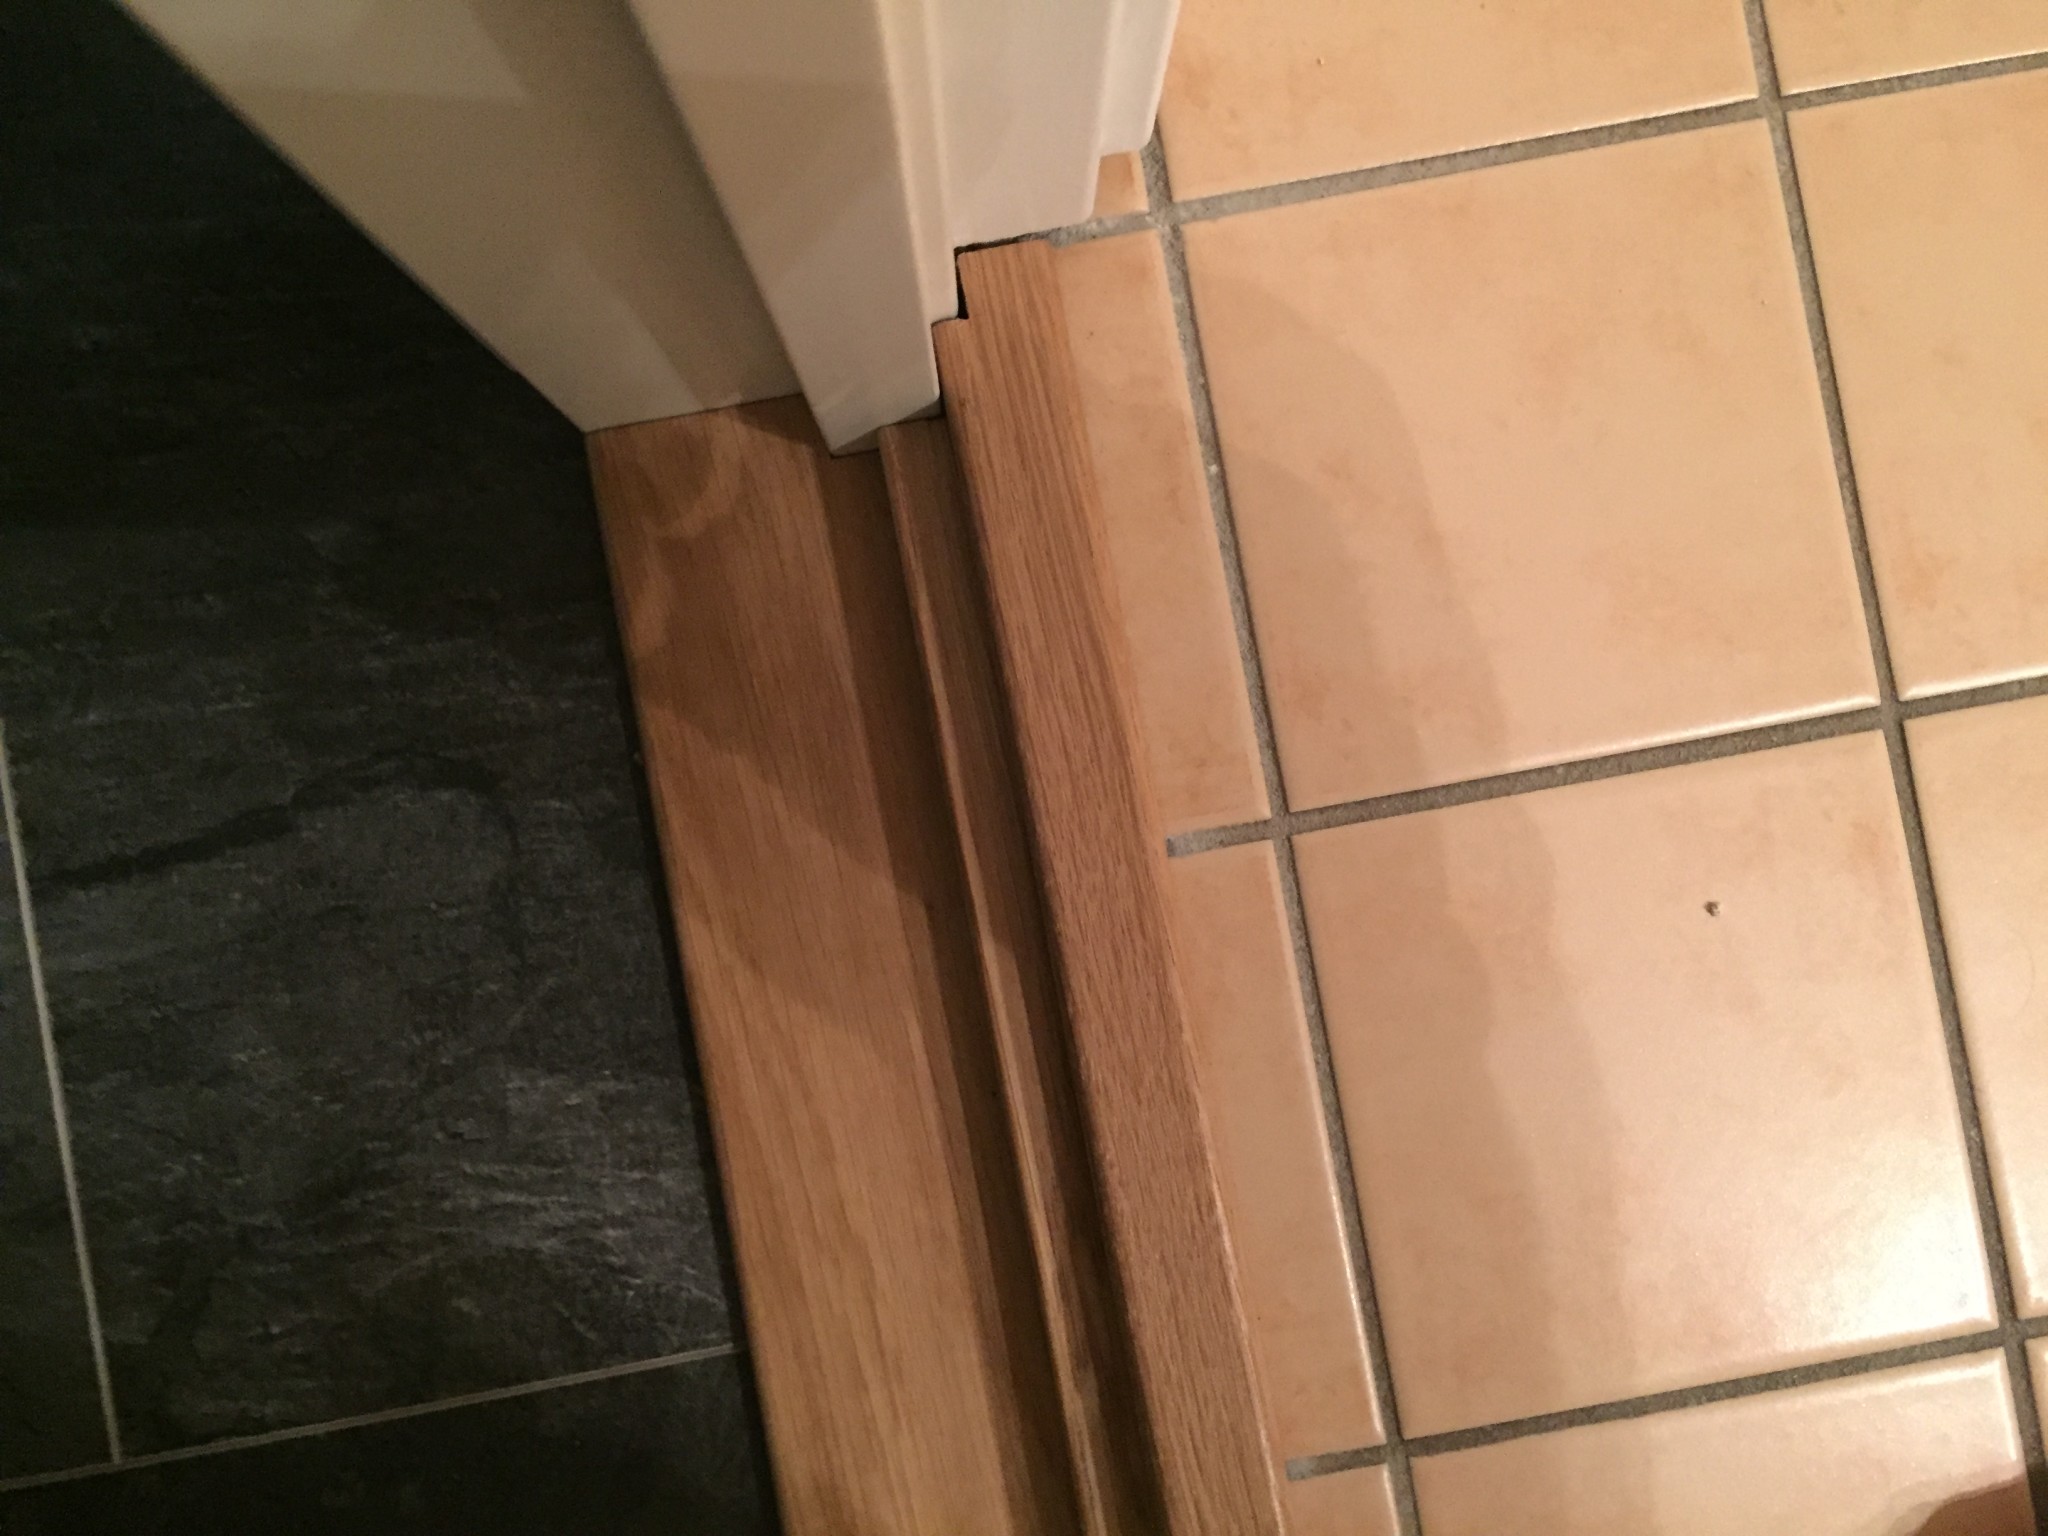
Hehe, yes of course I can, but I'm thinking that it will almost never be completely straight with a jigsaw and it will probably be difficult to cut with a circular saw.nino said:
But yes, I'll have to use the jigsaw as carefully as possible, and then I can fill in the unevenness with some oak filler.
If you have the opportunity, set up the piece you are going to saw against a straight board or whatever you have that fits. Sometimes it can be difficult if the pieces are small, but then you can screw a plywood/OSB piece in the part that will be removed and saw through the board instead... Or another similar method.S snowjim said:Hehe yes, of course I can do that, but I'm just thinking that it almost never becomes completely straight with a jigsaw and it will probably be difficult to saw it with a circular saw.
But yes, I'll have to use the jigsaw as carefully as possible and then I can fill in the unevenness with a bit of oak filler.
You can also saw freehand with a jigsaw and leave 0-1mm depending on how much it wobbles so that there is more material left and then sand down the rest with a belt sander or straight edge with sandpaper on it.
Or just practice freehand sawing with the jigsaw.
I've gotten better at it over the years, so most others should be able to do it too!