48,123 views ·
33 replies
48k views
33 replies
How to mount a heavy TV on drywall with steel studs?
There was no drawing. The binder that came with it was from the property manager, not the builder. It mostly contained nonsense about regulations and such. Some useful information from kitchen, floor, window suppliers was included too. A brief section about screwing into the walls; prohibited to drill/screw in the bathroom and in the wall where the electrical cabinet is located.A Andy78 said:
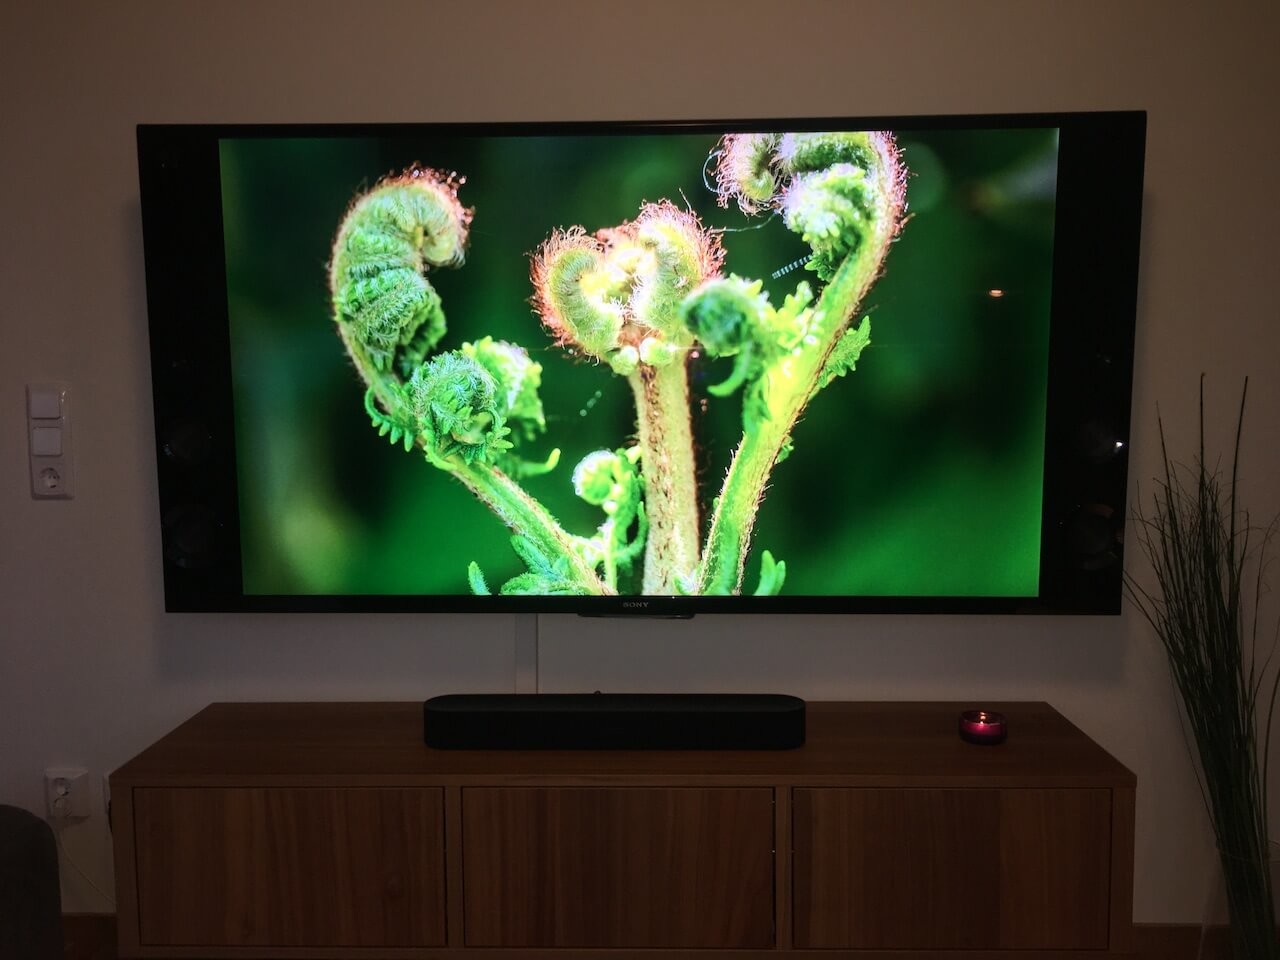
Like carved out of granite
")
Well, not quite, but it felt strong and good. 6 drywall anchors secure the wall mount to 3 steel studs behind the drywall. One of them got stuck when we tried to insert the screw and fell to the bottom of the steel stud, didn't have any more, so put in an old Biltema molly and that bit well too
In summary, screwing into the steel studs went excellently:
1. Stud finder.
You need a stud finder, without it, it wouldn’t have worked (the Bosch Truvo that the son rented was very good). The steel studs are quite narrow, so you have to hit the spot with the drill/attachment hole.
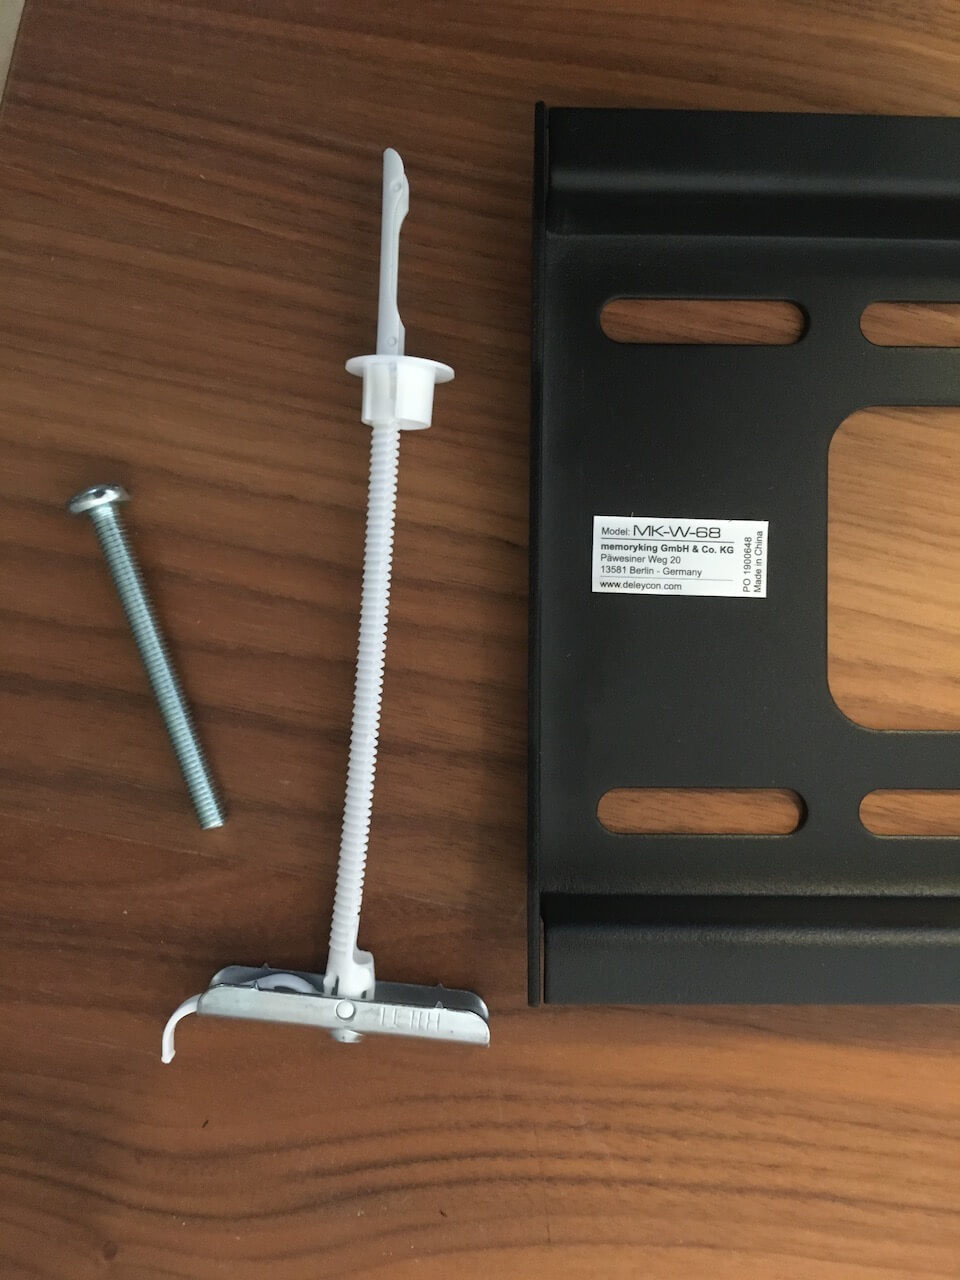
2. T-shaped expansion screws.
The son was lucky to get a bunch of Hilti drywall expanders (HTB-2) from a nice builder (who rented out the stud finder via Hygglo). These are T-shaped and probably what you should aim for, seem to be a few different variants from, e.g., toggle, Fischer too. The trick is to place them so that the T unfolds in a vertical direction inside (and "along") the steel stud, maximizing the hold and it felt strong and good.
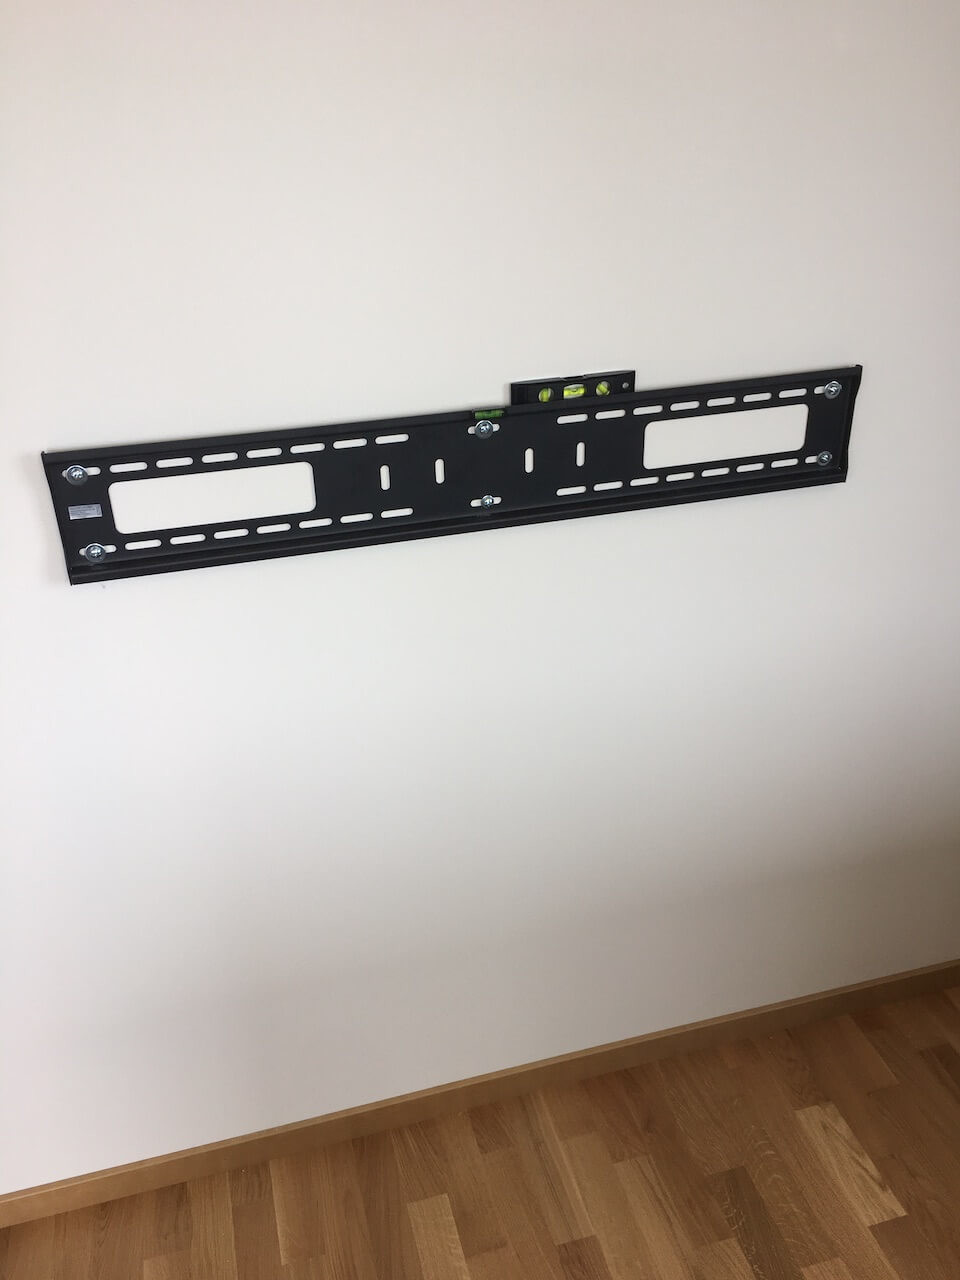
3. Solid wall mount.
The boy bought a 95 cm wide wall mount that spanned across 3 studs (45 cc for the steel studs in this house). He bought a deleycon MK-W-68 from Amazon in Deutschneyland, https://amzn.to/2ZtJZJ9. It suited the conditions in this apartment like a glove.
4. New or freshly sharpened metal drill bits.
I stood drilling with a worn-out bit the day before, it took several minutes to get through. With a new bit, it only took a few seconds (yes, I’m ashamed when I think about it now in hindsight
5. Screw into studs
Based on this small project, the experience is probably that you should, if possible, screw into studs, steel or wood, when attaching such heavy things to drywall. There are significant forces at play, which became evident when we hung up the beast (the TV), everything bent a little (slightly but noticeably, including the wall).
-If it doesn’t work with studs, we would probably have followed the advice to screw up a solid plywood board first so that you get a large surface to distribute the force on (and a suitable amount of drywall expanders spread over the plywood, but not too close together so that you weaken the actual drywall, maybe glue it as well), and then screw the wall mount into this.
6. The kid was pretty satisfied in the end
Click here to reply