Hello,
I'm trying to build a loft in a small house with brick walls. I want to build with beams that are visible from the ground floor. I have a few questions about this.
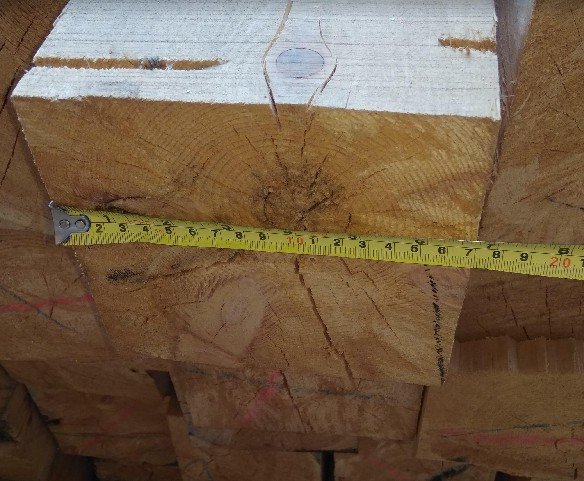
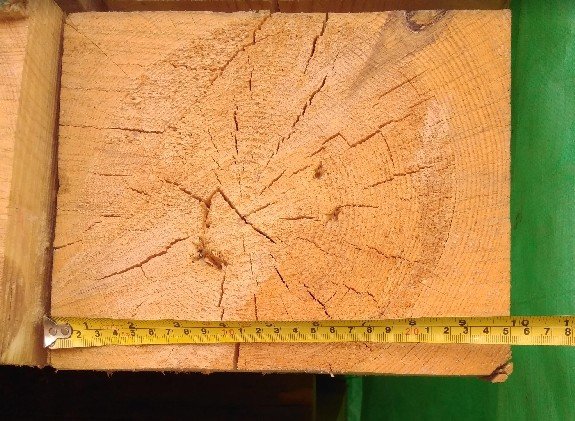
1. Sizing: I went to the local lumber yard where they had some thick timber. They had dimensions including 170x170, 200x200, 200x250, 250x300.
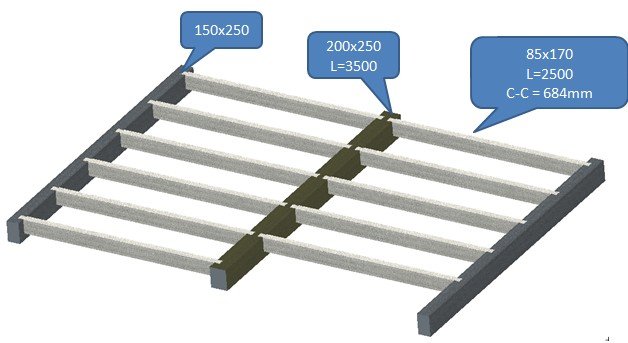
The total size of the joist is 3500x5200mm. I'm thinking of placing 3 thicker beams across (3500mm). These 3 beams will rest on a brick wall. Then I plan to notch smaller beams between the three.
My plan is, as you see in the picture, to use 200x250mm for the middle beam, 150x250mm on the edges, and then 85x170 in between. What do you think of this? No pianos are going up on this loft, only a bed for 2 people.
2. Sawing and drying of the wood. The wood I looked at was not dried. They said they could quick-dry it (in a kiln I assume). Since the dimensions available did not exactly match what I had in mind, the plan is to have some of the beams split. Is there a greater risk that they warp then, during drying or after they are mounted?
The plan is to buy a 200x250mm for the middle beam. A 300x250 that I will have cut into two 150x250 for the beams on the sides. And finally, cut 170x170 to 85x170 for the smaller beams.
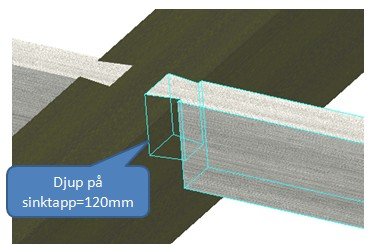
3. Notching. In order not to remove too much from the thick beams, I thought of letting the notching be 120mm deep (instead of the full crossbeam height of 170mm). Any thoughts on this?
Tips on how I can easily do the notching?
Grateful for help as I haven't done anything like this before and have no one to ask. I'm also in a country where I don't speak the language, so I can't discuss with craftsmen or the lumber yard.
Haven't started yet, but I'll post some pictures later if I don't fail completely hehe.
The construction is taking place on the outskirts of Beijing. It’s a type of allotment area. It consists of a small cabin built together with a fairly large greenhouse (the greenhouse is about 6x25m, the cabin previously mentioned about 3.5x5.2m).
A small kitchen and a small bathroom are planned to be built in the greenhouse section.
I can say that generally speaking, the building standards in China leave a bit to be desired, but then again, it's a bit cheaper than at home in Sweden. A craftsman costs about 50 SEK/hour and materials are often significantly cheaper than what we're used to.
Examples of things that haven't gone quite right so far are:
Plumbing: Drain pipes were supposed to be buried from the future bathroom/kitchen to a three-chamber septic tank. When I got there, it was already buried. Tested pouring some water in one end to check if they got the slope right. Total length of the pipe is about 20m. But unfortunately, they probably created a dip in the middle because we had to flush a lot of water before anything came out the other end. So, they had to dig it up again. Told them not to fill it in this time so I could check before it was filled. Went there to look and they had dug it up and fixed it and secured the pipe at certain points with mortar. Measured, and it turned out to still slope the wrong way... sigh. Well, eventually they got it right (I hope).
The greenhouse section is made of trusses from galvanized steel pipes (which they gladly weld without grinding off the galvanization). We made the C-C measurements 1.05 because all the multiwall polycarbonate available here is 2.1m wide. The height difference between the trusses looks terrible. At worst, there's probably a 7-8cm difference between two adjacent trusses. We'll see how it goes to get the plastic roof on there....
Concrete slab. Concrete for smaller constructions in China is mixed by hand. Not even with a concrete mixer; they just use shovels to mix it on the ground. It takes quite a while to pour a 60 sqm slab that way, so it doesn’t turn out exactly nice and even. Reinforcement is also skipped for a simple slab on the ground.
The plan is to try to order the timber this coming weekend.
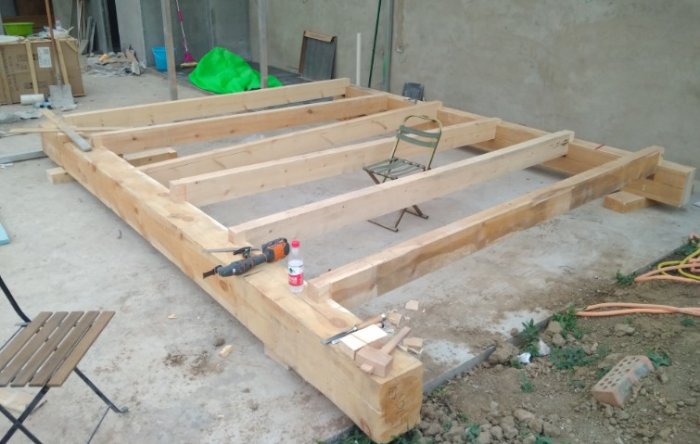
The floor structure is fixed and in place now. It took some time, but after making a few tenons and cutouts, I got up to speed somewhat. Here are some pictures:
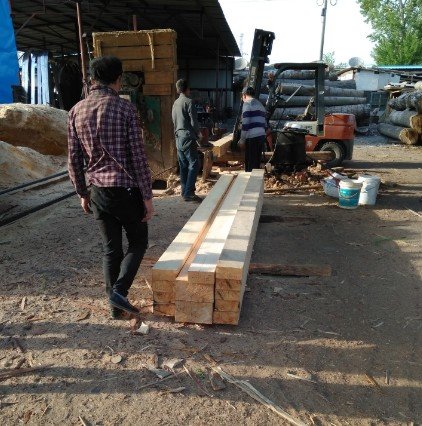
Ripping to the right dimensions at the sawmill:
Wood delivered to the little house:
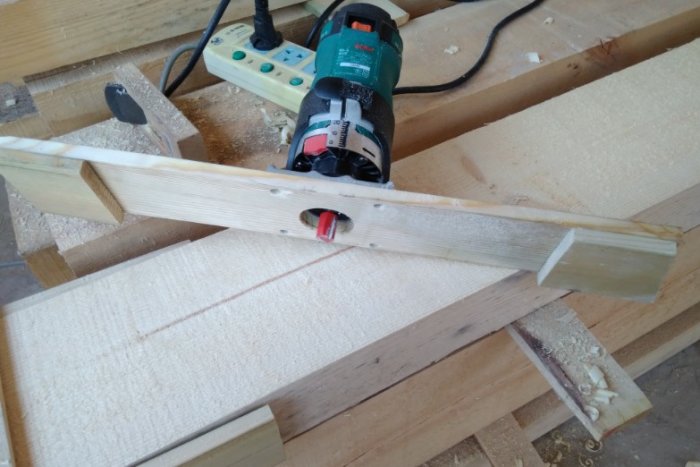
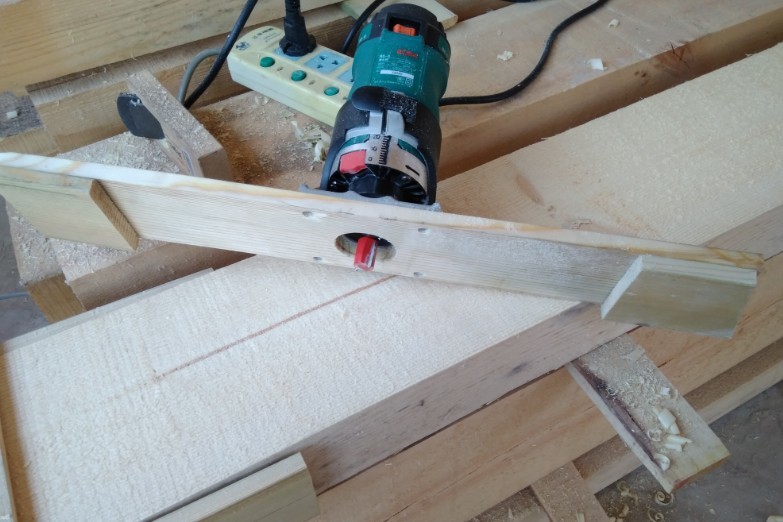
Screwed together a simple router jig for the tenons:
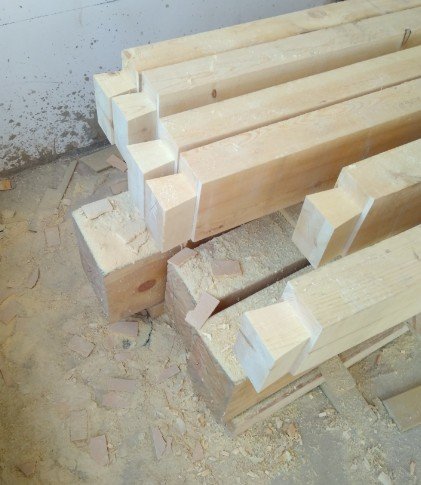
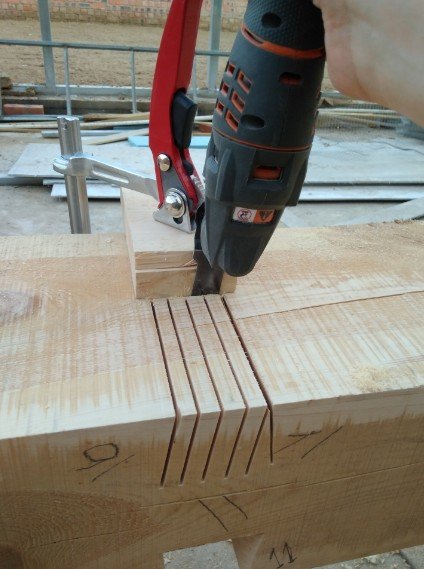
Cut off part of the tenon with a number of cuts with the circular saw:
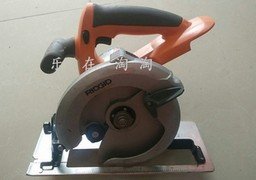
What I was most worried about from the beginning was making the cutouts. First bought a circular saw (used battery-powered Ridgid X5) and chisels and tested making a cutout on a scrap piece. But it didn’t turn out well at all and took too long. So I searched like crazy and finally found a circular saw in the other direction (in fact, it's also a Ridgid but an older model, which was great because they use the same battery).
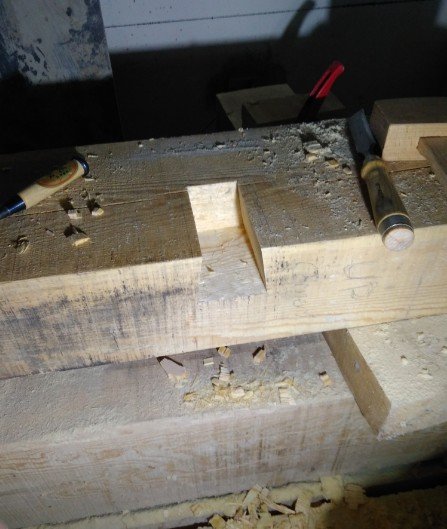
Then I bought a multitool while I was at it Then it went fairly smoothly to make the cutouts:
Test assembly of one half:
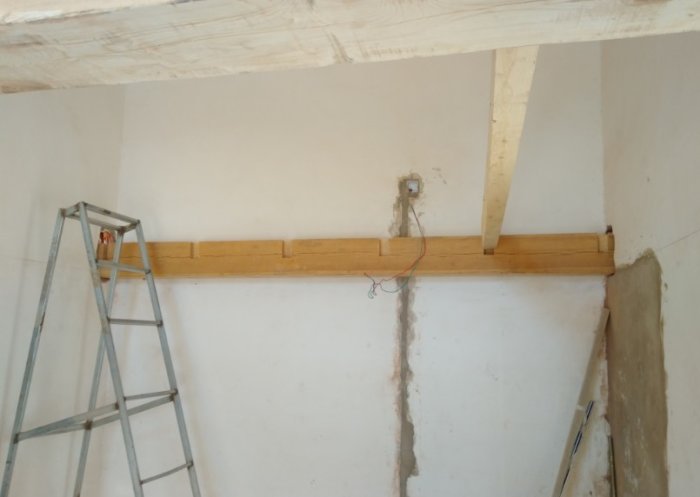
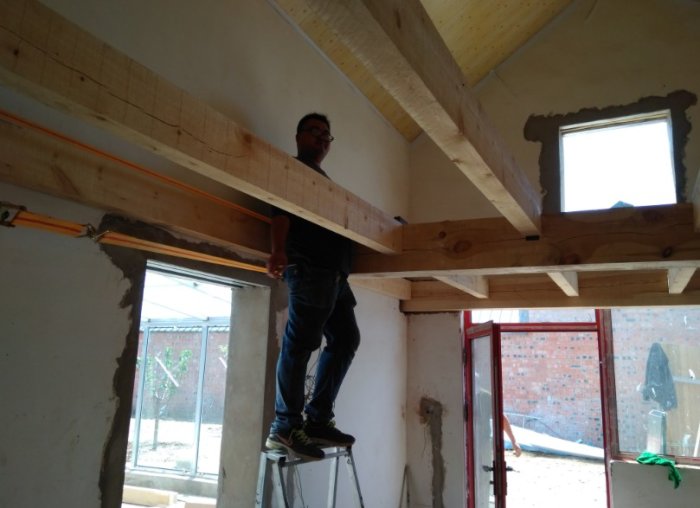
Then it was time to lift everything into place. I had booked 3 guys who came to help lift the beams. I estimate the center beam weighed somewhere around 150-160kg so it was necessary to have a few people. It was 35 degrees warm while we were at it too, so it got a bit sweaty.
Naturally, I had built it too tight, so it didn't quite fit. I added 1 cm of play all around but, naturally, the walls weren't straight enough. So we had to chip away some plaster in some places to get everything in place but overall, it went pretty smoothly.
I’m really pleased with the end result. Maybe it was a bit unnecessary to complicate it in excess, but it was fun to build a bit again. I've been living in China for 4 years now and barely held a tool during this time, so my fingers were itching a bit.
The project after this was completed was to take down half of all the tiles in the newly built bathroom as they barely stuck after the workers were done. They had put them up with regular plaster that I saw they mixed with a spade and when it starts to get a bit hard (which it quickly does when it’s 35 degrees warm), they just mix in a little more water. Stuck just okay on the tiles.
Then I got hold of proper tile adhesive so now I have put them all up again. That kind of work is not fun at all.
Last edited:
Click here to reply
Vi vill skicka notiser för ämnen du bevakar och händelser som berör dig.


") quite a lot of work to do that mortise (which I would rather call joining it together)
quite a lot of work to do that mortise (which I would rather call joining it together)