17,194 views ·
18 replies
17k views
18 replies
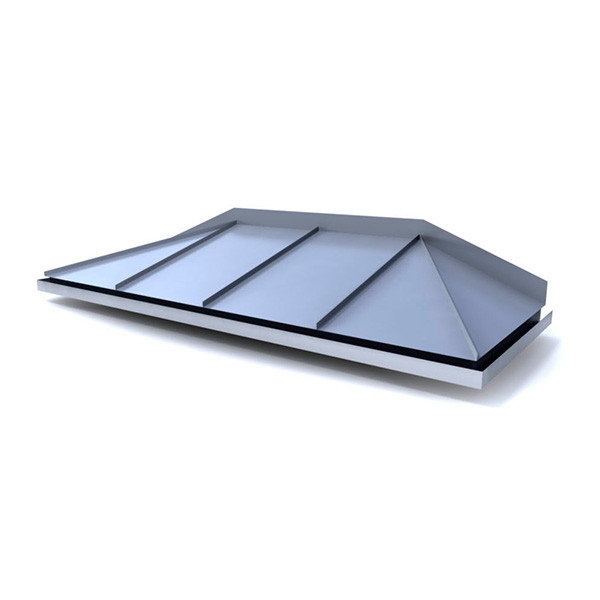
Entry roof in smaller model...what is needed?
I am planning to make a smaller model entrance roof. I want to build the frame from wood and have the roof made of metal. However, I haven't found a good design for the model I am interested in making (see attached image).
How should I think, and is it enough with joists to then cover the entrance roof with metal?

How should I think, and is it enough with joists to then cover the entrance roof with metal?

If you don't want to insert beams that anchor inside the house, there are only two main principles for support. 1) Some type of brackets and 2) Columns in the front corners. What is most suitable and attractive depends greatly on how the house's facade looks.
I wasn't planning on having any posts but attaching it to the facade with a 45 x 145 as the base in the actual construction.J justusandersson said:
Then it will be a console solution. The roof must be designed for snow load, keep that in mind.
A console solution involves some form of diagonal brace or hanging stay, similar to a shelf. You have yourself excluded poles. Beams attached to the building's intermediate floor beams are not realistically feasible in hindsight. There is no other form of solution. The roof cannot float in the air.
It seems to be attached with only 4 screws in the facade, https://st.bygghemma.se/files/bfb9a740-4ad5-4f01-8588-7e05beebcbf5/måttskiss.pdf
Have also seen this. I believe in making a smaller model and securing it with many proper screws! Perhaps a wire on each side attached to the ceiling, starting construction tomorrow.
But it feels like if that model holds with four screws, then my smaller model should hold with 6-10 screws.
But it feels like if that model holds with four screws, then my smaller model should hold with 6-10 screws.
In Bygghemma's models, the brackets are built into the ceiling, which is space-efficient. It is important to join the brackets with fittings so that they withstand the stresses.
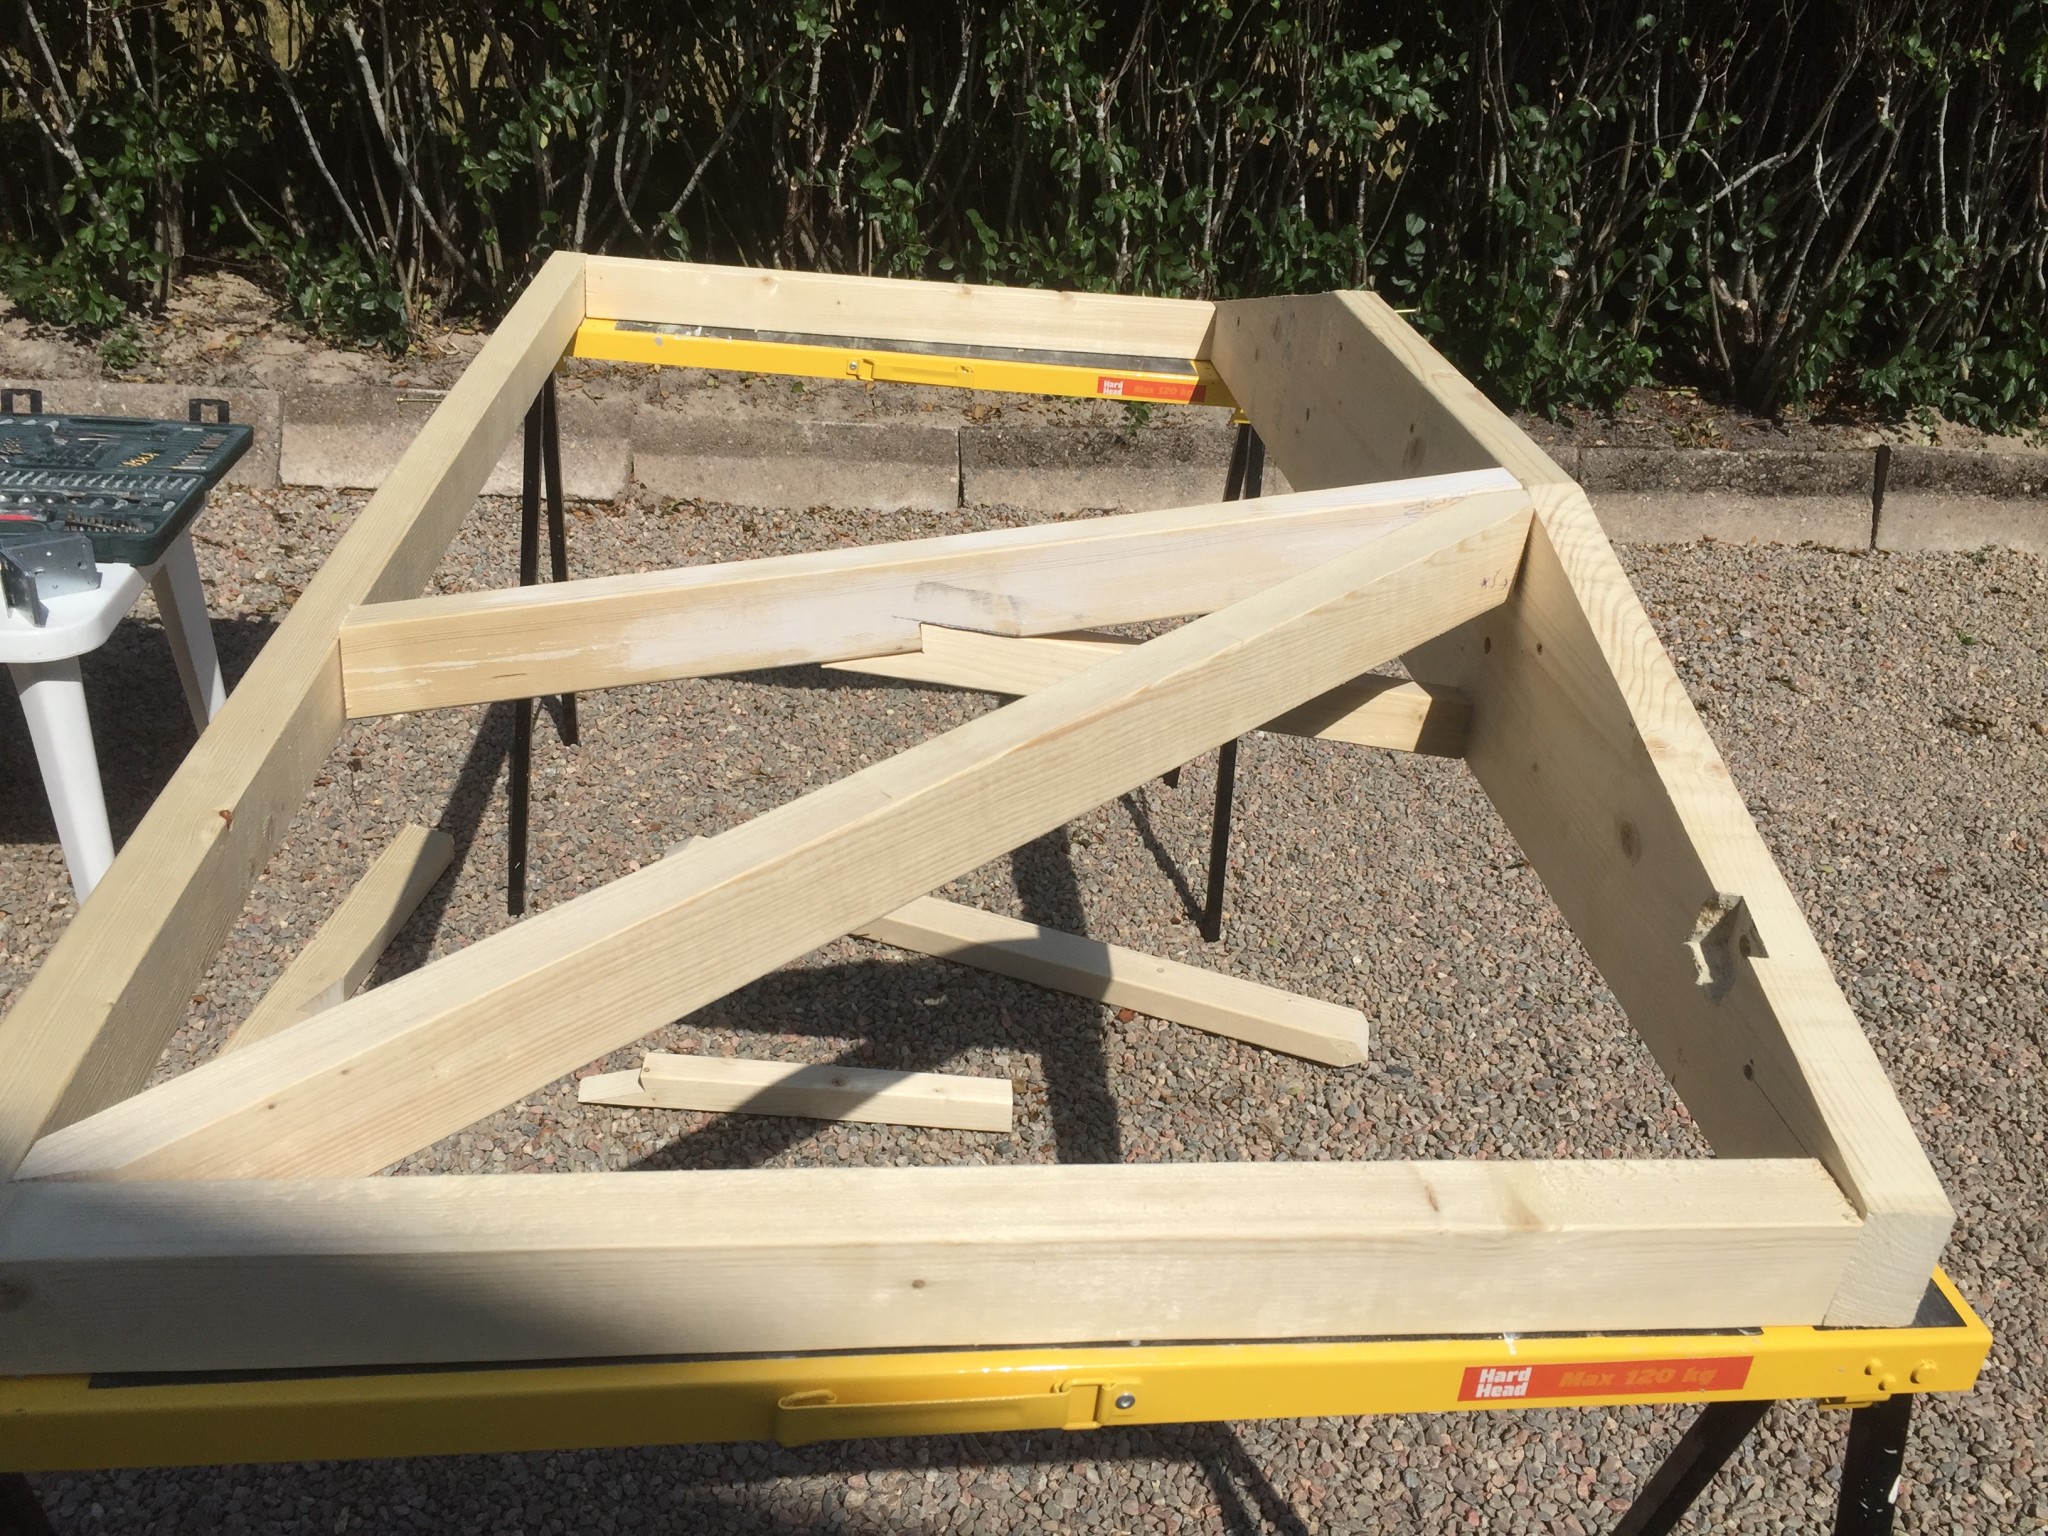
Made a model yesterday, measuring 175 cm wide and 90 cm deep. It has four bolts fastened to the wood behind the brick. I will also add 5 sturdy screws. The model currently weighs a maximum of 10-15 kg.
What I'm considering is whether I should add metal washers in the corners to reinforce the frame even more.
Here is one side of the model that needs to be primed and assembled before being covered in sheet metal.
What I'm considering is whether I should add metal washers in the corners to reinforce the frame even more.
Here is one side of the model that needs to be primed and assembled before being covered in sheet metal.
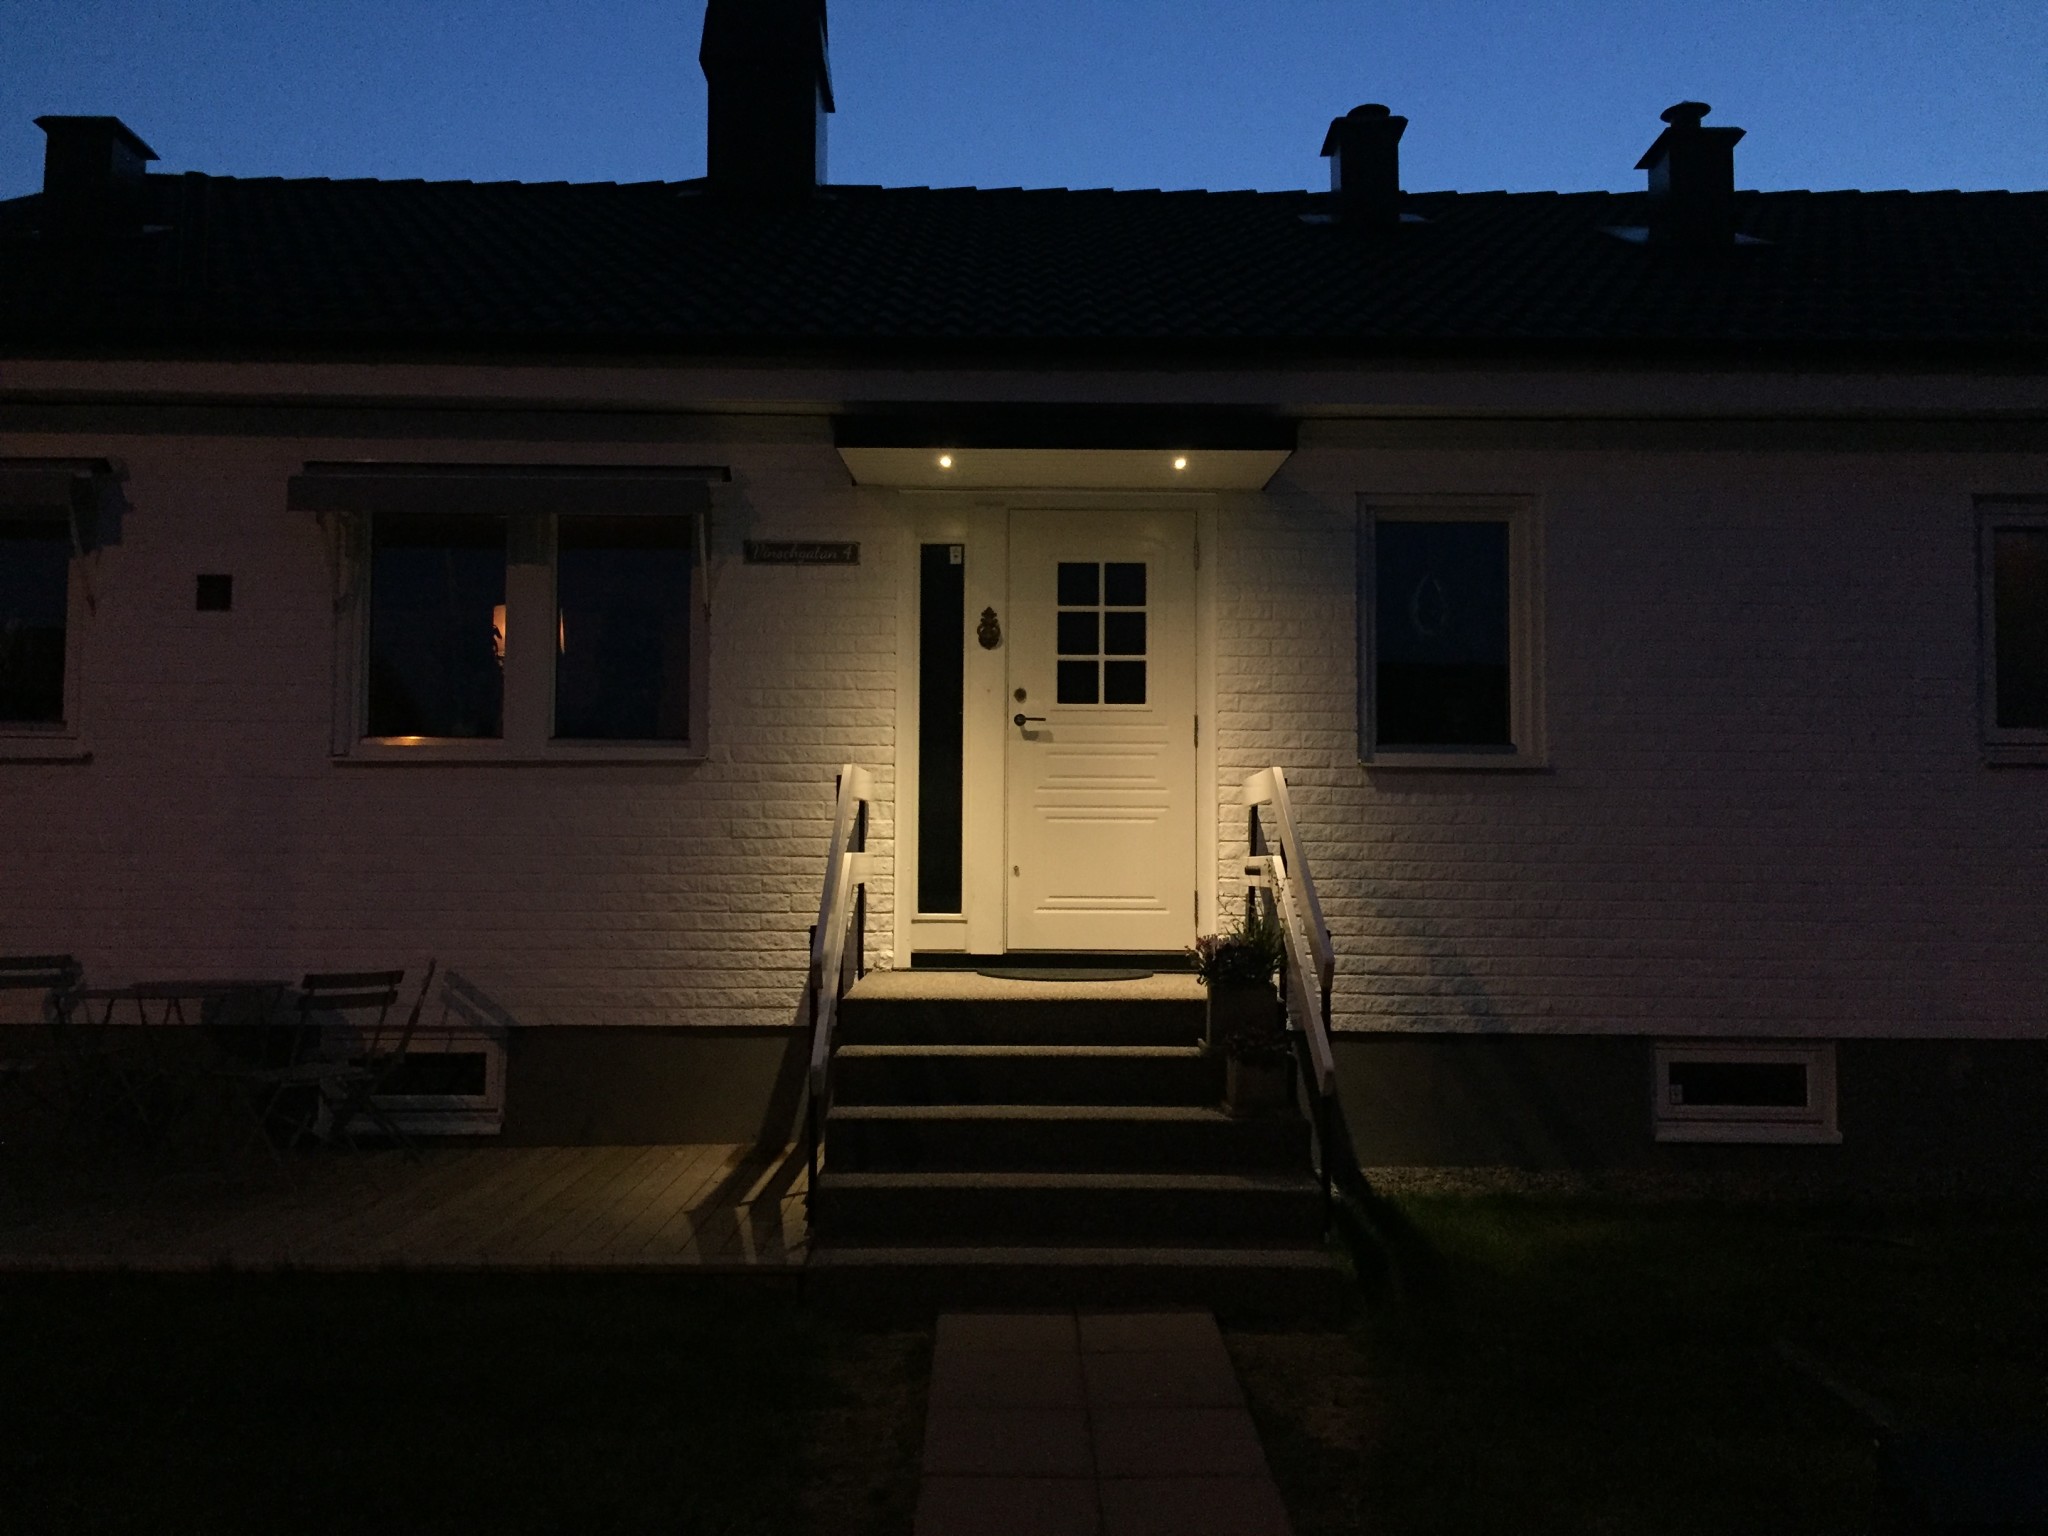
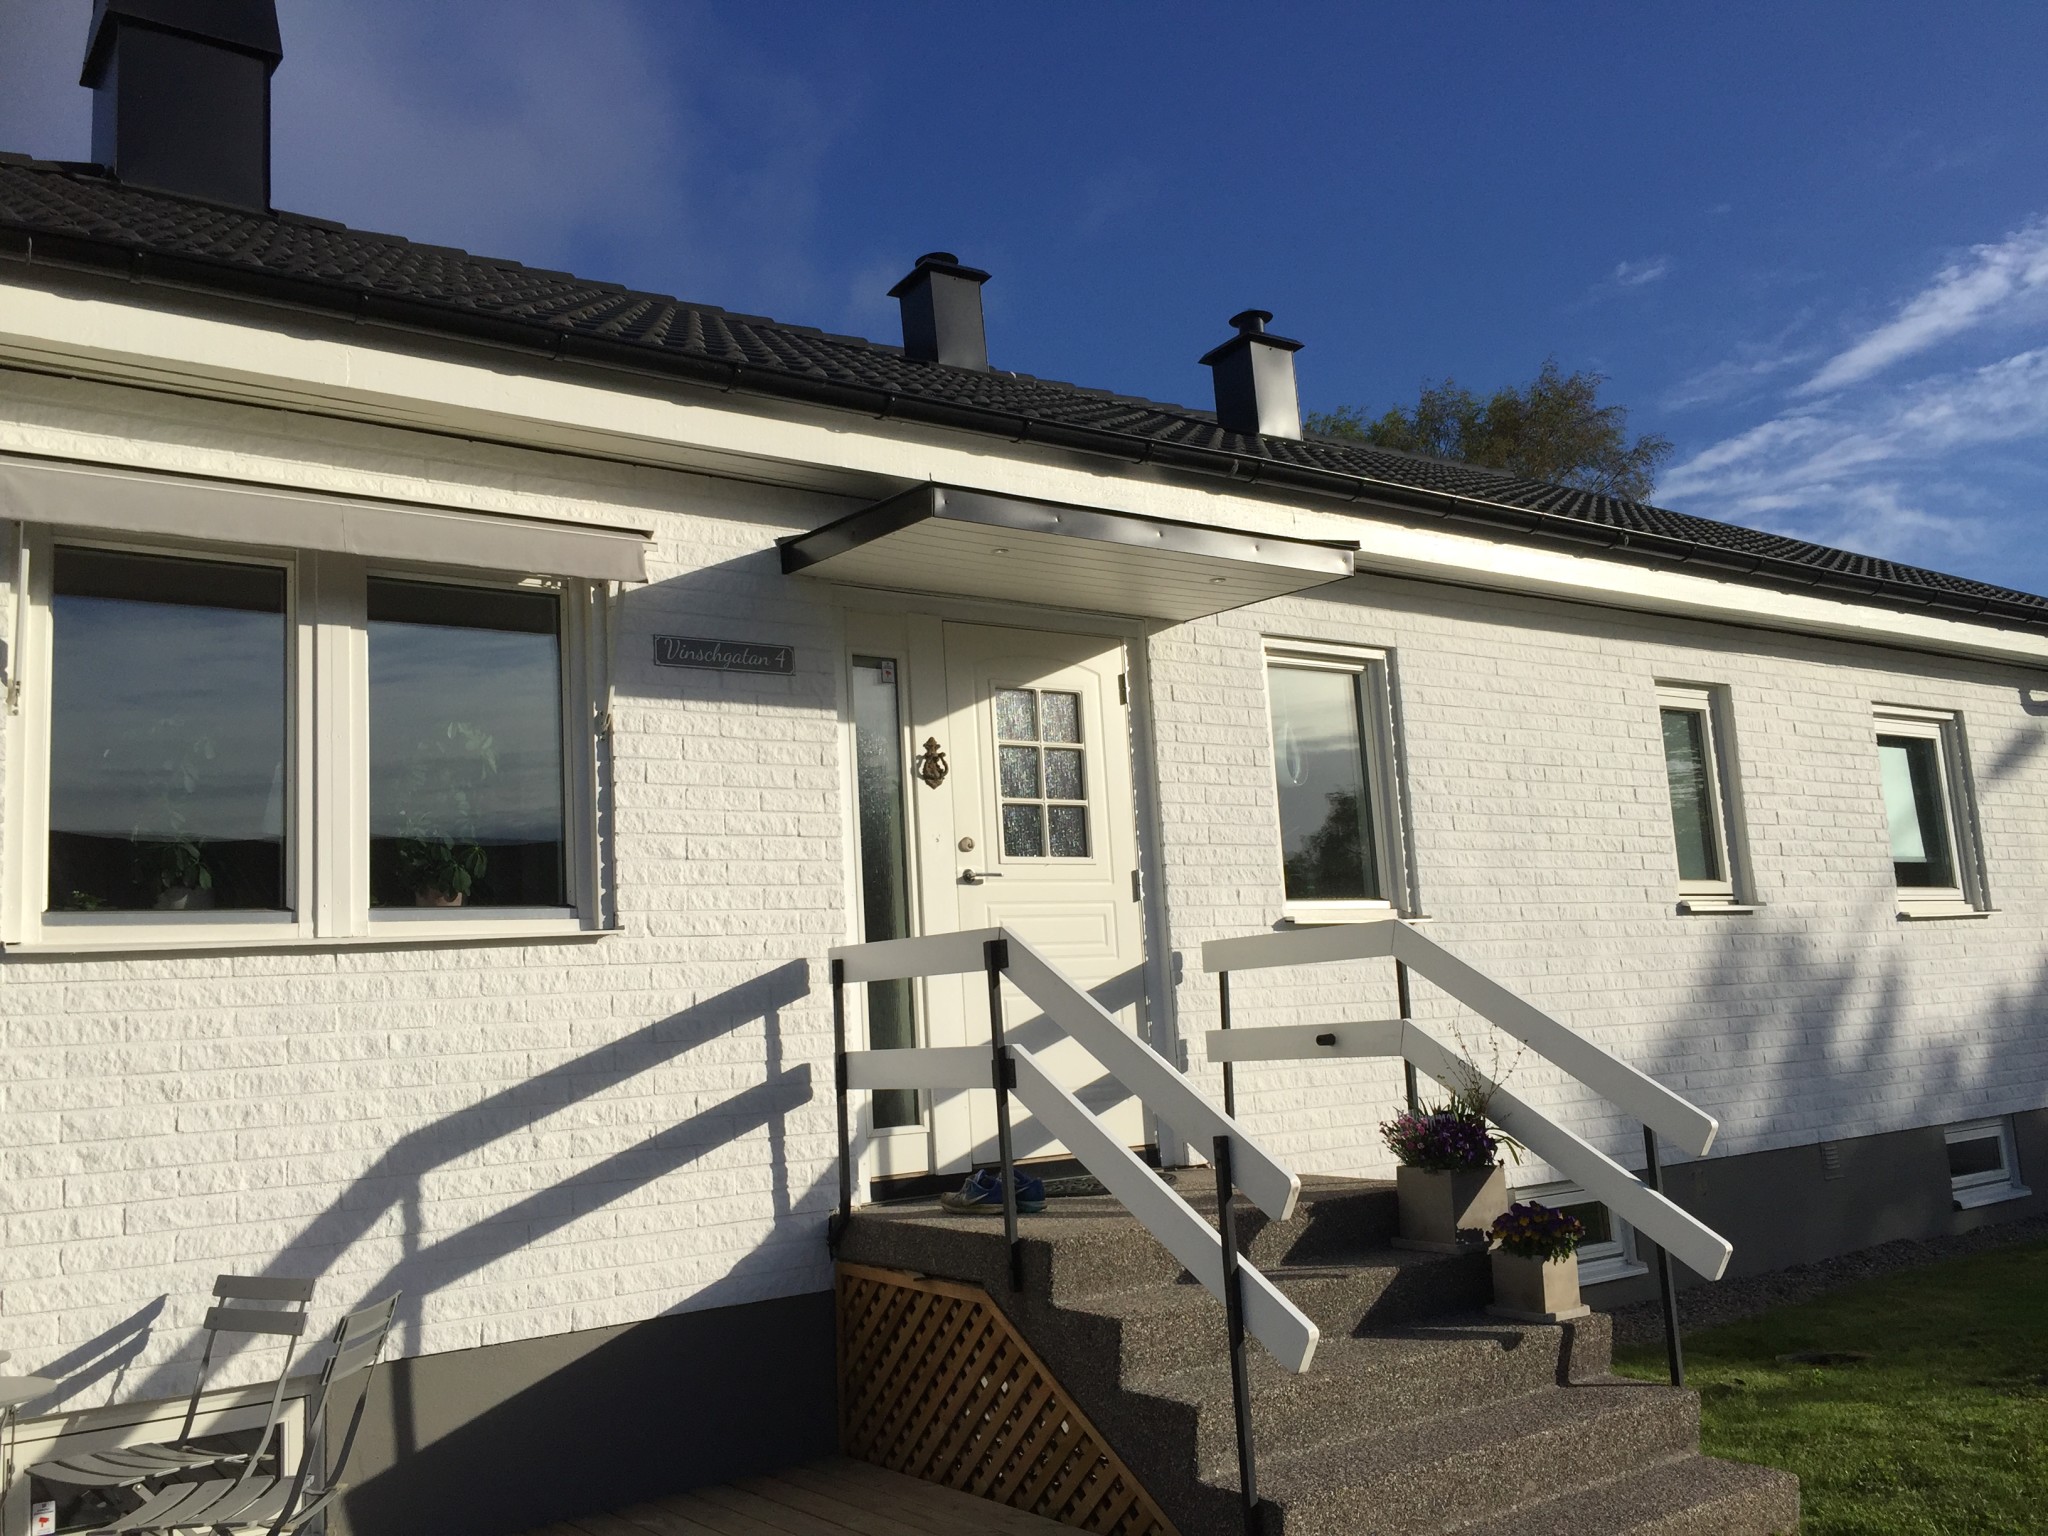
It turned out well. I didn't want any supports on the sides, so I had to try to keep the size and weight down as much as possible.OlleOh said:
The tinsmith was undecided whether it needed to be clad in plywood and felt or if a condensation barrier and just metal would suffice. In the end, it was plywood and felt underneath so that the metal wouldn't buckle when snow is on it. But in hindsight, I don't think it would have been necessary.
The underside is a 5 mm board meant to look like paneling.
I have more pictures of the whole process if you want me to upload them.
An ordered model would have cost about 15,000 SEK. Dratta cost us 6,000 SEK with the electrical installation included. The tinsmith was the major expense.
Renovation rookie
· Stockholm
· 647 posts
Nice! I'm thinking of doing something similar and have the same problem that I don't want/can't install brackets/bracing. If you have more pictures of the whole process, I'd be grateful to receive them ")
Absolutely, I have it on the computer. Will upload during the day. What was to my advantage when I set it up was that behind the brick facade there was a metal frame on the wooden panel behind it. From the metal frame, some pine bolts went through the brick, so I made holes in the wooden frame on the entrance roof and screwed on washers and nuts. Then I complemented with 4-5 really long and sturdy screws.Pasjostrom said: