Nice pictures interesting!!
You cast a sill and filled by hand what a job!!
How nice!
The wall plate on top of the gabions, you can pour a leveling on the top and fasten the wall plate to it, right?
The wall you haven't plastered outside... how does it handle moisture?
I settled for casting a few points at the top where the beam rests. Then it is secured with a continuous threaded rod and a bit heavier metal plates under the grid as counter support.
Regarding the unplastered wall and moisture, I don't really have a clear idea yet. Any rainwater that splashes in drains itself to the concrete footing and I haven't seen moisture penetrating through the plaster on the inside. I think the lime plaster is more exposed to moisture from the inside.
Here is a picture of the south facade which is entirely made of glass. The north side is stone and has no windows at all.
[image]
[image]
The entrance door is made from old window frames that I got for free. The same frames as on the rest of the house.
[image]
It's quite far to the nearest water outlet, so to avoid dragging hoses across the yard every day, there is an old accumulator tank of 500l that collects rainwater. On top of the tank, you can see a downpipe that leads water in from the gutter. To avoid overflow, there is a 32mm PEM hose in the top connection that leads the water out when the tank is full. Since it stands a few dm above the floor, there is enough pressure to water with a hose. Despite a dry early summer, it hasn't been out of water in the tank.
[image]
A cozy corner is a must in the evenings.
[image]
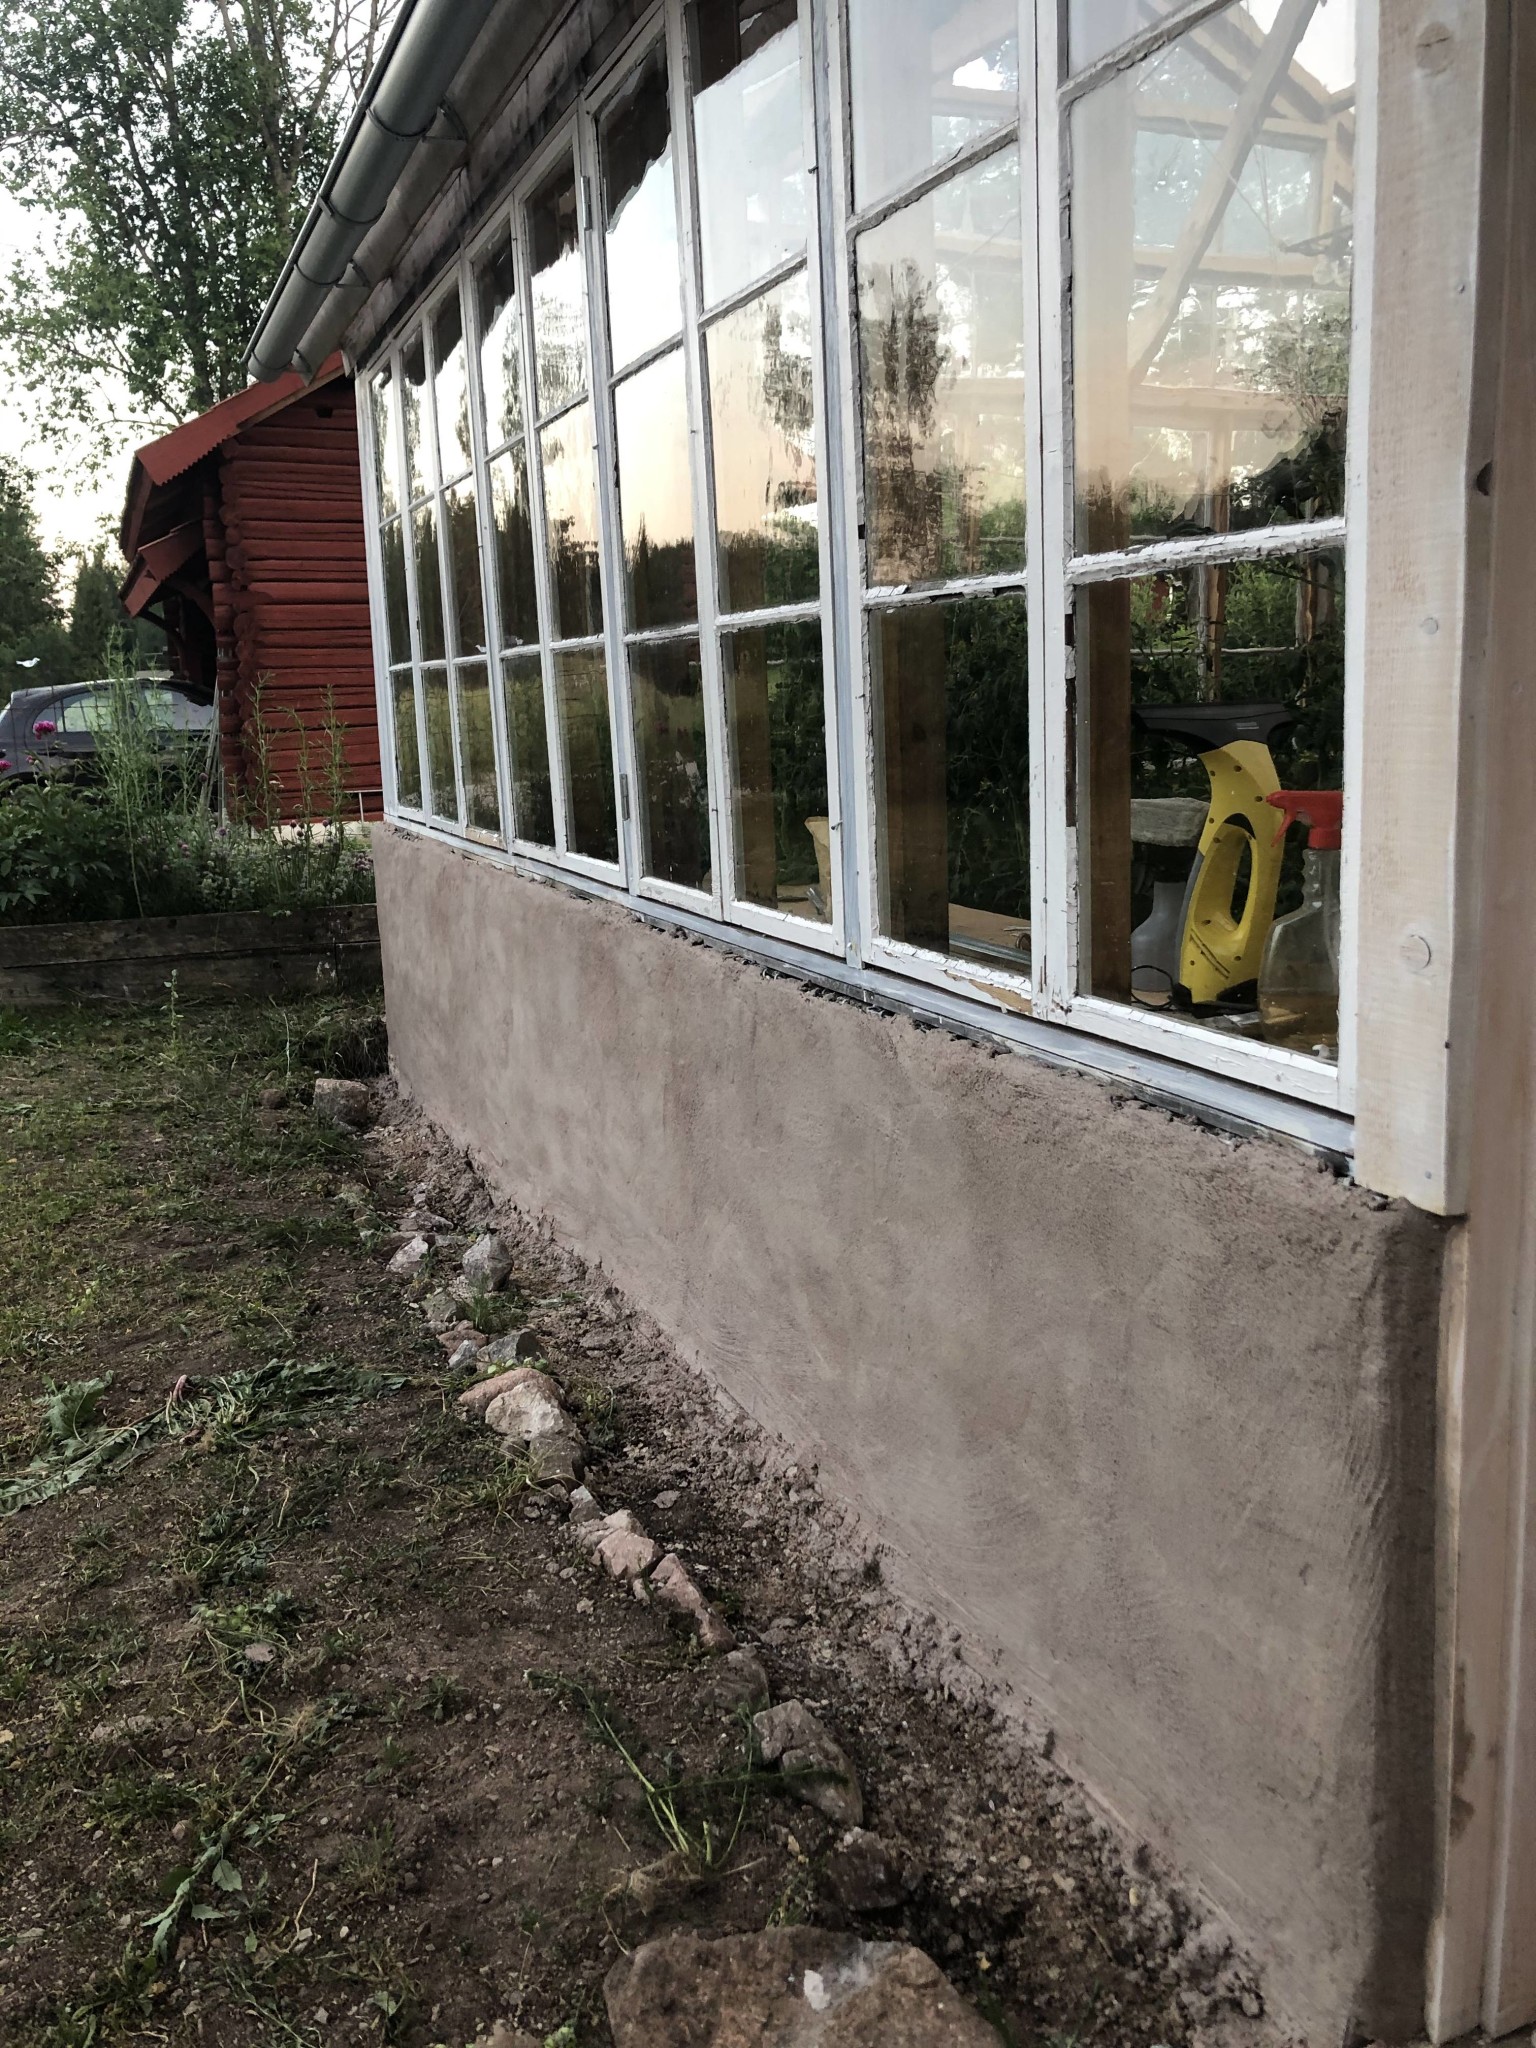
The walls are quite uneven, which is due to stones tending to poke a bit through the mesh of the gabions. The plaster thickness would have been enormous if I insisted on making the wall smooth. Now, the plaster follows the stones, and in retrospect, it turned out quite nice after all.
[image]
After much pondering, it finally became a brick floor. It was actually not as tricky as I thought to lay. Once the first row was perfectly straight, the rest was quite simple. Over the planting bed in the middle hangs a frame of reinforcement bars that hopefully can be easily covered with bubble wrap to overwinter sensitive plants inside.
Very nice build. I would love to see pictures, if you have any, of the walls from the inside, before plastering. Especially around the west wall windows / eaves...
Unfortunately, I probably don't have any pictures of the west wall (the one with semi-circular windows) before plastering. I made the arches from wedge-cut lecablock and bent rebar and plaster mesh underneath to get the shape.
I can only agree with the chorus of praise: fun project, well documented, and great results!
I want to know more about the brick planters! I'm planning some for my garden right now and have been wondering how to make them stable enough with the bricks on edge. How did you do it, do you have any magic on the inside? Drilled and placed rebar through? Threw on a bit of mortar and hoped for the best?
I believe the foundation is what's important. In the greenhouse, the planting boxes are on the brick floor, so there aren't any direct movements that can crack the joints. If they were directly on the ground, they might not hold up. Otherwise, I just mortared them together with B-bruk and placed some thicker wire in the joint between the layers as reinforcement. To be completely honest, there was actually a spot that broke, but I think it was due to poor workmanship and pre-watering, not the materials themselves. After a 30-minute repair, it's held up nicely.
I think the foundation is the important thing. In the greenhouse, the planting boxes are on the brick floor, so there aren't any direct movements that can crack the joints. If they were placed directly on the ground, they might not hold. Otherwise, I've just built them up with B-bruk, and placed slightly thicker wire in the joint between the courses as reinforcement. To be completely honest, one part actually broke, but I think it was due to poor workmanship and pre-watering and not the materials themselves. After a 30-minute repair, it has held up fine.
Interesting. The ones I'm planning will be on open ground, so there was clearly a good reason to buy that compactor
I know nothing about masonry, does it become stronger if you have a slightly thicker joint between the courses or should you use it more like glue?
Intressant. De jag planerar ska stå på friland, så det fanns uppenbarligen en bra anledning att köpa den där paddan
Kan inget om murning, blir det starkare om man har en lite tjockare fog mellan skiftena eller ska man använda det mer som lim?[/
1
jonmo said:
Intressant. De jag planerar ska stå på friland, så det fanns uppenbarligen en bra anledning att köpa den där paddan
Kan inget om murning, blir det starkare om man har en lite tjockare fog mellan skiftena eller ska man använda det mer som lim?
1 cm tjock fog är nog lagom, tjockare kommer inte hjälpa. Kom ihåg att blöta ner teglet ordentligt innan du murar. I riktigt torrt väder (som nu) brukar jag doppa stenarna ordentligt i vatten. Annars kommer bruket torka innan det har fastnat. Vill du göra det hela starkare kan du ju armera fogen med nåt typ ståltråd, hålband eller något annat lämpligt.
.
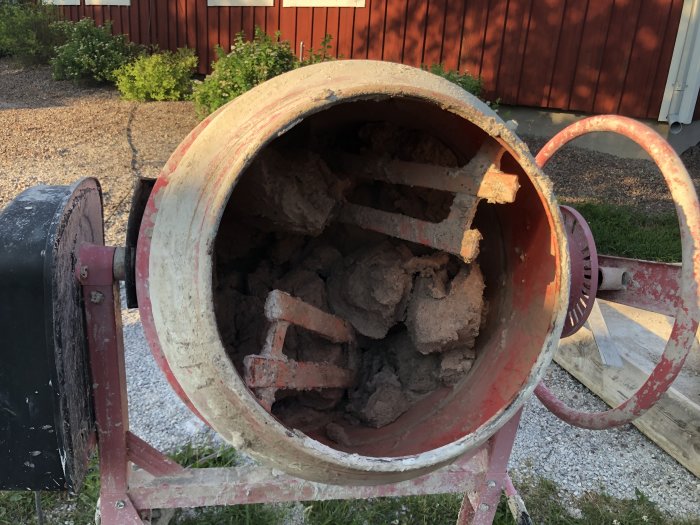
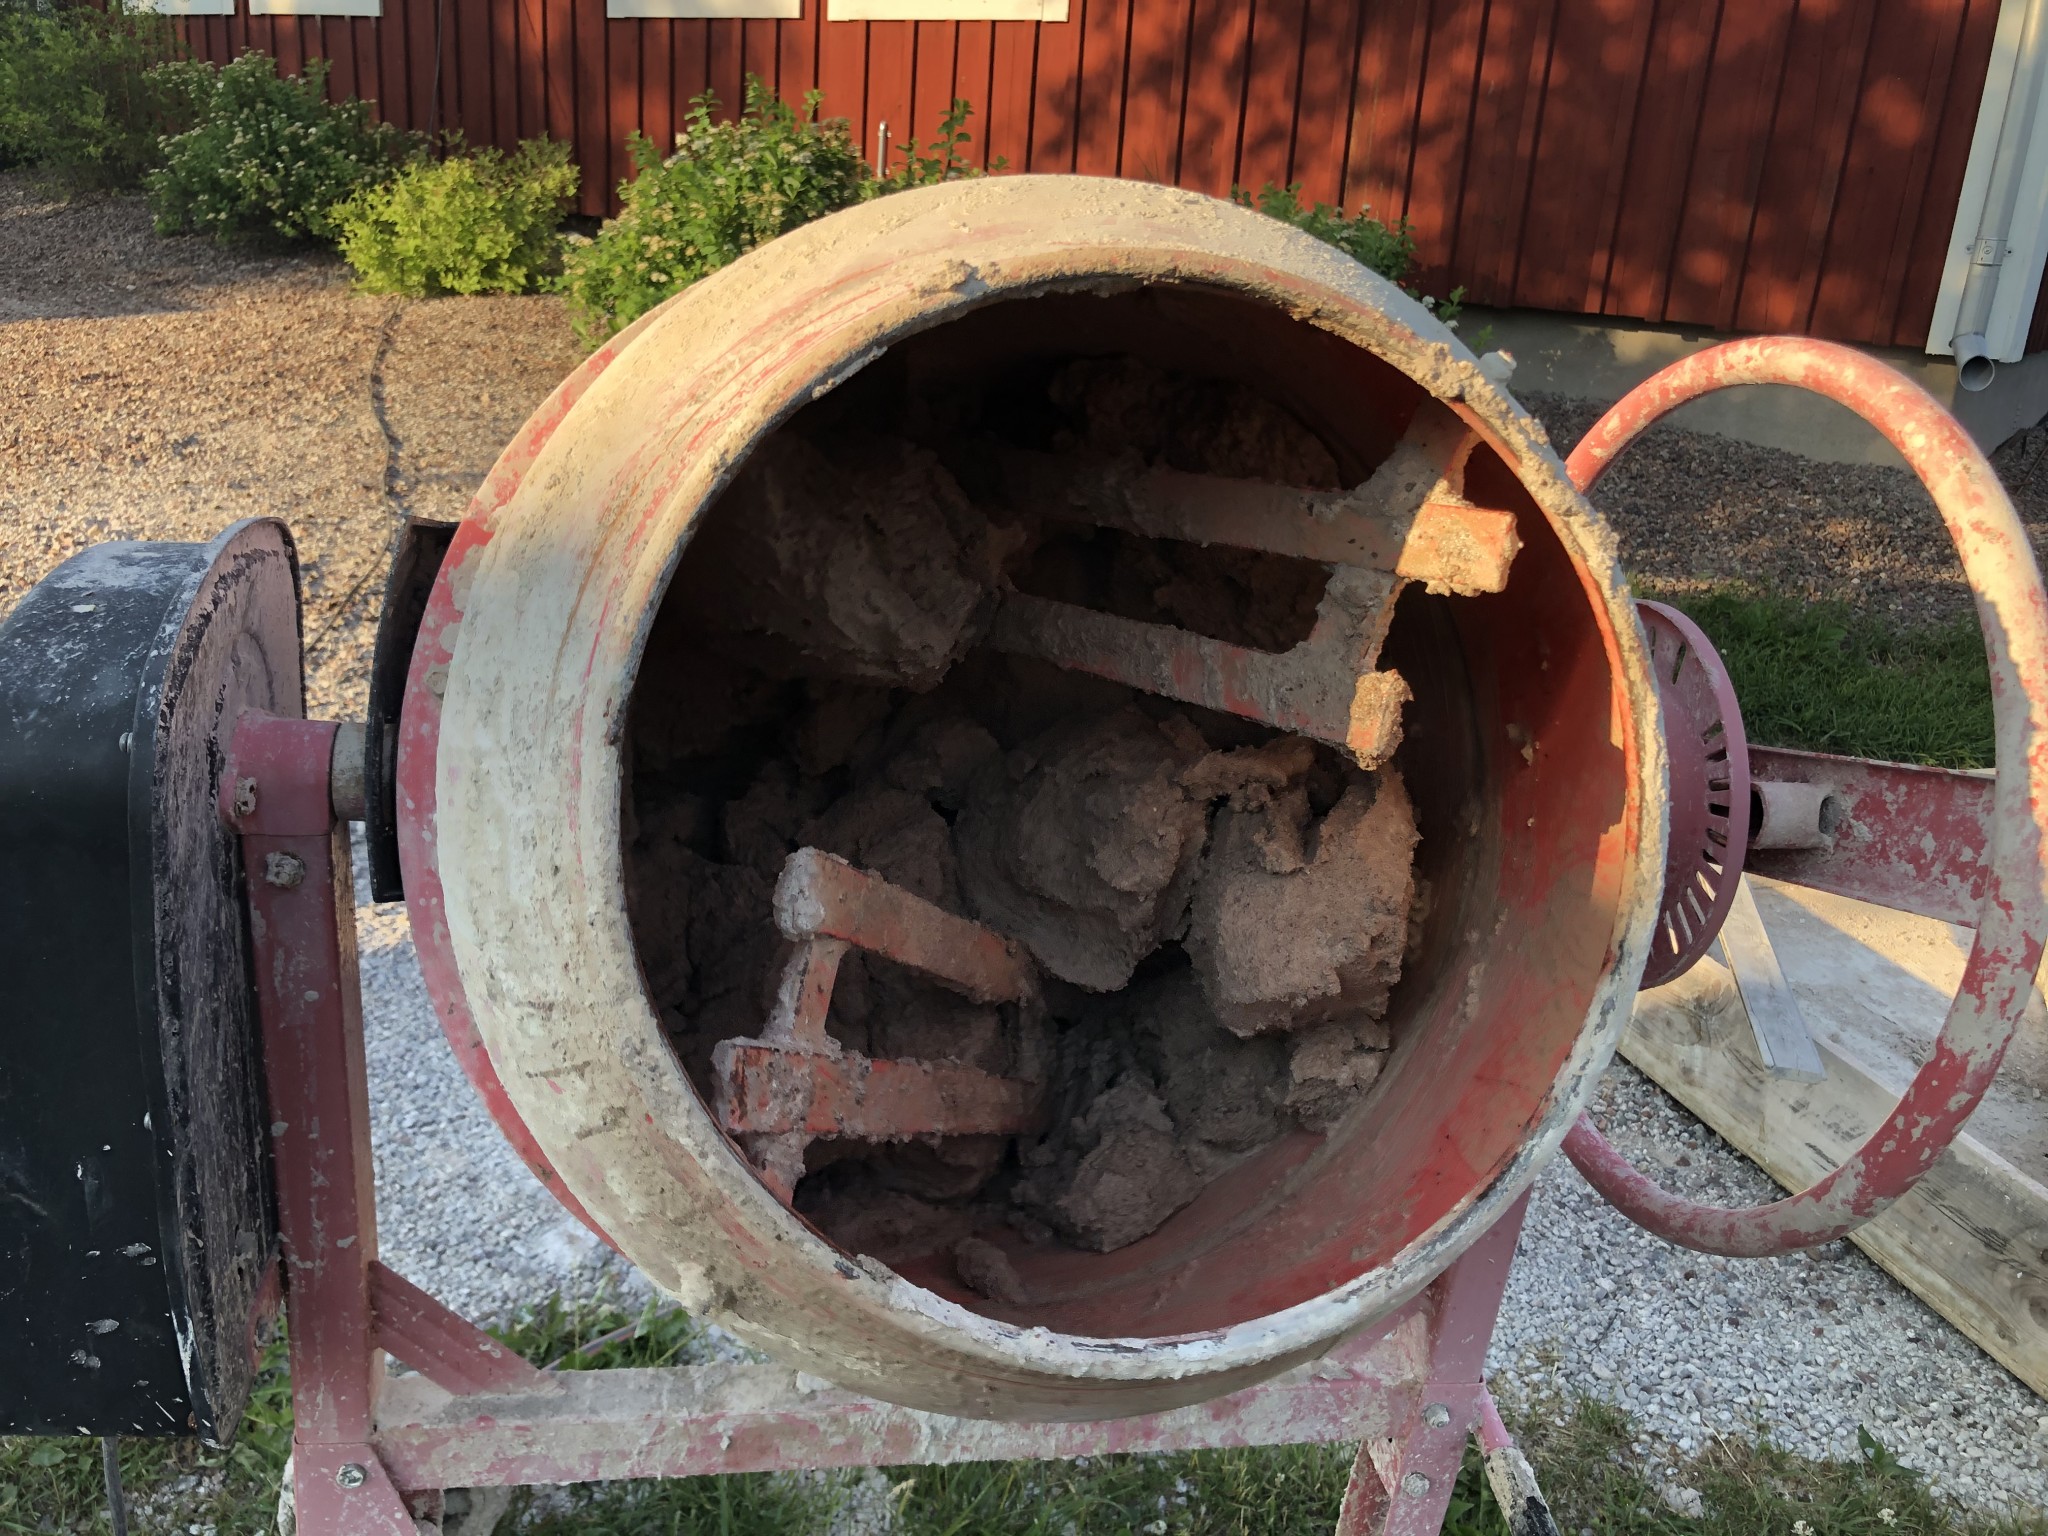
Yesterday it was time for the very last plastering, so I took the opportunity to take some pictures of how I mixed up the plaster after it had been wrapped in plastic for a couple of weeks. If you look at the first pictures in the thread where the plaster was very loose and compare with now, you can see how much it has thickened. Apparently, not all the lime was slaked, so it takes a while for the process to be completed, but it also seems like the plaster thickens quite a lot just by being still. This is how hard it was when I removed the plastic:
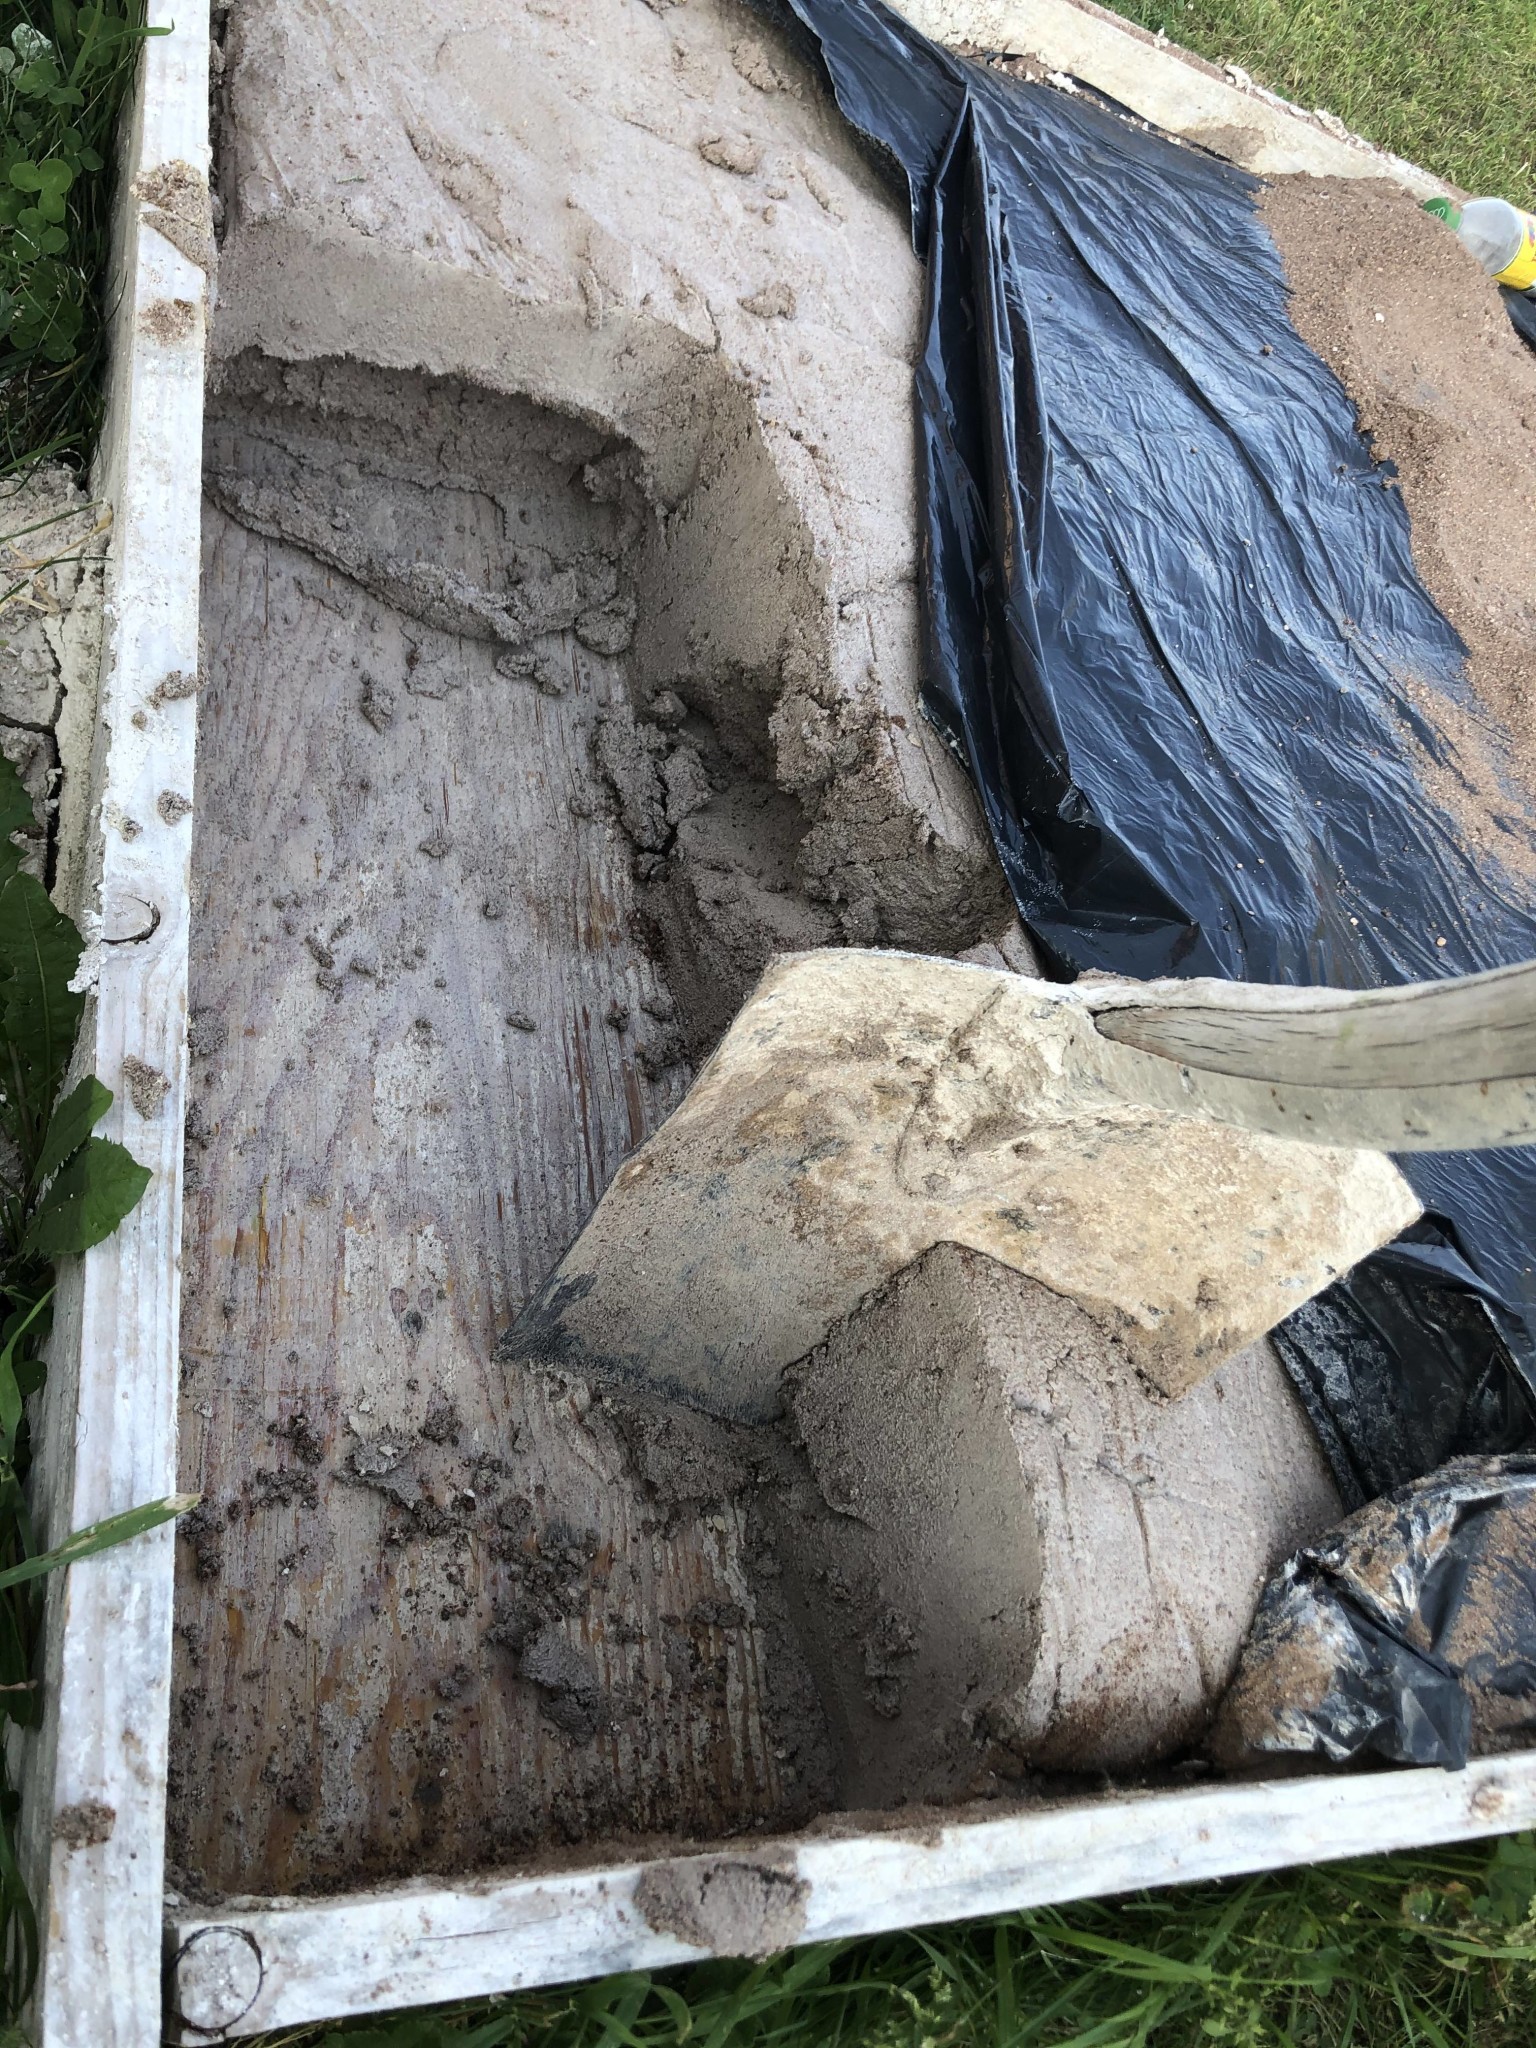
The consistency is so thick that you have to cut out cubes and shovel them into the mixer. It's easy to think that you need to add a lot of water, but actually, very little is needed. If you let the mixer run for a long time, the mortar will knead and become easy to work with.
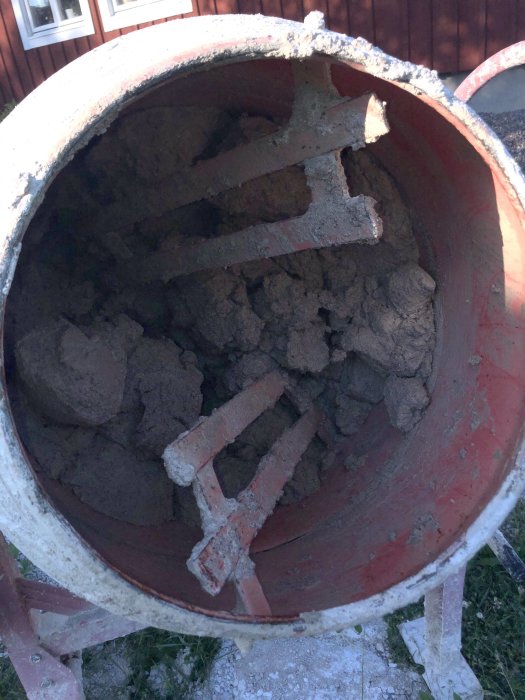
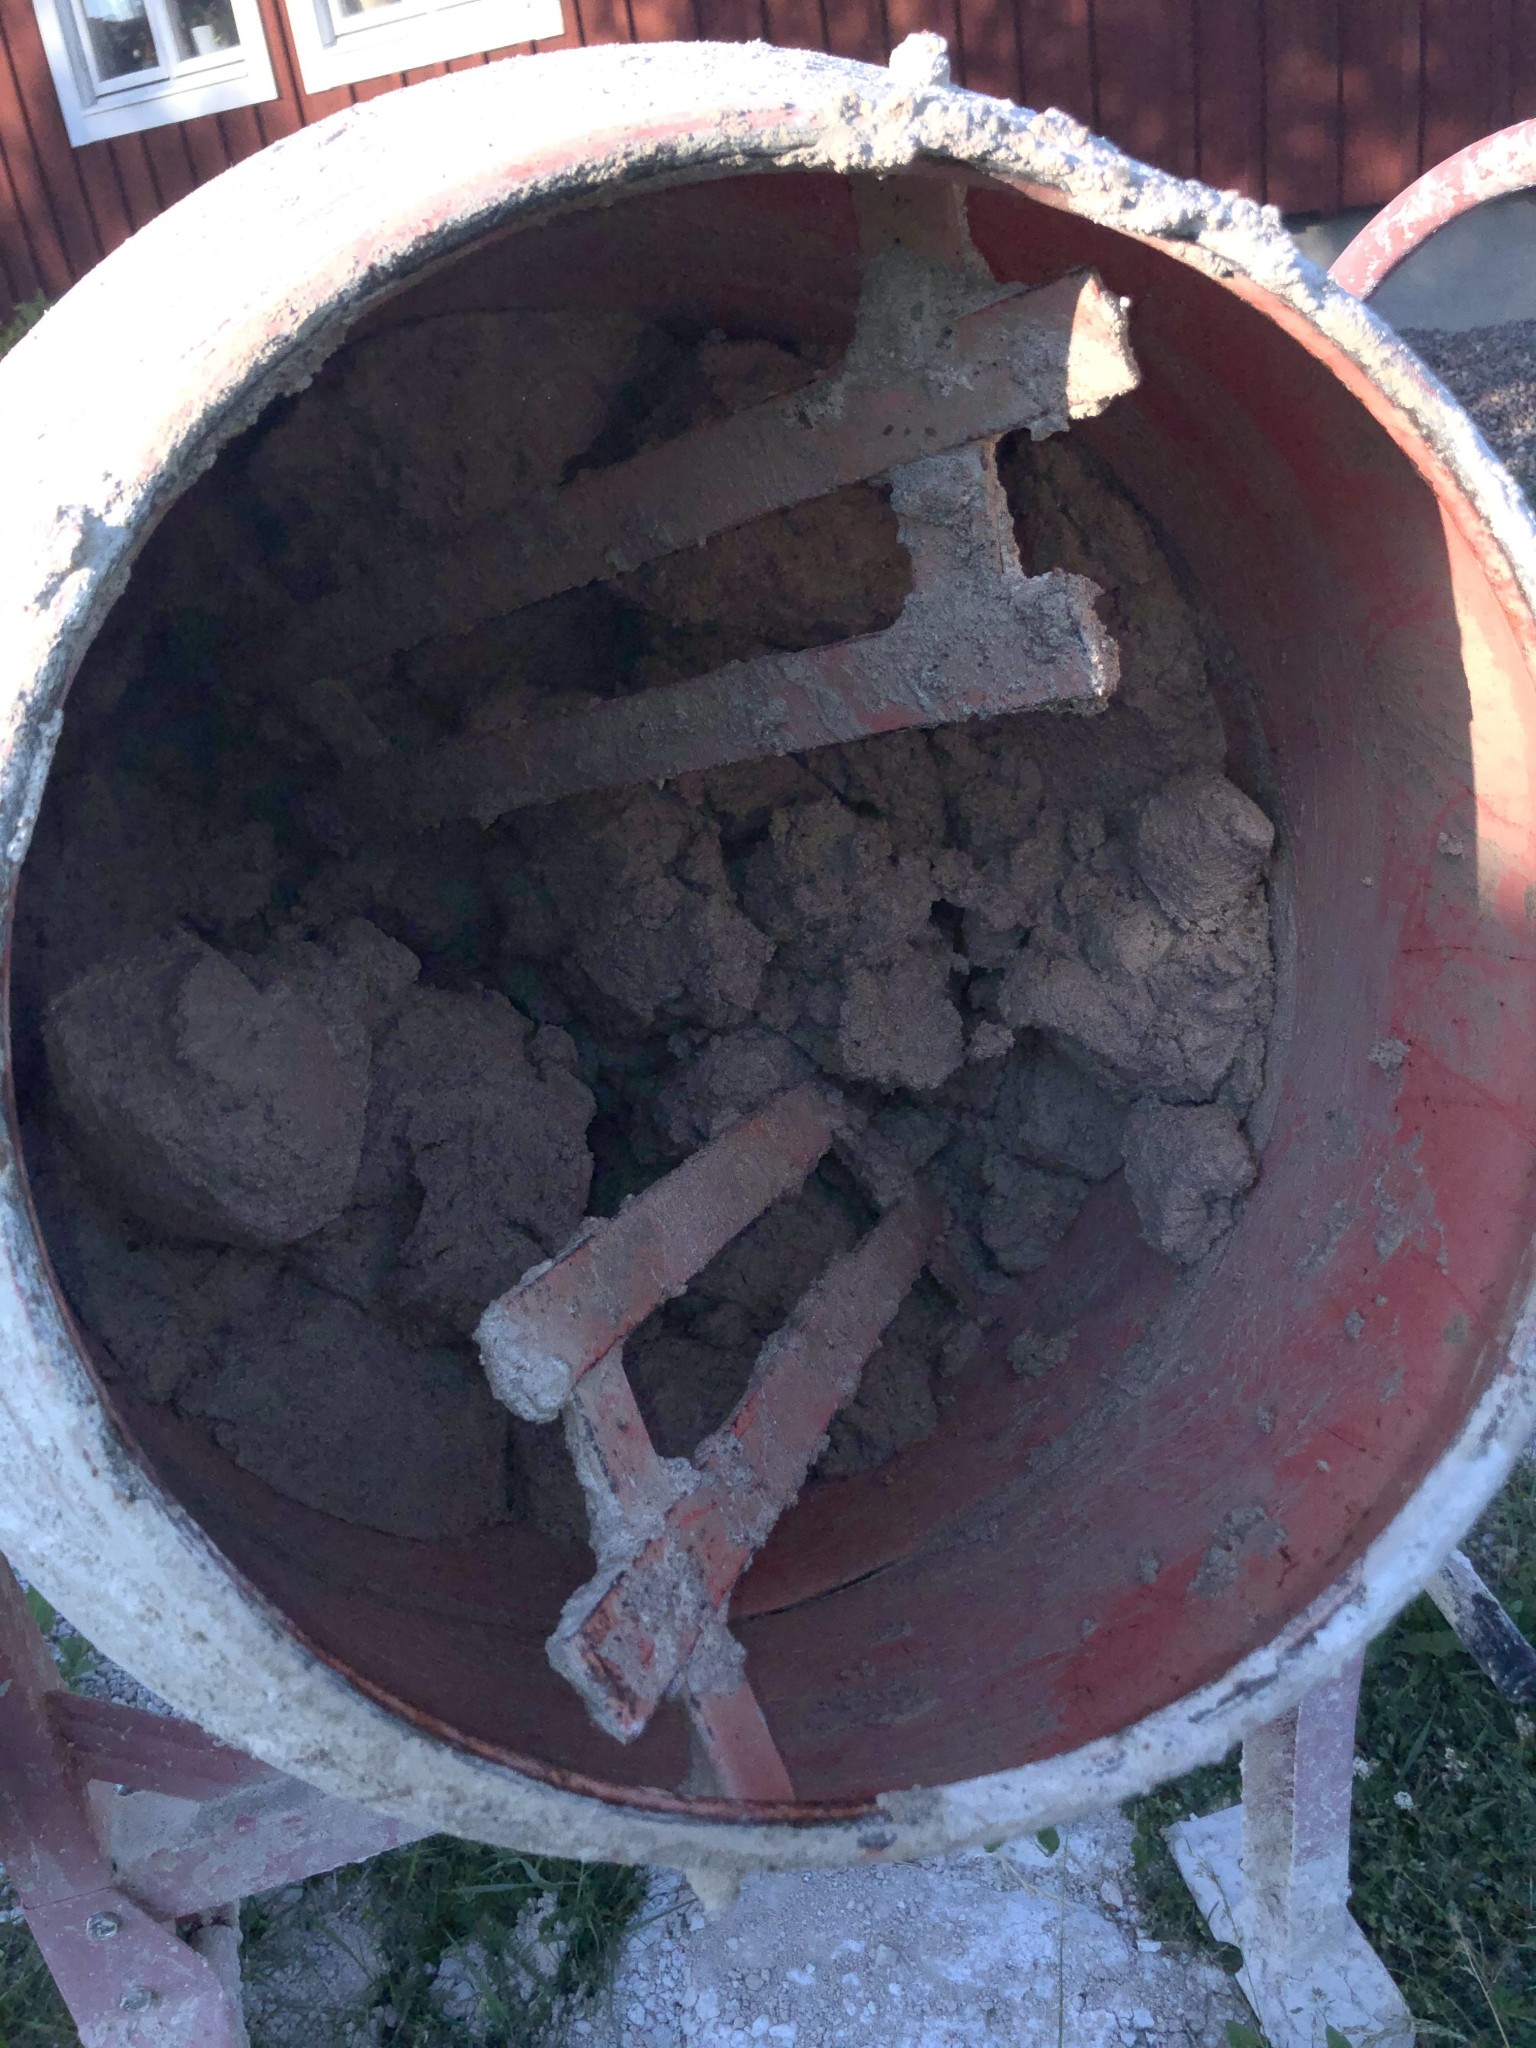
here it tumbles around hard cubes. About 1 minute mixed.
4-5 minutes mixed. Still too hard! Here I add a little water. But carefully, it's very easy to add too much.
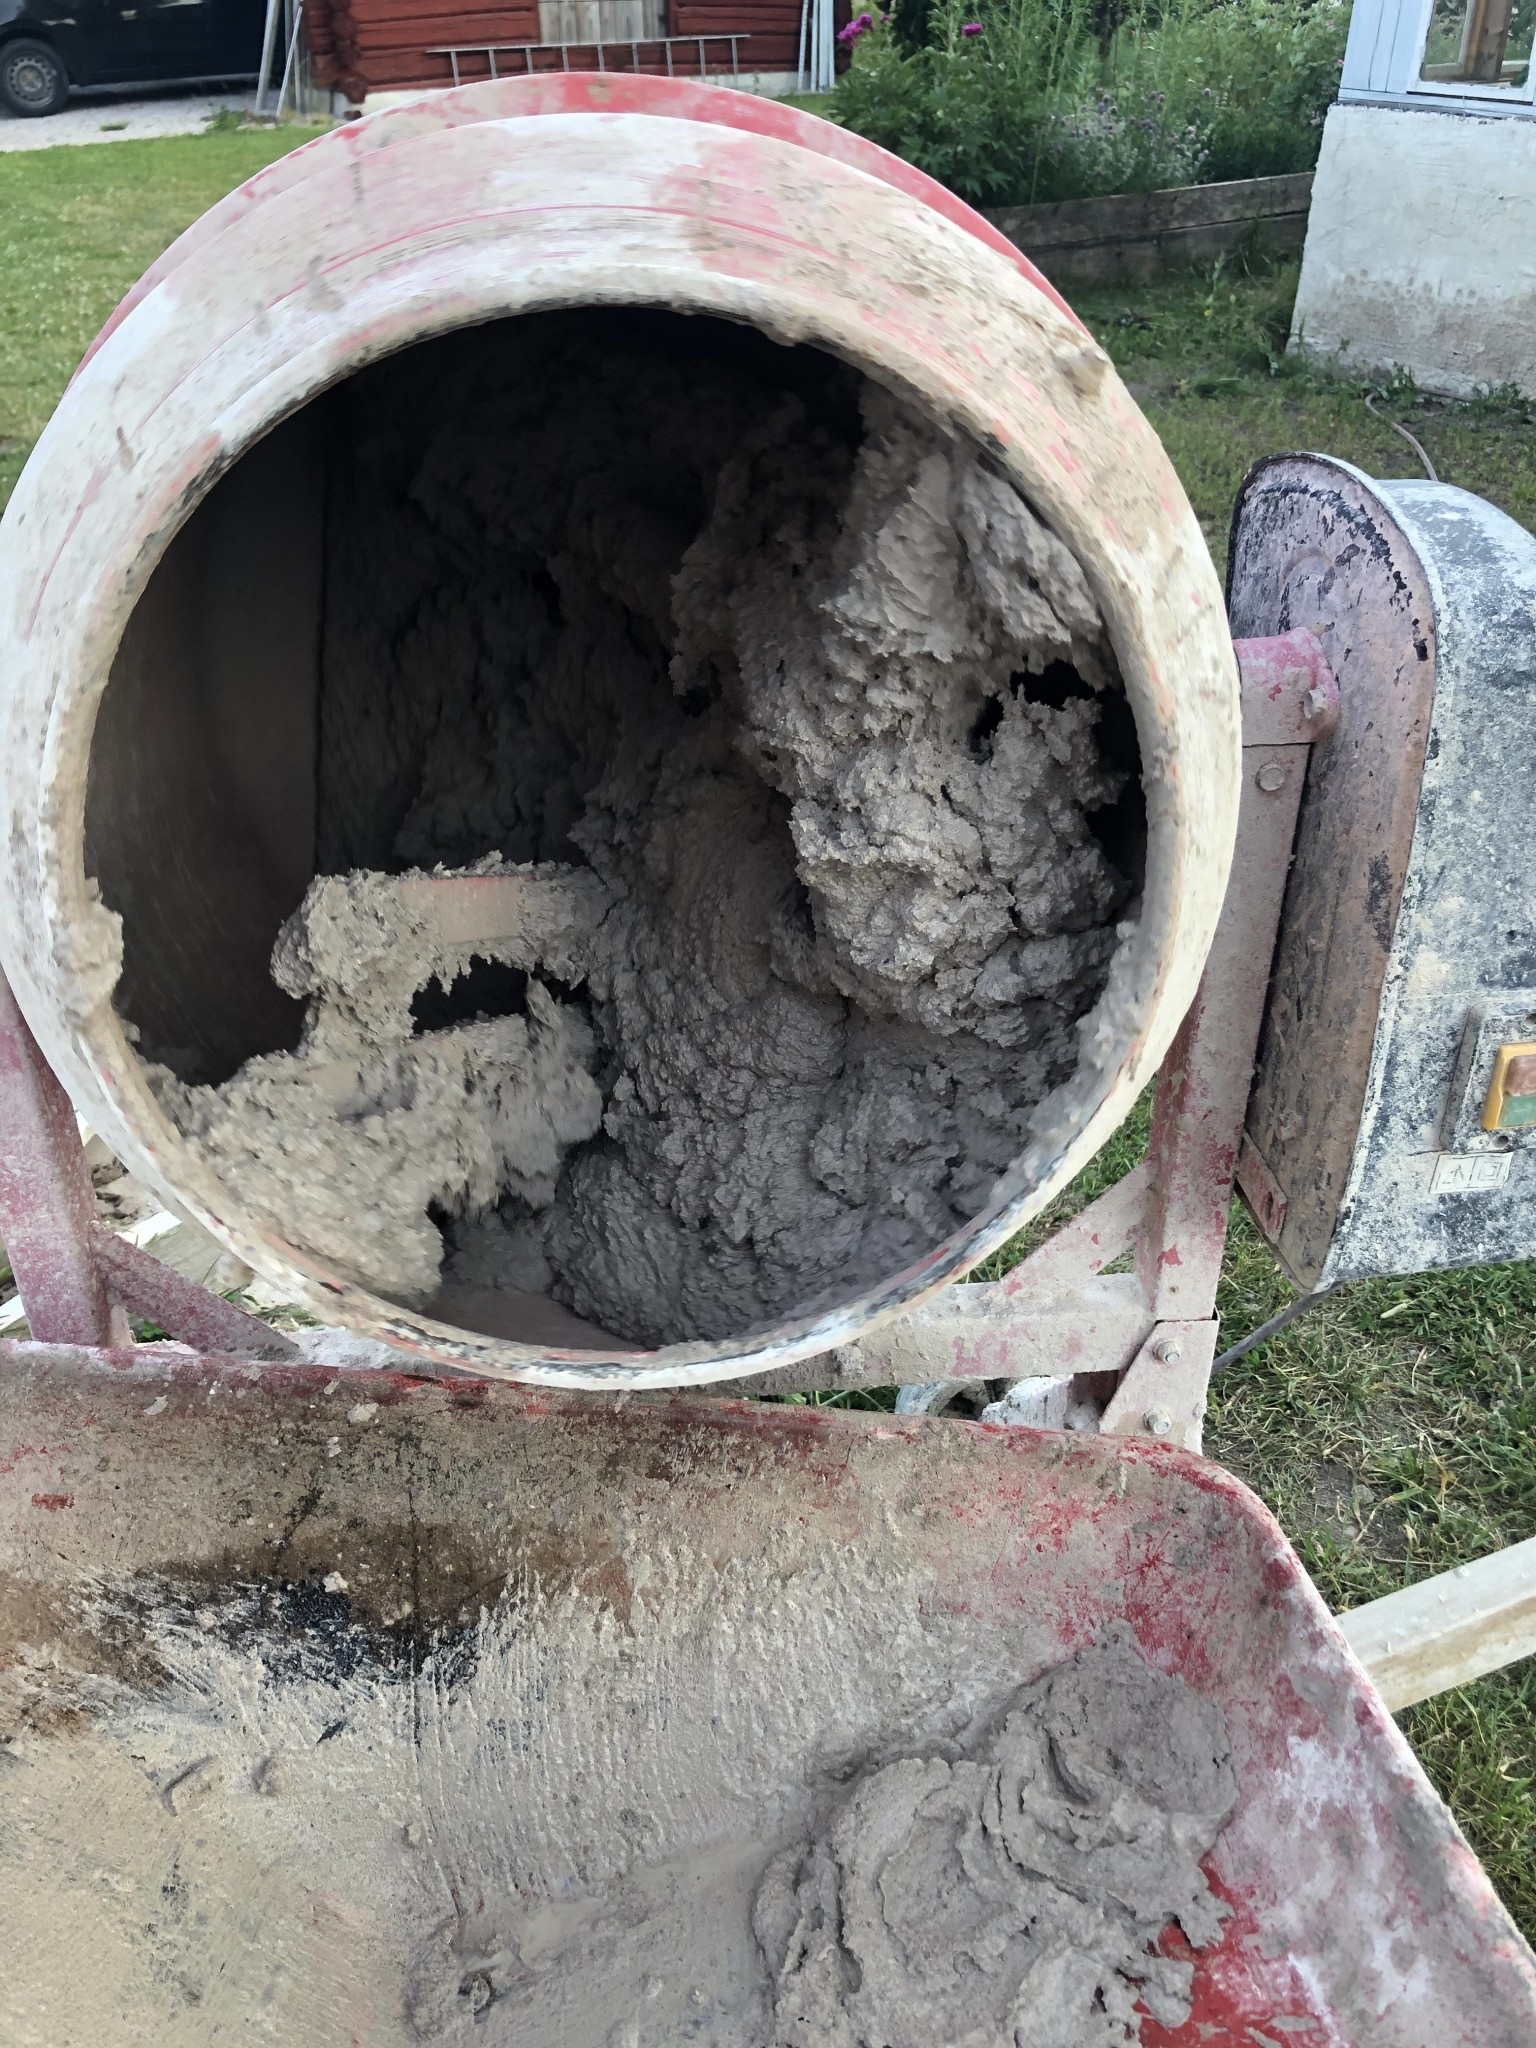
20 minutes of mixing and the consistency is perfect! I usually let the next batch mix while I apply all the mortar. This way, I don't have to wait for the next batch to be ready.
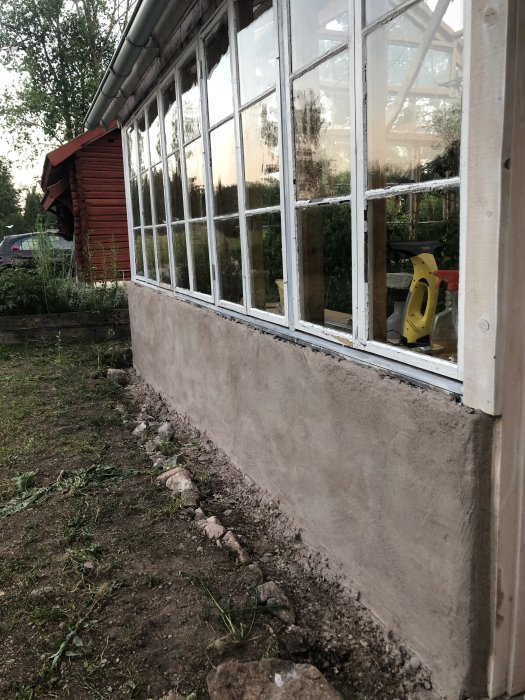
One of the two sides that got its last layer yesterday. Now it will be nice to do something other than casting plaster as a leisure activity. The only thing left on the outside now is the lime painting.
We managed to get burnt lime in bulk bags very cheaply from a local lime quarry, which we picked up with a tractor and trailer.
Approximately how much did the lime cost per kg?
In the past, quicklime was used quite a bit when there were smaller lime industries scattered around and it was easier to buy, but now it's not as easy to find. Using quicklime to mix lime mortar is interesting; a thesis was written about it a few years ago, where it showed less cracking in the plaster when using quicklime compared to slaked. Of course, the aggregate is also very important when mixing fatter mortar (which should be done for durability), but I rarely see this mentioned in descriptions.
In the past, unslaked lime was used quite a bit when there were smaller lime industries scattered around, making it easier to purchase, but now it's not as easy to find. Using unslaked lime for mixing lime mortar is interesting; a thesis was written about it a few years ago, which found less cracking in the plaster when using unslaked lime compared to slaked. Of course, the aggregate also plays a significant role when mixing richer mortar (which should be done for durability), but this is rarely mentioned in descriptions, in my opinion.
To be completely honest, 2 tons of lime cost exactly 2 coffee cakes from Konsum. They had a few leftover bags from an order that could no longer be sold since they could not guarantee the quality anymore. The guys weren't interested in any "coffee fund" solution but were more than happy to get rid of the problem. However, they did accept pastries! I know, we were ridiculously lucky!
Regarding mixing directly with unslaked lime, I also read a thesis, but I can't form my own opinion since I have quite limited experience with anything else, at least on a larger scale. I do have some bad news, though. One side of the greenhouse foundation that was plastered at the end of July has completely cracked now during the winter. Likely, the lime hasn't cured sufficiently, absorbed too much moisture, which caused the surface to crack when the cold came. Sad, but it can be fixed again in the spring.
Vi vill skicka notiser för ämnen du bevakar och händelser som berör dig.
apotekarnes said:
Here is a picture of the south facade which is entirely made of glass. The north side is stone and has no windows at all.")
jonmo said:
Intressant. De jag planerar ska stå på friland, så det fanns uppenbarligen en bra anledning att köpa den där paddan