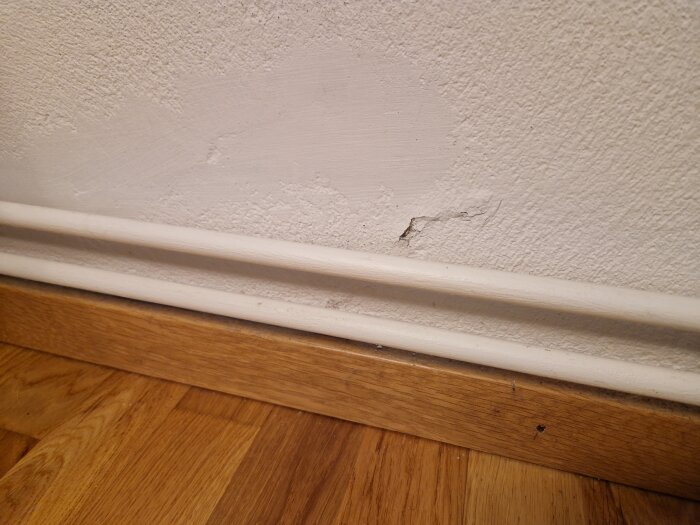
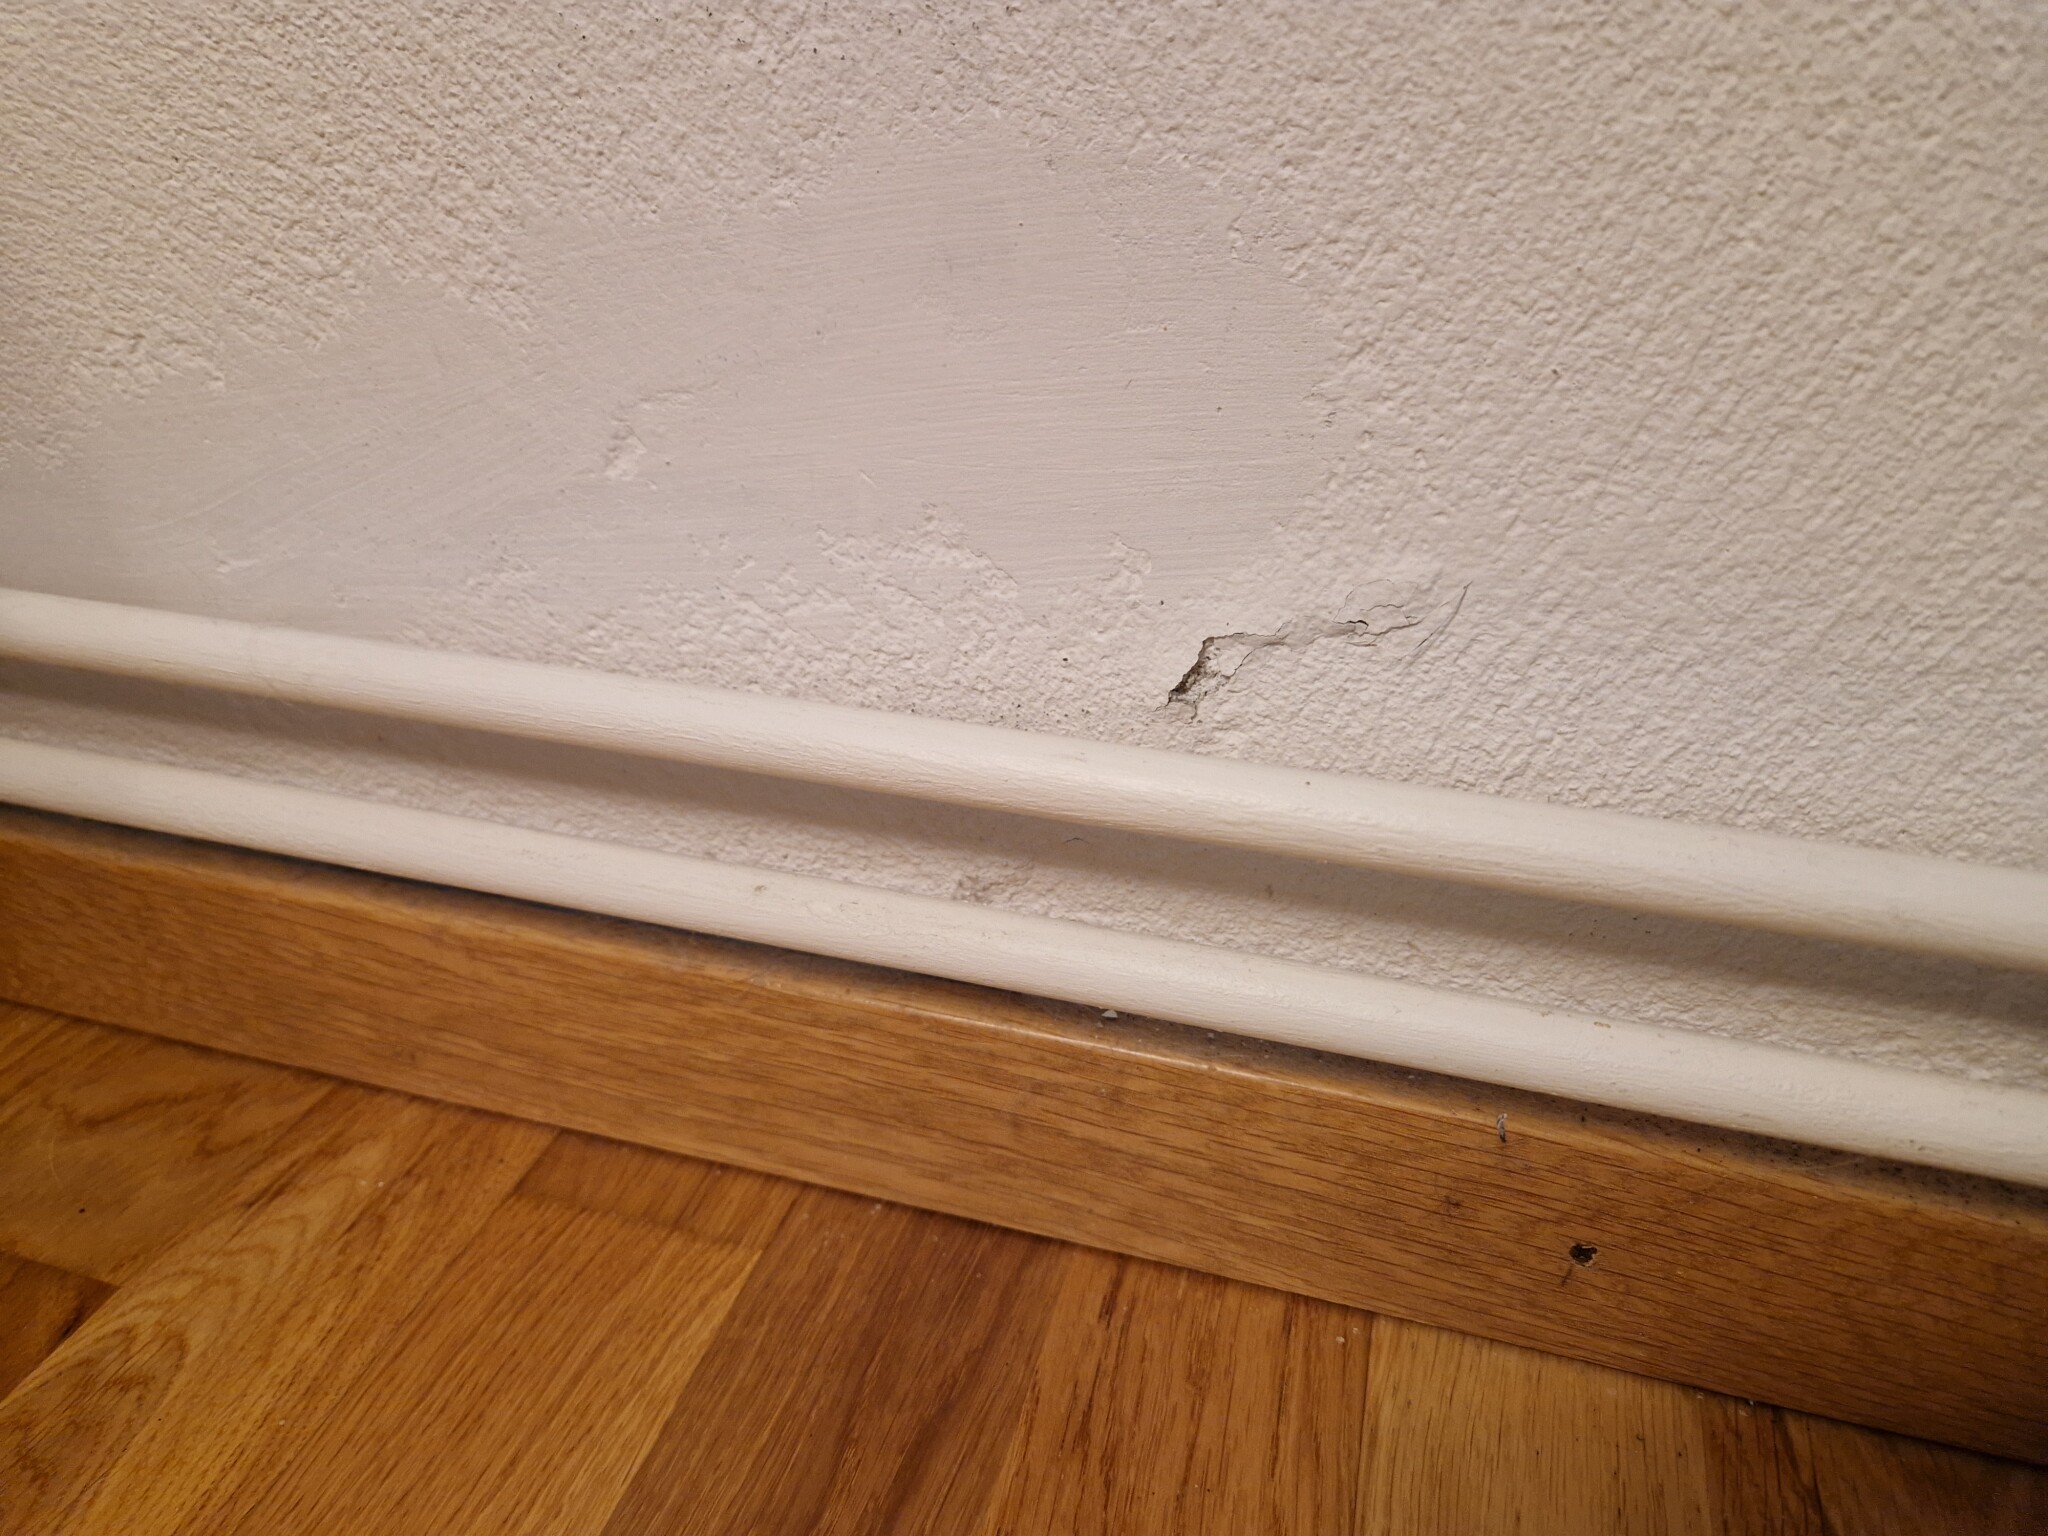
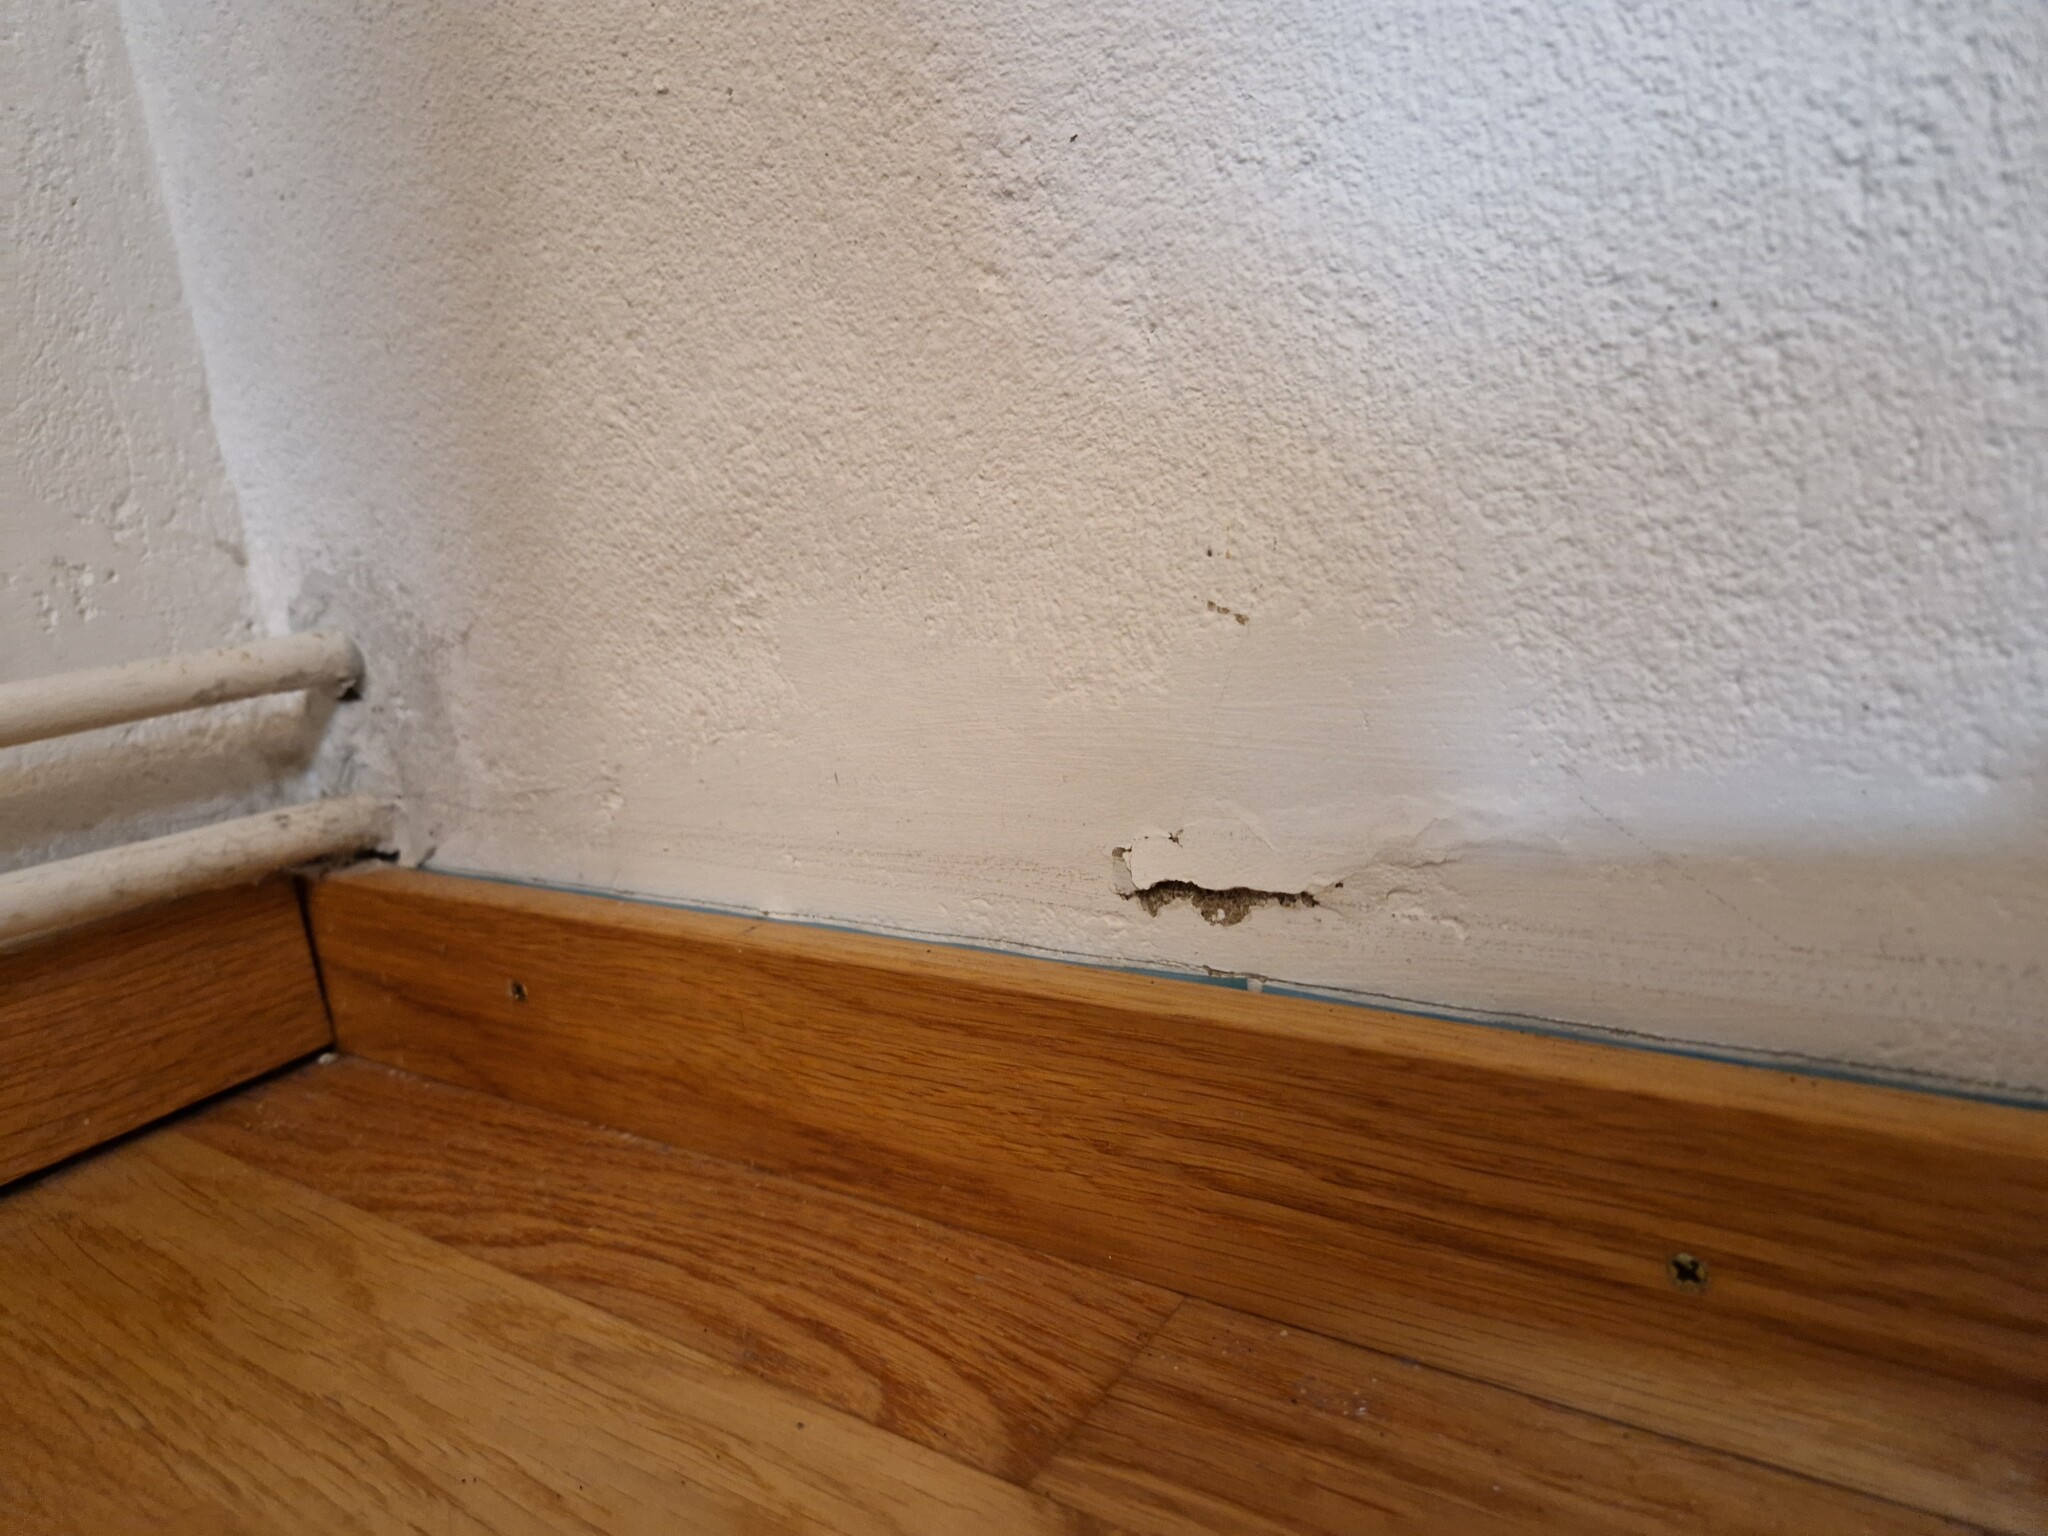
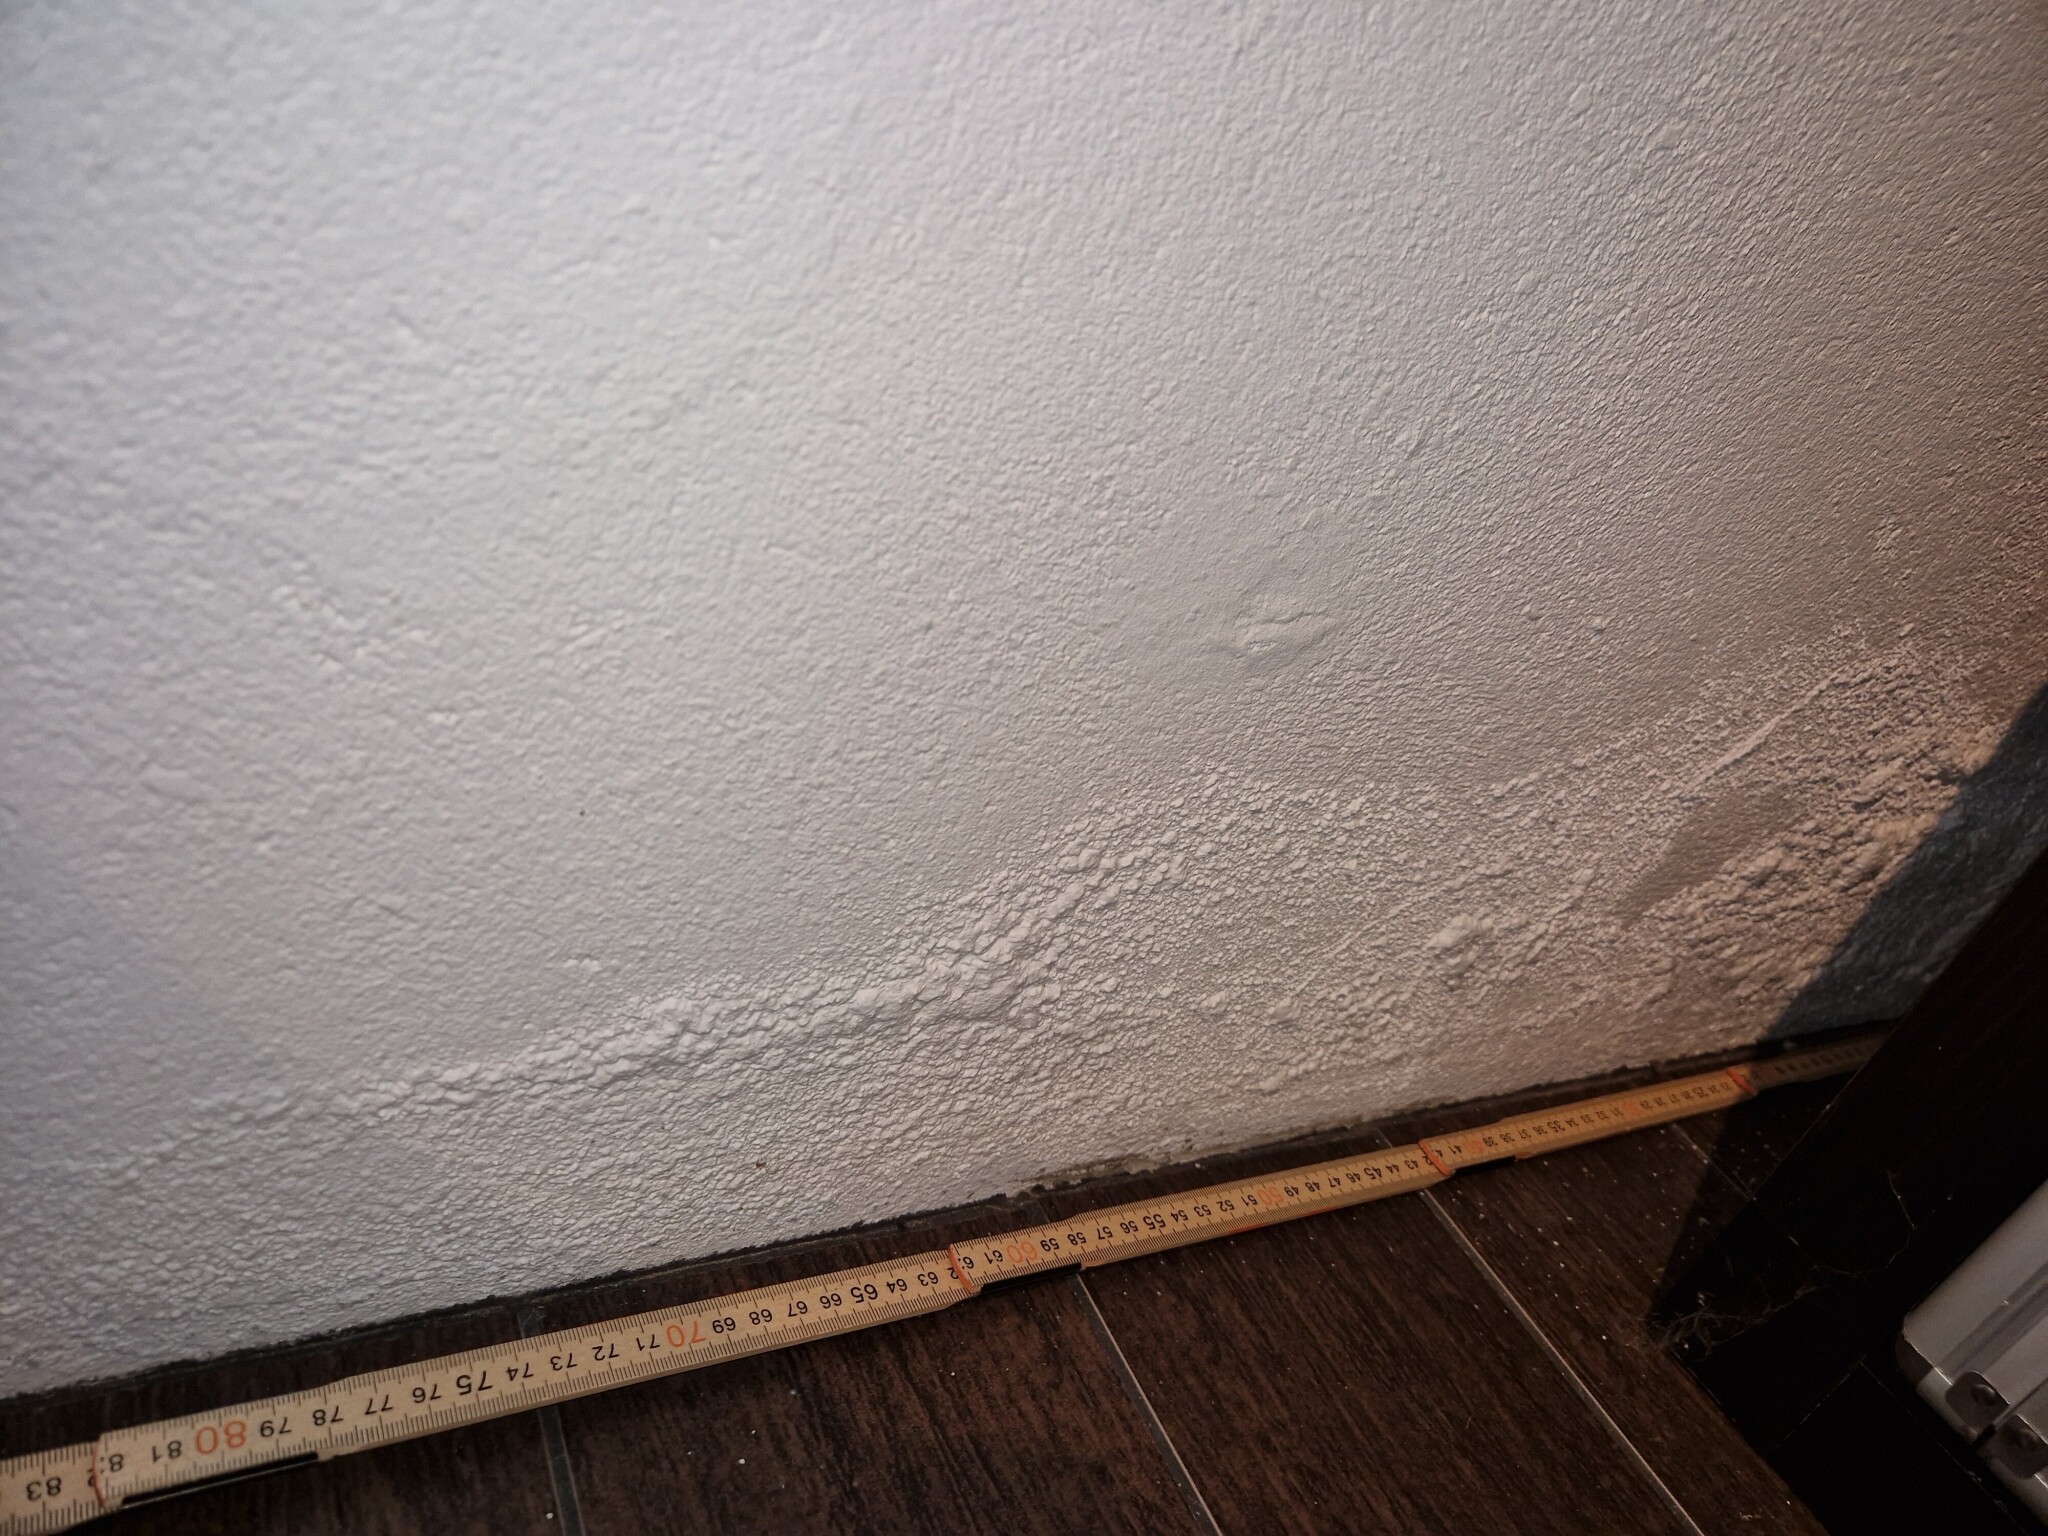
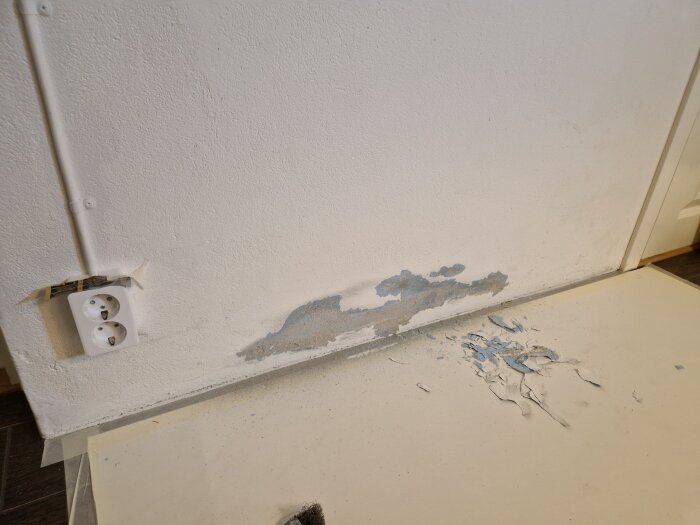
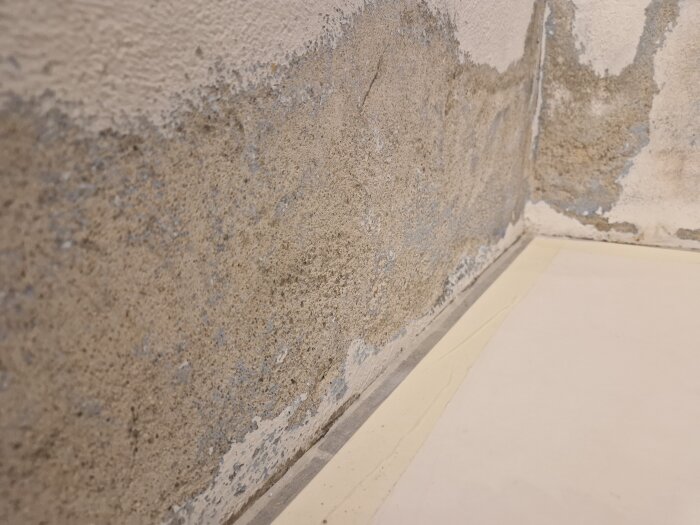
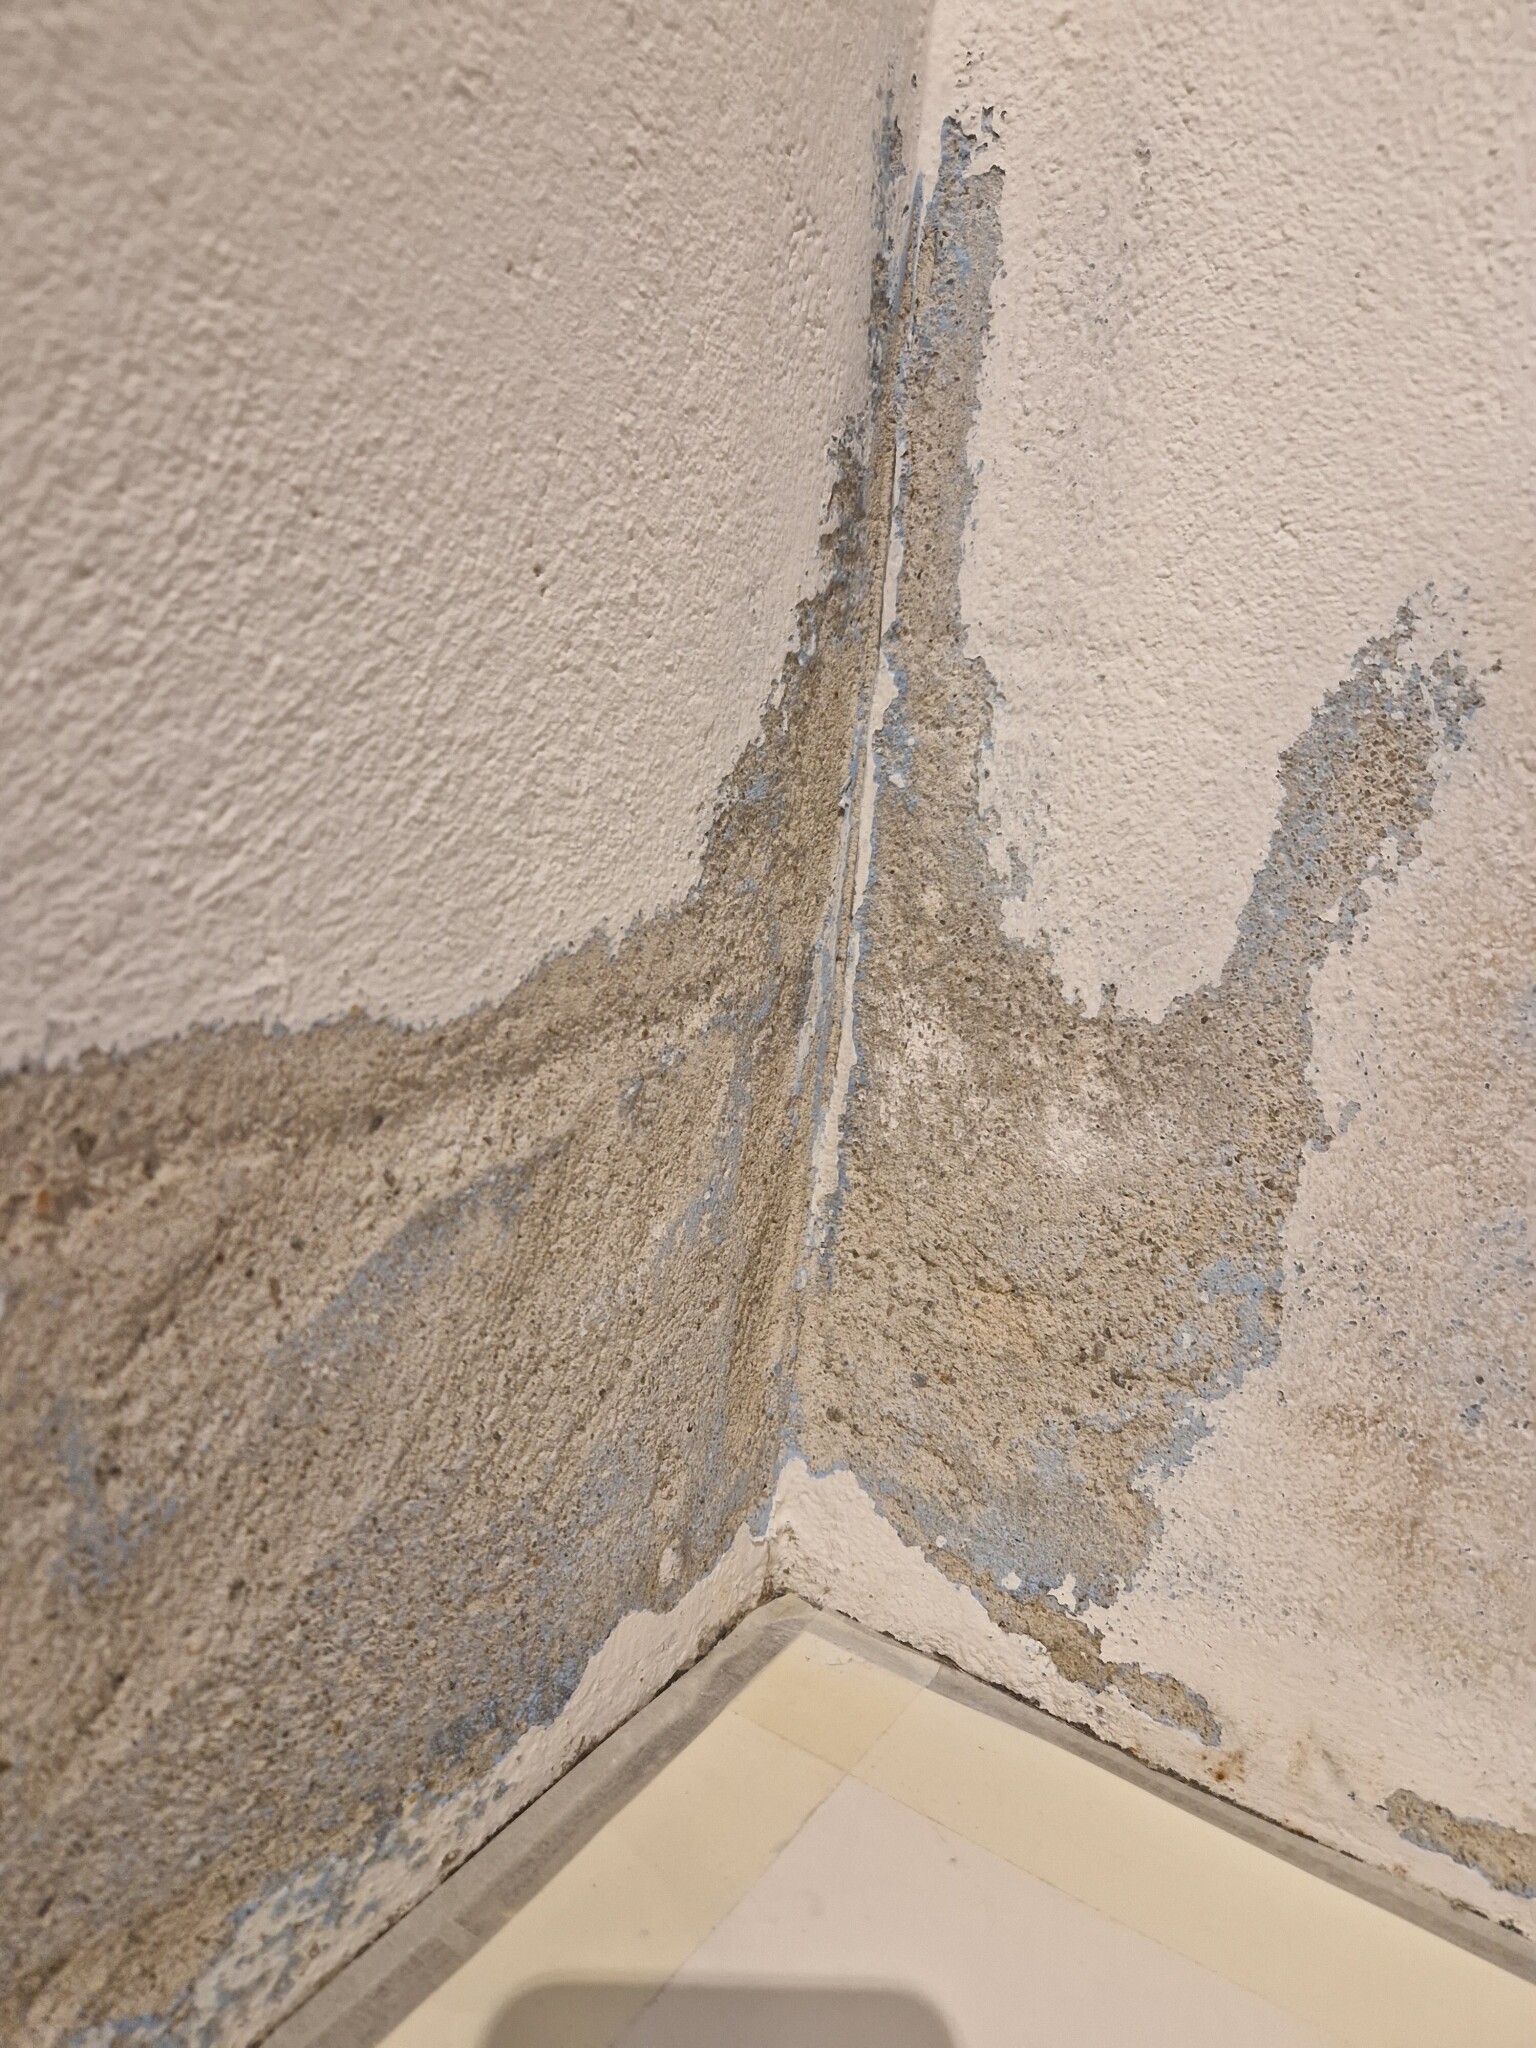
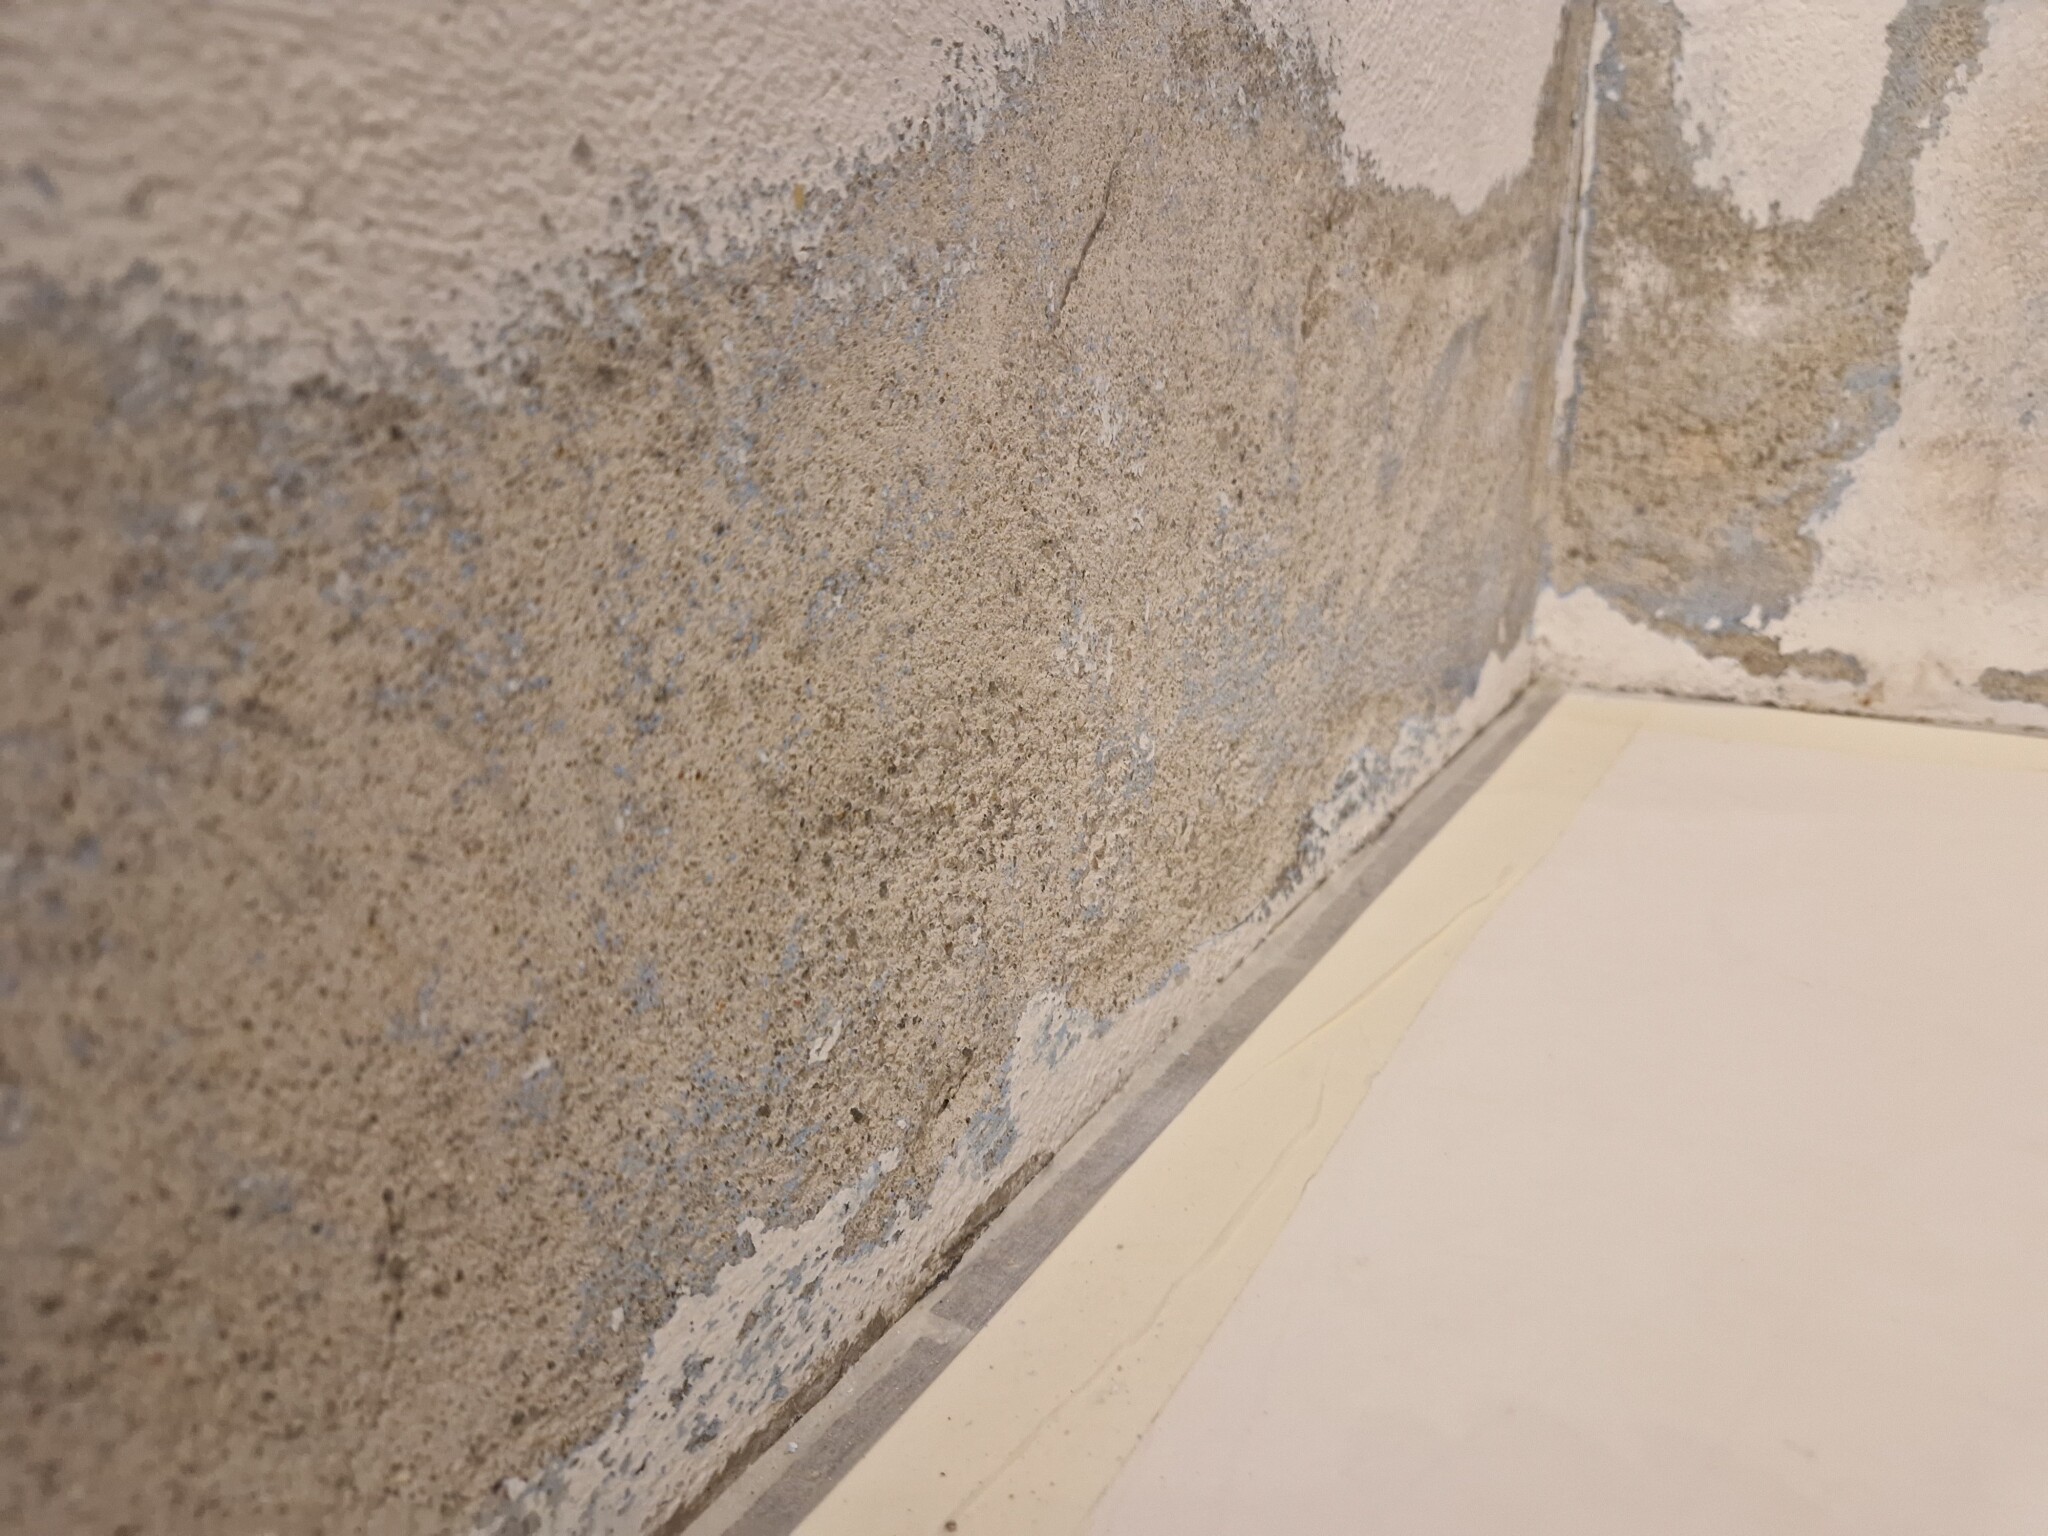
During the ten years we've lived in our 70s house, bubbles have appeared along the floor in a few spots. This is how it looks:
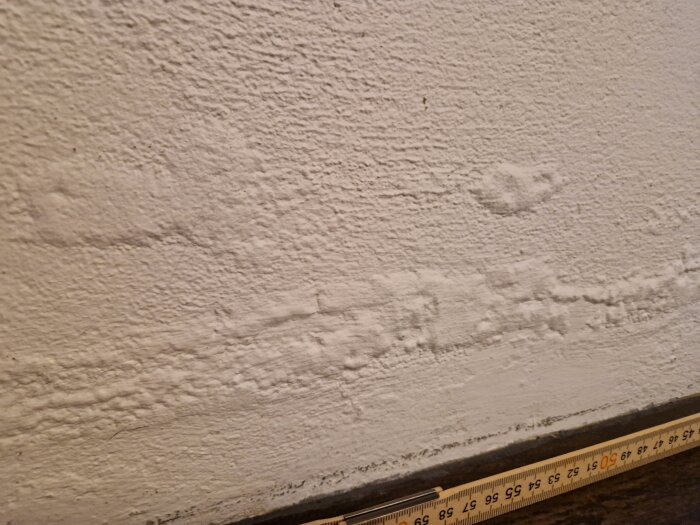
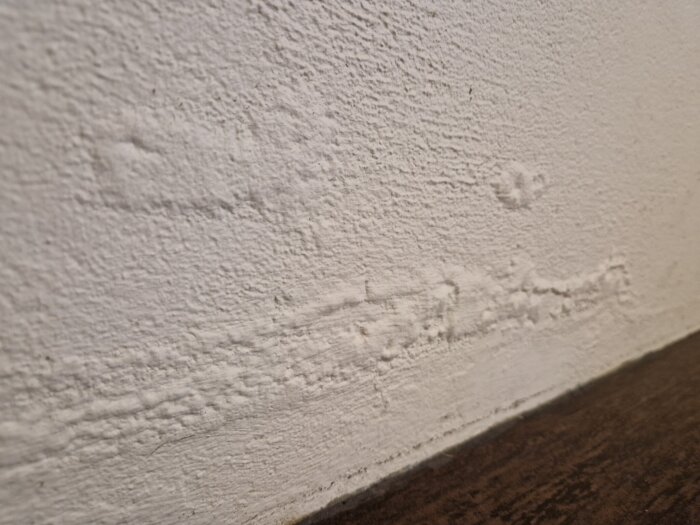
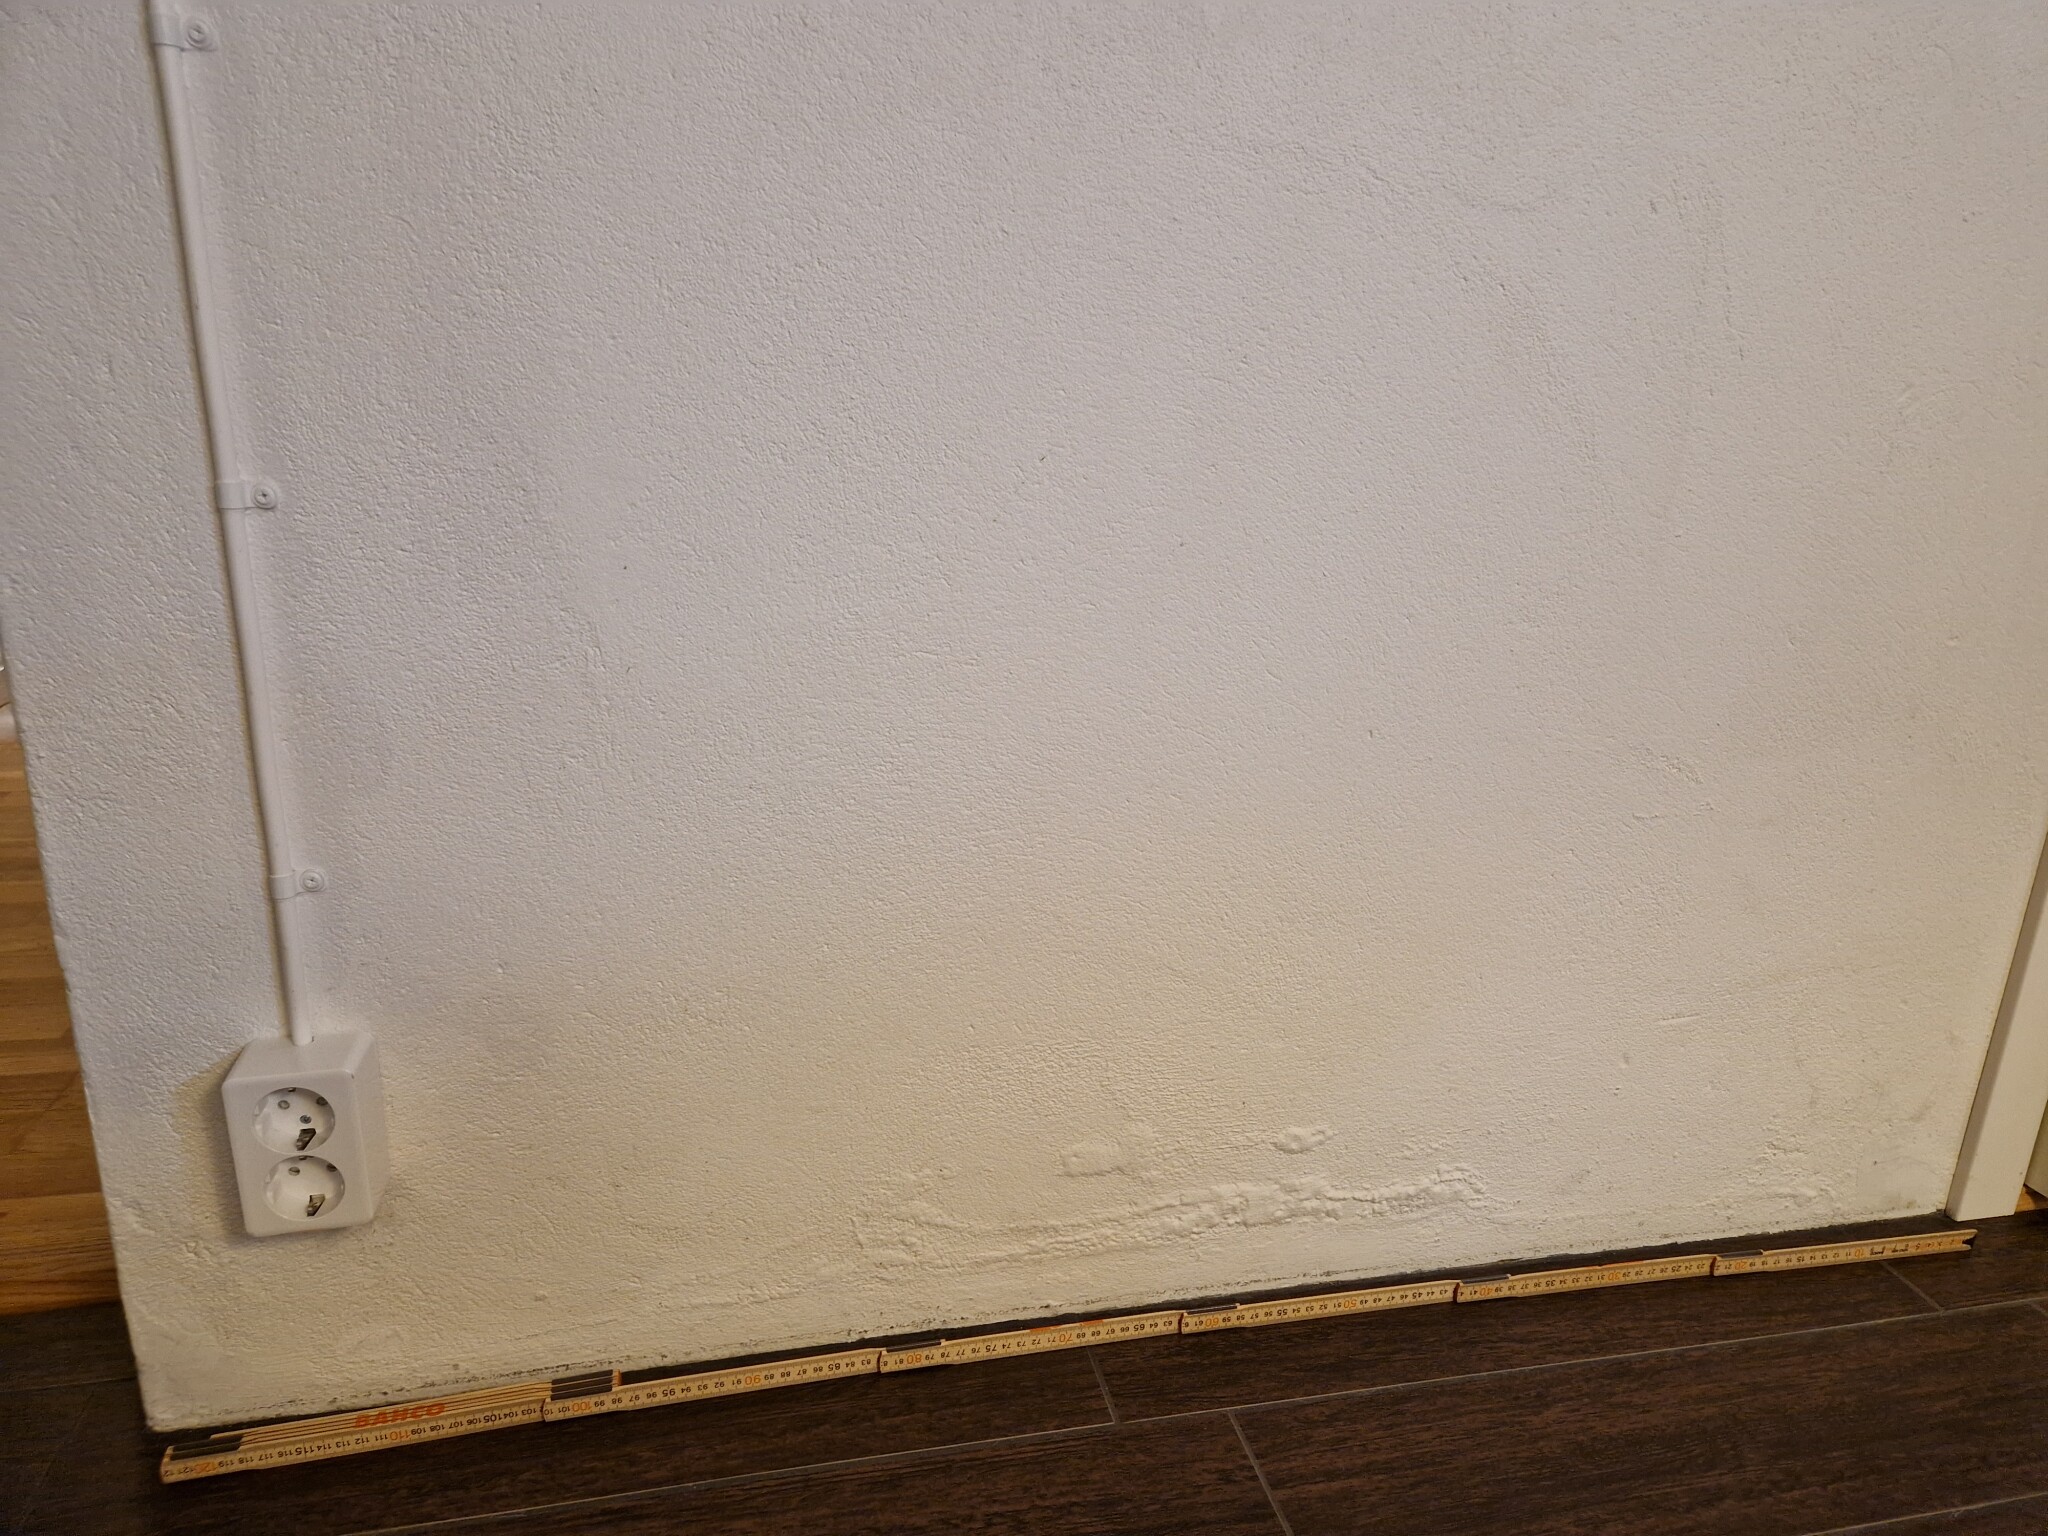
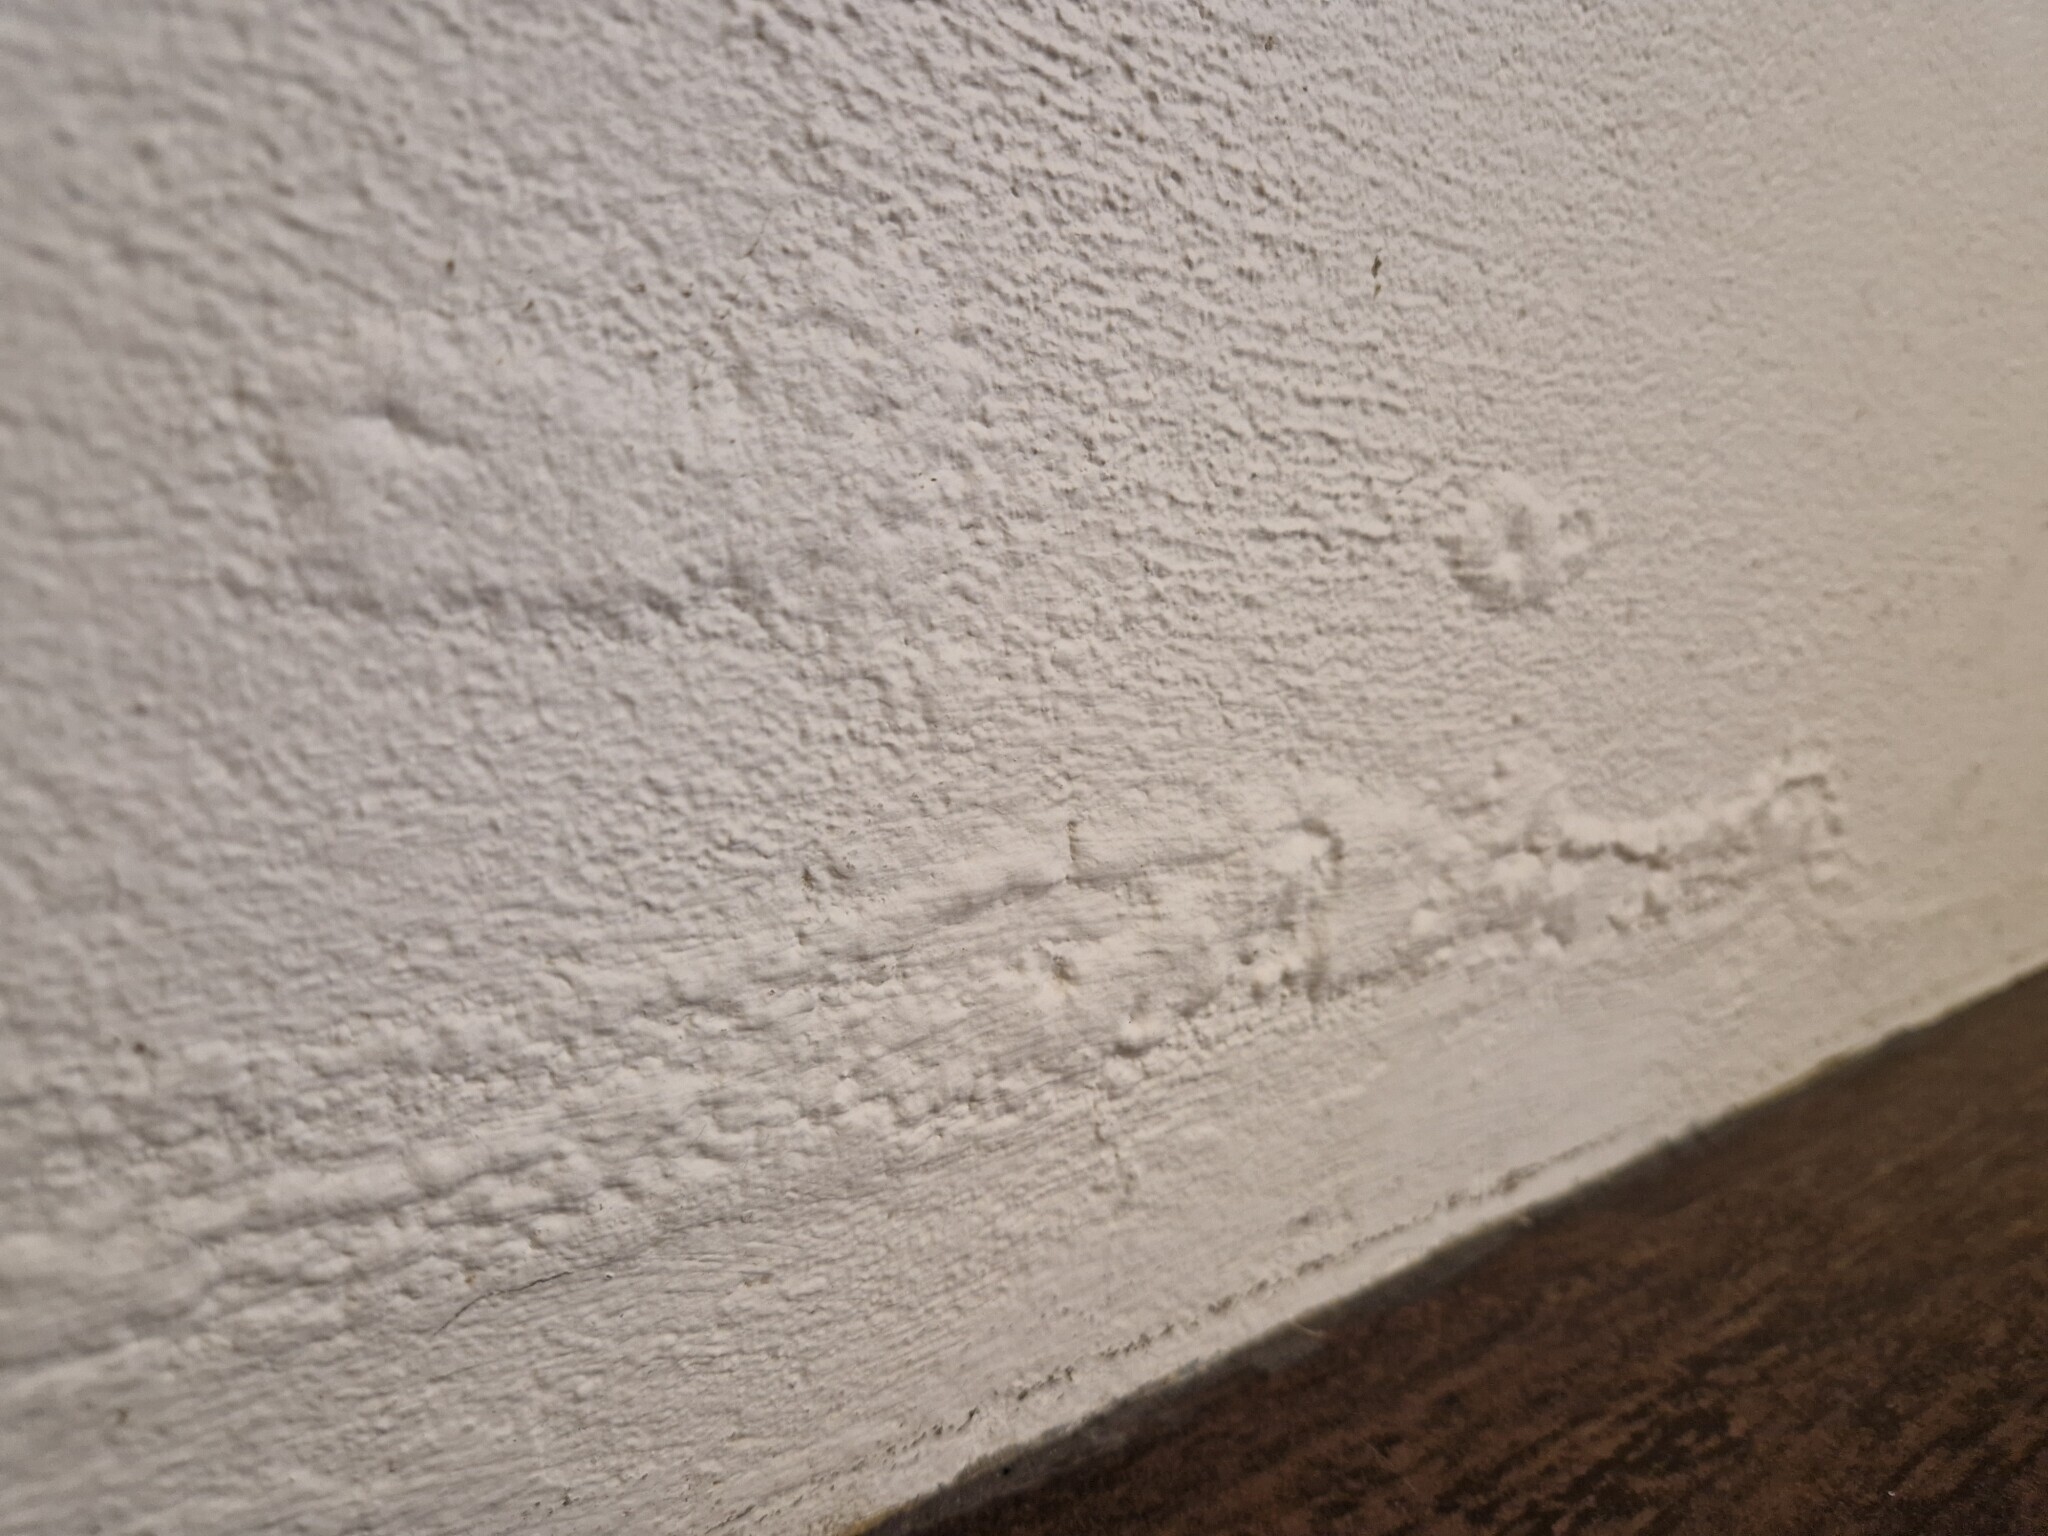
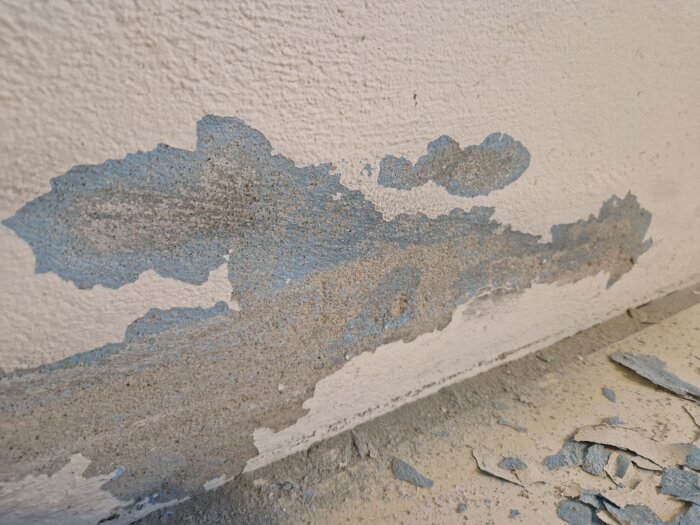
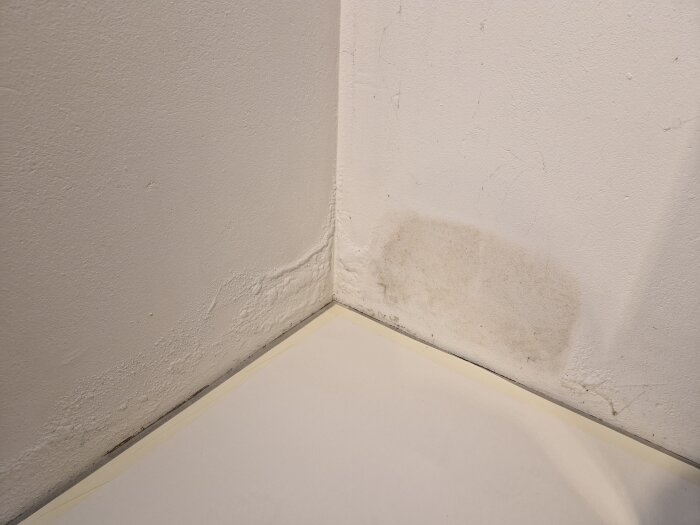
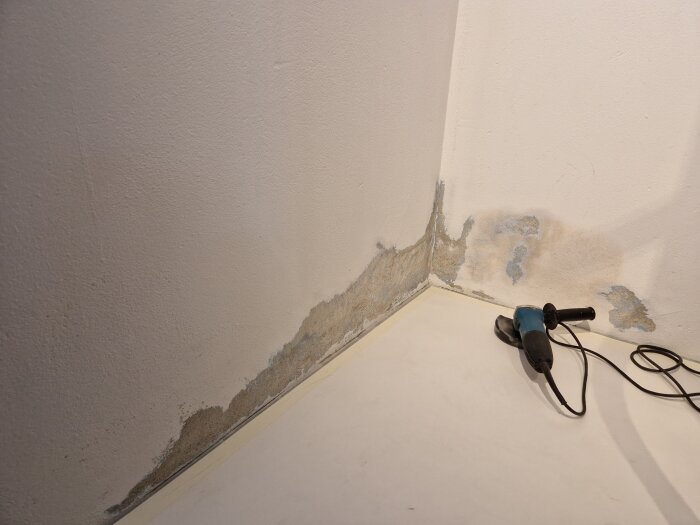
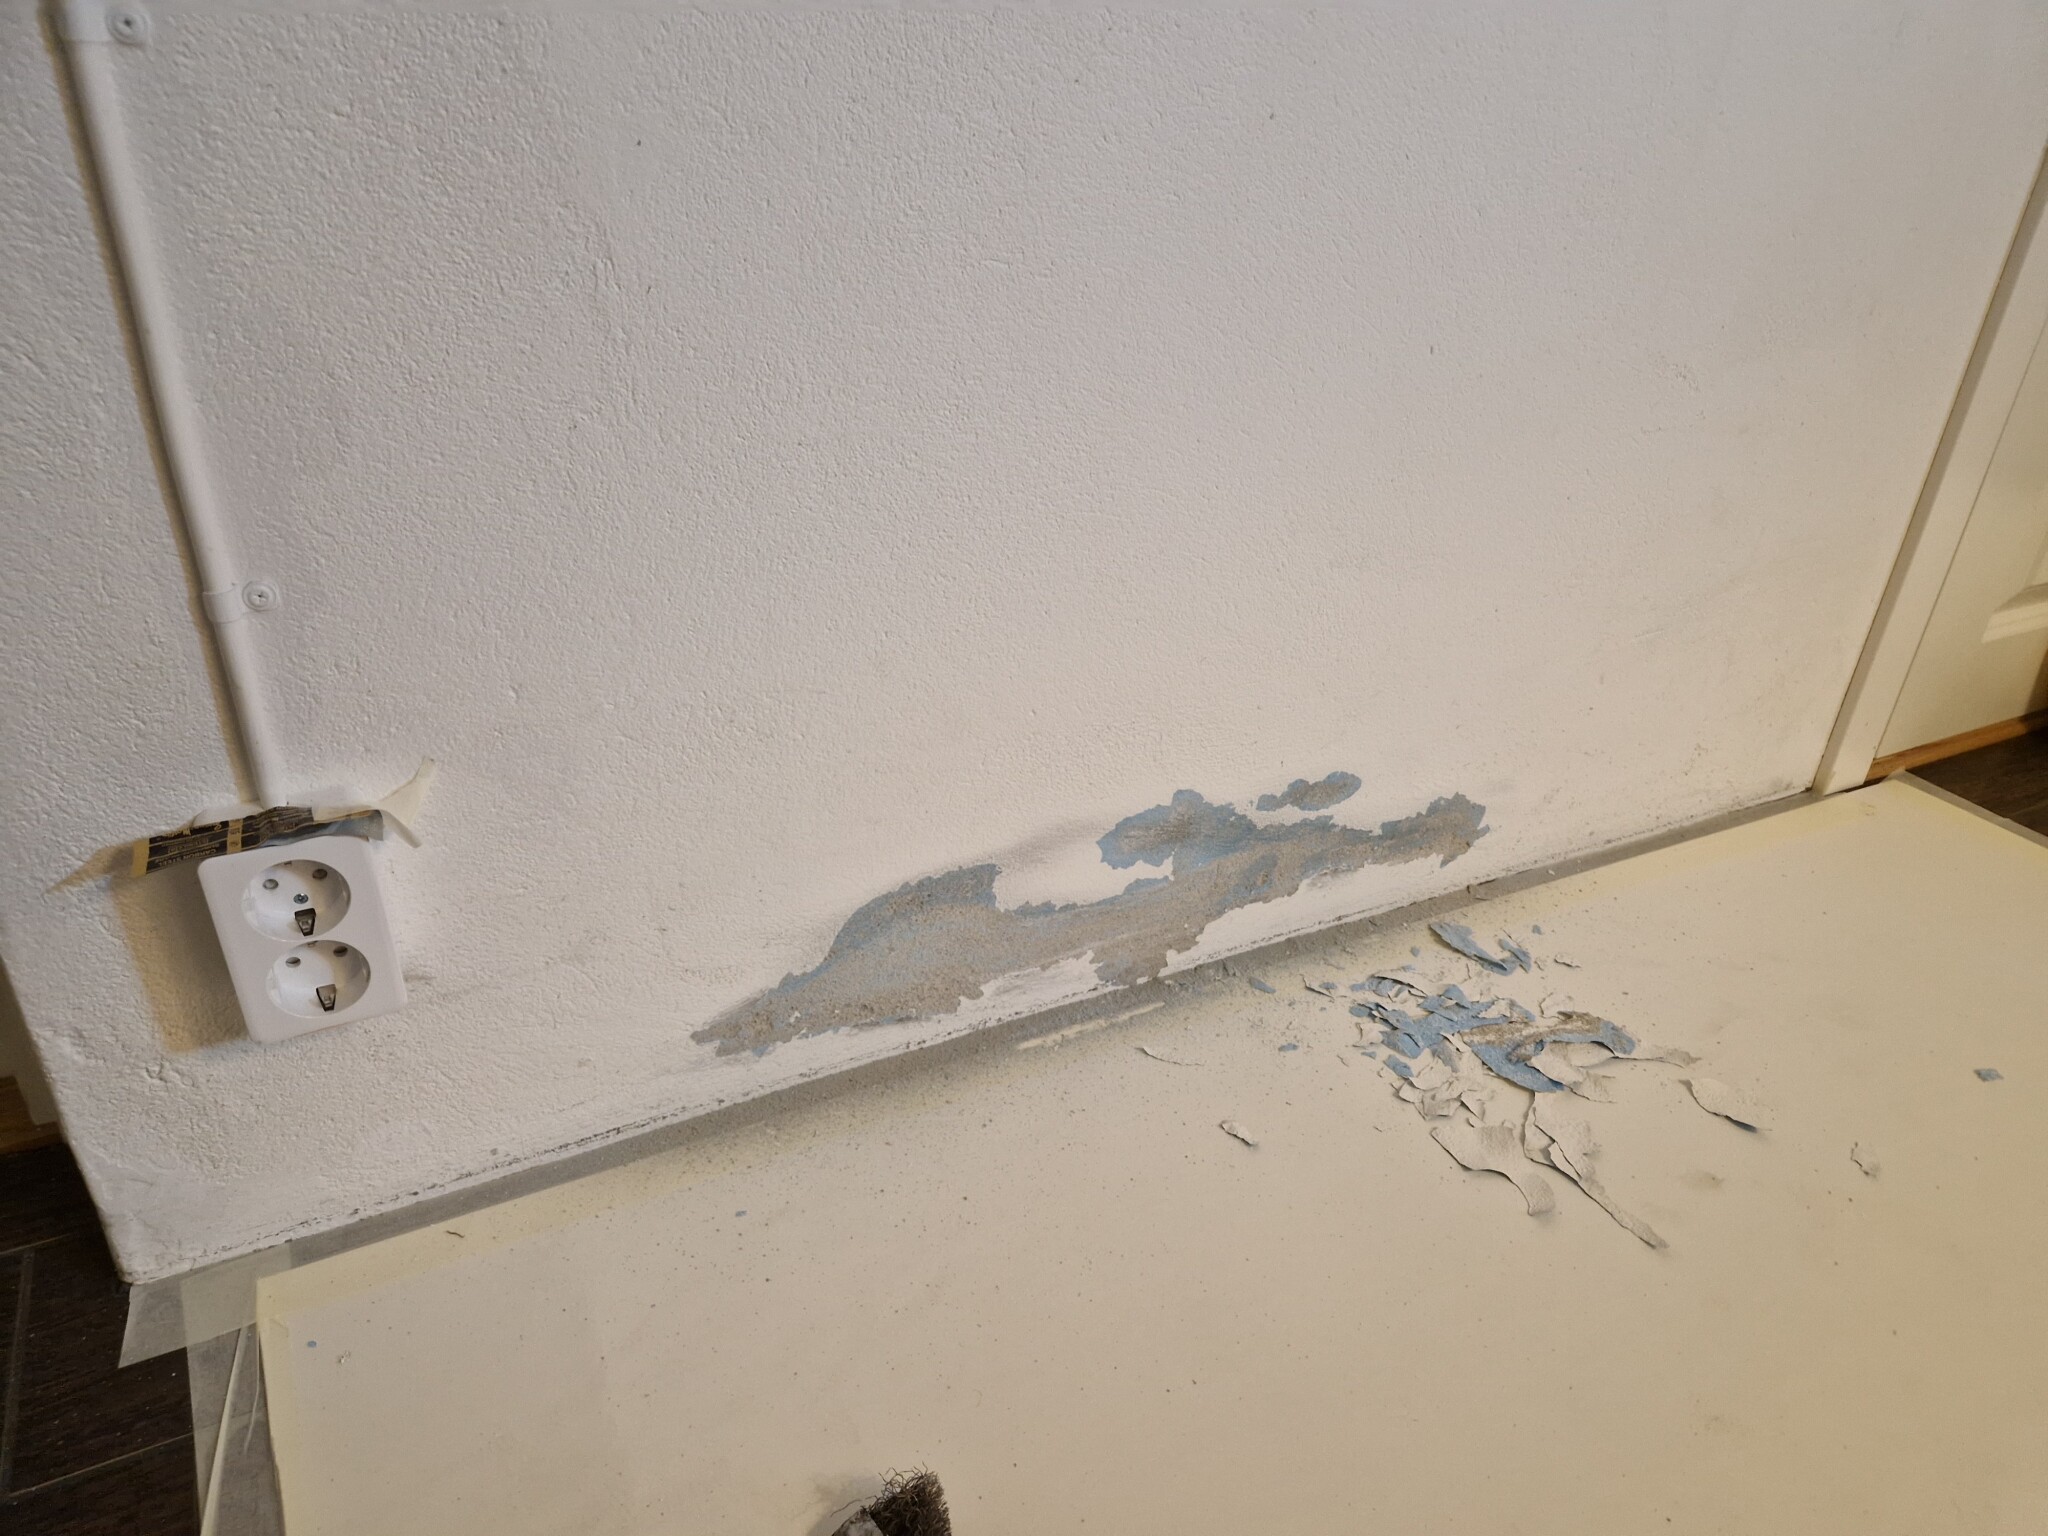
The first two pictures show a room that was renovated about 15 years ago and painted with silicate paint. The other pictures are from a slightly older room with plastic paint.
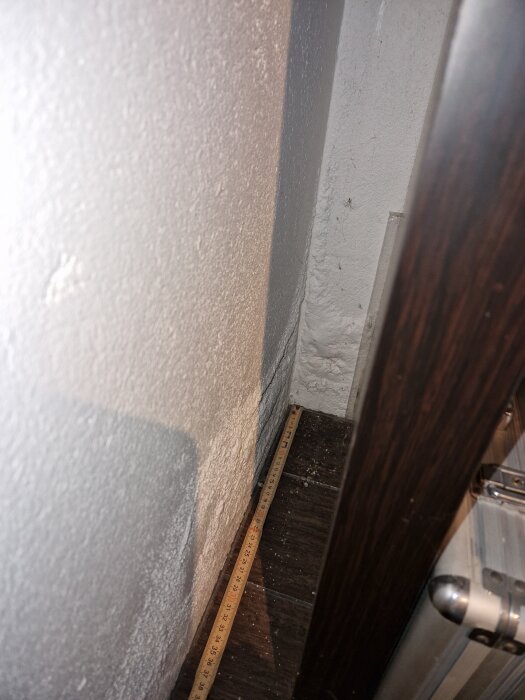
The house is situated on a small hill and there are no other known moisture problems from the outside. Pictures 1–4 show interior walls. The house probably hasn't been drained since it was built.
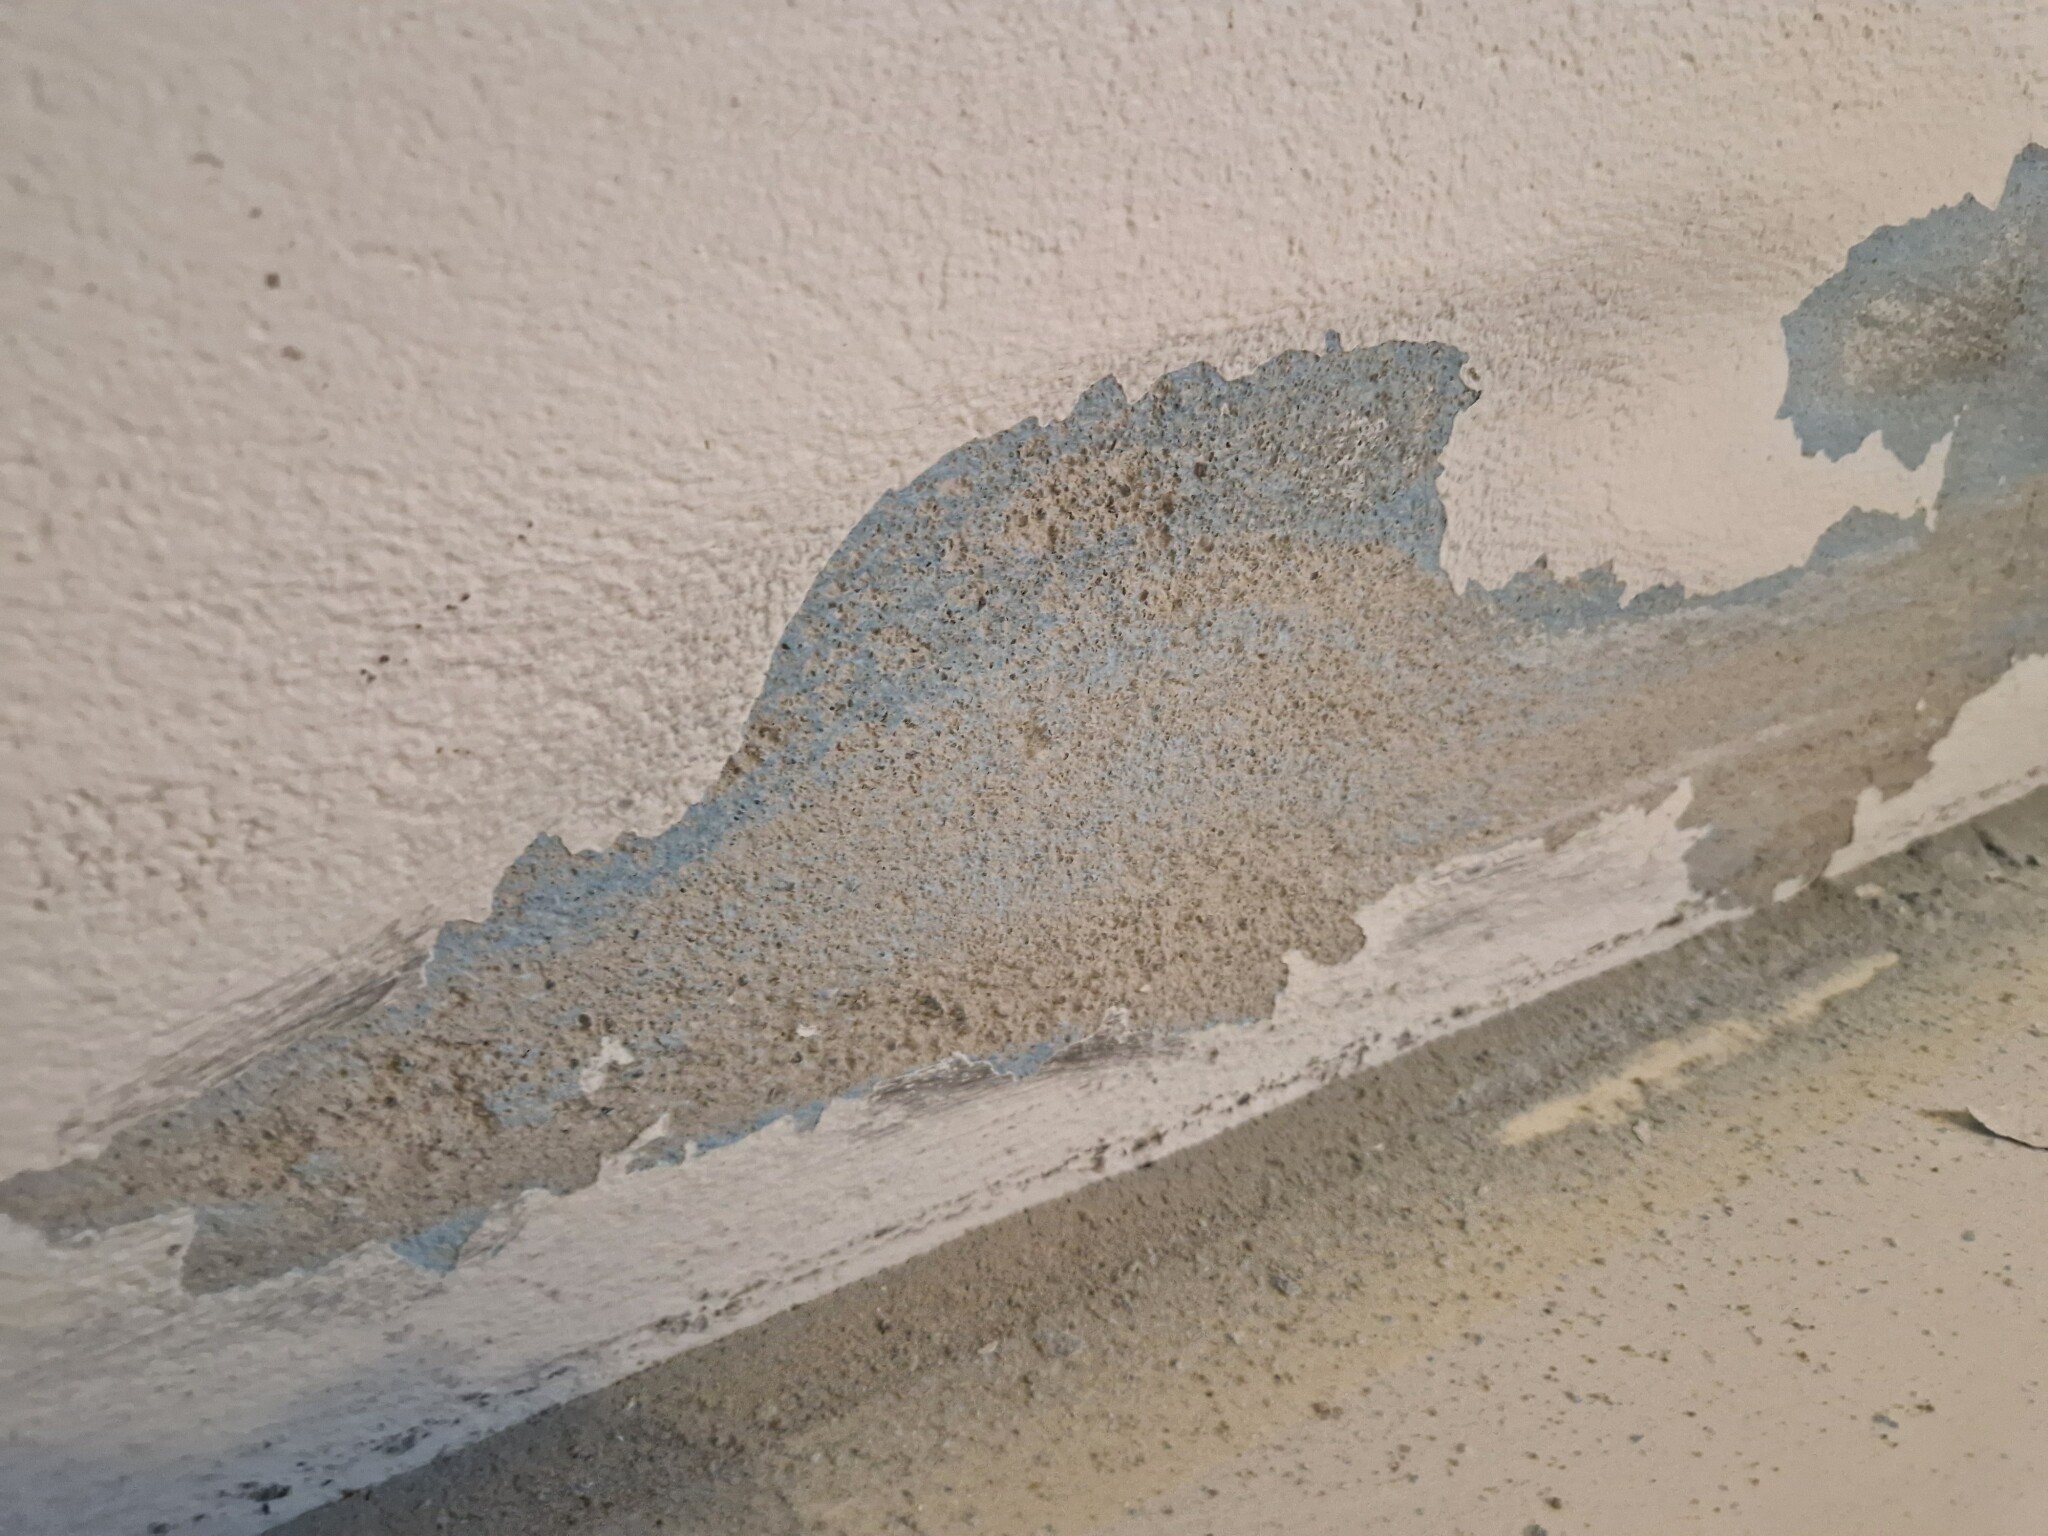
You can see that the plaster has been repaired in several places before. It's hard to say if there have been similar problems now or if it's mainly been about cracks, but it seems to have held up well in most cases.
Since it's relatively small areas, we have no intention of starting a major drainage project. First, we want to fix it as best as we can and then see how it develops.
So the question is how should we proceed and what mortar should be used? When I read around, C-mortar seems to be the one most often recommended for unpainted walls, or possibly silicate paint of good quality (for example the unmixed variant from Hornbach). What grain size to prevent the repairs from being too visible?
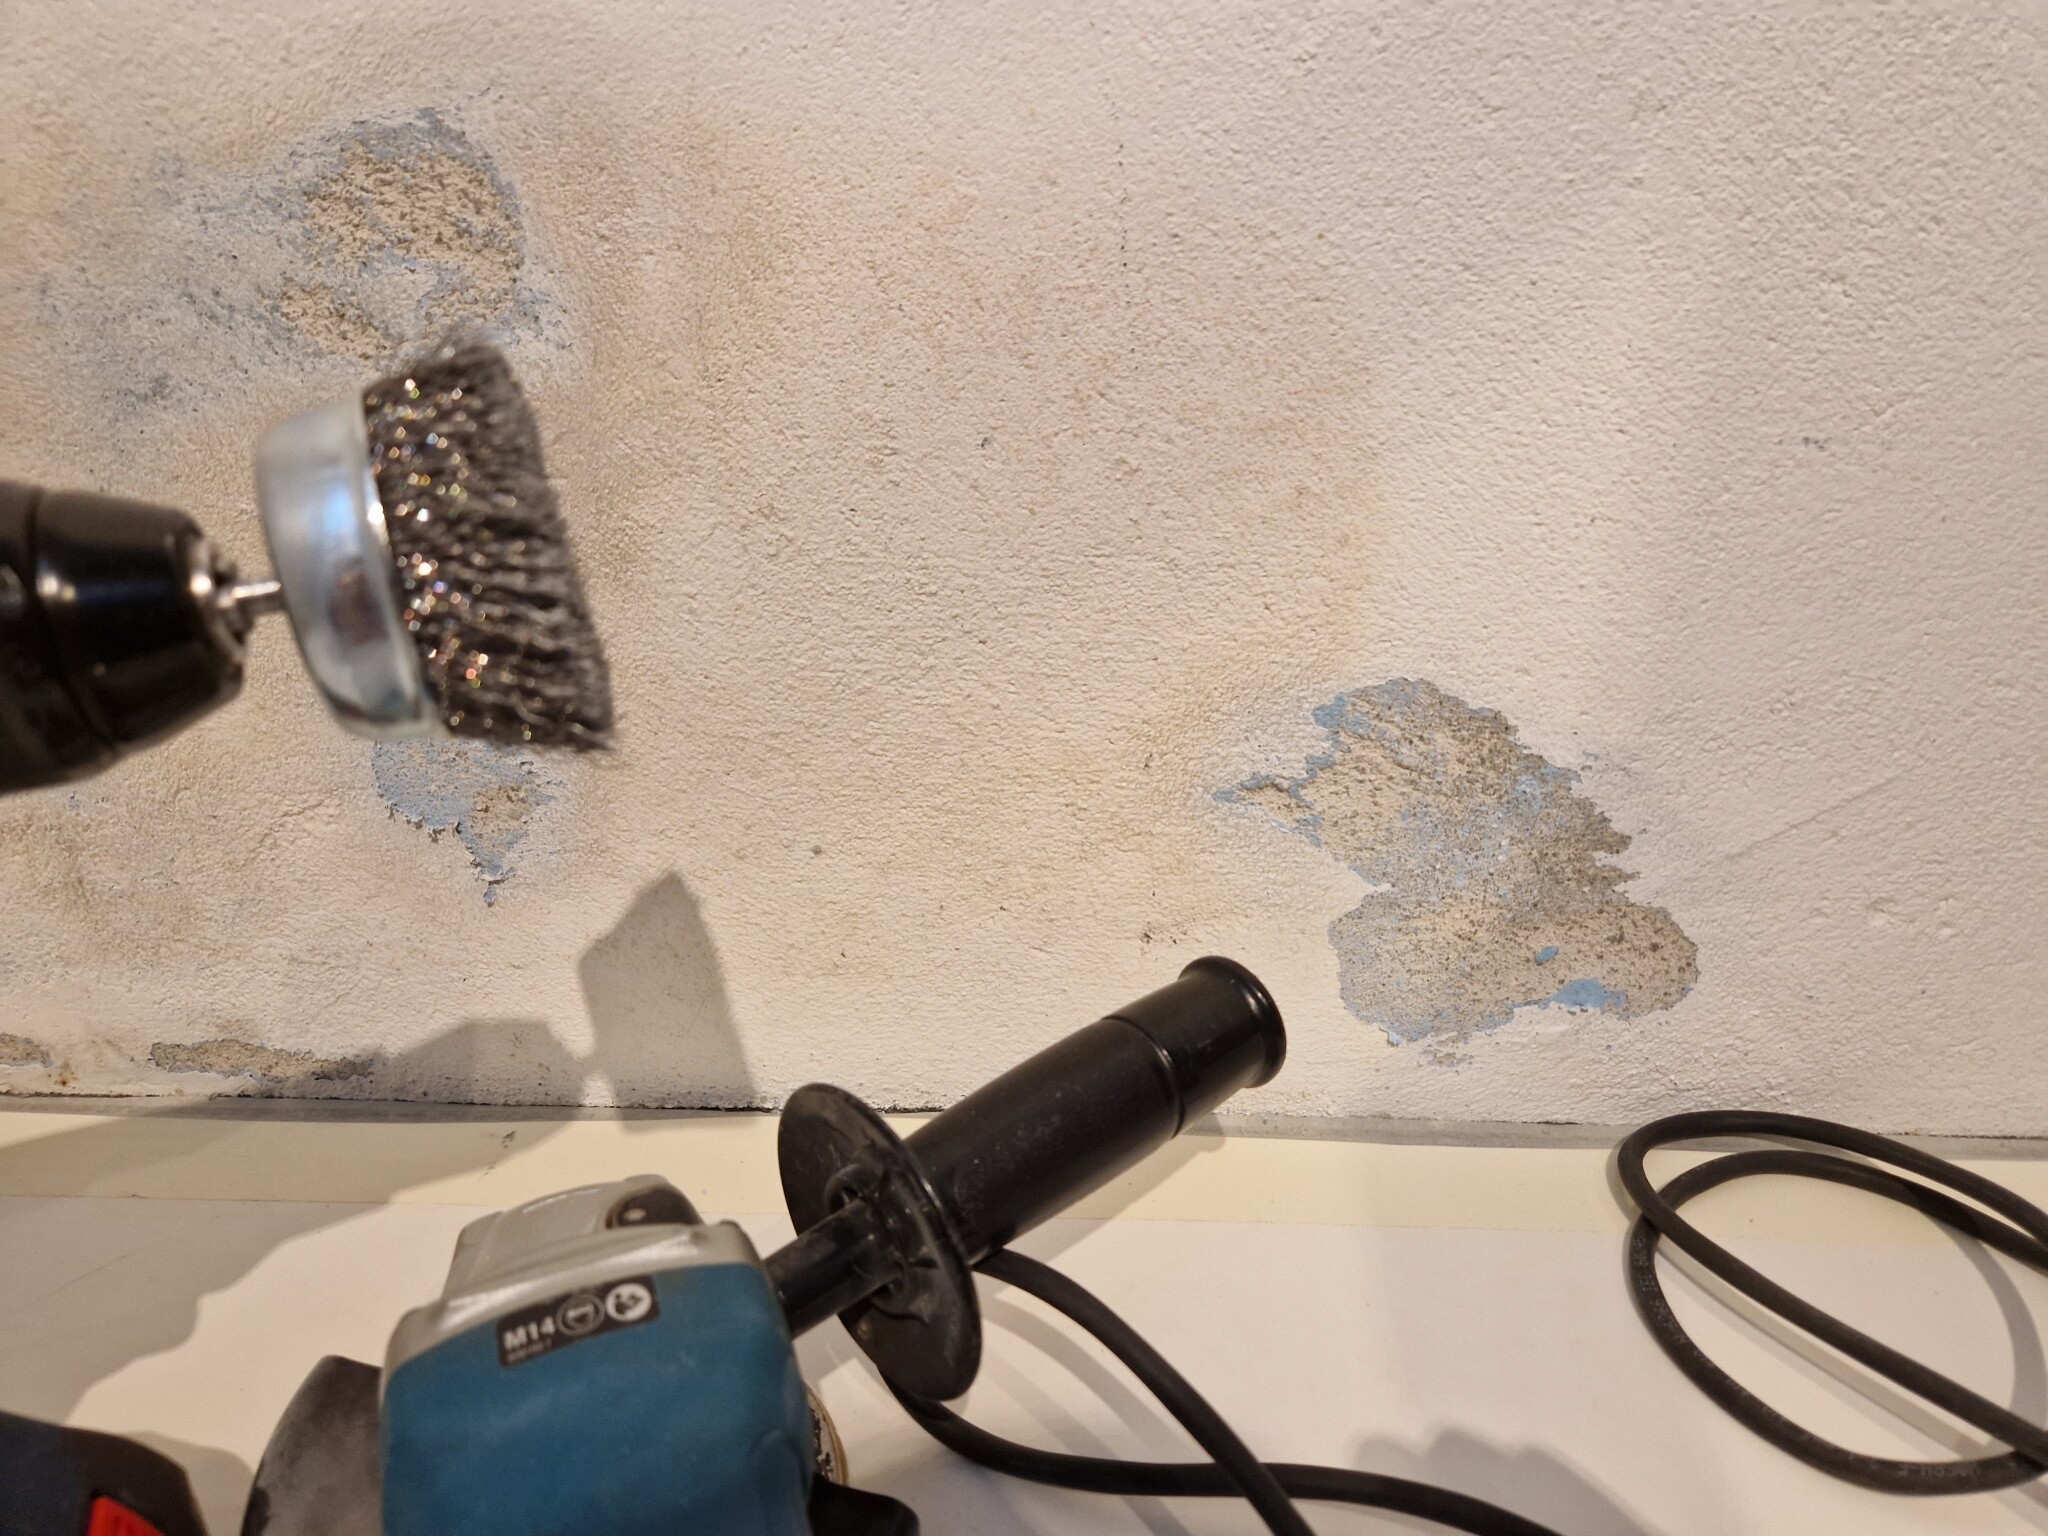
The bubbles break easily when you press on them. Is it enough to brush away everything loose with a wire brush, or should the surfaces be worked on harder? For example, lightly tapping with a hammer?
Was at Hornbach, they didn't seem particularly knowledgeable. Initially, they recommended B-mortar, but after some persuasion, they realized that it was actually C-mortar that was needed. They pointed out a Finja C-mortar with 0–3 mm grain size, which is a fairly standard mortar.
When I check around online, it doesn't seem unusual to use a mixture with lime, such as KC 50/50. However, Finja doesn't seem to have customer service for private individuals, and at the same time, their retailers don't seem to know much.
So how do you actually find out which mortar is right, one that both adheres to the existing, allows moisture through, and has the right grain size?
The job is approaching, I have checked with Finja who said I should buy the regular C-mortar 0-3 mm, so that's done.
The next step now is to tear down what's there, but to prevent it from getting too dusty, would it be reasonable to spray it a bit with a water bottle? Or would it maybe just make it harder to see how much you need to tear down then?
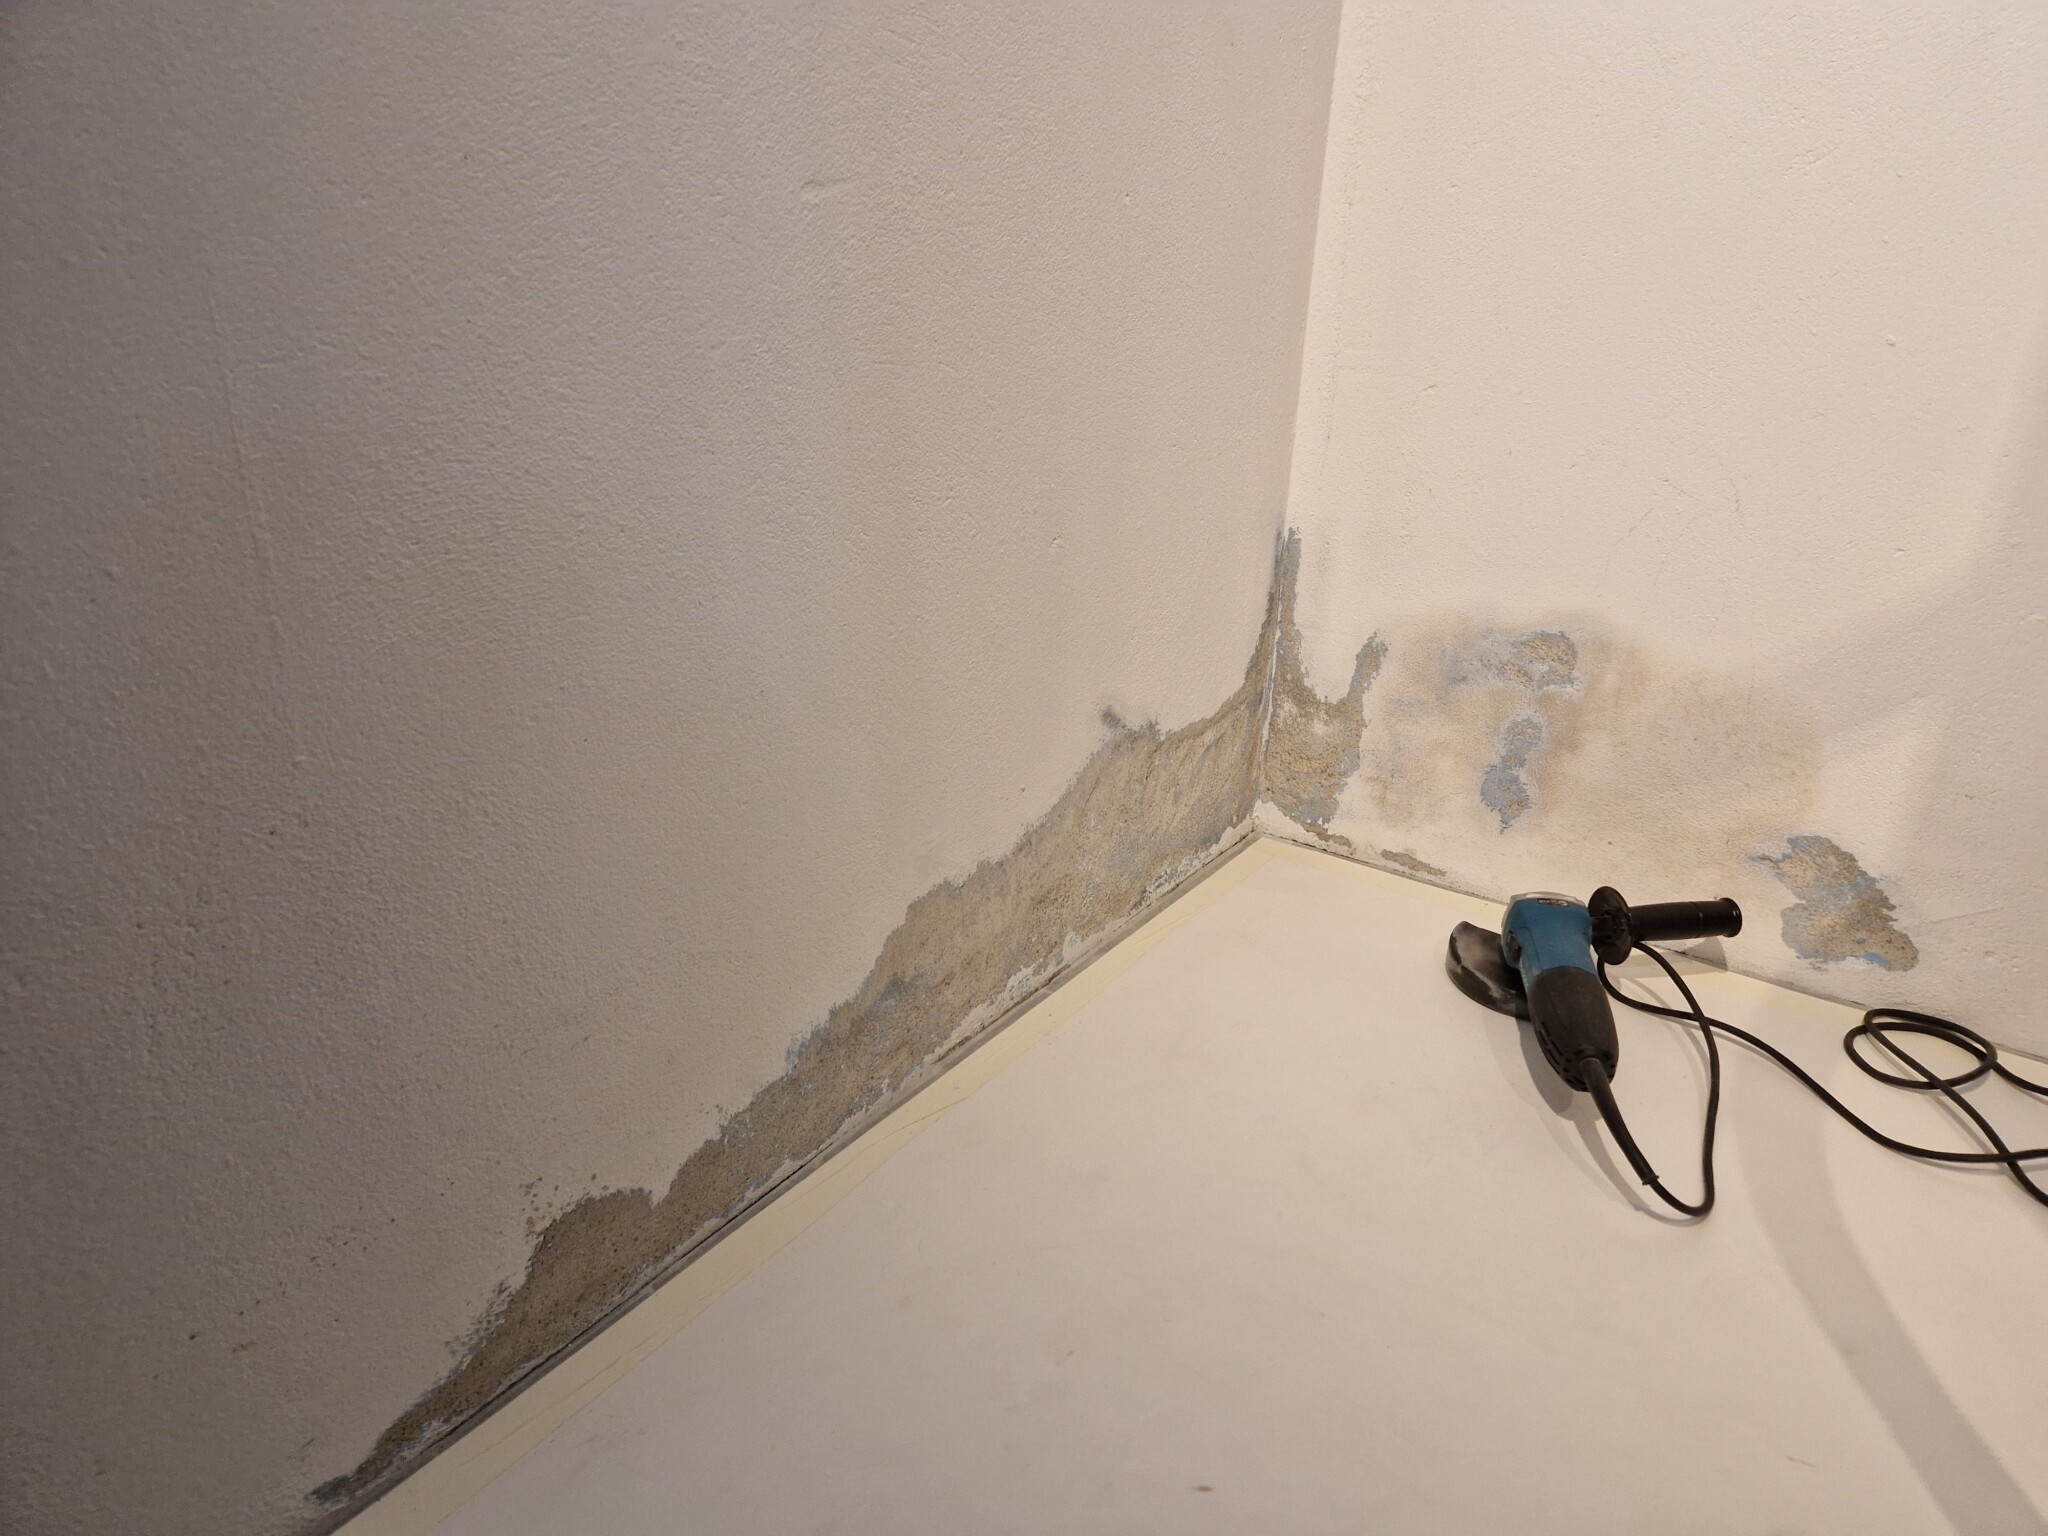
I drove in with a wire brush and also did some sanding today. It seems to mainly be bubbles in the paint, i.e., not as much plaster release as you can see in the pictures. I used the sander mainly because it took a long time with the wire brush, but also because there were areas with old paint that didn't come off well with the wire brush. The problem with the sander is that it risks going deeper than you want and may therefore need to be repaired with new plaster. Additionally, the sander obviously creates a lot of dust, so I'm considering skipping it altogether.
The idea is to apply silicate paint, and the plaster should ideally be completely free of previous coatings, but I hadn't planned on doing such an extensive job. I'm thinking that if the moisture allows a few areas to ventilate through the silicate paint, maybe that's enough.
The spot on the wall is due to a plastic mat having been leaned against the wall there. If it hadn't been, there would likely be bubbles there as well. The plan is to rough it up a bit and paint with silicate.
What do you think, how clean does it need to be? Can I still use the plaster for 0–3 mm that I bought to repair any potential holes?
Exactly, this concerns 3 smaller areas spread across 2 rooms. The house was built in 1970 and hasn't been re-drained since then (as far as I know). Despite this, the basement is dry and nice, no other issues except for those in the pictures, perhaps mainly because the house is on a hill.
The particular room I'm working on now was painted by the previous owner with plastic paint because there was already plastic paint there, and ideally, it would have been best to sand everything down, but the damage is so minor over such a long period (10 years) that we find it difficult to justify such a large job. The other room has been painted with silicate paint and there, the damage is much smaller, it rather seems to be bad plaster.
Mixed 1 KG Finja plaster C 0-3 mm, but it turned out to be very difficult to get it to stick to the wall despite watering quite a bit. You could throw the plaster up, but when you then tried to drag it off as you should, it lost its grip or didn't fill in the irregularities. I suspect the plaster has grains that are too large for the small variations.
It worked clearly better in places where it was deeper, like 4-5 mm. As far as I understand, I now have to wait at least 4 weeks before I can paint? Should I do anything else or just let it dry?
Suspect that the mortar has grains that are too large for small variations.
Exactly - for example, you can't apply a 3 mm mortar 2 mm thick.
Either you choose a finer mortar (but then the surface structure won't be the same), or you have to scrape away more of the old mortar so you get a thicker application.
P.s. for the same reason, you also need to have a "sharp" edge if the mortar is to come edge-to-edge.
I think this will be okay, but unfortunately, they didn't think I should dab on silicate paint; I would actually need to sand off more, so it will have to be water-based paint again, and I will probably have to repaint in 10 years or so.
Next time, if I need to scrape more than the paint, I will aim to dig deeper, so it becomes easier to fill and level it with 0-3 mm plaster.
Click here to reply
Vi vill skicka notiser för ämnen du bevakar och händelser som berör dig.