Hello, I've started my basement project and thought I'd continue here instead of starting a new thread.
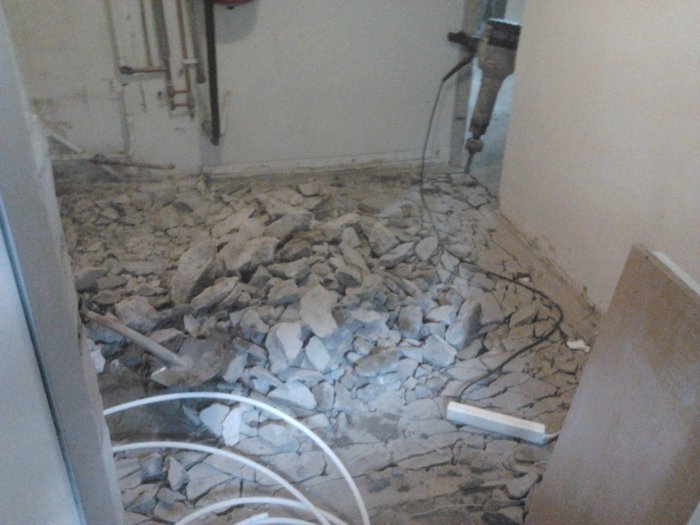
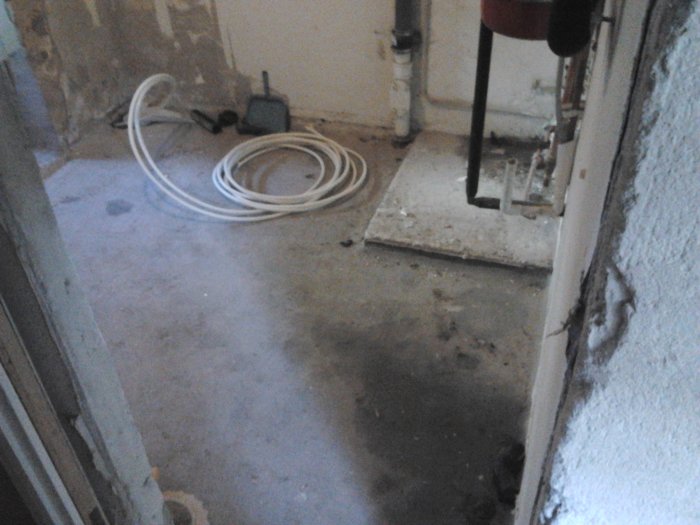
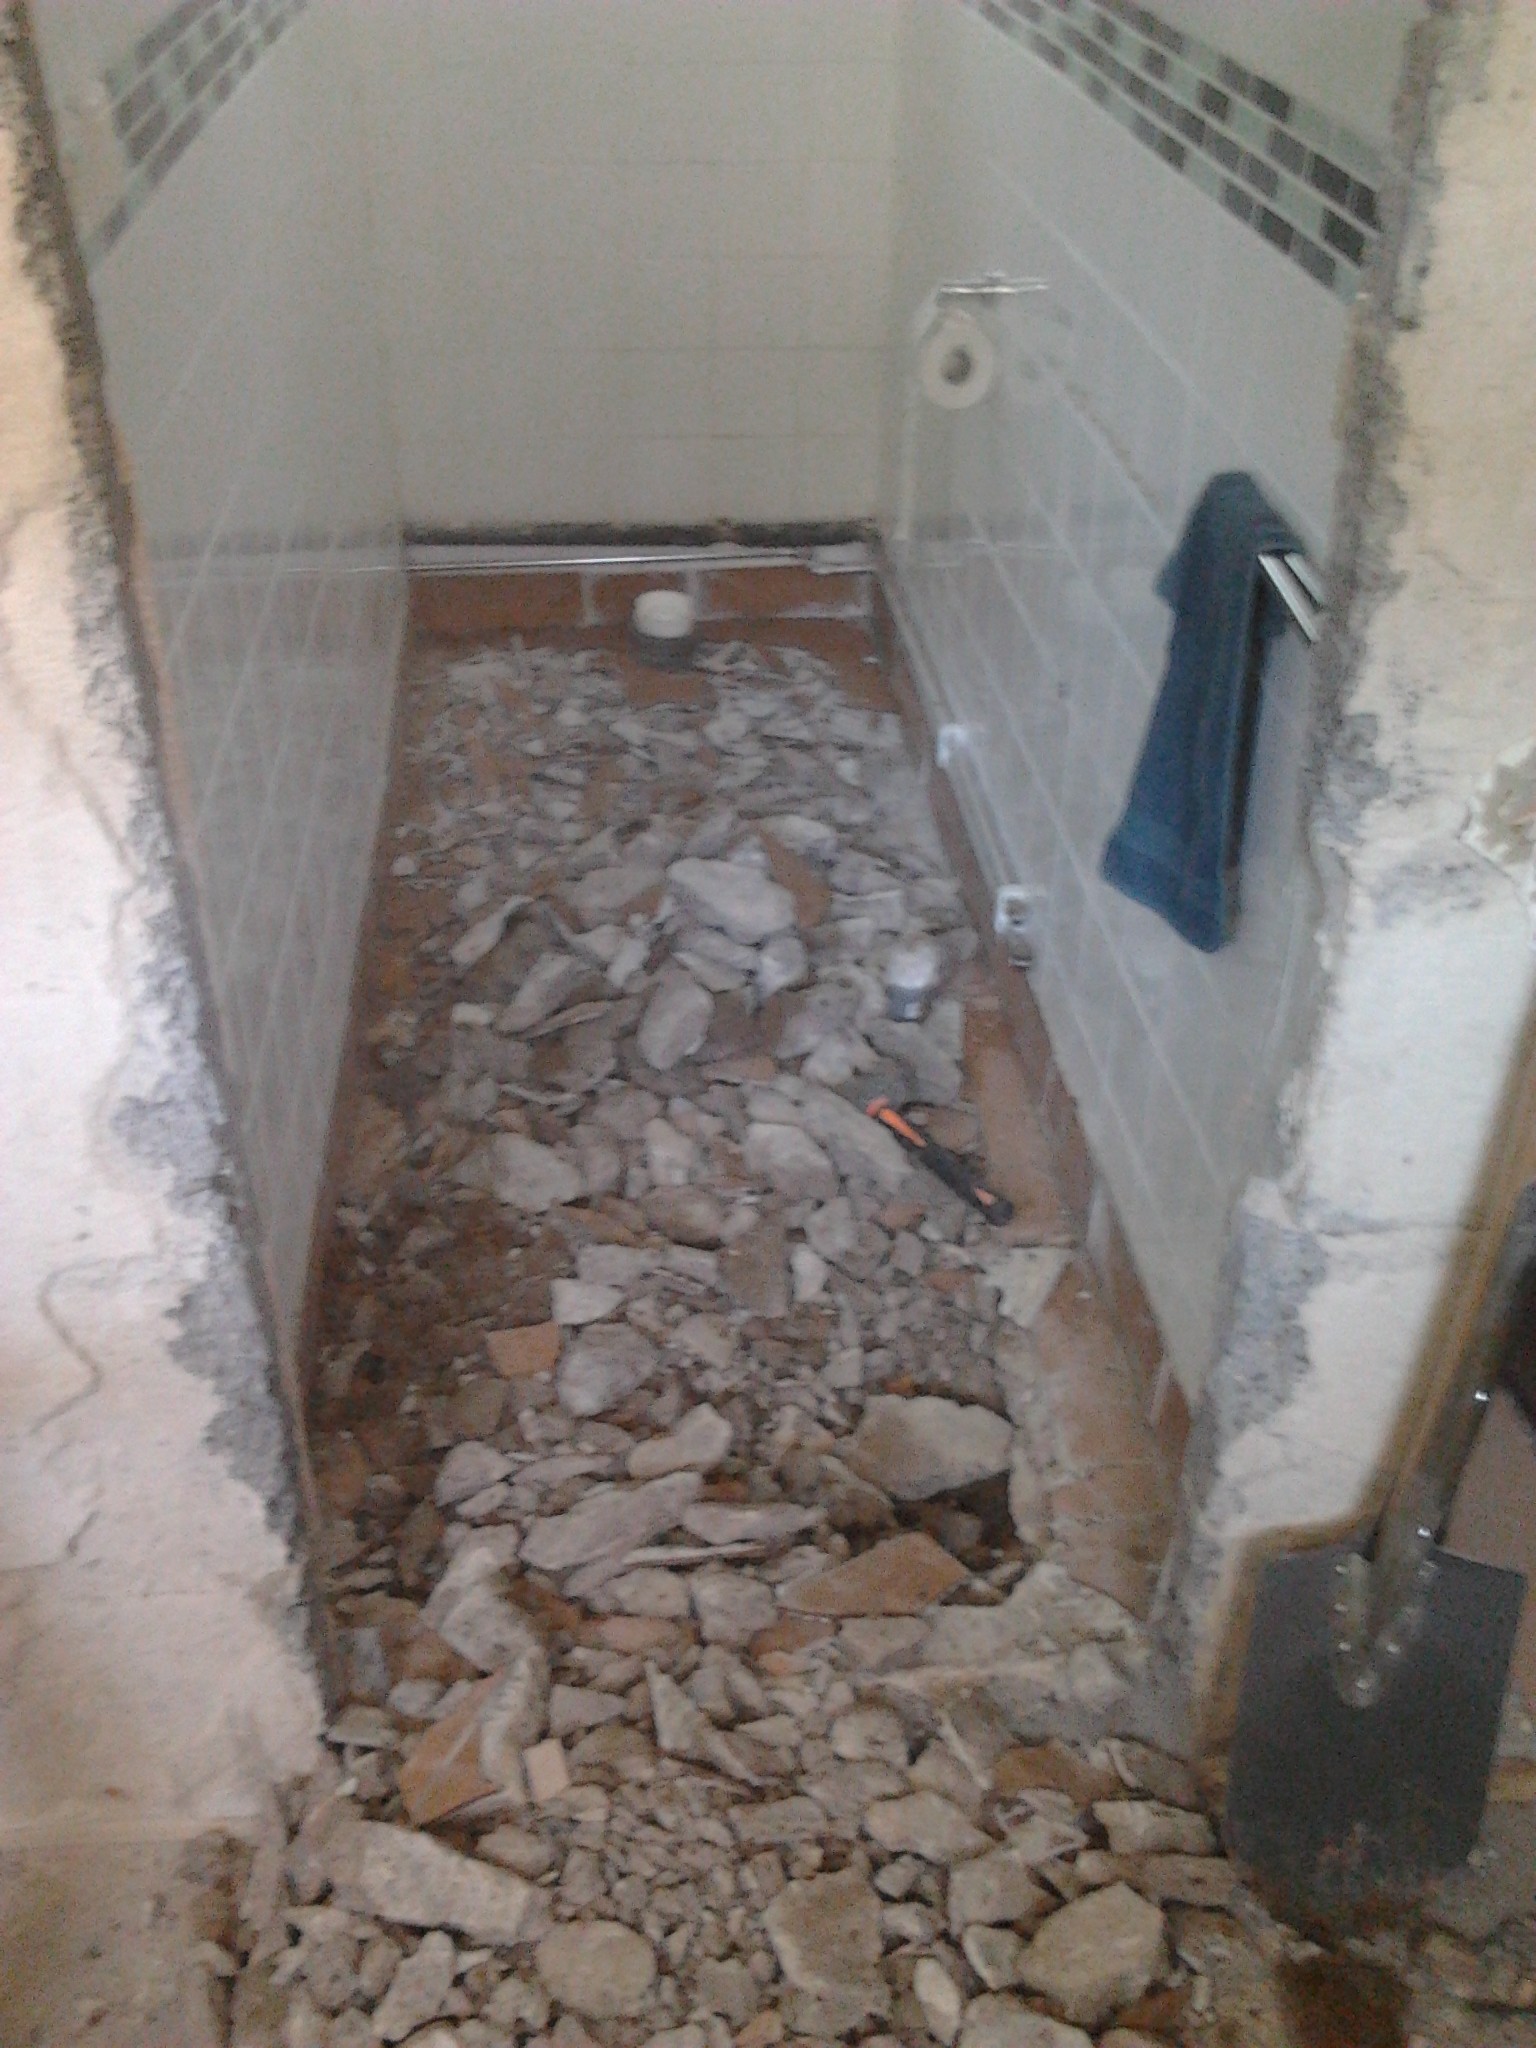
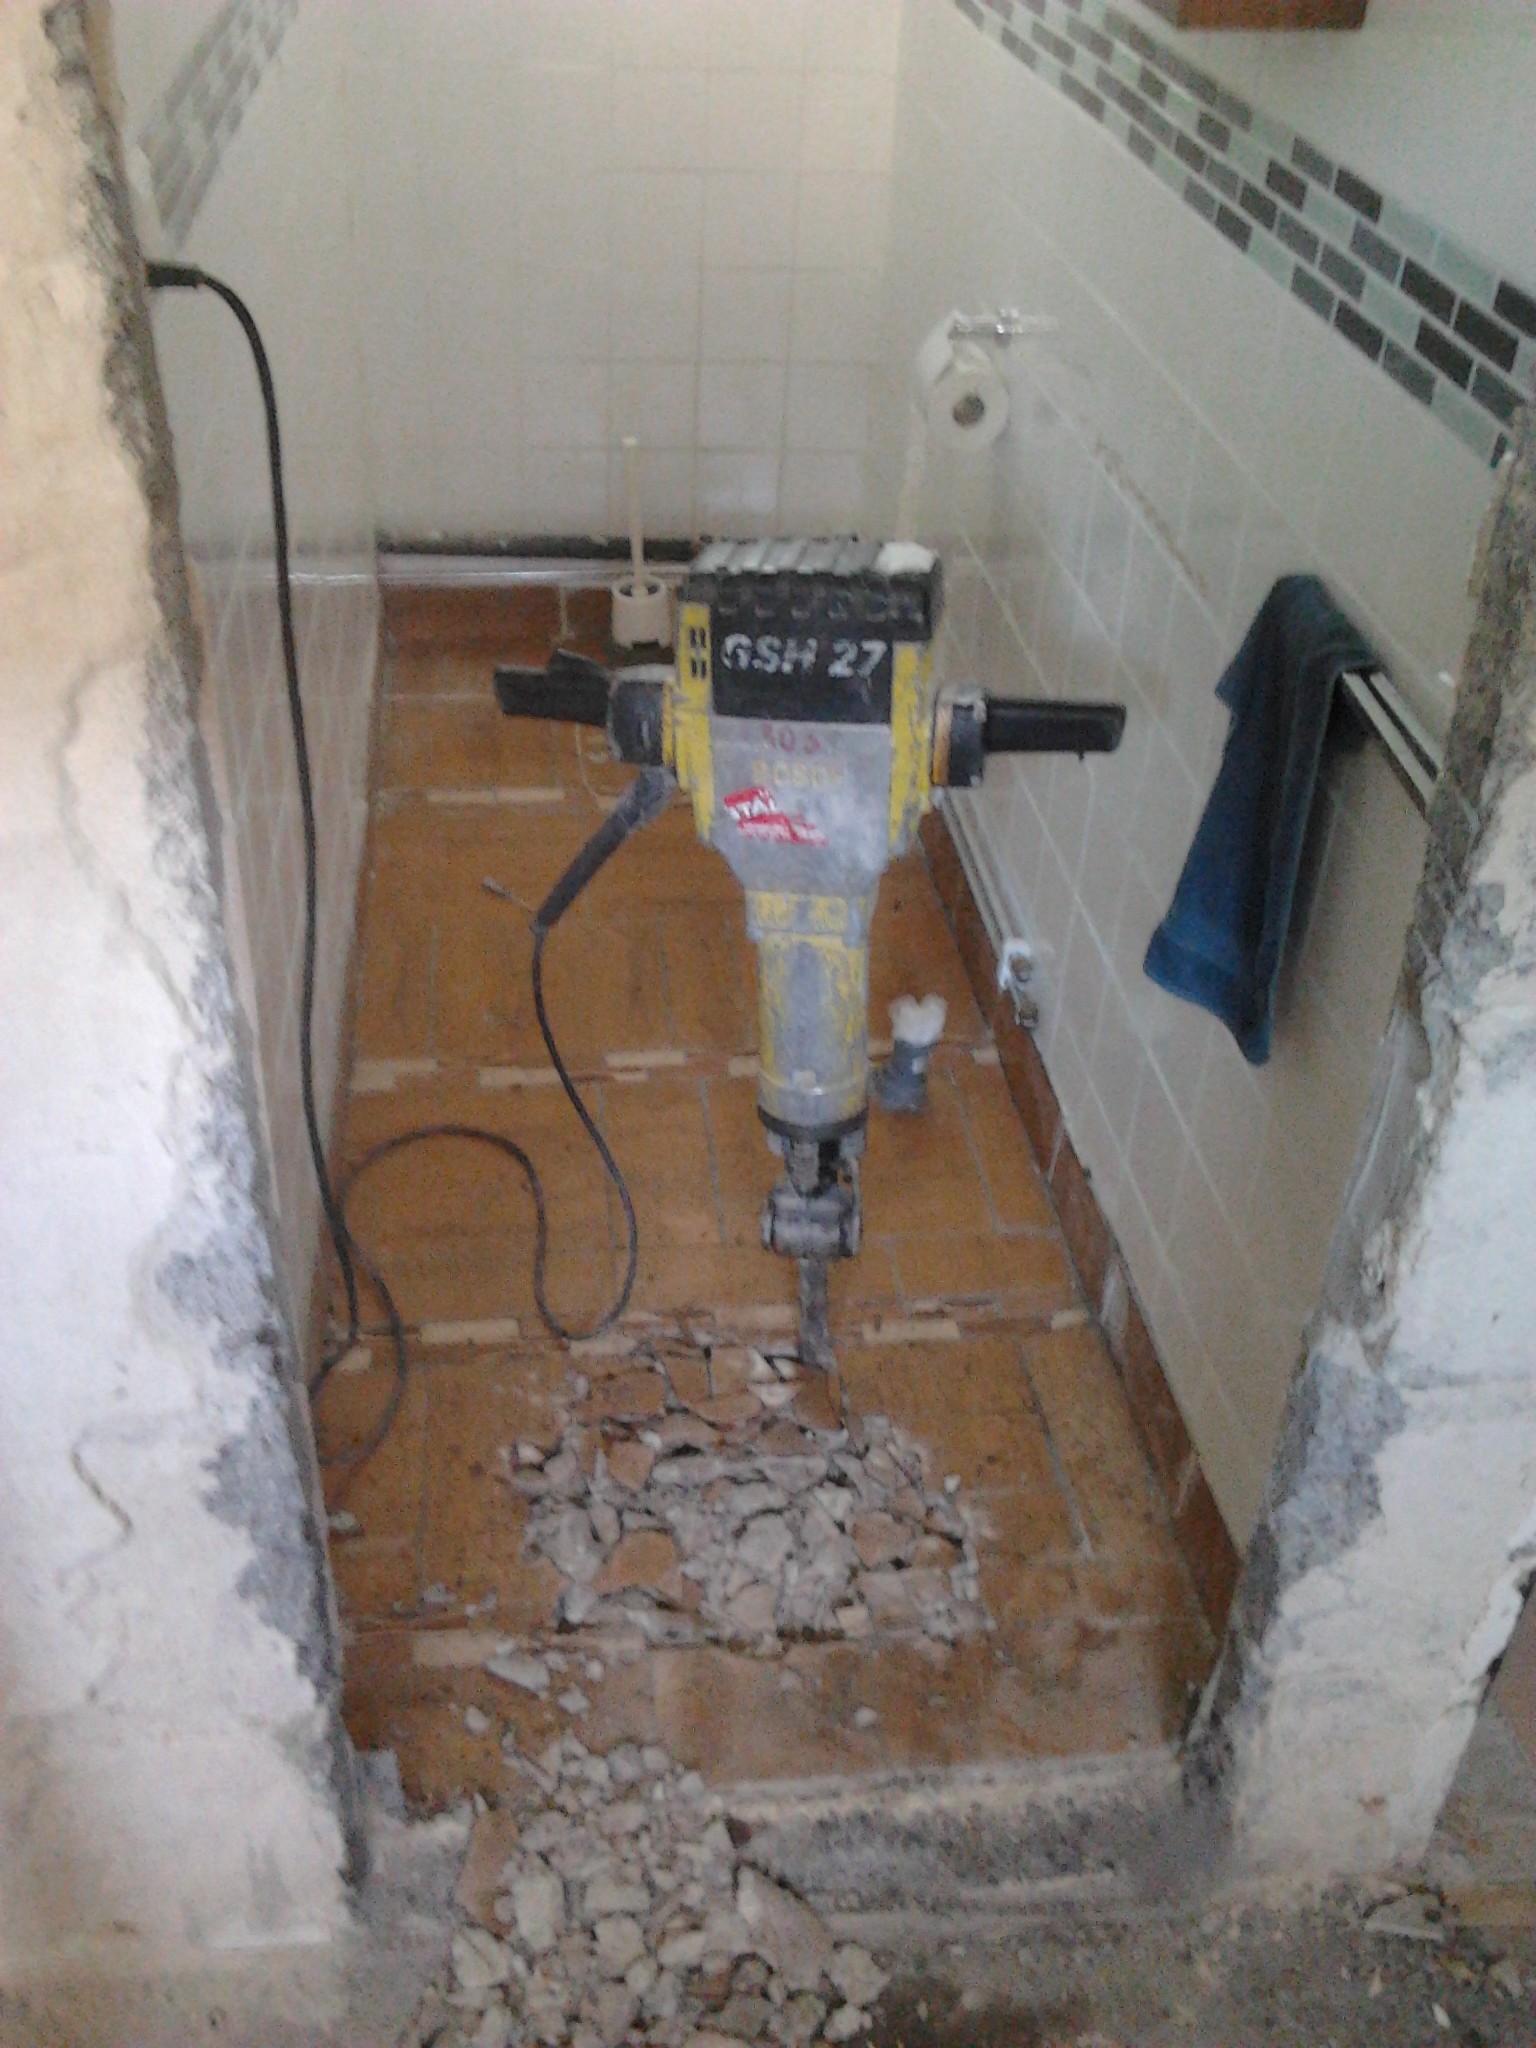
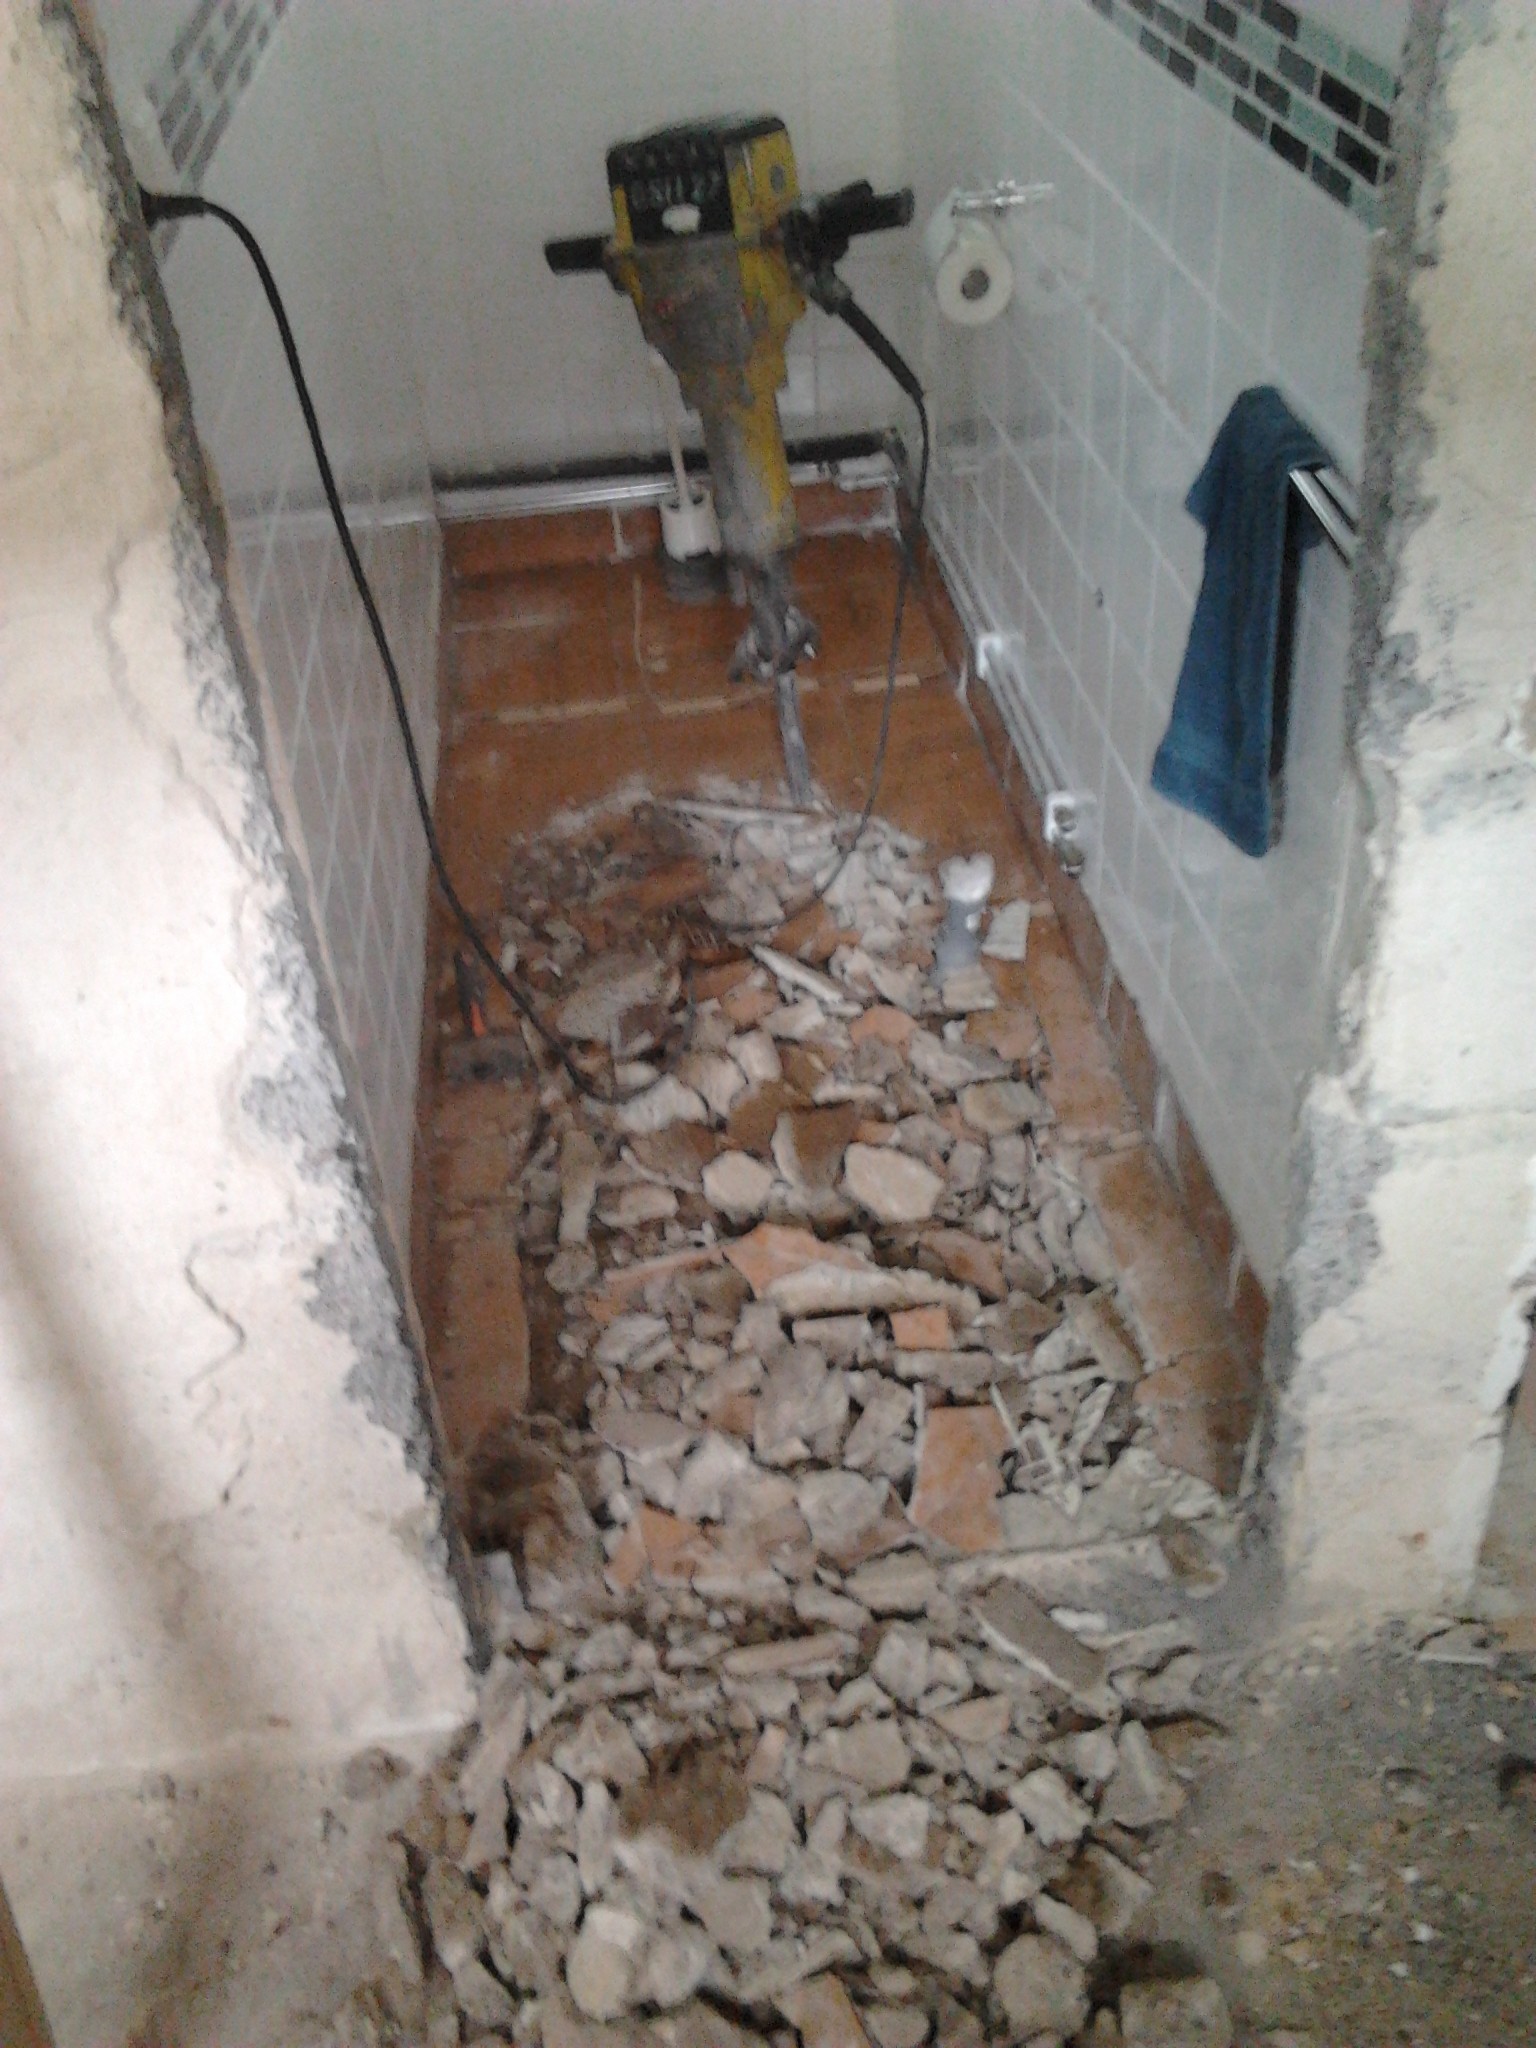
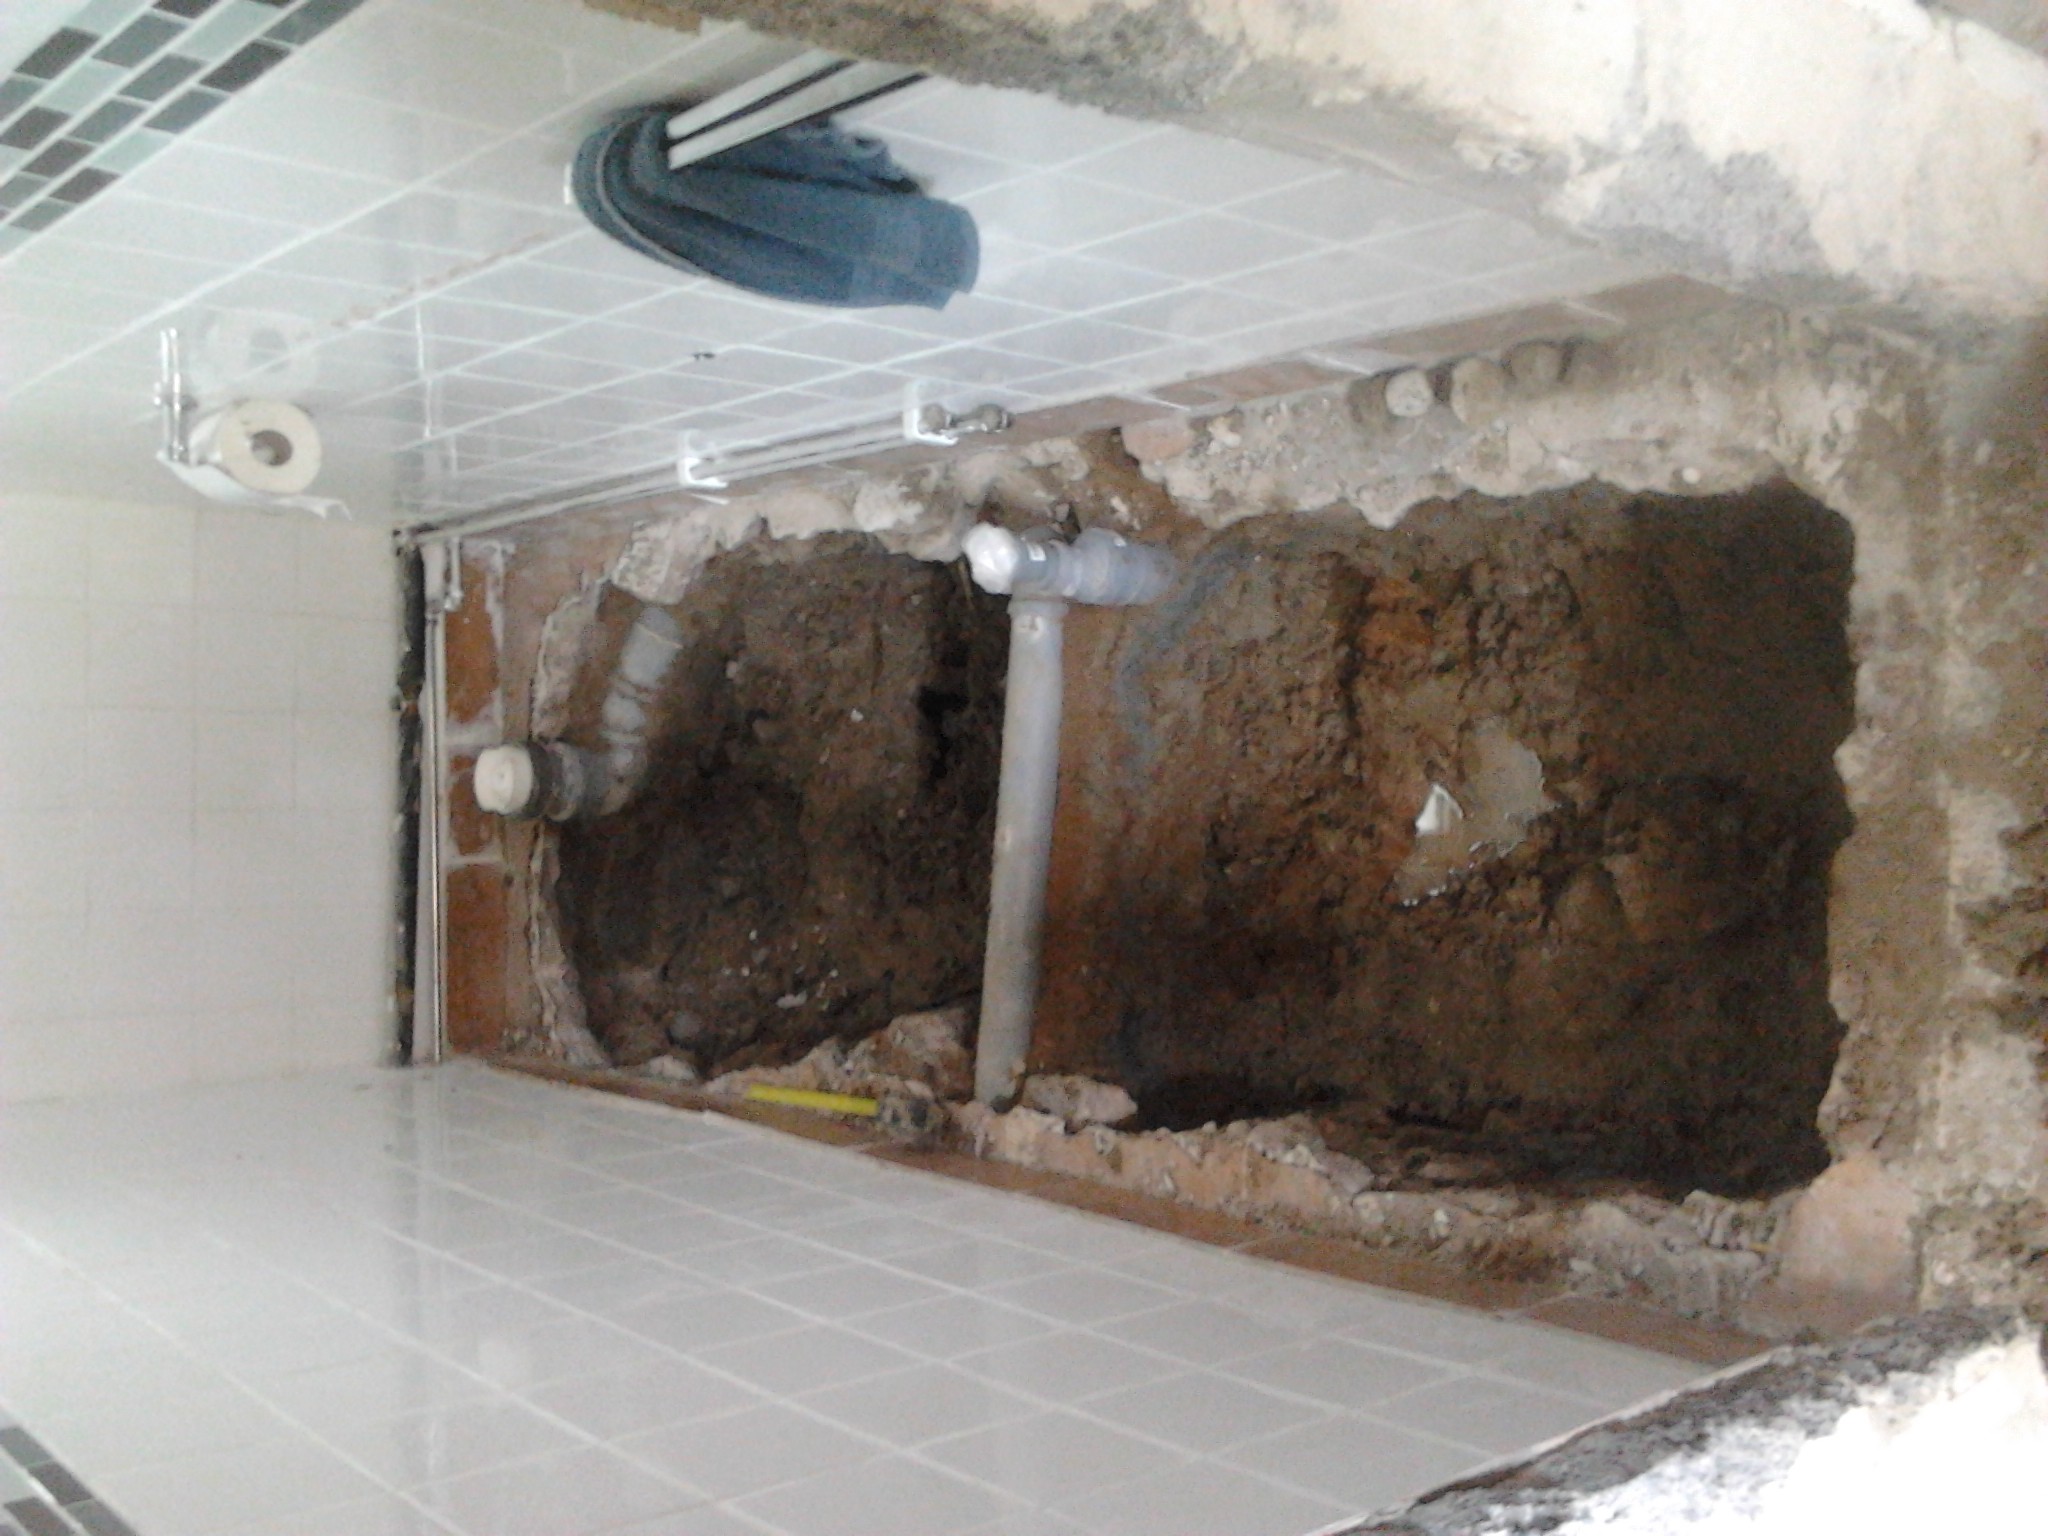
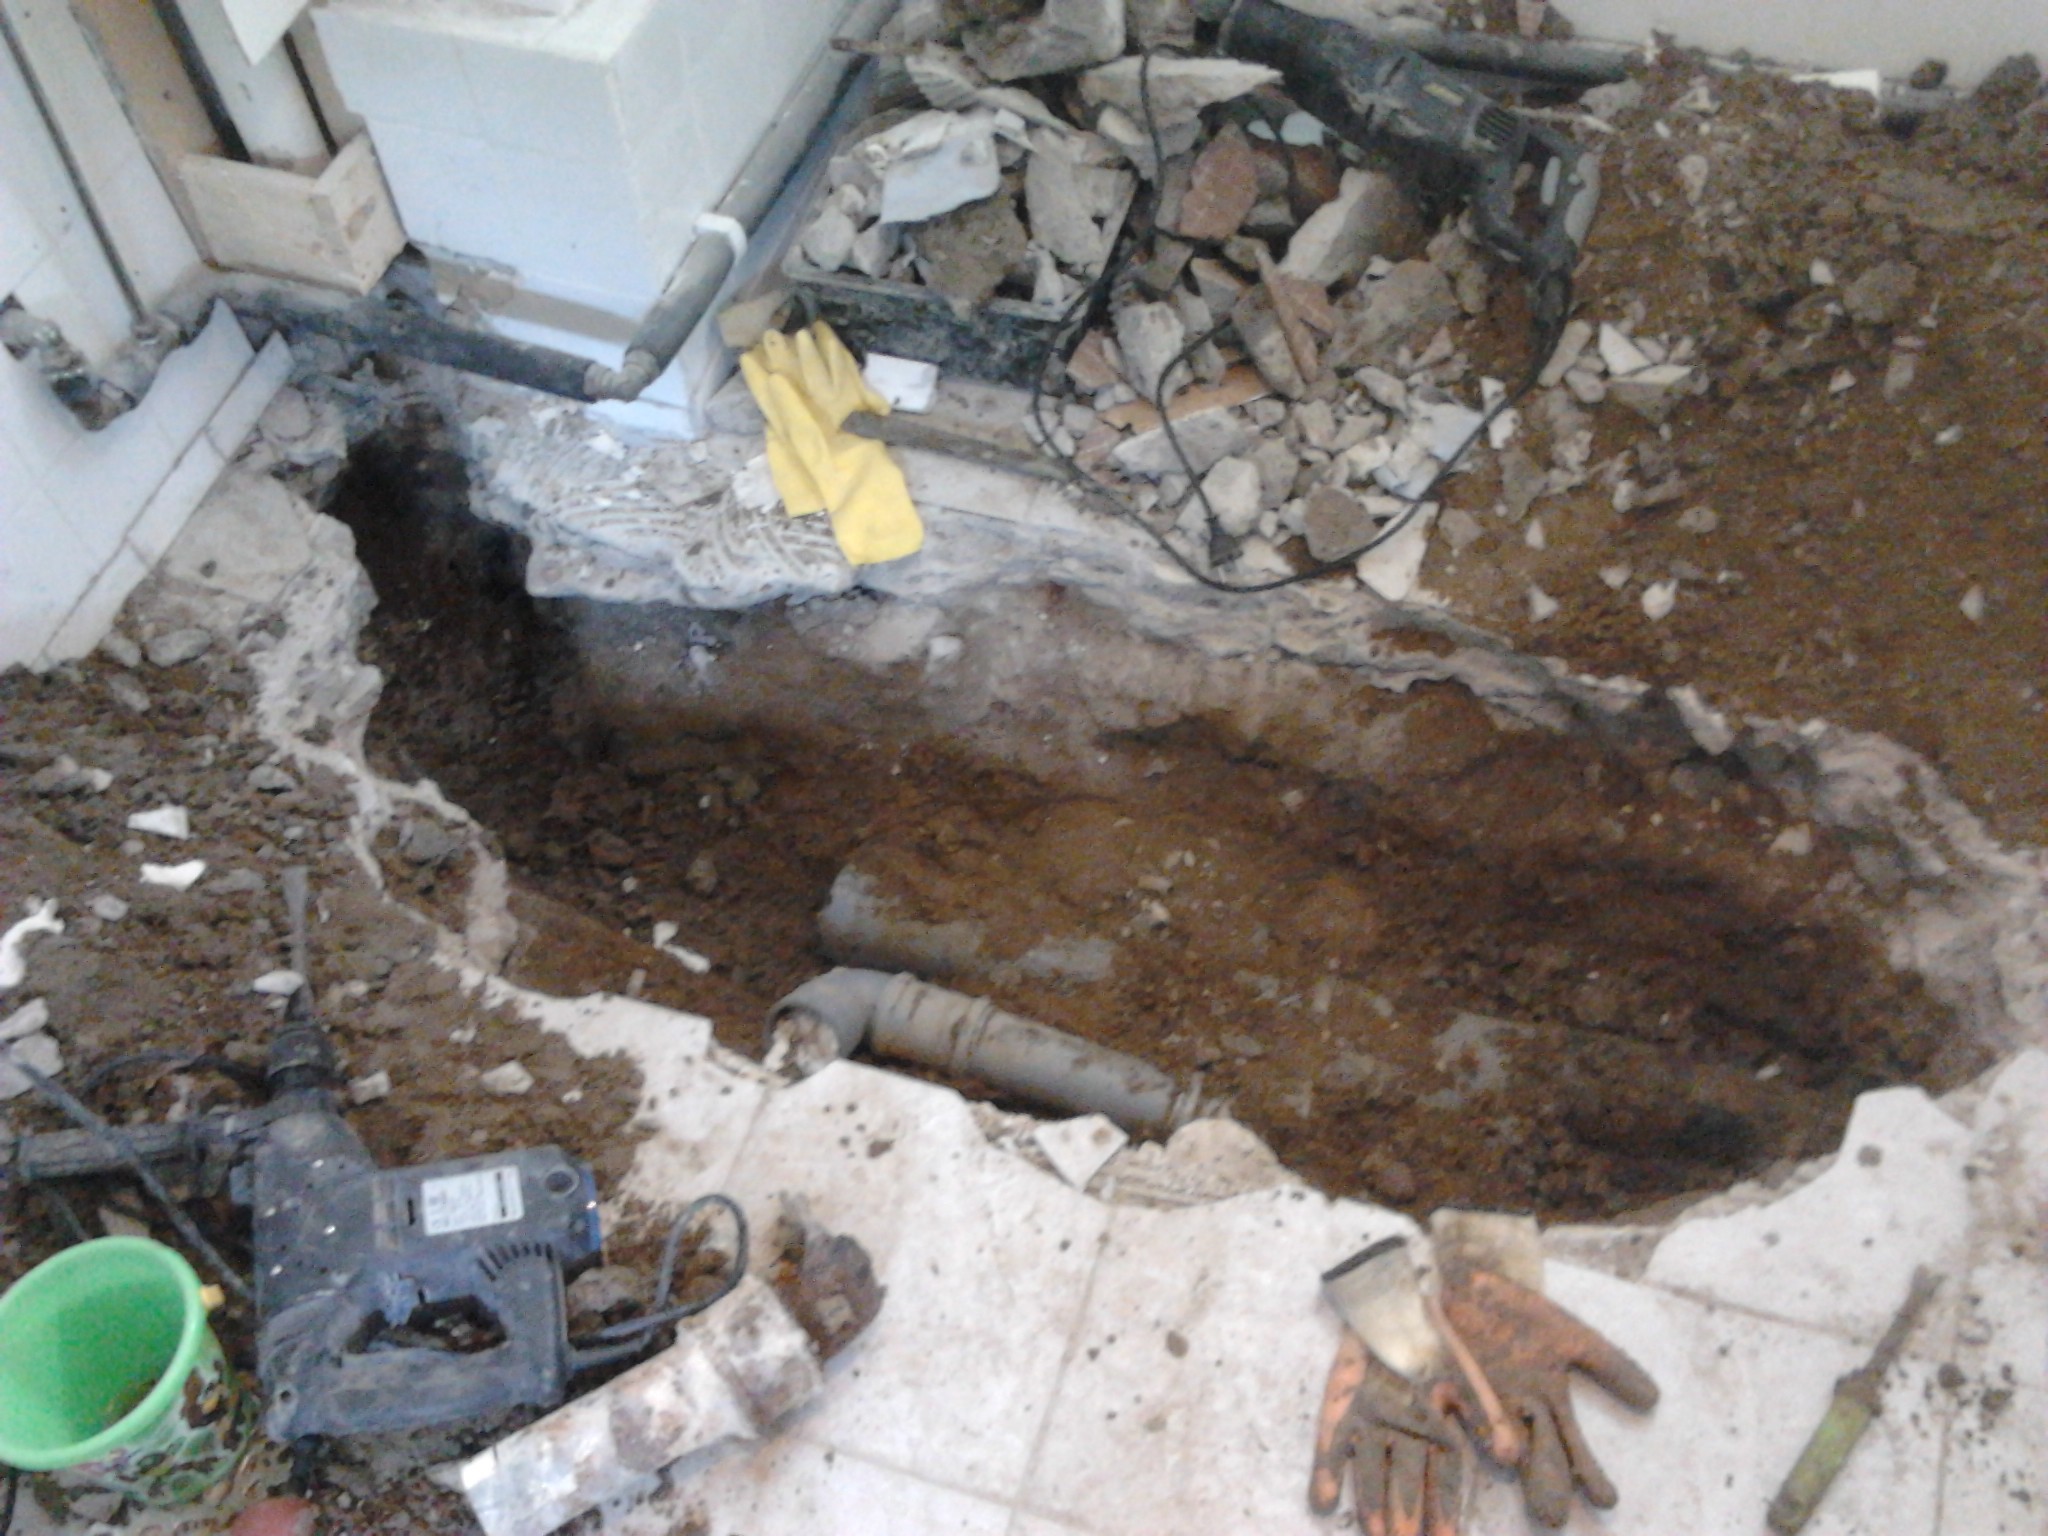
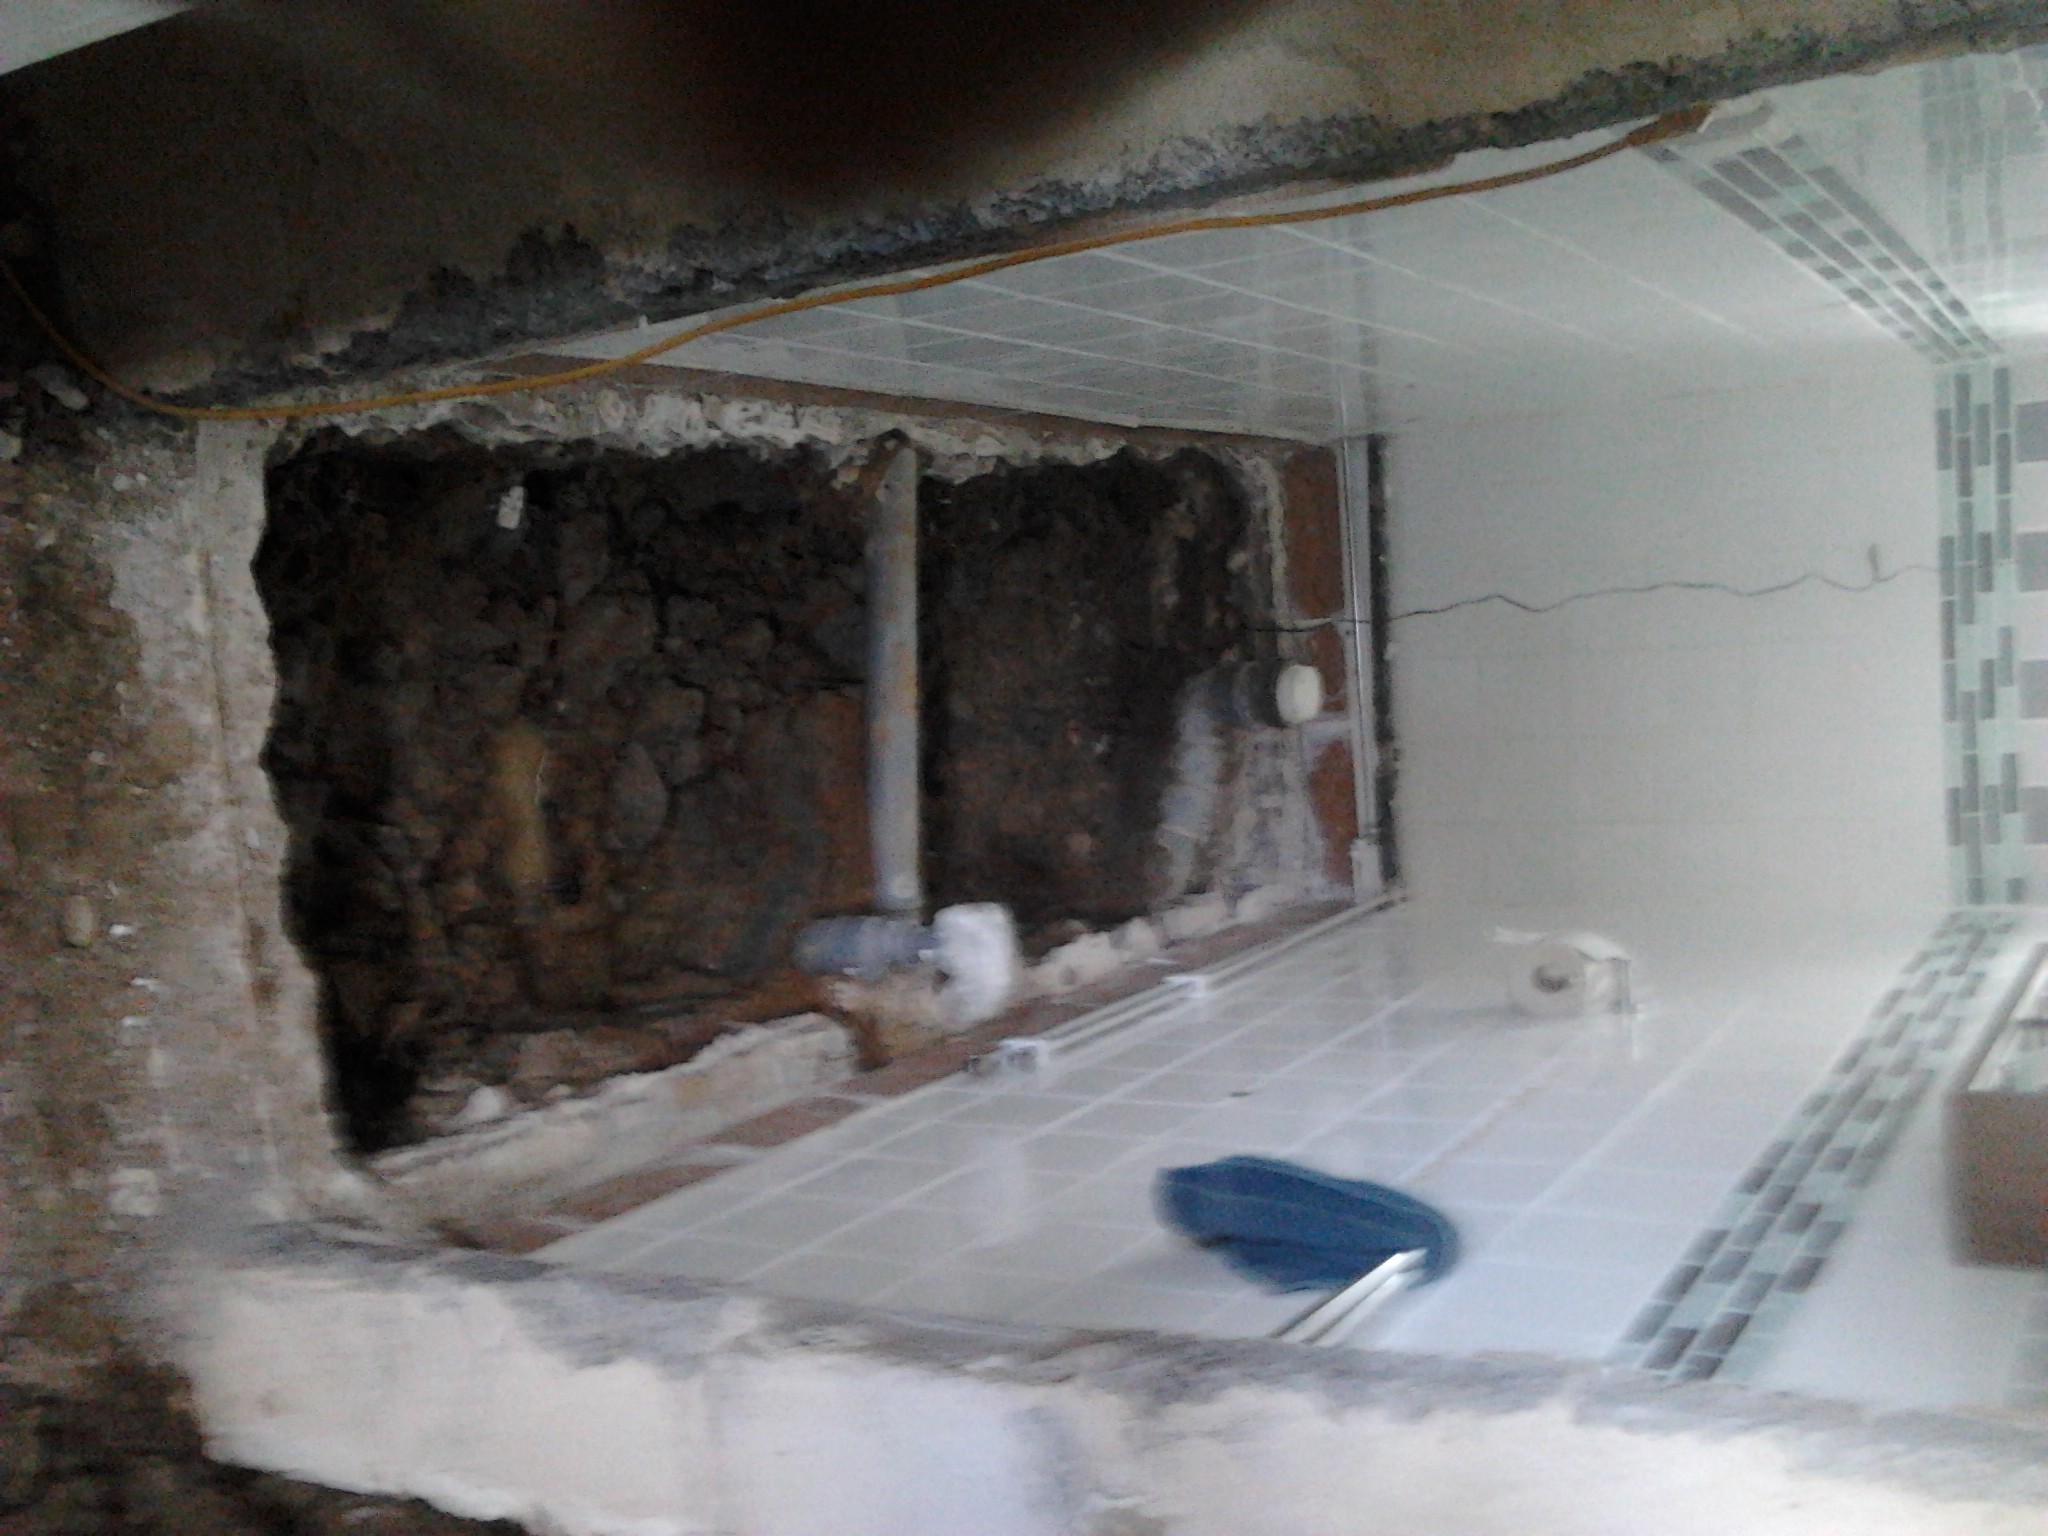
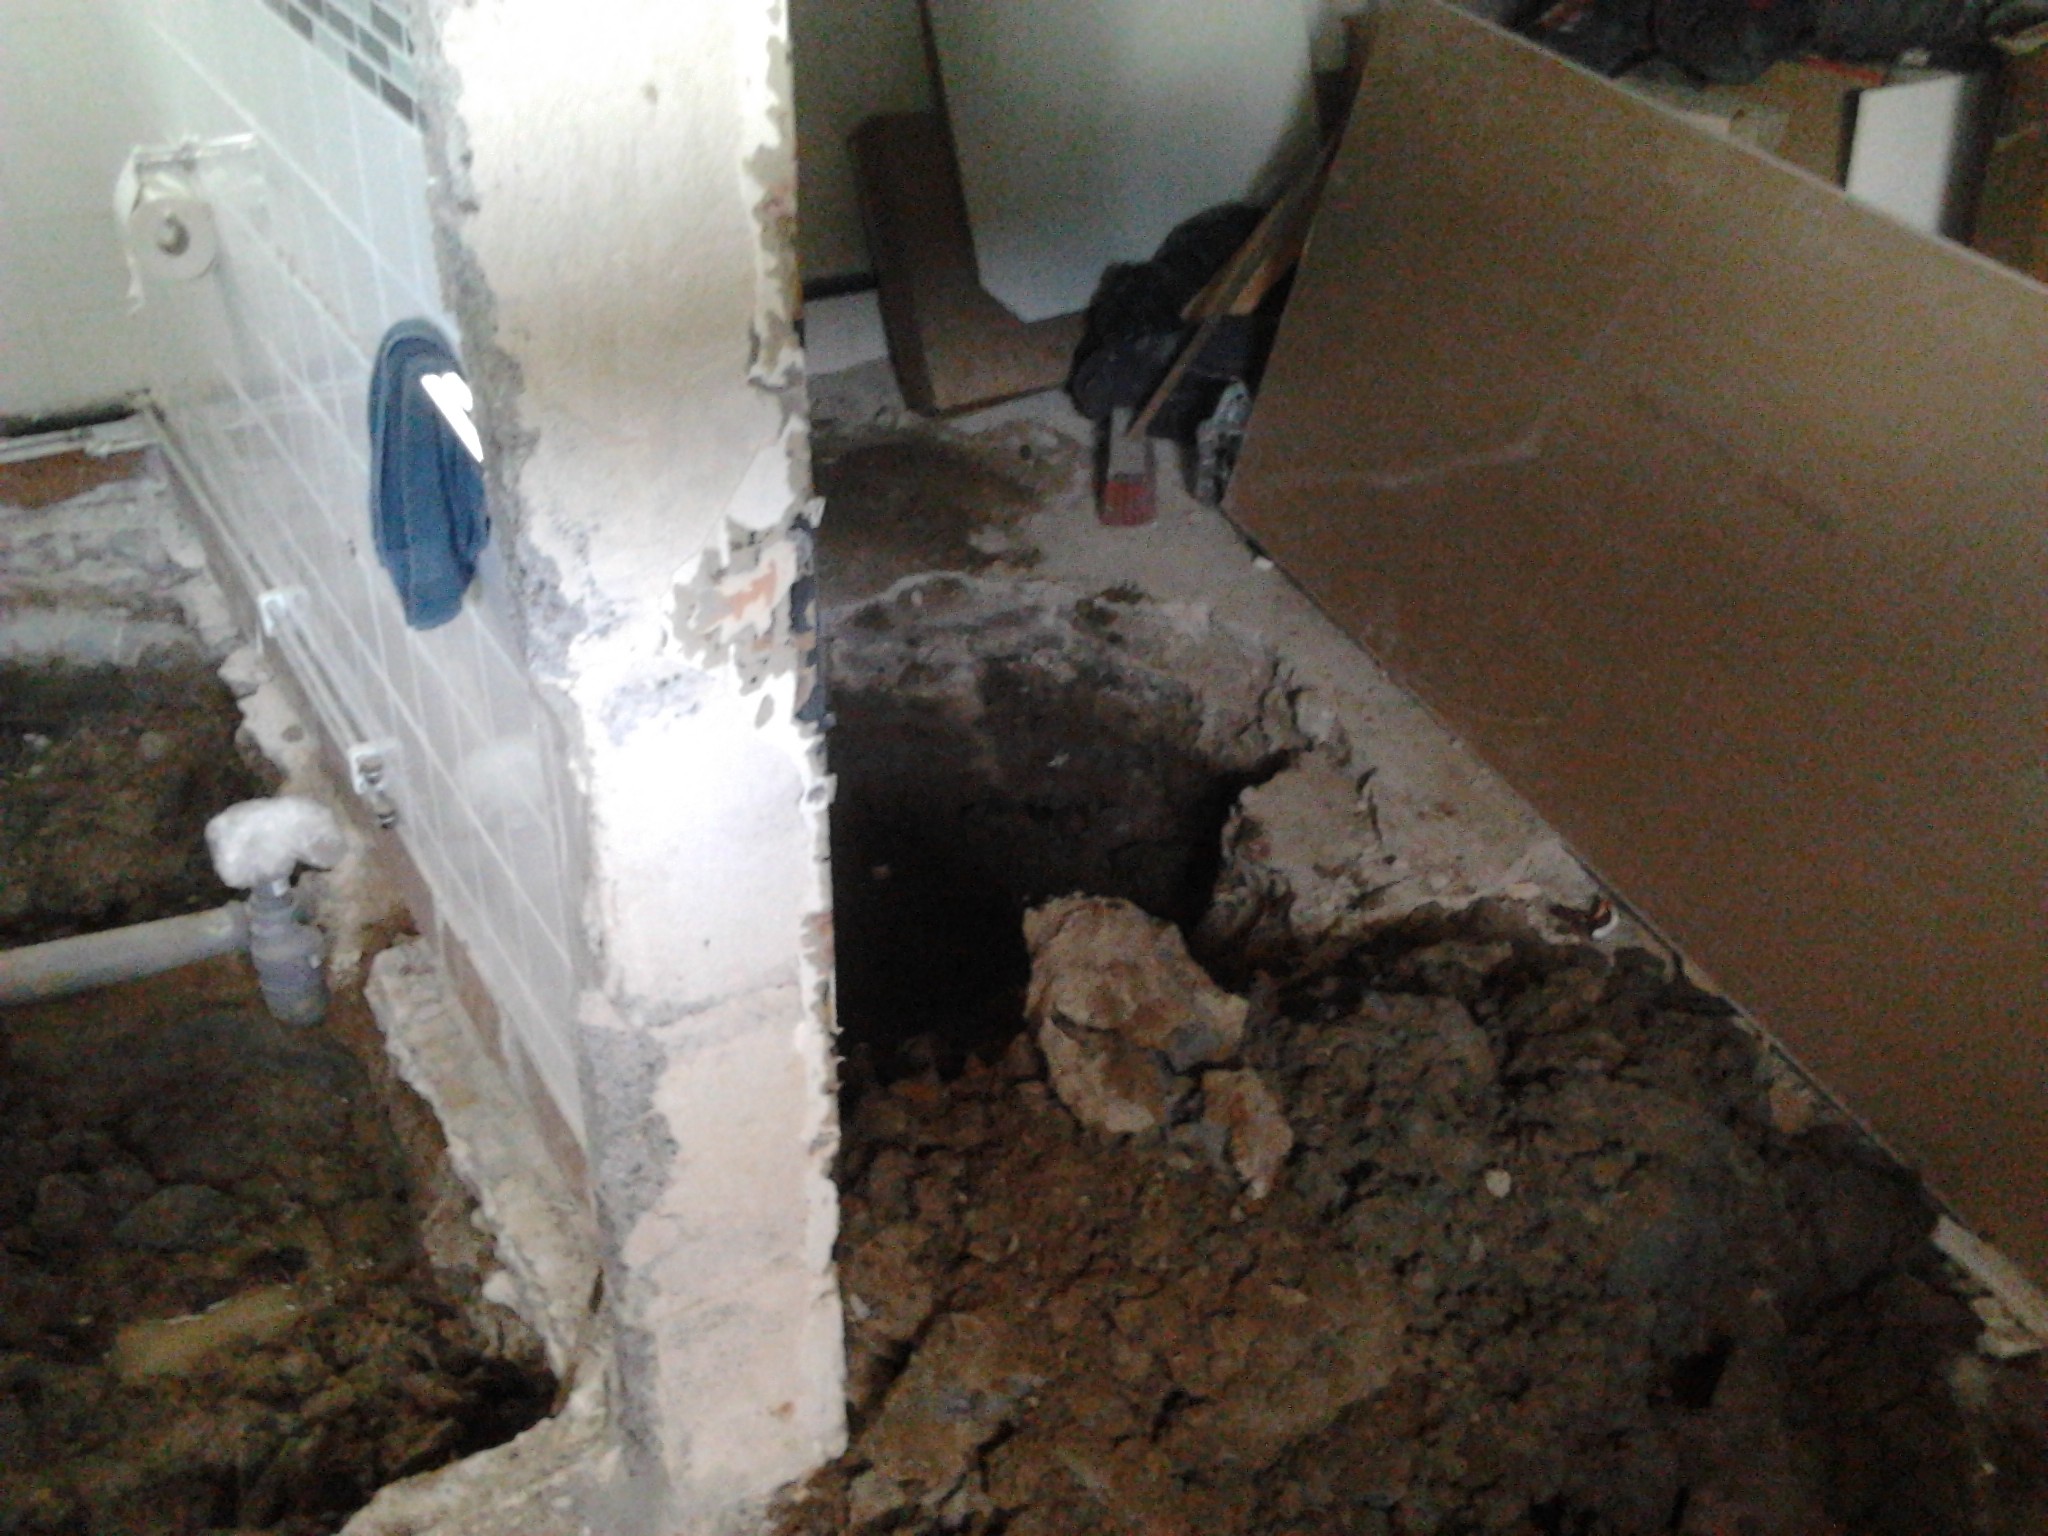
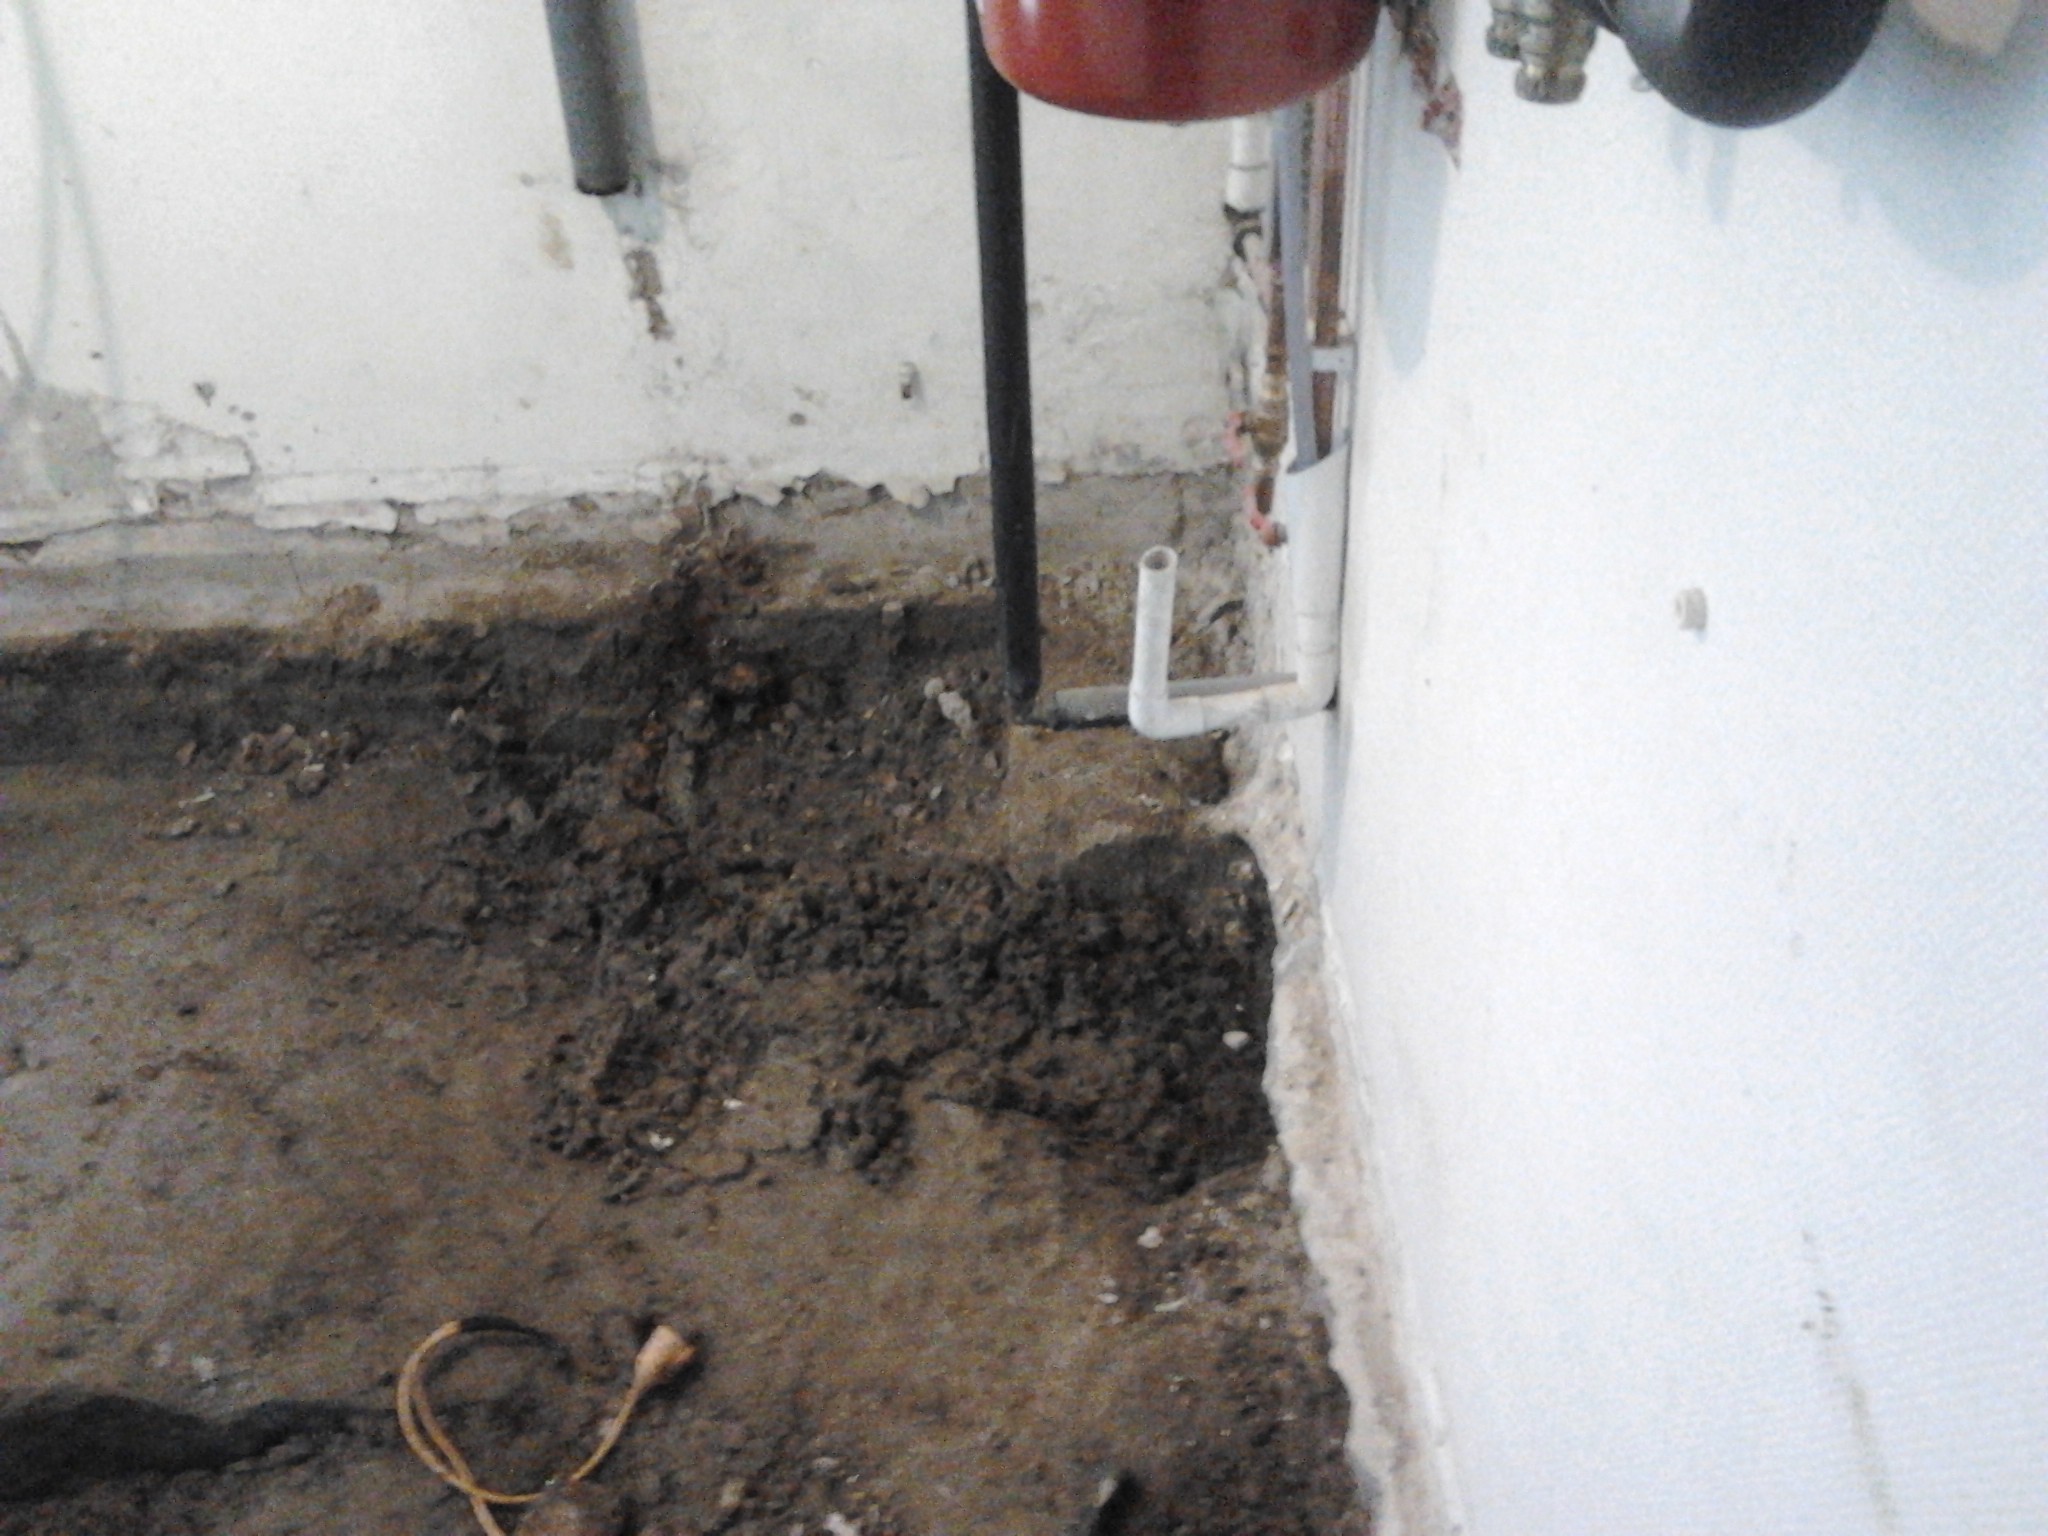
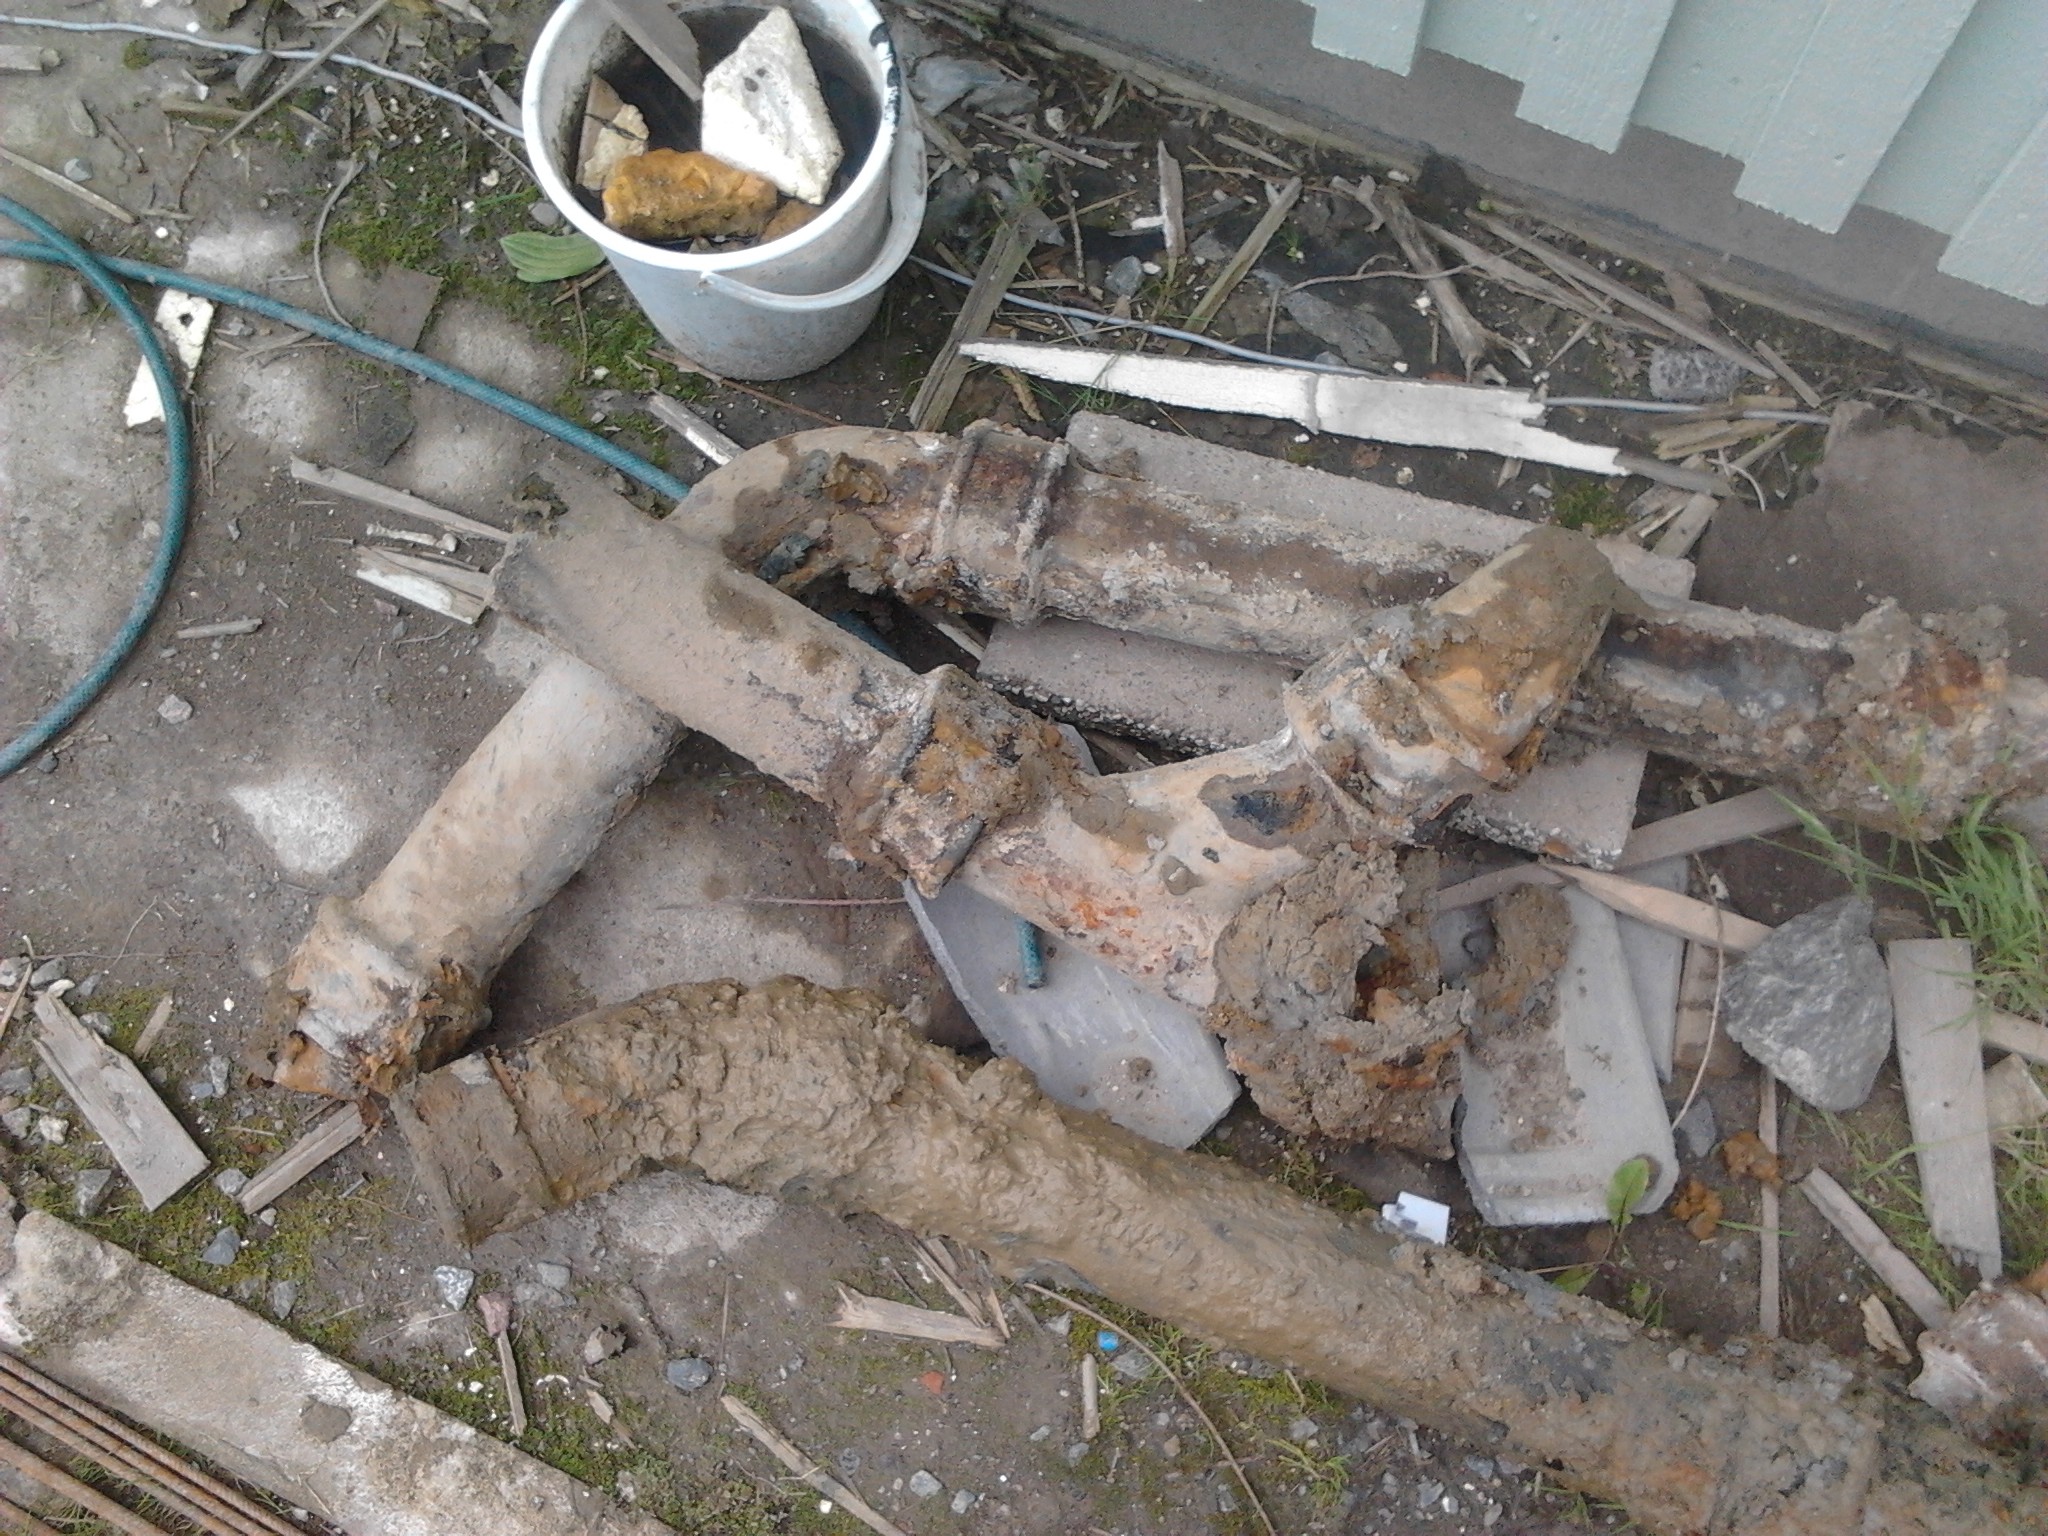
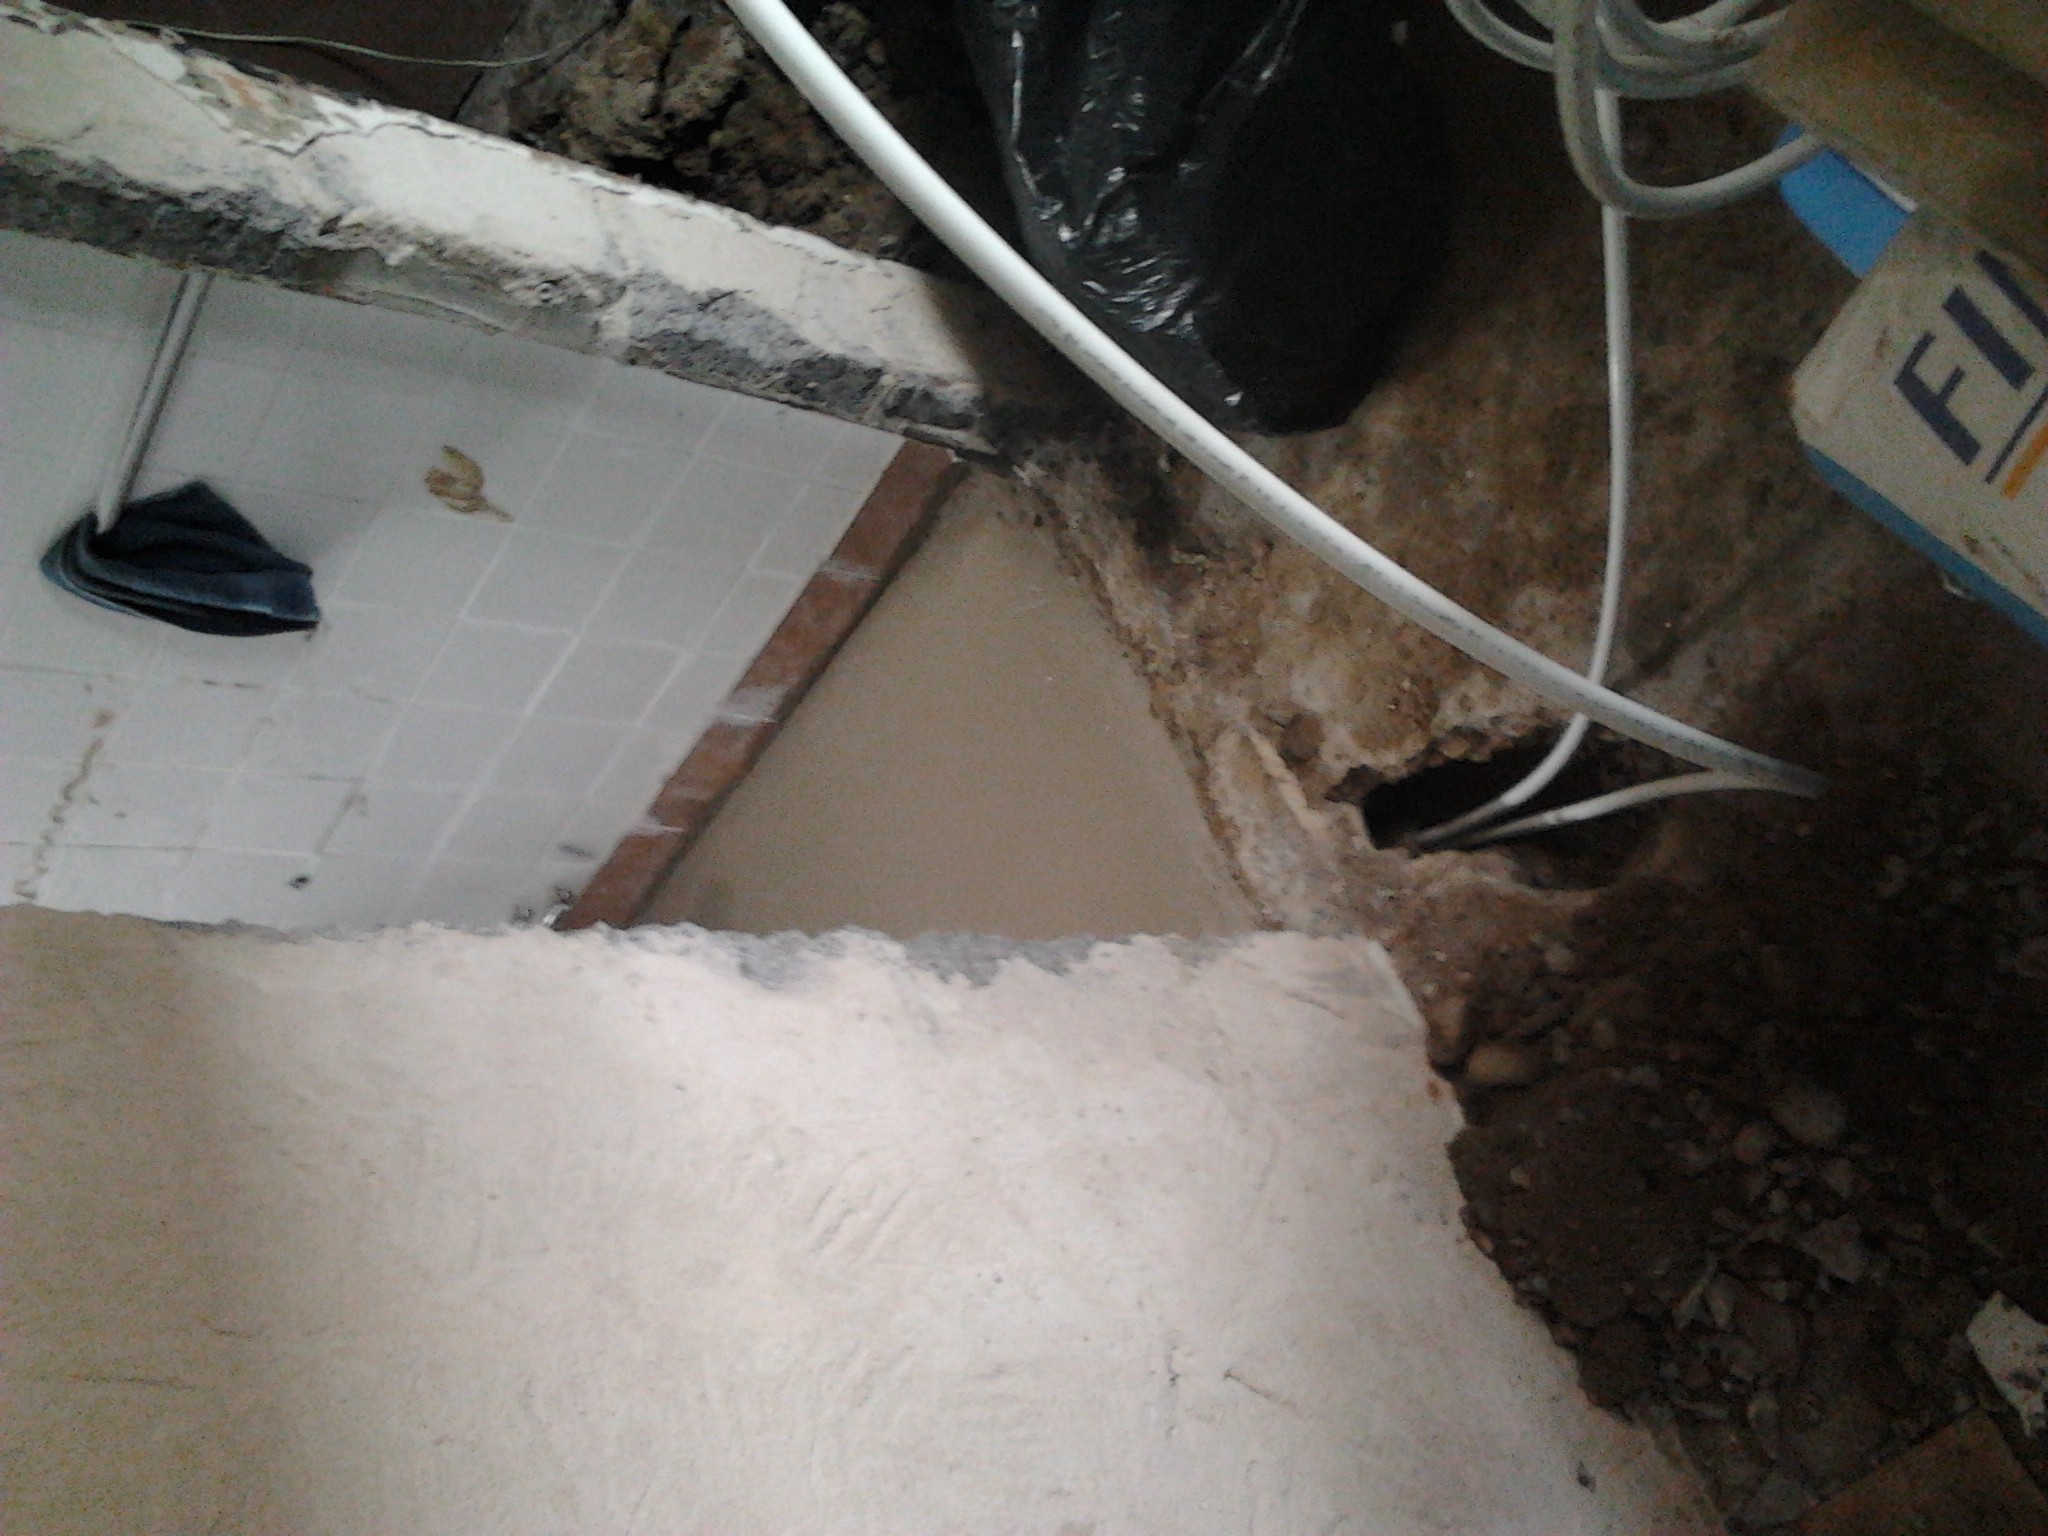
Today, I began chiseling the old slab; it went very quickly in the boiler room and the toilet (6-10 cm of reinforced concrete).
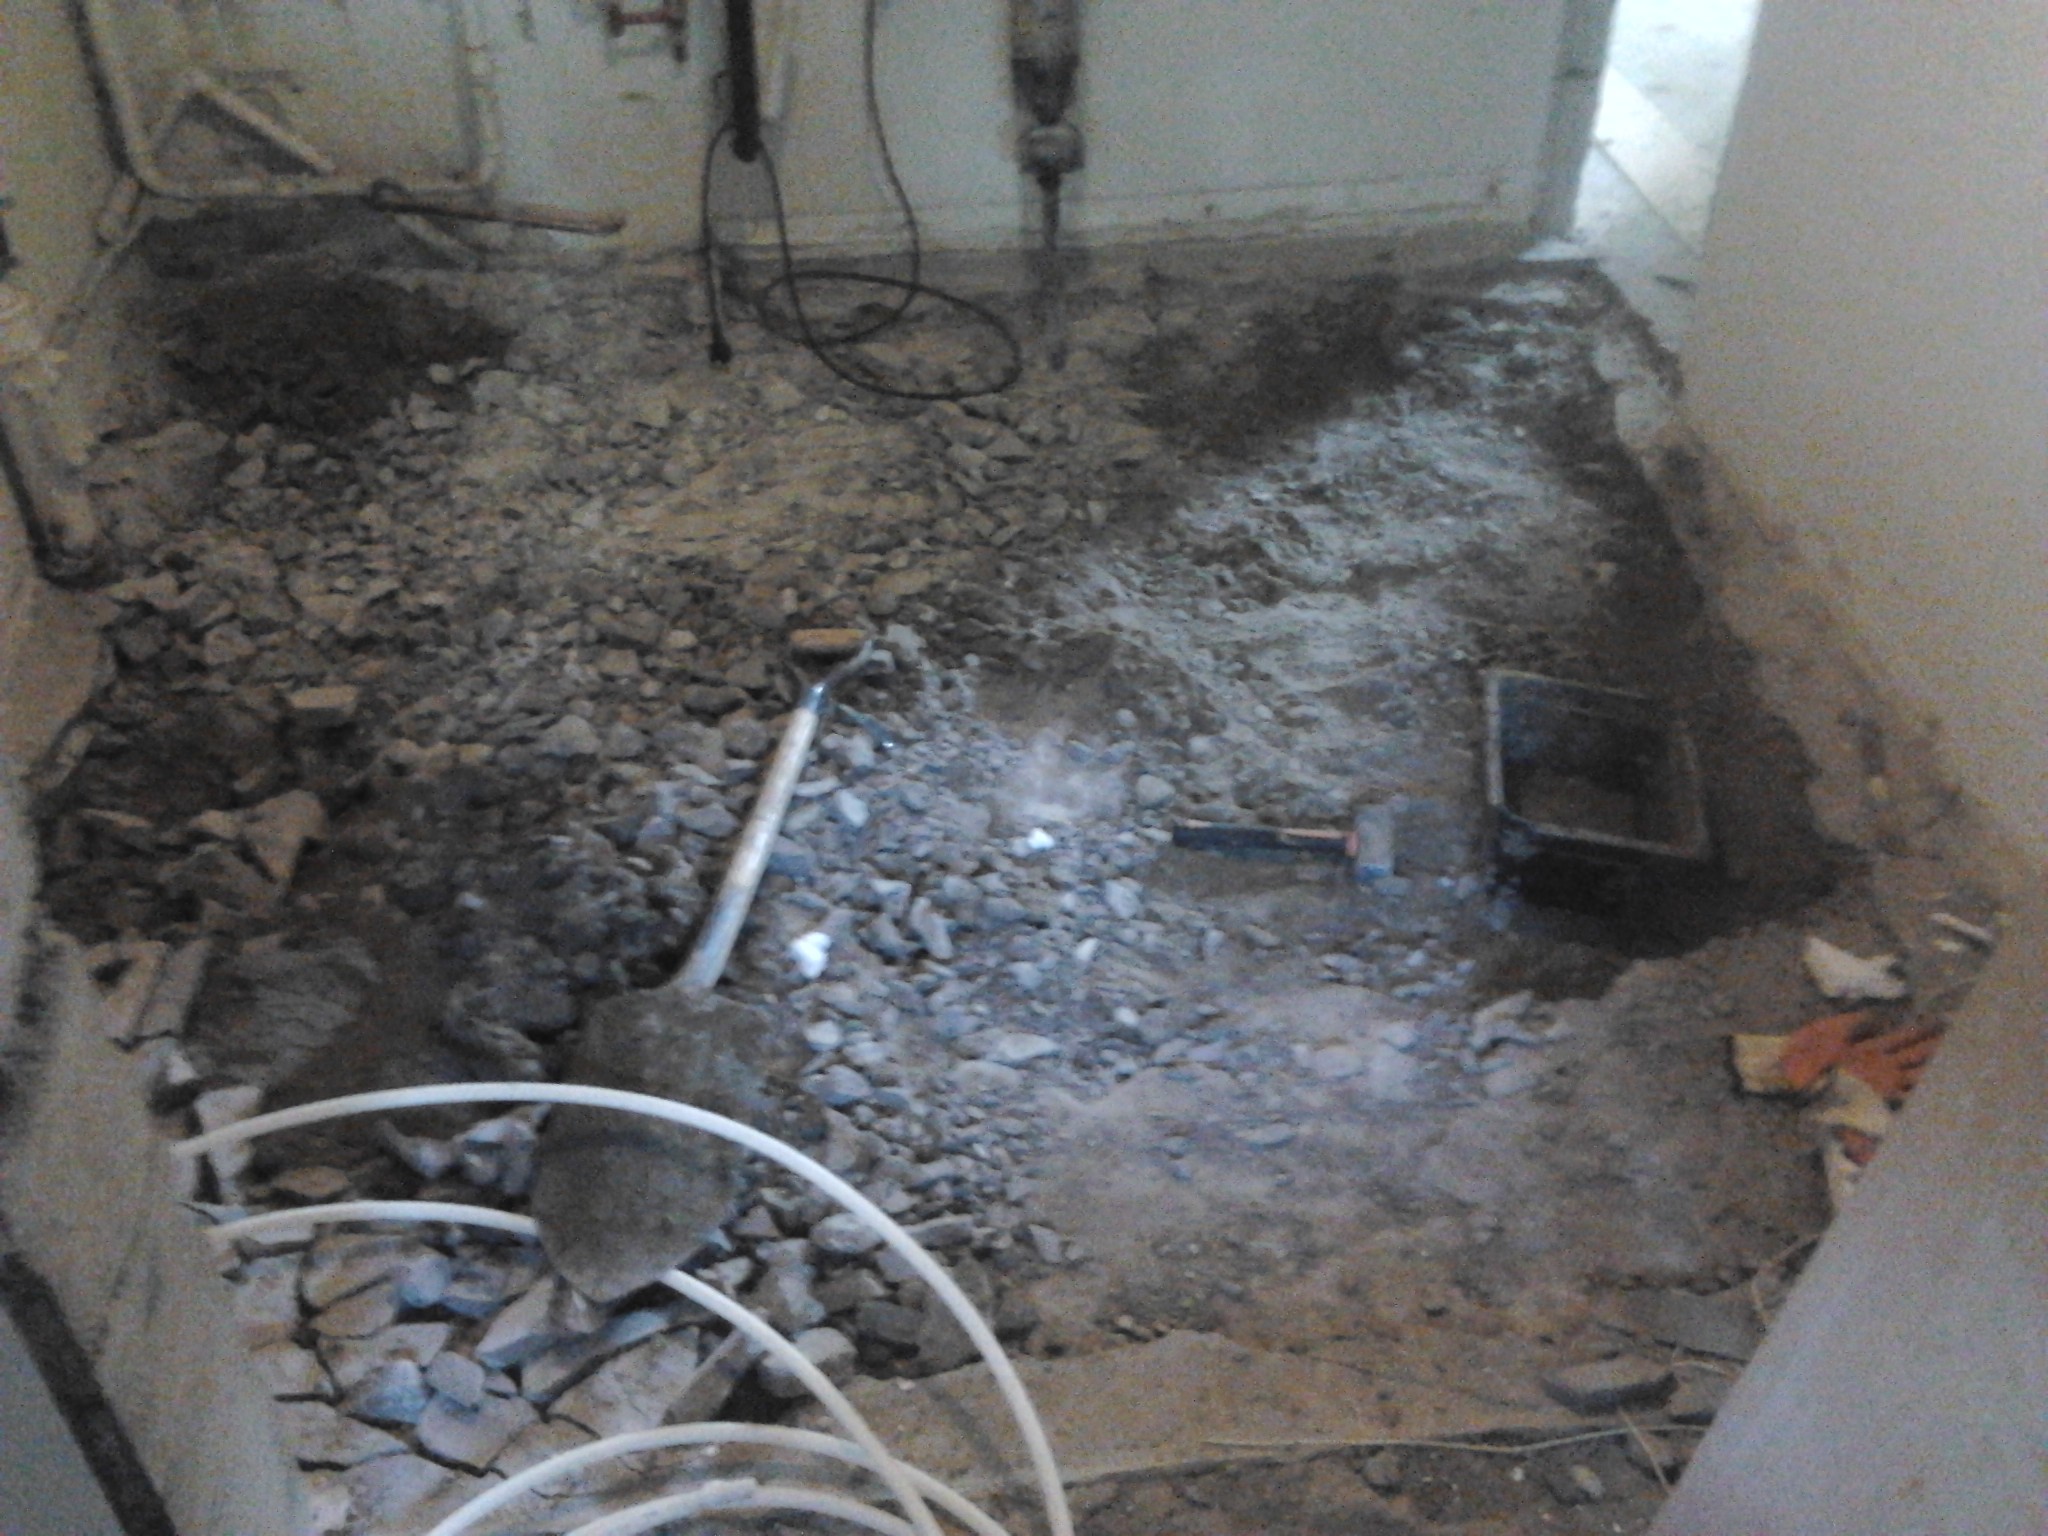
Tomorrow, I'm going to test the conveyor belt that's supposed to help me transport all the old concrete and clay through the window to a wheelbarrow and then drive 6 meters straight to the container. We'll see, I got this idea from a guy at work, hehe, fun, right?
I plan to do the chiseling and digging myself and then proceed like this:
1- Ground fabric
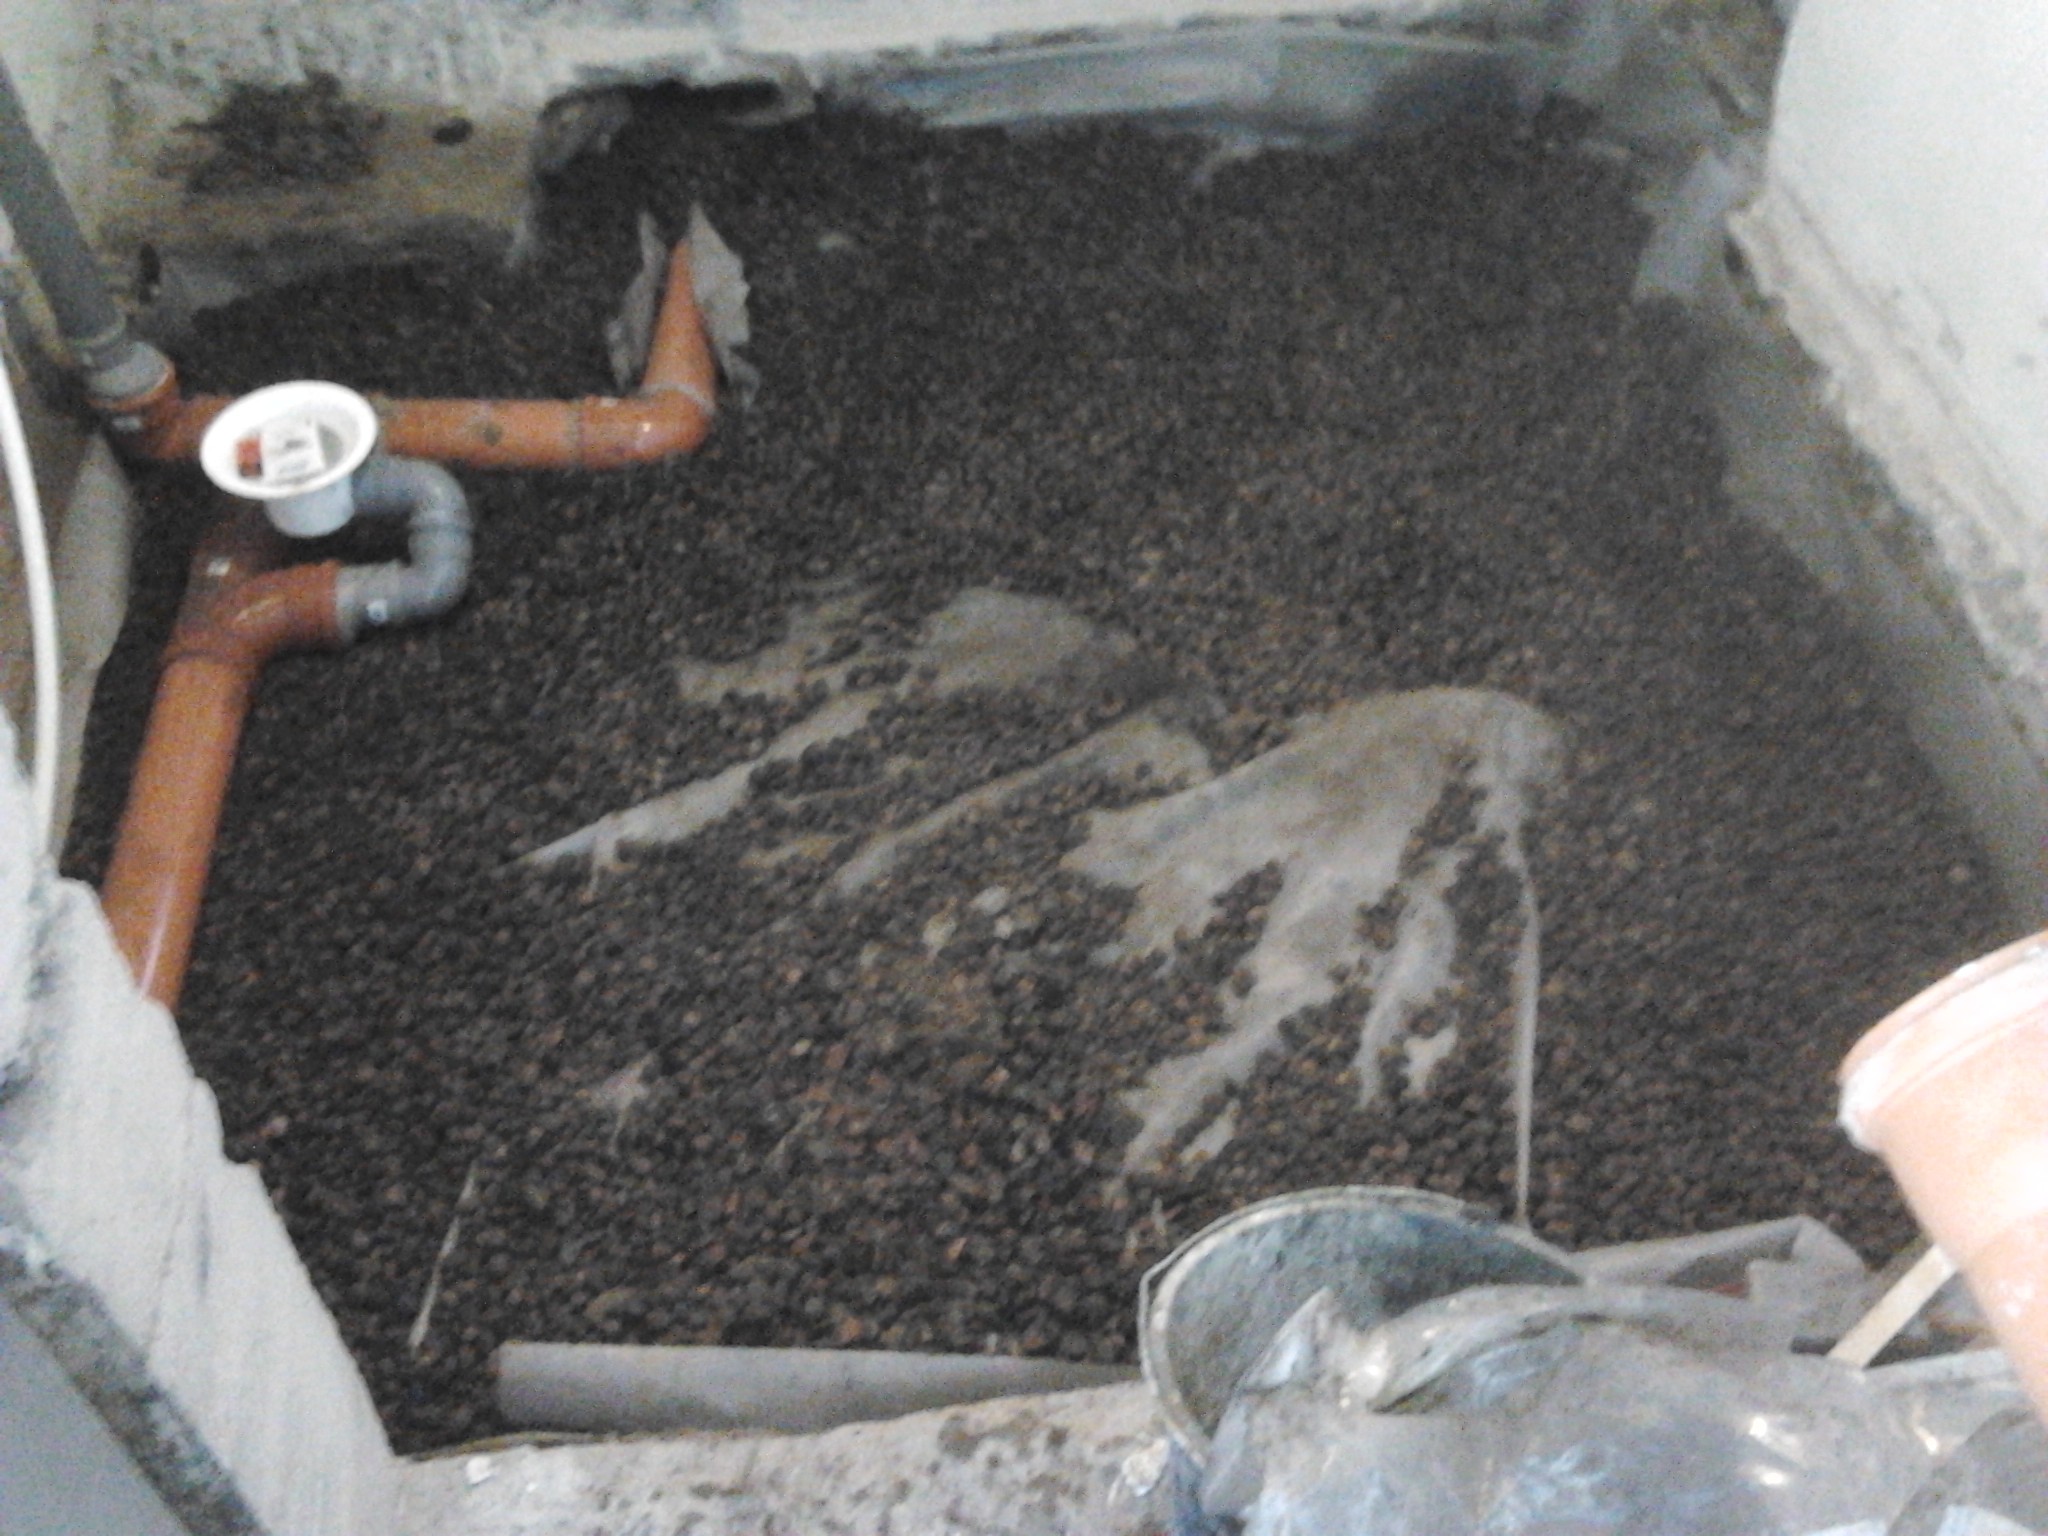
2- Leca balls 5-10
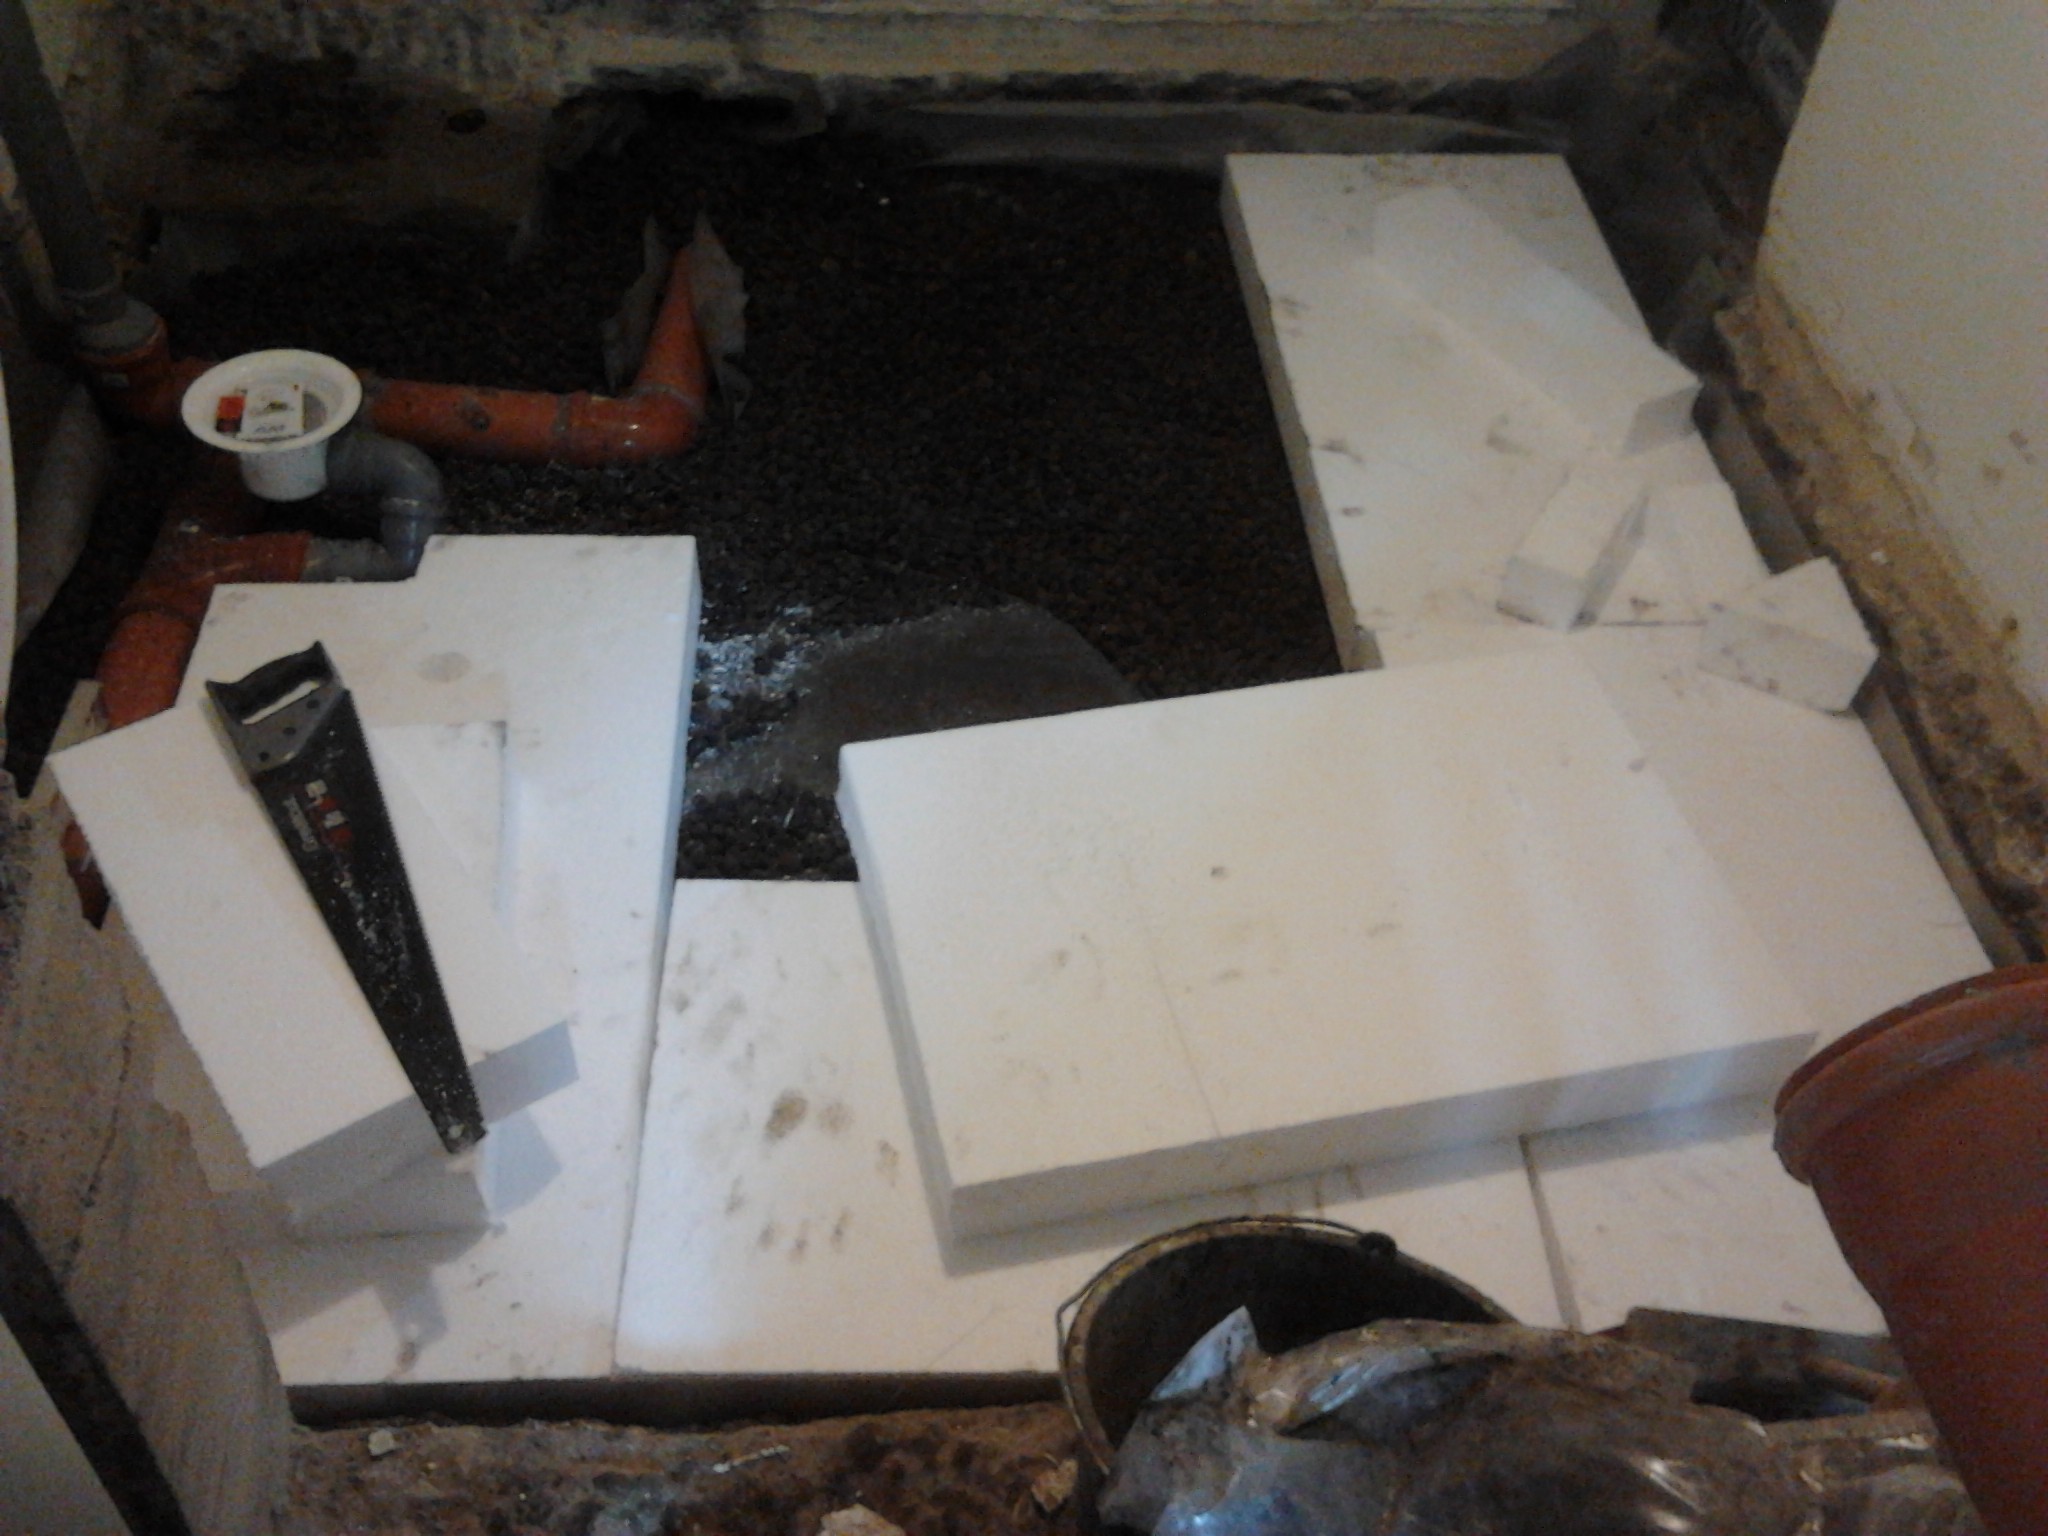
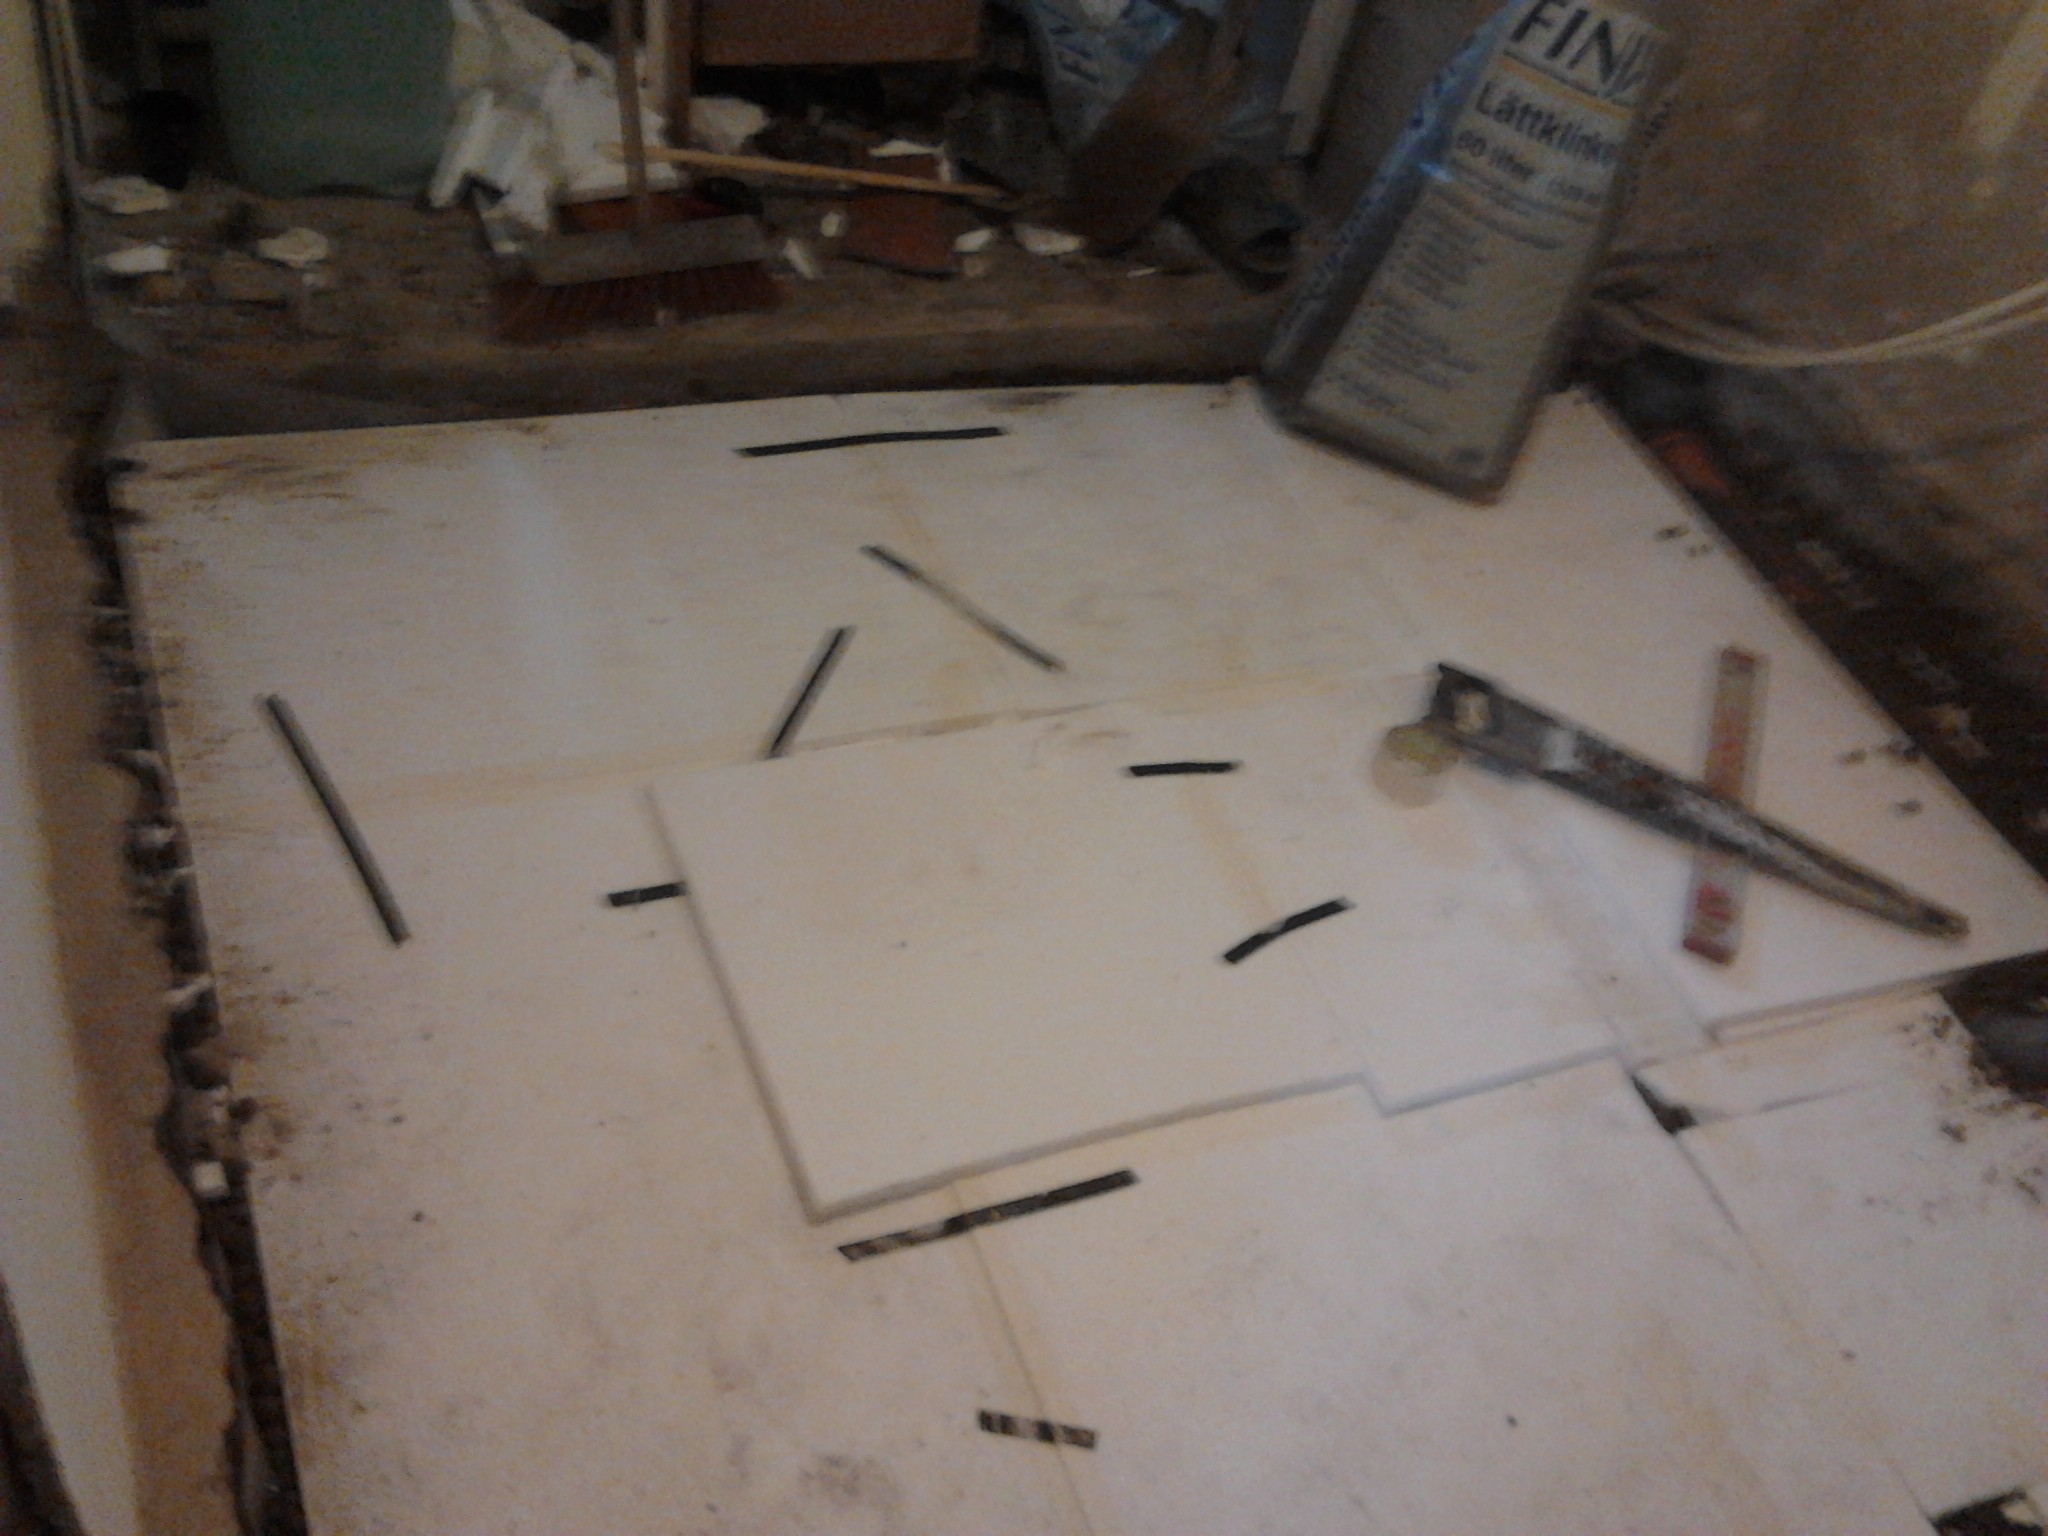
3- Two pieces of 100 mm Styrofoam S100 totaling 20 cm of insulation
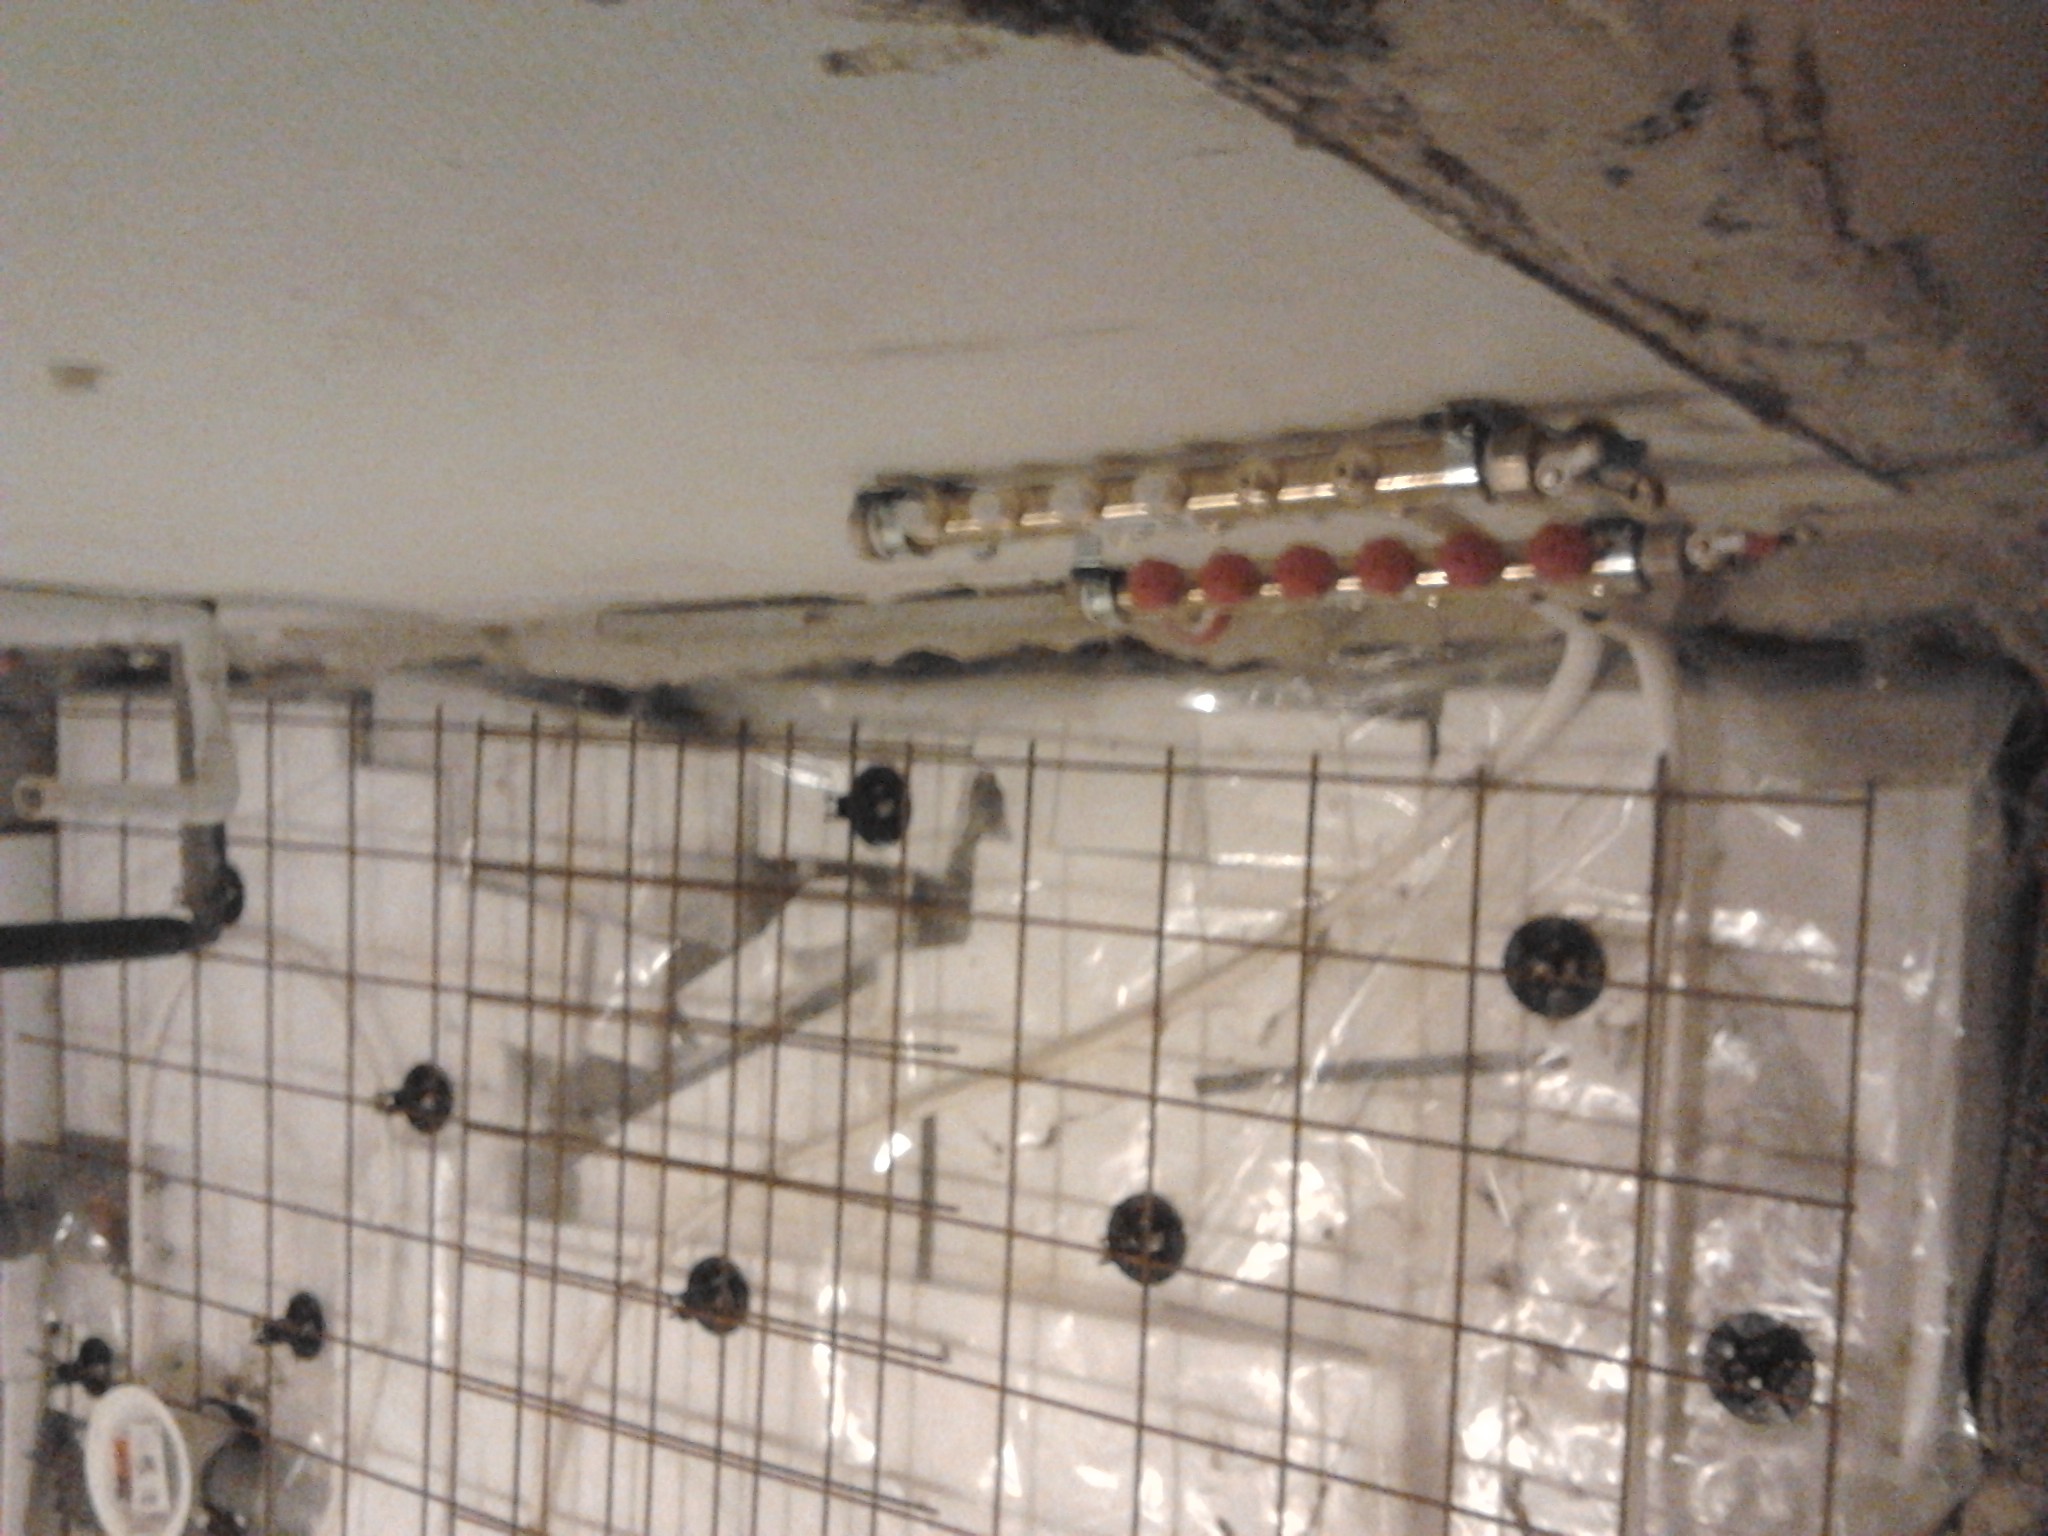
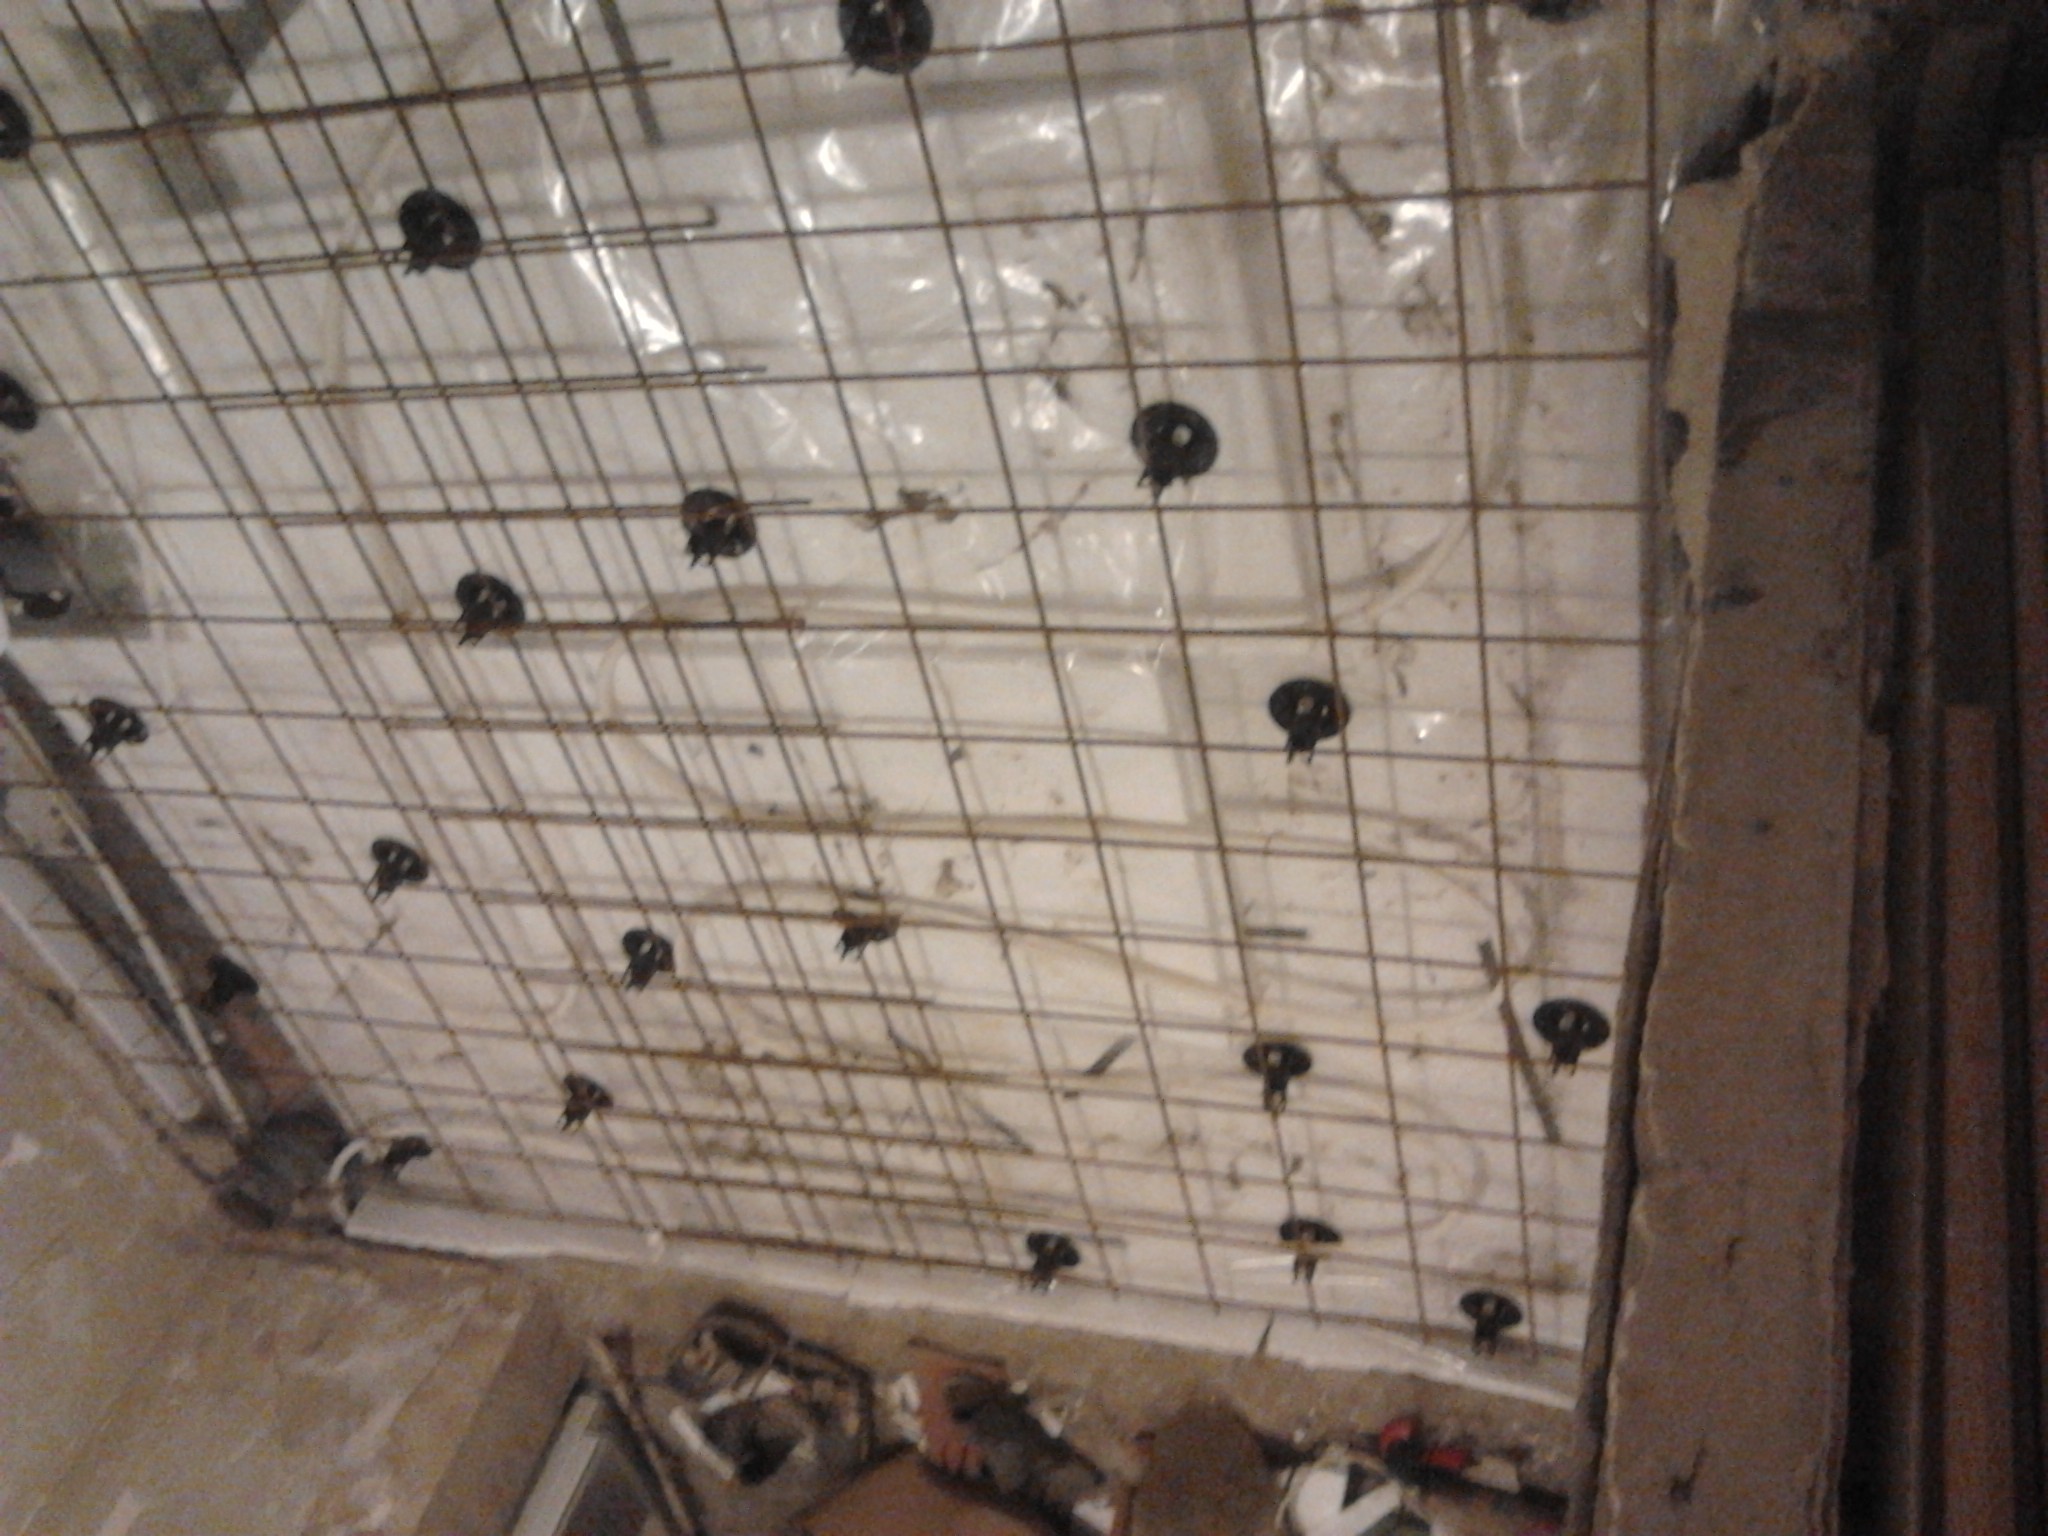
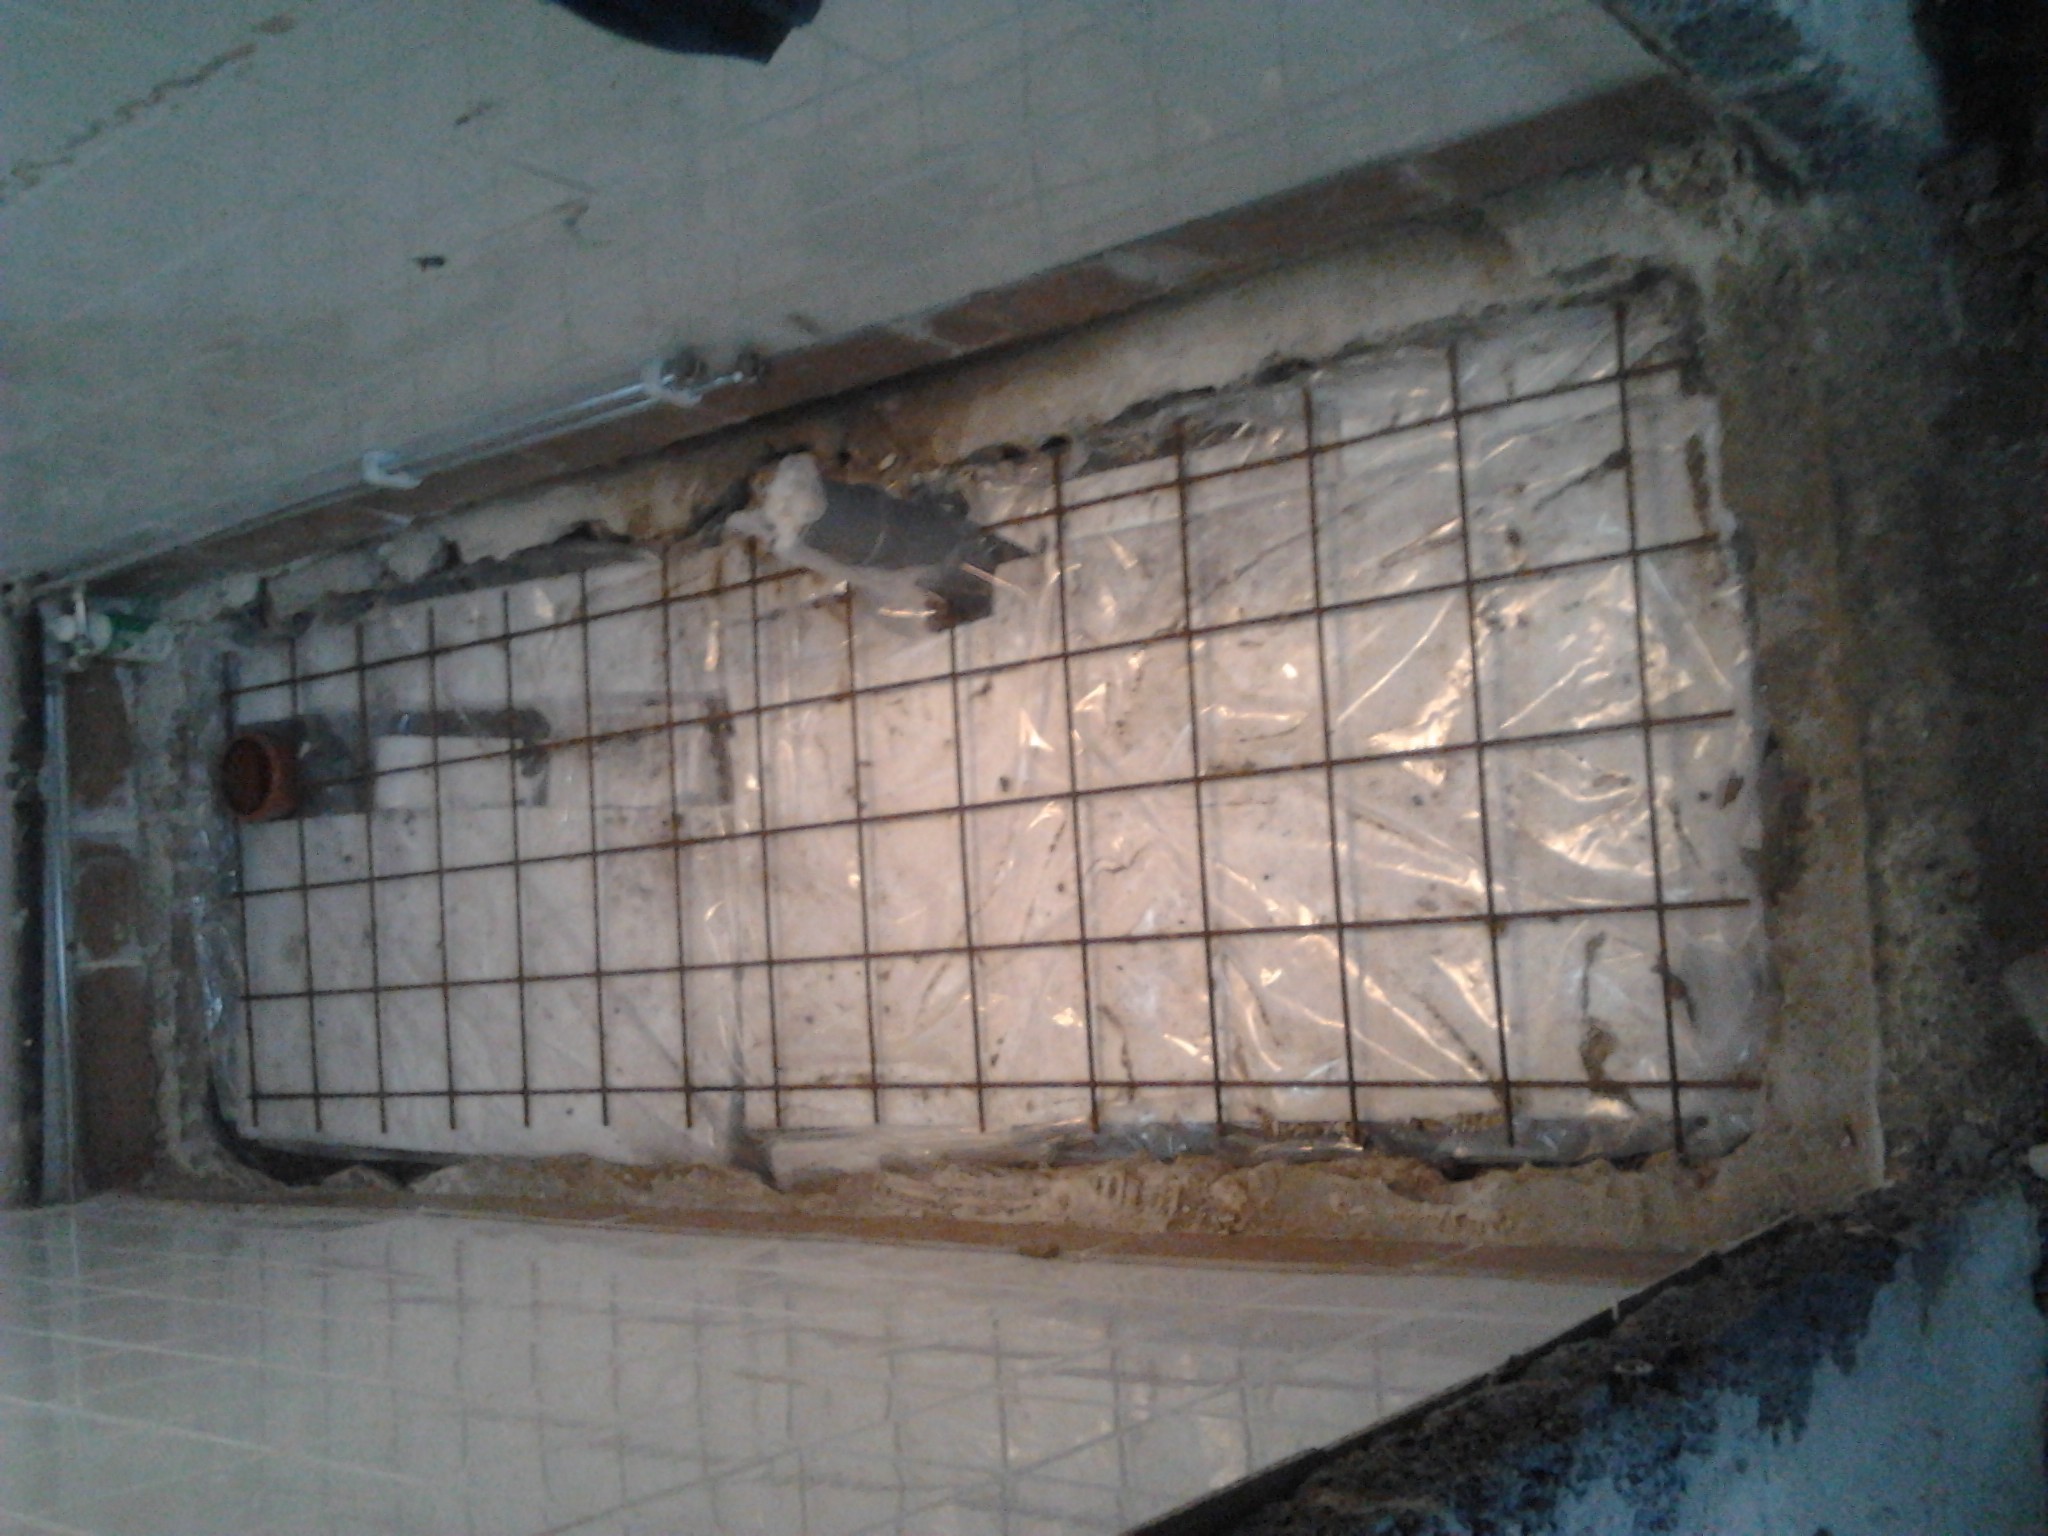
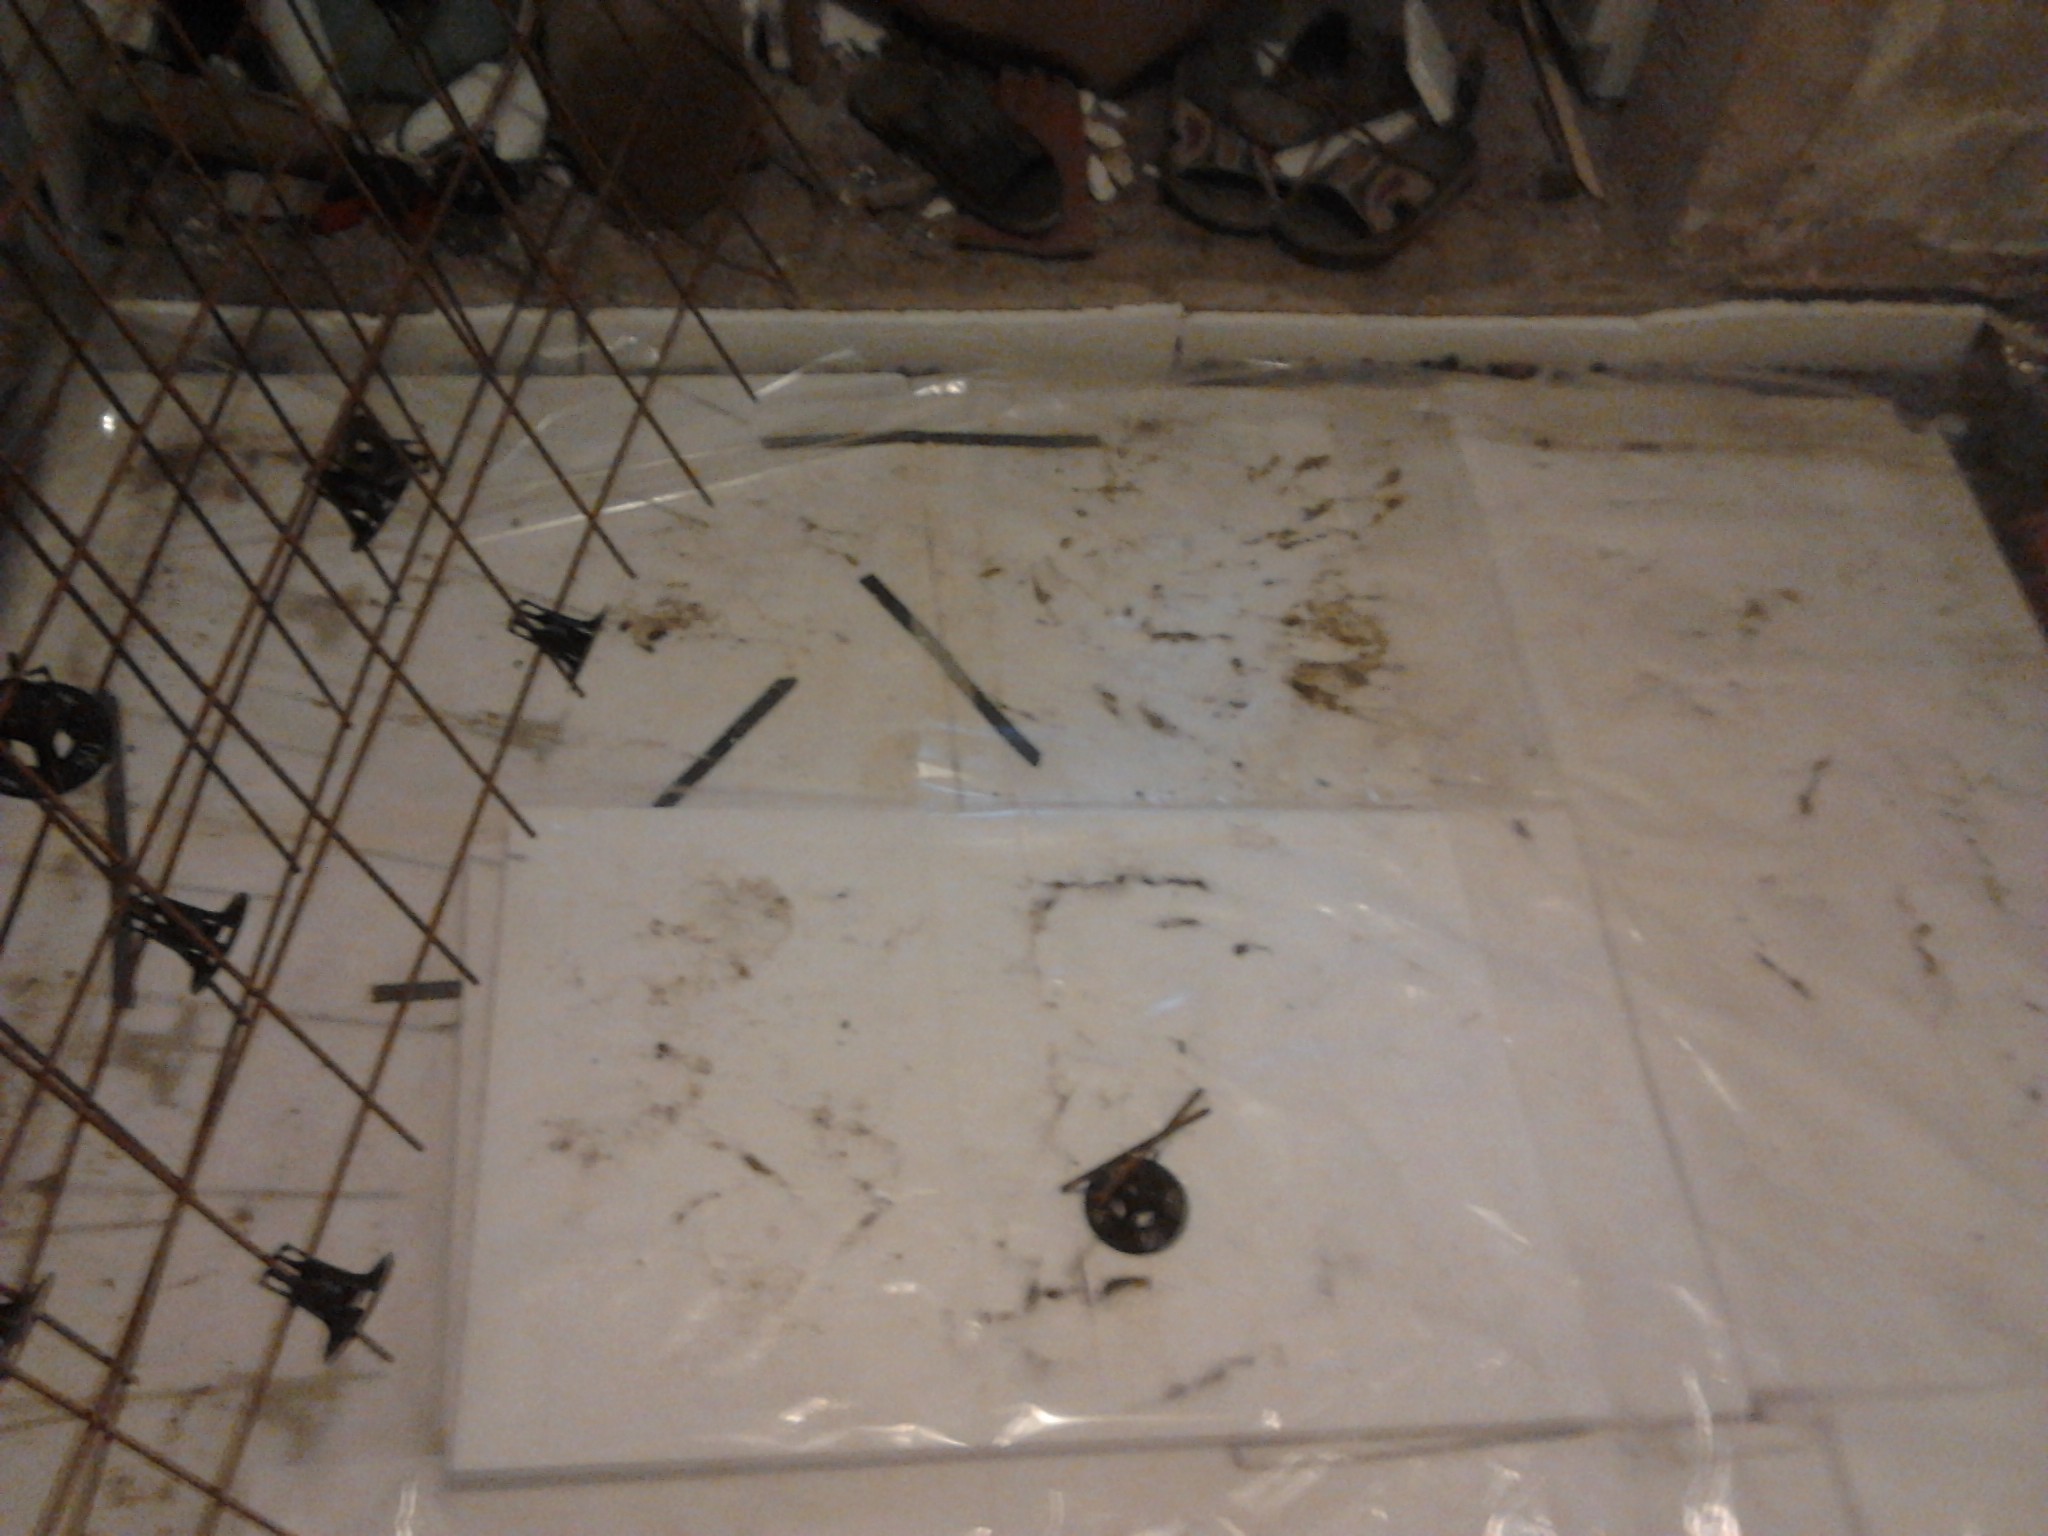
4- Plastic
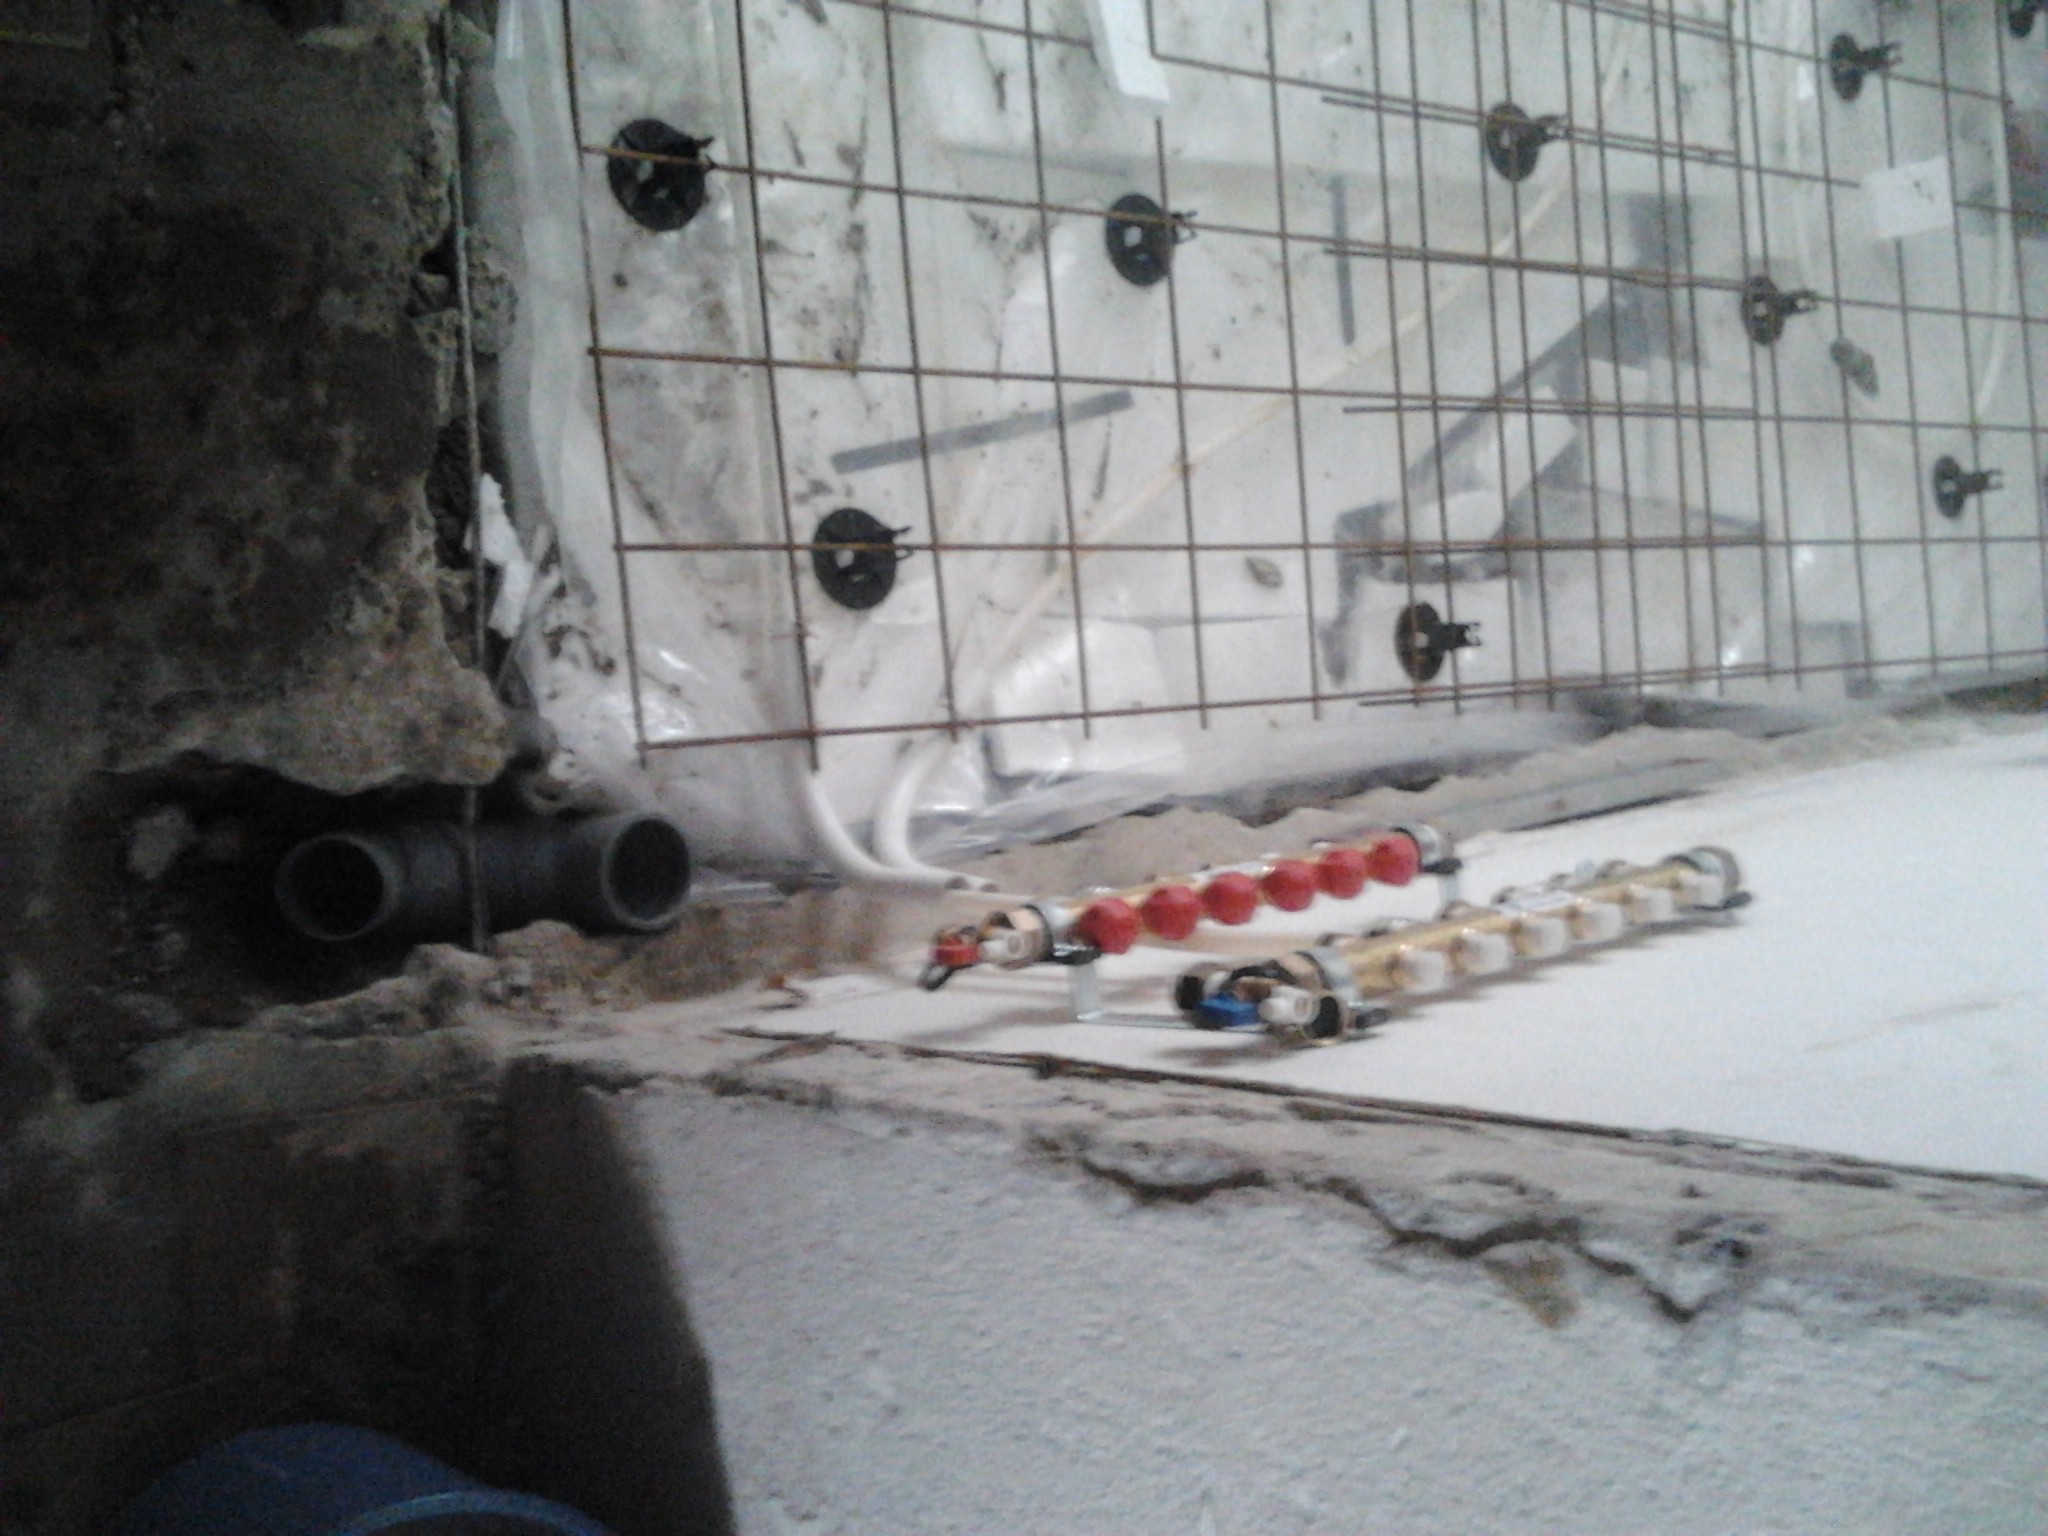
5 - Heating pipes laid by a professional. What do you think?
6- Concrete slab 8 cm, I will hire a professional, and I will mix the concrete. I've talked to the insurance company, and they said that water, electricity, and concrete casting that covers electrical or water pipes should be laid by a professional; otherwise, I risk losing compensation for layout damage and such.
What do you think about this?
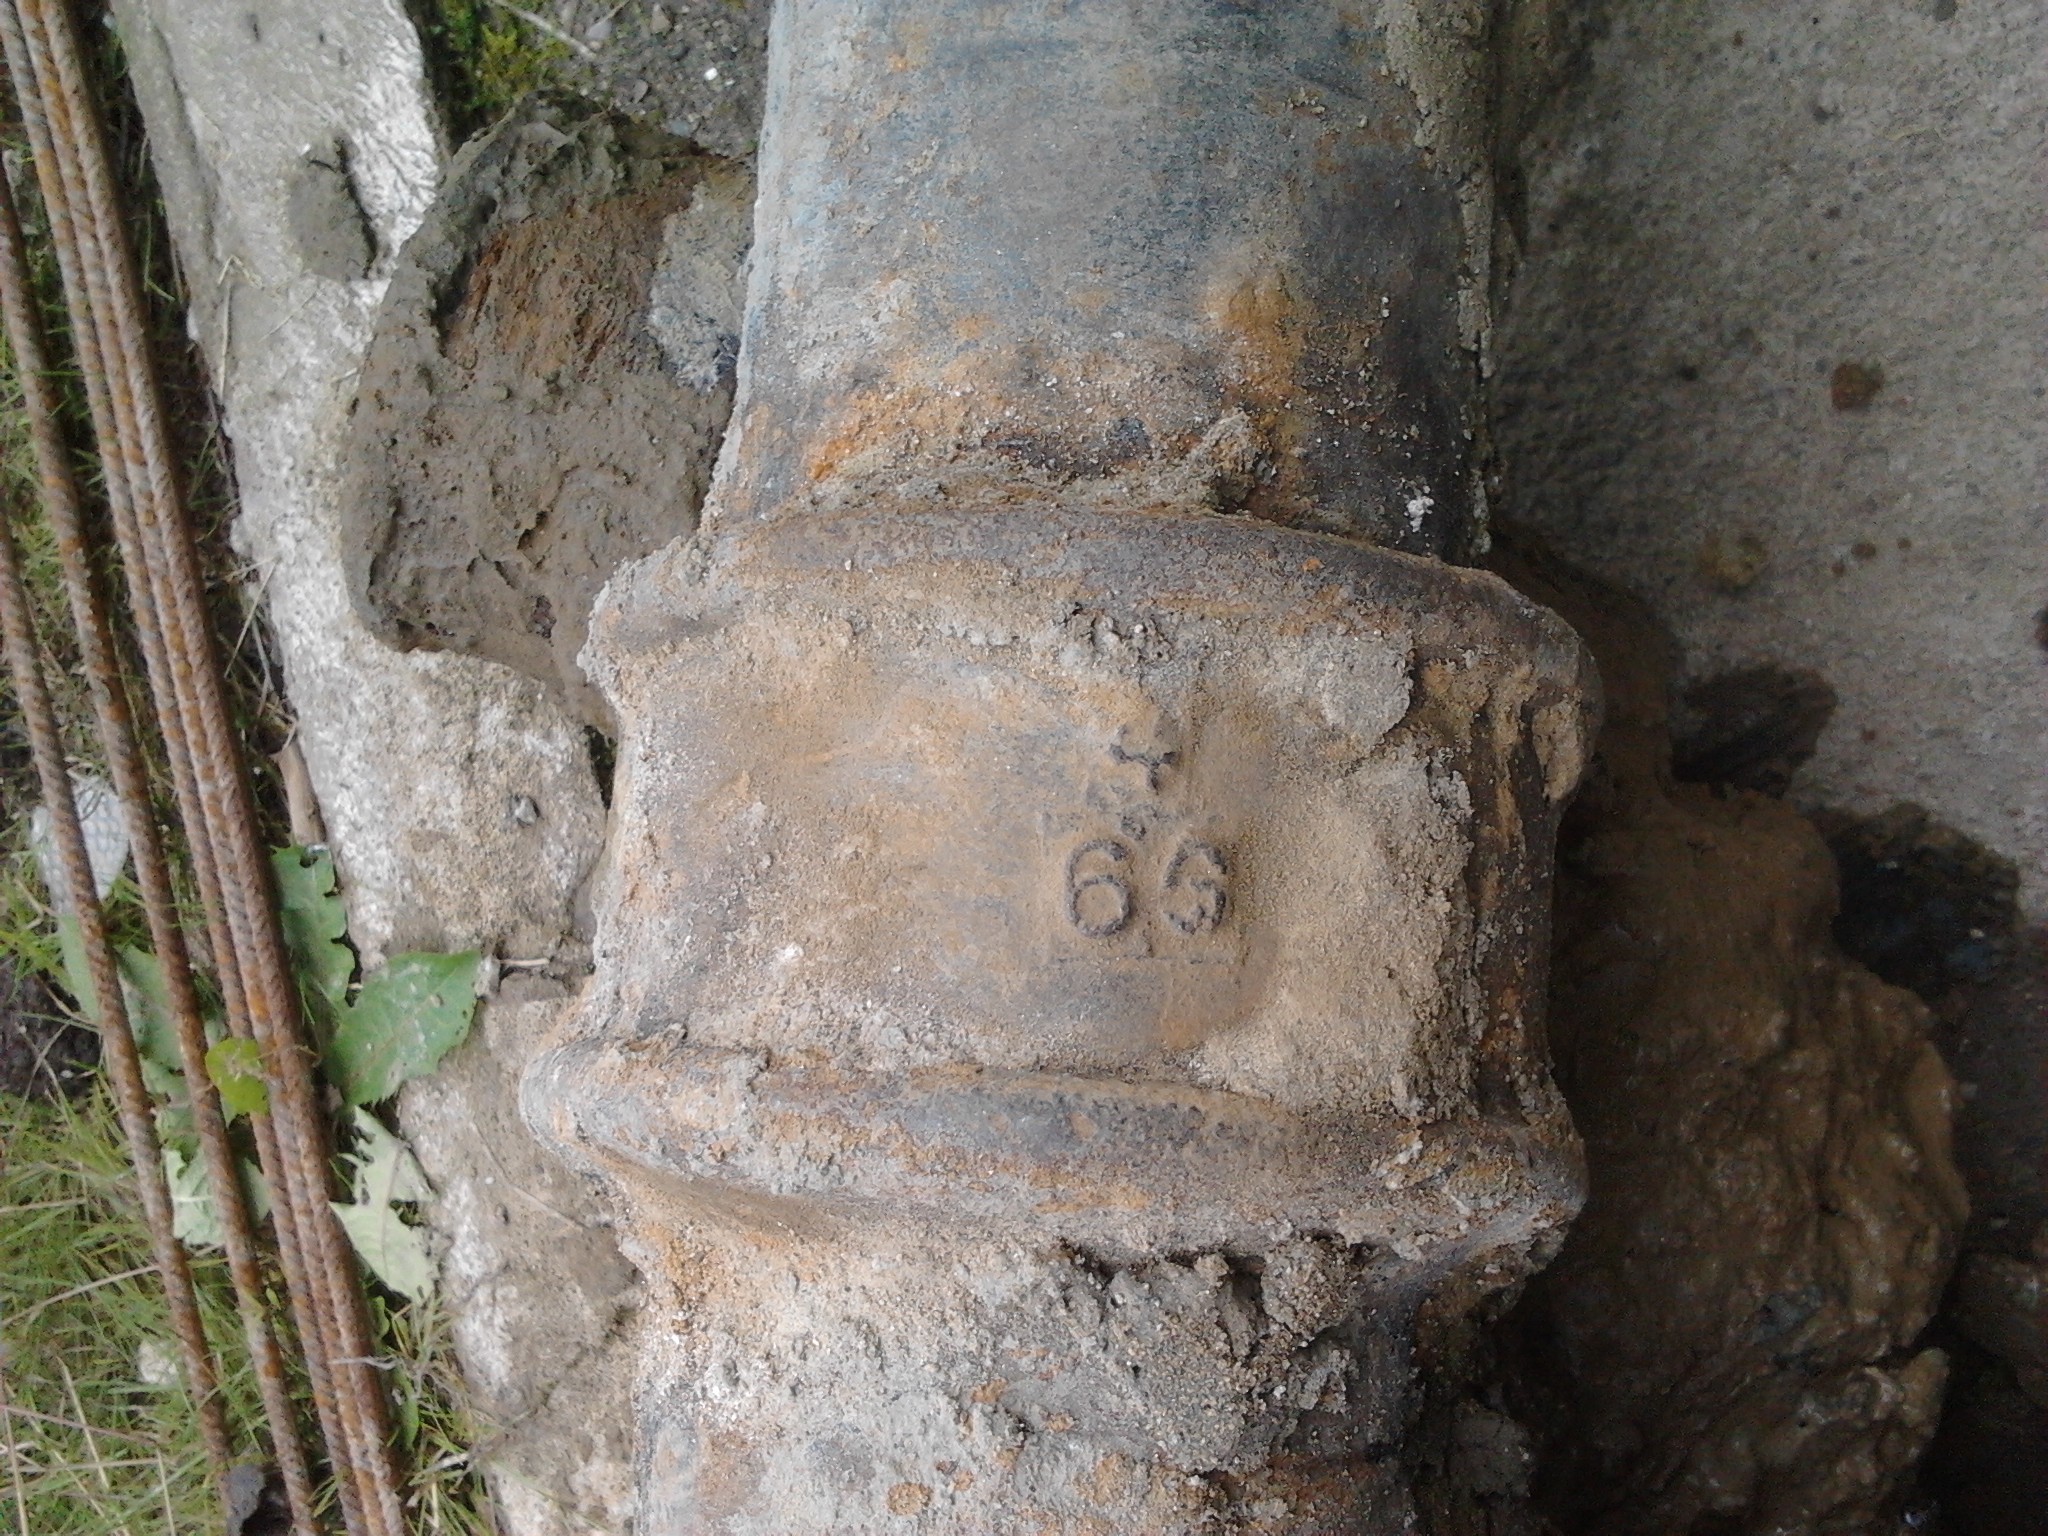
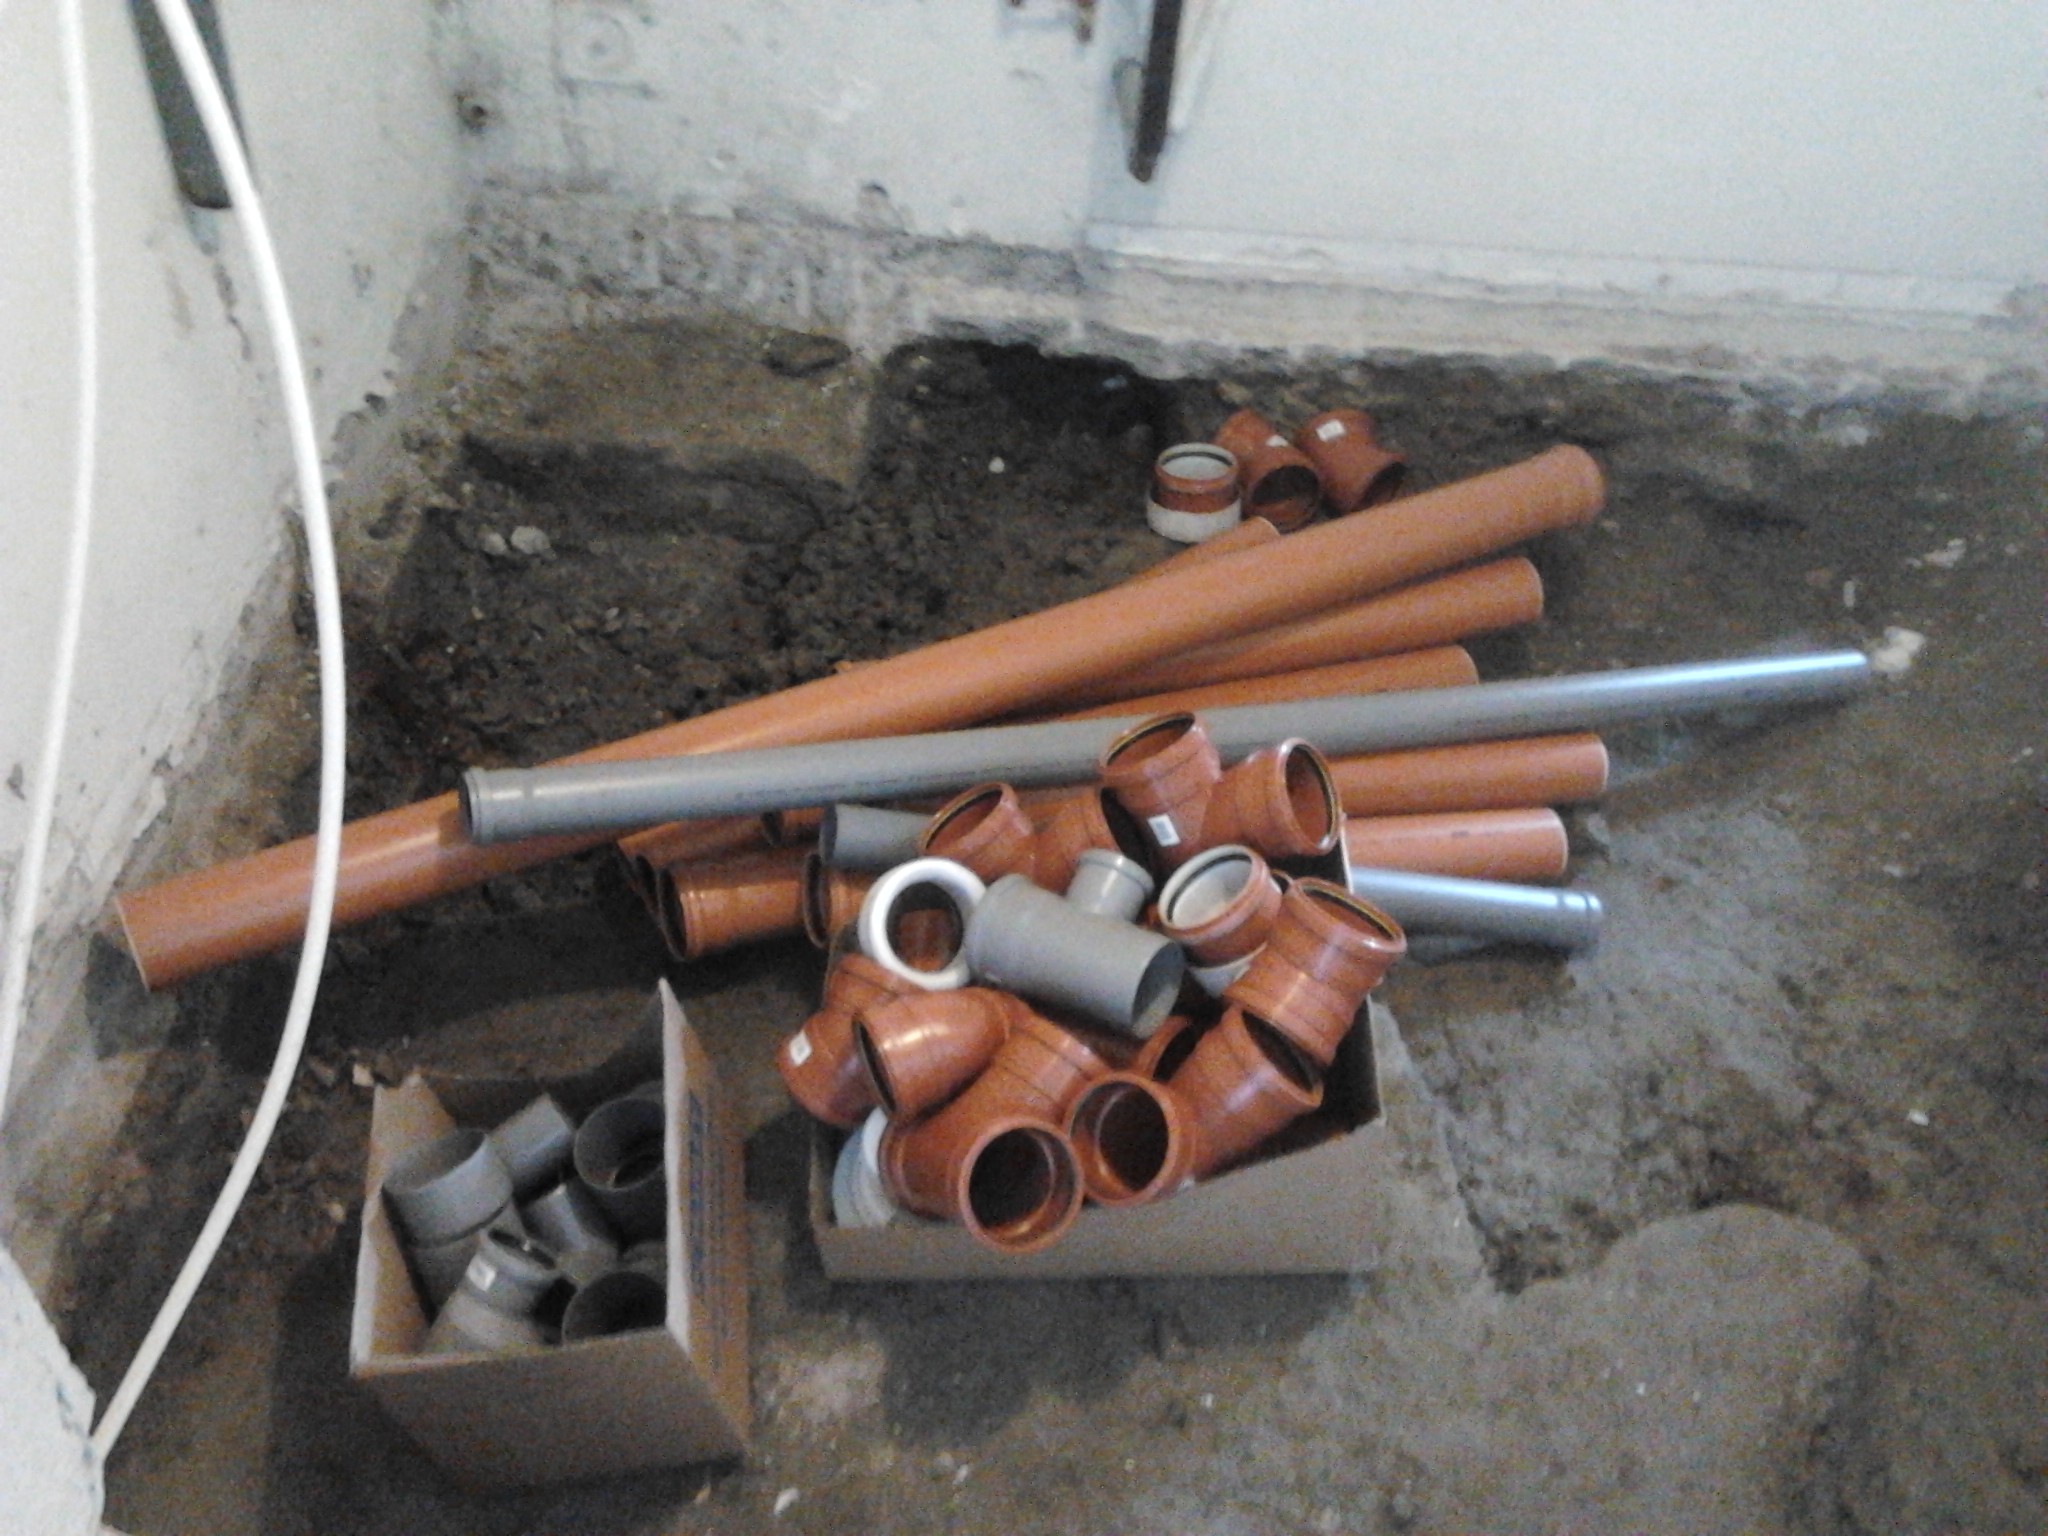
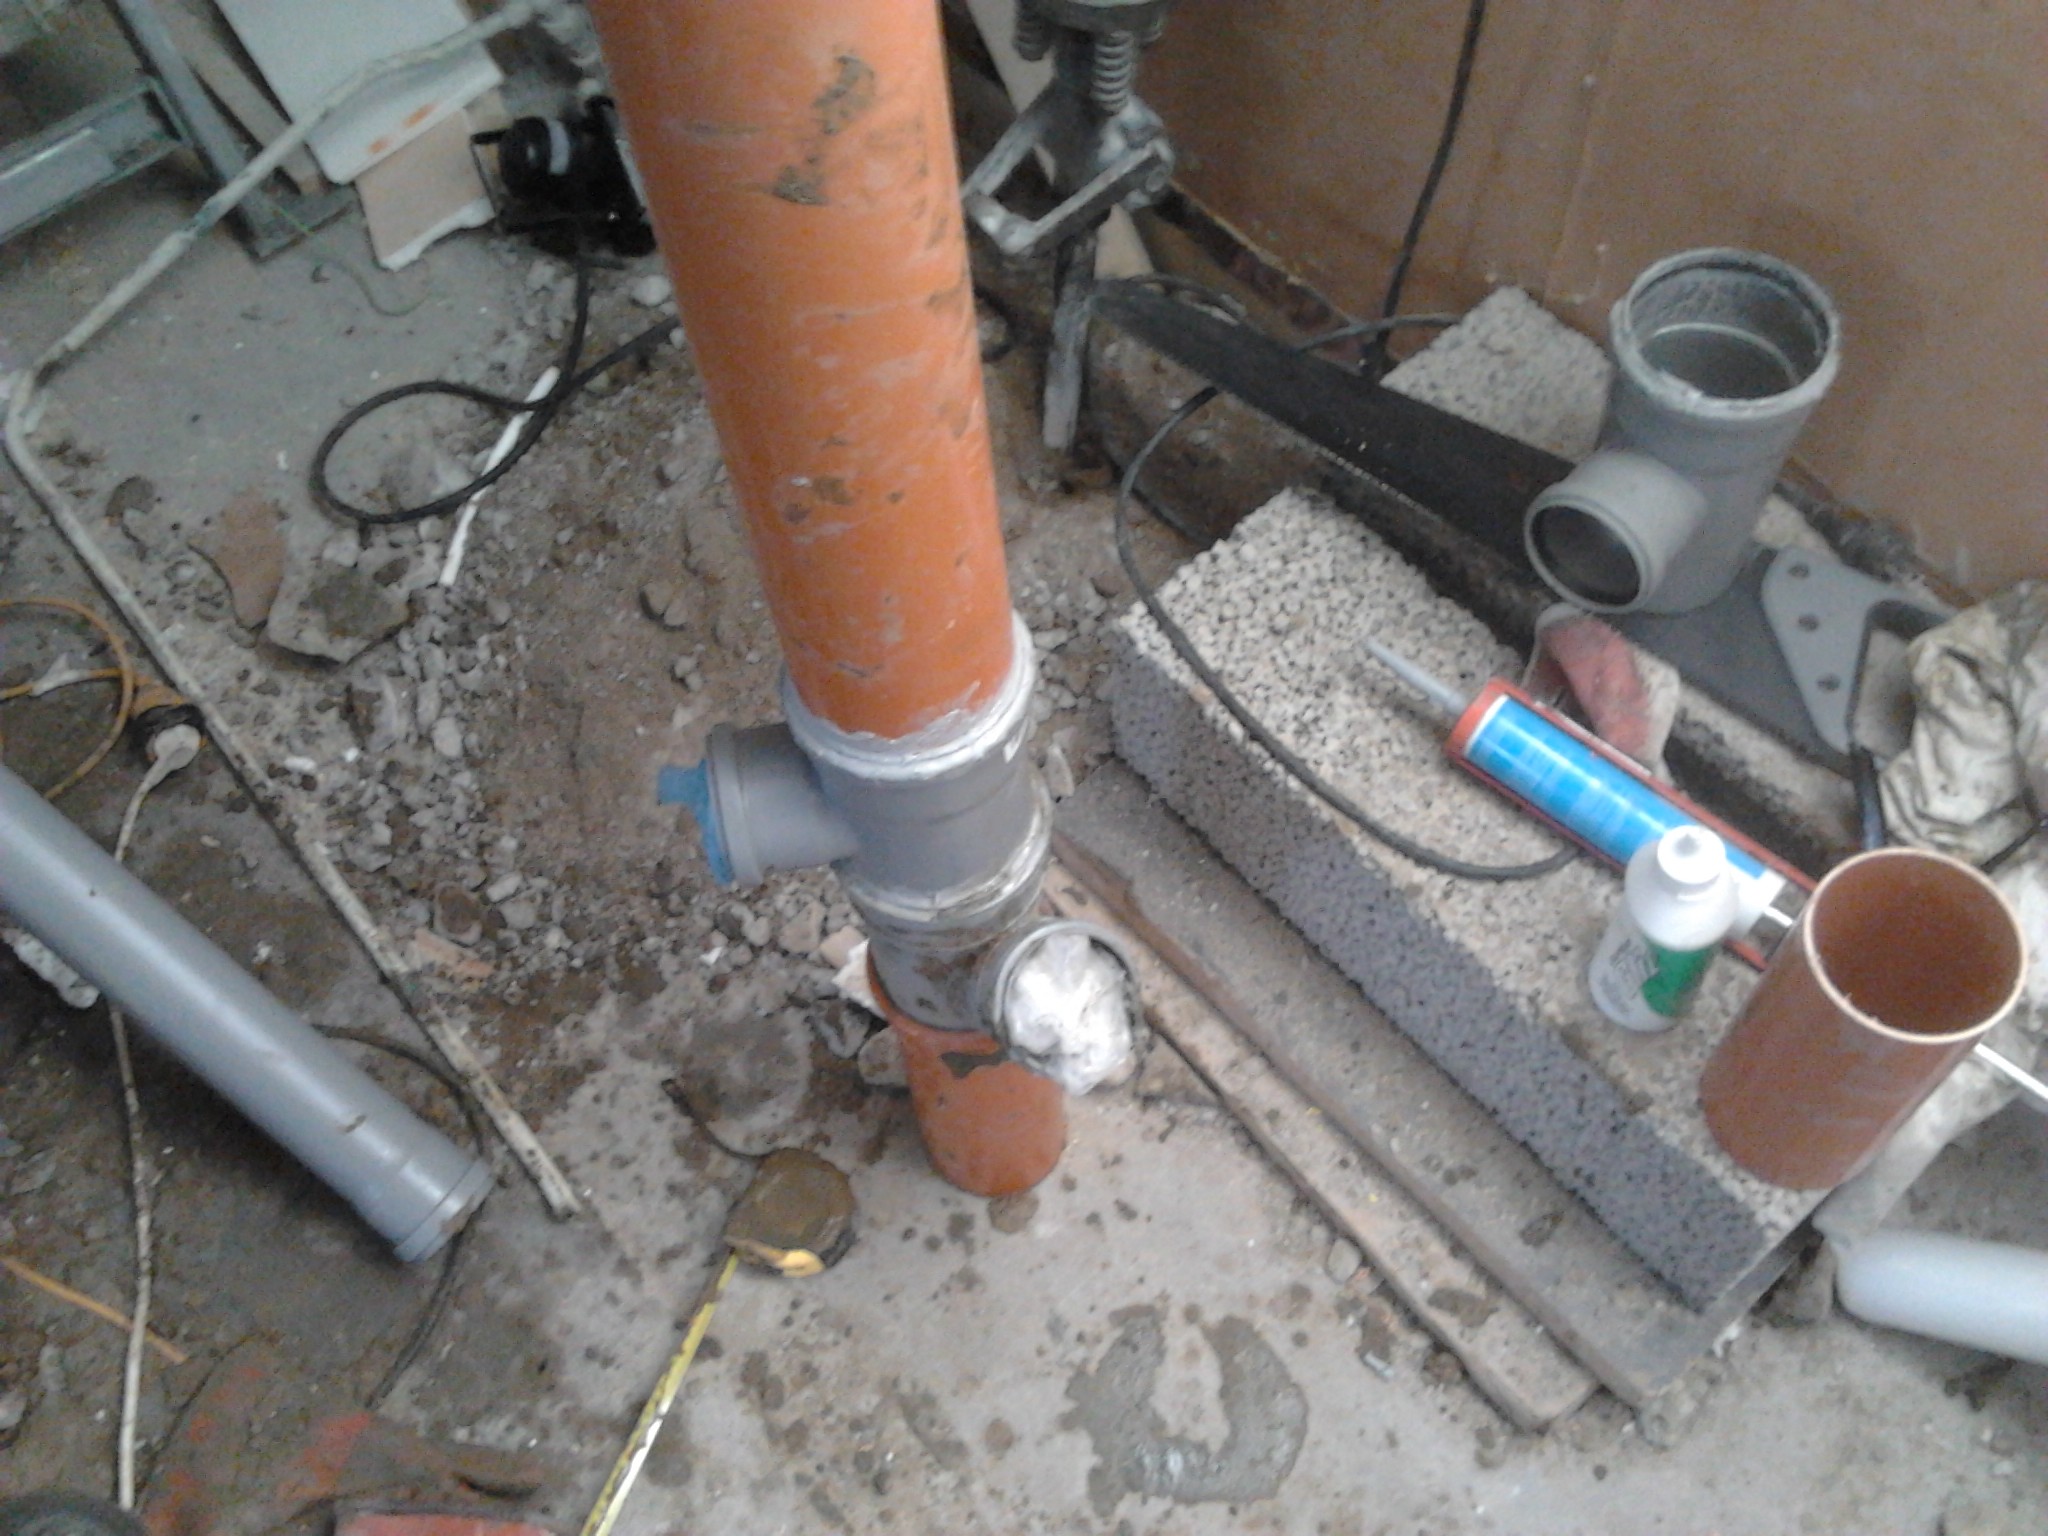
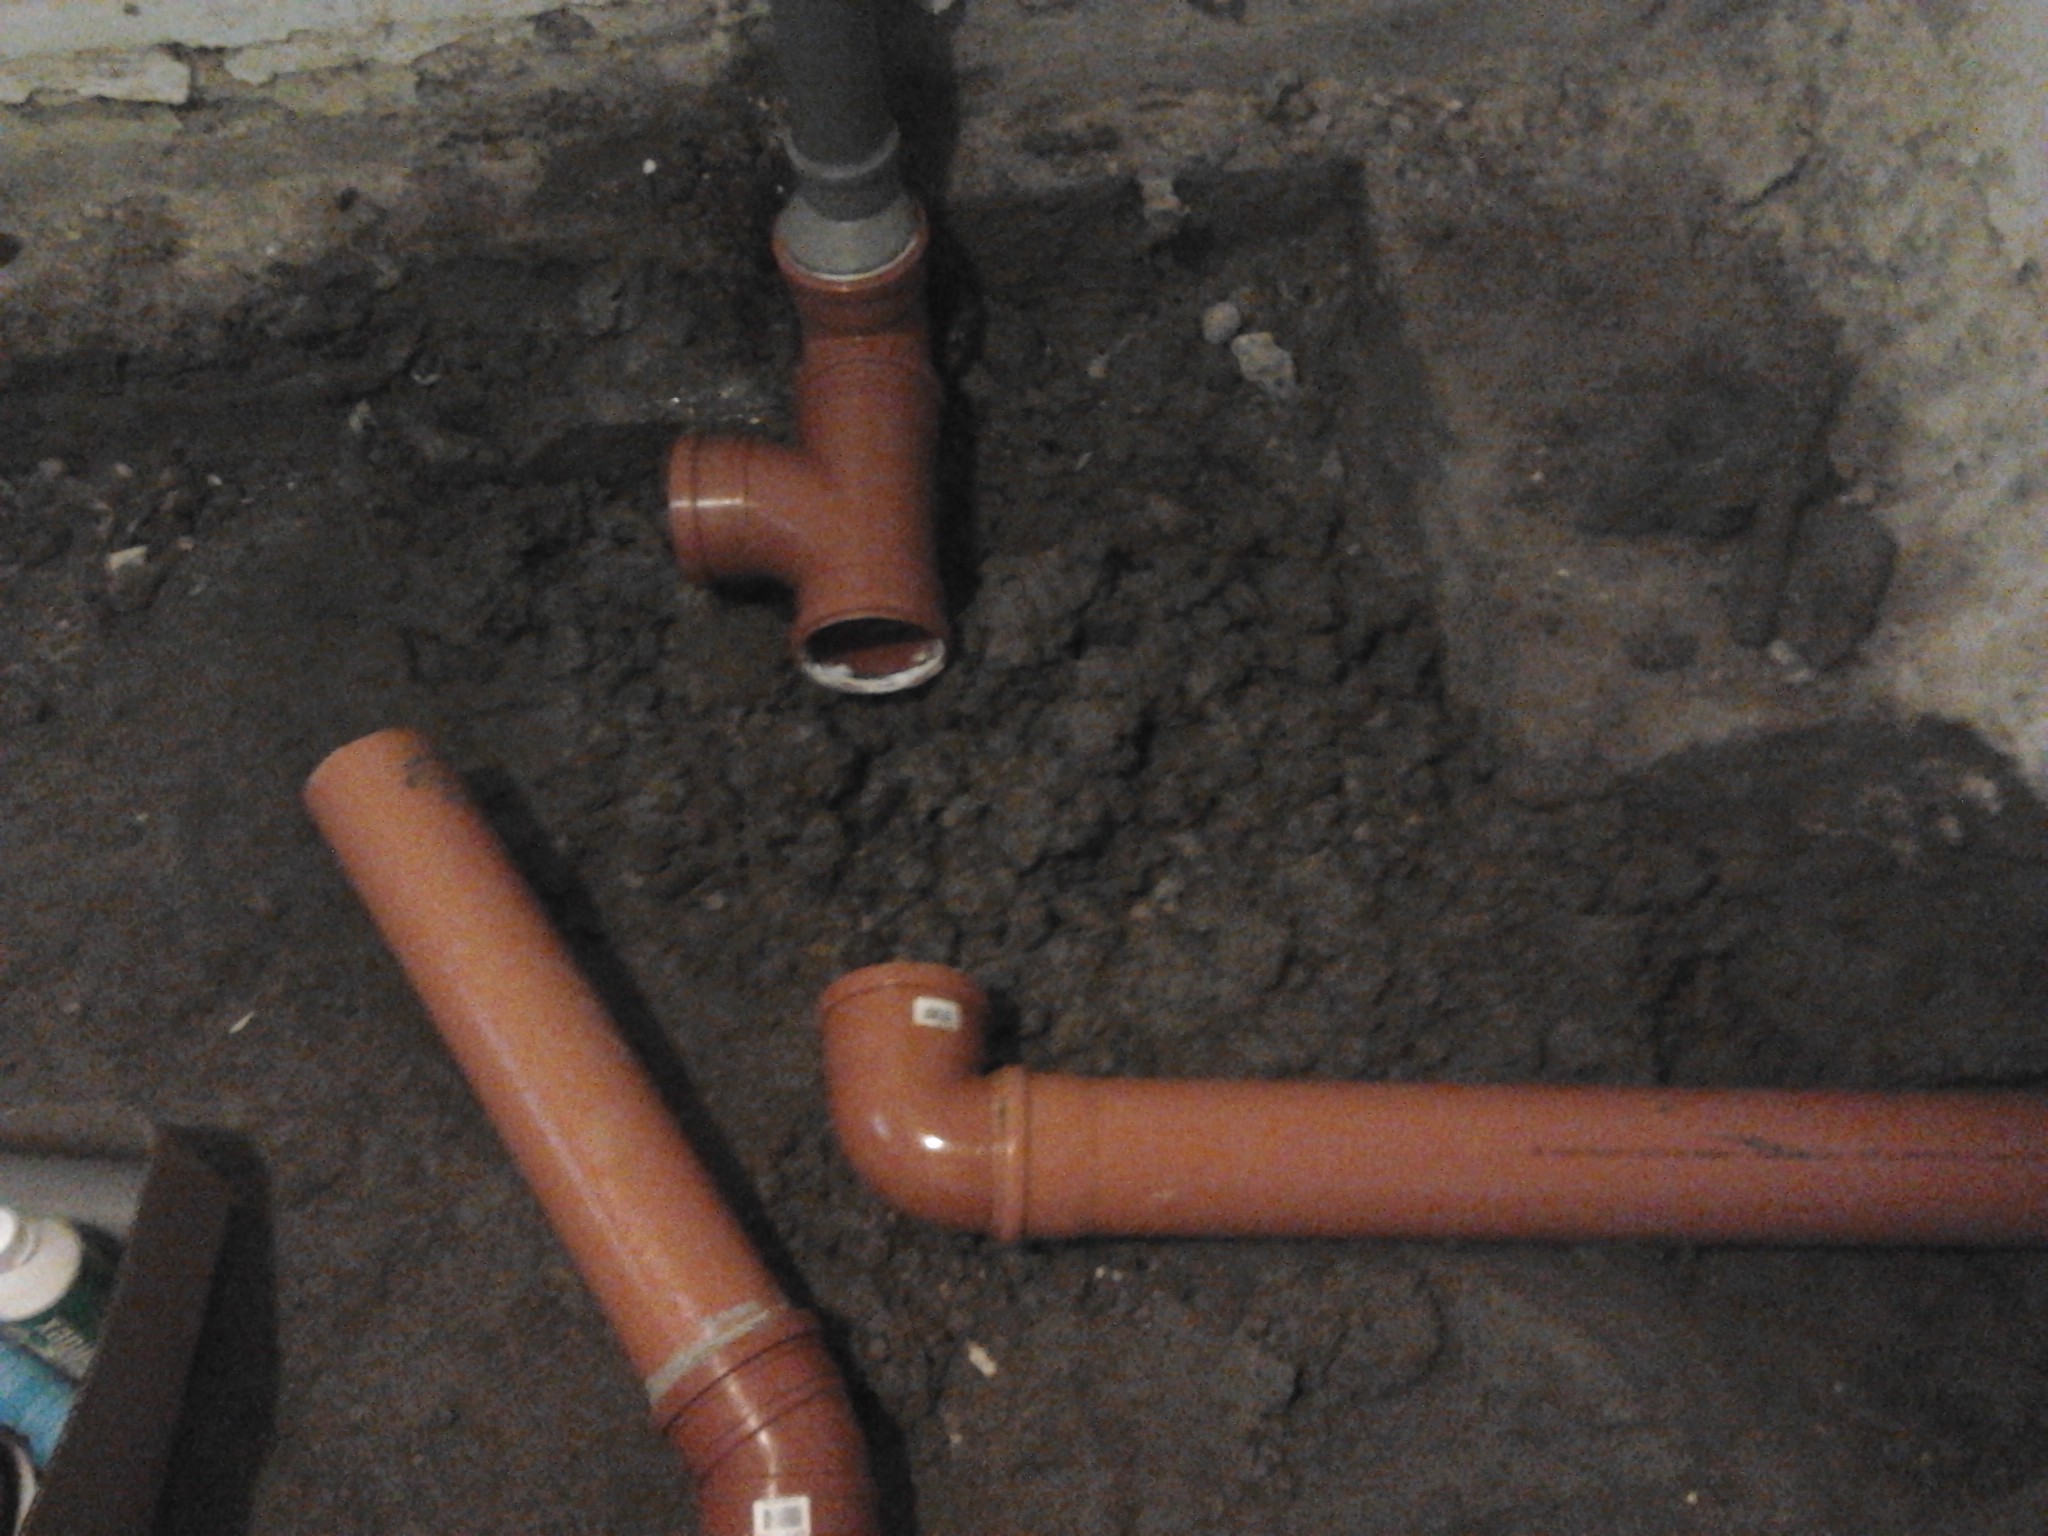
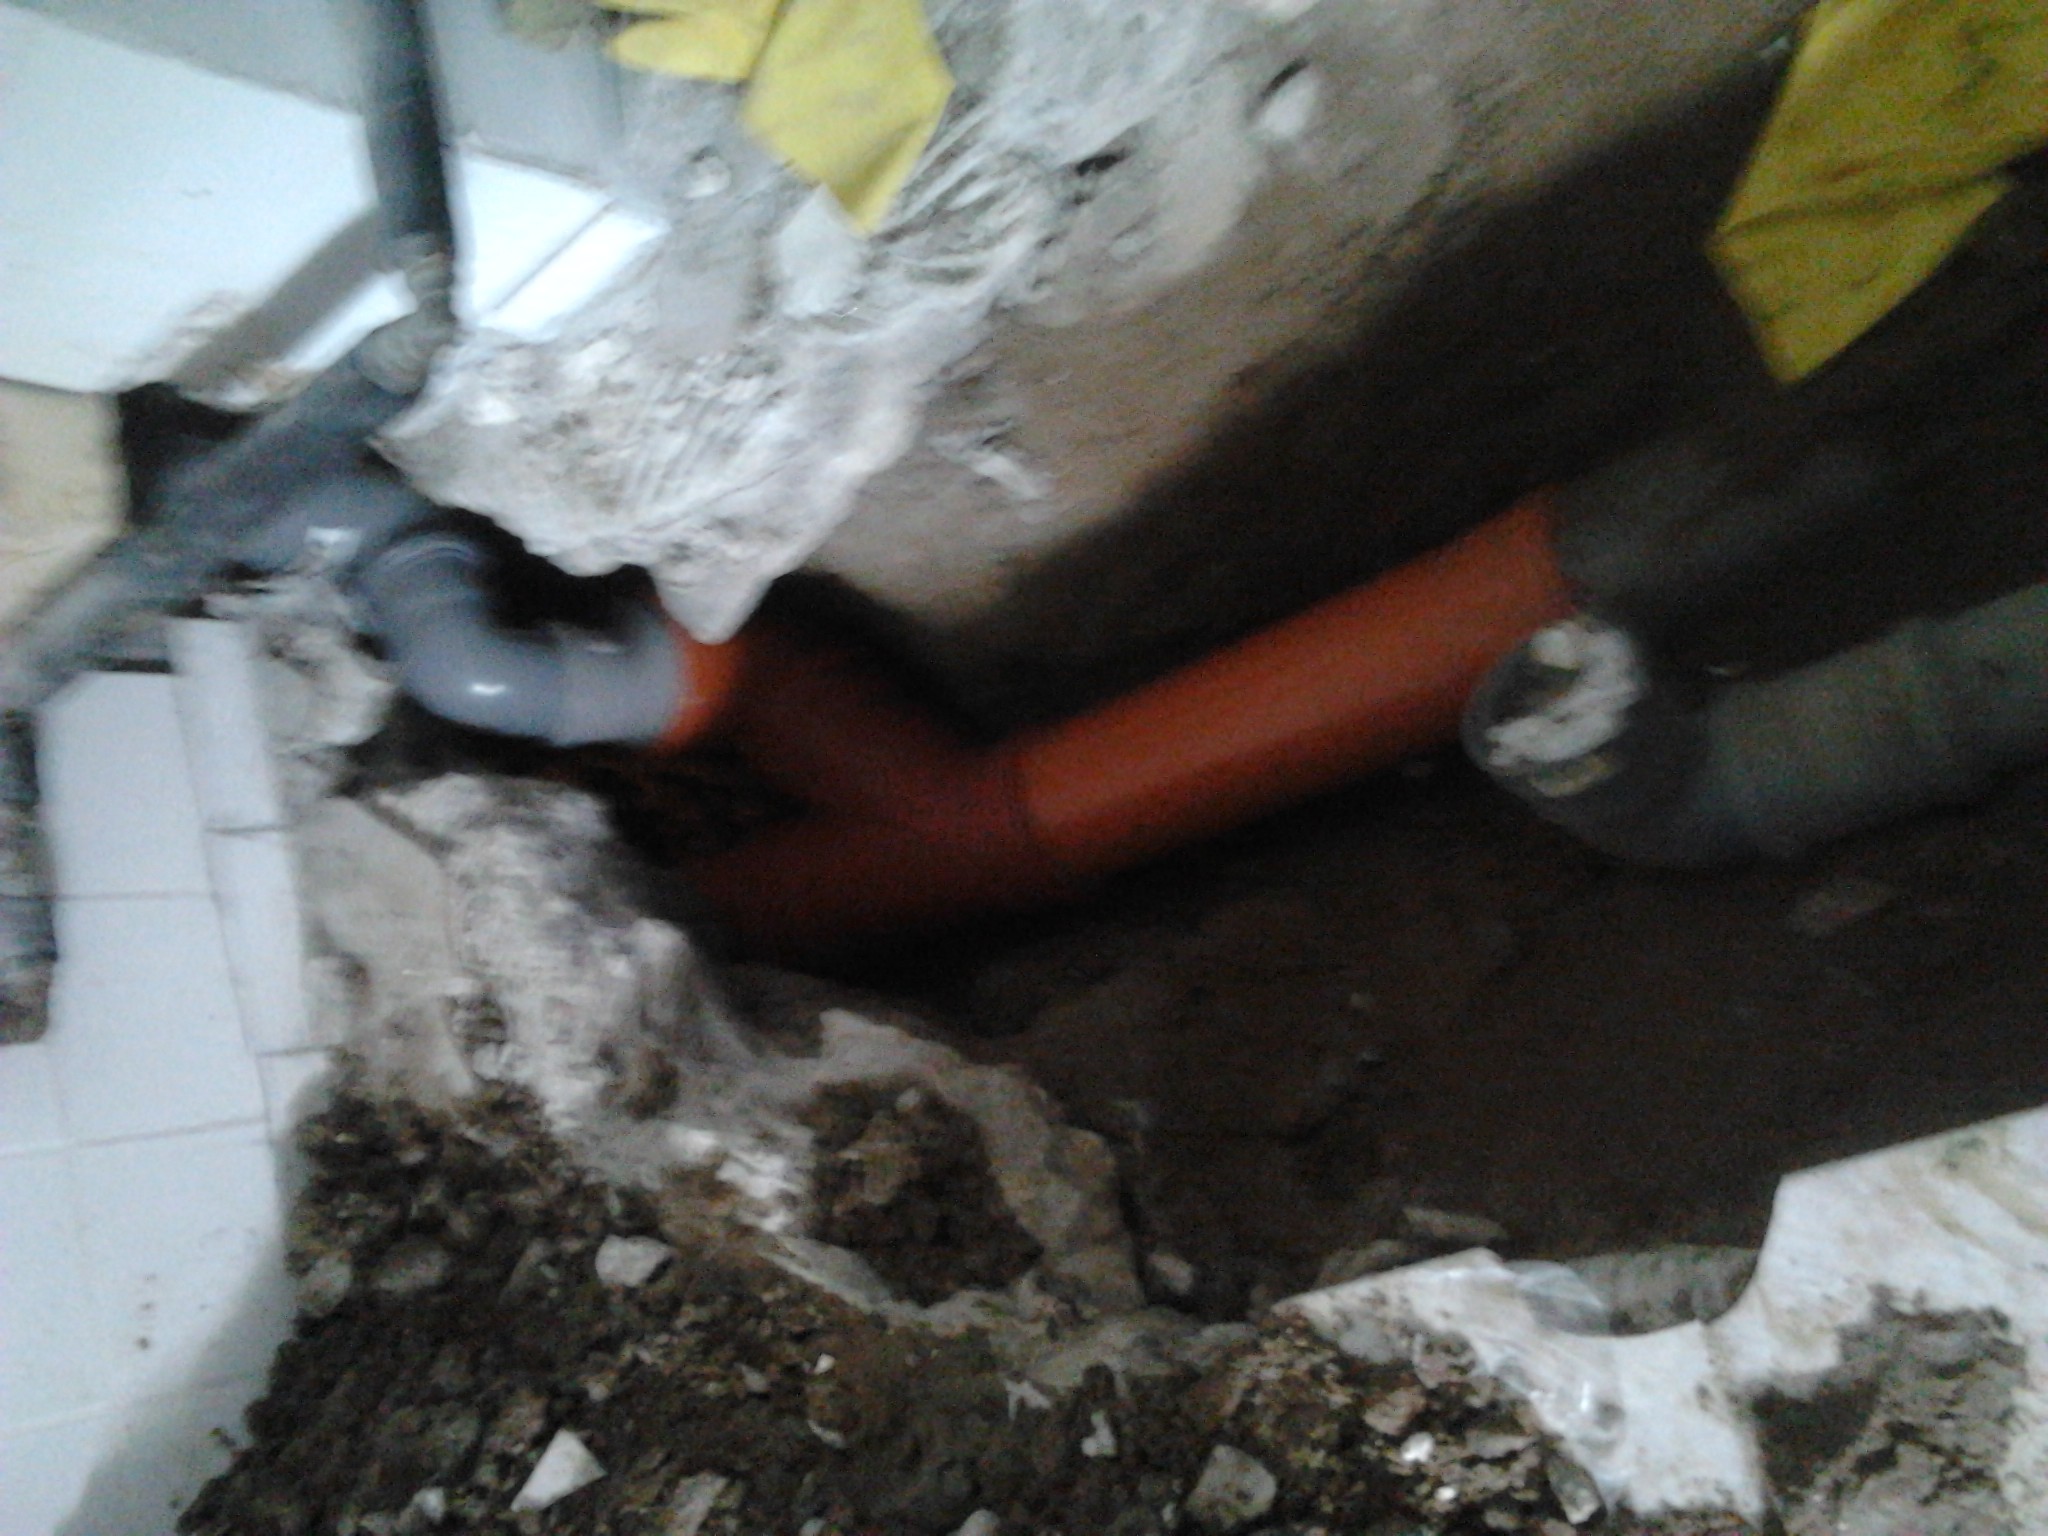
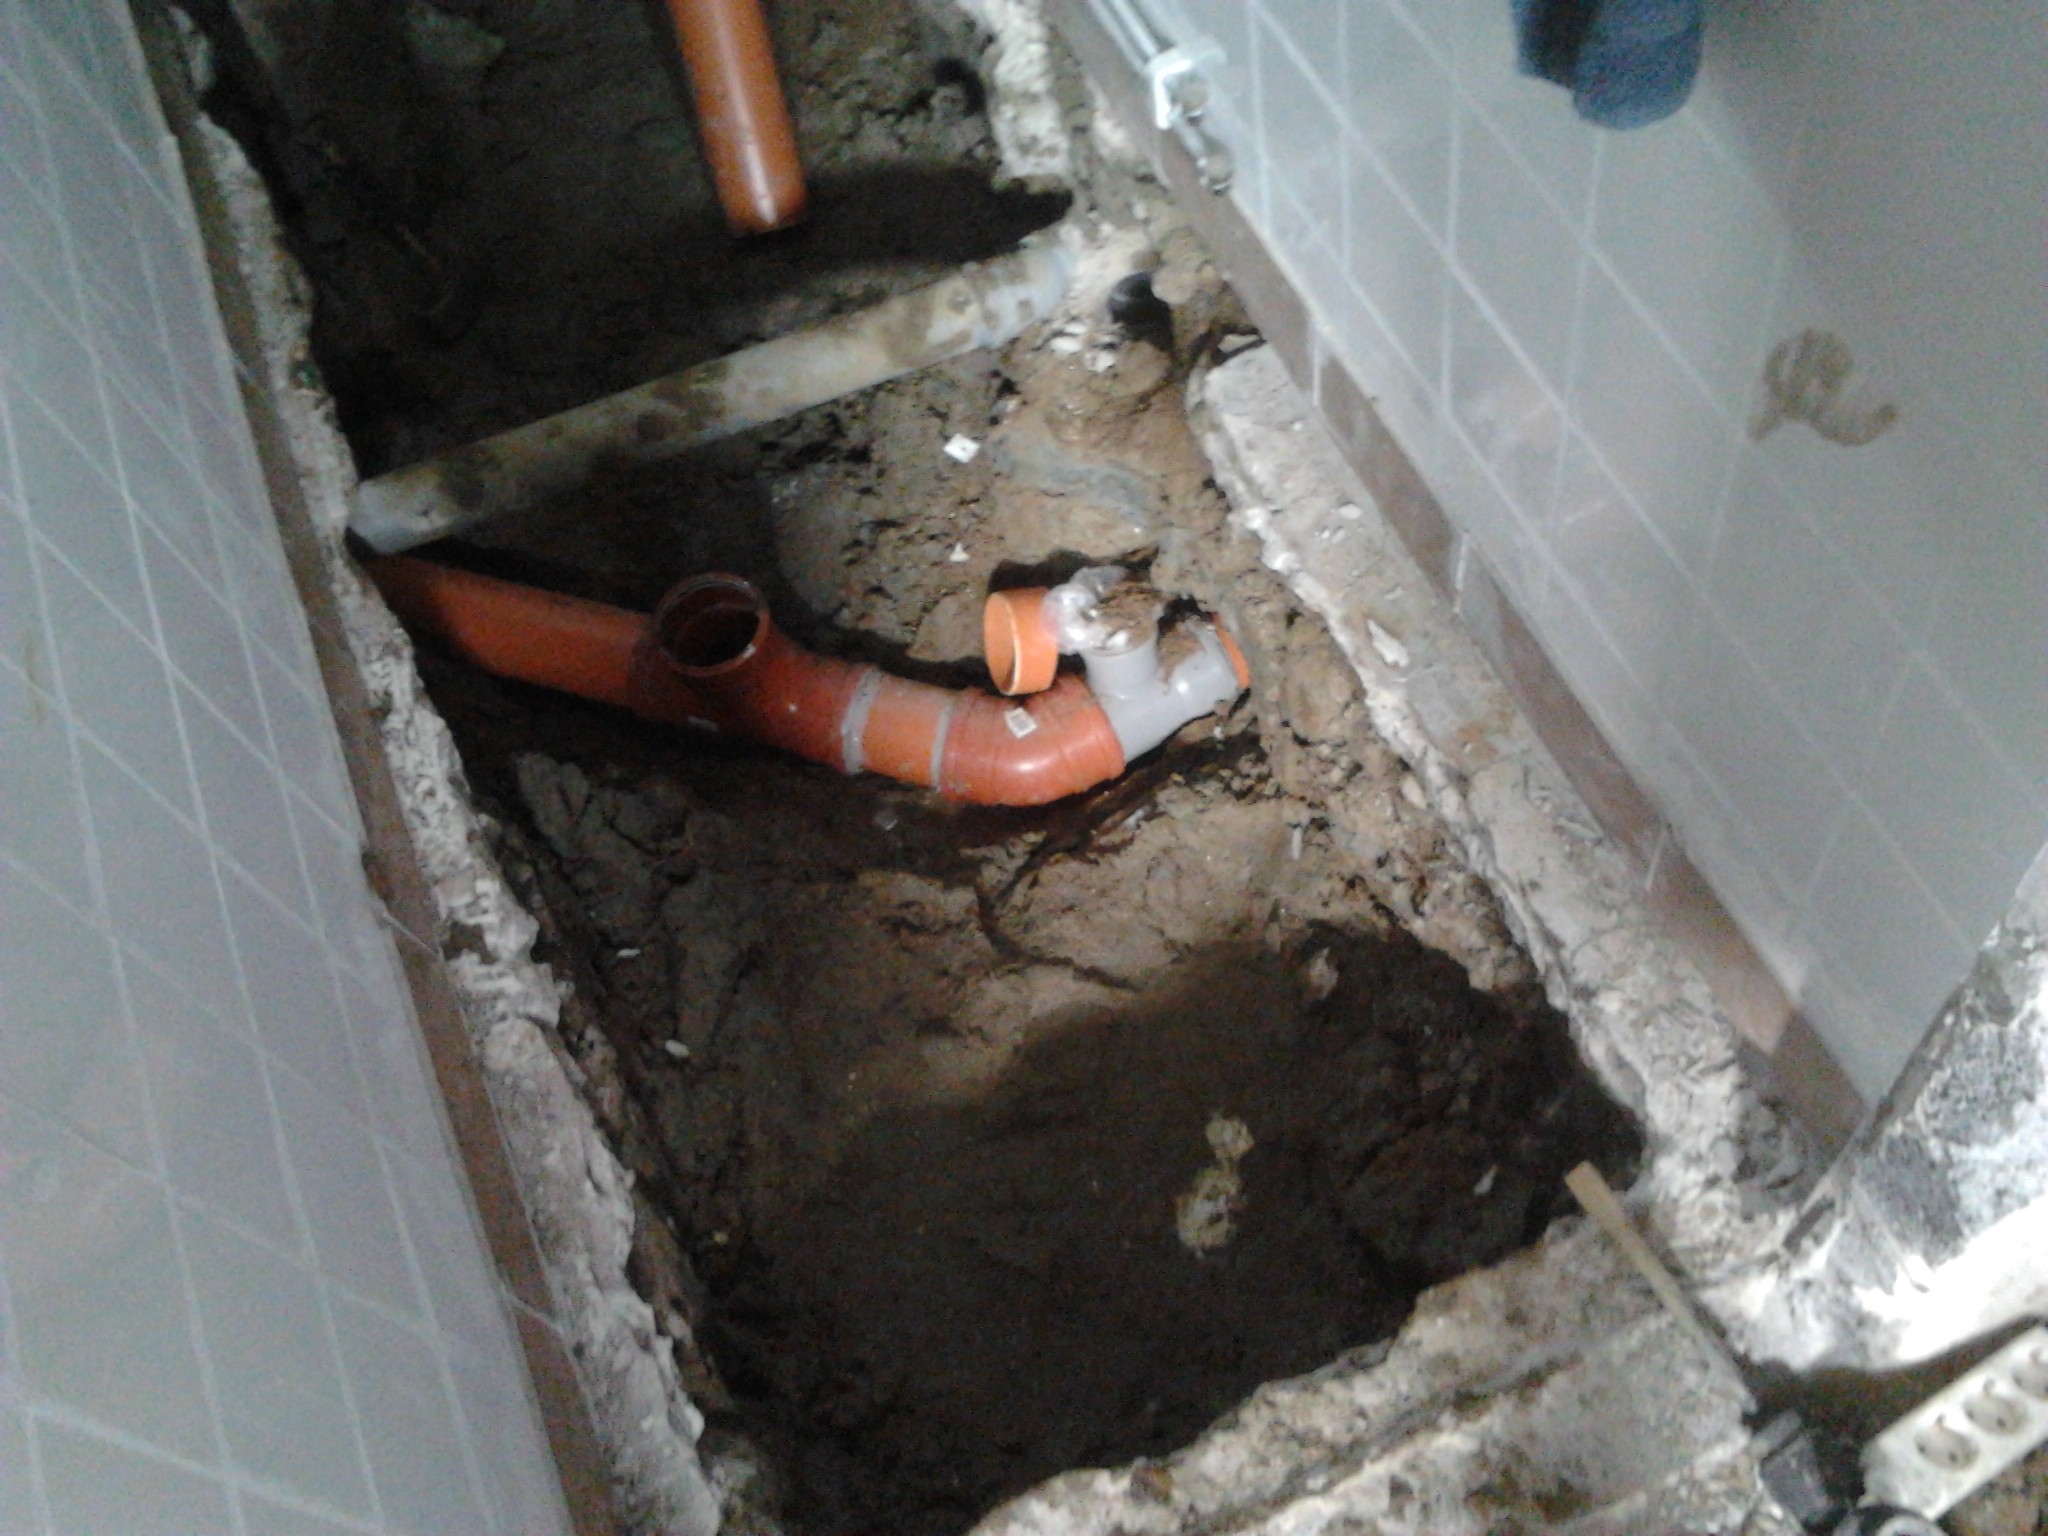
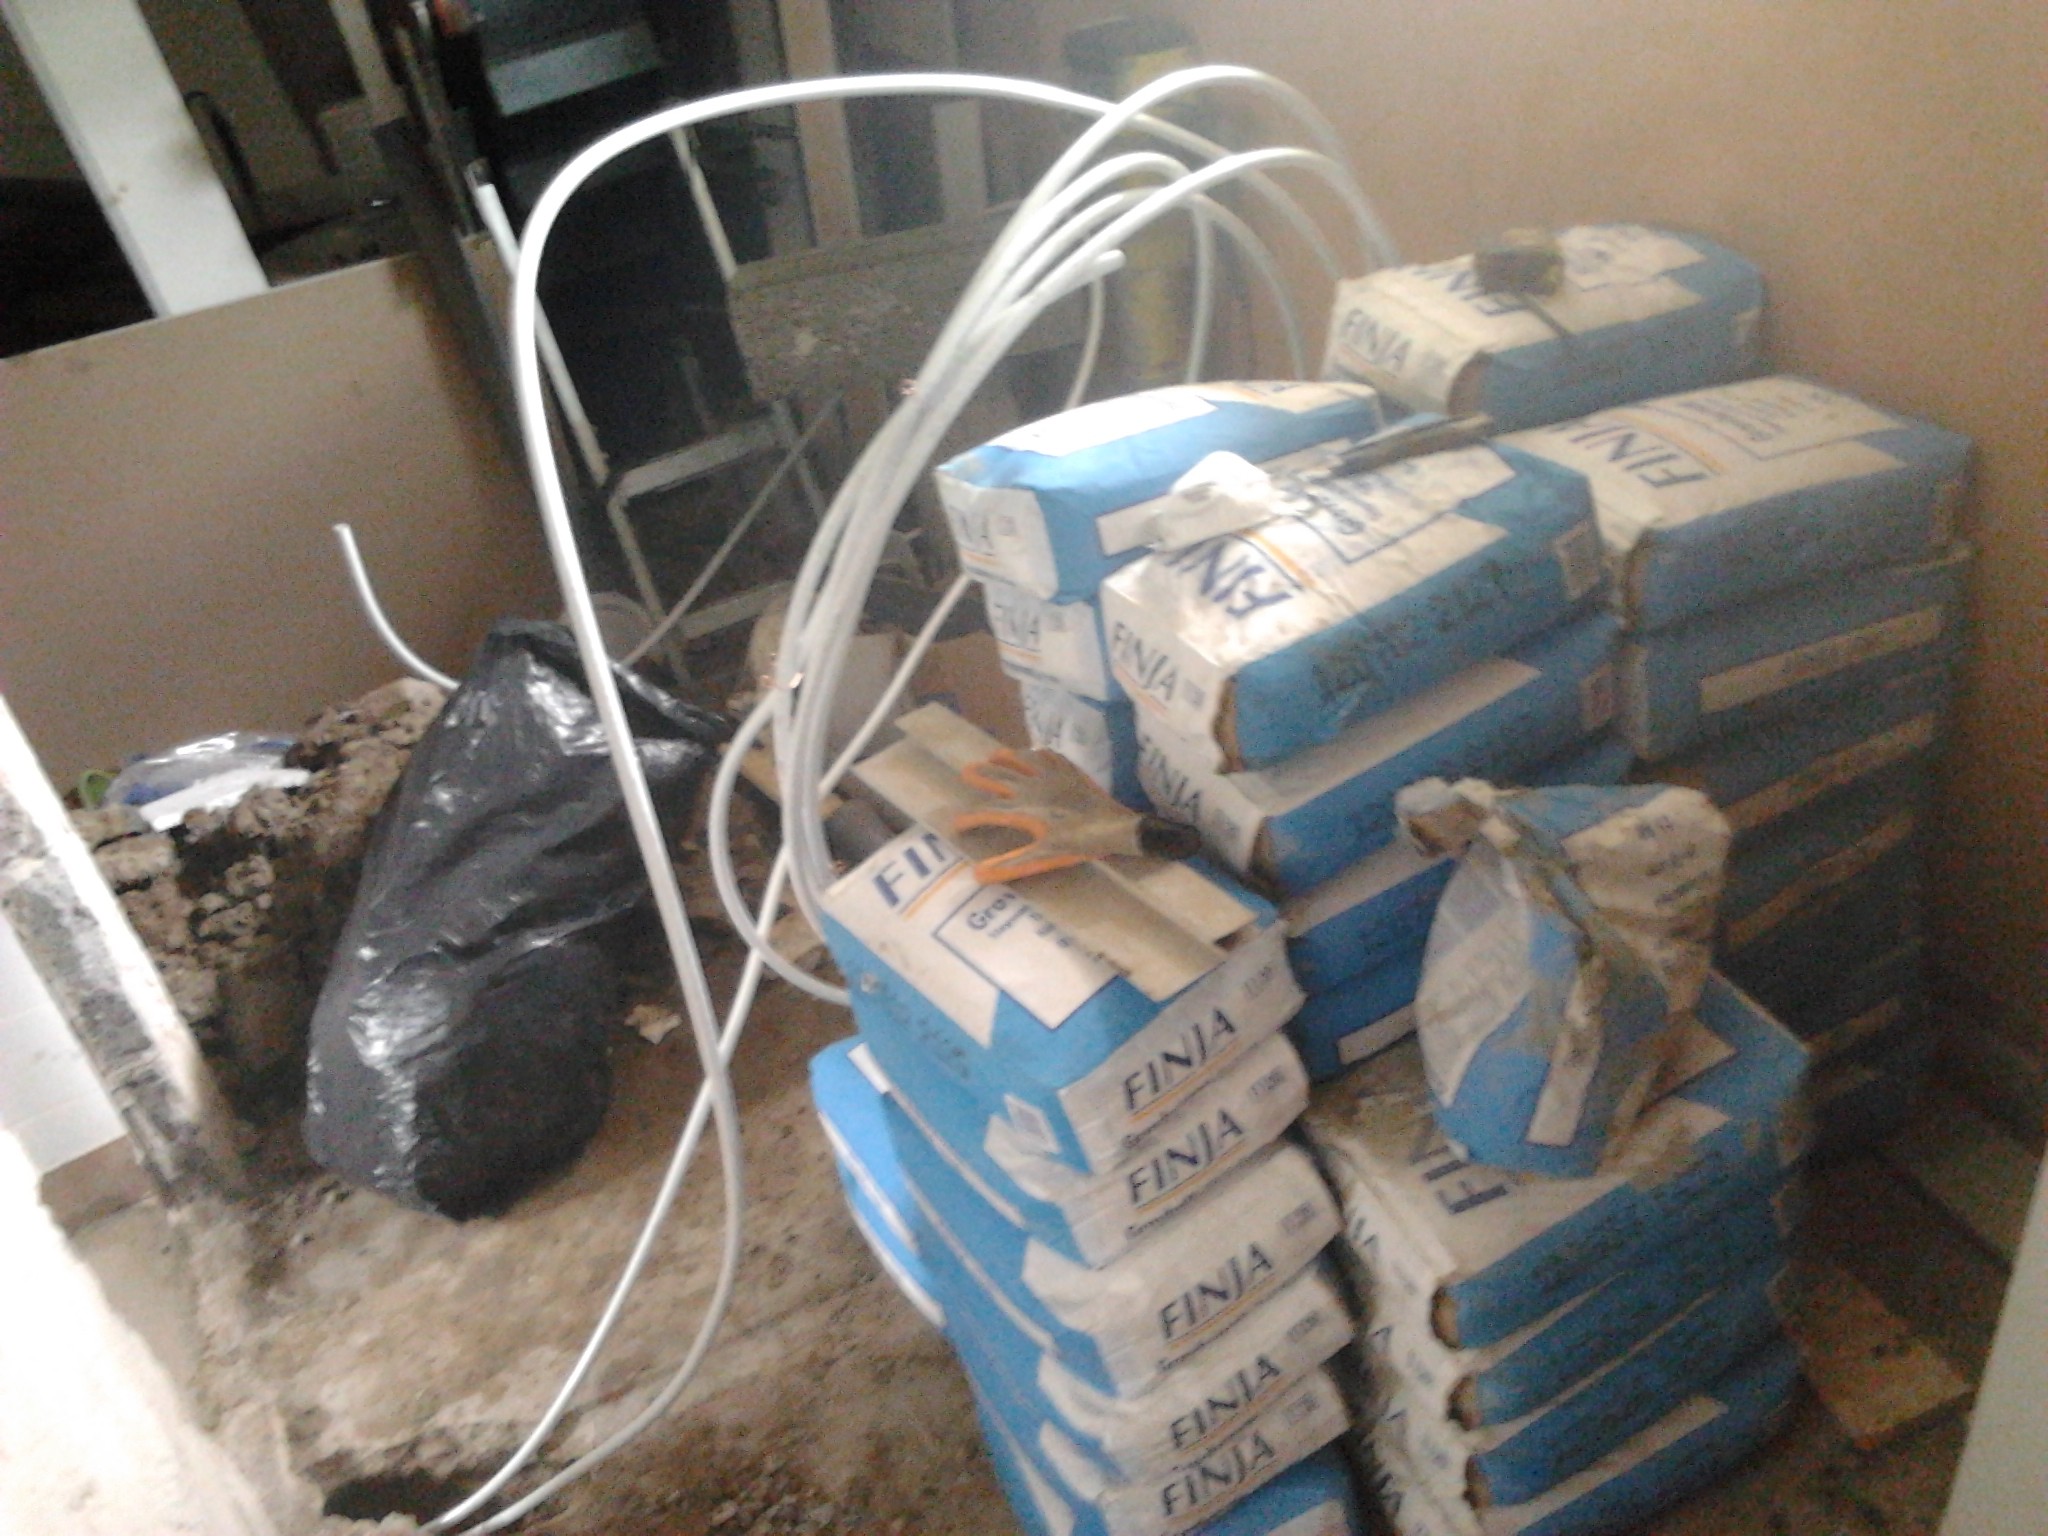
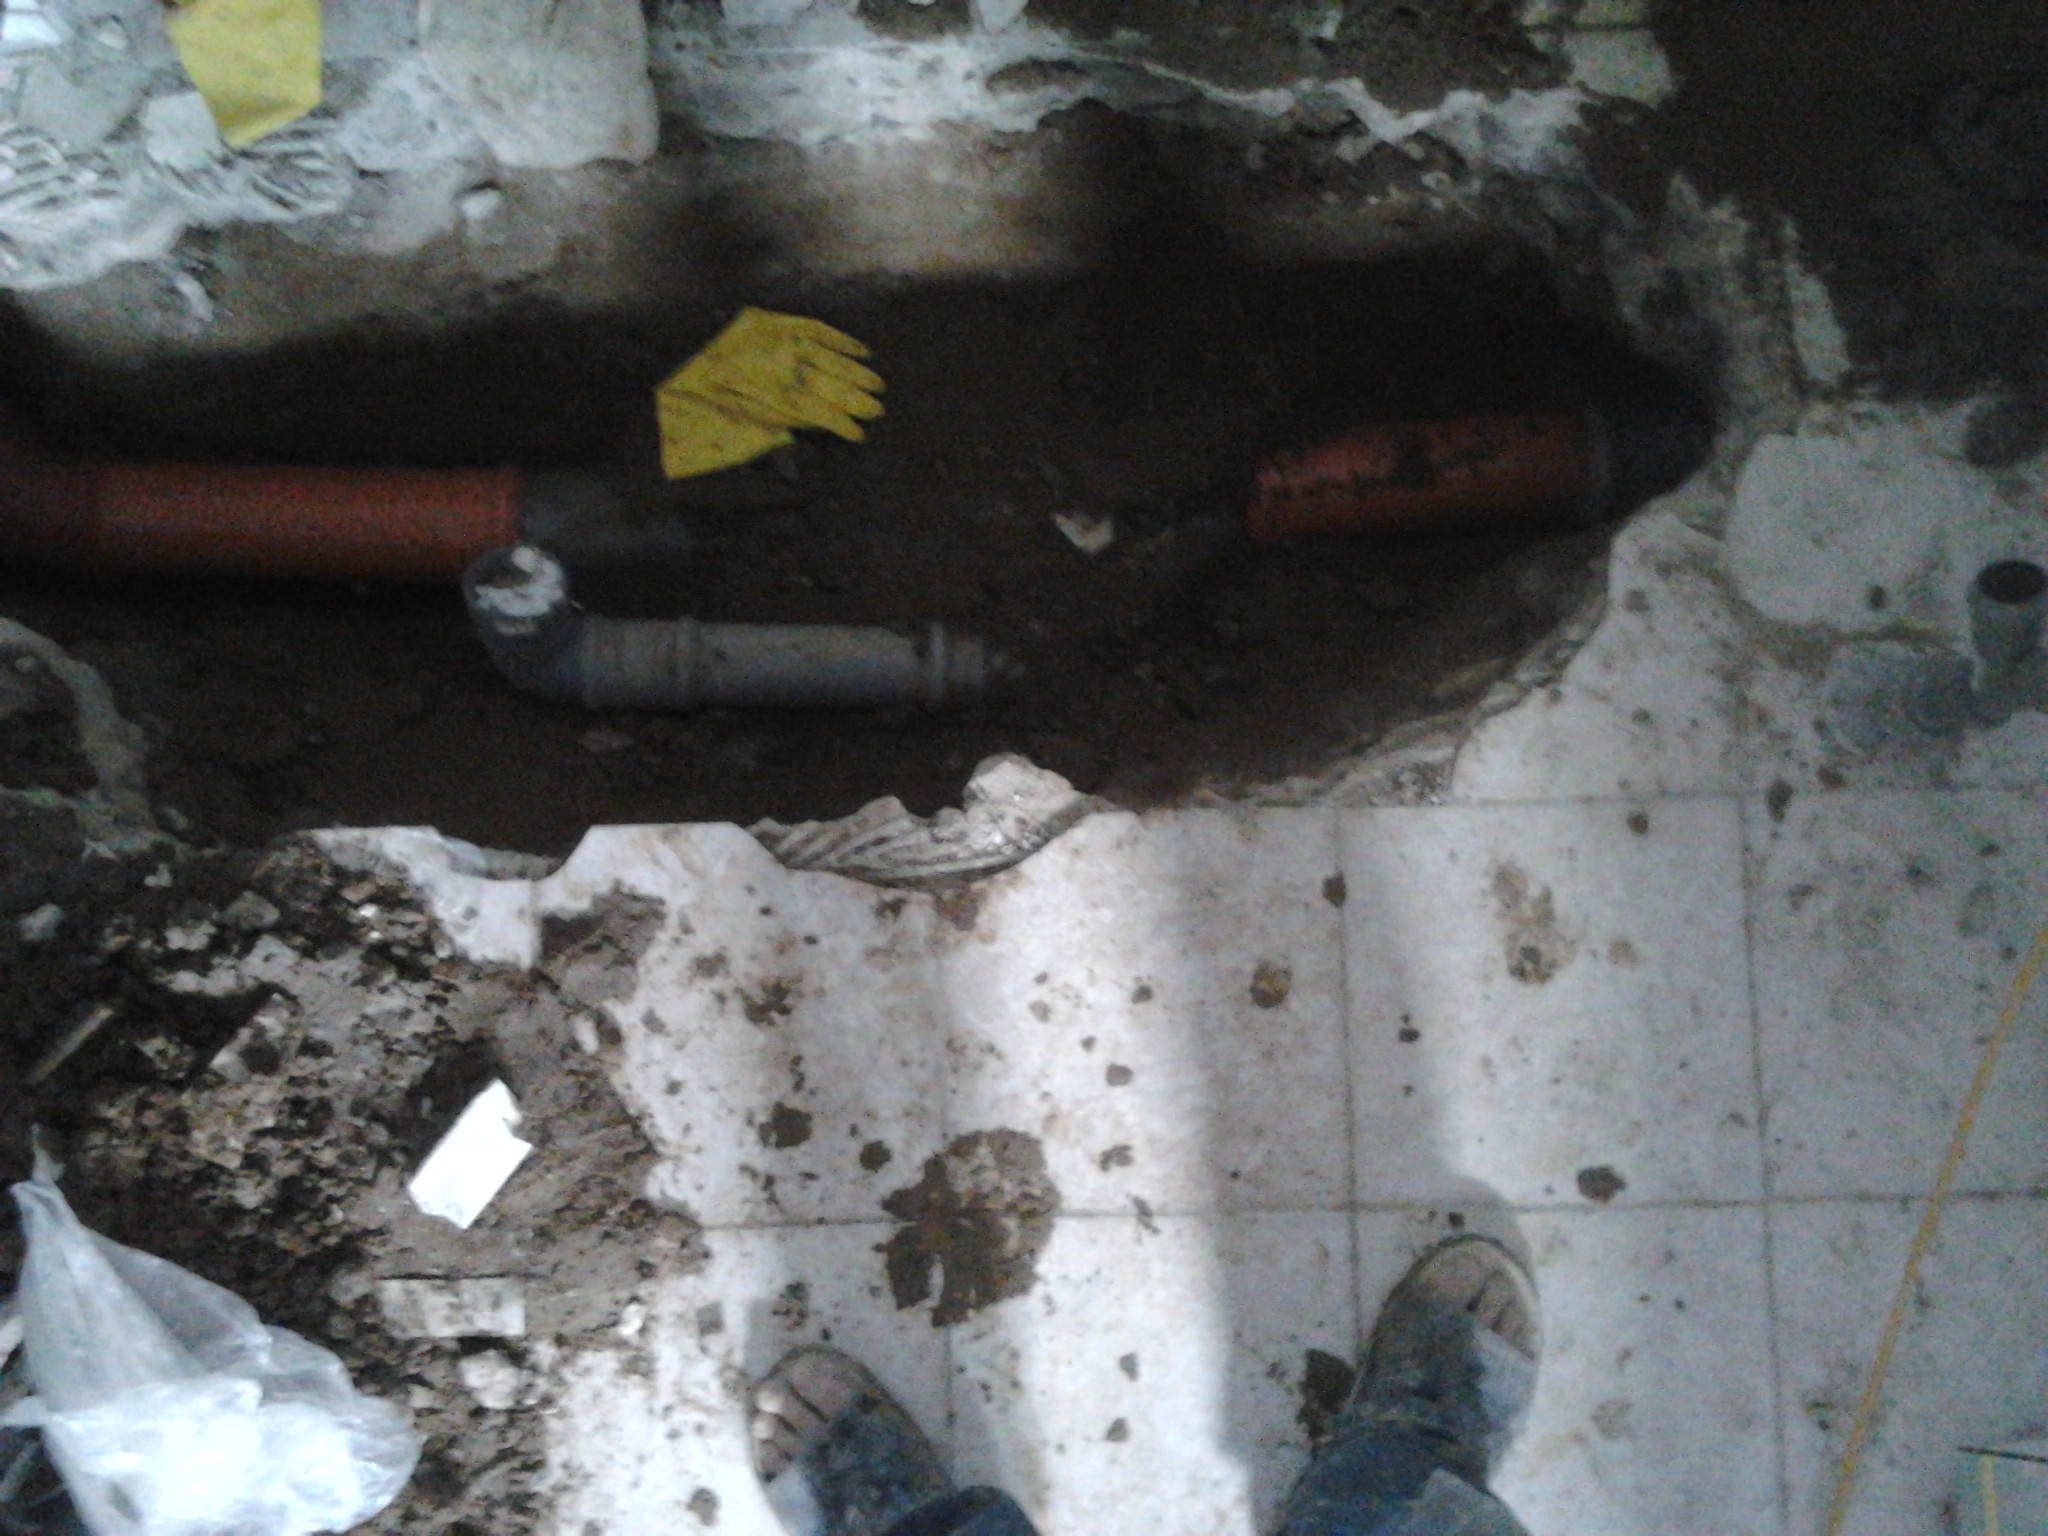
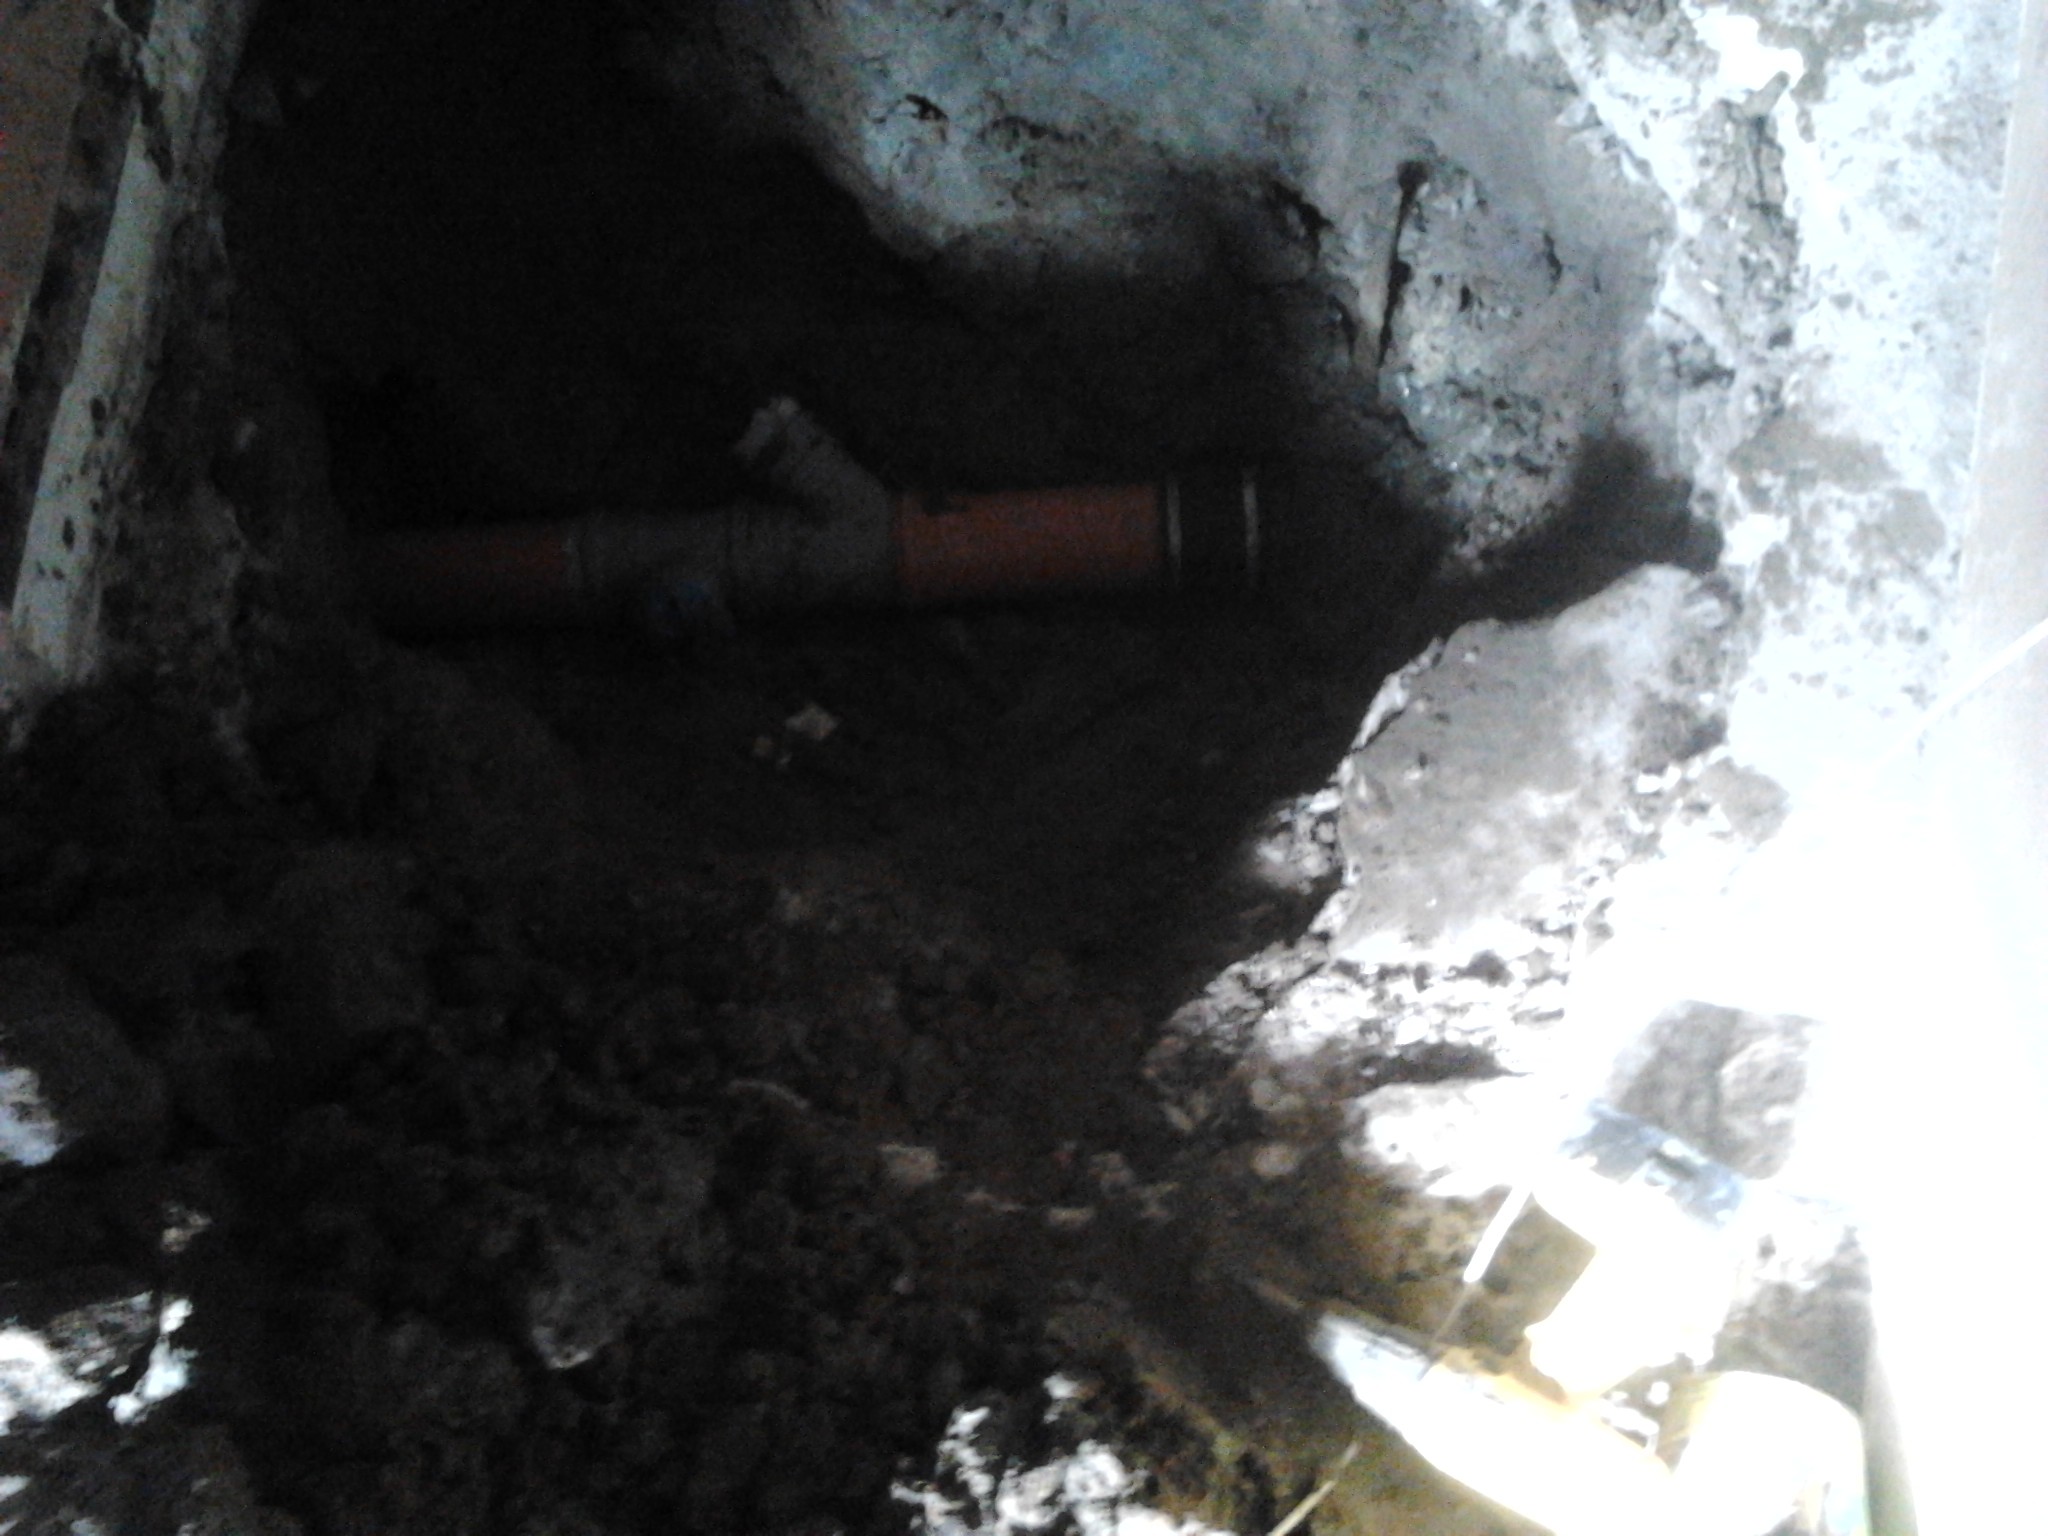
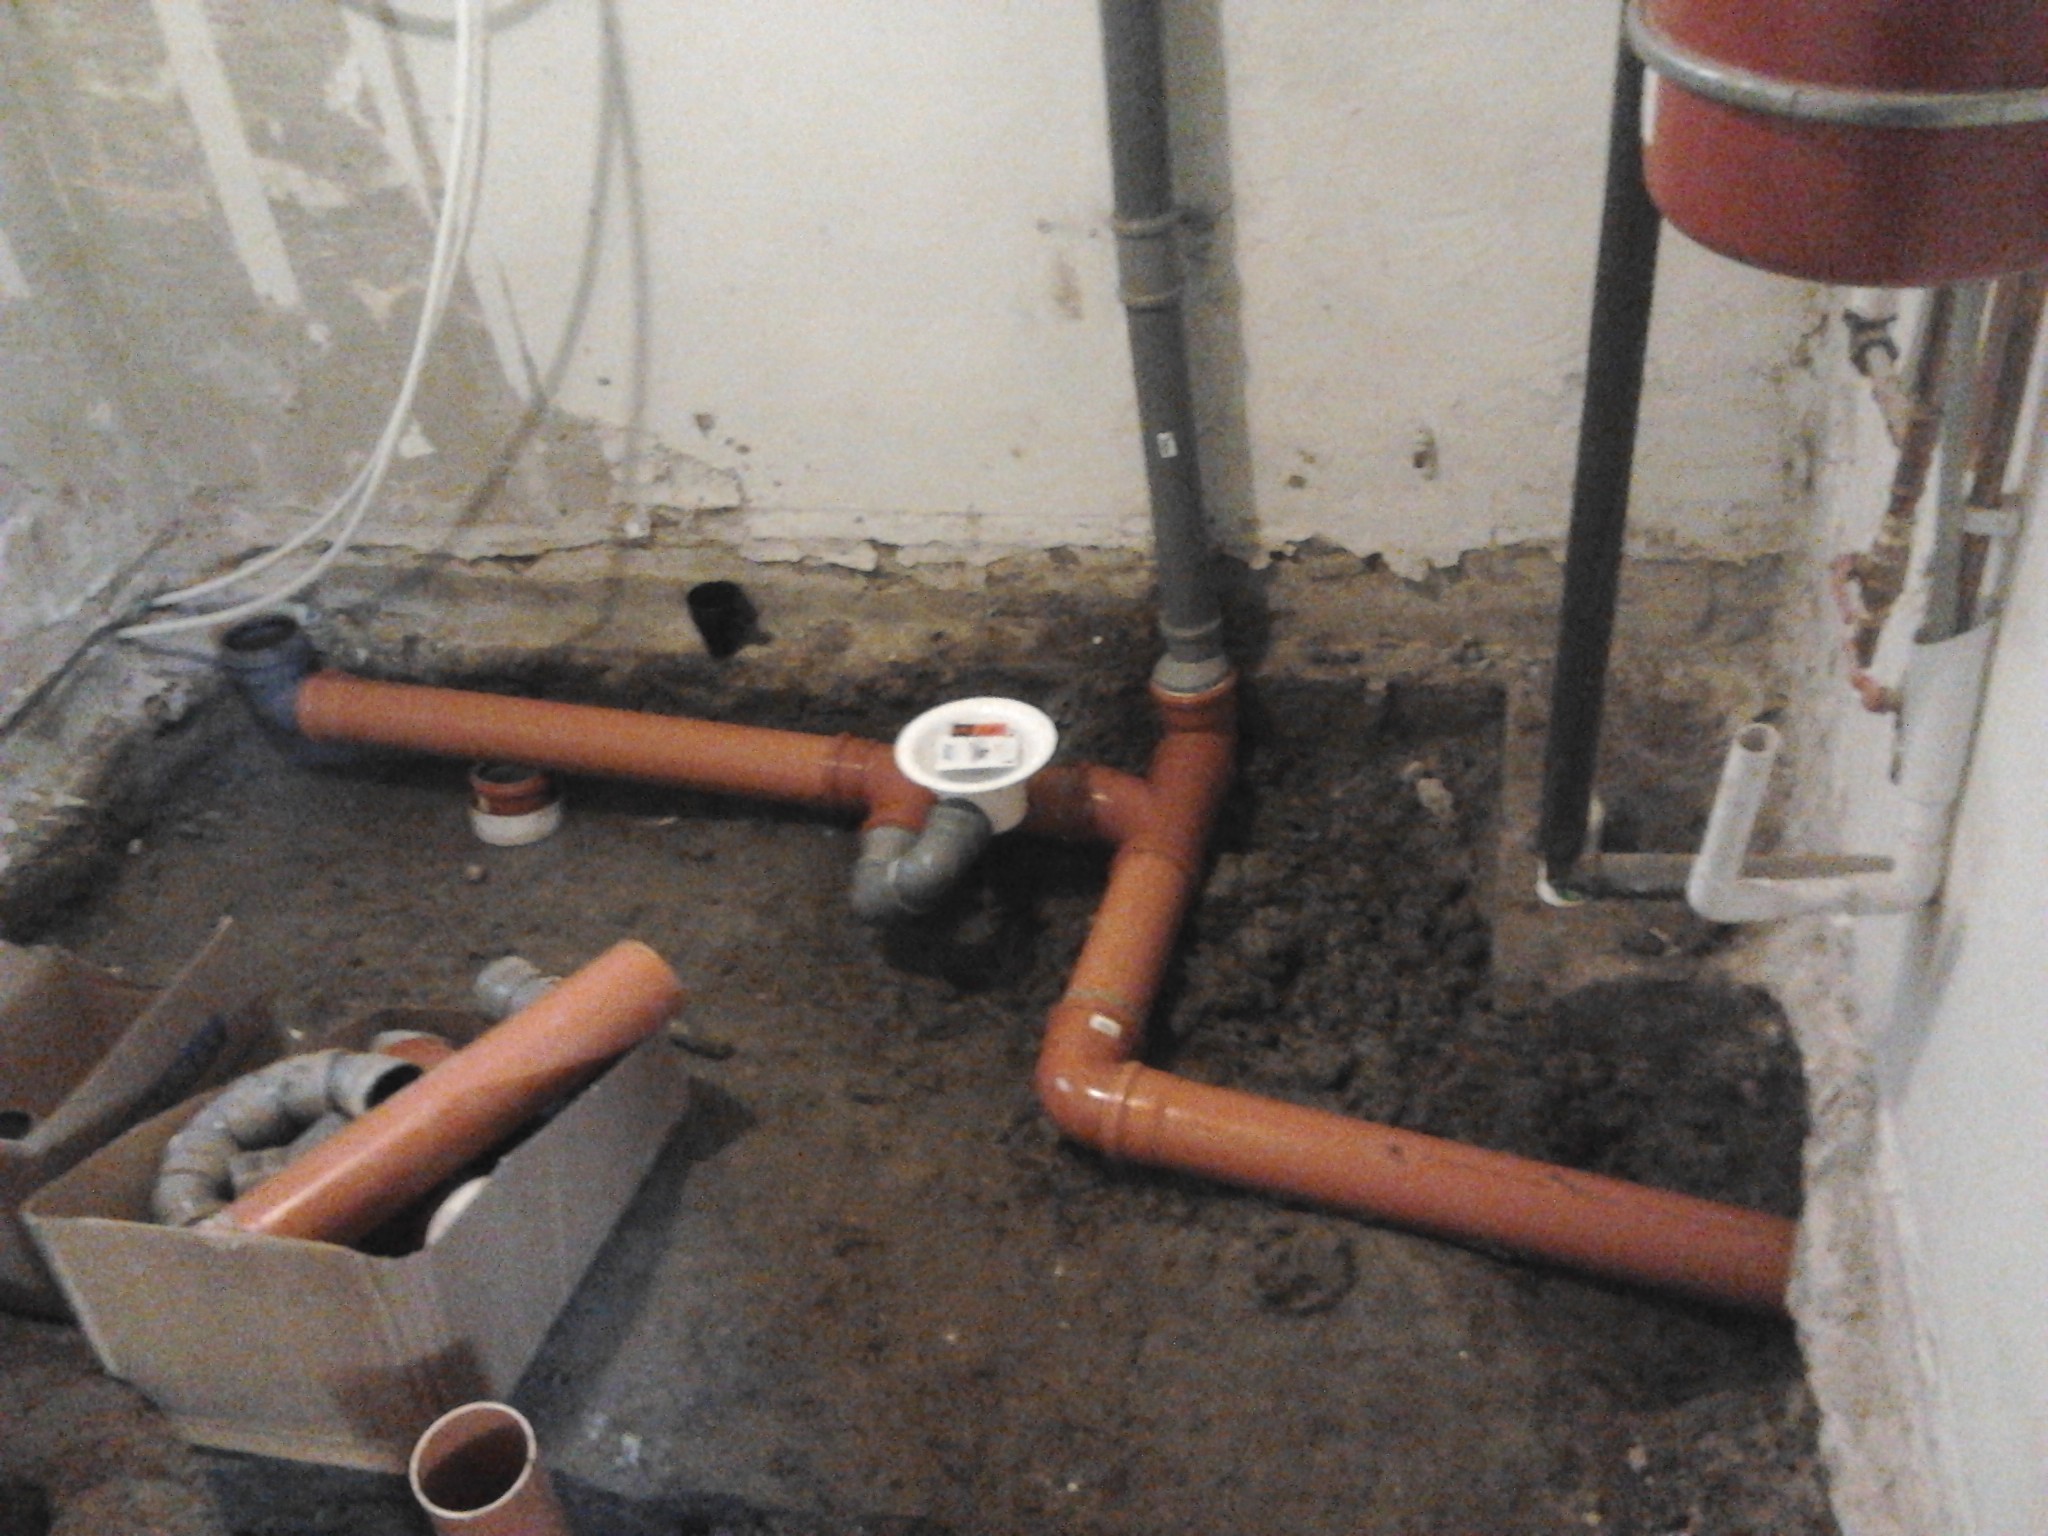
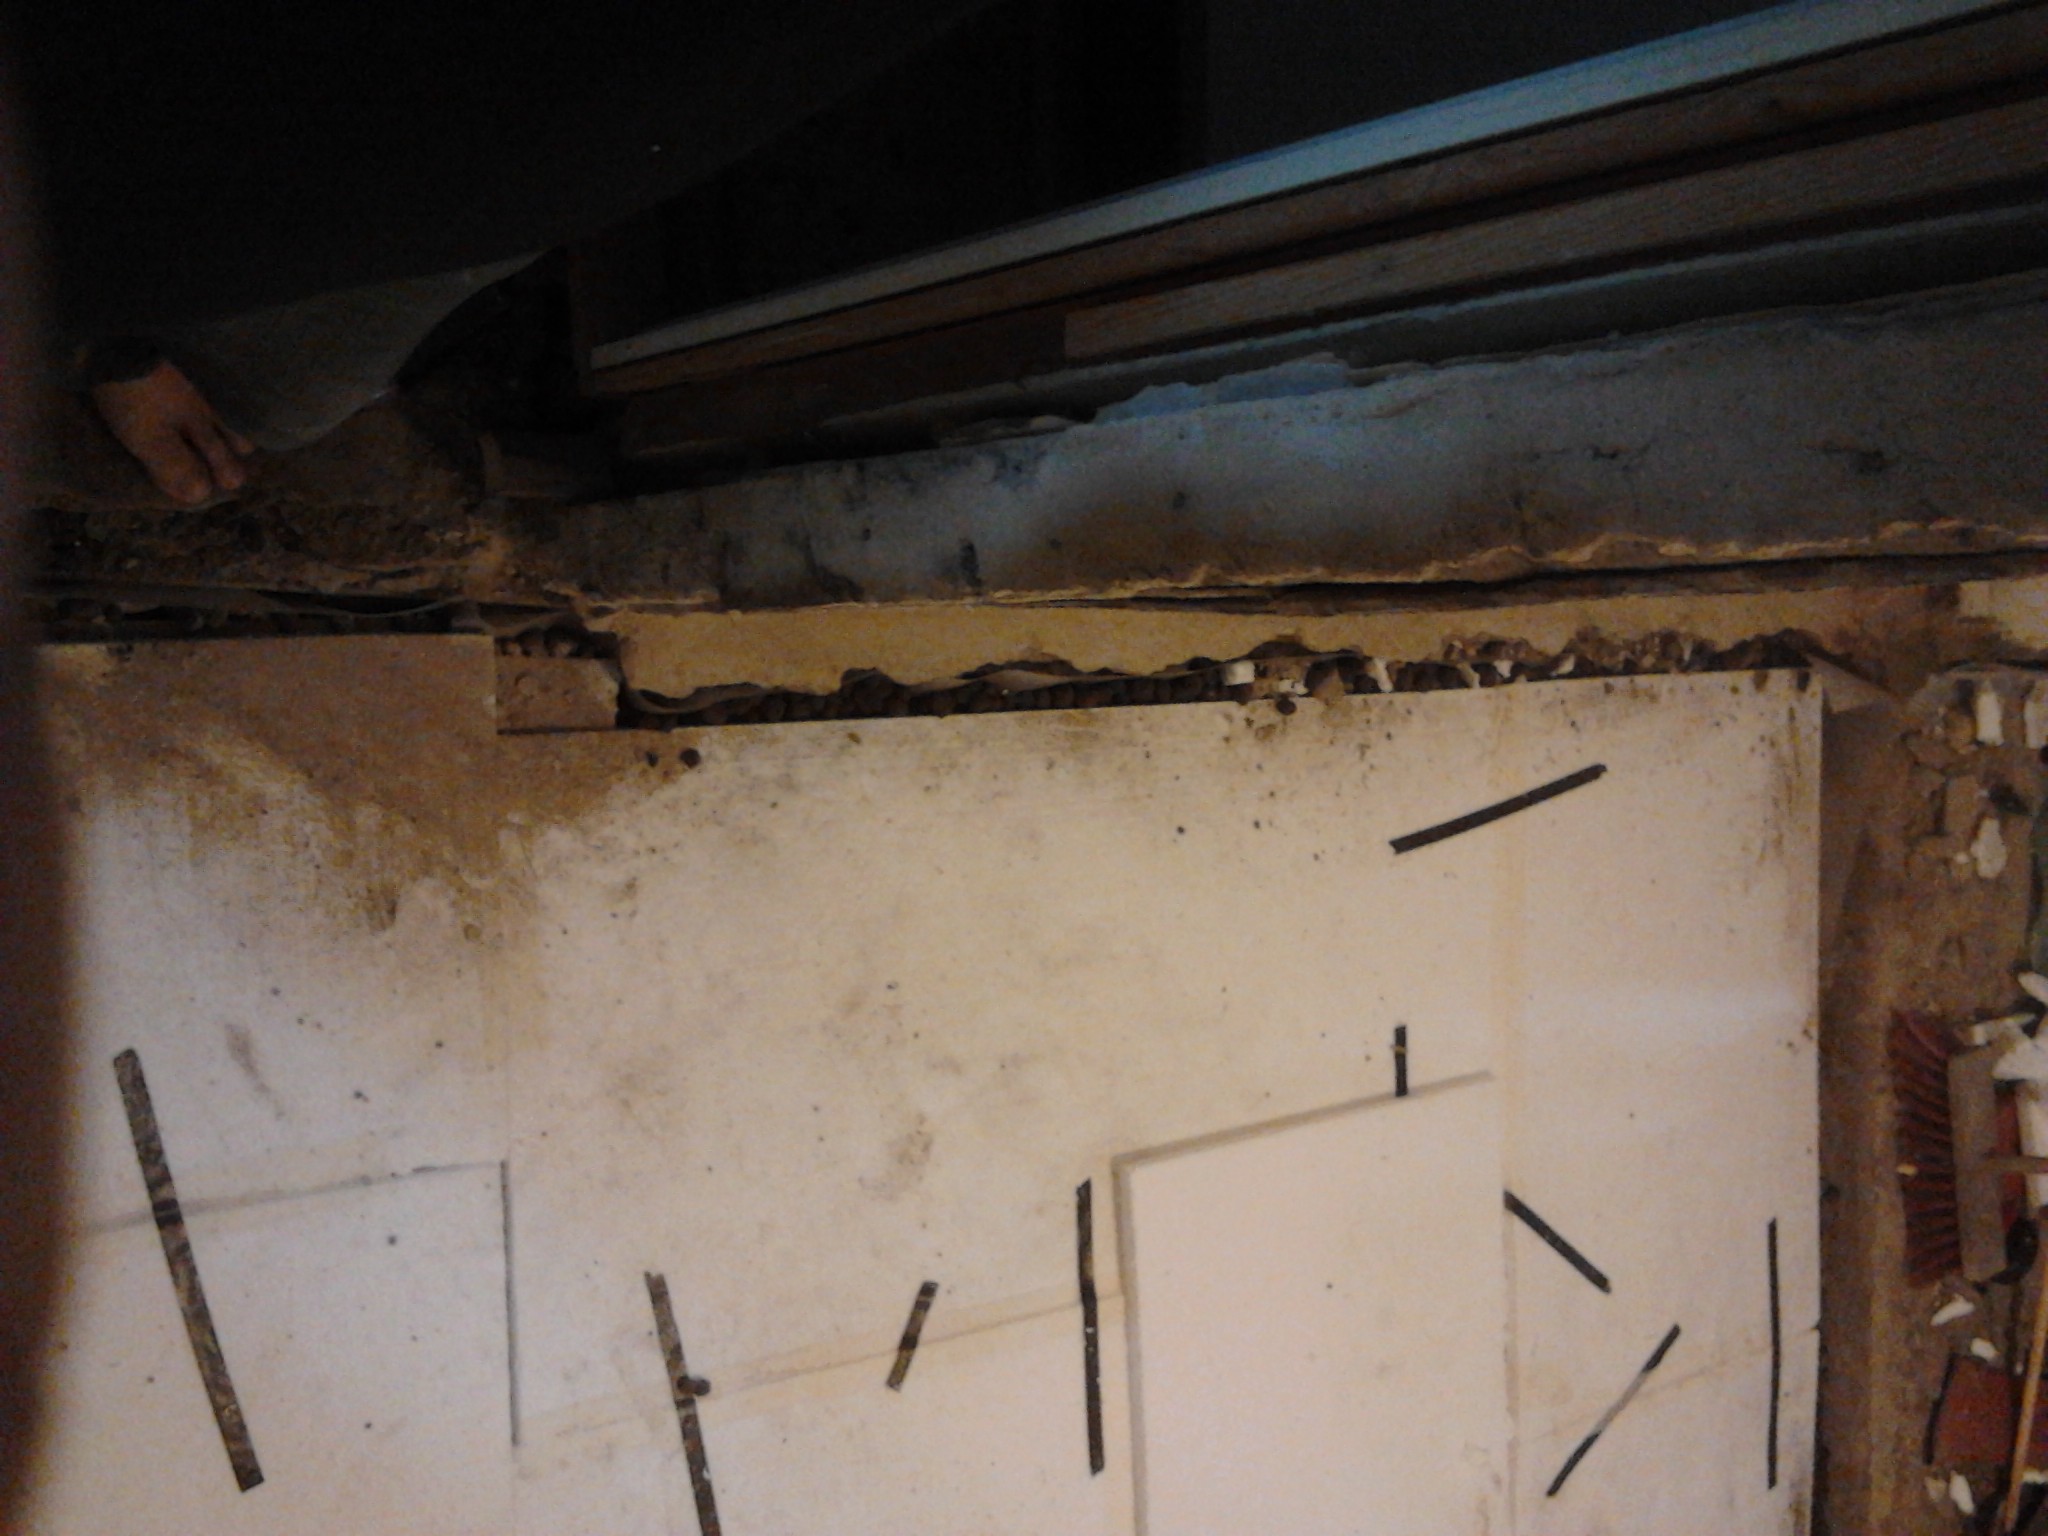
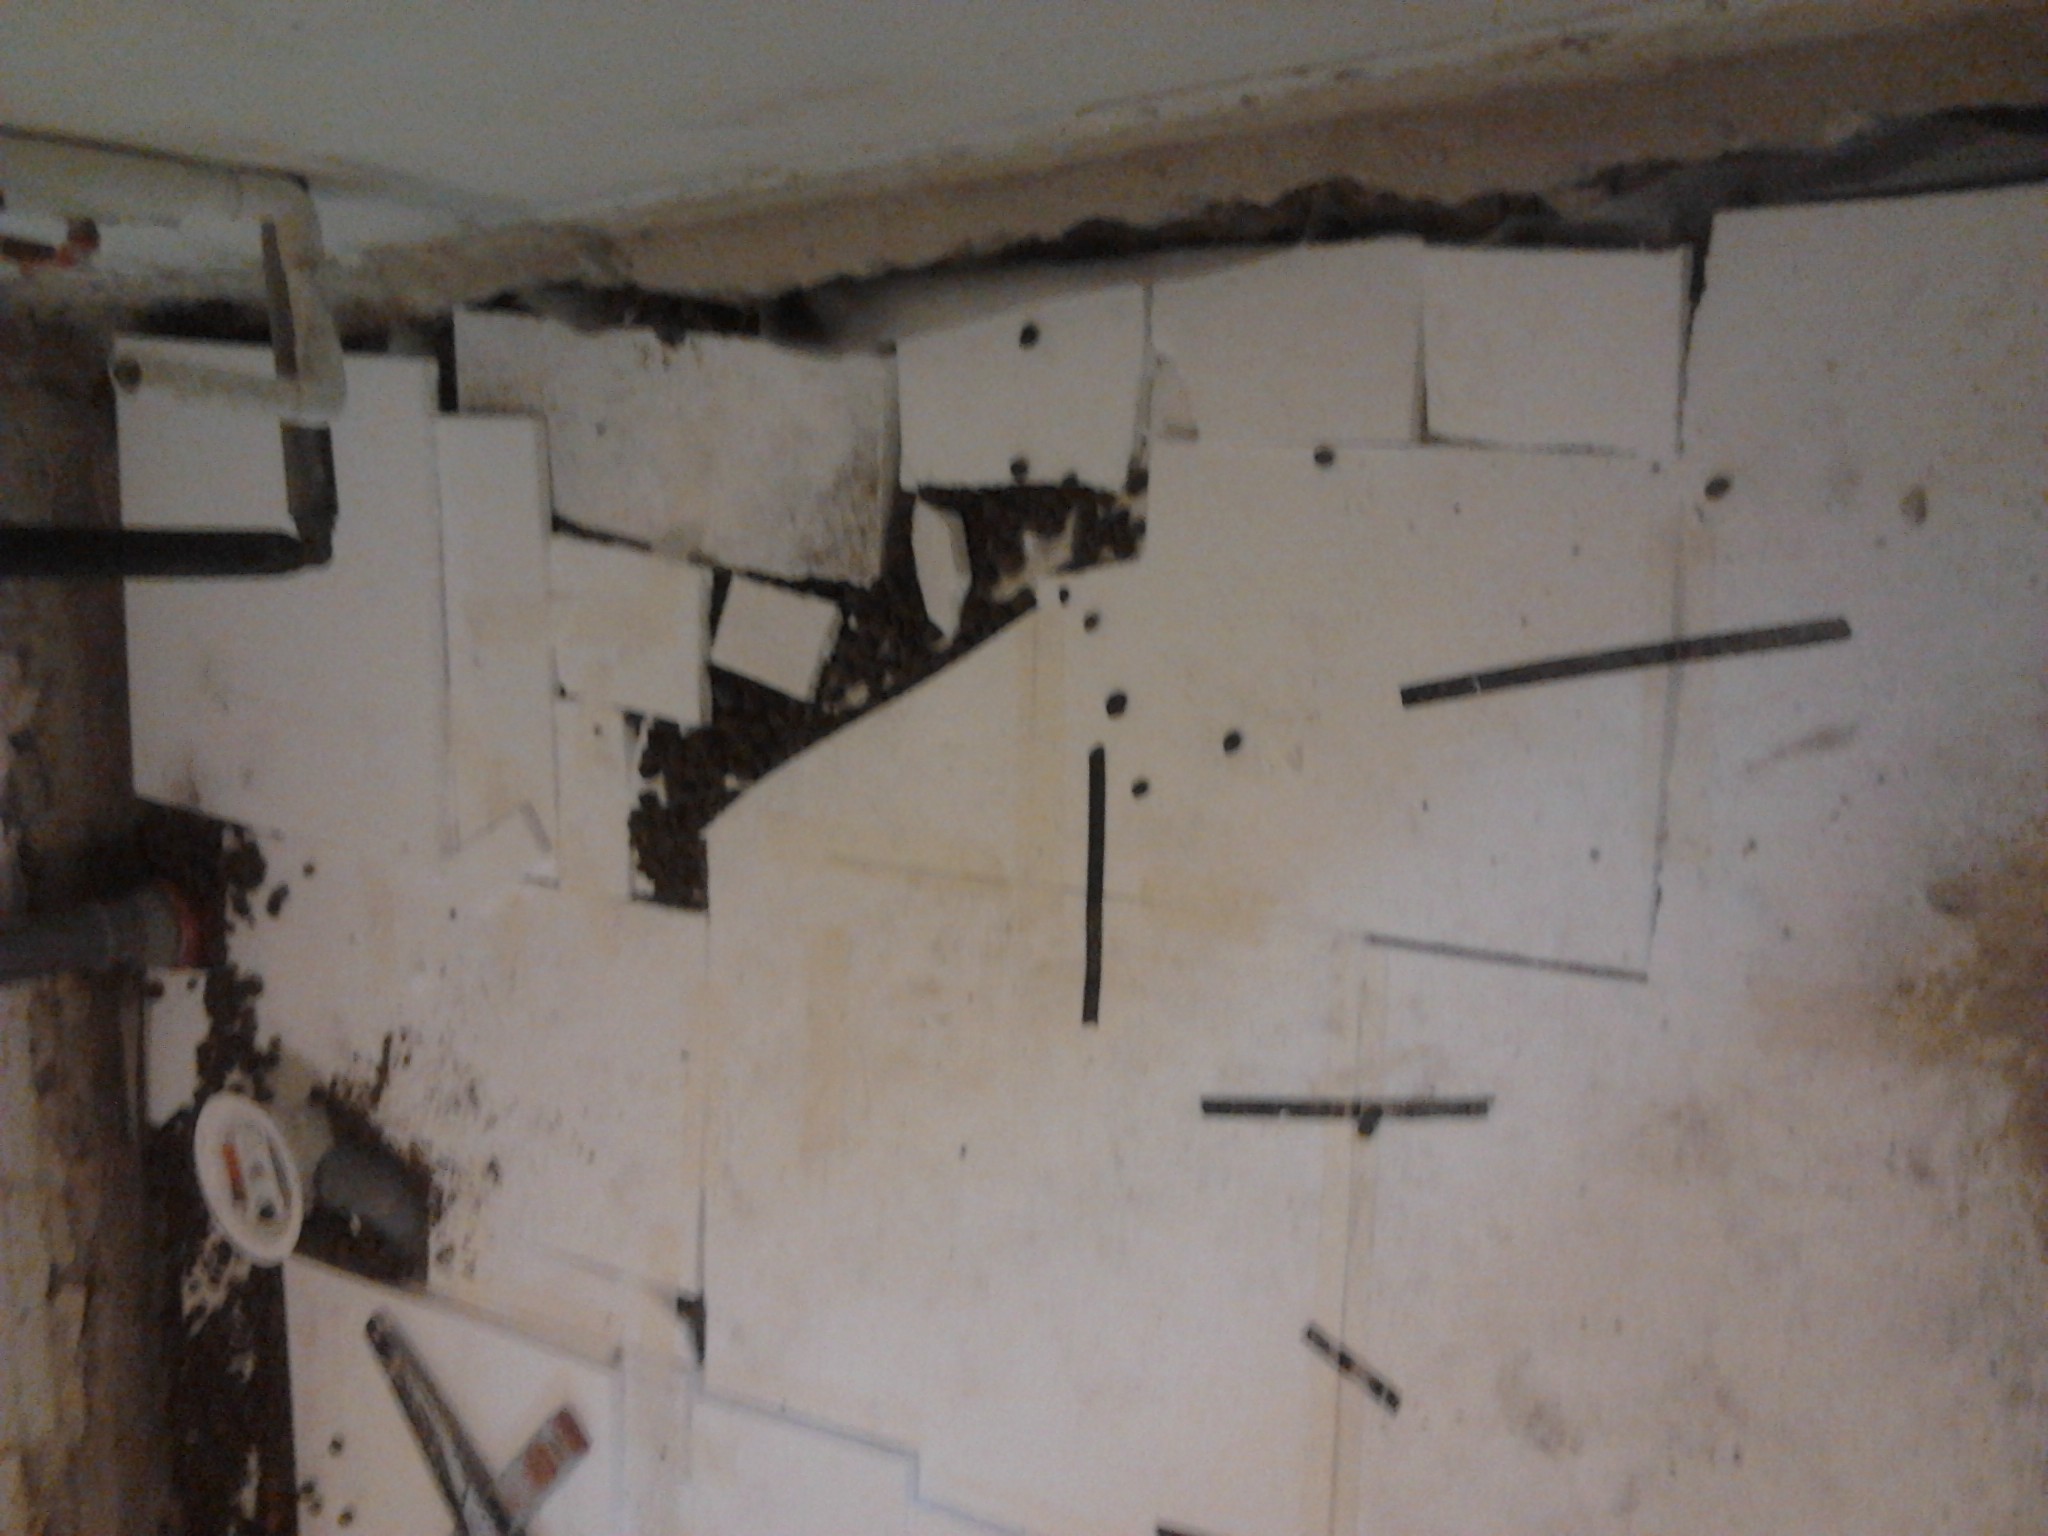
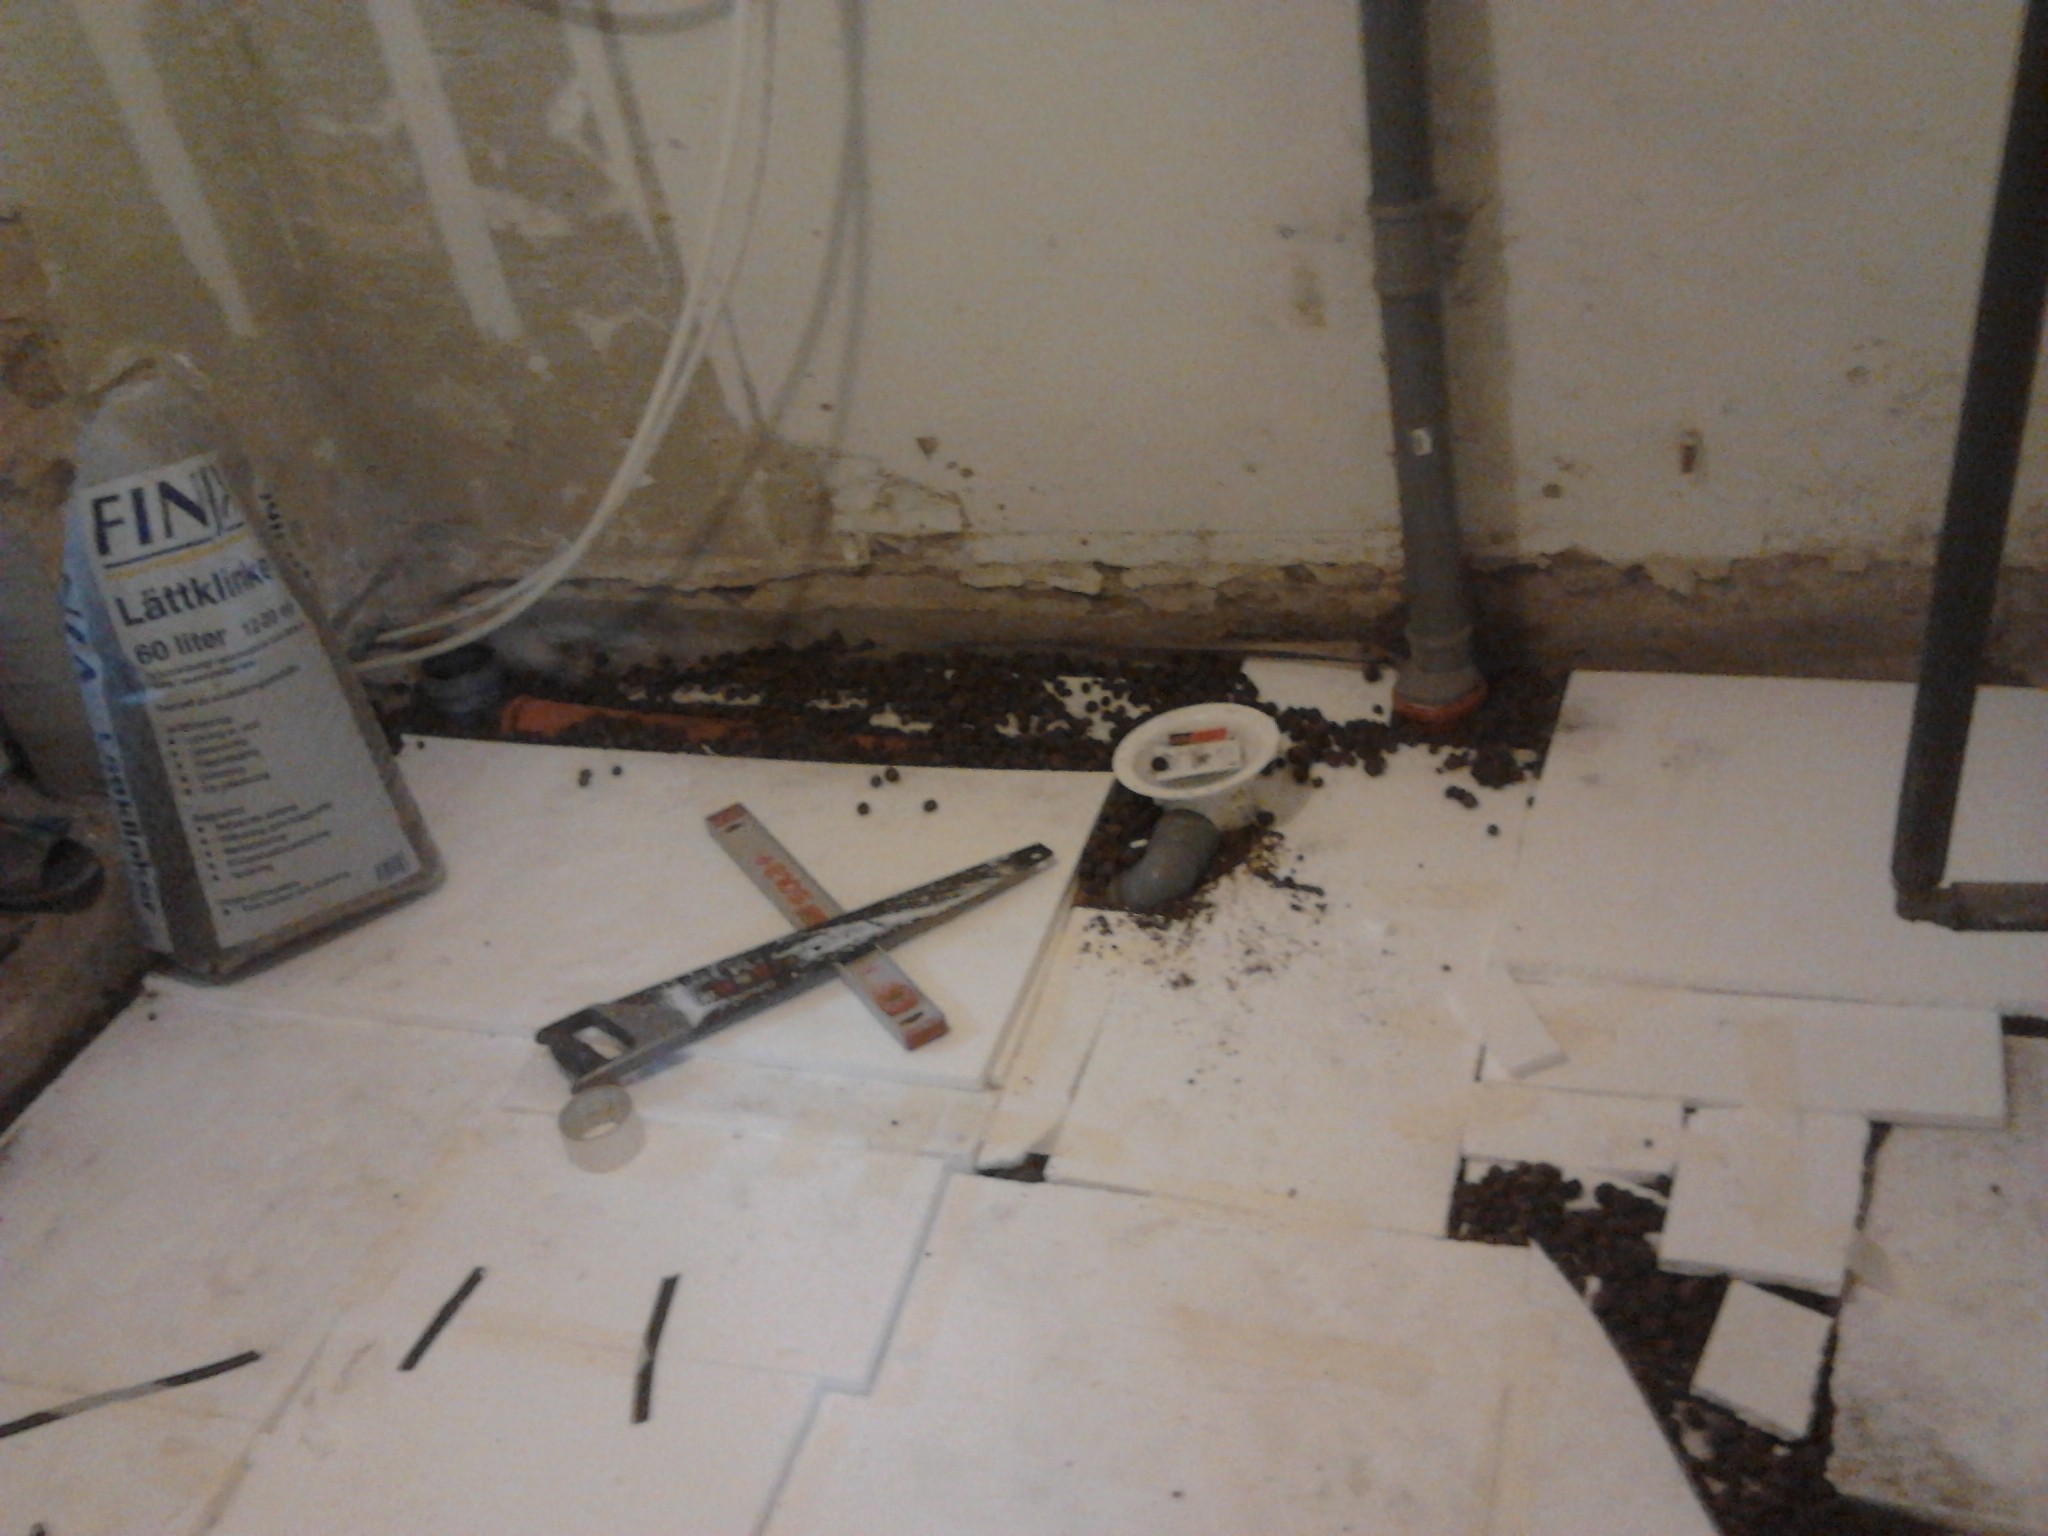
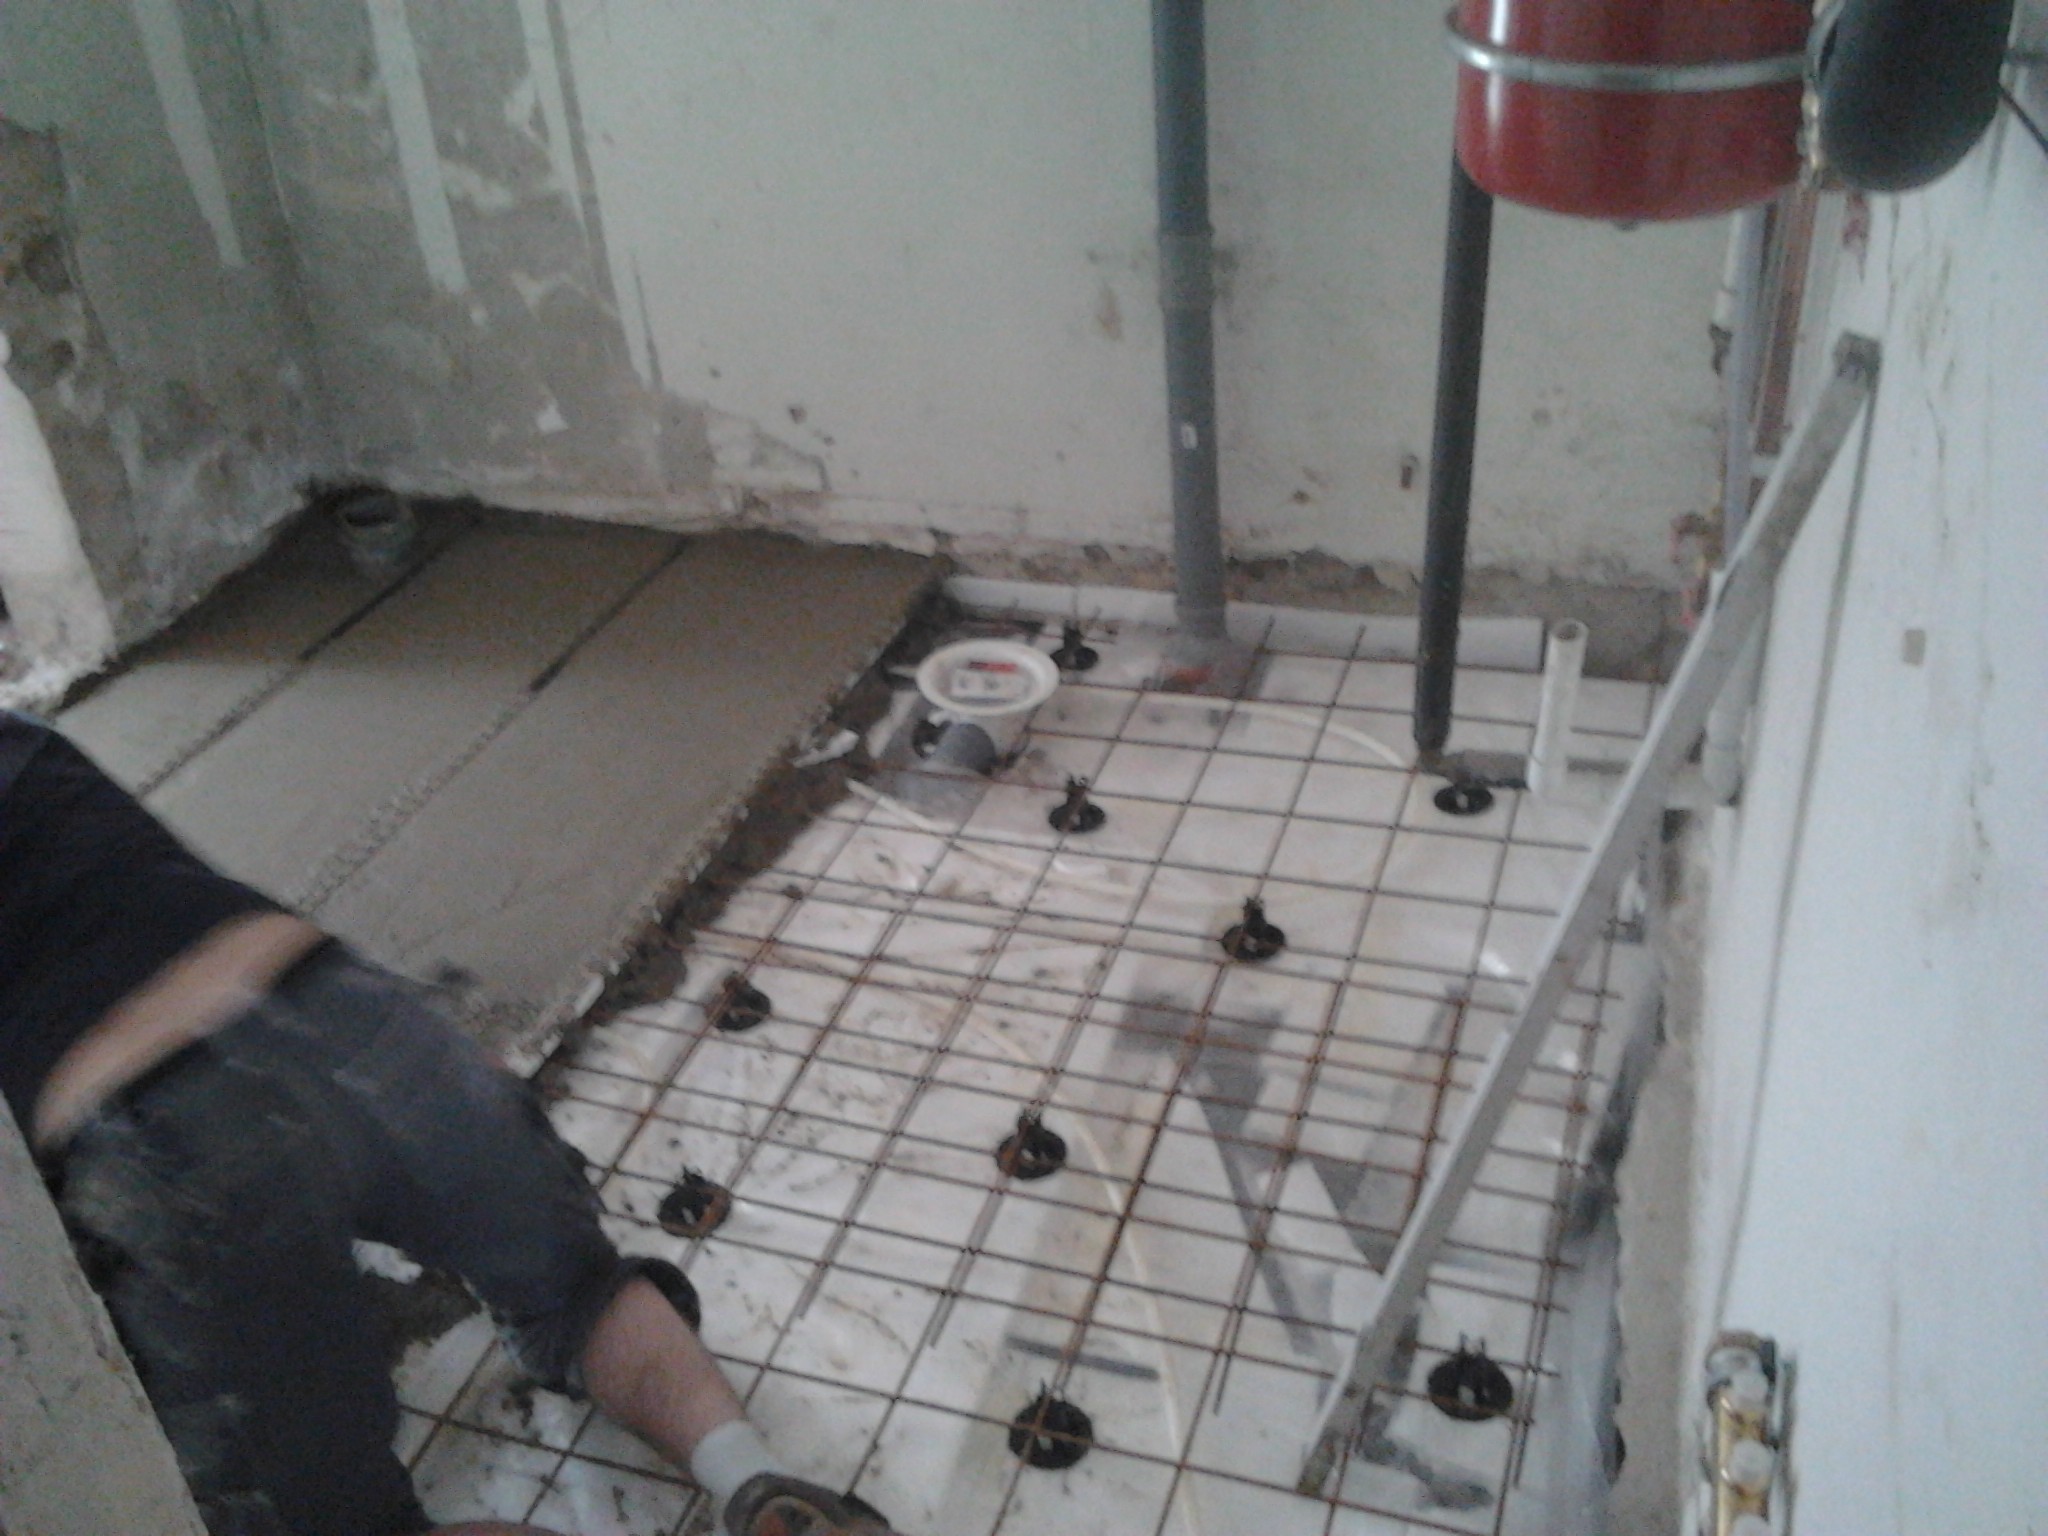
Here are some pictures:
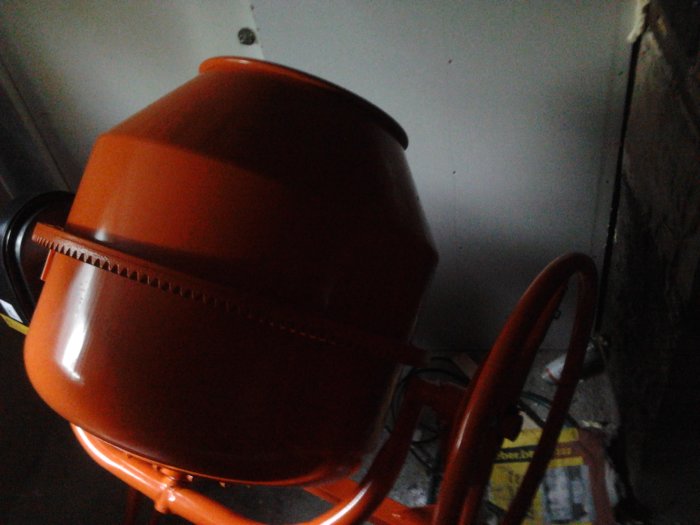
Rent a mixer and you'll be free of worries. Bad equipment only leads to frustration. But if you do buy one, take care of it. Clean it with small stones after use. And if you want to save money, make the concrete yourself—order casting sand and some gravel and regular standard cement, then you'll have money left over to buy a "real" mixer.
Thanks, but I don't have sand or gravel, I have ordered ready-mixed coarse concrete. I want to check how much time (or how many mixes in the concrete mixer) it will take for casting a room of 6 sqm with a 10 cm thick slab. Thanks for the help
That's about 600 liters, so it will likely be around 12 drumloads with about 50L in each. If it's a 240 volter and a small mixer, it will probably be double, as they can't handle the weight. When I cast, I borrowed so I had 3 larger mixers and 2 good friends on hand. It was still quite stressful to vibrate and cast, load into the mixer, etc. A bit larger than what you're planning... around 14 sqm and 15 cm thick. 2.1 cubic meters. Next time, I will order...


")


Maxpayne said:
