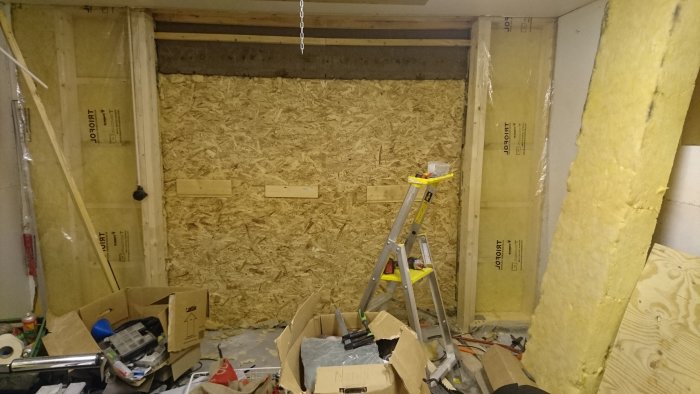
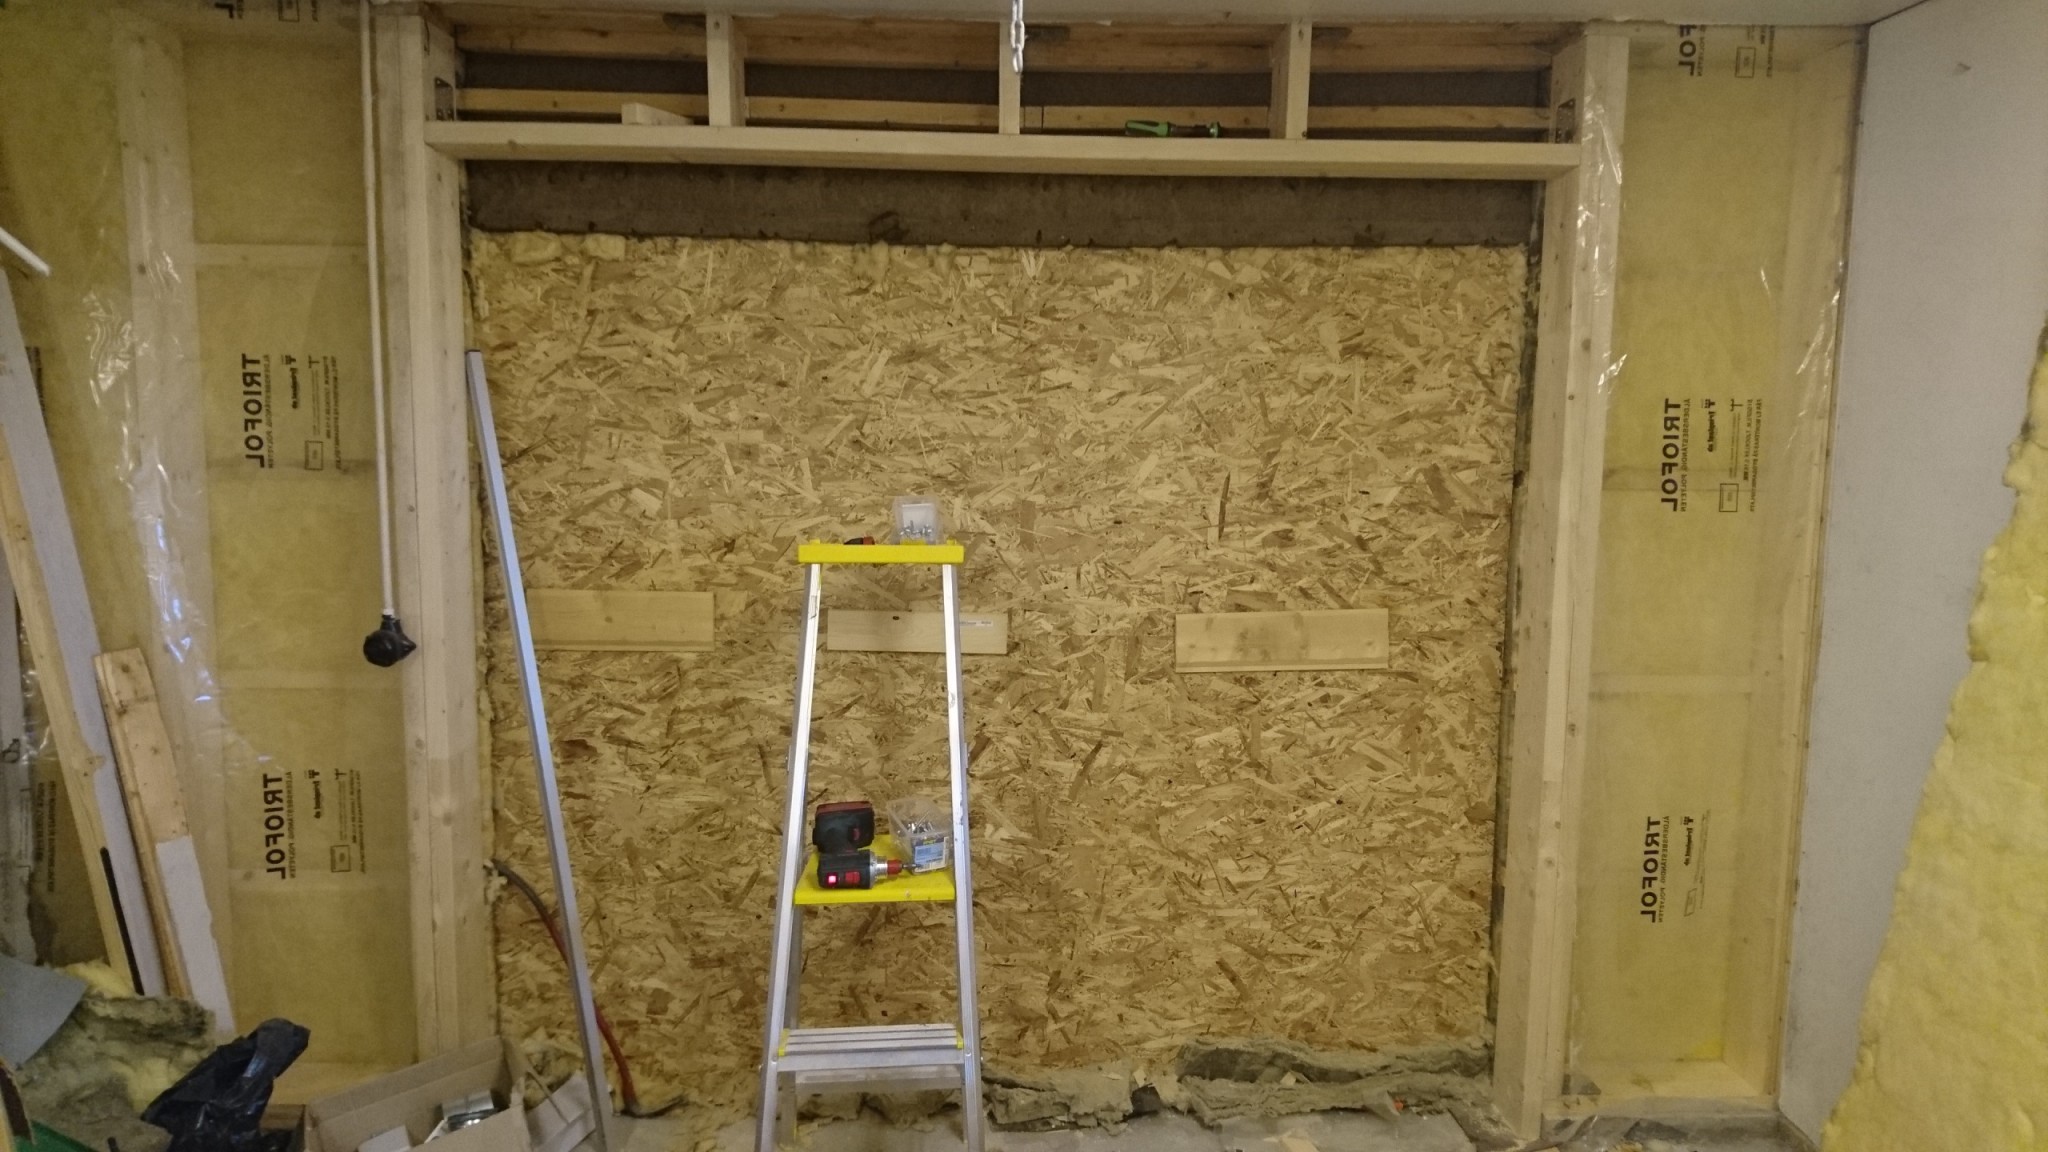
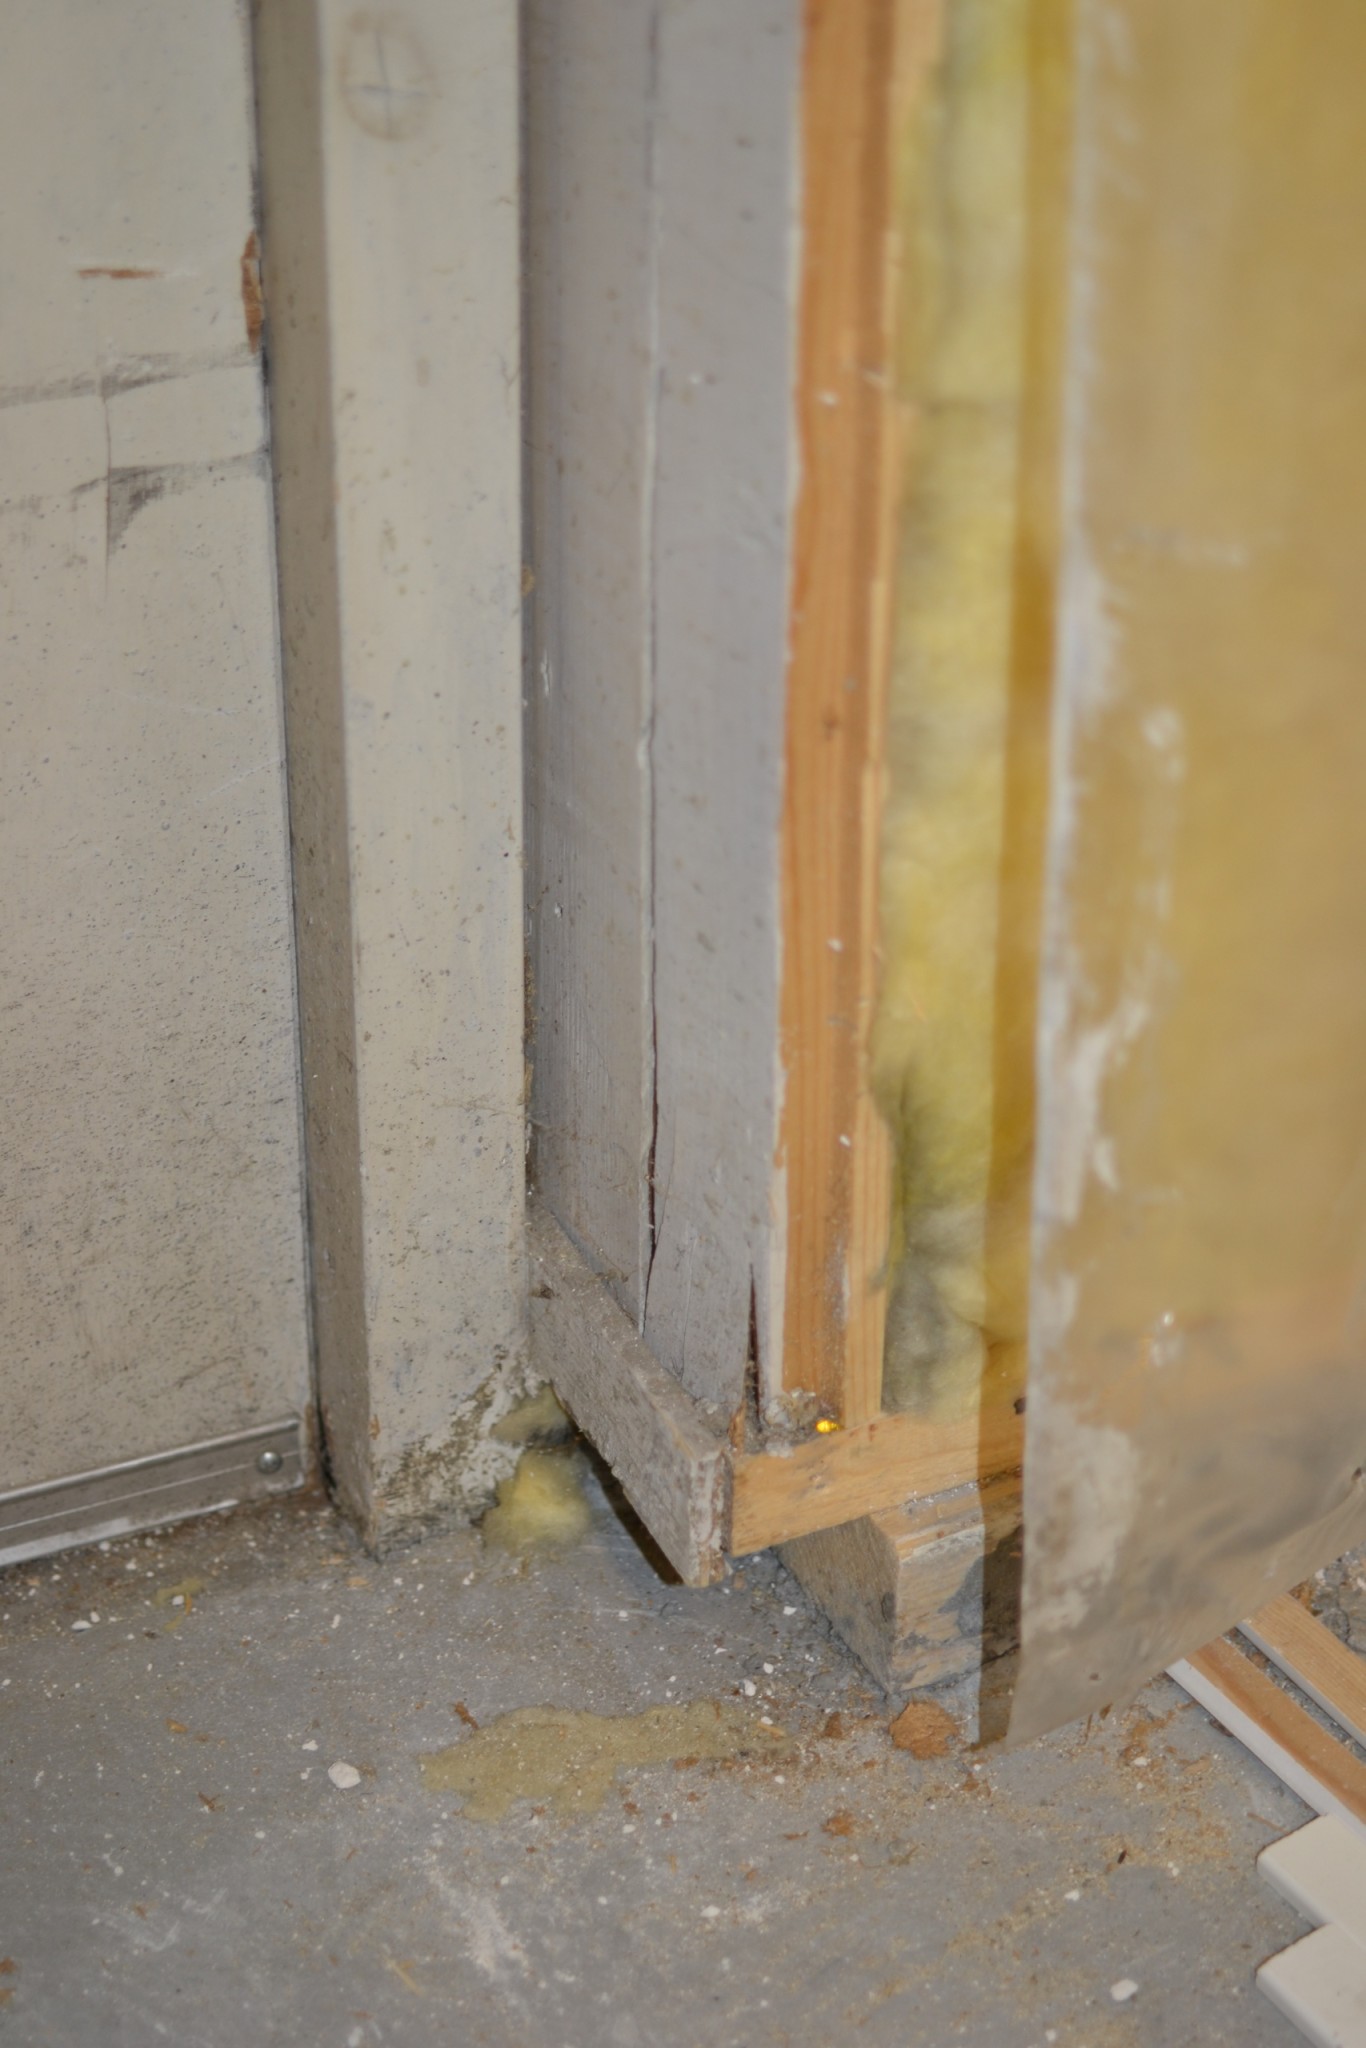
I was thinking of installing an overhead garage door before it gets too cold, but I realize it will probably take longer than expected... I tore off the masonite boards on the inside of the exterior wall and saw that the studs closest to the opening are dimensions 34x160, but it's beveled in one corner, so the part that is 34mm thick is probably only 150mm. Above the door, there isn't a beam, just some small boards and studs to support insulation and panels. It's a one-story Myresjö house from '88 with a garage in the utility section I'm dealing with.
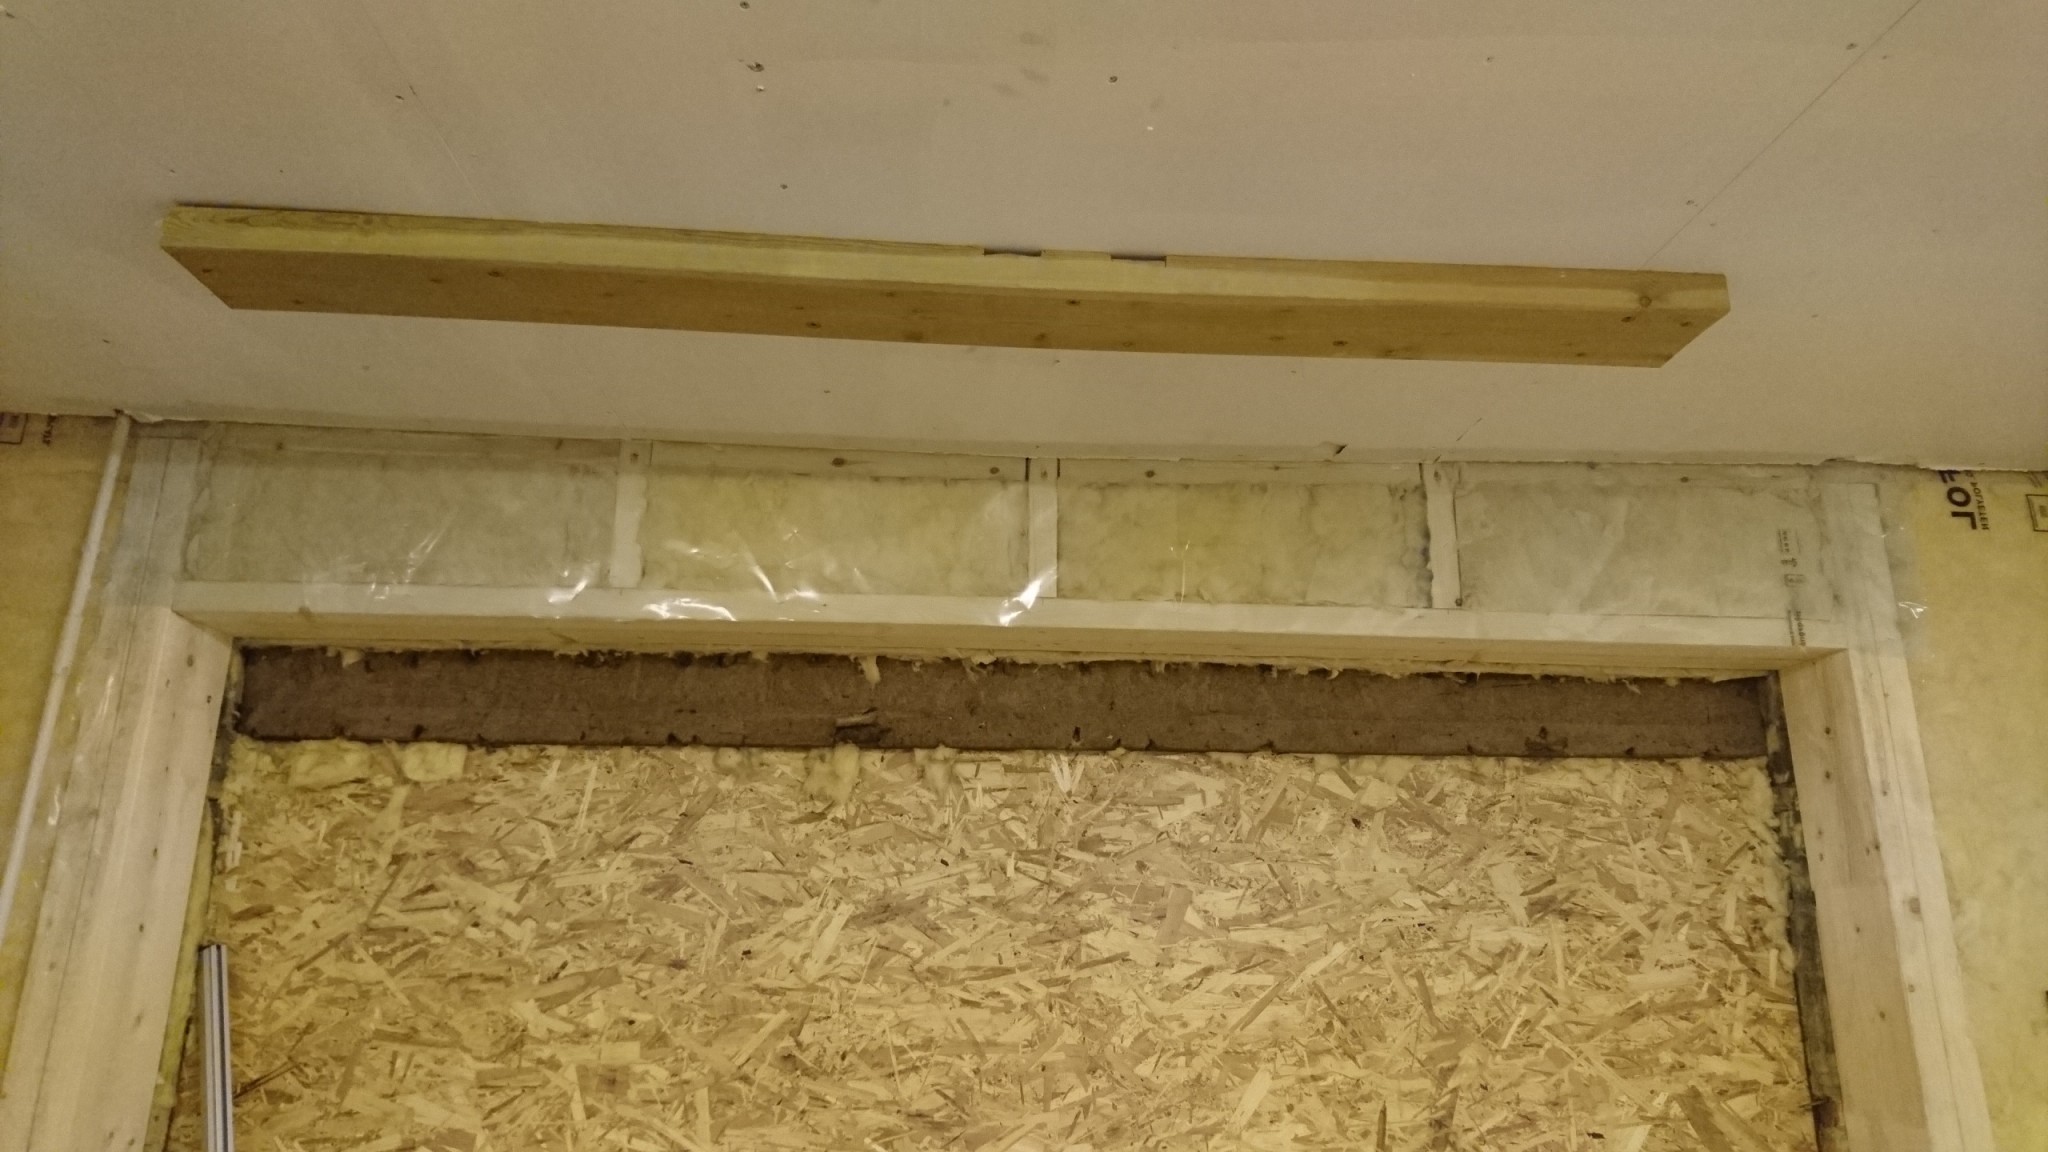
Then I discovered that on one side, the stud has cracked quite badly, and I noticed that the sill ends before it, and then there's another horizontal beam that extends a bit out, which in turn supports the standing stud. Now I know there are concrete beams where the garage door opening is cut out, so you can't just continue the sill into nothingness.
I obviously want to remove the cracked stud and possibly add another just inside that will stand in the right place. But what would you have done? I'll add some pictures so you can see what it looks like!
But now I know why the old door has been so damn hard to open and close in the winter!! Can I maybe place a new stud on the inside of the old one, remove the old one, and then put in another that goes all the way to the concrete slab so you have double studs and get the correct width for the door?
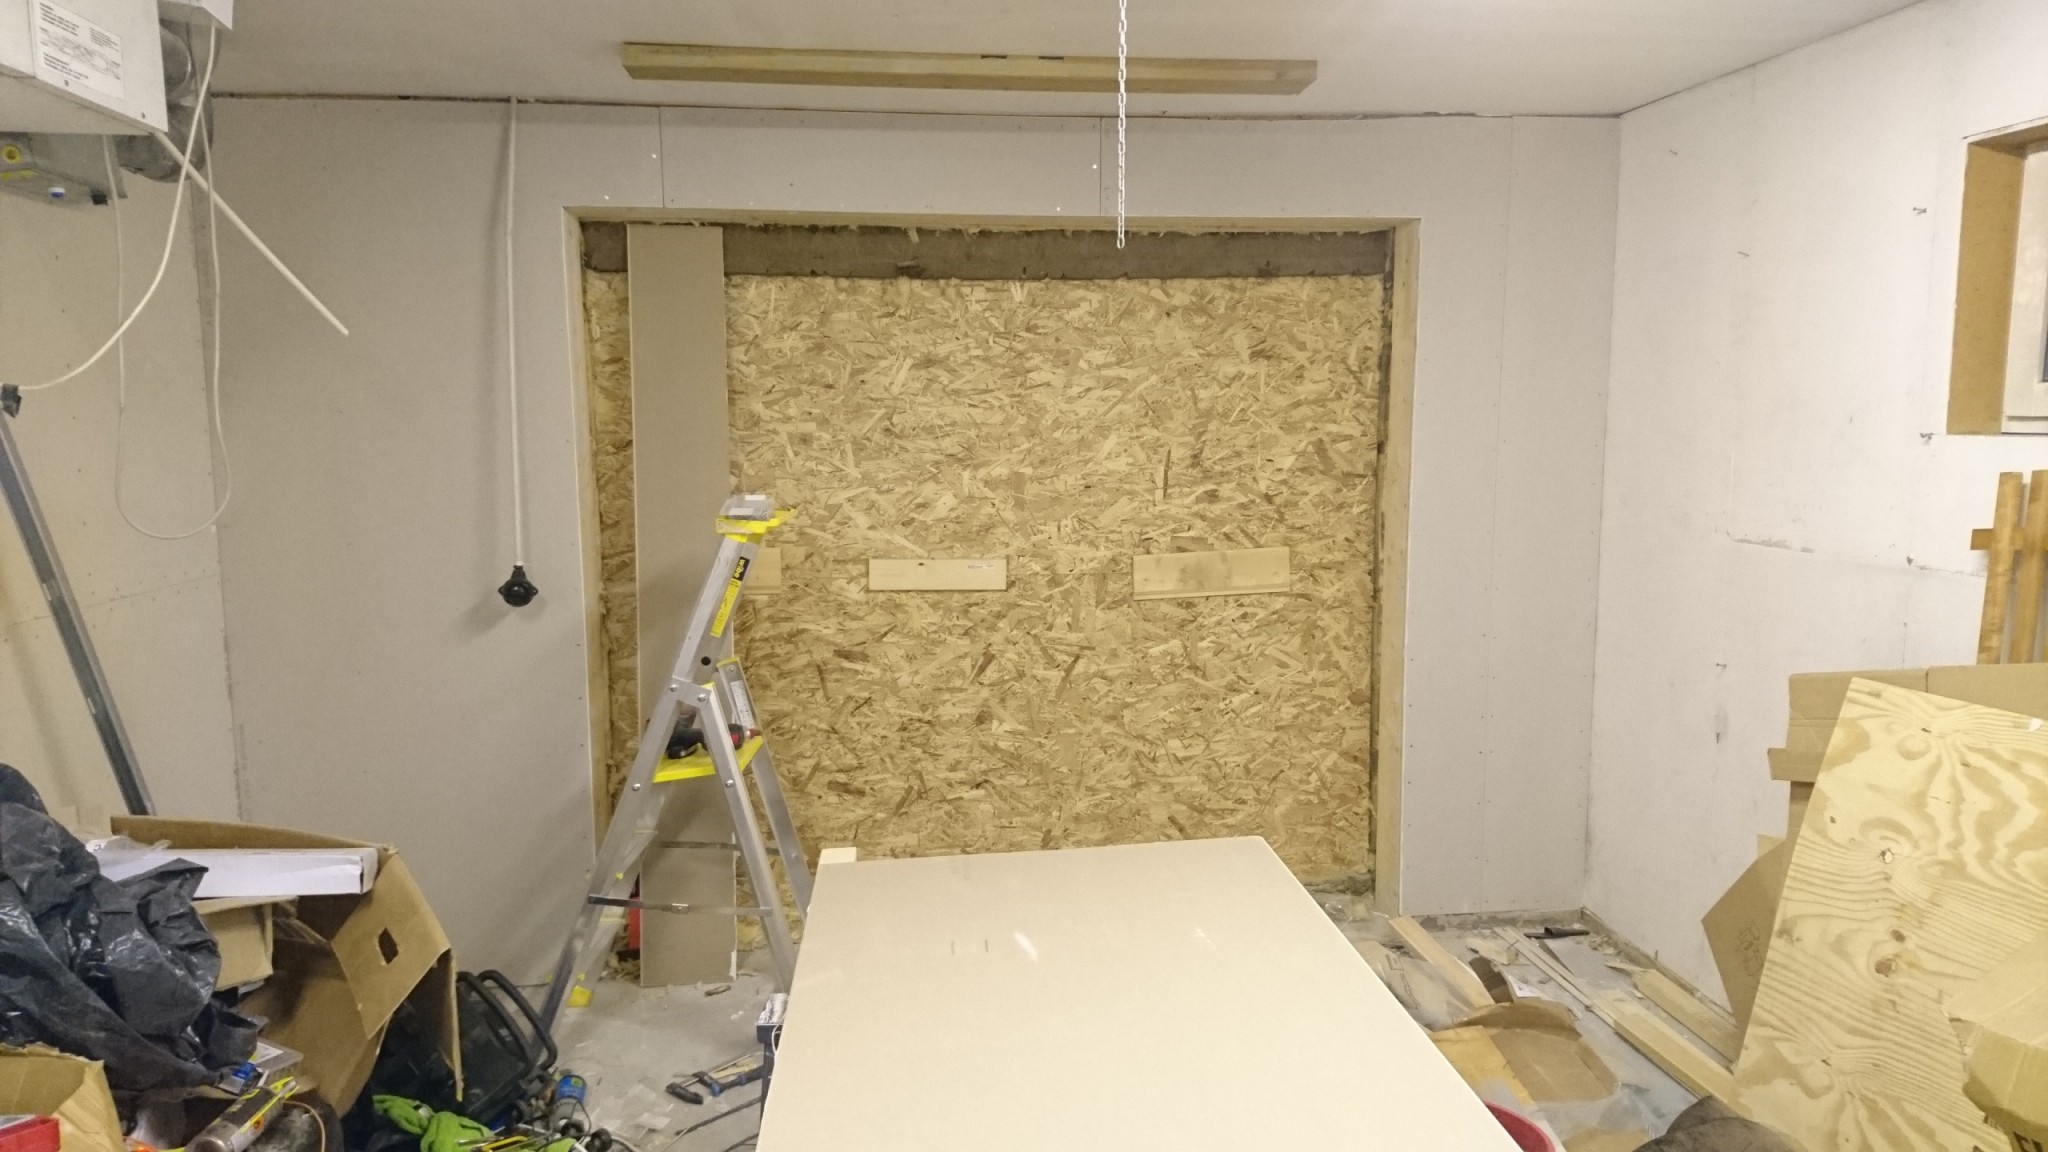
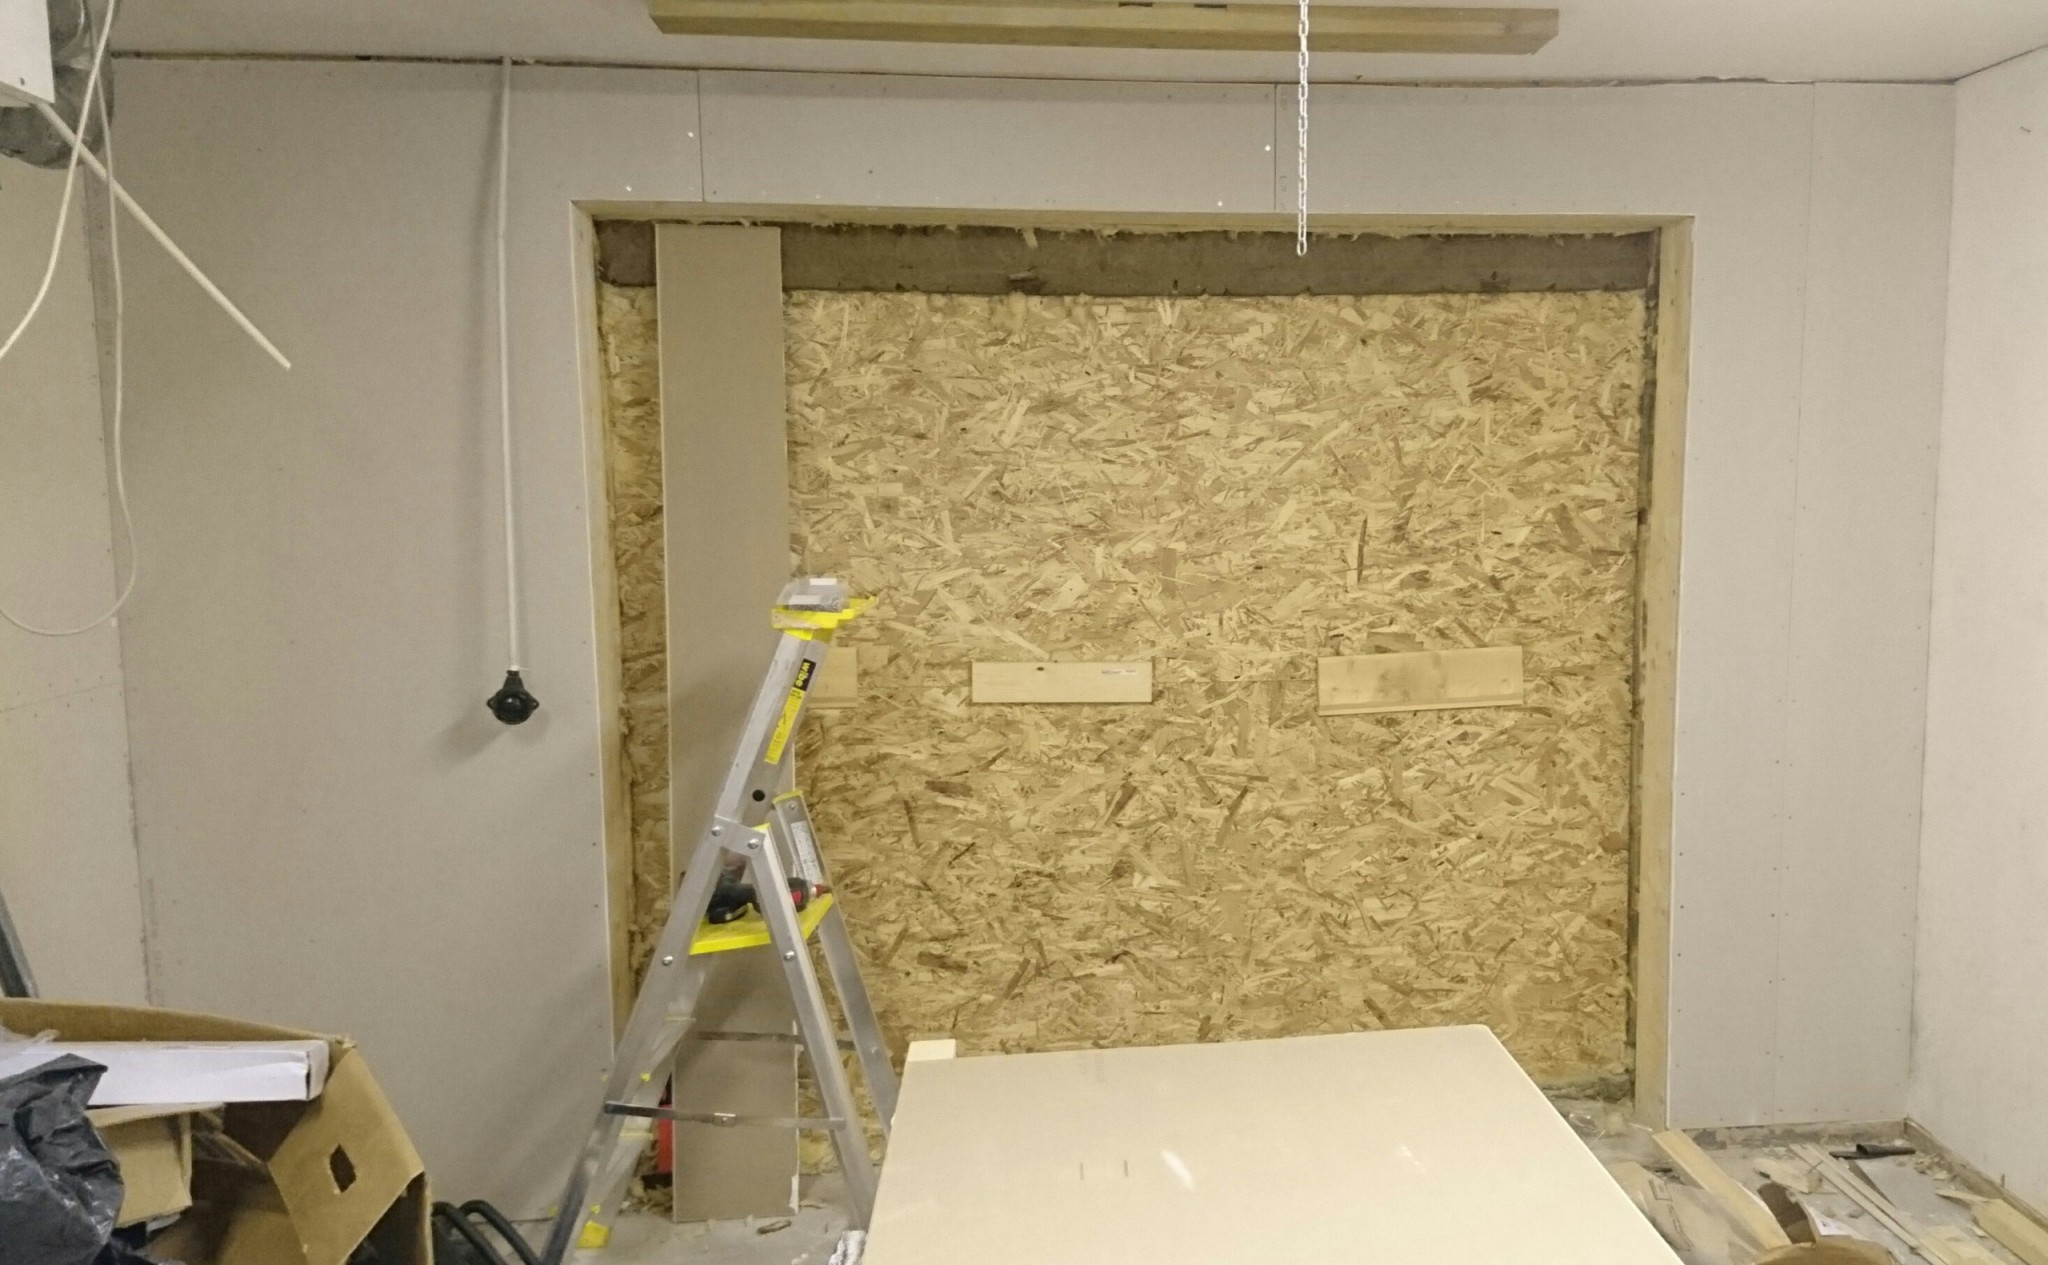
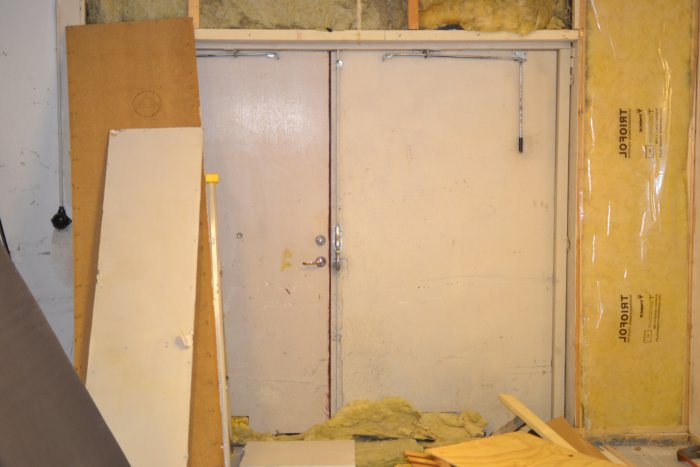
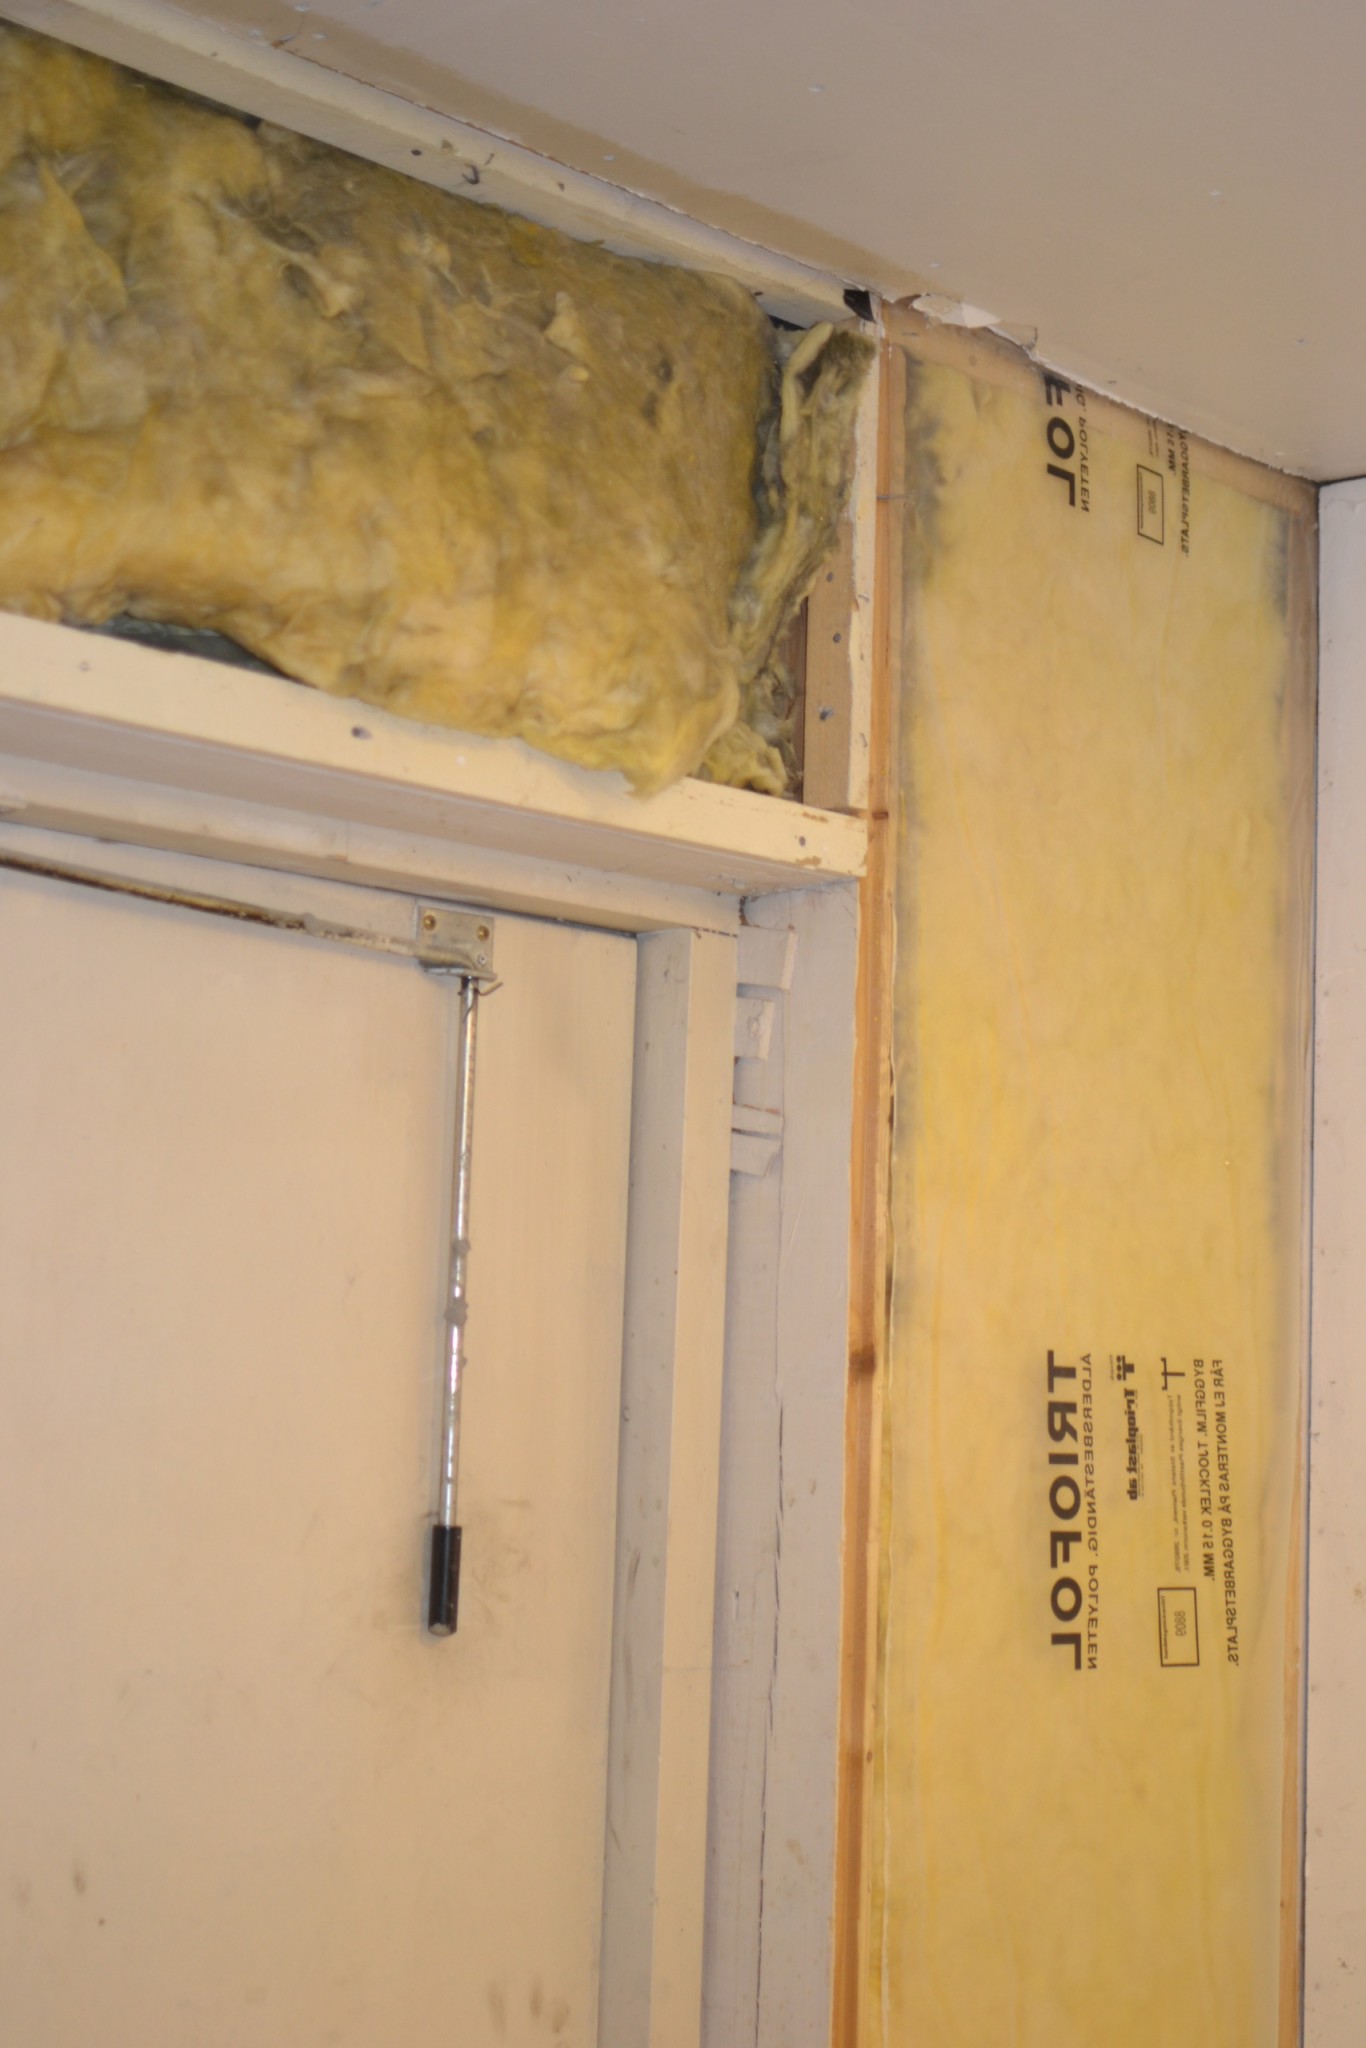
This is how it looks overall:
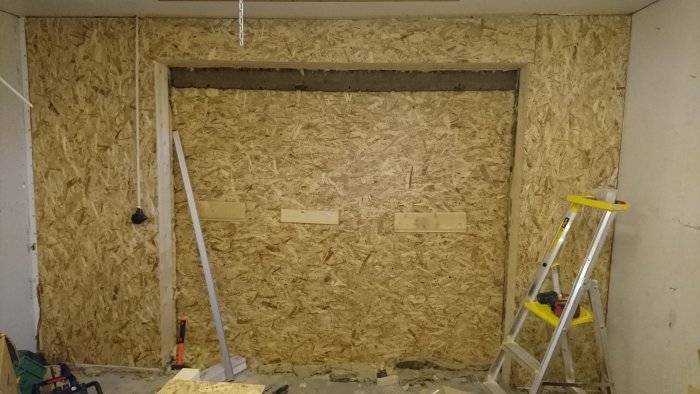
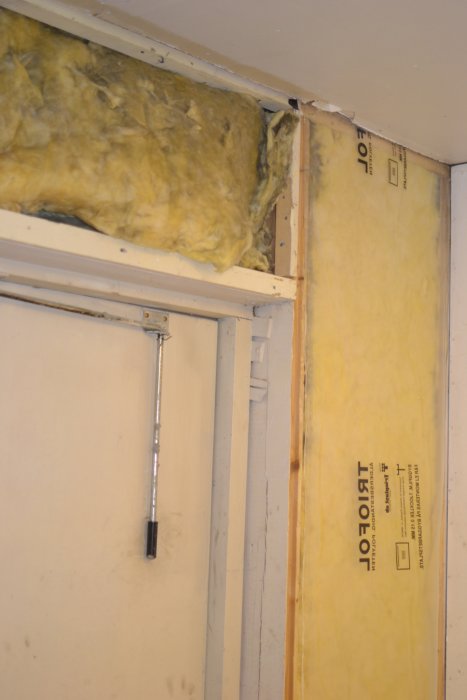
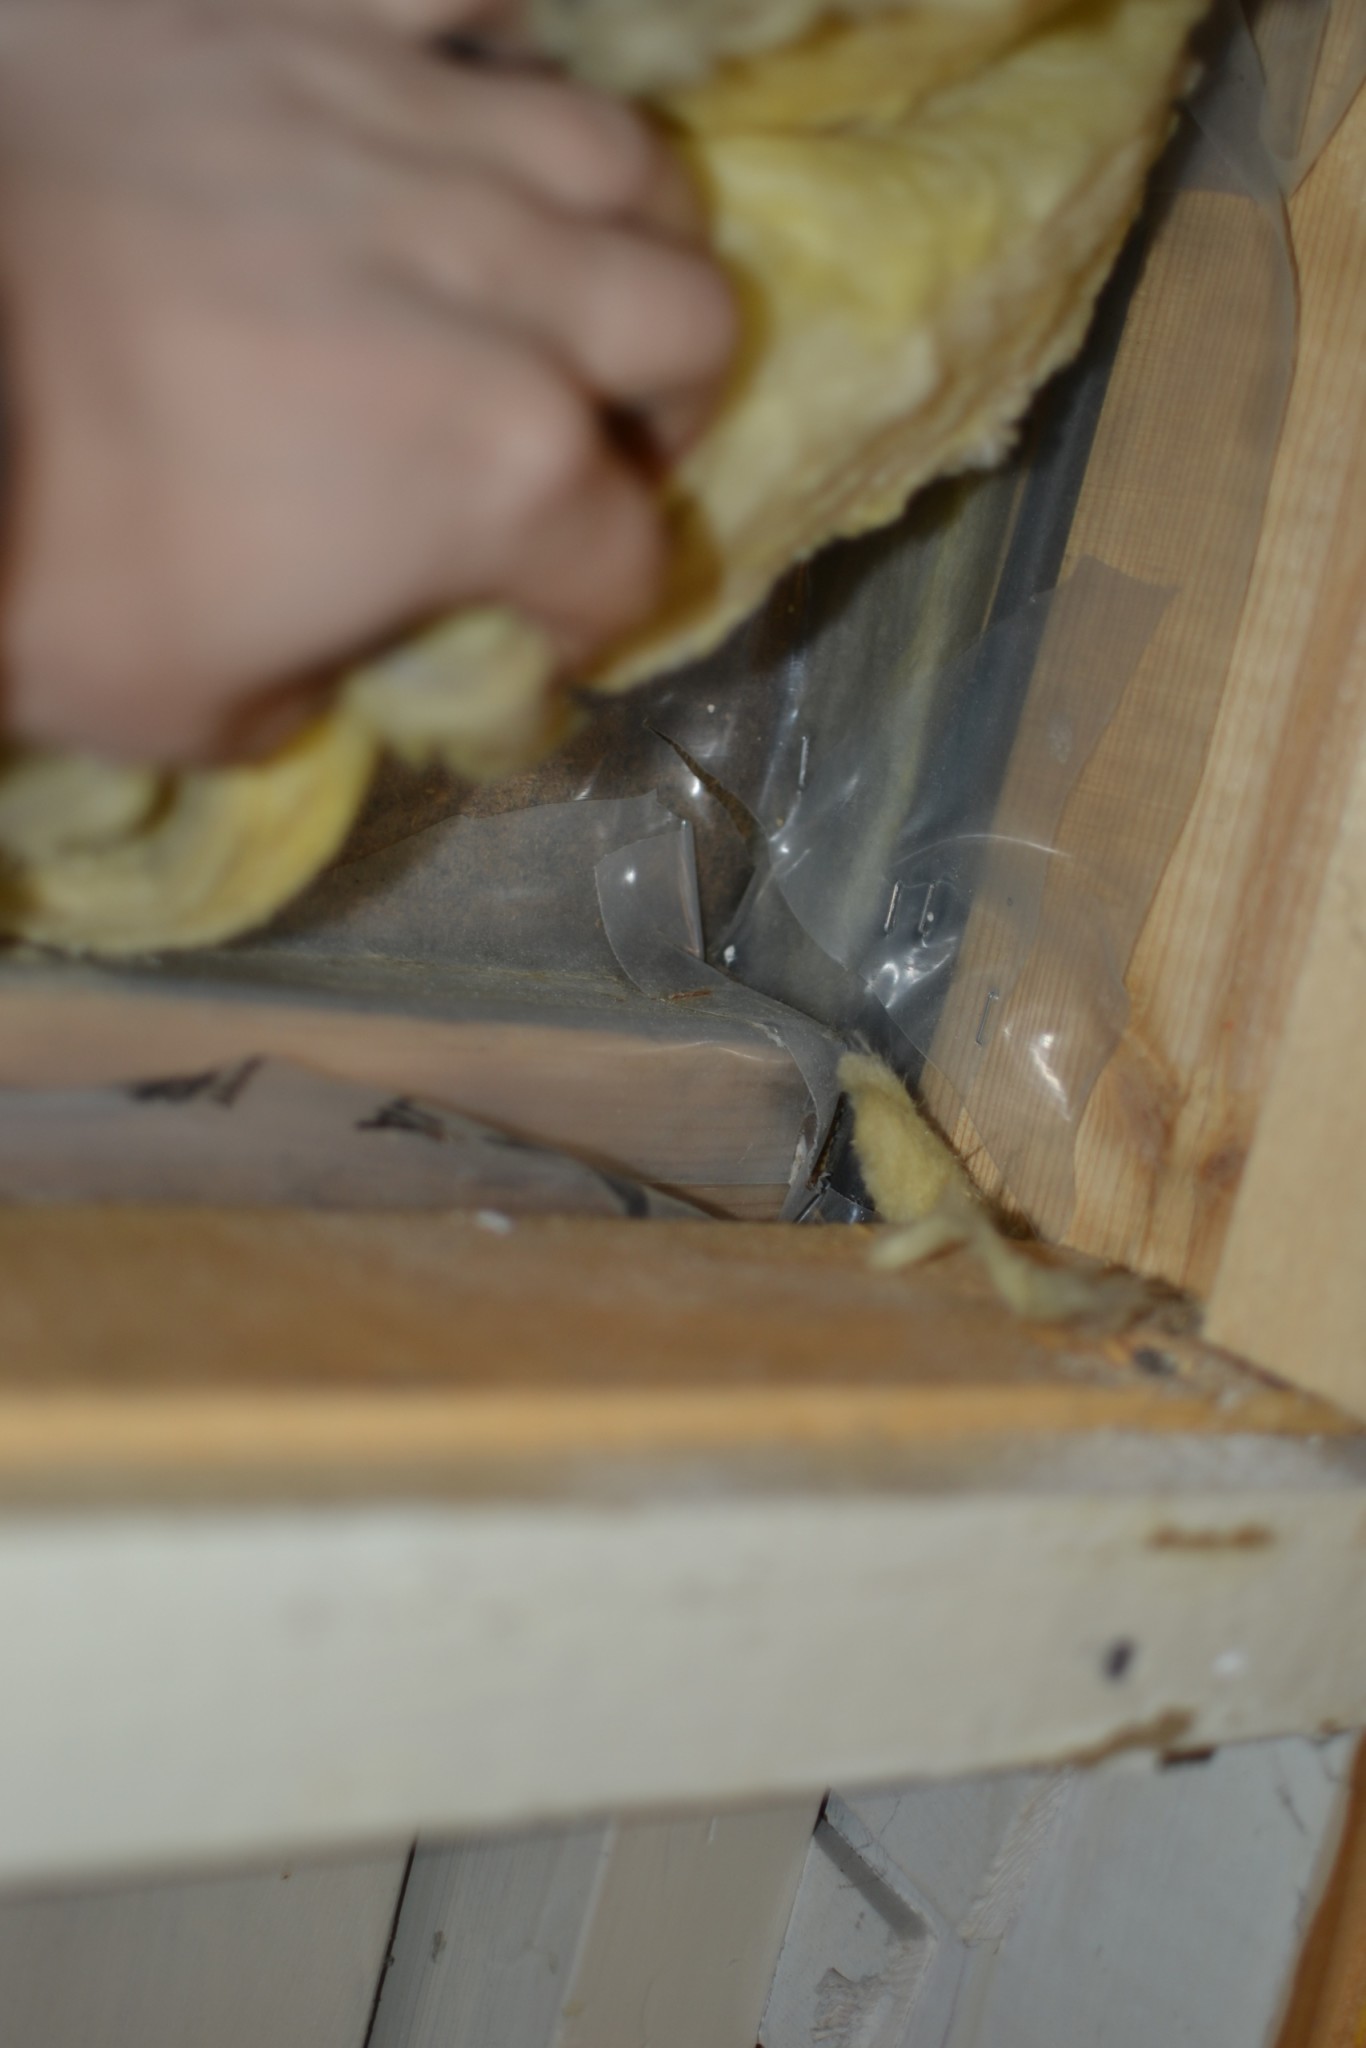
And at the bottom:
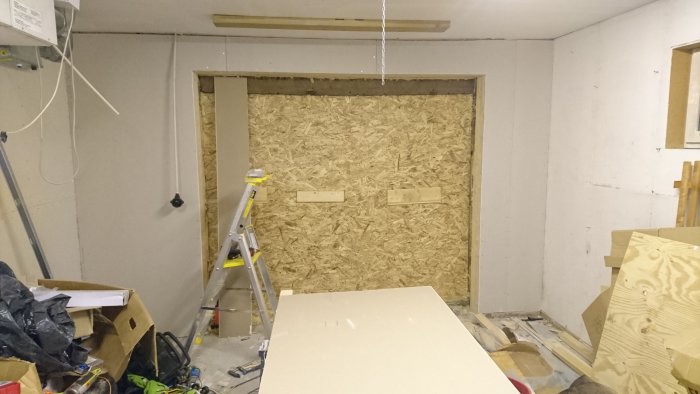
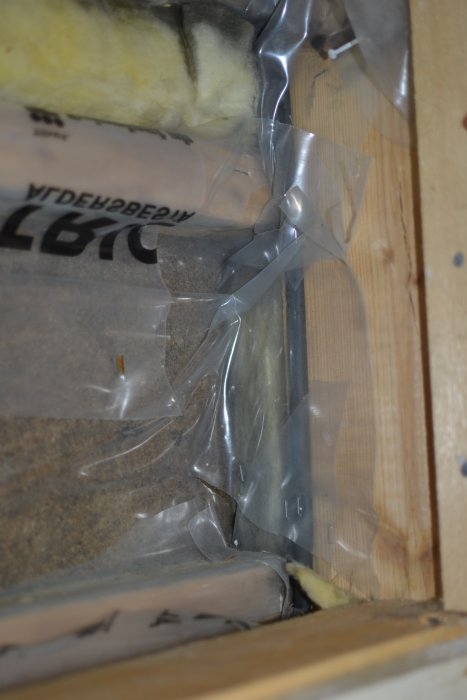
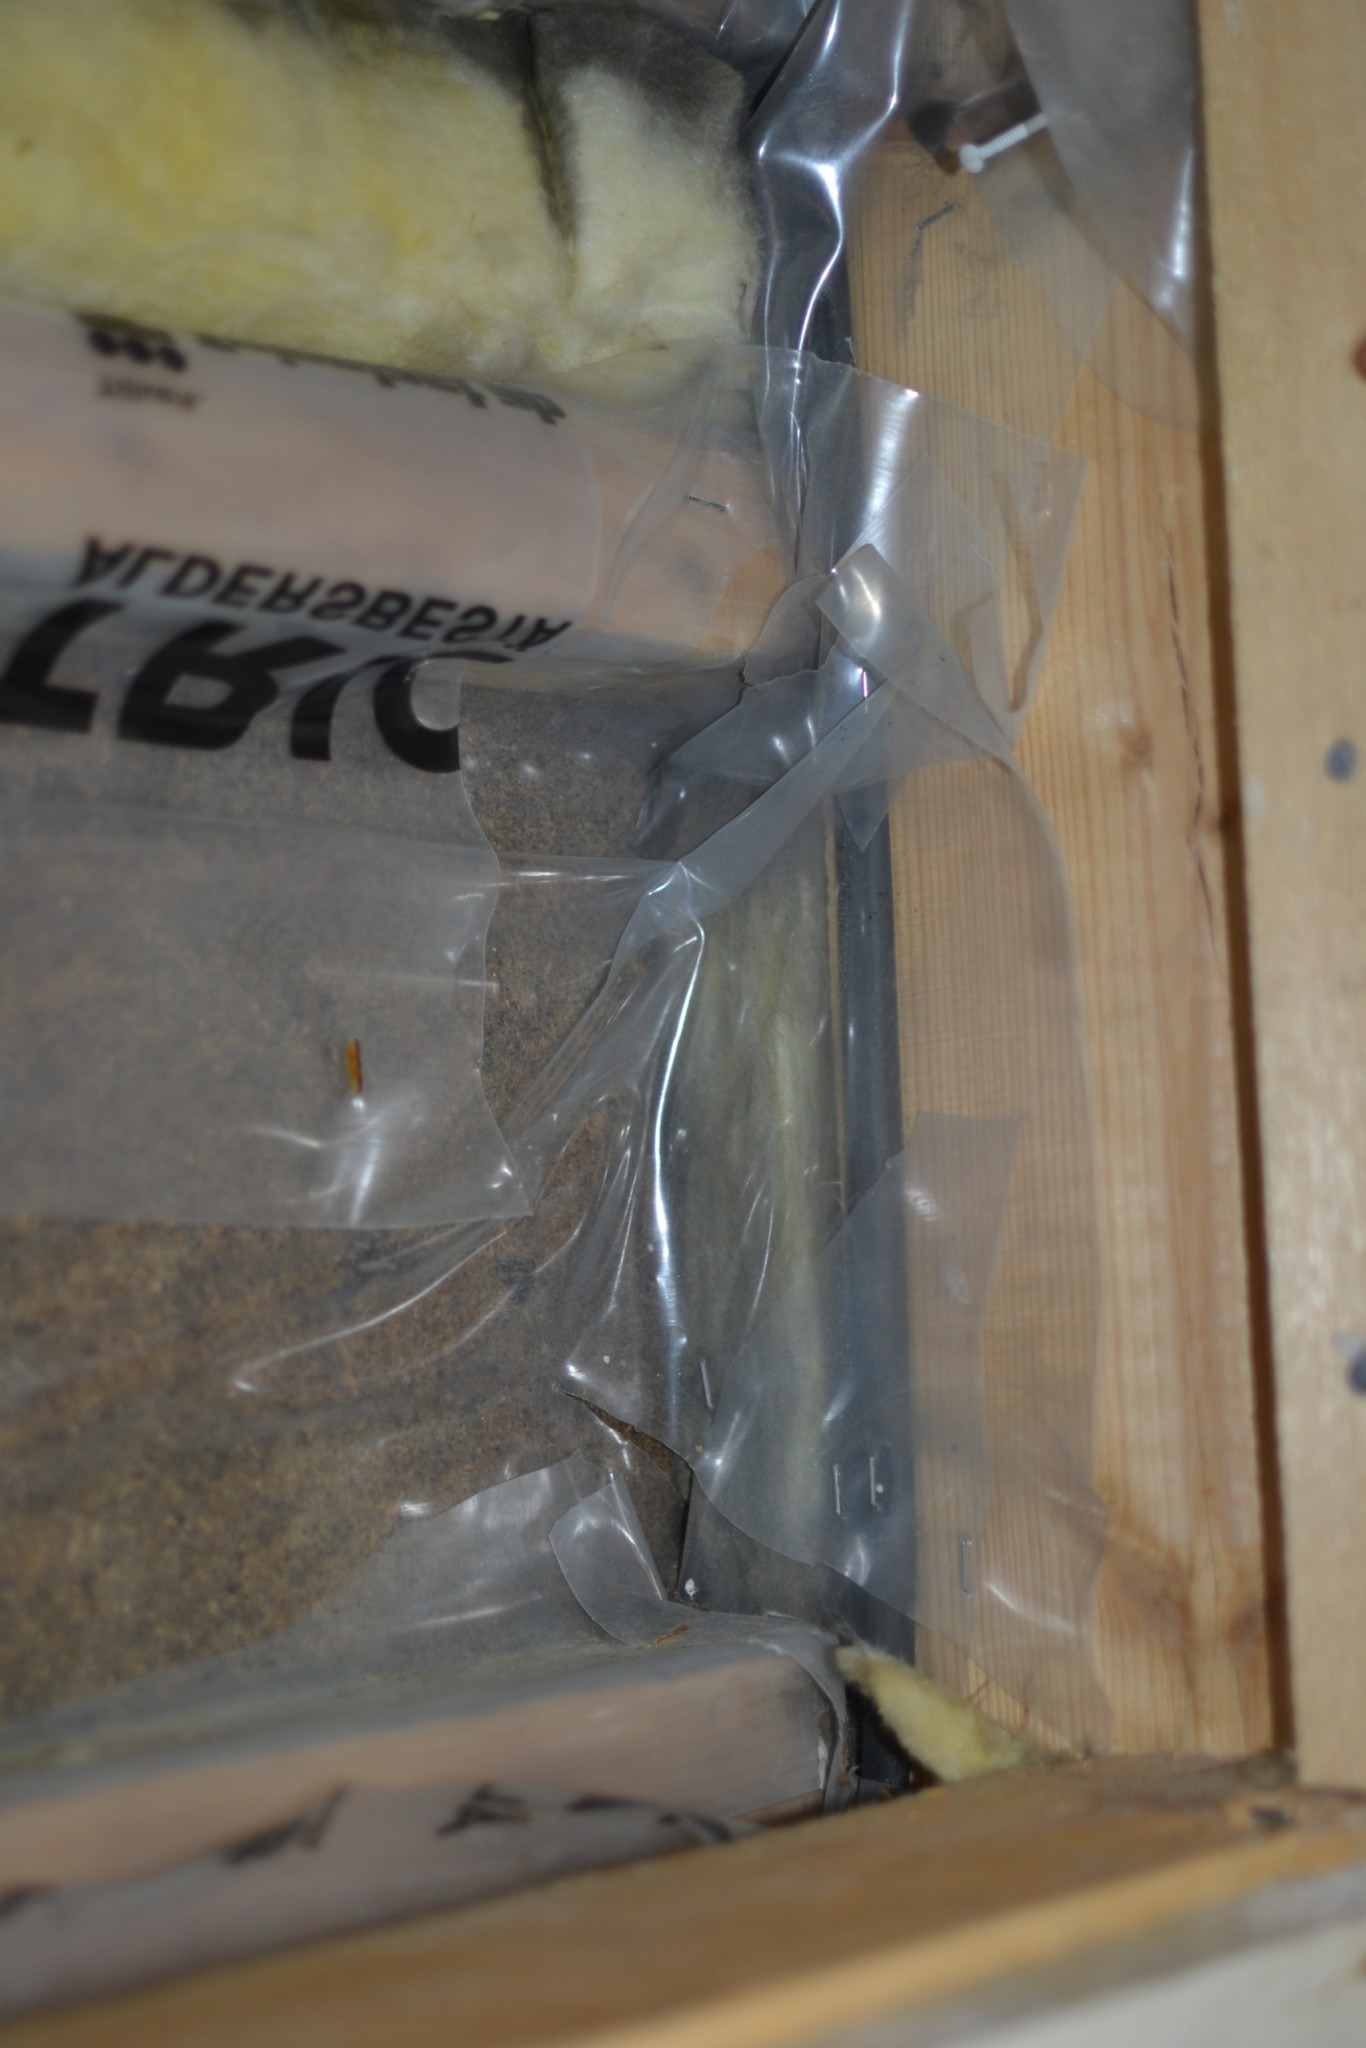
Hmm, and I wonder what's here then?
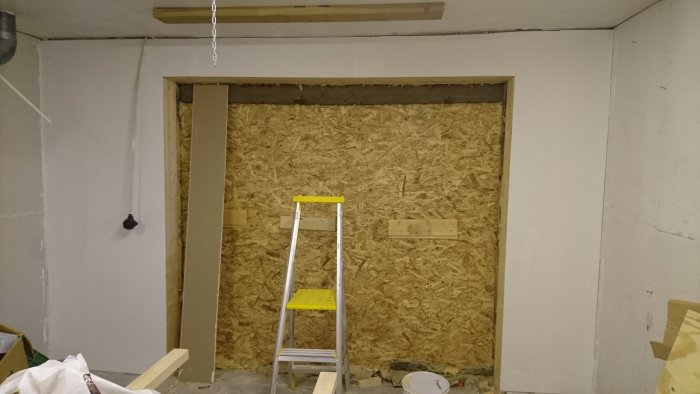
And the plastic on the OUTSIDE of the insulation, exactly according to the rule book! Or??
Make it easy for yourself. Build a frame with 45x170 with double studs on the sides and one standing on top in the dimensions you want the gate to be. Then chisel out the concrete so it doesn't obstruct the gate opening (you can place the "frame" on top of the concrete edge). Place damp-proof course between the wood and concrete and secure the frame to the concrete and other wooden studs appropriately (building angles, etc.). While mounting the new frame, you can support load-bearing parts and remove old studs that are in the way of the newly built frame.
Then you have a stable base for the gate installation. Make sure to build the frame straight and both horizontally and vertically level, but also in the exact dimensions according to the gate's size. This will save you time during the gate installation.
It turned out that I have now placed a 45x170 inside the old studs, then torn down the garage door and everything above it. Then I've temporarily closed the opening with OSB on the outside and now removed the old studs. I've added a 45x170 next to the other new stud on the left side, so now it's double on that side. What remains is the right side and everything else tomorrow.
At the same time, I will take the opportunity to prepare for the electrical wiring while I still have access between the studs.
Yes, that seemed to look good. I've been working with garage doors (door installer) for the past four to five years, so if you have any questions, just let me know.
Now I don't really know how big the gate is, but around 2400 x 2000? Then the gate leaves should weigh around 60-65 kg, plus a little weight on the steel tracks, so say 80 kg. Most of the weight lands on the wall tracks, but to be on the safe side, I usually estimate 25% at each attachment point.
If you have two ceiling mounts, then 20kg ends up on each ceiling mount, so an M4 metal expander is too weak. An M6 metal expander is usually claimed to hold 40kg, so you have some margin there too. The worst, however, are potential vibrations from when the gate opens and closes, so I always try to screw into studs if possible. On certain occasions, I've had to use metal expanders, and it has worked out, then I've used the coarsest expander possible.
Hmm then maybe it's just as well to screw a board on top of the drywall about 30mm thick between two sparse panels, that should be enough, right?? It won't be as stylish but much more functional!
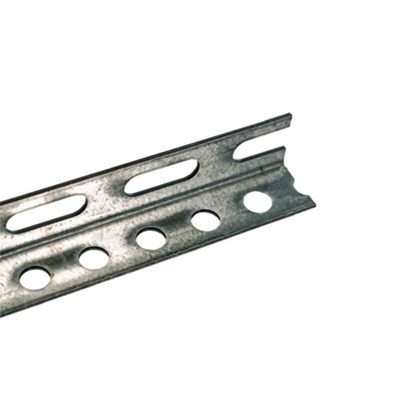
As Robert-san01 says, it's definitely the best looking. I've done it this way a few times, and for occasions when it doesn't work, I've used an L-profile with holes between the studs, similar to this one (Ahlsell):
Click here to reply
Vi vill skicka notiser för ämnen du bevakar och händelser som berör dig.


")