
7,300 views ·
37 replies
7k views
37 replies
Tips for (the weekend) renovation of existing roof
Page 1 of 3
Hello,
We have decided to renovate the existing roof in our 70s house and need tips on how to proceed. This is what I know so far:
How the roof looks:




The boards there consist of thin (a few mm) masonite, a solid frame, soundproofing, and finally thin masonite again (which the insulation in the attic rests on), the slabs are about 2 cm thick. This is what it looks like inside a slab:

http://i.imgur.com/ebxjIl4.jpg
This is the schedule as I envision it:
1. Hang plastic along the walls
2. Sand over the ceiling quickly with the giraffe sander (with vacuum) to get rid of dirt, e.g., carpet grease.
3. Wipe away dust from the ceiling with a damp cloth
4. Fill in unevenness and wait for about an hour
5. Sand again with the giraffe sander
6. Wipe away dust from the ceiling with a damp cloth
7. Final filling and wait a few hours
6. Final sanding
7. Final wipe-down with a damp cloth
8. Fill seams between the slabs with latex sealant, otherwise, there will be ugly black gaps.
9. Paint the ceiling with cover paint and wait an hour
10. Paint the last layer with cover paint.
A. Does this sound right?
B. The giraffe sander to be used is a rented Flex, and I plan to connect it to a Kärcher mv6. I hope this will be sufficient?
C. Regarding paint rollers, should one buy these expensively from the paint store, or are there good options from, e.g., Byggmax/Biltema or similar? I've heard Biltema's can be quite fuzzy?
B. Is there any tool that is reasonable to invest in to simplify the job? For example, what type of putty knife works best for this job?
We have decided to renovate the existing roof in our 70s house and need tips on how to proceed. This is what I know so far:
How the roof looks:
The boards there consist of thin (a few mm) masonite, a solid frame, soundproofing, and finally thin masonite again (which the insulation in the attic rests on), the slabs are about 2 cm thick. This is what it looks like inside a slab:
http://i.imgur.com/ebxjIl4.jpg
This is the schedule as I envision it:
1. Hang plastic along the walls
2. Sand over the ceiling quickly with the giraffe sander (with vacuum) to get rid of dirt, e.g., carpet grease.
3. Wipe away dust from the ceiling with a damp cloth
4. Fill in unevenness and wait for about an hour
5. Sand again with the giraffe sander
6. Wipe away dust from the ceiling with a damp cloth
7. Final filling and wait a few hours
6. Final sanding
7. Final wipe-down with a damp cloth
8. Fill seams between the slabs with latex sealant, otherwise, there will be ugly black gaps.
9. Paint the ceiling with cover paint and wait an hour
10. Paint the last layer with cover paint.
A. Does this sound right?
B. The giraffe sander to be used is a rented Flex, and I plan to connect it to a Kärcher mv6. I hope this will be sufficient?
C. Regarding paint rollers, should one buy these expensively from the paint store, or are there good options from, e.g., Byggmax/Biltema or similar? I've heard Biltema's can be quite fuzzy?
B. Is there any tool that is reasonable to invest in to simplify the job? For example, what type of putty knife works best for this job?

Quite possible, but it has already been decided that the tiles there will be renovated. I have considered it in another thread here: https://www.byggahus.se/forum/byggmaterial-byggteknik/277009-riva-ner-taket-och-satta-gips.htmlJoco_ said:
Have now purchased the following:
Cover foil
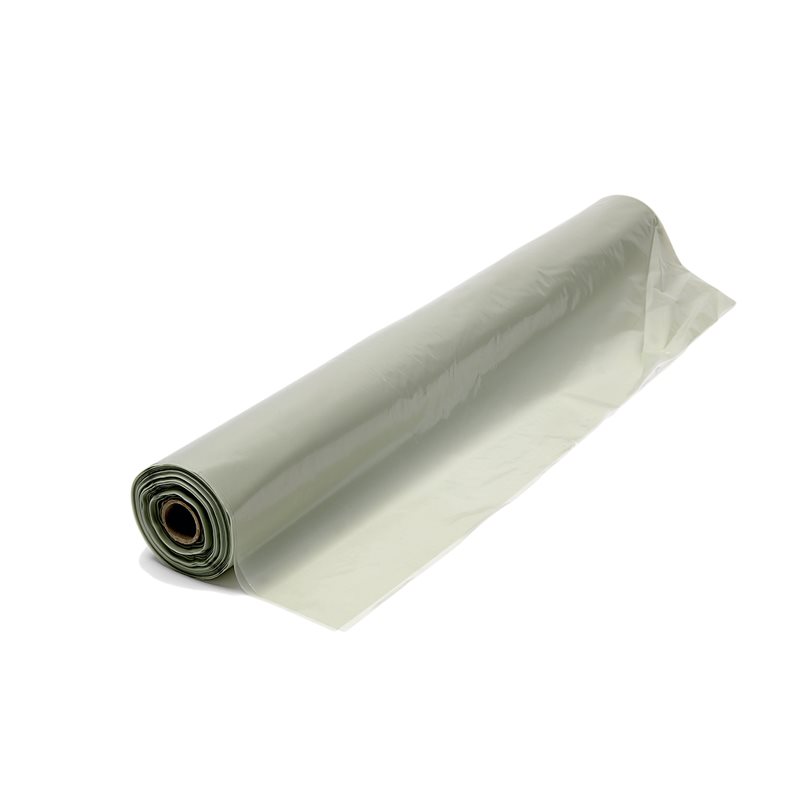
https://www.byggmax.se/verktyg/täckning-rep-och-ståltråd/golvtäckning/täckfolie-p21012
Work trestle 2-step Aluminum
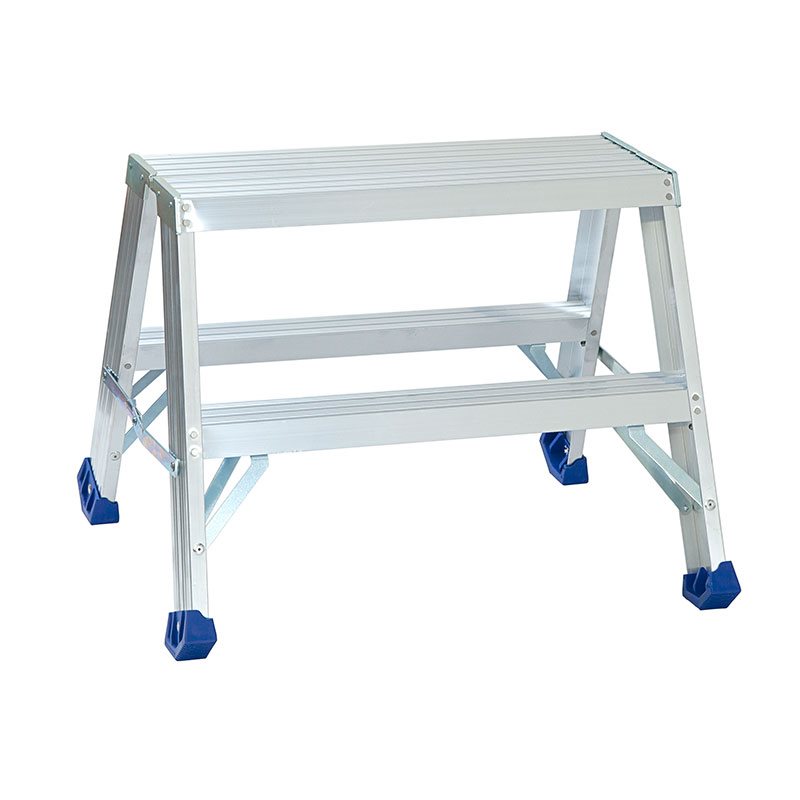
https://www.byggmax.se/verktyg/hand...och-bockar/arbetsbock-2-steg-aluminium-p27401
Light Hand putty 10 l

https://www.byggmax.se/färg/spackel/lätt-handspackel-p18202
The paint will likely be Beckers.
Then I need something to roll on the paint with too, maybe this including a shaft:
Roller handle 230 mm

https://www.byggmax.se/färg/penslar-och-roller/rollerskaft-p30117
Midun Wall roller
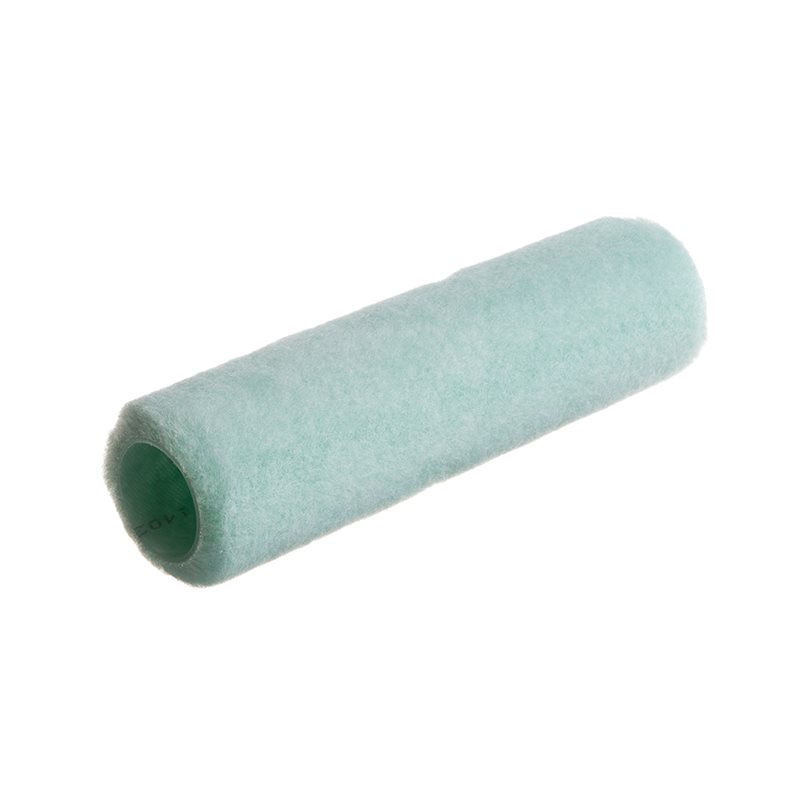
https://www.byggmax.se/färg/penslar-och-roller/midun-väggroller-p301291
Cover foil
https://www.byggmax.se/verktyg/täckning-rep-och-ståltråd/golvtäckning/täckfolie-p21012
Work trestle 2-step Aluminum
https://www.byggmax.se/verktyg/hand...och-bockar/arbetsbock-2-steg-aluminium-p27401
Light Hand putty 10 l
https://www.byggmax.se/färg/spackel/lätt-handspackel-p18202
The paint will likely be Beckers.
Then I need something to roll on the paint with too, maybe this including a shaft:
Roller handle 230 mm
https://www.byggmax.se/färg/penslar-och-roller/rollerskaft-p30117
Midun Wall roller
https://www.byggmax.se/färg/penslar-och-roller/midun-väggroller-p301291
I've looked into it more, and when it comes to painting, it seems that you should paint in the window direction as you enter the room. That is, you should roll towards and away from the windows. It's also important to have a lot of paint on the roller but not so much that the roller has difficulty rolling. Going back and changing already painted areas is doomed. You start by painting around the edges with an angled brush.
We hope we'll manage to do the painting as well; it depends on how long it takes for the spackle to dry. I'll start sanding the ceiling tonight and apply spackle.
Since these are beveled tiles, I'm a bit unsure about how to handle the grooves; sanding the grooves is difficult—maybe there are special tools for this?
We hope we'll manage to do the painting as well; it depends on how long it takes for the spackle to dry. I'll start sanding the ceiling tonight and apply spackle.
Since these are beveled tiles, I'm a bit unsure about how to handle the grooves; sanding the grooves is difficult—maybe there are special tools for this?

You can give 17 in filling there  otherwise, it's hand sanding that's needed.
I would skip drying the ceiling, start with washing the ceiling with painting wash as it looks like a kitchen.
Fill, sand, fill, sand, fill, sand, vacuum or wipe the ceiling, paint
otherwise, it's hand sanding that's needed.I would skip drying the ceiling, start with washing the ceiling with painting wash as it looks like a kitchen.
Fill, sand, fill, sand, fill, sand, vacuum or wipe the ceiling, paint
You need to let the filler dry properly. The first layer, which is probably the thickest, I would let dry for a day.snowjim said:
I don't think you need latex sealant in the joints; it's enough to get paint in with a brush.
Last edited:
I thought I would skip the paint washing since I am starting with sanding, the ceiling looks pretty bad and needs to be evened out. You can, for example, see areas that have never been painted due to furniture, it needs to be sanded smooth and there are some damages from the exposed ceiling the previous owner put up.nino said:
So if I start by sanding the ceiling evenly and nicely, then I spackle afterward. Hope that’s the right way to go?
Damn? a DAY! I hadn't accounted for that, hmm maybe I need to start filling immediately, but if so, I need to clean the ceiling first.ja73 said:
Well, the seams need latex; we have the same ceiling in all rooms, and even though they are painted, they crack in the seams since the house shifts. So my idea is to put latex there and paint over it, which will make the grooves less noticeable but at the same time won't crack as easily.


it might work to just sand, but I would wash the ceiling at least if it's a kitchen, a lot of grease can be stuck in the ceiling.
a 13mm tapered gypsum edge usually dries overnight, so I don't think you need to wait 1 day...
there's good powder filler otherwise that dries faster like a828 from Ardex
a 13mm tapered gypsum edge usually dries overnight, so I don't think you need to wait 1 day...
there's good powder filler otherwise that dries faster like a828 from Ardex
Sure? The house, as mentioned, has the same ceiling throughout, i.e., the ceiling runs between rooms. The ceiling consists of some type of panels (2 cm thick) that interlock, a bit like click flooring. The ceiling has been painted before, and in most cases, there are no visible movements between the panels, but in some areas, there are black cracks, which are not attractive. The movement seems to be minimal, but it doesn't take much for the paint to crack. So my thought is that a good latex sealant should solve the problem, and if you paint over it during rolling, it should become almost invisible. The grooves will, of course, remain, which is the idea, but they won't be as deep as before.MathiasS said:
Are you saying it's a futile task? Will it never hold?
Yes, it is a kitchen ceiling so there is likely to be grease. But another person suggested starting with sanding just to remove the surface, it's not a thick layer of grease and it's nothing you can feel when you run your finger over it.nino said:
Yes, even if there is a need for quite a bit of filling in many places, it's still not particularly deep filling, max a couple of mm.
I thought the idea was to have a completely smooth ceiling. The soft caulk can accommodate movements, but were you planning to apply putty on this as well? Or did I misunderstand it? If there are still to be seams between the panels, then it will probably work as you intended.snowjim said:Sure? The house, as mentioned, has the same roof throughout, i.e., the roof goes between the rooms. The roof consists of some type of panels (2 cm thick) that interlock, somewhat like click flooring. The ceiling has previously been painted, and in most cases, there are no visible movements between the panels, but in some areas, there are black cracks, which are not aesthetically pleasing. However, the movement seems to be very small, but it doesn't take much before paint cracks. So my thought is that a good latex caulk should solve the problem, and if you paint over it during the rolling process, it should be almost invisible. The grooves will, of course, remain, which is also the idea, but they won't be as deep as before.
Are you saying it will be wasted work? Will it never last?
Yes, we've moved away from having a completely smooth ceiling, so my plan is to first plaster the panels, which have some damage from nails and the like. Once plastering and sanding are done, the ceiling is wiped down and then I apply latex sealant in the grooves, smoothing it out with my finger, which should fill part of the groove to handle the slight movement. After this, I paint over.MathiasS said:
No idea if this is an okay solution or if there is something better, but for me, it feels like a possible way.