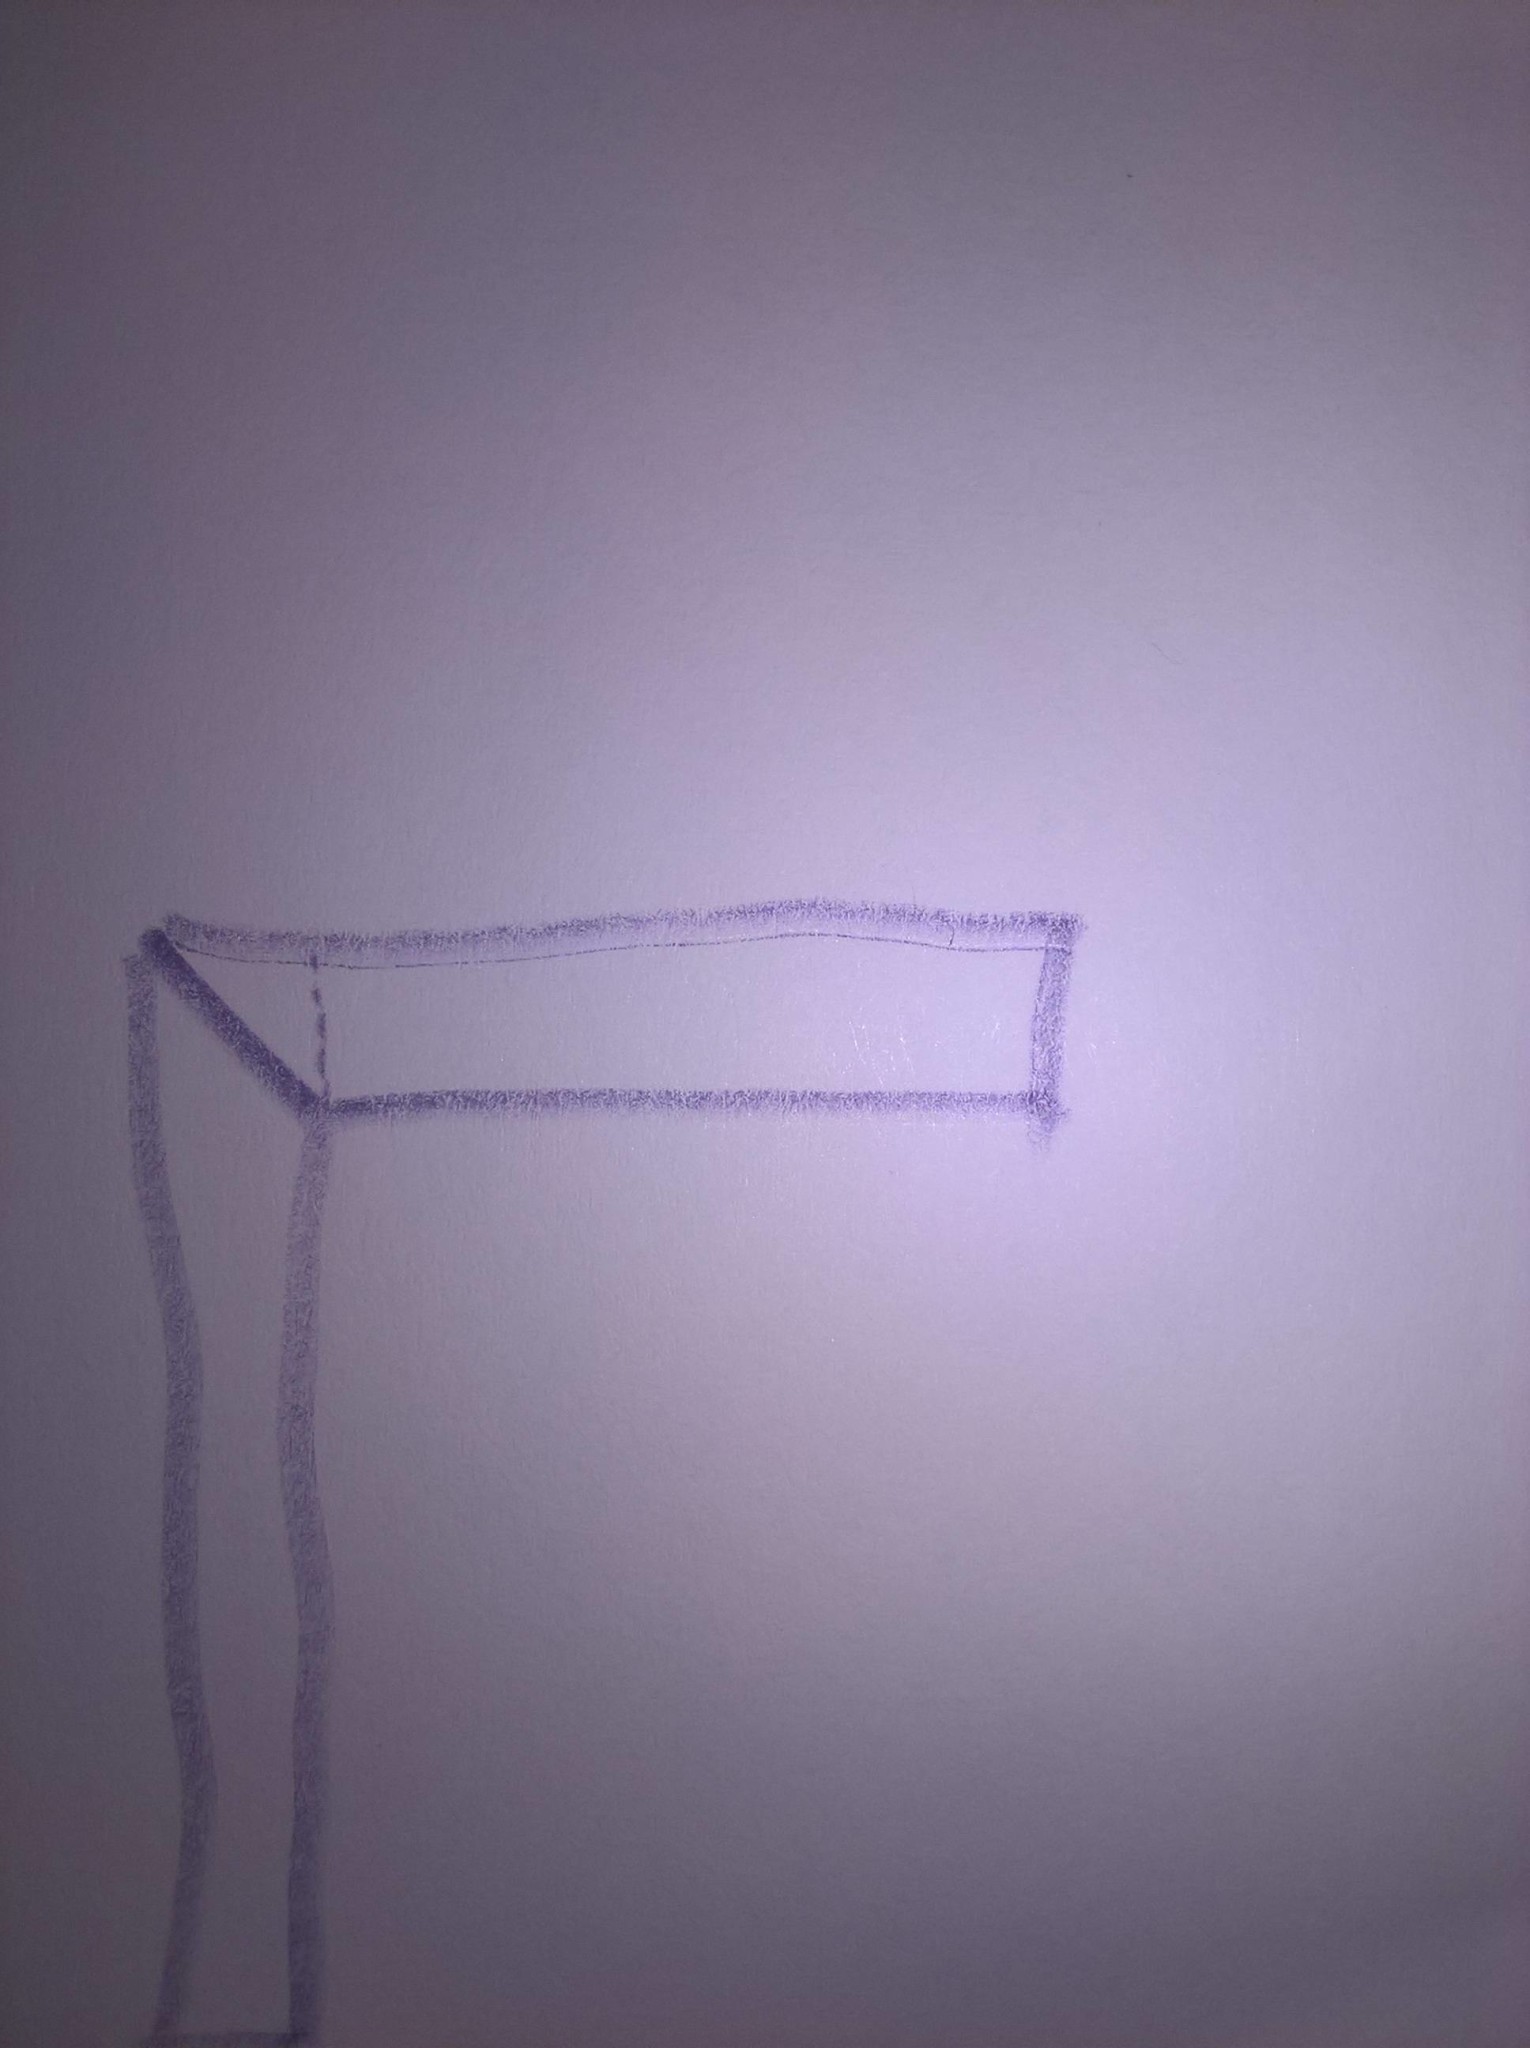
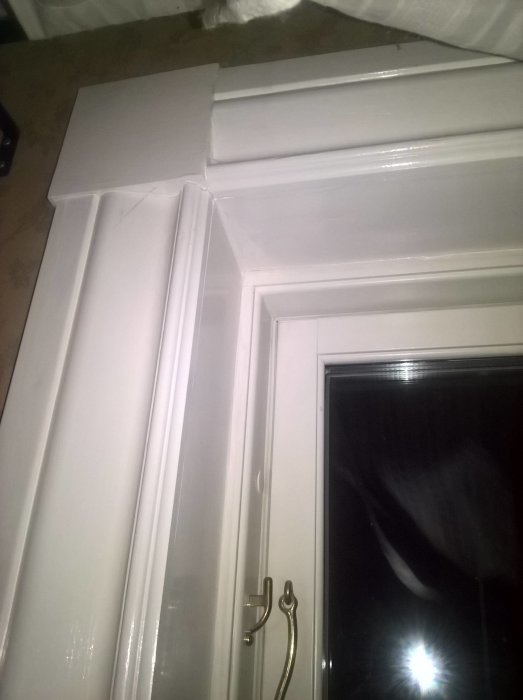
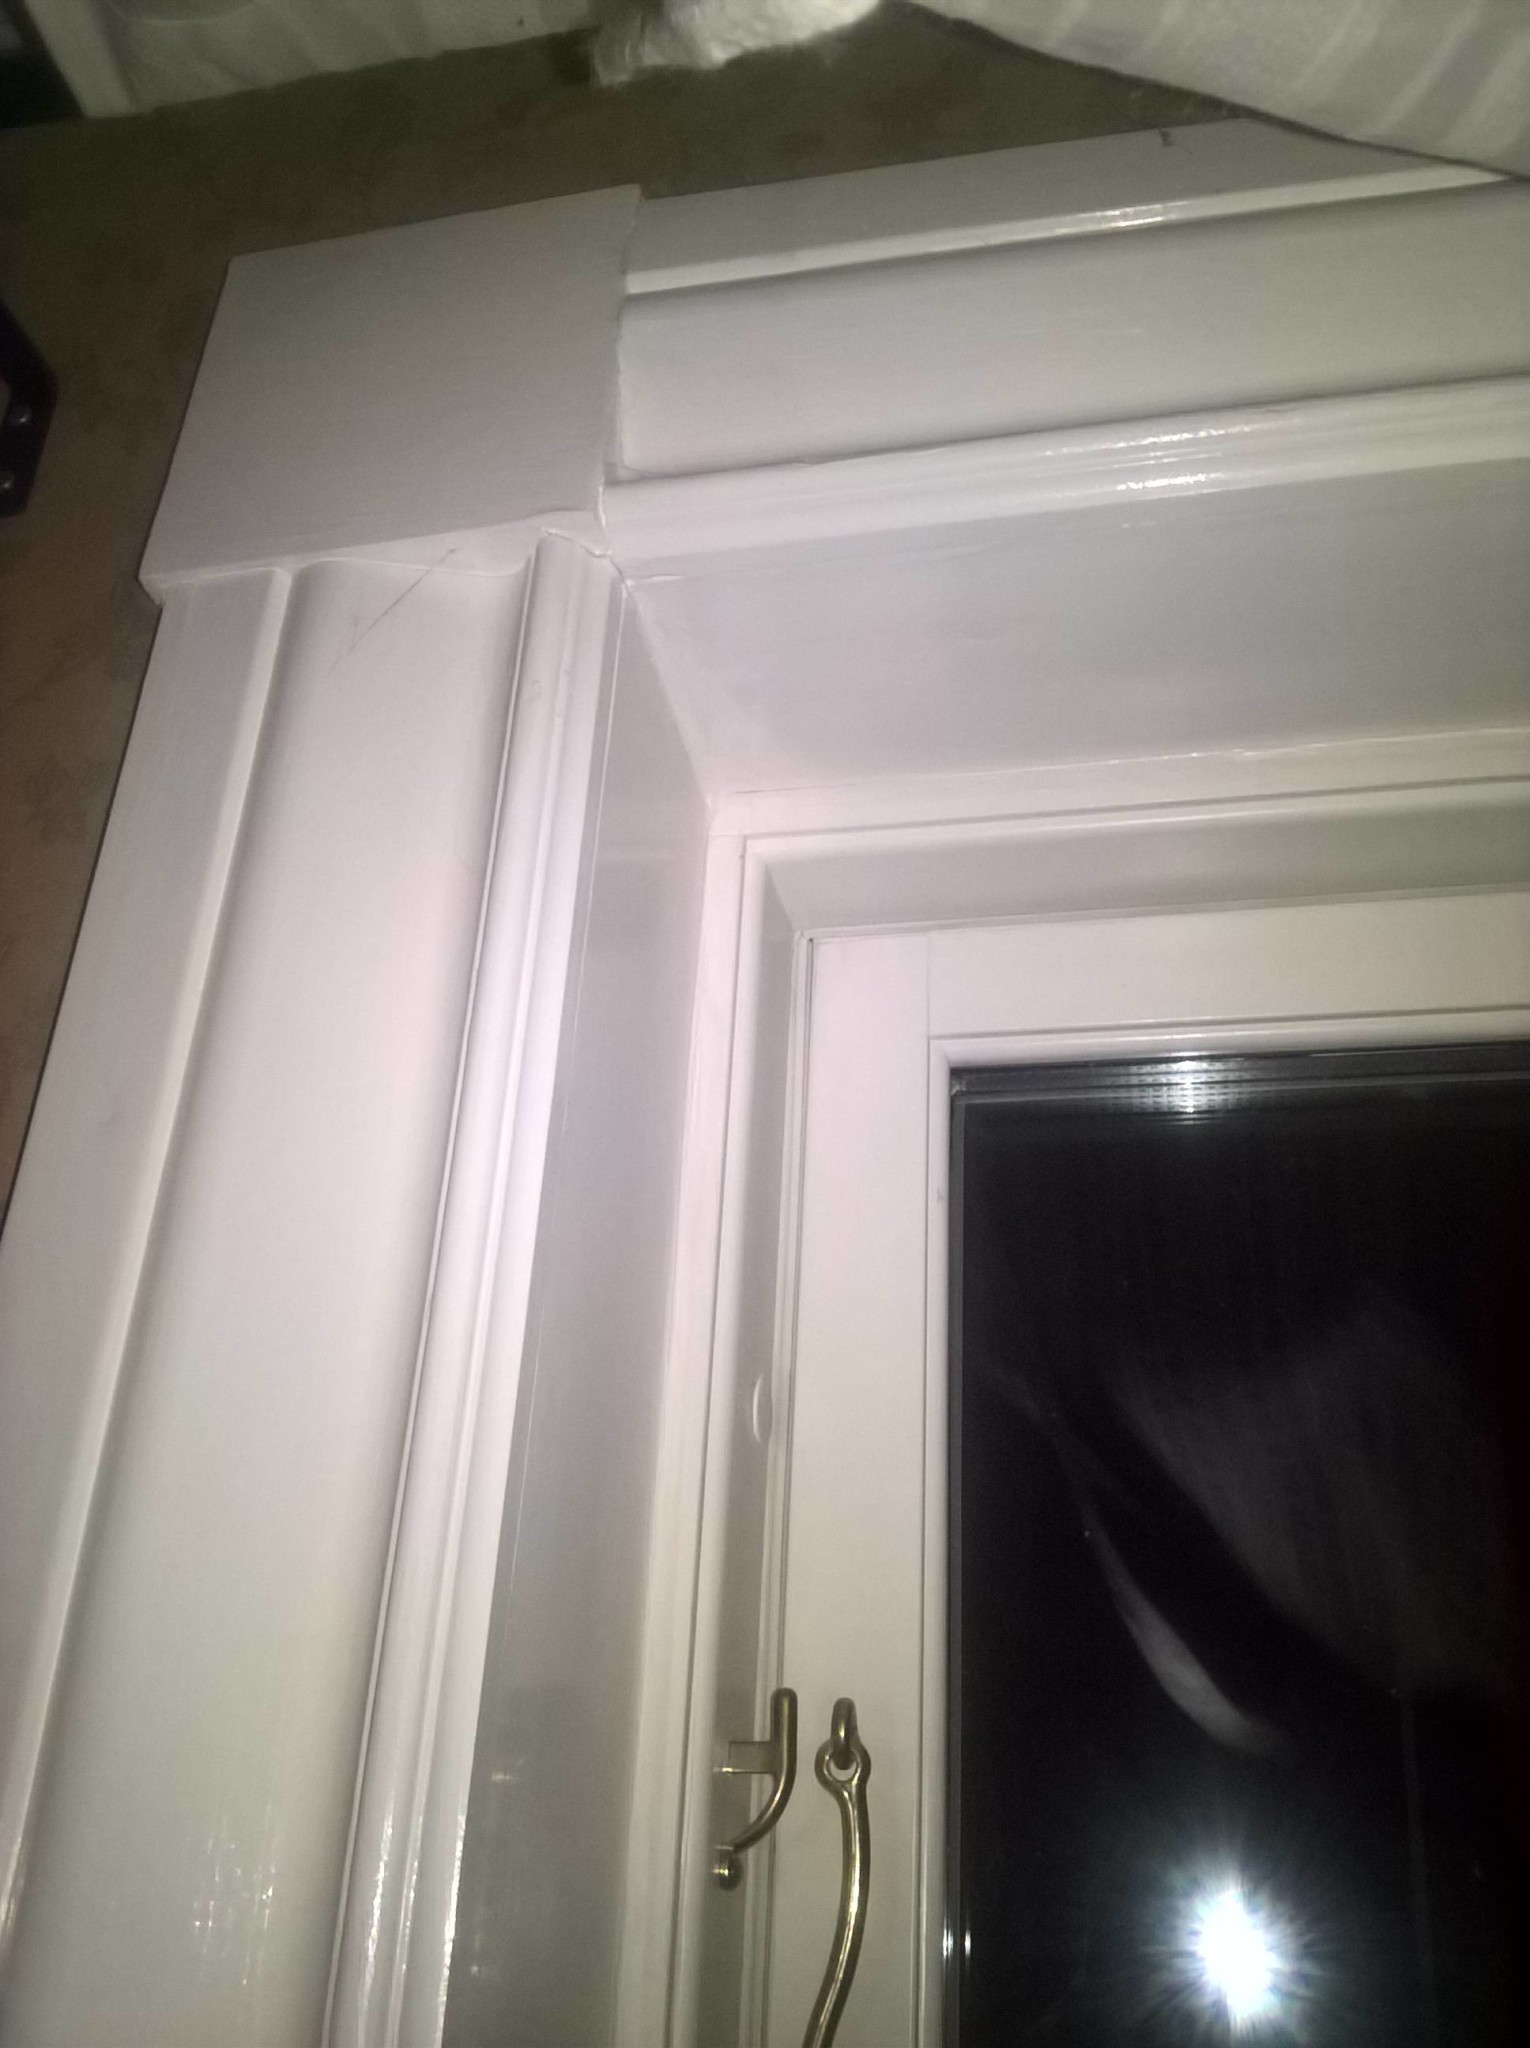
I will be replacing almost all the baseboards and molding around the windows. It will be allmoge style, 21x120mm at the floor, 15x69mm around windows and doors, and plain planed skurklossar where appropriate.
Before I start with 200m of molding:
...I would gladly accept all carpenter tips, there are usually many clever tricks out there! For example, what is the easiest and best way to measure?
I have a couple of windows where my salning didn't become completely flush with the wall, how do I best solve that to avoid gaps?
I was planning to shoot brads with a nail gun. Where are the best places to set them on the allmoge profile, and how close? It's mostly gypsum+osb behind.
I saw on YouTube that a carpenter drove a brad with a hammer from the side where the 45 miter joints meet around the window. Should one do that?
I have parquet, do you place the baseboard against it so it rests on the floor, no gap?
Answer the last question. Place a ruler on top of the skirting perpendicular from the wall and put your weight on the ruler so that the skirting is pressed down, then secure the skirting. Using a nail gun makes it easier, good choice.
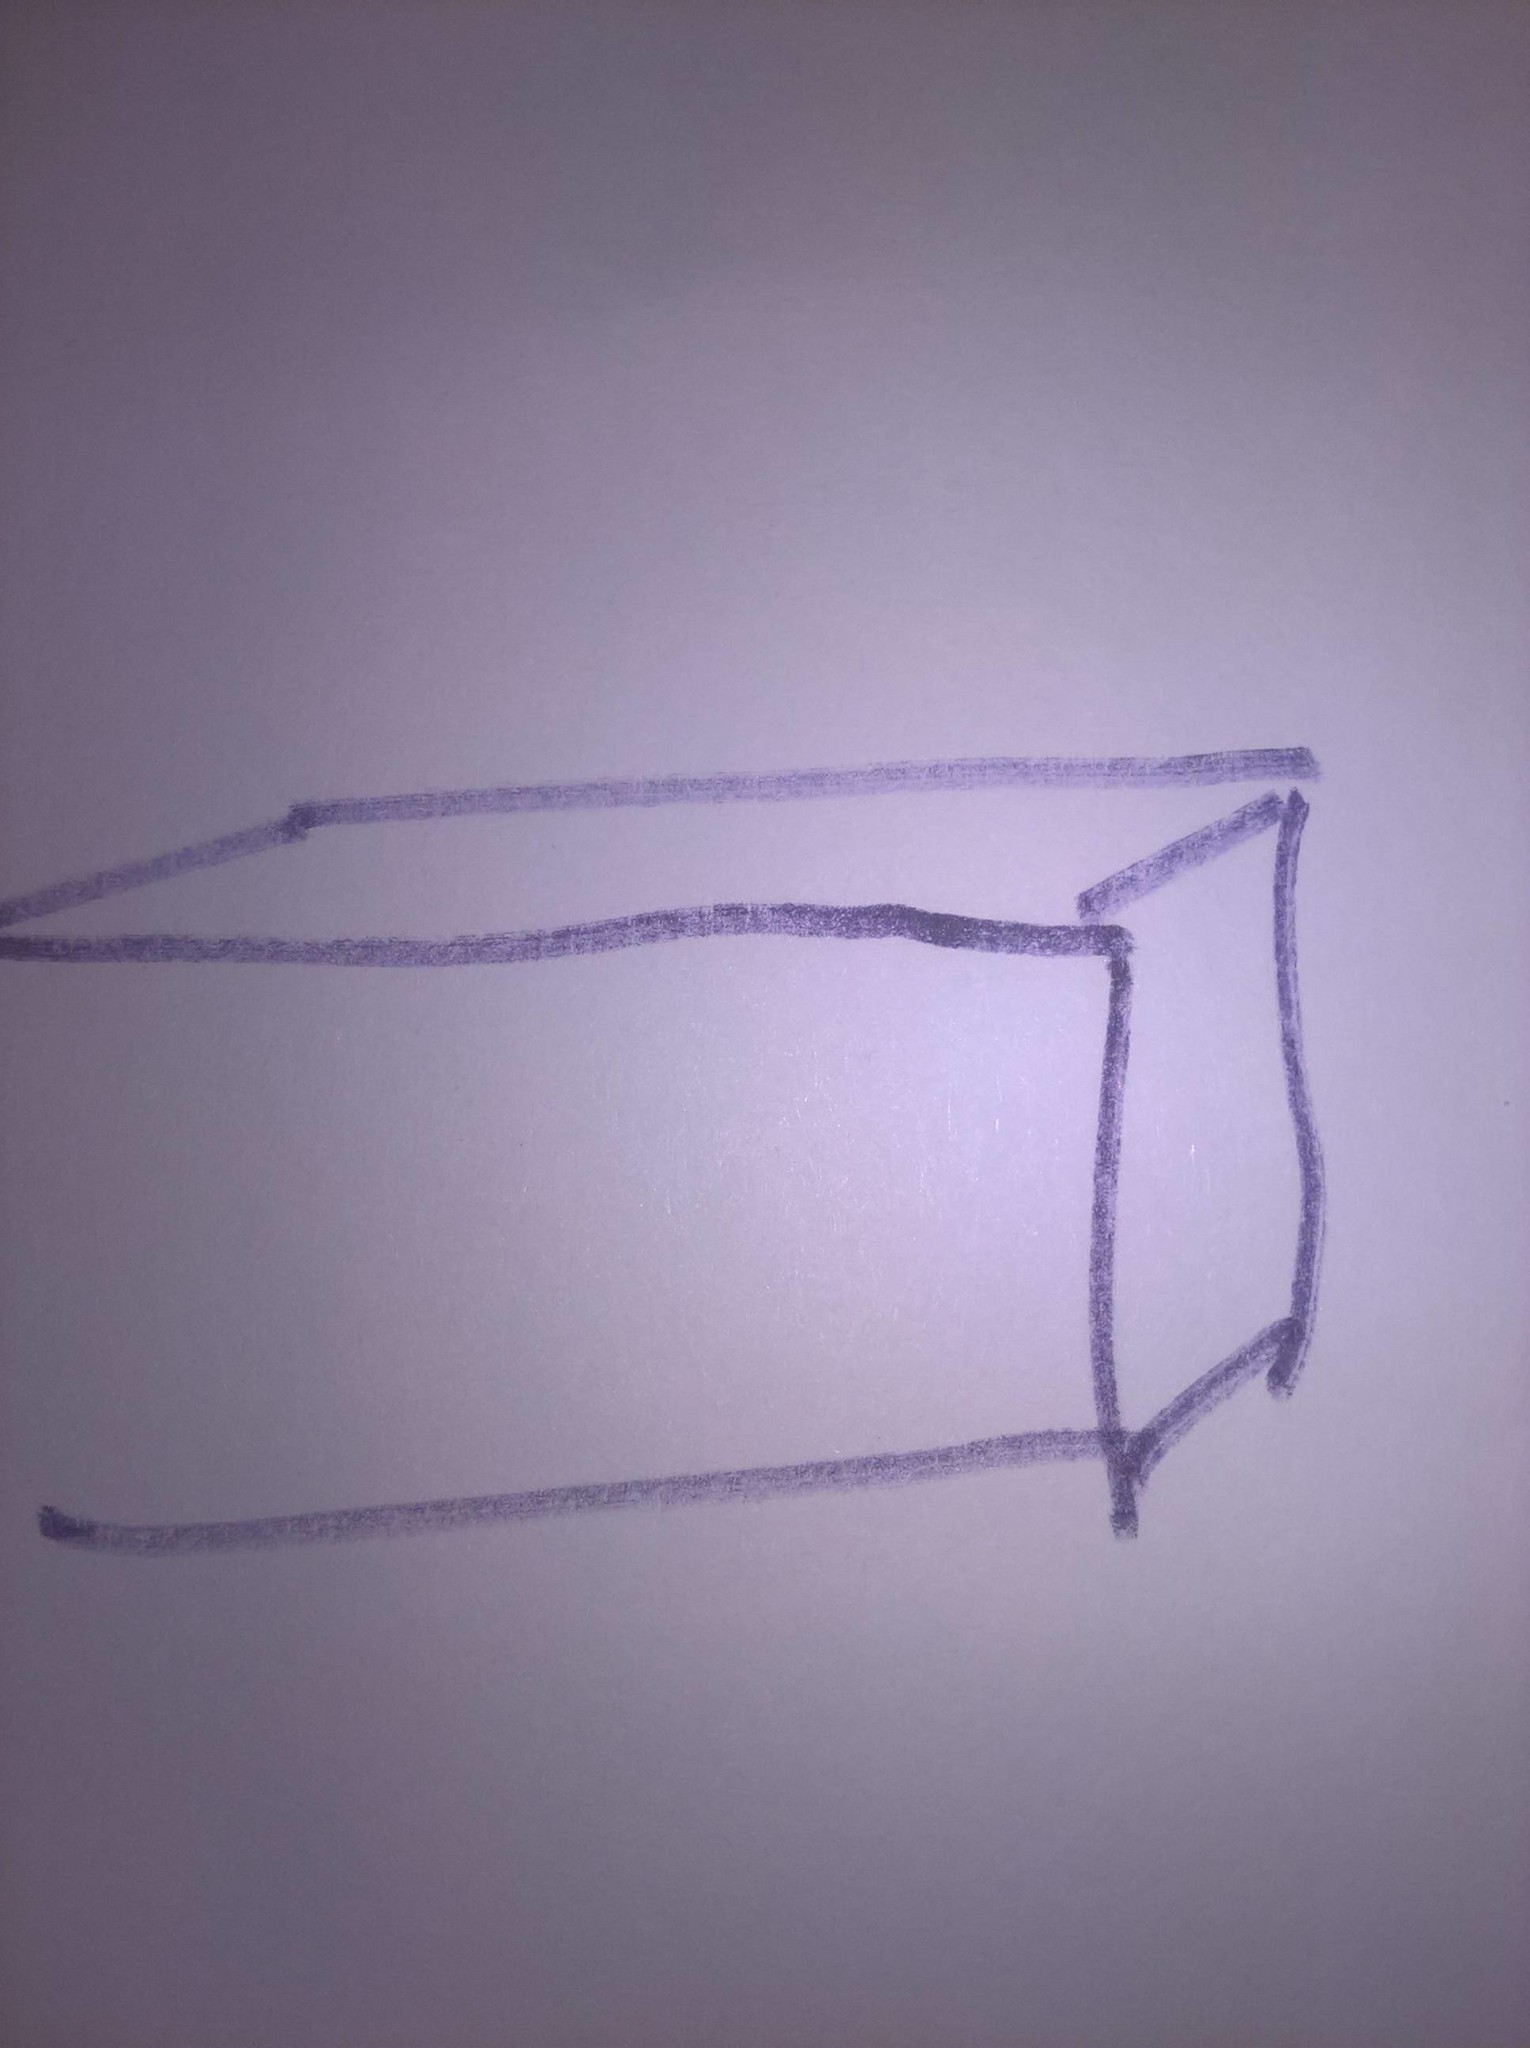
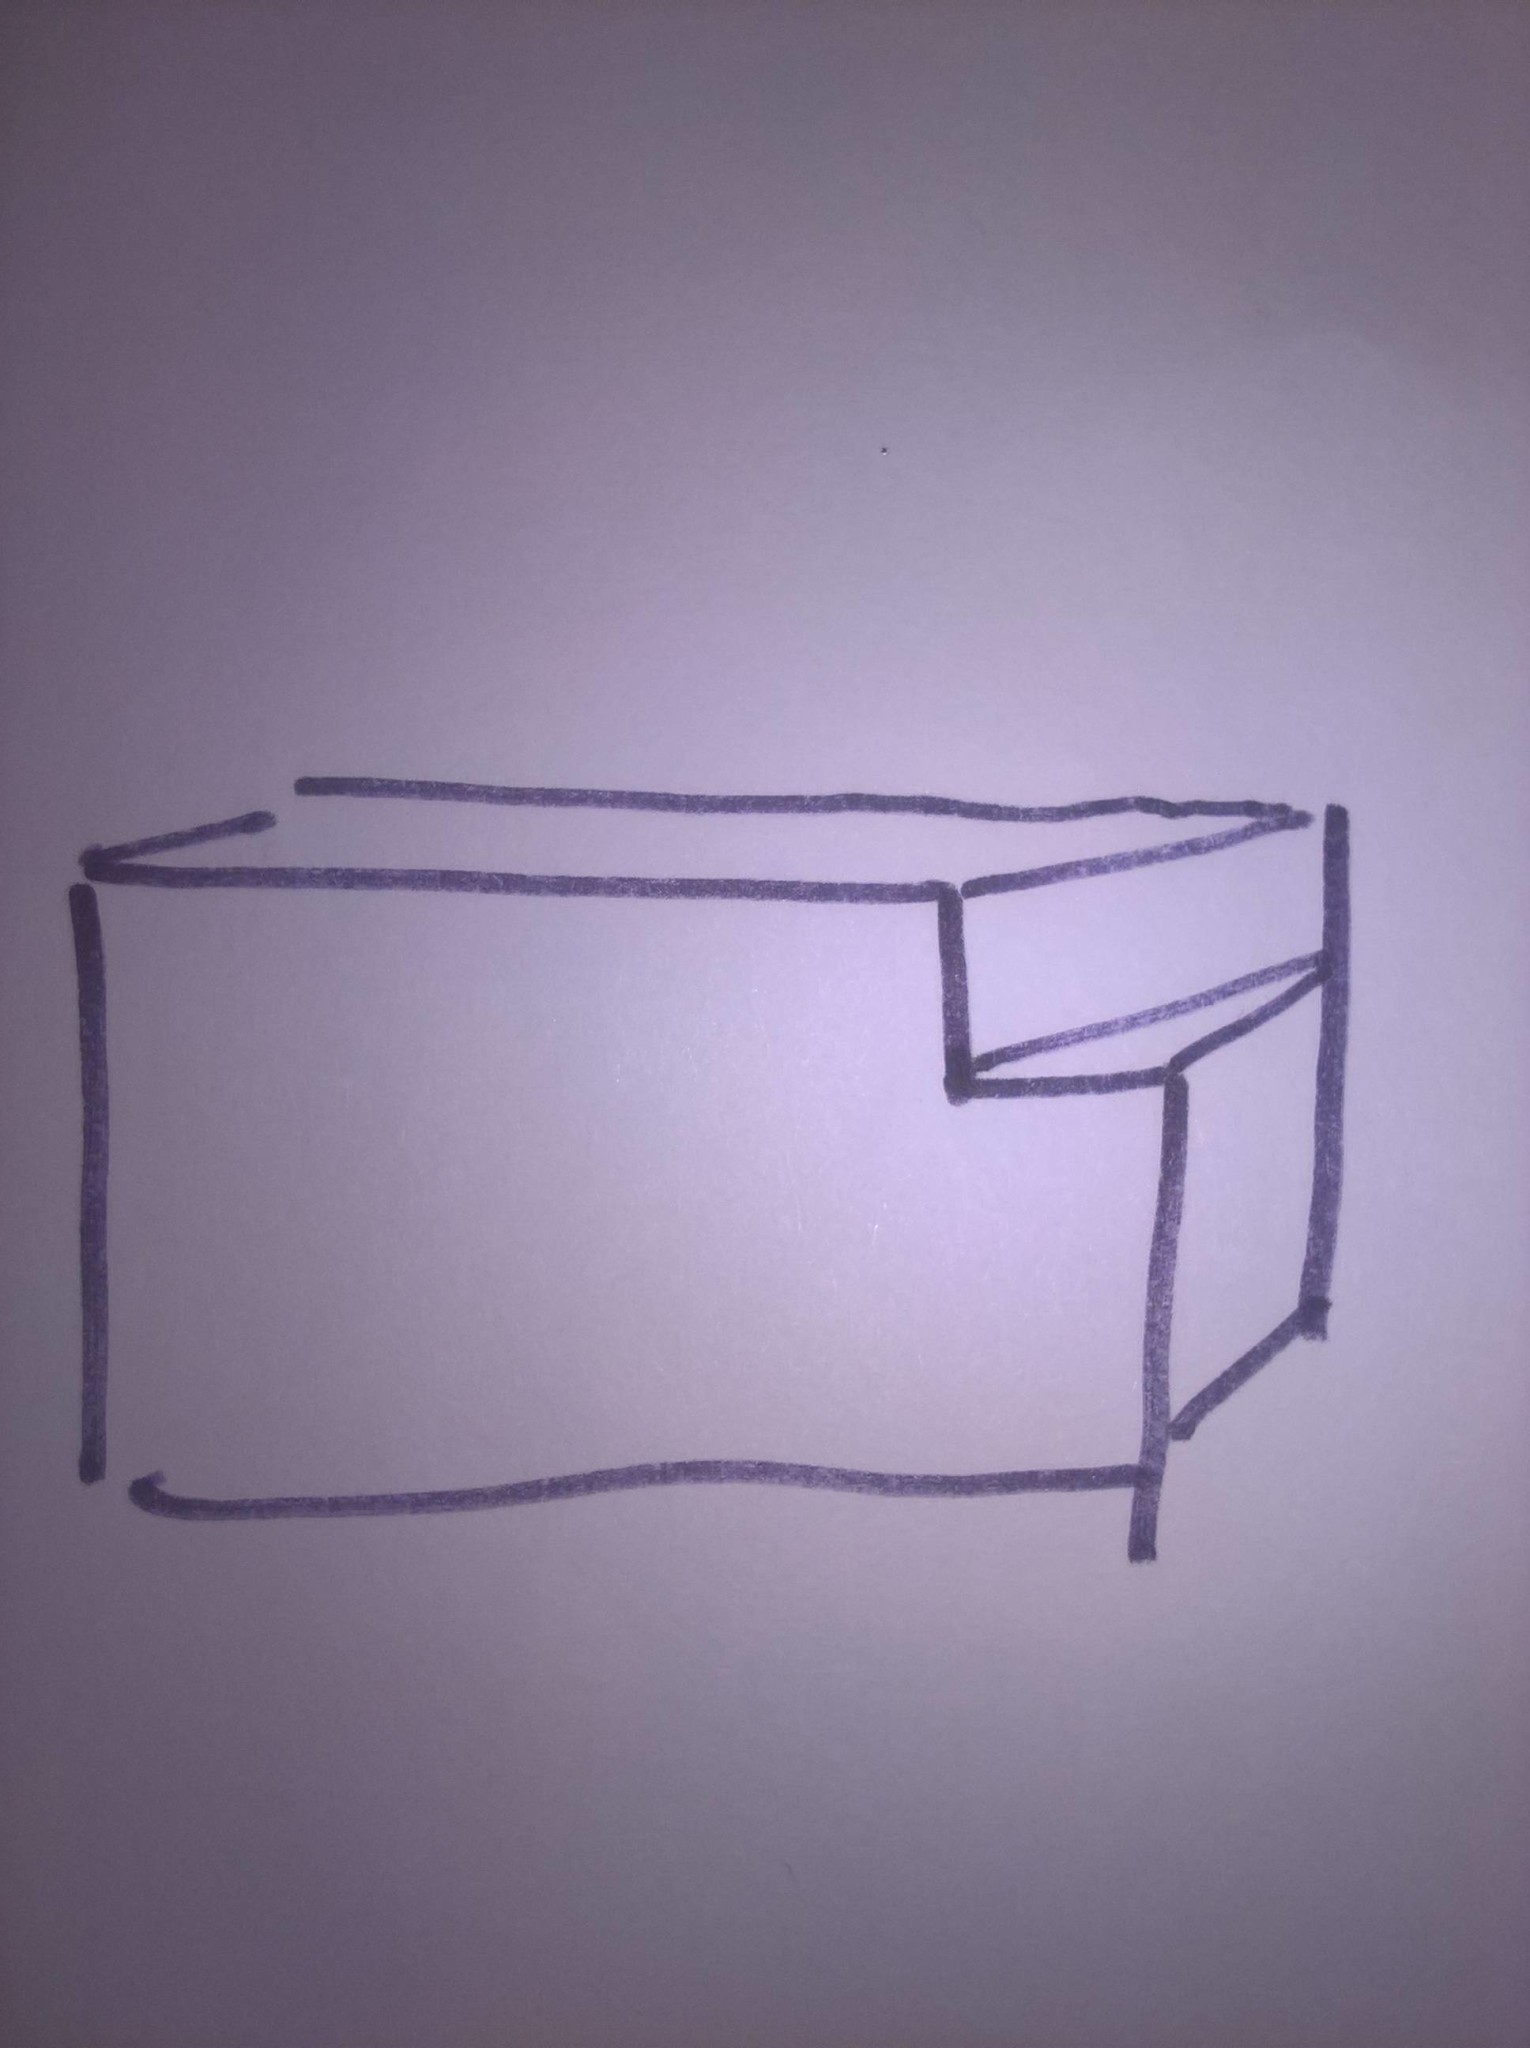
Cut the top edge of the baseboard, miter one at 90 degrees, cut the upper part in the profile at 45 degrees, the corresponding one should first be cut at 45 degrees but then cut from the underside at 90 degrees, not all the way through, leave a bit at the top. This results in the flat sides meeting at 90 degrees, and only the top/profile part interlocks like a puzzle piece. Hmmm, sounds tricky, but it turns out well, no jointing needed, it will be fine without.
Thanks for the tip about förkroppning. I'll try it on some old allmoge profiles I have left from before, it sounds difficult but always fun to try something new. From what I understand, it mainly concerns inner corners?
I was thinking of using blocks where the door trim meets the baseboard. But above the windows, I was just going to do a 45 miter on the trim, but it sounds boring if there can be gaps after a while. Is that why I've seen carpenters driving a handdyckert from the side into the horizontal trim, and a little wood glue, to prevent that?
Thanks for the tip about forking. I'll try that on some old rustic profiles I have left over from before; it sounds difficult but always fun to try something new. From what I understand, this mainly applies to inner corners?
I was thinking of using blocks where door trim meets baseboard. But above windows, I was just going to use a 45 miter for the trim, but it sounds boring if it could gap over time. Is that why I've seen carpenters drive a thin brad nail from the side into the horizontal trim to the vertical trim, and a little wood glue, to prevent that?
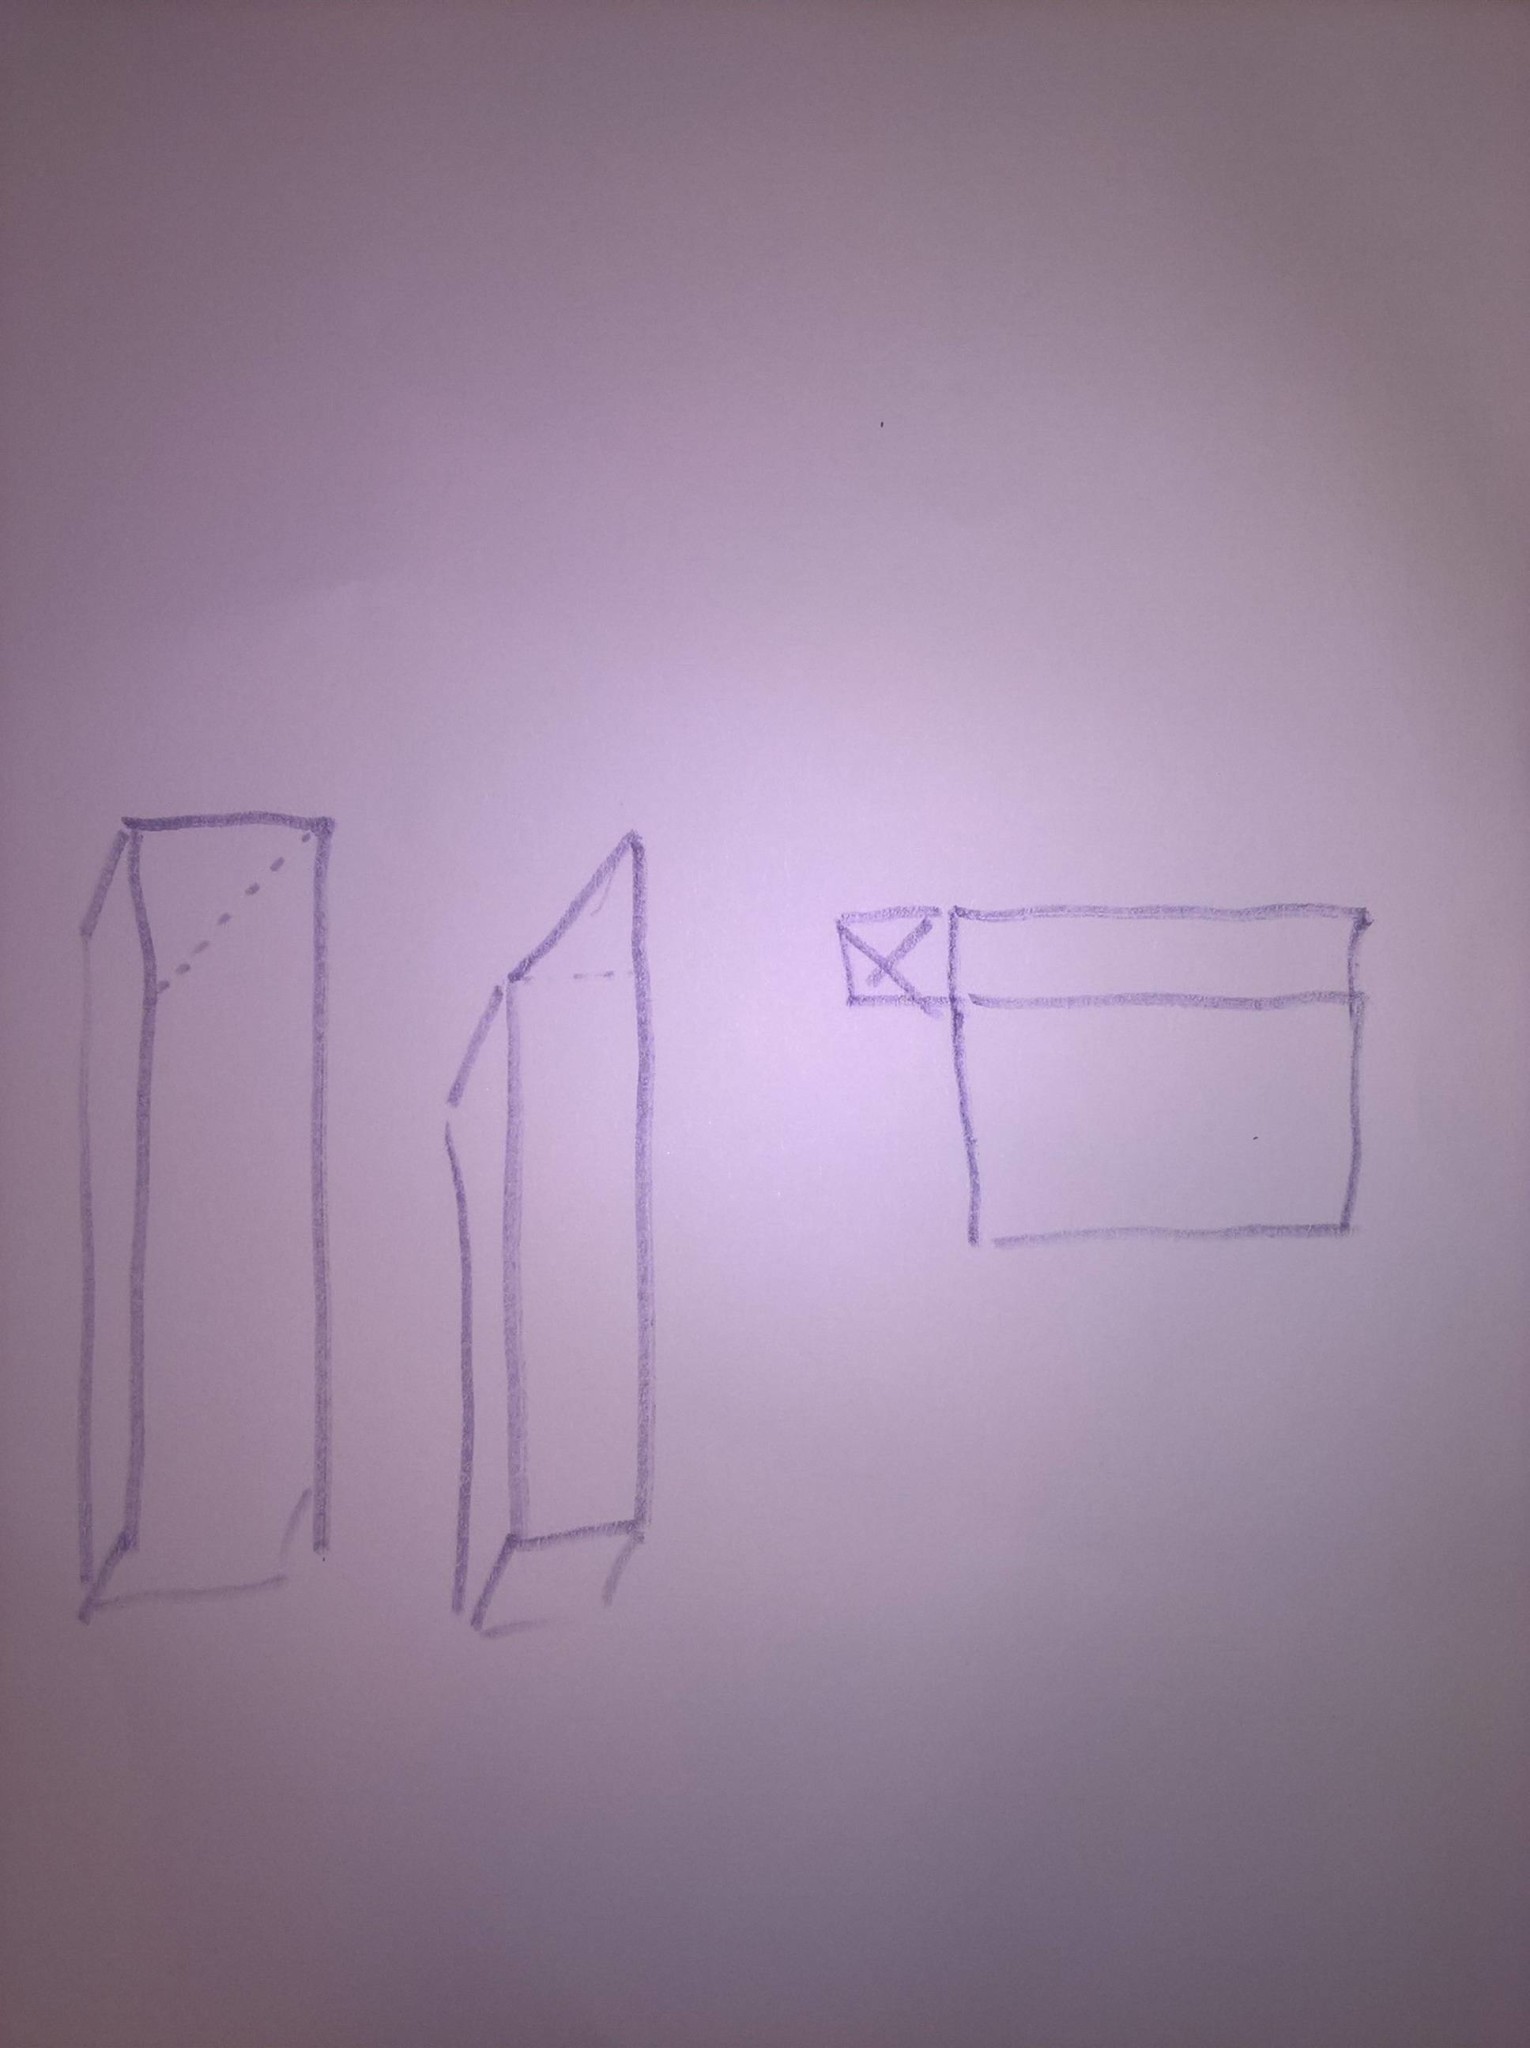
That's right, if you glue and nail at an angle, you can prevent some movement, but not all. If you want to avoid gapping at 45 degrees, you must cut at a double miter, 45 degrees plus a few degrees tilt downwards, then put a small dab of sealant only at the bottom where there will be a minimal triangular hole. If you only mitre both meeting corners at 45 degrees, both angles will be convex.
You're right, by gluing and nailing at an angle, you can avoid some movement, but not all. To avoid gaps at 45 degrees, you need to cut at double miter, 45 degrees and a few degrees slanting down. Then you put a small dab of sealant only at the bottom where there will be a minimal triangular hole. If you only miter both meeting corners at 45 degrees, both angles become convex.
Best regards, P-A
My saw can do double miter. But I don't quite understand. So 45 and then a little angle, creating a small gap/triangle space towards the wall and casing? Is it to give the molding some space to move? (Like a floating hardwood floor)
My saw can miter cut. But I don't quite understand. So 45 and then a little angle, creating a small gap/triangle space towards the wall and lining? Is it to give the trim some space to move? (Like a floating parquet floor)
You cut 45 and a bit at an angle so it becomes a /\ towards the wall, a larger gap against the wall.
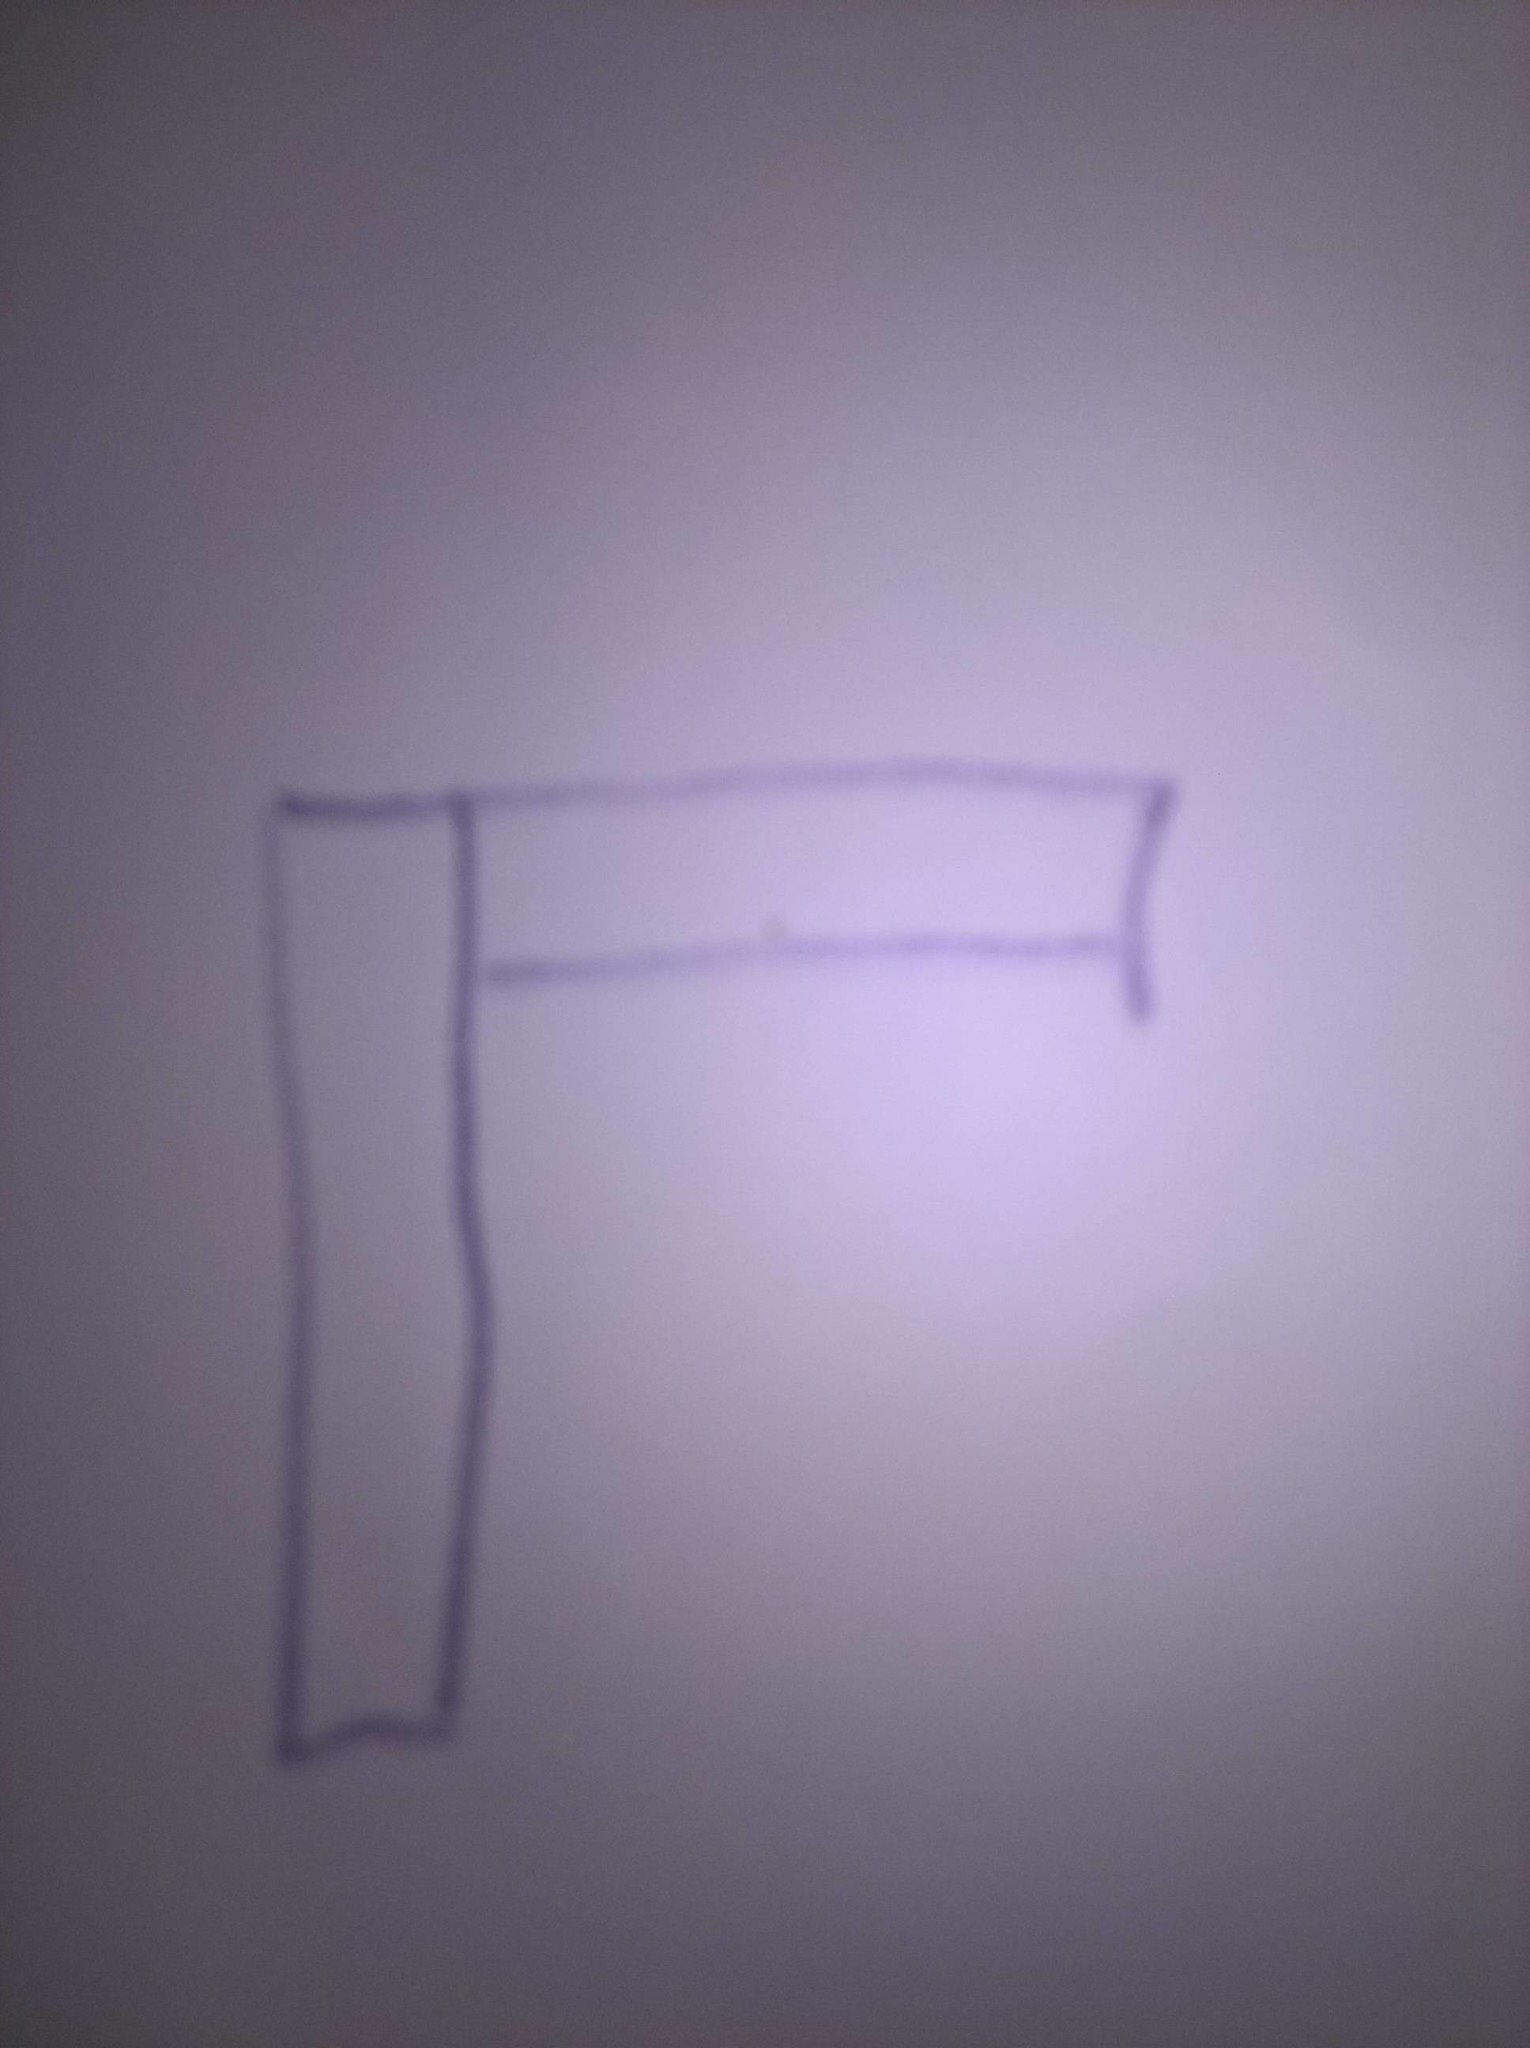
You should make the upper trim a few mm longer than needed, then place the right and left trims and "force down" the upper trim, gently!
Since the edges that meet outward to the room are sharp, they can line up without gaps forming.
Think 45 degrees first, then remove some material at an angle from what lies against the wall, meaning flush with the room, same gap towards the wall throughout the miter. The point of this is for the surfaces to press against each other.
You cut at 45 degrees and slightly at an angle so that it forms a /\ towards the wall, a larger gap against the wall.
You should make the upper trim a few mm longer than what seems necessary, then place the right and left trim and "ease down" the upper trim, gently!
Since there will be sharp edges meeting towards the room view, they can shift slightly without creating a gap.
Think 45 degrees first, then remove some material at an angle from what is against the wall, meaning firmly against the room, equal gap against the wall throughout the miter. The point of this is that the surfaces press against each other.
Ease down gently, that's a technique I'd like to master
Could a combination square or bevel gauge be useful, or is it better to work with scrap pieces? I'm a bit tempted by a combination square, but they start at around five hundred at least so...
Vi vill skicka notiser för ämnen du bevakar och händelser som berör dig.