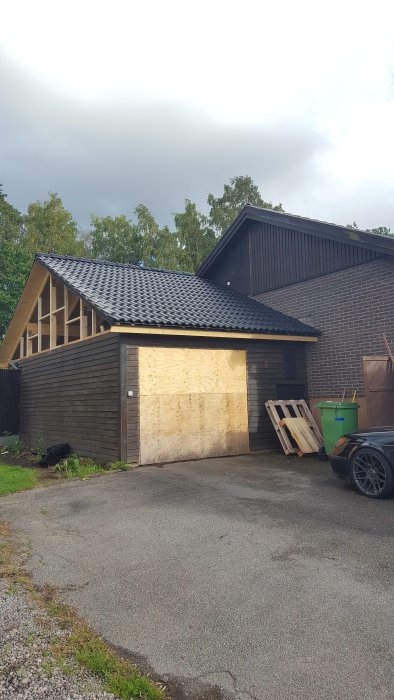
I've converted the flat roof to a pitched roof and have reached the point where it's almost time to lay the roof tiles.
What I'm pondering, though, is how to seal between the roof and the brick wall of the house. I do intend to use flashing, of course. But I've seen that many people cut the flashing into a stepped pattern to follow the joints in the brick. Is this something one should do, or would it work just as well if I milled a STRAIGHT groove (diagonally at an angle with the garage roof), i.e., mill a groove in the bricks and joints to avoid cutting and fiddling with the metal?
The sheet metal workers I've worked with recently have made the sheet completely straight, with a small "fold-out" and a wrap at the top towards the tile. So it becomes like a small gutter. Then they fill that groove with putty (between the tile and sheet metal at the top). And the sheet is attached to the wall with farm screws and plugs.
I have also installed such myself (work as a carpenter) and it is easy and smooth. Even though it's not as much craftsmanship as following the joints and embedding the sheet metal.
So you mean that the sheet is not recessed and folded into the brick at all? If I understood correctly, the sheet is only bent outwards and then bent/rounded downwards and the gap that forms between the bent-out sheet and the brick wall is then filled with sealant? This sounds simpler than milling a groove as I thought. But does it really become watertight?
In any case, I have an upturn on the underlay against the brick which I have sealed with asphalt adhesive/sealant as well.
I'm mostly thinking about how it stays watertight over time?
Of course, I had taken a diamond blade and cut a groove into the brick. Then I sealed (with some suitable sealant/adhesive) both against the brick wall under the groove and directly in the groove. It's probably hard to get better sealing than that, it feels like. A tip is to cut the groove with a slight slope, maybe at least 15-20 degrees, so that water runs away from the brick, so to speak. This way, it becomes even a little safer. I often check how this kind of thing has been done on other houses, and I think I often see grooves cut into the brick. So it’s probably a good method, maybe the best?
If you mill grooves, apply a generous amount of suitable sealant directly into the groove and fill it as much as possible. Then press the sheet into place without tilting it too much. Screw it in as soon as possible or secure it in the most appropriate way, so that it remains immobile until the seal cures/sets (sets = if it is a cement-based sealant, like mortar or anything else).
It will probably have to be a groove anyway.
I've never used a diamond blade in brick or similar before, but it feels like it might be hit or miss to get a groove that's straight and neat? Also, it should make a hell of a lot of dust.
I'll have to go to Ramirent and see what fun tools they have for rent otherwise.
Mount a board on the wall with the edge where you will have the groove, and follow it. It can be screwed on as the holes will be hidden under the sheet metal. Keep in mind that it will get quite dusty with red dust. There are powerful vacuum cleaners available to connect.
I guess a groove will have to do. I've never used a diamond disc on brick or similar before but it feels like it might be hit or miss to get a groove that's straight and neat? Then it should probably dust quite a bit.
I'll have to go to ramirent and see what fun tools they have for rent otherwise.
No problems or difficulties at all in making straight nice grooves with a diamond blade in brick.
Set a board so you have the edge exactly where the groove should go, then just run it along the board.
If you want a slanted groove, you can saw the board to the same angle as you want the groove, advantageously. Then it will go smoothly.
I recommend slightly larger than 125mm discs of course, but it will also work with that if you just have a thinner board. Otherwise 180mm. 230mm is perhaps overkill for this I think
A diamond blade is also not expensive and you can cut maaaany meters of grooves in brick with it! Brick is quite soft compared to stone you know. Yes, you will get some brick-colored dust, so you have to expect that. But it blows away easily.
Otherwise you can build a small guard around the blade and connect a vacuum cleaner to it, but outside I wouldn't bother with that actually.
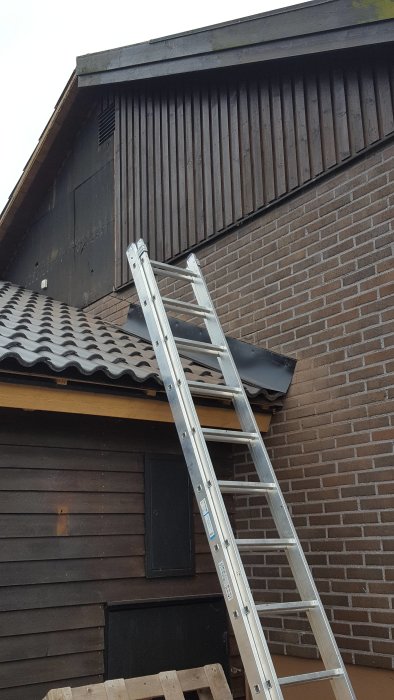
Had to wait for a tinsmith to make my standing seam panels and since I worked all weekend, I finally got around to tracing the wall today.
Attached the panel and then drew a line on the wall to follow.
Then it was just a matter of starting to trace.
Did it by hand without a plank or anything like that.
Went well as the panel itself guides, so to speak...
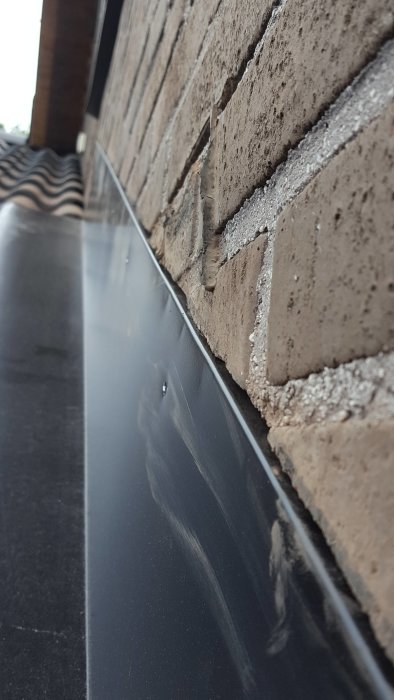
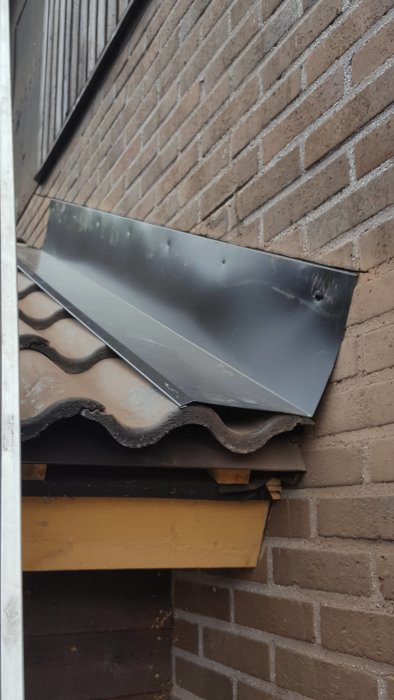
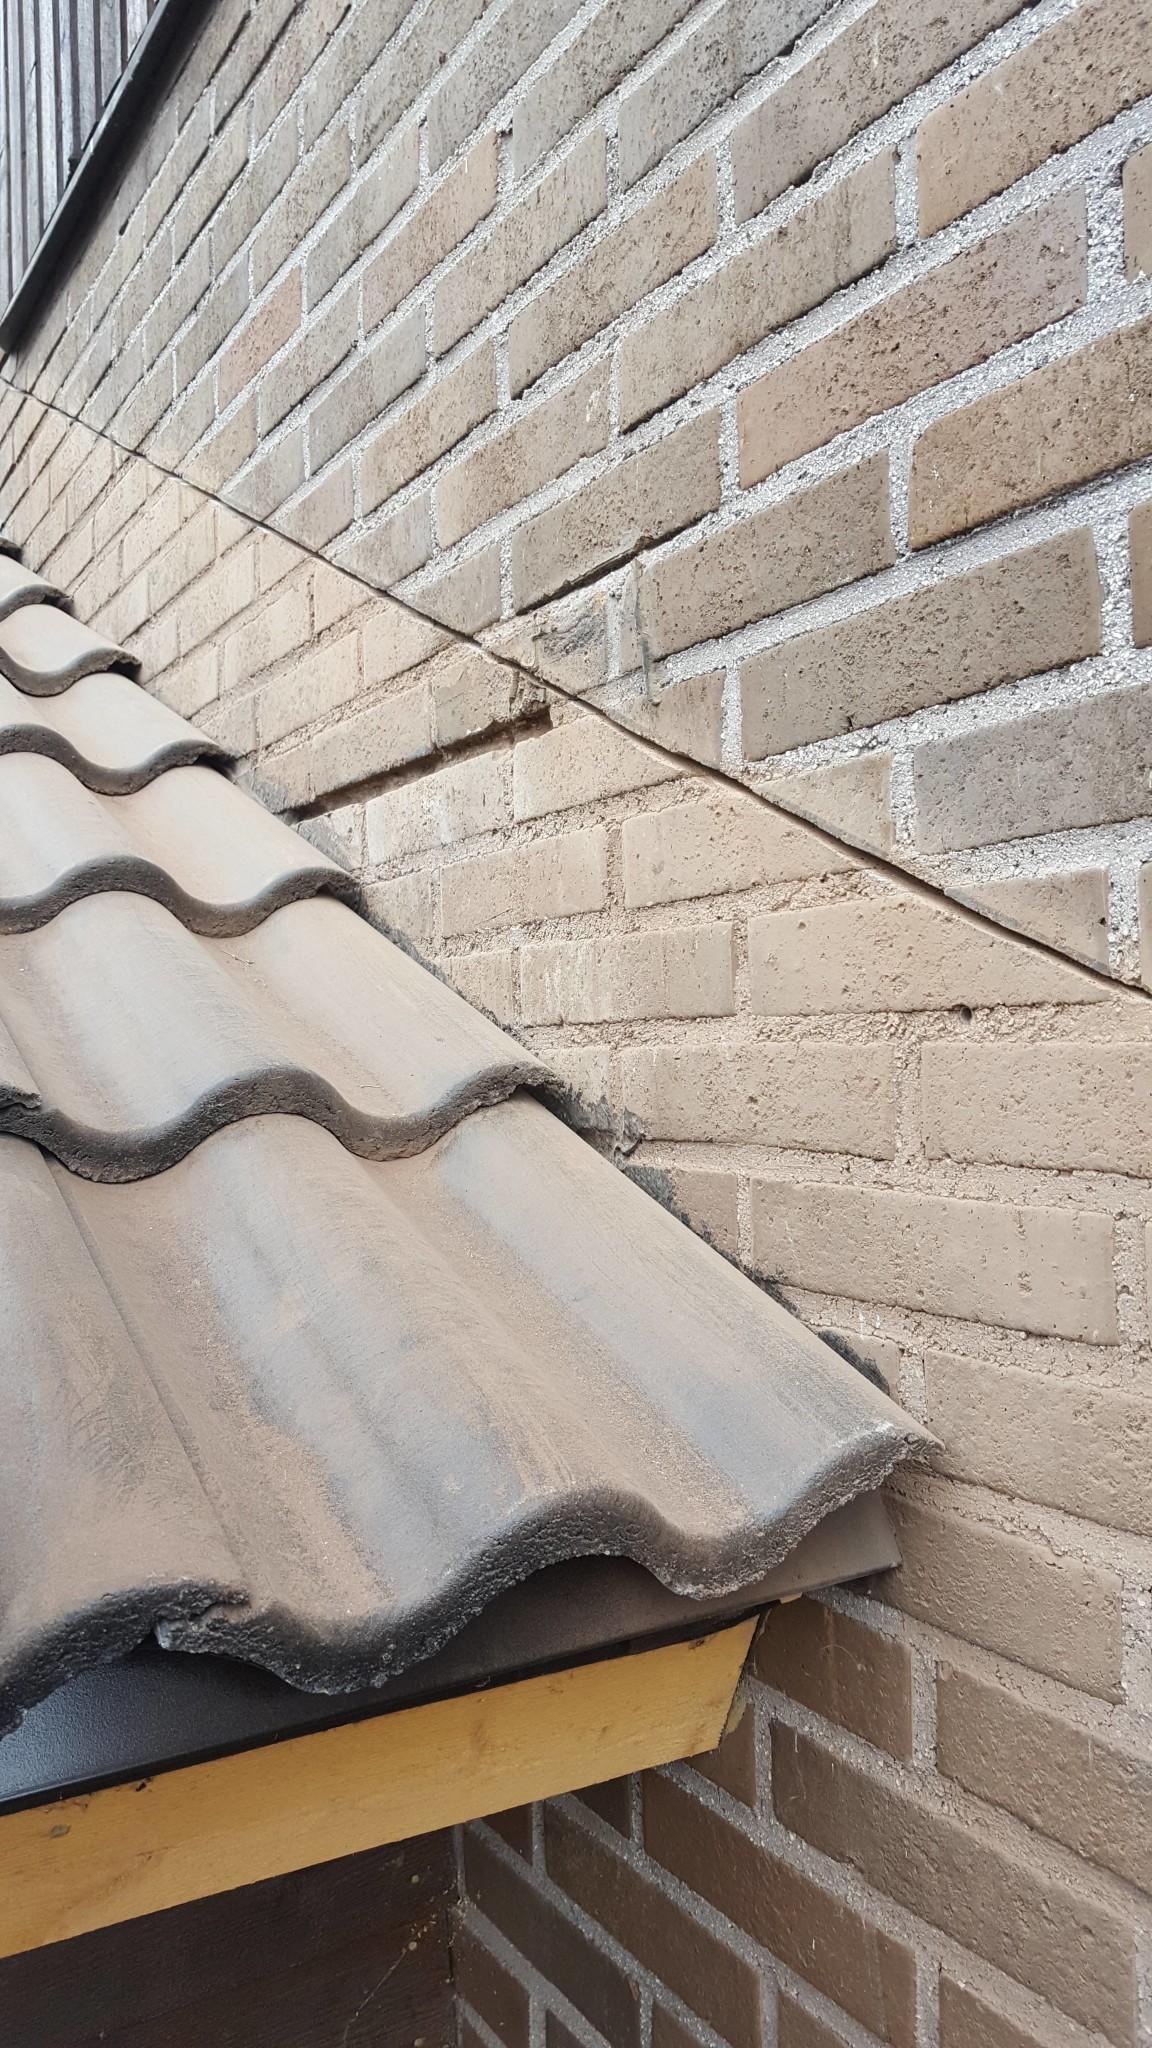
Here are some pictures of the half-finished result. It needs to be properly sealed in the groove and also a little behind the panels before they are properly mounted, so it should hold tight.
The sheet metal workers I've worked with recently have made the sheet completely straight, with a small "fold-out" and a wrap at the top against the tiles. So it becomes like a small gutter. Then they fill that groove with putty (between the tile and the sheet at the top). And the sheet is attached to the wall with farm screws and plugs.
I've also installed such myself (working as a carpenter) and it's easy and smooth. Even if it's not as much craftsmanship as following the joints and embedding the sheet.
Cheating to fold out the sheet is not something you should do, the joint will eventually come loose. But cutting grooves and inserting the sheet is approved.
Had to wait for a roofer to make my flashing plates and since I've been working all weekend, I finally got around to marking the wall today.
I attached the plate and then drew a line on the wall to follow.
Then it was just a matter of starting to groove.
I did it by hand without a board or anything like that.
Went fine as the board itself guides, so to speak...
Here are some pictures of the semi-finished result. It will be sealed properly in the groove and also a little behind the plates before they're mounted for real, so it should stay tight.[image] [image] [image] [image]
Looks good! Also, make sure to have the groove as dust-free as possible before you seal it. I see there's some brick dust left. Clean properly in the groove with compressed air. You won't regret it, as it will seal better.
In case you use cement-based materials like plaster or similar, soak it with water properly before application too. It will adhere better.
How have you sealed the underlay against the tiles? Isn't that actually more important than the sheet metal you've installed now?
Wouldn't it have been better if the sheet metal was under the roofing felt?
Looks good! Also, make sure to get the track as dust-free as possible before sealing it. I see there is some brick dust left. Blow the track clean thoroughly with compressed air. You won't regret it, as it will seal better.
In case you're using cement-based materials like plaster or so, wet it thoroughly with water before application too. This will help it adhere better.
Yes, I will try to get it properly clean/dust-free. I hadn't thought of compressed air. I can actually borrow one.
Thanks for the tip.
Vi vill skicka notiser för ämnen du bevakar och händelser som berör dig.


Martin_B said:
Looks good! Also, make sure to get the track as dust-free as possible before sealing it. I see there is some brick dust left. Blow the track clean thoroughly with compressed air. You won't regret it, as it will seal better.