
5,051 views ·
14 replies
5k views
14 replies
Plastering and filling seams, once and for all!
I've been searching like crazy on the subject, it should be mentioned that I really have never drywalled before, bought a house last winter. Getting seams without recesses is impossible in some cases. Some videos on YouTube suggest paper tape despite this and wide spackling, a carpenter friend says no no, go with latex sealant and spackle, what is actually "right" to avoid cracks on these seams? I've put on renovation drywall 6mm on Tretex with several layers of wallpaper to get a good and new surface to be able to paint, the house is a timber house from 1914 so they do move a bit. I'm going crazy and a bit of clarification would be nice before tonight's spackling session! 
Also live in a house with a timber frame, and a "newer" part with vertical plank walls. I have applied rep gypsum on tretex and regular gypsum on plank walls and consistently used paper tape "glued" in the first round of filler with one more round of filler, then cover wallpaper with offset seams (seam in the middle of the gypsum board). The walls are both painted and wallpapered, and so far (read 3-4 years) it's only above 3 door holes where I can see minor cracks that I have had to touch up.
Personally, I like cover wallpaper (some say filler on a roll) because it gives a good and smooth surface, it may seem like belt and suspenders, but as you write, a timber and wood house moves quite a lot...
Personally, I like cover wallpaper (some say filler on a roll) because it gives a good and smooth surface, it may seem like belt and suspenders, but as you write, a timber and wood house moves quite a lot...
Thanks for the info! Always good to hear from multiple sources. Where can you buy that wallpaper cheapest/best? I considered it earlier but then I read that it wasn't as forgiving with imperfections as one might wish, so I went with plain gypsum instead.Mazen said:
I also live in a house with a timber frame, and a "newer" part with vertical plank walls. I have both applied reinforced gypsum on tretex and regular gypsum on plank walls and consistently used paper tape that is "glued" in the first round of putty, with one more round of putty, then cover wallpaper with staggered seams (seam in the middle of the gypsum board). The walls are both painted and wallpapered and so far (read 3-4 years) it's only above 3 door openings that I can see minor cracks where I had to touch up.
Personally, I like the cover wallpaper (some call it putty on a roll) because it gives a nice and smooth surface, can seem like belt and suspenders, but as you write, a timber and wood house moves quite a bit..
How does it turn out when you paint over it in the seams?
I have bought from both Colorama and Bauhaus, and it's not cheap compared to a bucket of filler.
But it is significantly easier to use.
Well, it doesn't cover that many uneven surfaces, more like minor scratches and possibly screw holes, but it is possible to remove the texture from, for example, a woven wallpaper. It's best to use a hard plastic spatula and not the soft one you use for regular wallpapering, as it stretches the wallpaper over uneven surfaces. If you are just precise and don't skimp on the glue, the seams are hardly visible at all when you paint over it. You place it edge to edge.
But it is significantly easier to use.
Well, it doesn't cover that many uneven surfaces, more like minor scratches and possibly screw holes, but it is possible to remove the texture from, for example, a woven wallpaper. It's best to use a hard plastic spatula and not the soft one you use for regular wallpapering, as it stretches the wallpaper over uneven surfaces. If you are just precise and don't skimp on the glue, the seams are hardly visible at all when you paint over it. You place it edge to edge.
But what is the reason for putting such wallpaper on a brand new fresh plastered and filled wall? To tackle any potential cracking in the seams?I have bought from both Colorama and Bauhaus and it is not cheap compared to a bucket of filler. But it is significantly easier to use.
Well, it doesn't handle that many irregularities, more than minor scratches and possible screw holes, but it can remove the texture from, for example, a weaved wallpaper. It's best to use a hard plastic spatula and not the soft one you use when wallpapering because you'll stretch the wallpaper over the irregularities. As long as you are thorough and don't skimp on the glue, the seams are barely visible when you paint over it. You place it edge to edge.
It was a long and tough day, a bit stiff in the back to say the least. But I should learn to handle a shovel with a left grip, I tried but half the sand ended up outside the mixer every time.
But I finished in the end. For anyone who comes looking for similar information in the future, I can summarize:
* I started with water and gravel to wash the mixer since the last run, checked that no clumps were stuck.
* Then I added cement.
* Then more water until there was no dry cement left, just a thick porridge or mud.
* After that, sand. I had quite damp sand and it didn't make much difference to the consistency. I added perhaps 2/3 of the sand, let it run for a minute until it was a good porridge consistency again, and then added the rest.
If it was too dry (a large lump that didn’t mix) I had to add more water. If it was too loose, I added some more cement and sand at random.
The recipe was not as exact as I thought, but more of a guideline on where to start. A good lesson!
But I finished in the end. For anyone who comes looking for similar information in the future, I can summarize:
* I started with water and gravel to wash the mixer since the last run, checked that no clumps were stuck.
* Then I added cement.
* Then more water until there was no dry cement left, just a thick porridge or mud.
* After that, sand. I had quite damp sand and it didn't make much difference to the consistency. I added perhaps 2/3 of the sand, let it run for a minute until it was a good porridge consistency again, and then added the rest.
If it was too dry (a large lump that didn’t mix) I had to add more water. If it was too loose, I added some more cement and sand at random.
The recipe was not as exact as I thought, but more of a guideline on where to start. A good lesson!
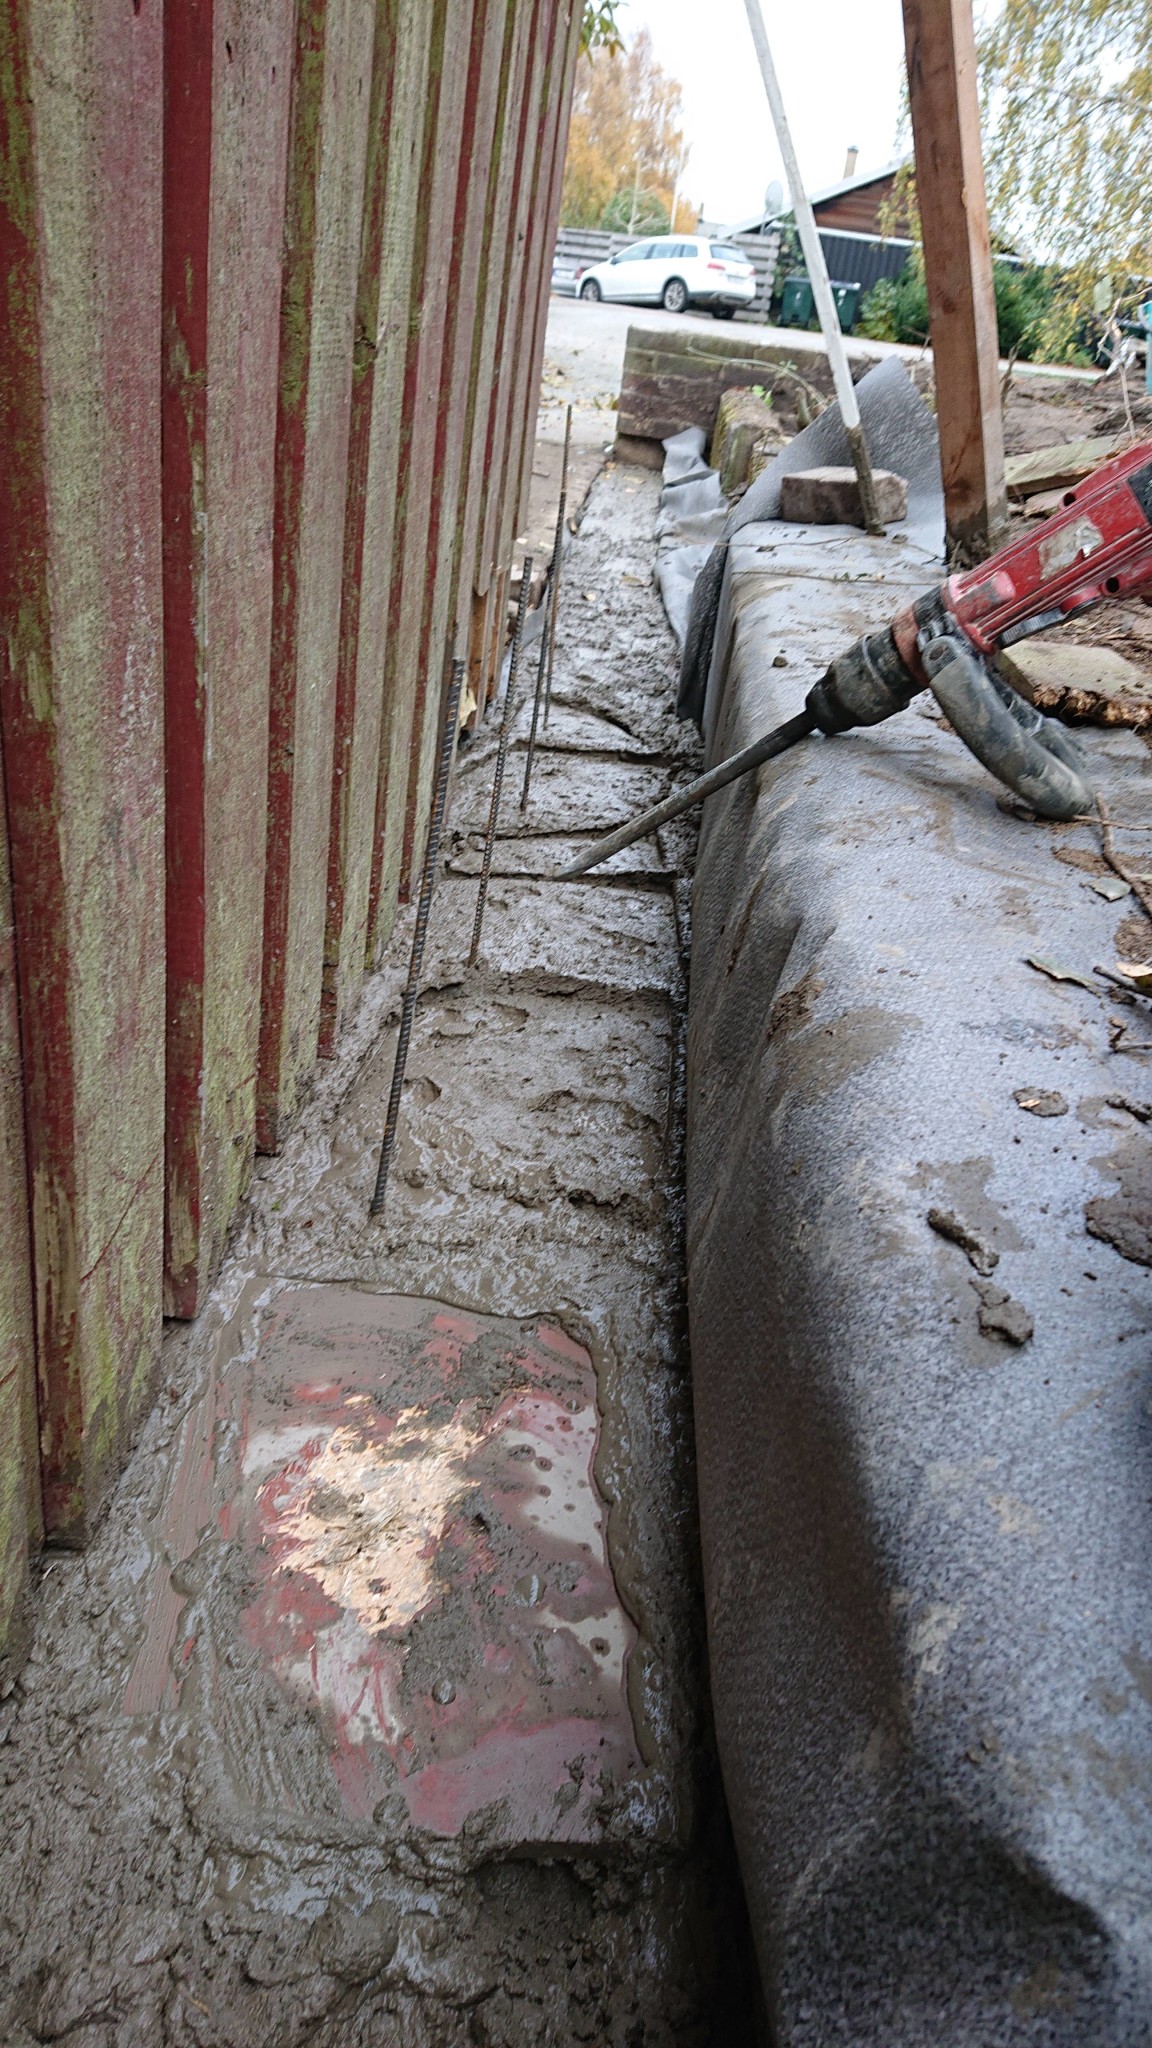

Ahh, ok, so that's HOW you plaster and spackle seams! Now I knowAndreas Lundgren said:
It was a long and challenging day, a bit stiff in the back today to say the least. But should learn to handle a shovel with a left grip, I tried but half of the sand came out of the cement mixer every time.
But I finished eventually. For anyone who comes looking for similar information in the future, I can summarize:
* I started with water and macadam to clean the cement mixer from the previous use, checked that no lumps were stuck.
* Then I added cement.
* Then more water until there was no dry cement left, just a thick porridge or clay.
* After that, sand. I had quite damp sand and it didn't make much difference to the consistency. I added maybe 2/3 of the sand, let it run for a minute until it was a good porridge consistency again, and then added the rest.
If it was then too dry (a large lump that didn't mix), I had to add more water. If it was too loose, I took a bit more cement and sand at random.
The recipe was therefore not as precise as I thought but mostly a guideline of where to start. A good lesson!
(psst irony.....)That post probably ended up a bit misplaced, right?
Yes, and to reinforce against movements in the wood/log wall, and personally I think the surface becomes "softer" compared to bare gypsum. Also, you don't always manage to get all the screw heads completely perfectR rudeez said:

Tomture61
Self-builder
· Född i Luleå
· 6 437 posts
Tomture61
Self-builder
- Född i Luleå
- 6,437 posts
That a house with log walls moves with the seasons = yes
Applying 6 mm gypsum on tretex = not really!
Go with 13 mm gypsum instead, more stable against movements from both the log wall and tretex.
When you use the paper tape in gypsum joints, first spread the joint compound (with a tiny trench) then press the tape in place with the same compound (without joint compound on it) and once the tape is in place, apply more joint compound.
Practice makes perfect
https://www.tapethandeln.se/sv/arti...MI-sb6_d293gIVAaWaCh0DQQofEAYYASABEgJr9_D_BwE
The only compound that is okay for this job.
Applying 6 mm gypsum on tretex = not really!
Go with 13 mm gypsum instead, more stable against movements from both the log wall and tretex.
When you use the paper tape in gypsum joints, first spread the joint compound (with a tiny trench) then press the tape in place with the same compound (without joint compound on it) and once the tape is in place, apply more joint compound.
Practice makes perfect
https://www.tapethandeln.se/sv/arti...MI-sb6_d293gIVAaWaCh0DQQofEAYYASABEgJr9_D_BwE
The only compound that is okay for this job.

Do as it says here so you don't have to rely on various know-it-alls.R rudeez said:Have been searching like crazy on the subject, should be added that I have actually never done plastering before, bought a house last winter. Getting joints without the recesses is impossible in some cases. Some videos on Tube suggest paper tape despite this and wide plastering, a carpenter friend says no no but use latex sealant and plaster, what is really "right" to avoid cracks on these joints? Have applied renovation gypsum 6mm on tretex with multiple layers of wallpaper to get a good and new surface to be able to paint, the house is a timber house from 1914 so they do move a bit. Going crazy soon and a little explanation would be nice before tonight's plastering session!
http://www.ybg.nu/
Tomture61
Self-builder
· Född i Luleå
· 6 437 posts
Tomture61
Self-builder
- Född i Luleå
- 6,437 posts
After having tried gluing the paper strip and later putting filler over it, I do not recommend this method (sometimes the glue spreads too widely in the seam, for example). Paper strips are more adaptable when the humidity changes in the house, so do not use fiberglass strips. I have tested Beckers fine sand filler, and the strip tends to come off at the edges. Alcro's is what works for this job; it has a creamier consistency. I read the advice they gave regarding filler (from 2012) to ask in the shop; allow me to chuckleMathiasS said:
ask someone who may not have even held a brush......Have also used regular wall filler for the paper tape out of ignorance and stinginess, but it doesn't work. So a proper joint filler is what's needed, like Alcro or Dalapro. Regarding 13 mm gypsum on tretex, it would have been obvious, but I wanted to avoid tearing down moldings and trim, so 6 mm board was what I used and it has worked so far.
All the joints here in the house have glued paper strips. It's impossible to fail with it. If you have trouble with a little glue next to the strip, you've probably used the wrong glue, I definitely have glue next to every joint. As said, do as ybg says and it will be good.After trying to glue the paper strip and later fill it over, I do not recommend this method (glue sometimes sets too wide in the joint for example) Paper strip is more flexible when the humidity changes in the house, so do not use fiberglass tape. I've tested Beckers fine sand filler then the strip easily loosens at the edges. Alcro's is what works for this job, it has a creamier consistency. Read the advice they gave regarding filler (from 2012) ask in the store, allow me to chuckle
Haha, yes!Corpes said:
Really annoying on the forum that when you get to the bottom of a thread, it continues to show posts from the next topic in the forum. It's hard to find buttons for the next page on the post you were actually reading, and there's a risk of replying to the wrong topic!
.
Member
· Västra Götaland
· 2 575 posts
You turn off that "finessen" in settings in your profile.
Click here to reply