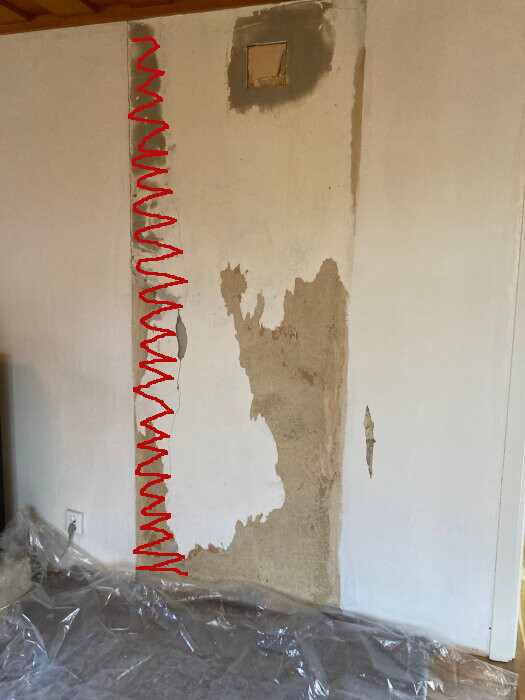
Assuming that's exactly what you're thinking, but I would remove what's marked in red:
and continue to the right as far as it's bomt. You don't need to saw, just chip away the plaster. Definitely avoid prying/breaking.
Now we have knocked down what came off voluntarily, inside the red markings in the picture below. I don't think we can get more off without a saw, crowbar, and force. So the question is how we patch it all up.
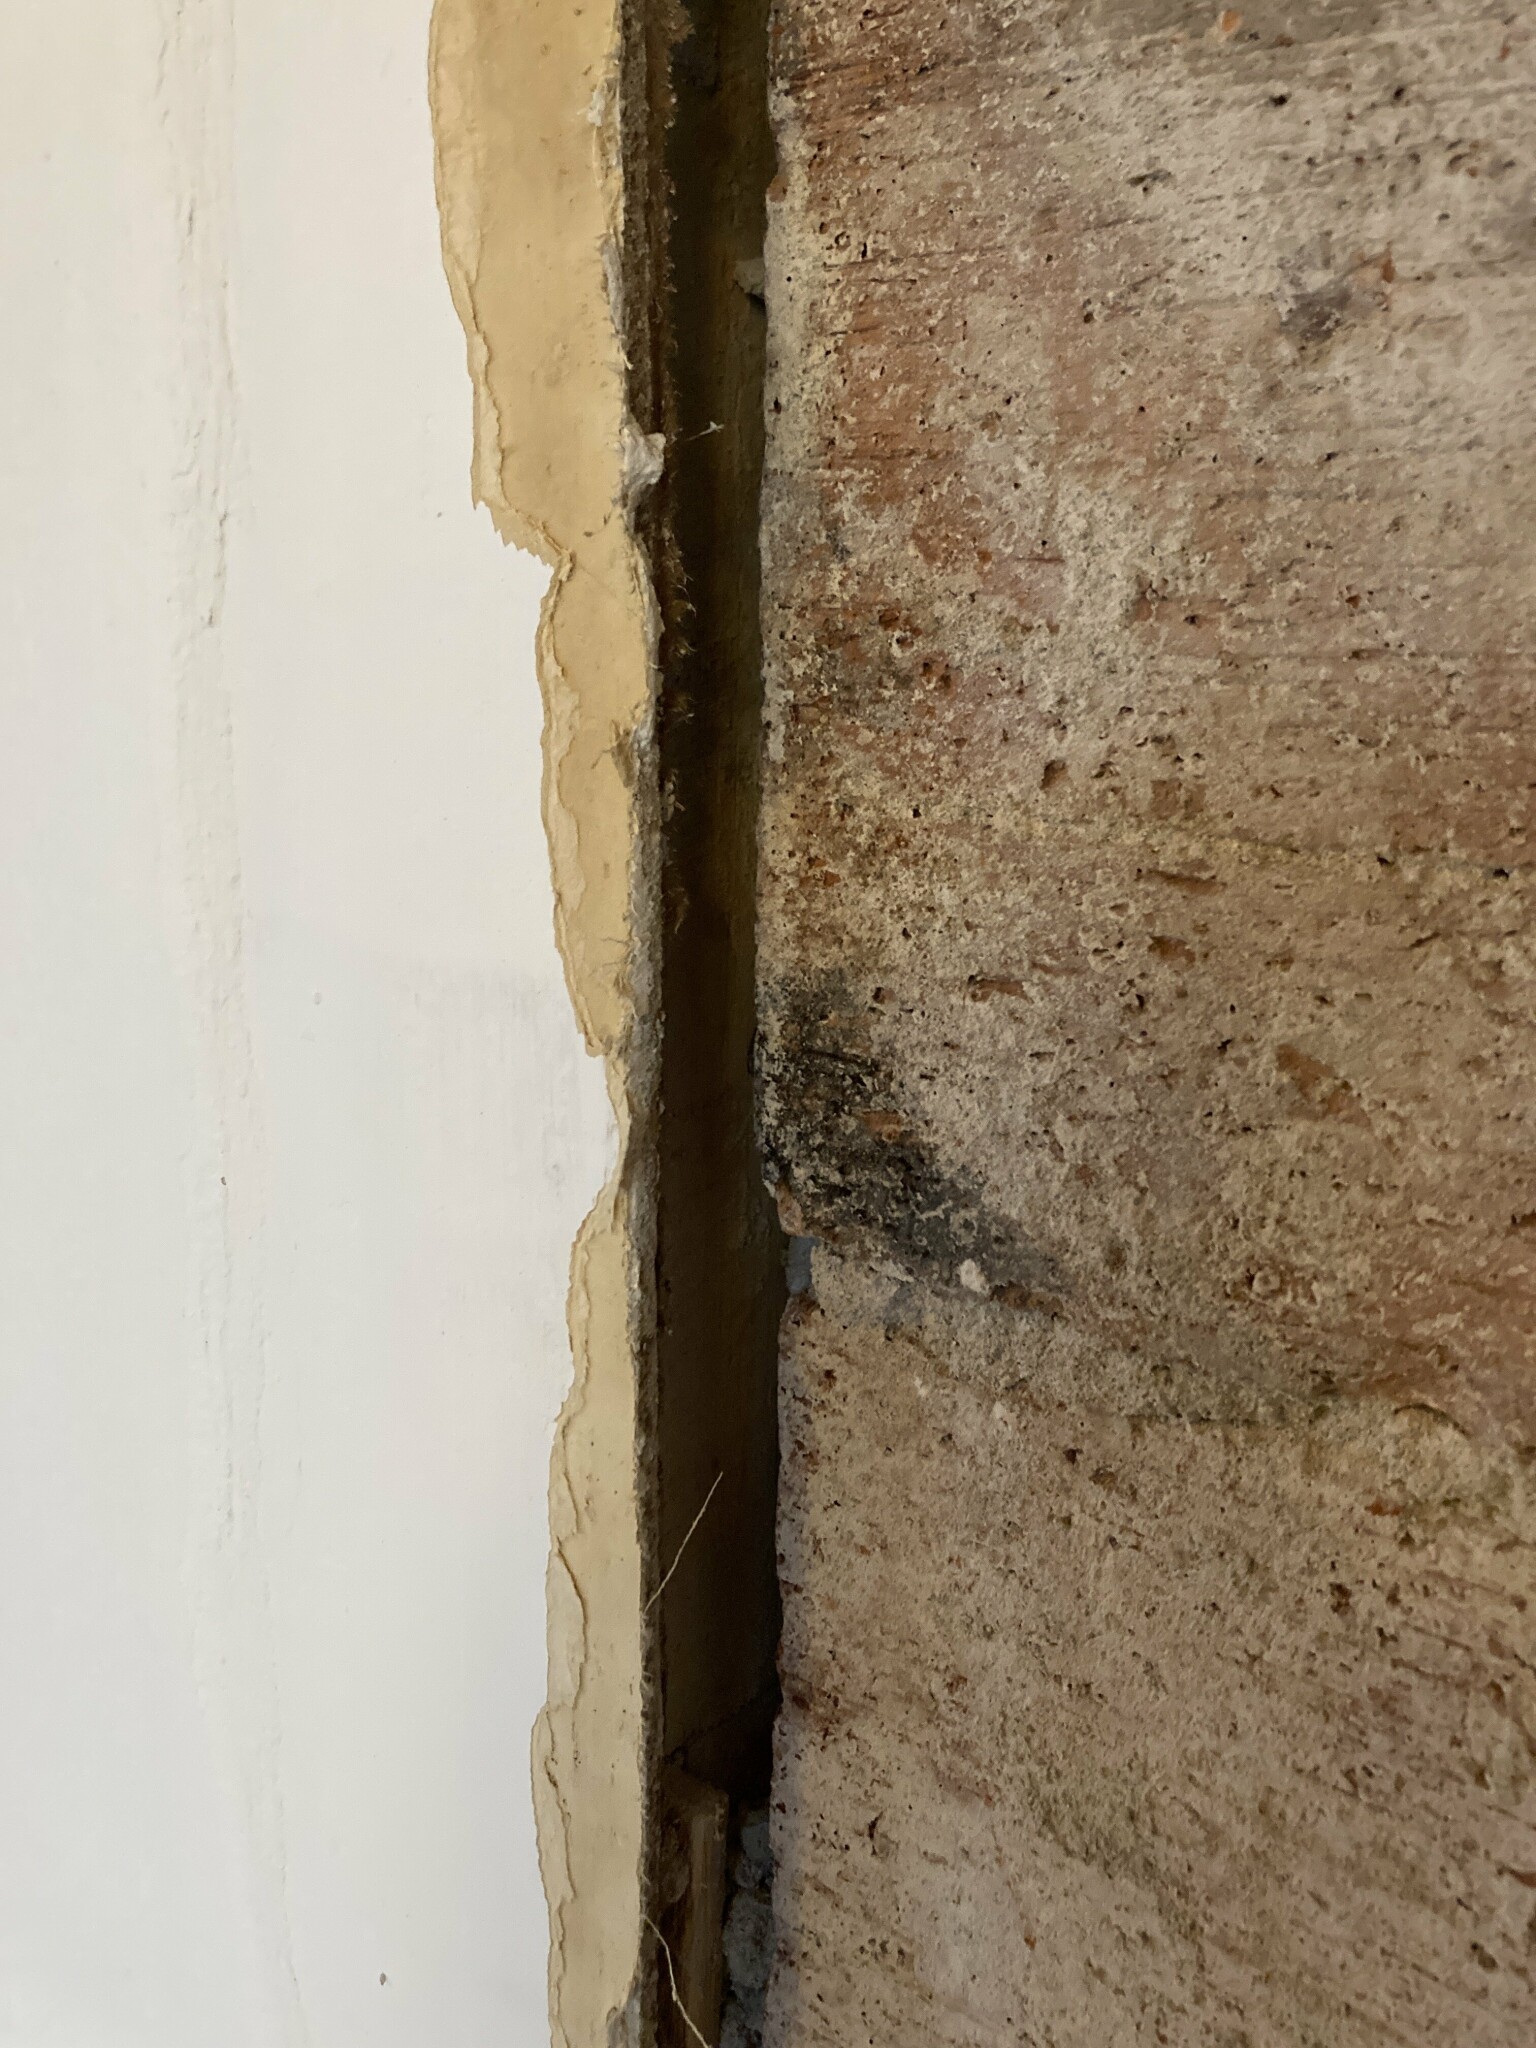
What do we do with the cavity at the edge between tretex/wooden wall and chimney? Any ideas?
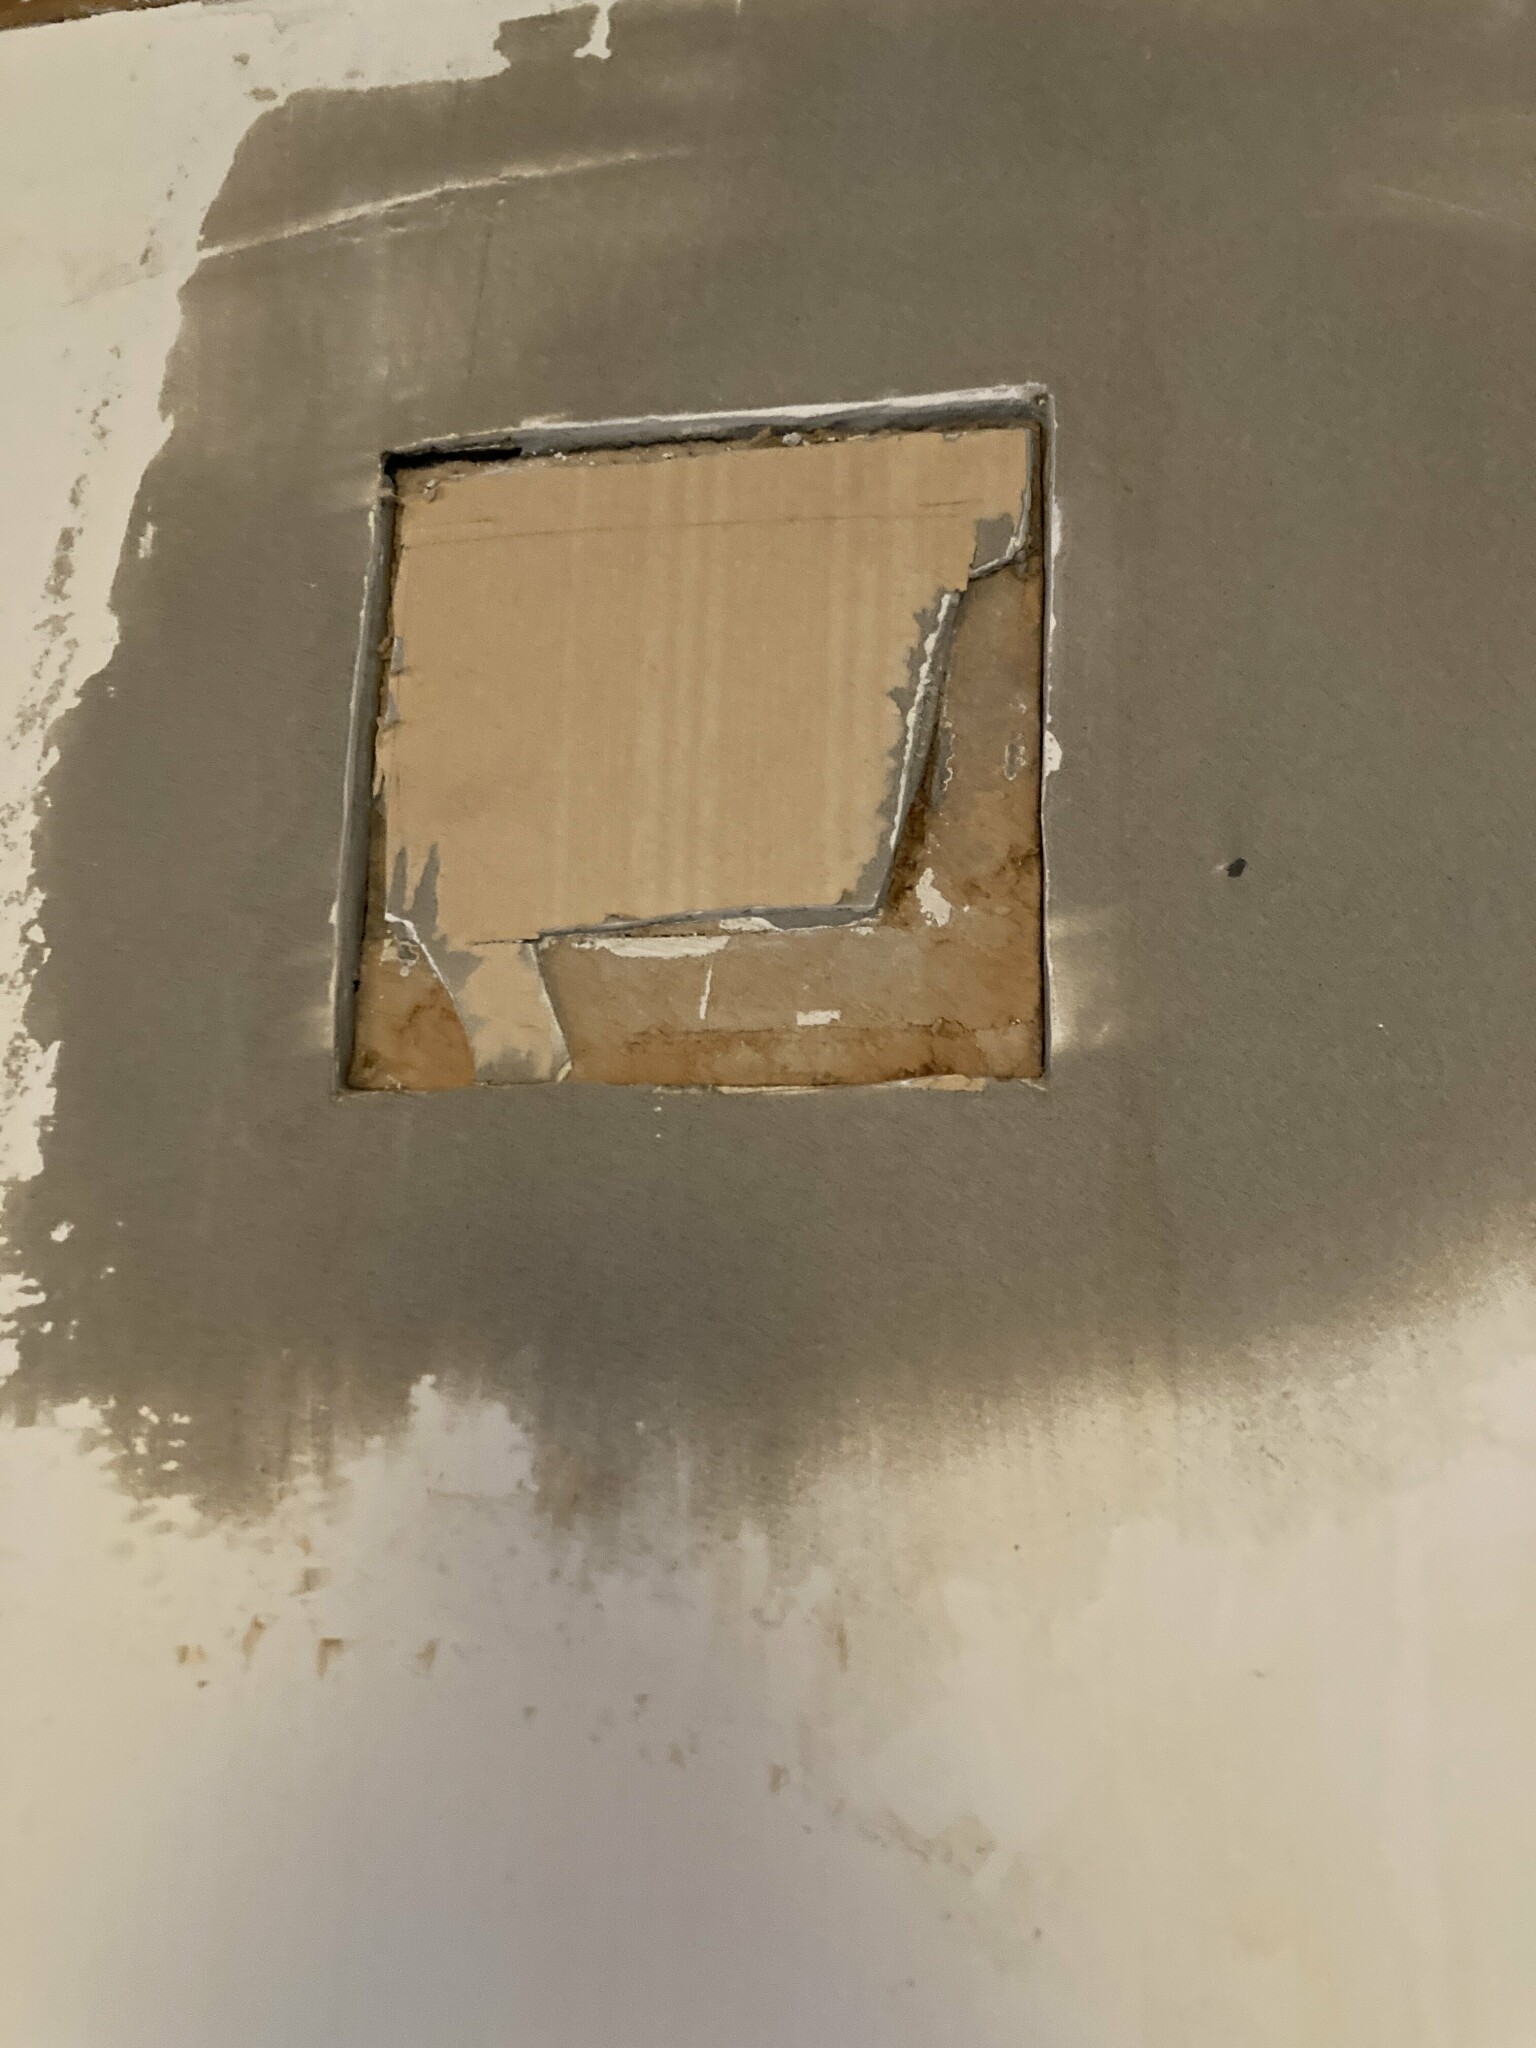
And the hole for the old ventilation duct that will not be used? It was covered with tretex, spackled, and wallpapered before, and we've just stuffed in some insulation and pressed the tretex back in to prevent drafts.
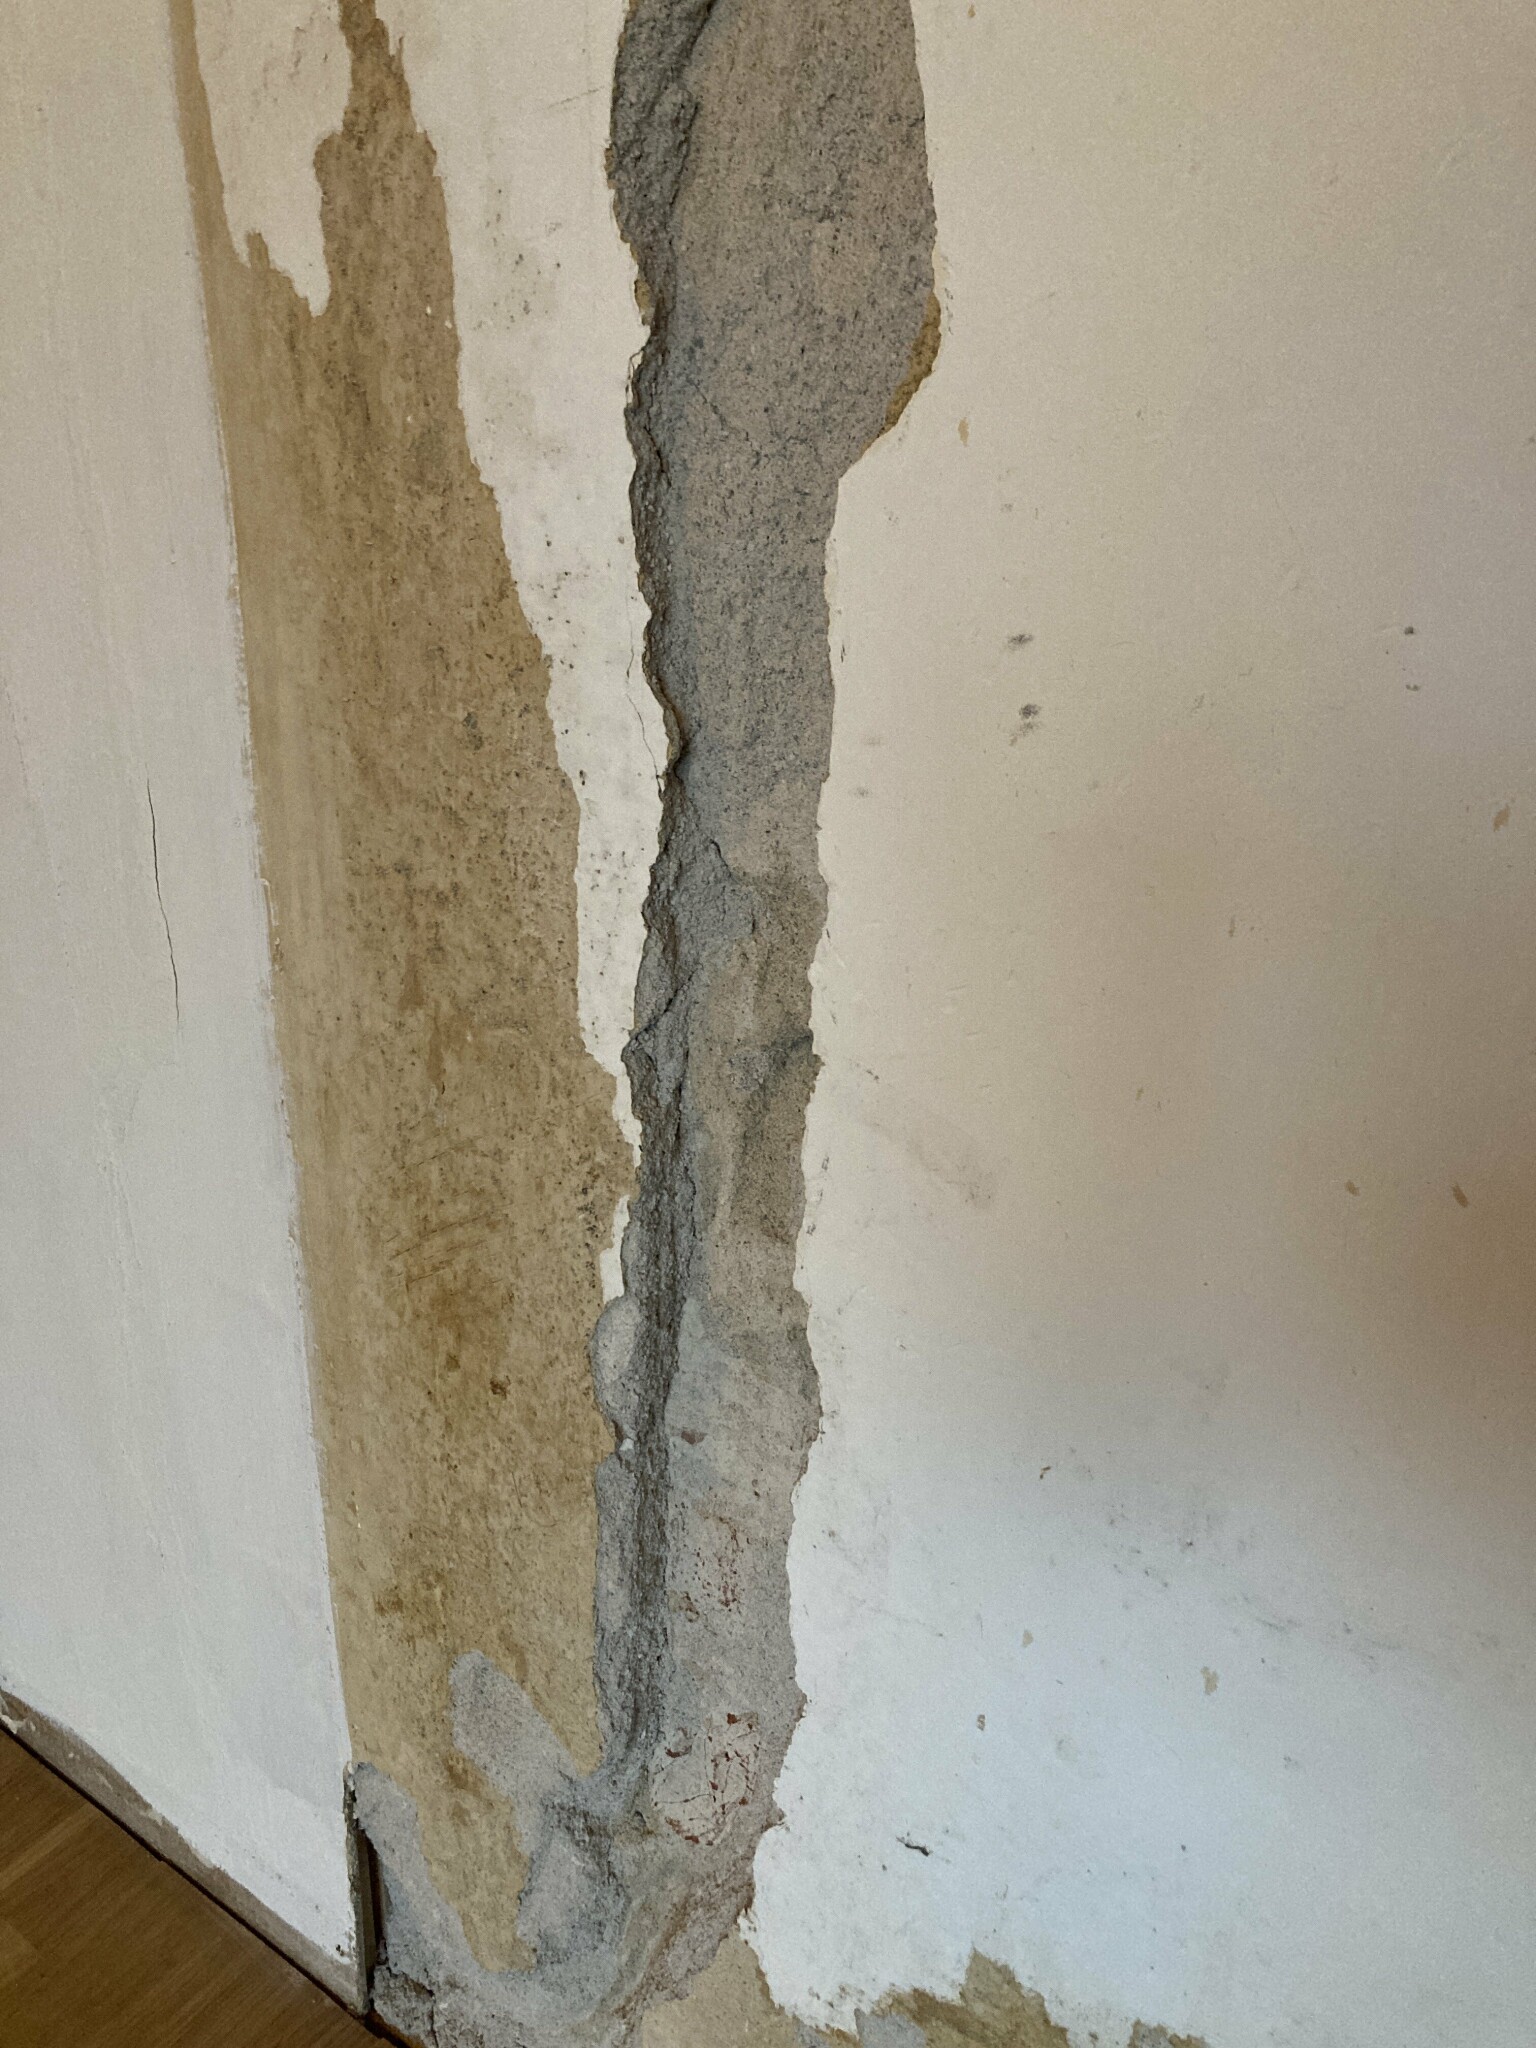
The mortar has come loose between some of the bricks, can it be filled in with the same lime mortar (hydraulic?) that we use to fill the rest?
Click here to reply
Vi vill skicka notiser för ämnen du bevakar och händelser som berör dig.