6,887 views ·
9 replies
7k views
9 replies
Lightweight concrete, renovation plasterboard, and tile adhesive
Hello forum
I want to share a good experience.
I've searched in many threads about aerated concrete and renovation plasterboard but haven't really found an answer regarding installation on aerated concrete walls.
The story begins with me tearing down all the wallpaper and applying a skim coat to the walls, putting on corner protectors around windows, etc. It was a heck of a job. When everything was done, we discovered cracks in the walls... not so fun after spending all that time perfecting it. So we decided to put up renovation plasterboard.
I thought it sounded tricky with construction adhesive/PL 400 with the risk that it could give when pressing on the board due to gaps where the adhesive isn't.
I therefore decided to use tile adhesive as my partner had read that it would work.
First, I bought cement-based tile adhesive but thought it would be cumbersome to mix with water and get messy, unnecessary work that takes even more time. So I returned all the sacks when I saw that there is ready-mixed tile adhesive.
These are water-based, but I thought, what difference does it make on walls above ground level. You skim coat with water-based spackle, so I saw no difference.
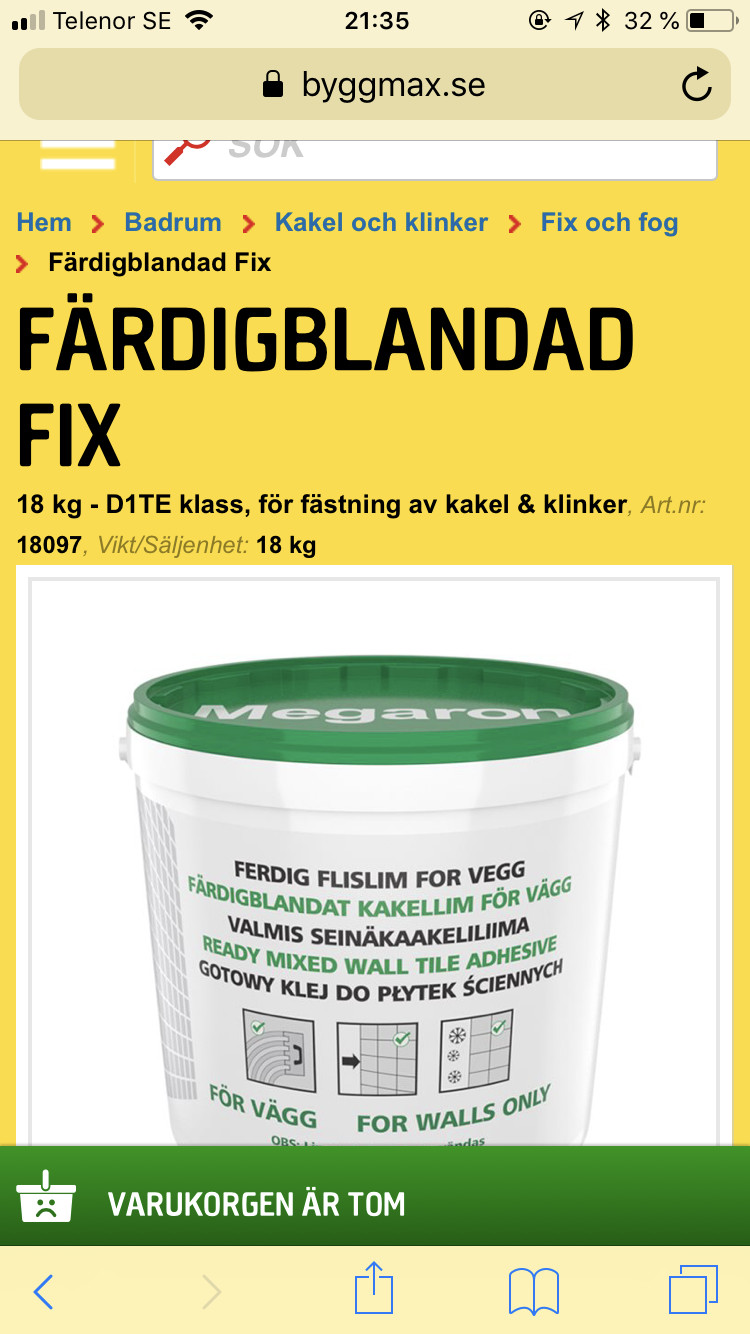
I then bought tile adhesive from Byggmax, see the attached image. It turned out really, really, really well.
Easy to seal when you’ve used what you need, i.e., no unnecessary waste like when mixing yourself.
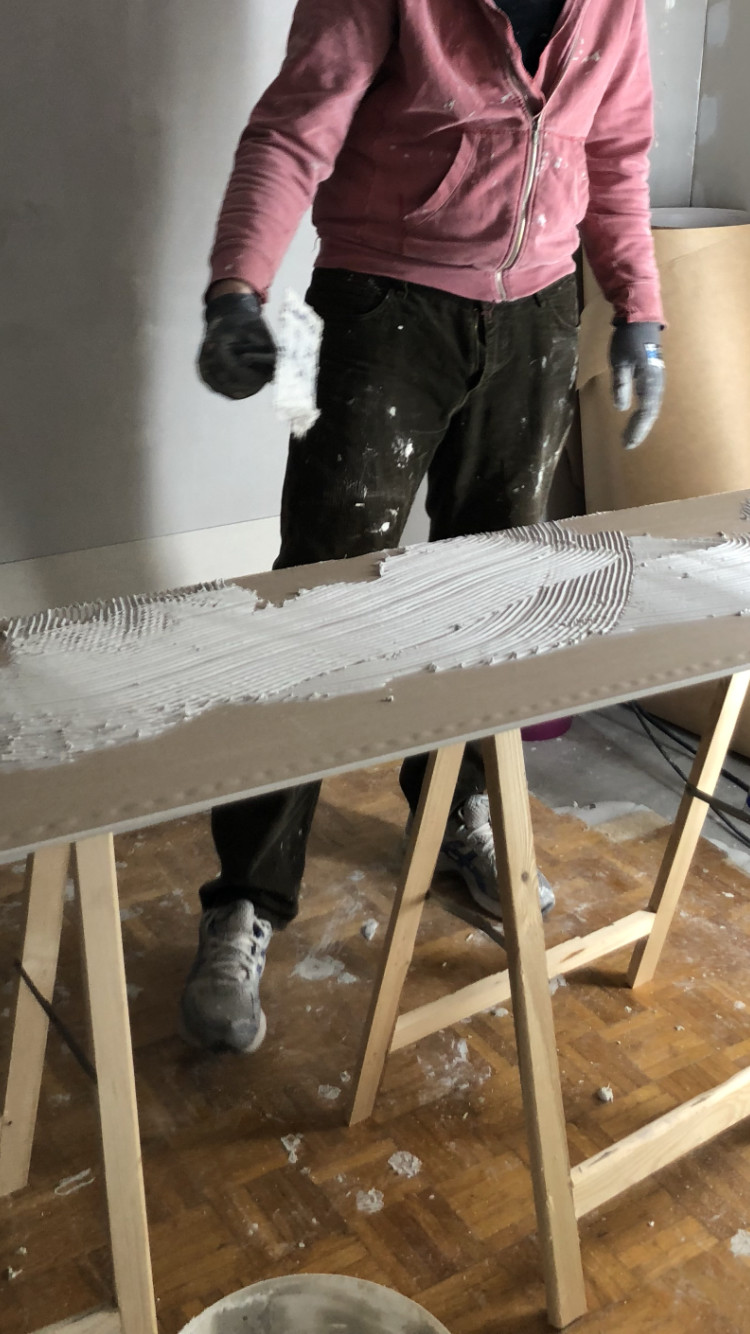
Great consistency, easy to spread on the plasterboards with a notched trowel. It adhered directly to the wall, didn't need screws to get it to stick.
However, I did screw the boards to get them flush against the wall in the joints that need spackling.
Then there's the occasional screw where I wanted to align the board more to straighten the wall.
All screws that are not in the seams are removed before spackling.
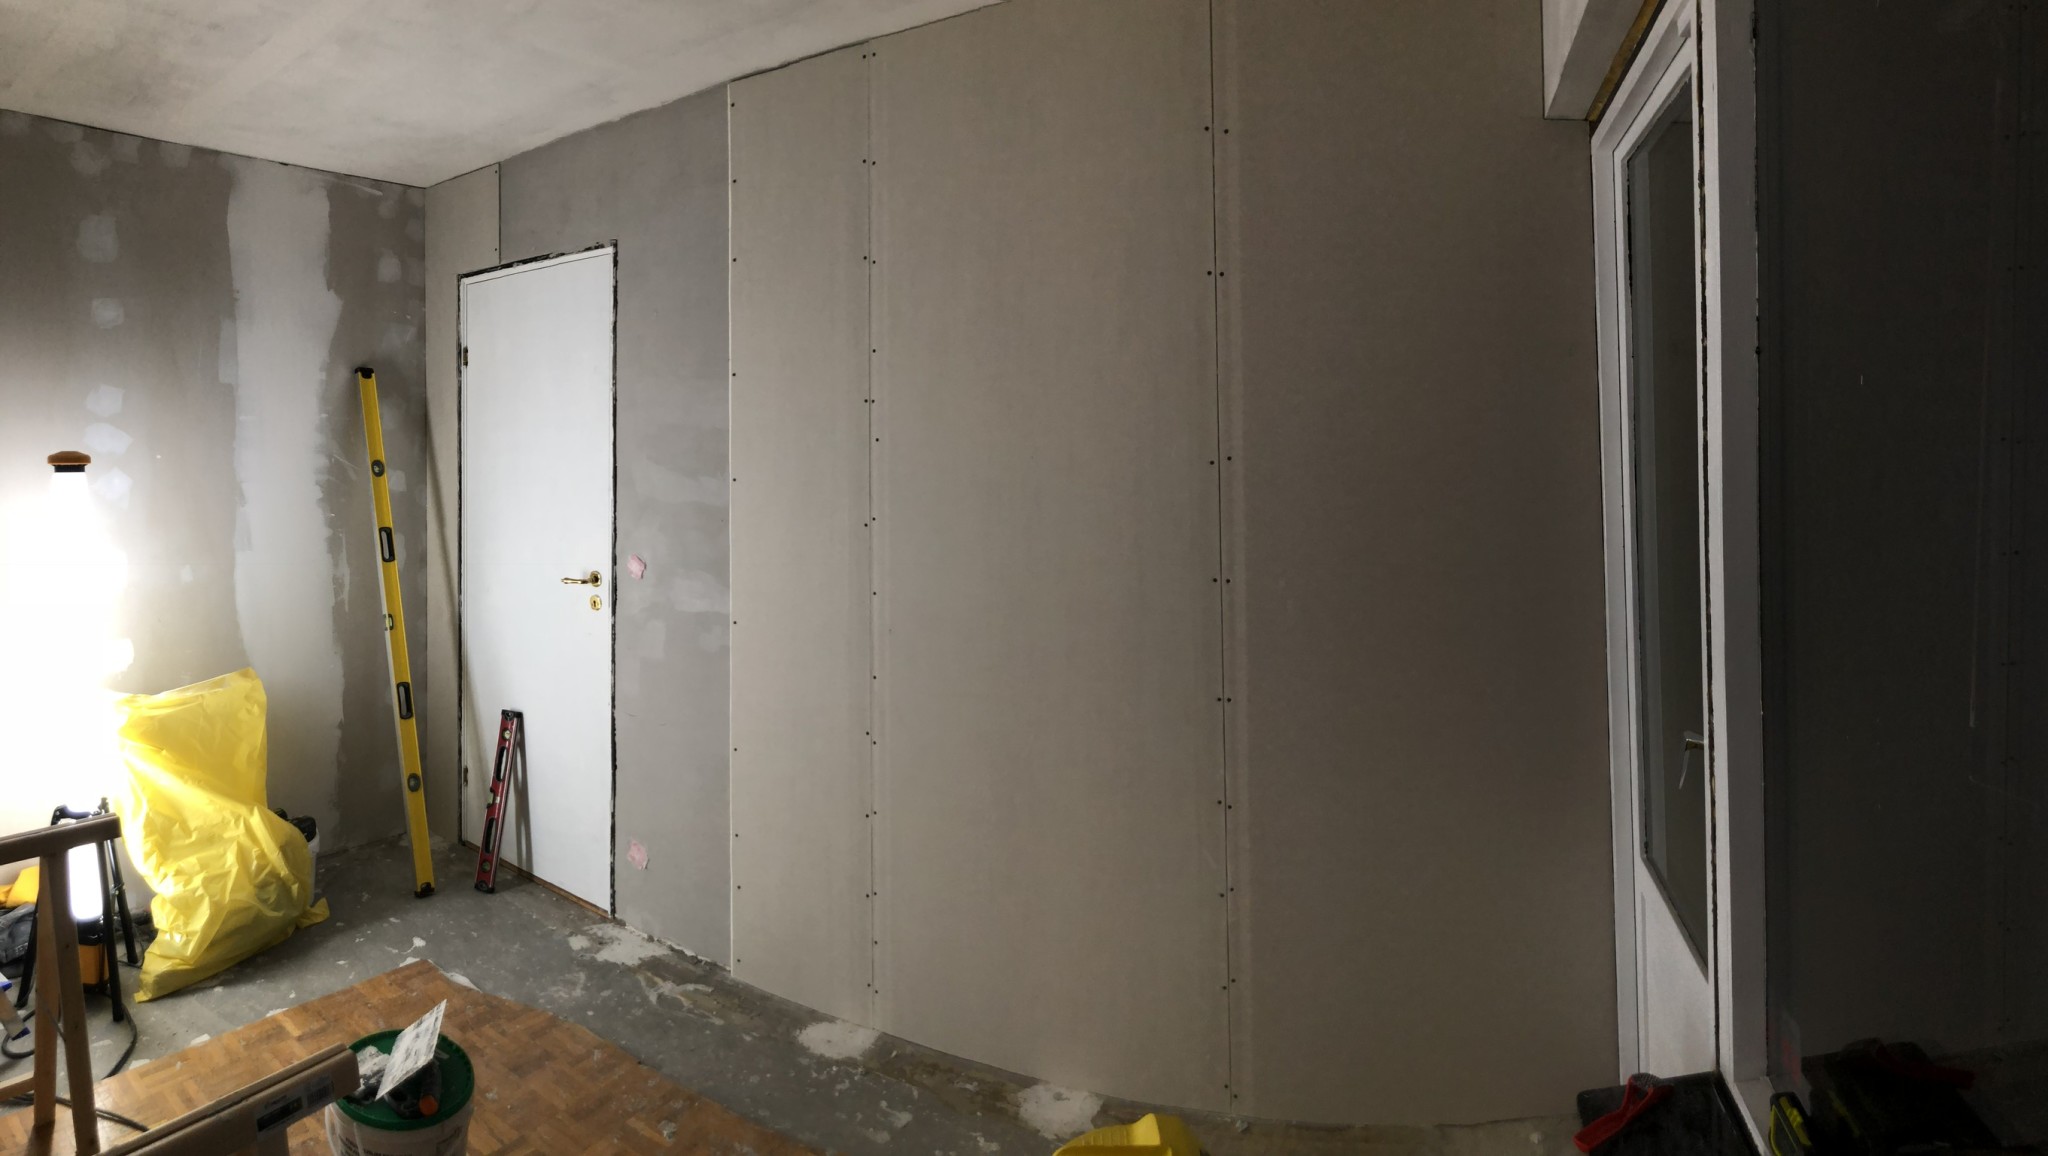
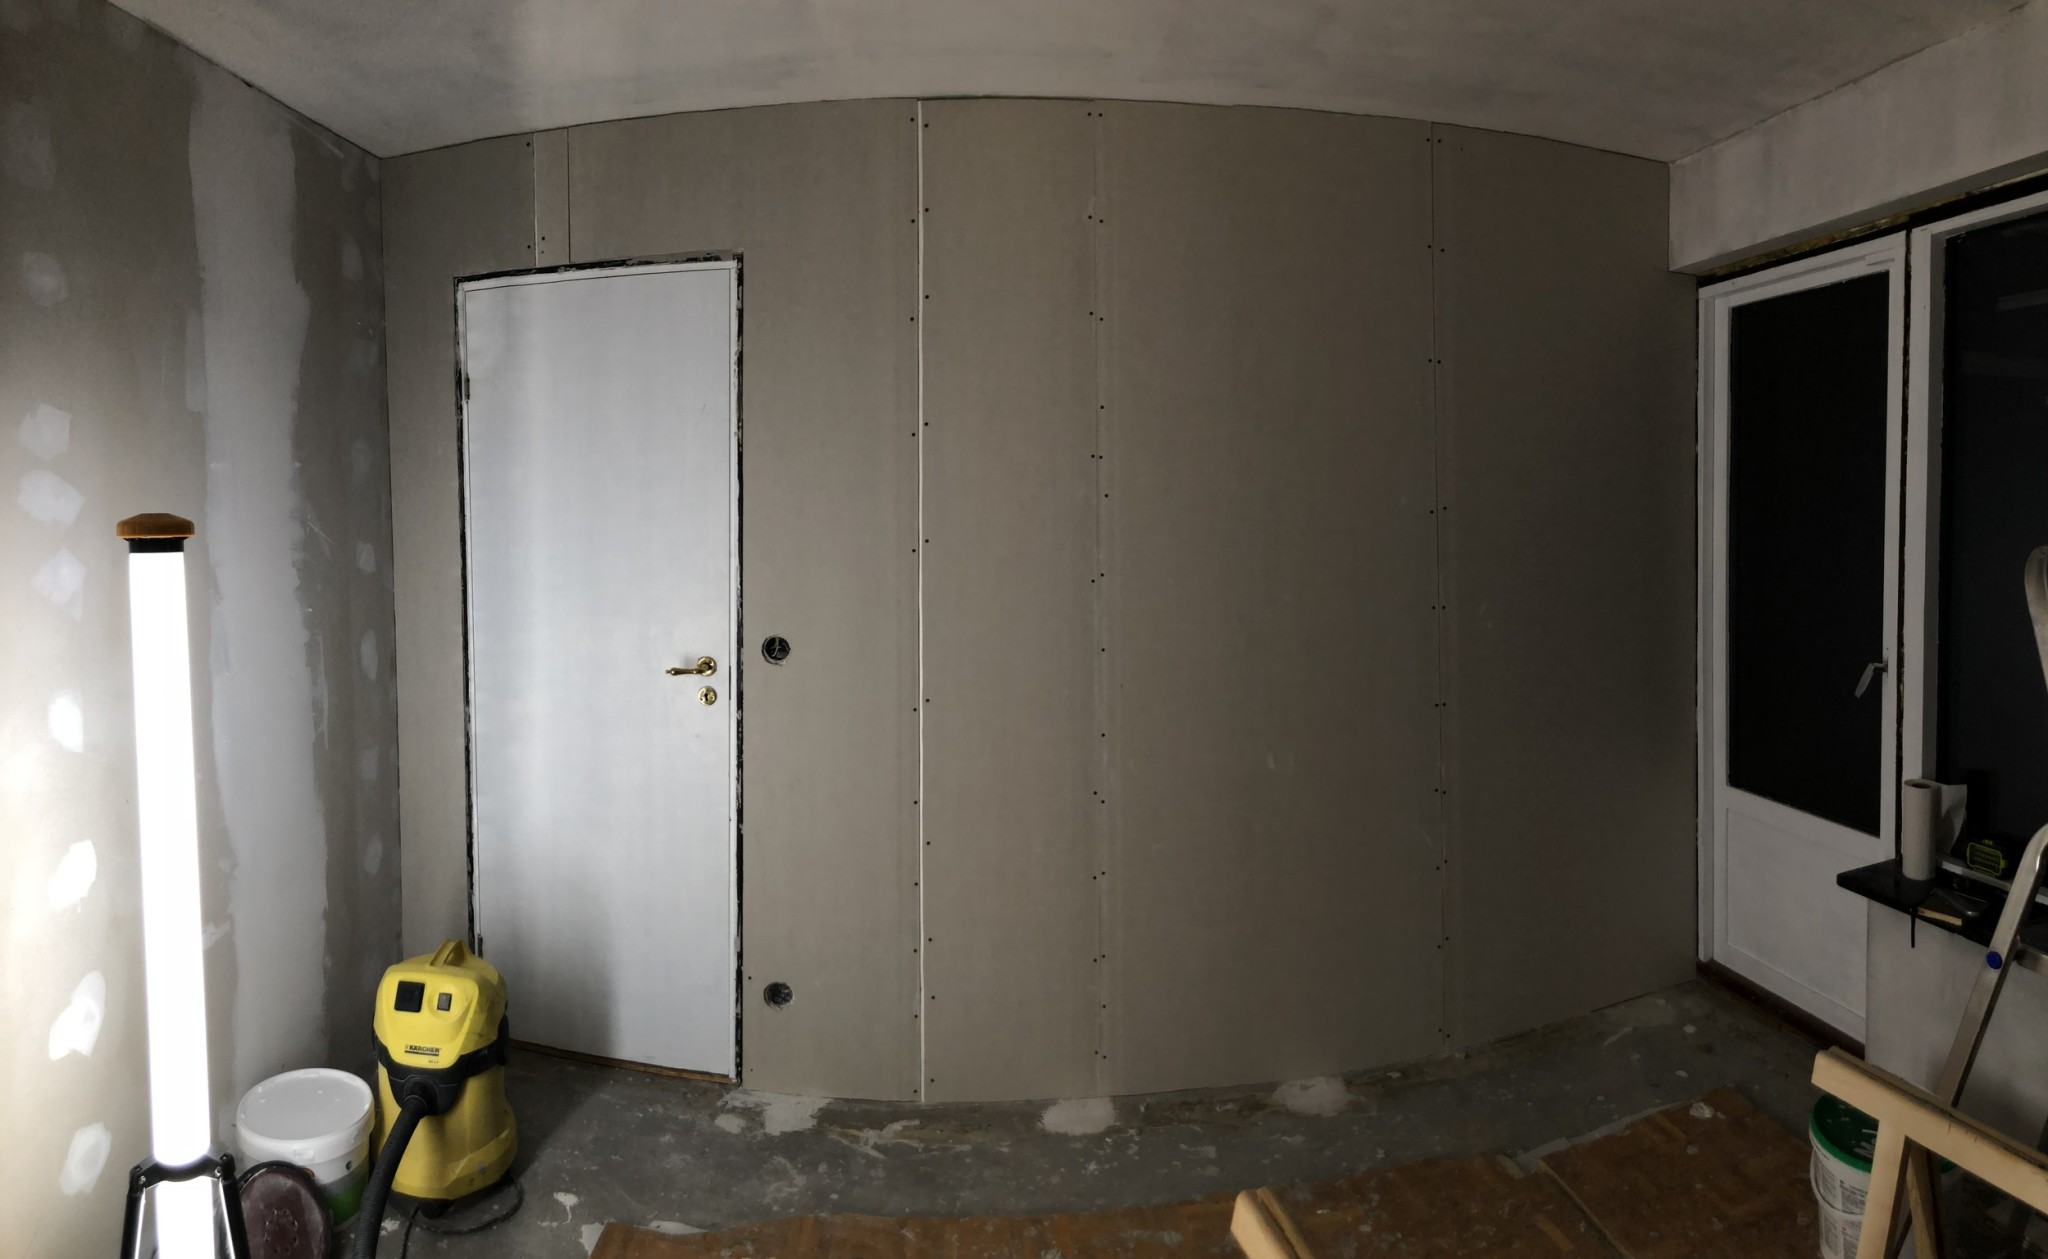
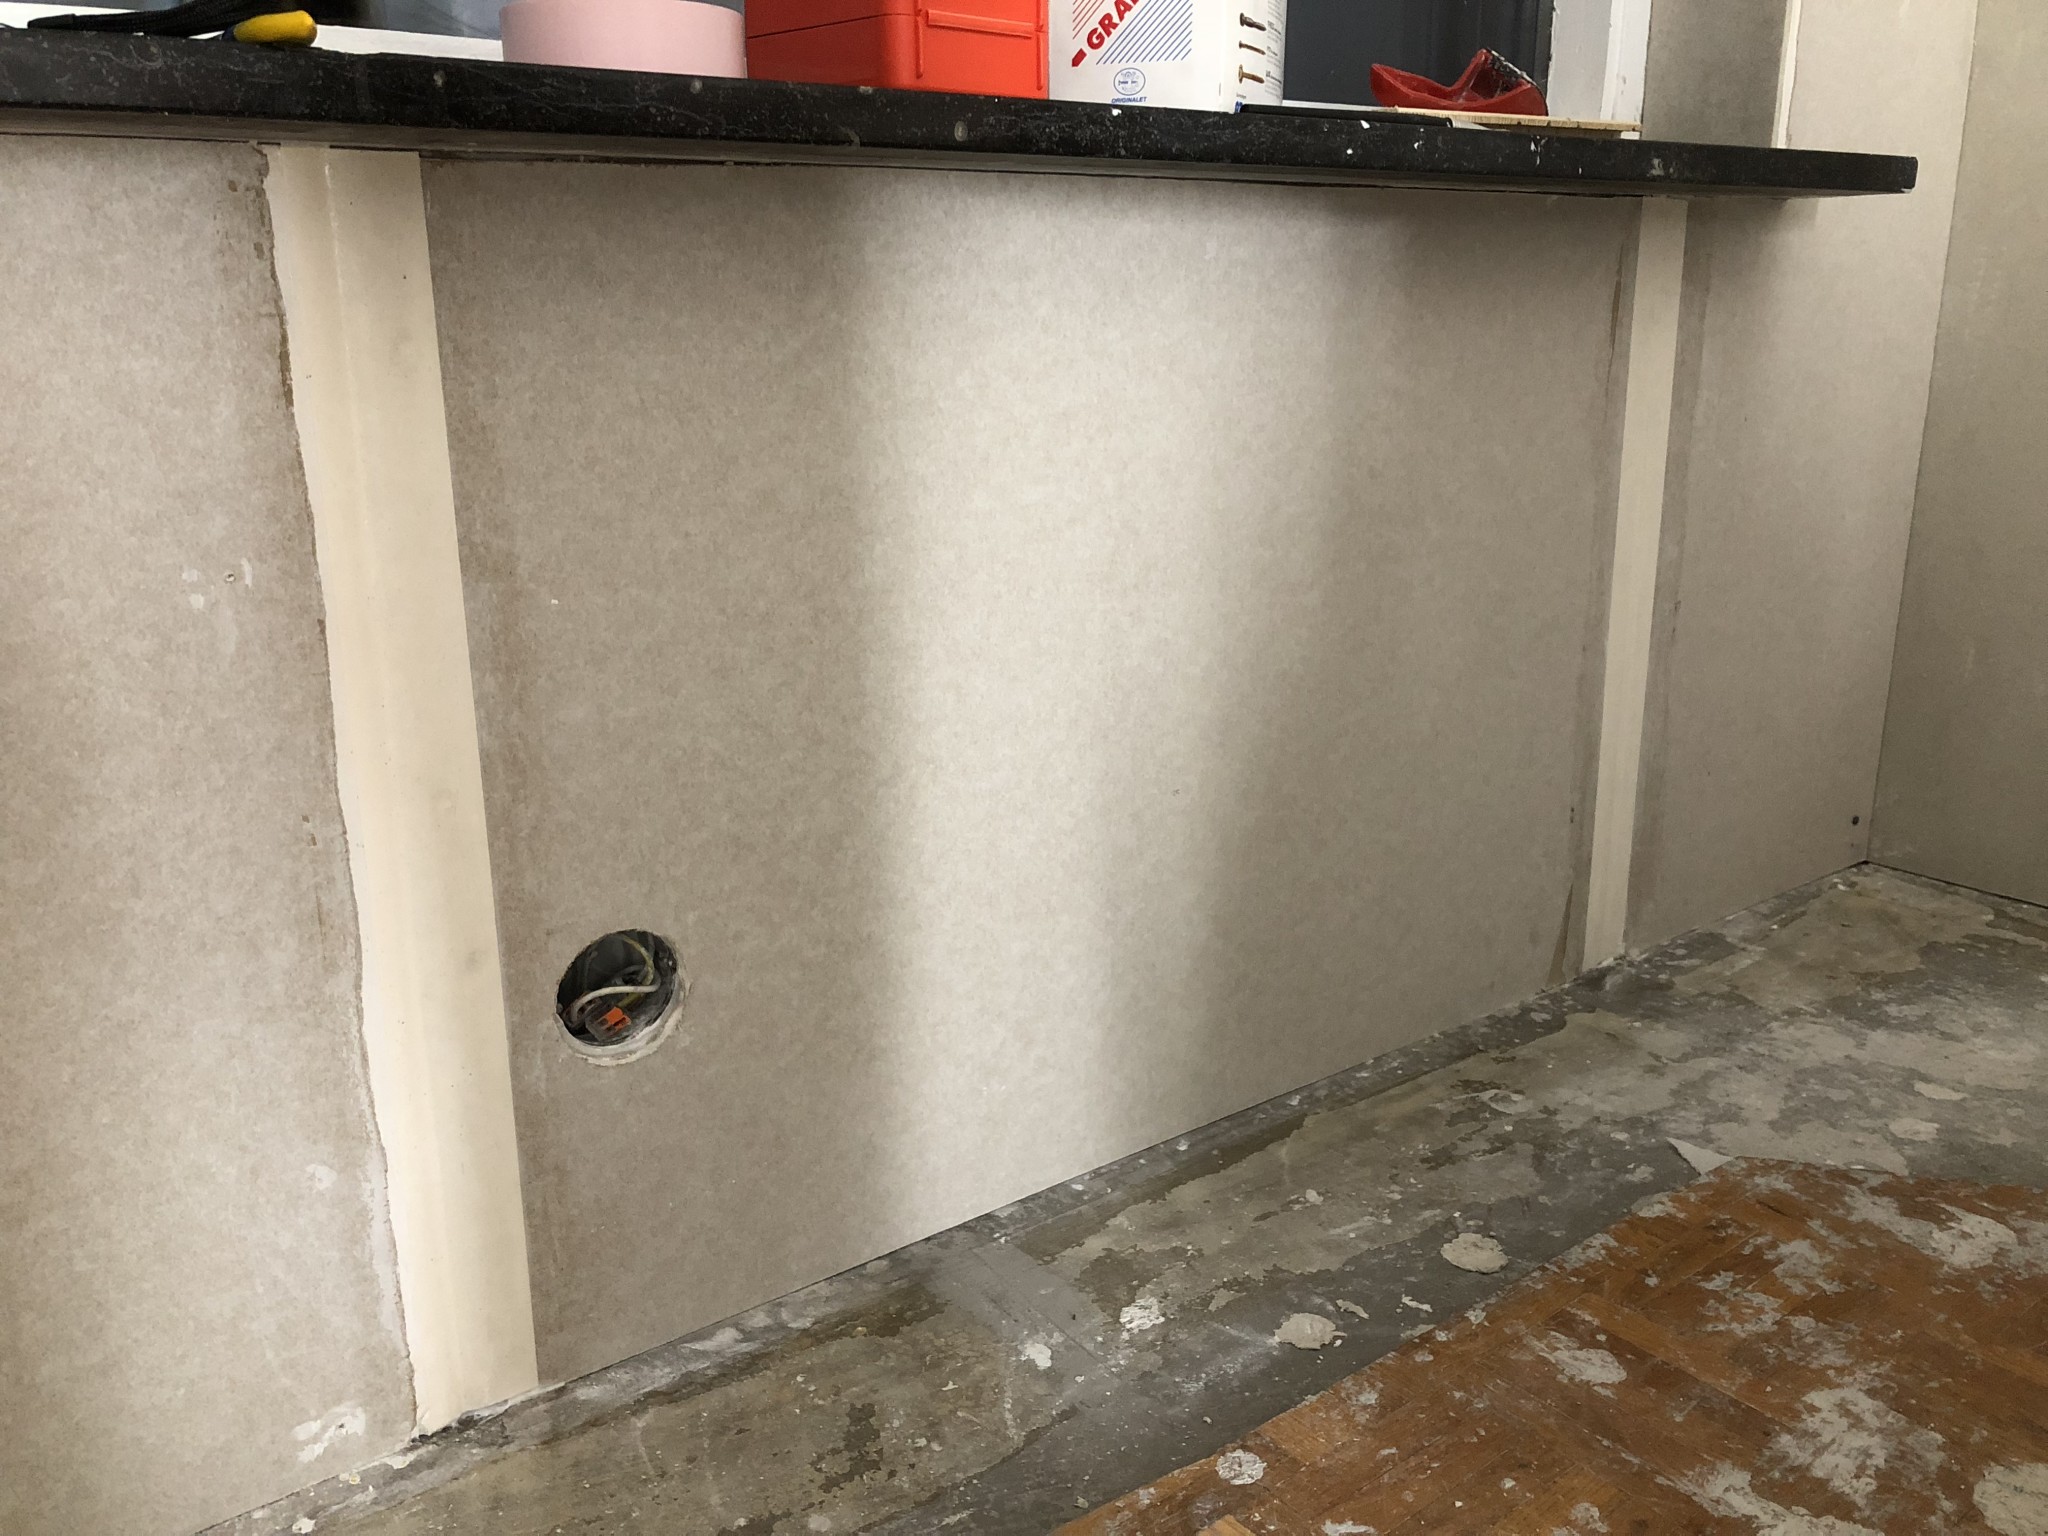
The renovation plasterboard evens out irregularities in the wall very well.
You shouldn’t be deceived when pressing on the board and it gives; the board is straight, and pressing it in makes it uneven.
When the tile adhesive has dried, the board is completely firm and straighter than the wall was before.
I highly recommend this tile adhesive and this method for installing renovation plasterboard on aerated concrete walls.
Procedure:
1. Be sure to remove the worst irregularities with coarse/medium filler. Mainly voids.
2. Prime the wall, use a roller and brush in corners/edges.
3. Measure the plasterboard and cut so it fits.
Double-check the fit before applying the tile adhesive, otherwise, it will be messy and cumbersome to correct.
4. Apply the tile adhesive with a 4mm notched trowel.
5. Mount the board on the wall. Be sure to fit it correctly before pressing it as it is difficult to adjust afterward once the tile adhesive has set.
Use your hand or a rubber mallet with a wooden block to get the board properly in place.
6. Take a spirit level/straightedge to check the evenness. Screw in screws where the board needs to be tighter against the wall. Be diligent in checking the straightness continuously.
Regular drywall screws work well.
7. Once the tile adhesive has dried, remove the screws that are not screwed into recesses.
It was really simple and the result was great.
Hope this helps someone!")
Happy New Year!
I want to share a good experience.
I've searched in many threads about aerated concrete and renovation plasterboard but haven't really found an answer regarding installation on aerated concrete walls.
The story begins with me tearing down all the wallpaper and applying a skim coat to the walls, putting on corner protectors around windows, etc. It was a heck of a job. When everything was done, we discovered cracks in the walls... not so fun after spending all that time perfecting it. So we decided to put up renovation plasterboard.
I thought it sounded tricky with construction adhesive/PL 400 with the risk that it could give when pressing on the board due to gaps where the adhesive isn't.
I therefore decided to use tile adhesive as my partner had read that it would work.
First, I bought cement-based tile adhesive but thought it would be cumbersome to mix with water and get messy, unnecessary work that takes even more time. So I returned all the sacks when I saw that there is ready-mixed tile adhesive.
These are water-based, but I thought, what difference does it make on walls above ground level. You skim coat with water-based spackle, so I saw no difference.
I then bought tile adhesive from Byggmax, see the attached image. It turned out really, really, really well.
Easy to seal when you’ve used what you need, i.e., no unnecessary waste like when mixing yourself.
Great consistency, easy to spread on the plasterboards with a notched trowel. It adhered directly to the wall, didn't need screws to get it to stick.
However, I did screw the boards to get them flush against the wall in the joints that need spackling.
Then there's the occasional screw where I wanted to align the board more to straighten the wall.
All screws that are not in the seams are removed before spackling.
The renovation plasterboard evens out irregularities in the wall very well.
You shouldn’t be deceived when pressing on the board and it gives; the board is straight, and pressing it in makes it uneven.
When the tile adhesive has dried, the board is completely firm and straighter than the wall was before.
I highly recommend this tile adhesive and this method for installing renovation plasterboard on aerated concrete walls.
Procedure:
1. Be sure to remove the worst irregularities with coarse/medium filler. Mainly voids.
2. Prime the wall, use a roller and brush in corners/edges.
3. Measure the plasterboard and cut so it fits.
Double-check the fit before applying the tile adhesive, otherwise, it will be messy and cumbersome to correct.
4. Apply the tile adhesive with a 4mm notched trowel.
5. Mount the board on the wall. Be sure to fit it correctly before pressing it as it is difficult to adjust afterward once the tile adhesive has set.
Use your hand or a rubber mallet with a wooden block to get the board properly in place.
6. Take a spirit level/straightedge to check the evenness. Screw in screws where the board needs to be tighter against the wall. Be diligent in checking the straightness continuously.
Regular drywall screws work well.
7. Once the tile adhesive has dried, remove the screws that are not screwed into recesses.
It was really simple and the result was great.
Hope this helps someone!
Happy New Year!
I used regular drywall screws 48mm, worked great. It’s not the screws that are supposed to hold the board, but the tile adhesive, the screws are just to fix where needed. I used drywall screws so the drywall wouldn't be torn apartZ ZipLock said:
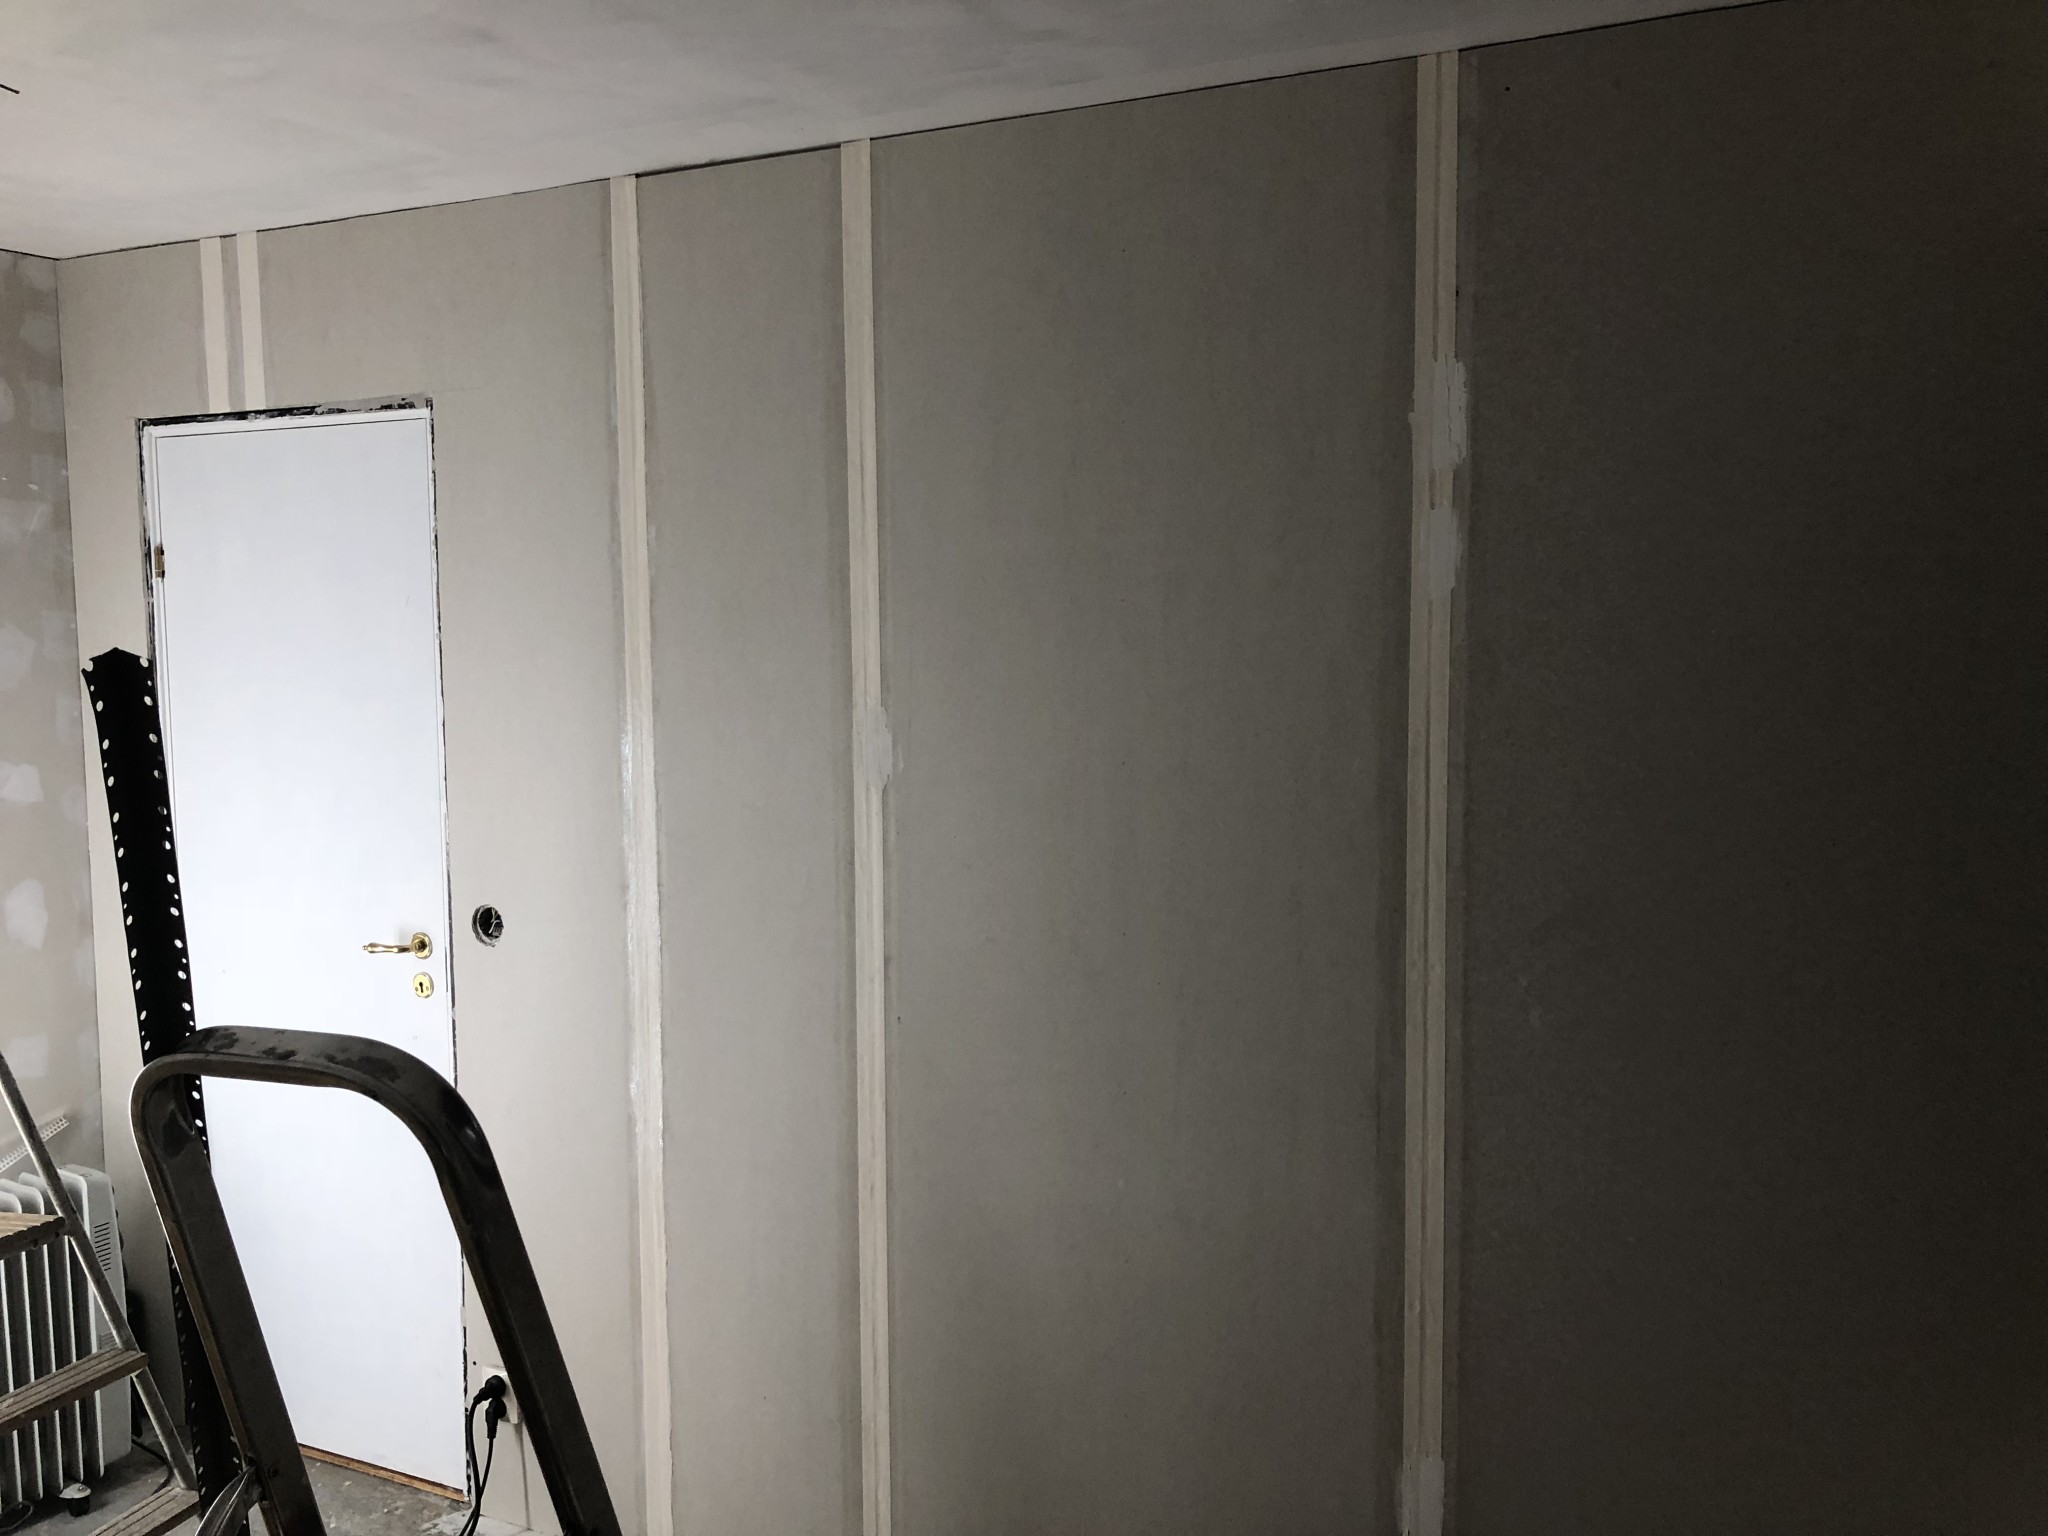
It worked excellently for the purpose. I think you can manage without screws really, too; in the picture, you can see that I only screwed two screws down by the door opening that are not in a recess, just to pull the board against the wall because the board was sticking out there. Glad the tips are appreciated!In this case, it doesn't matter if you overtighten because the tile adhesive grips. The board will be pressed against it anyway; I tested overtightening and not overtightening, and there was no difference since the screws are still quite longC corre said:
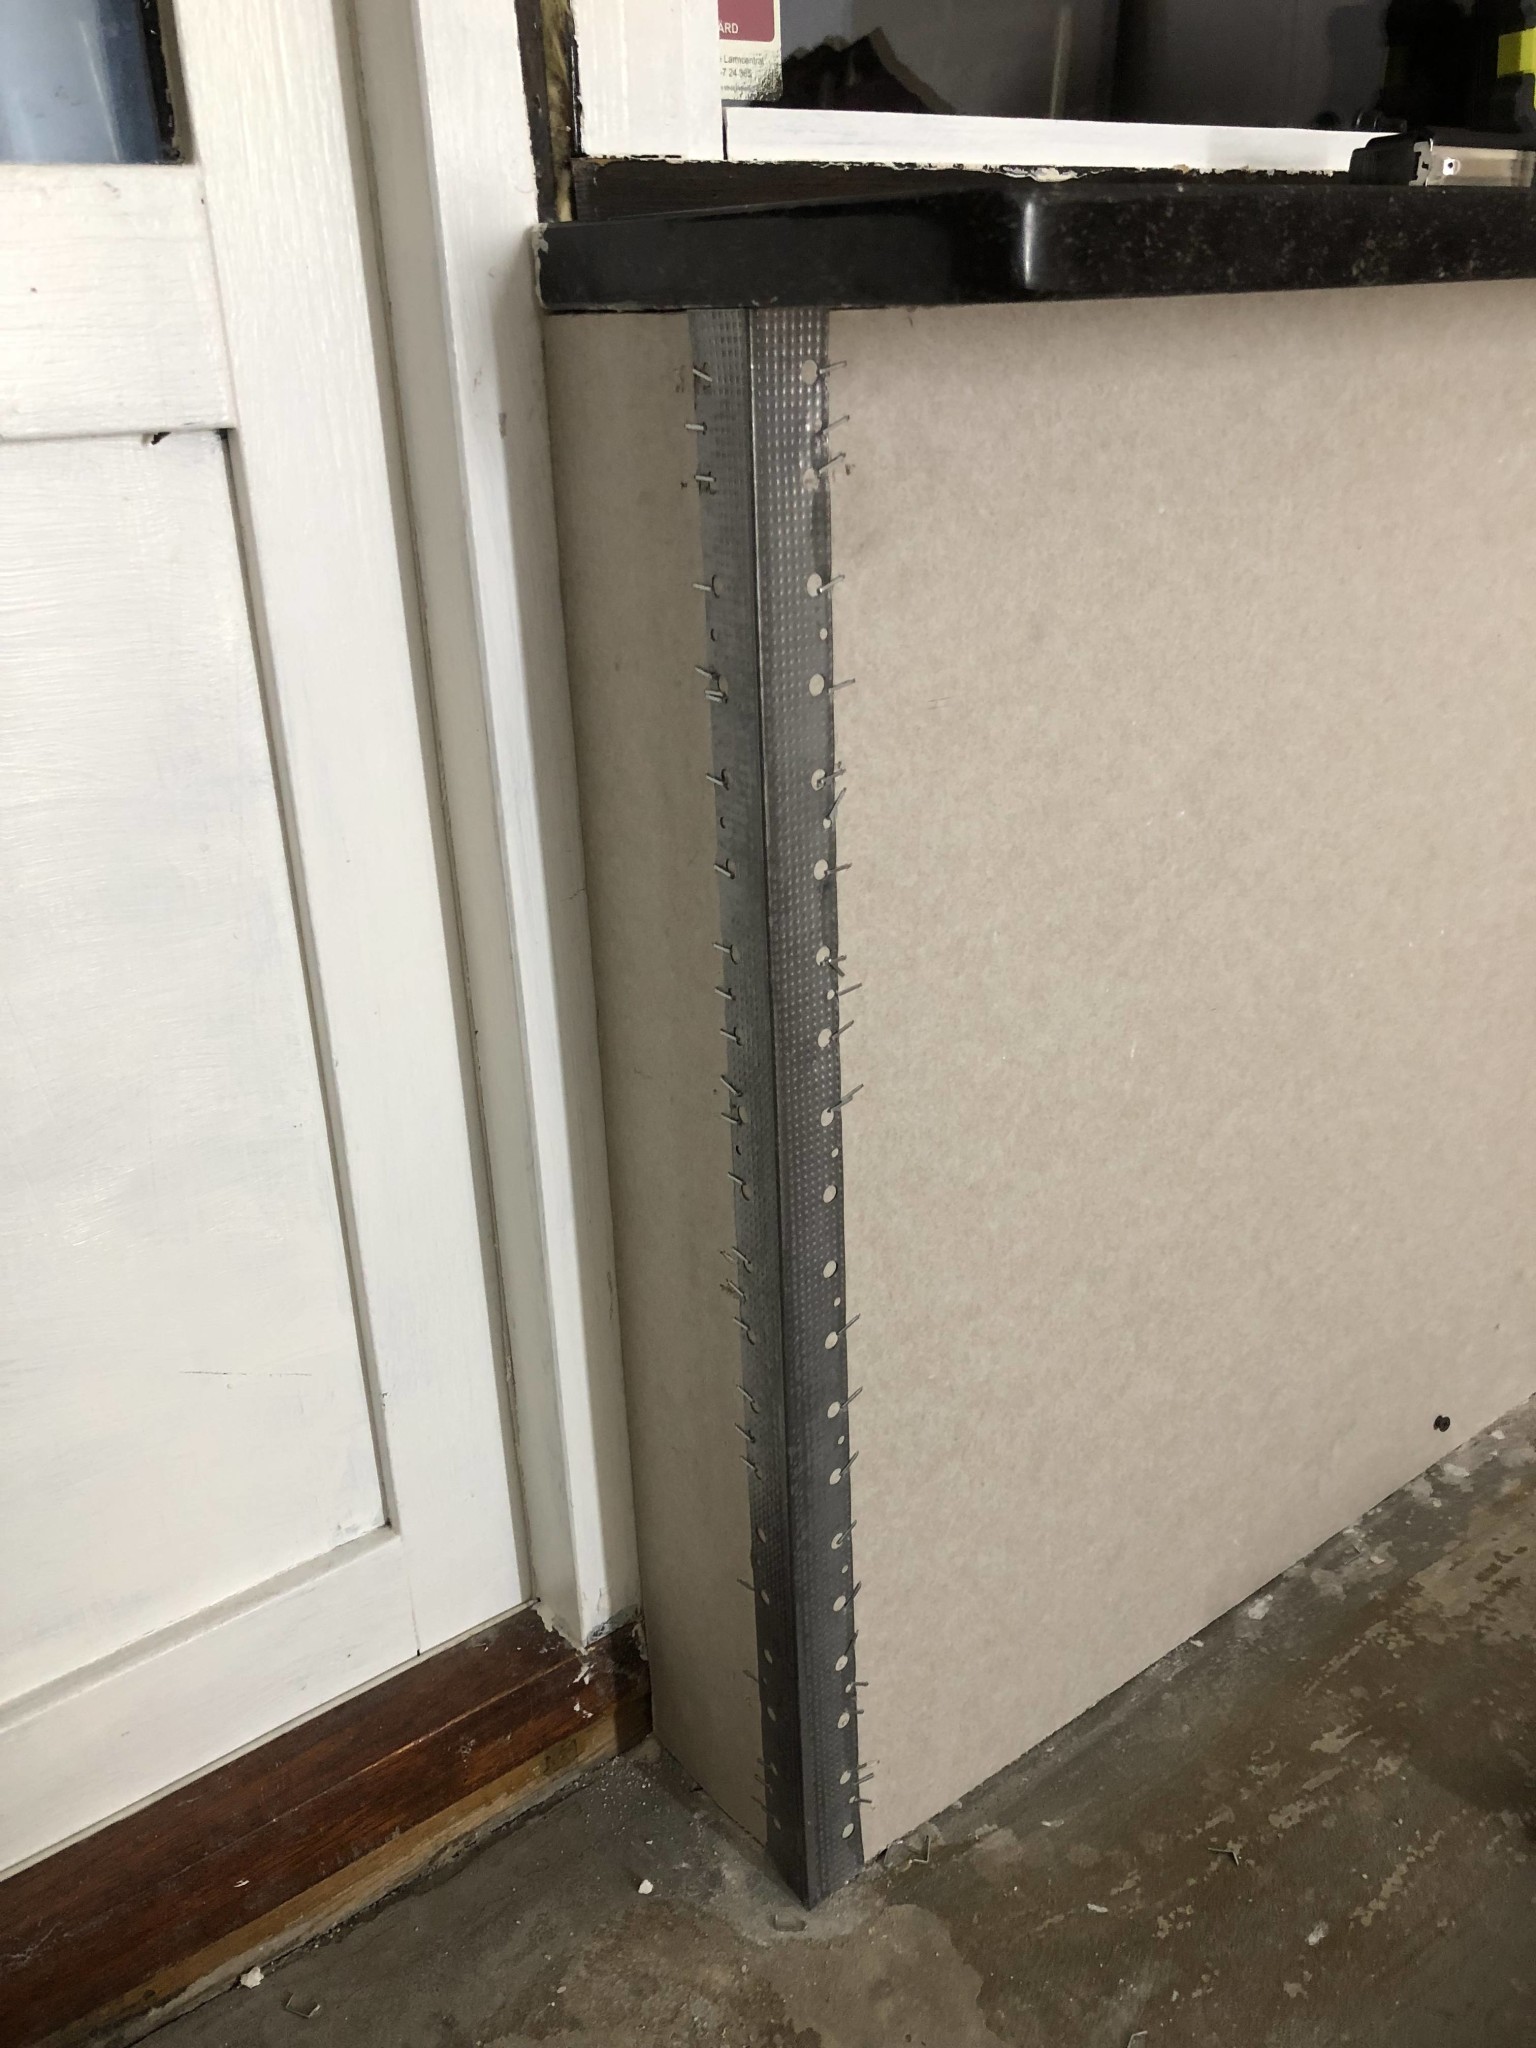
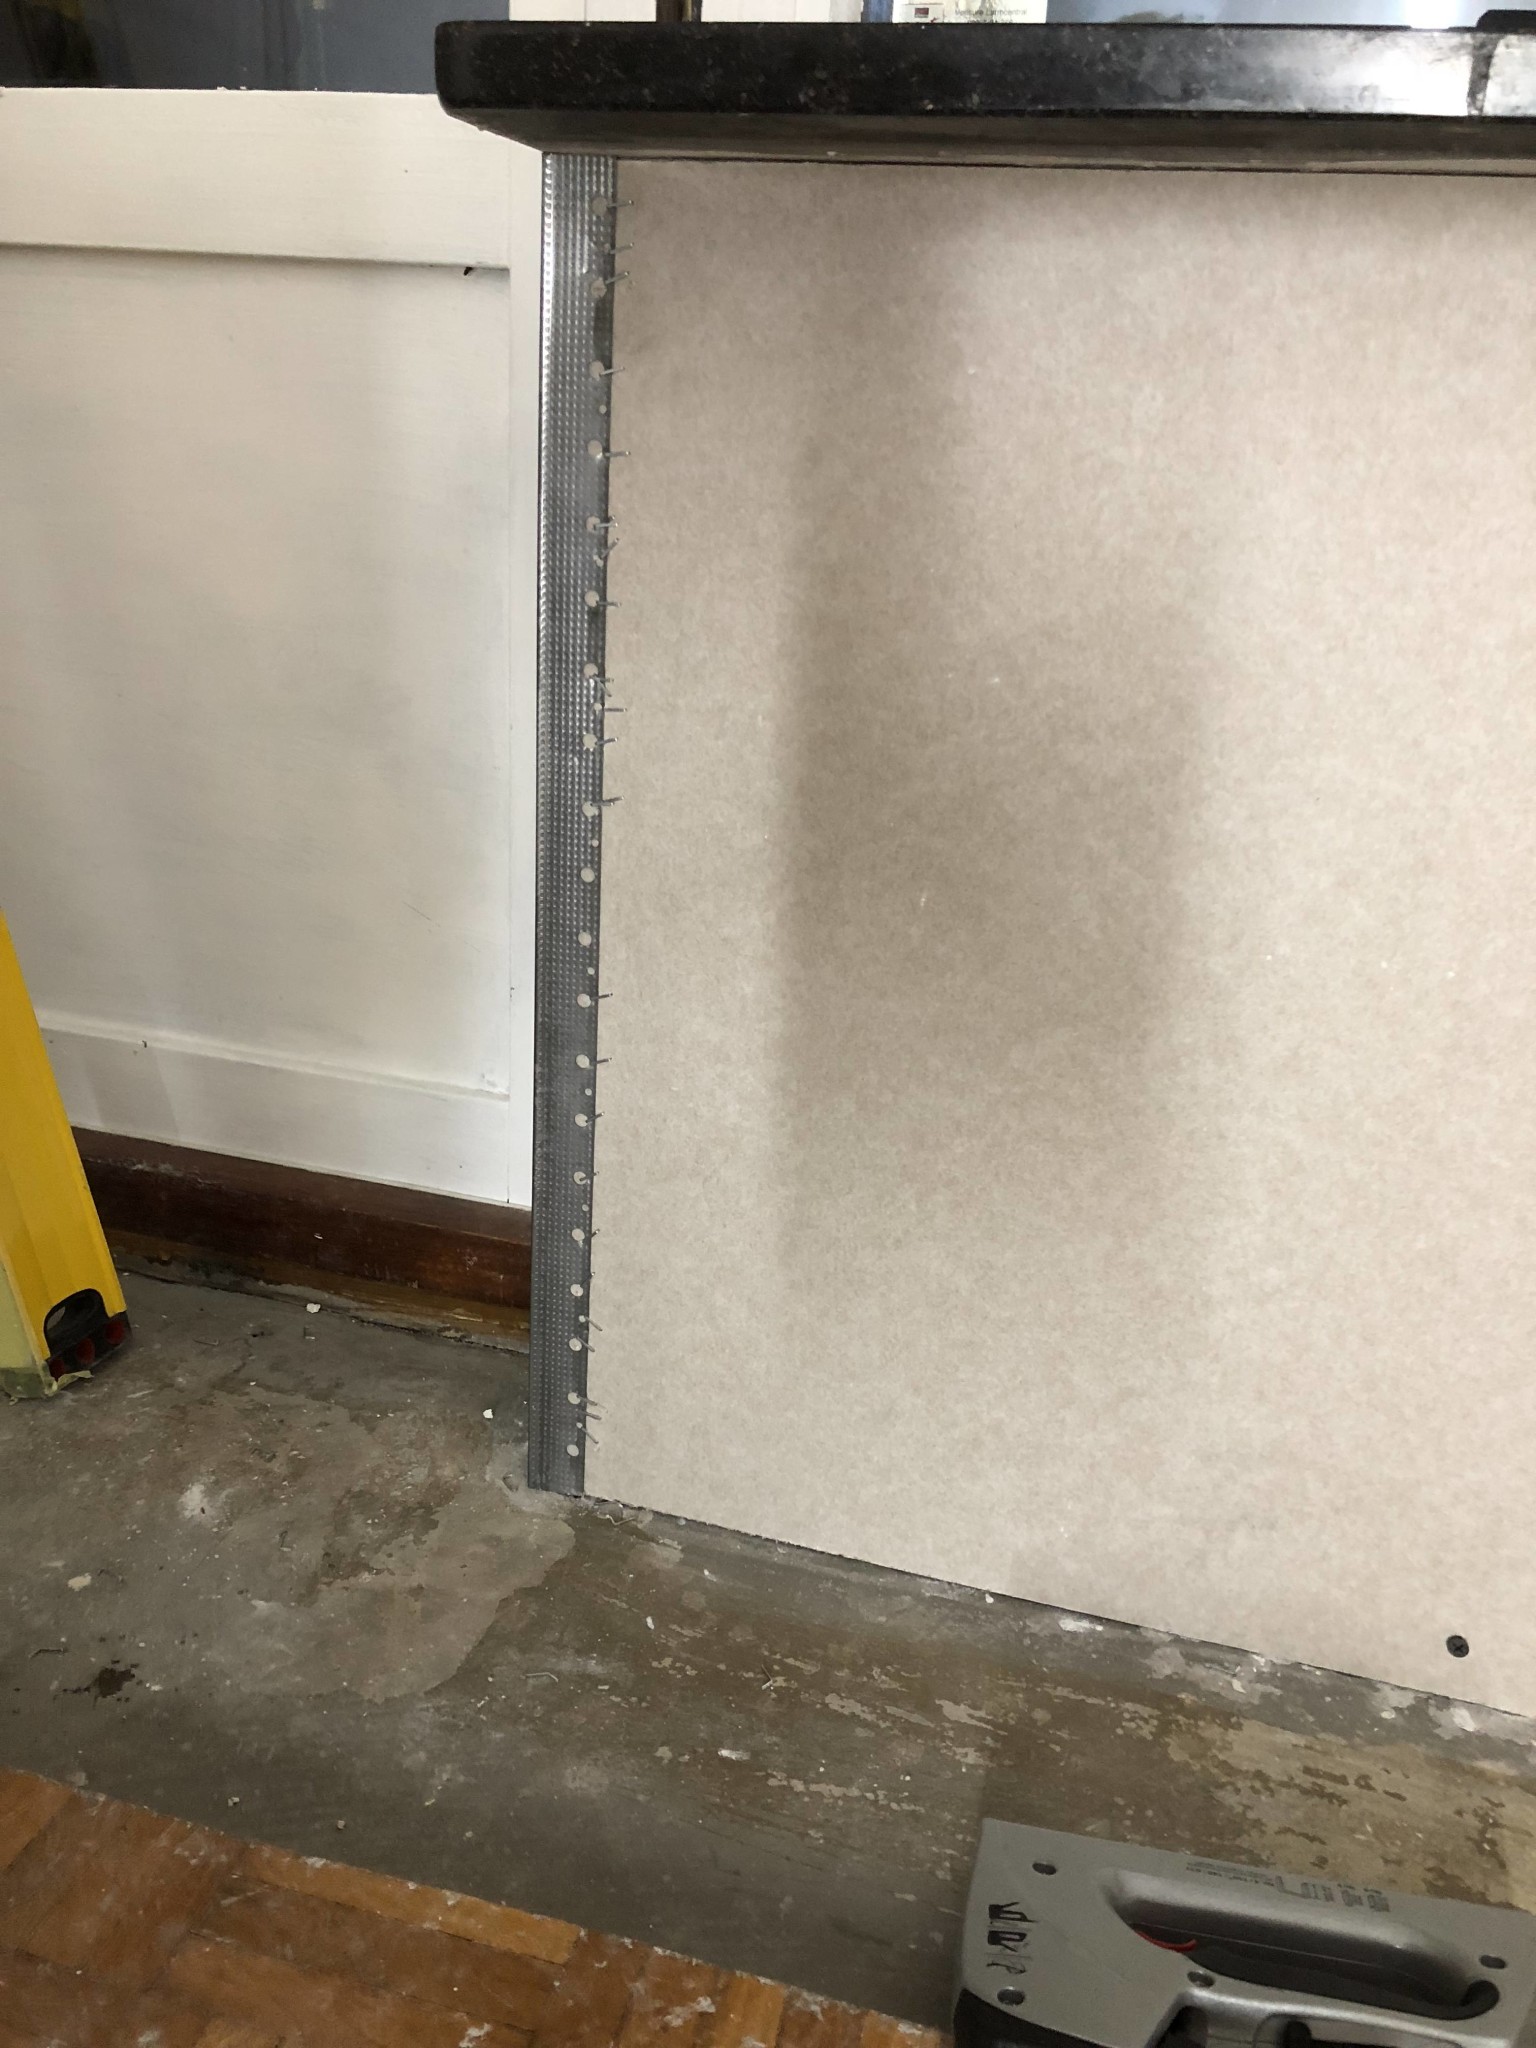
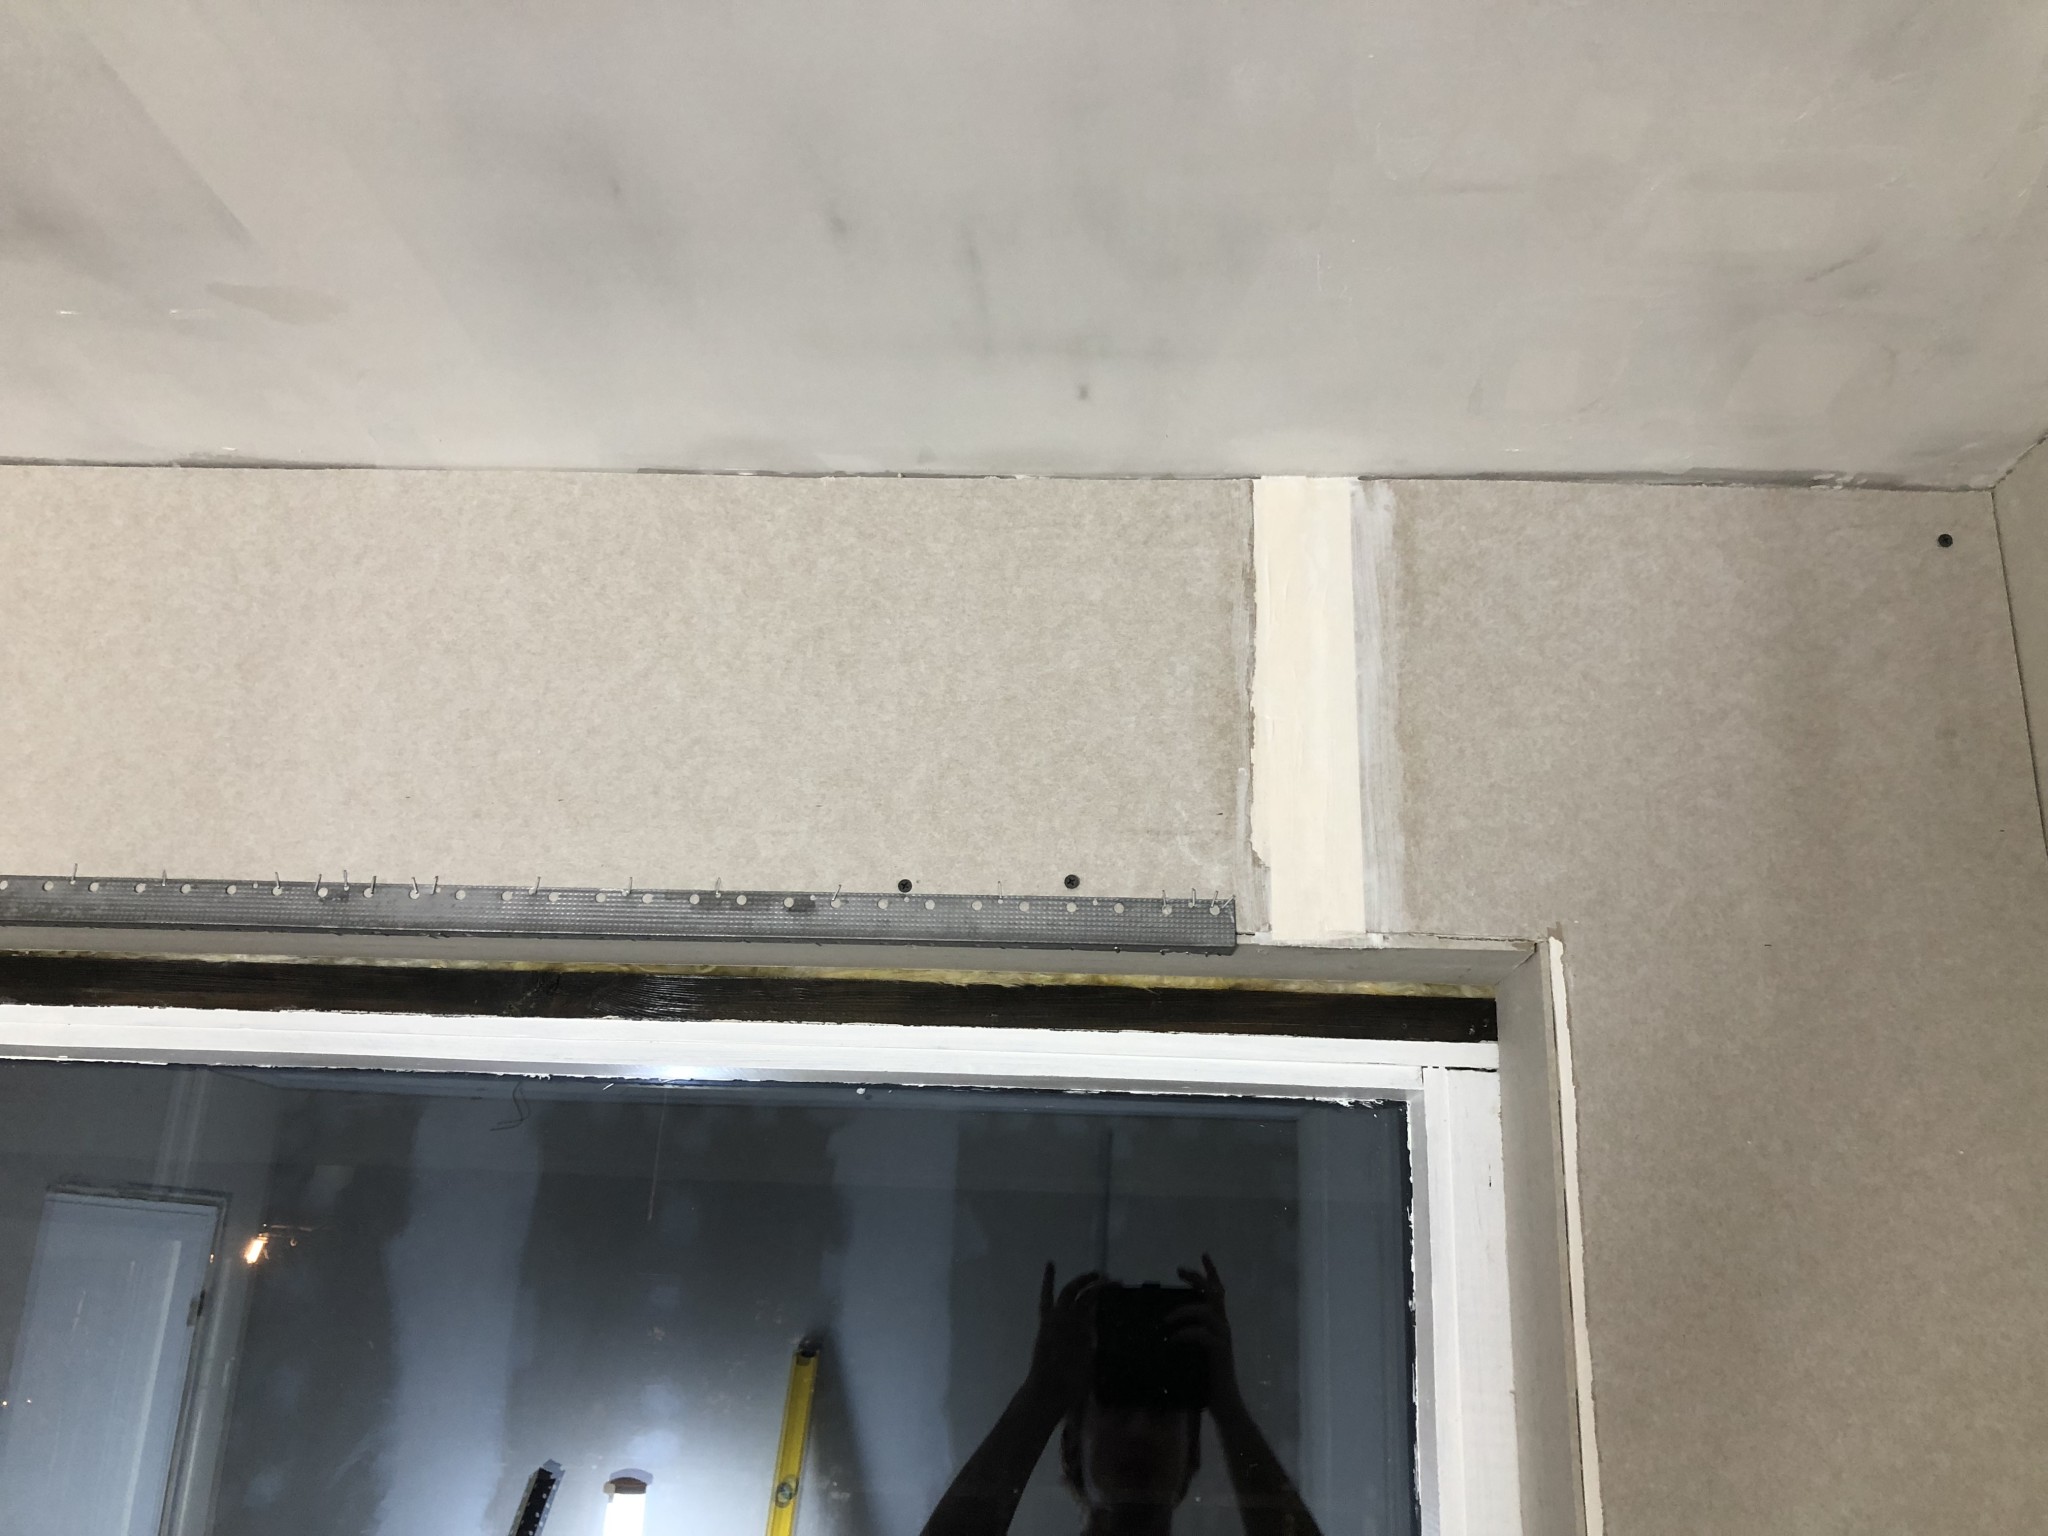
In the outer corners, I use metal corner protectors.
The drywall boards are placed with the beveled edge outward to achieve an even corner that aligns with the other drywall boards.
A tip during installation is to use a 30 cm putty knife that you drag along the wall and out over the corner; when the putty aligns with the corner protector, you fix it in position.
To attach these, I use galvanized staples.
I don't want to use glue, as it needs to be fixed anyway, and I don't want to use paper tape/drywall screws because I don't want to risk it cracking/becoming large holes so it moves. But maybe that's how you should do it? Staples were very good in any case.
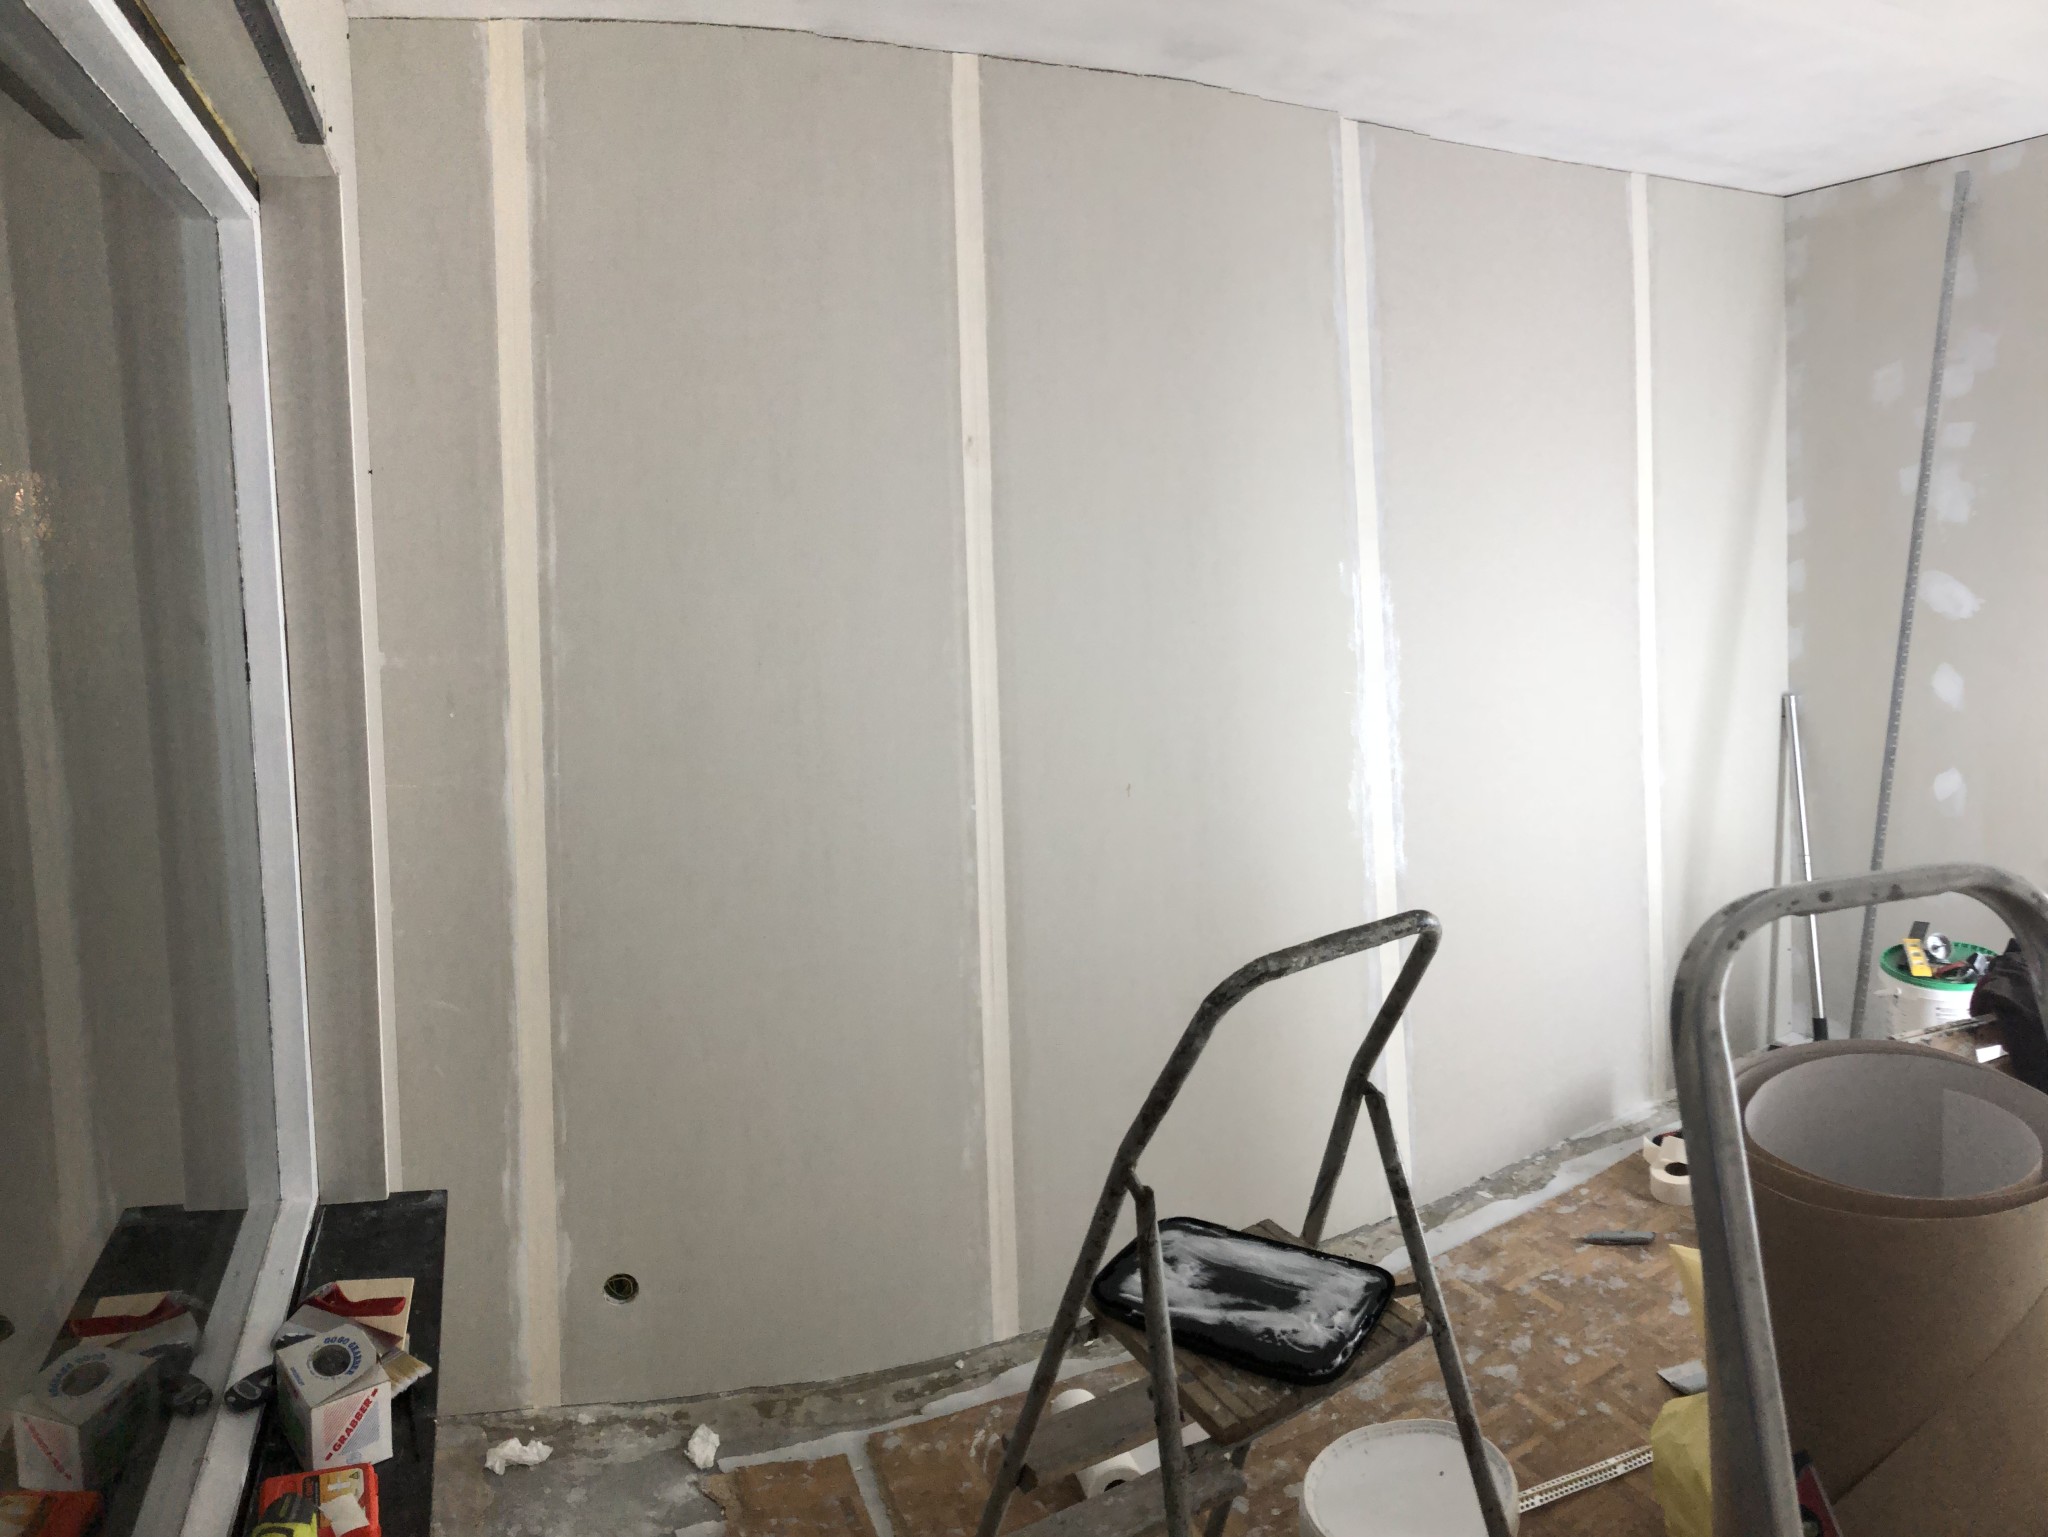
The seams are first lightly spackled with fine putty, then a generous amount of bathroom adhesive is brushed on.
After that, insert a paper strip and brush more bathroom adhesive over the strip.
Spread it out with your finger so that all air bubbles disappear and so that the strip follows the drywall and any gaps precisely.
The drywall boards are placed with the beveled edge outward to achieve an even corner that aligns with the other drywall boards.
A tip during installation is to use a 30 cm putty knife that you drag along the wall and out over the corner; when the putty aligns with the corner protector, you fix it in position.
To attach these, I use galvanized staples.
I don't want to use glue, as it needs to be fixed anyway, and I don't want to use paper tape/drywall screws because I don't want to risk it cracking/becoming large holes so it moves. But maybe that's how you should do it? Staples were very good in any case.
The seams are first lightly spackled with fine putty, then a generous amount of bathroom adhesive is brushed on.
After that, insert a paper strip and brush more bathroom adhesive over the strip.
Spread it out with your finger so that all air bubbles disappear and so that the strip follows the drywall and any gaps precisely.
What a great thread! I am about to start renovating with exactly the same conditions.kapten_krok said:
Hello forum
I want to share a good experience.
I have searched many threads regarding aerated concrete and renovation gypsum but haven't really found any answers about installing on aerated concrete walls.
The story begins with me tearing down all the wallpaper and puttying the walls, putting on corner protectors around windows, etc., a heck of a job. When everything was finished, we discovered cracks in the walls... not so fun when you've spent all the time trying to get it right.
So we decided to put up renovation gypsum.
I thought it sounded complicated with mounting glue/PL 400, with the risk that it could sag when you press on the board because there are voids where the glue isn't.
I therefore decided to use tile adhesive since my partner had read that it would work.
First, I bought cement-based tile adhesive, but I thought it would be too cumbersome to mix with water and make a mess, unnecessary work that takes even more time. So I returned all the bags when I saw that there is ready-mixed tile adhesive.
These are water-based, but I thought what does it matter for walls above ground. You putty with sand putty which is water-based, so I saw no difference.
I then bought tile adhesive from Byggmax, see attached image. It turned out really, really, really well.
Easy to seal when you've used what you need, i.e., no unnecessary waste like when you mix it yourself.
Great consistency, easy to spread on the gypsum boards with a comb. Adhered directly to the wall, didn't need screws for it to stick.
However, I screwed the boards to get them tight against the wall at the joints that are to be plastered.
Then there are some occasional screws where I wanted to push the board in more to make the wall straighter.
All screws that are not at joints are removed before plastering.
The renovation gypsum evens out irregularities in the wall very well.
You shouldn't be fooled when you press on the board, and it flexes; the board is straight, and if you press it, it becomes uneven.
When the tile adhesive has dried, the board is completely rigid and straighter than the wall was before.
I strongly recommend this tile adhesive and this method of installing renovation gypsum on aerated concrete walls.
Procedure:
1. Make sure to remove the worst irregularities with coarse/medium putty. Mainly holes.
2. Prime the wall, use a roller and brush in corners/edges.
3. Measure the gypsum board and cut it to fit.
Double-check the fit before applying the tile adhesive, otherwise it becomes messy and cumbersome to adjust.
4. Apply the tile adhesive with a 4mm notched trowel.
5. Mount the board on the wall. Make sure to fit it correctly before pressing it as it is difficult to adjust afterward when the tile adhesive has set.
Use your hand or a rubber mallet with a wooden block to get the board properly in place.
6. Take a level/straight edge and check the evenness. Screw in screws where the board needs to be tighter against the wall. Be careful to check the straightness continuously.
Regular drywall screws work well.
7. When the tile adhesive has dried, remove the screws that are not in the chamfers.
It was really simple, and the result was great.
Hope this helps someone!
Happy New Year!
One question, what primer did you use?
Glad the thread was useful!J Jakbob said:
I just used Probau from Bauhaus. Cheap and good.
Another tip:
In hindsight, my impression is that when you glue up the plasterboards, paper tape in the joints is not necessary. There isn't the same movement as in a wall built with wooden studs, especially if the house isn't new, for that matter. In the future, I will use regular fiberglass tape in the joints. It saves a lot of time.
If you insist on paper tape, use wet room adhesive. This way, you can feel secure that you won't get bubbles, which can be quite annoying to have to fix.
Note that the above only applies if you are gluing or fastening the plaster directly against the lightweight concrete. Otherwise, paper tape is a must.
Click here to reply