I'm going to stud frame some interior walls and am considering how to frame 90-degree corners and 45-degree corners.
In both cases, OSB will be installed followed by drywall.
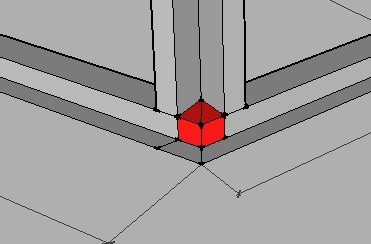
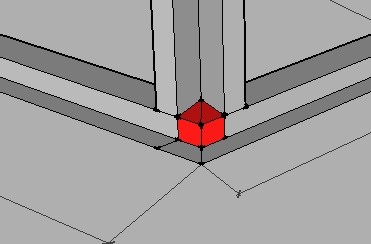
The question is really whether it's enough with two studs or if an extra stud is needed at the 90-degree angle to extend the stud all the way into the corner.
Is that the usual way of doing it or is it a solution you came up with yourself?
I know people usually putty in some type of metal angle on the drywall, but I hadn't thought about possibly needing one in between as well.
The main question was mostly how I should do behind the boards in the corner, whether you need a stud there or if the studs placed in the corner on the inside of the angle are sufficient. These studs then do not end up right at the outer corner.
This is how I would do it... Difficult to draw on paper, so I hope it's correct now. Build these kinds of things freehand. Studs and such are rarely drawn on the construction plans at work. This is an example, so you don't have to follow the measurements exactly. As long as you understand how I think with these measurements. I prefer metal tracks on top and bottom, and then wooden studs for this.
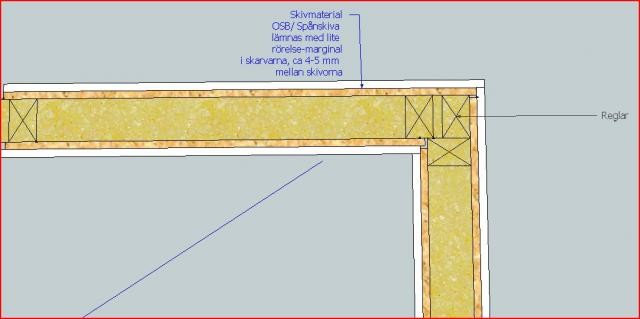
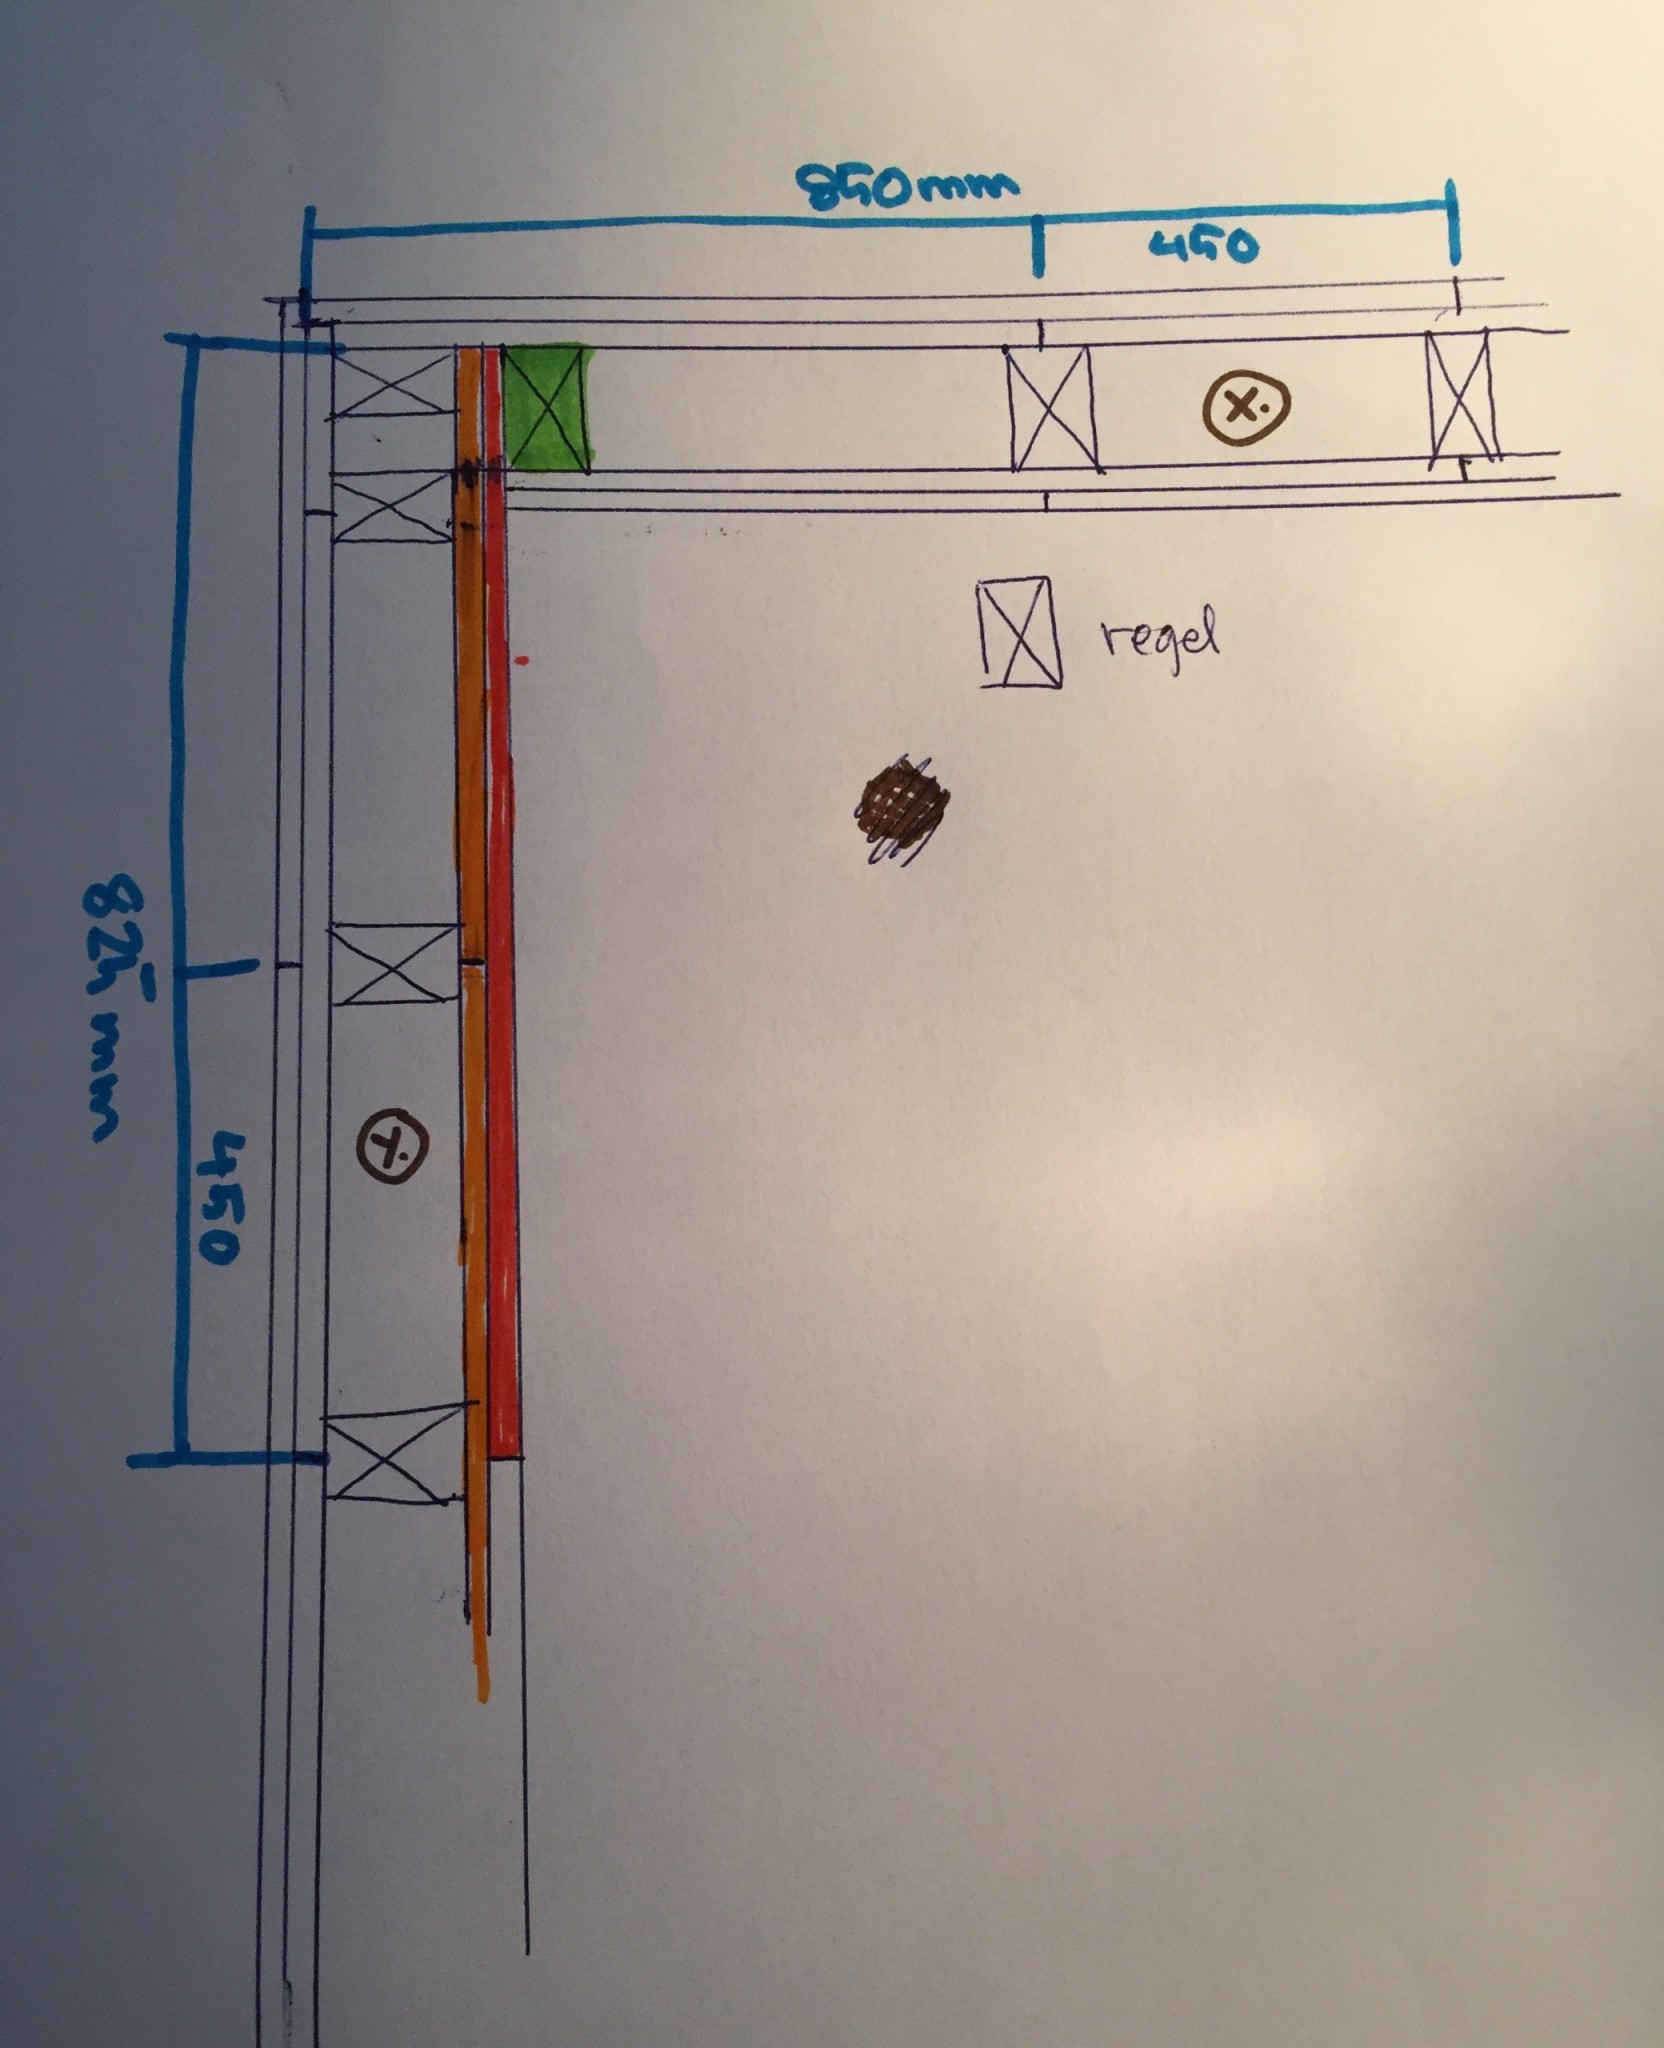
First and foremost. When you are setting up studs, always first think about where to join the outermost board (the plaster). This way, you avoid fiddling with small pieces, or having the board simply not reach all the way. The plasterboard also has a joint edge that you need to cut off on the side that comes in the corner of the wall. Which means it only becomes 850 mm wide in the corner (usually you take 5 cm). And don't forget the thickness of the OSB/plywood you have behind. It also adds about 12 mm additionally outside the corner stud.
1. We start with the "base plate." The easiest way (according to me) is to use a U-profile/track of metal both above and below. Attach them to the floor and ceiling. Leave the track/stud (X.) about 30 mm from the track (Y.). This is to be able to insert OSB and plaster into the construction on the inside of the wall (comes in step 3.) so you get a solid wall! Alternatively, place the tracks against each other, and just clip off a flap of about 30 mm in the inner corner.
2. Set up the studs as I have drawn. All studs except the one I have marked GREEN. Look at the blue measurements. Note that you always start with the stud that comes at the joint of the outermost board, then measure back 450 mm from this and towards the corner. And then measure from the same stud in the other direction 450 c/c.
3. Now attach the two OSB/plywood sheets I have marked ORANGE in the drawing. Start with the outermost one. Not the one that goes into the corner. Plumb this one properly and attach. Then you can simply place all the other boards after this and avoid hassle. (You do the same with the plaster later. So it goes quickly to just throw up then.) And then attach the plaster I have drawn RED.
4. Now attach the stud that is GREEN in the drawing. And screw it through the plaster and OSB into the stud in the corner.
Then just continue with OSB, and then the plaster on top. Overlap the boards as I have drawn in the corner, so it becomes neat and stable.
Some tips along the way:
- If you use metal studs, it's an advantage to screw the plywood properly. Otherwise, there is a risk of the screw pushing the plywood out from the stud when you screw the plaster. If you have wooden studs, you don't need to screw as tightly since you then screw the plaster with double layer plaster screws which then hold both plywood and plaster in the stud. It's preferable to screw both layers into the studs. Even though you can actually screw the plaster only into the plywood if the studding isn’t perfect so you miss somewhere.
- Preferably leave both the plywood/OSB and plaster a bit from the floor to minimize the risk of the boards drawing up any moisture from e.g. concrete floors, spills, etc. The floor molding will cover this anyway later.
- When you set the last and outermost plaster, you can skip cutting it beforehand. It is easier to put it up and then saw off what sticks out with a hand saw. You lay the hand saw against the adjacent board and thus get a neat straight corner that follows the other plaster.
- If you do as I have drawn with the OSB in the corner on the outside, you should be able to use the waste from the slightly wider board and place that piece around the corner. It's quite logical. You just need to think a little beforehand
Hope this helped you a little.
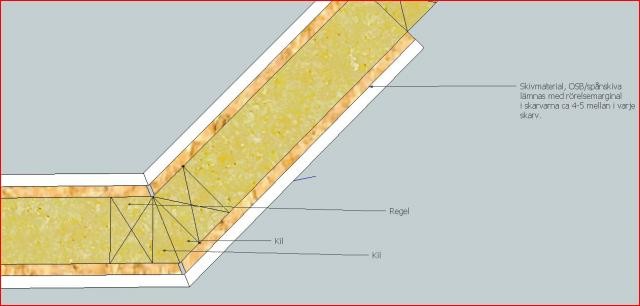
If I have time, I will return with a 45° corner on another occasion.
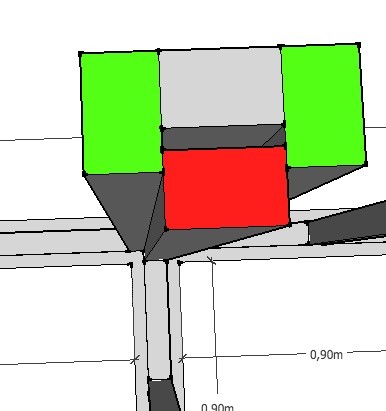
Regarding the T-construction, it is easier. You don't need to overwork. I would have built the straight wall first, but made sure to have a stud where the connecting wall will come later, so you get a proper hold. Plywood and gypsum or whatever you want on that wall, and then simply screw the connecting wall into that stud with proper wood screws. If you've already framed the straight wall, don't take everything down and change it, just add another stud so you have a proper hold for the connecting wall. The stud you insert should be placed in the same direction as the others in the straight wall, not "on the flat" or whatever you want to call it. So, not like the gray stud in your sketch.
If you follow what you've drawn on your T, there won't be much space left to screw in sheets when you've clad one wall. Plyfa + drywall amounts to about 25 mm, the stud is only 45 mm. And sure... 20 mm is enough, but it's difficult to get in with a machine in the corner without having to screw at an angle. A drywall screw that sits crooked must be driven deeper to get the entire head in. It doesn't hold as well, it's troublesome for the painter, and there's a risk of cracking the edge of the drywall.
Thank you very much for the response!
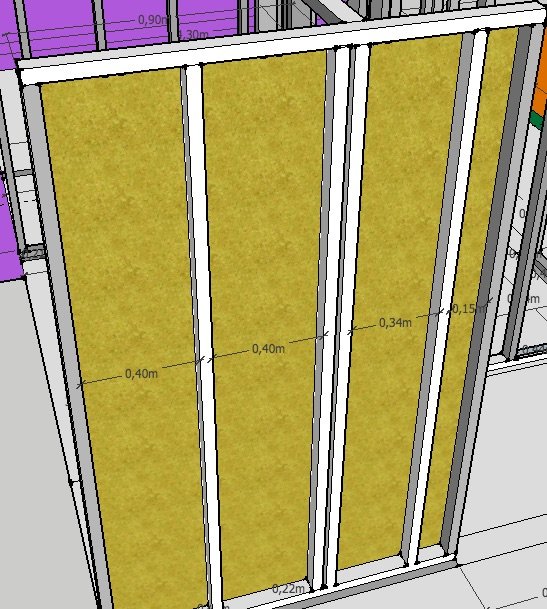
Posting a new picture on the wall. Better this way? I can add that one of the rooms is a bathroom. I noticed that one measurement accidentally became 34 on one of the studs, it should be 40.
Looks good. However, if you're going to have a tiled bathroom, you should use 300 c/c spacing instead of 450 mm on those walls. That is from center to center on the studs. You should also have plywood behind the drywall in the bathroom to stabilize any fittings. Be careful to choose the right length of screws so you ideally don't go through both layers when attaching. If you know where you will place fixtures and such, add nogging there. As much as possible, you should make all attachments to a stud. It holds better and minimizes the risk of moisture damage in those areas. Molly plugs in just drywall are not approved for bathrooms, for example.
I was thinking of using 45x70 studs and two halves of 45 almost make 50. I don't know if I'm thinking correctly. I was advised to go with 300cc in a tiled bathroom, but Säkert Vatten recommends 450.
Then I've been advised to place the interior wall on the slab in a metal over sill paper. I'm going to install Granab studs, and the plan was to have the interior wall on them. What are the pros and cons there?
Hi again. Two halves 45 is, of course, 45 ;-) When you mark where to place the studs, you measure, for example, from the left side of the first stud to the left side of the next. If that measurement is 450, then the measurement from center to center is the same. That's why it's called c/c. Tiles weigh more than, for example, waterproof wallpaper. If you have plyfa behind, and both drywall and plyfa are screwed into the studs, you're safe with 450 as well. But it's common to use 300 spacing when tiling. It's always beneficial to have plenty of solid attachment points for furnishings and possible shelves and hooks. And don't forget to recess noggings where you need to mount washbasins, for example.
Yes, that's what I meant by u-profiles, or so-called rails, as bottom and top plates. You don't need to insert a wooden stud inside this.
Vi vill skicka notiser för ämnen du bevakar och händelser som berör dig.

")