7,123 views ·
38 replies
7k views
38 replies
Concrete mold for countertop that bulges
Best answer
Which way is the board bulging? If it’s downwards, it's enough with braces under the board screwed at the outer edge, but if it's upwards you have to pull it down from underneath using screws. If you screw-glue, you can remove the screws after the glue dries and then fill in the screw holes in the plywood.B billyby said:[image] [image] [image] Hi! I'm casting a kitchen countertop and planned to cast tomorrow. But I notice now that the entire mold is sagging a bit in the middle. Does anyone have tips on how to straighten it out? The formplywood was quite warped when I bought it, but the person who sold it said it would straighten out when I brace it. The problem is that because the countertop is exactly 250. I've had to brace outside the plywood.
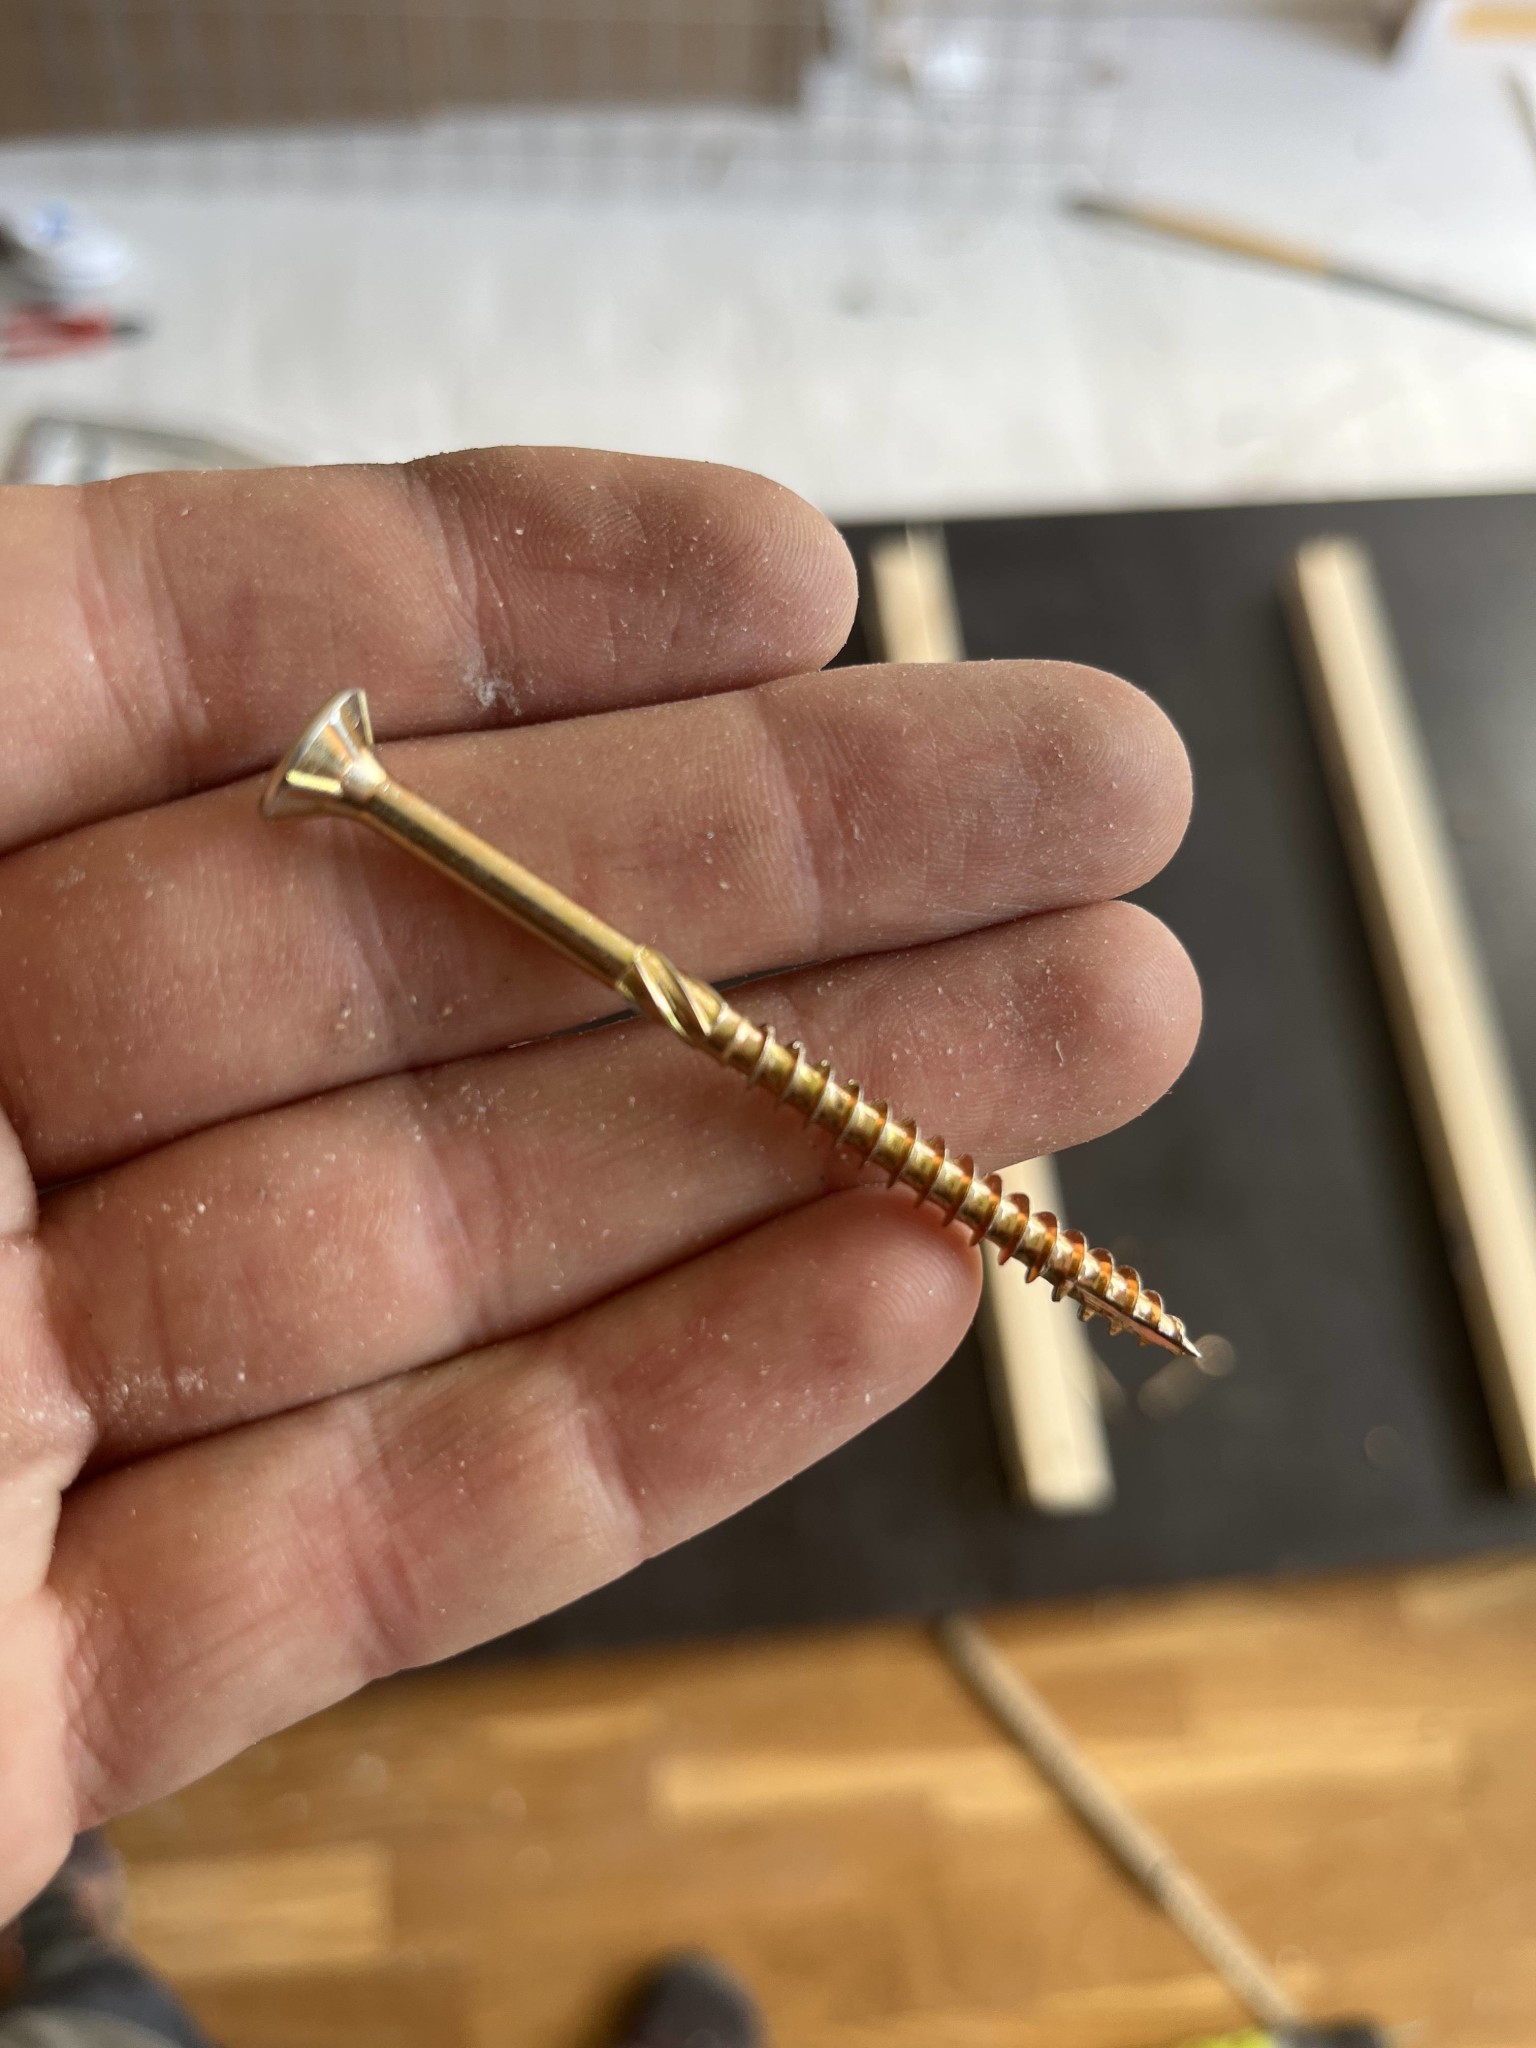
Thanks for the reply! Yes, unfortunately it warps upwards. Great idea with screw-gluing + filling in. I'll go with that. I tried screwing with 55 screws but it didn't pull enough (the joist just lifted) since I couldn't screw through the timber.EddieHansson said:
Which way does the board warp? If it is downwards, it's enough to have joists under the board that are screwed into the outer edge, but if it is upwards, you need to pull it down from below with screws. If you screw-glue, you can remove the screws after the glue dries and then fill in the screw holes in the plywood
Last edited:
Did you cast with the screw like that? I thought you were supposed to write straight through the mold from the top.
Now there will be a hole in the board. However, it will be possible to fix and won't show since you're going to sand it. But wait a few days before removing the mold. Otherwise, you will get unnecessarily large holes after the screw.
Now there will be a hole in the board. However, it will be possible to fix and won't show since you're going to sand it. But wait a few days before removing the mold. Otherwise, you will get unnecessarily large holes after the screw.
thanks for the response! Yes, now I understand. From the top would have been a better option. No, I have removed the screw and put silicone in the holes. Today is the day for casting.A atomlab said:Did you pour with the screw like that? I thought you would write straight through the mold from the top.
Now there will be a hole in the slab. However, it can be repaired and won't be visible once you sand it. But wait a few days before taking off the mold. Otherwise, you will get unnecessarily large holes after the screw.
How much force is actually needed? If you lay a slab 40x40x4cm, do they sink then? If so, let them straighten out with the concrete.
The question that you can't really answer just by looking at the pictures is whether sanding down to the ballast automatically solves the problem with the bubbles. If the majority goes away, then I believe the crack is more of a factor, so I would probably suggest that you at least try sanding, especially by the crack, before giving up and casting again.
I would fill all the cavities with sieved and colored fine concrete, wait a week, and then sand. If there are more cavities underneath, I change the color of the concrete and repeat but with significantly less sanding afterward.
But if you don't want that, sieve fine concrete, mix with water, fill all the cavities, let dry, and sand.
But if you don't want that, sieve fine concrete, mix with water, fill all the cavities, let dry, and sand.
Exciting! With what and how would you color the concrete? I happen to have yellow and terracotta color pigments at home. Do you use dry sanding with a concrete sander or do you go for wet sanding?Z z_bumbi said:I would fill all cavities with sifted and colored fine concrete, wait a week, and then sand. If there are more cavities underneath, I change the color of the concrete and repeat, but with significantly less sanding afterward.
But if you don't want that, sift fine concrete, mix with water, fill all cavities, let dry, and sand.