I have read through many of them but haven't become any wiser, instead more confused.
Cutting skirting boards at an angle usually isn't much of a problem.
but now with these moldings
I don't know how to position the molding, so could someone kindly help me out with this.
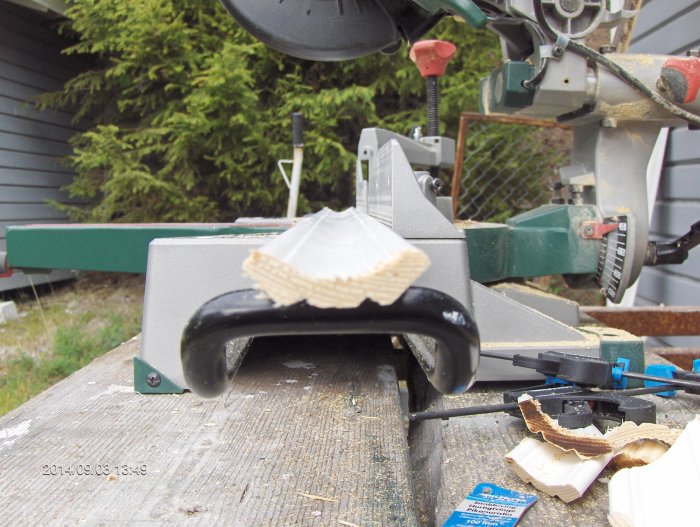
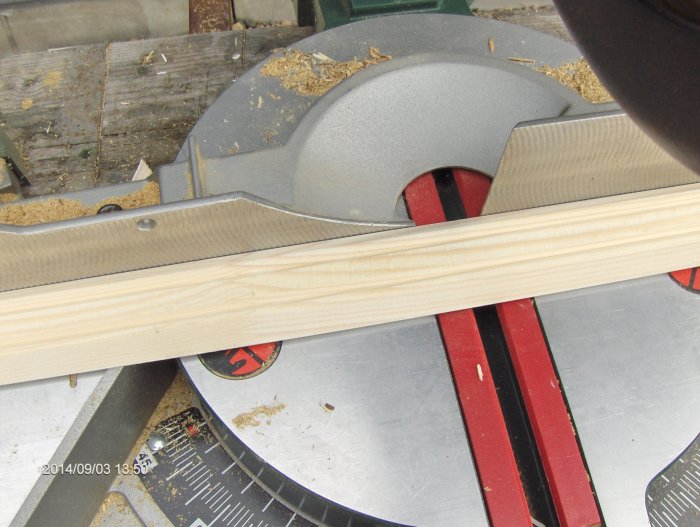
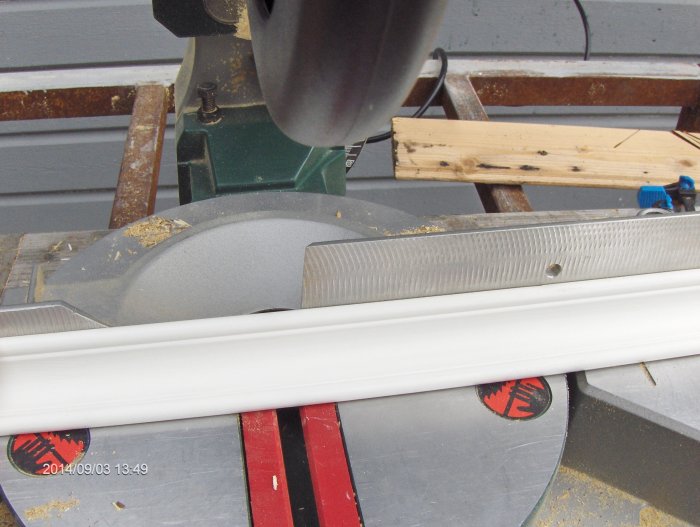
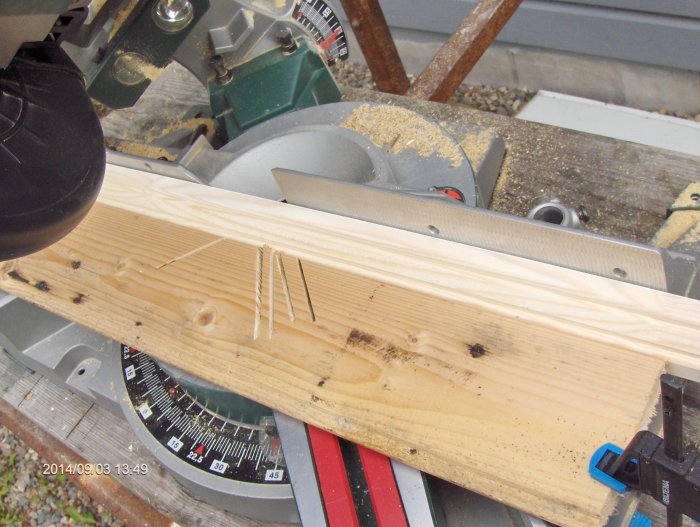
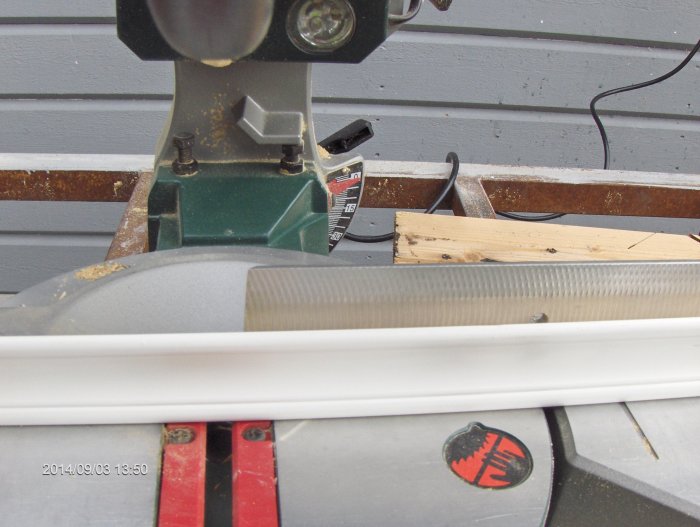
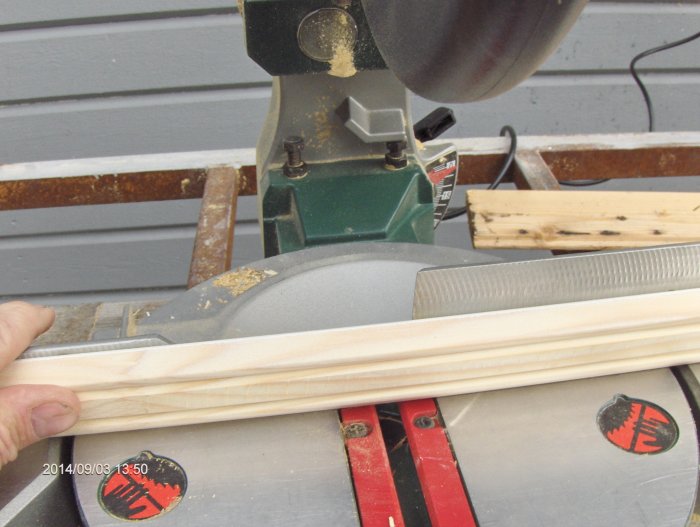
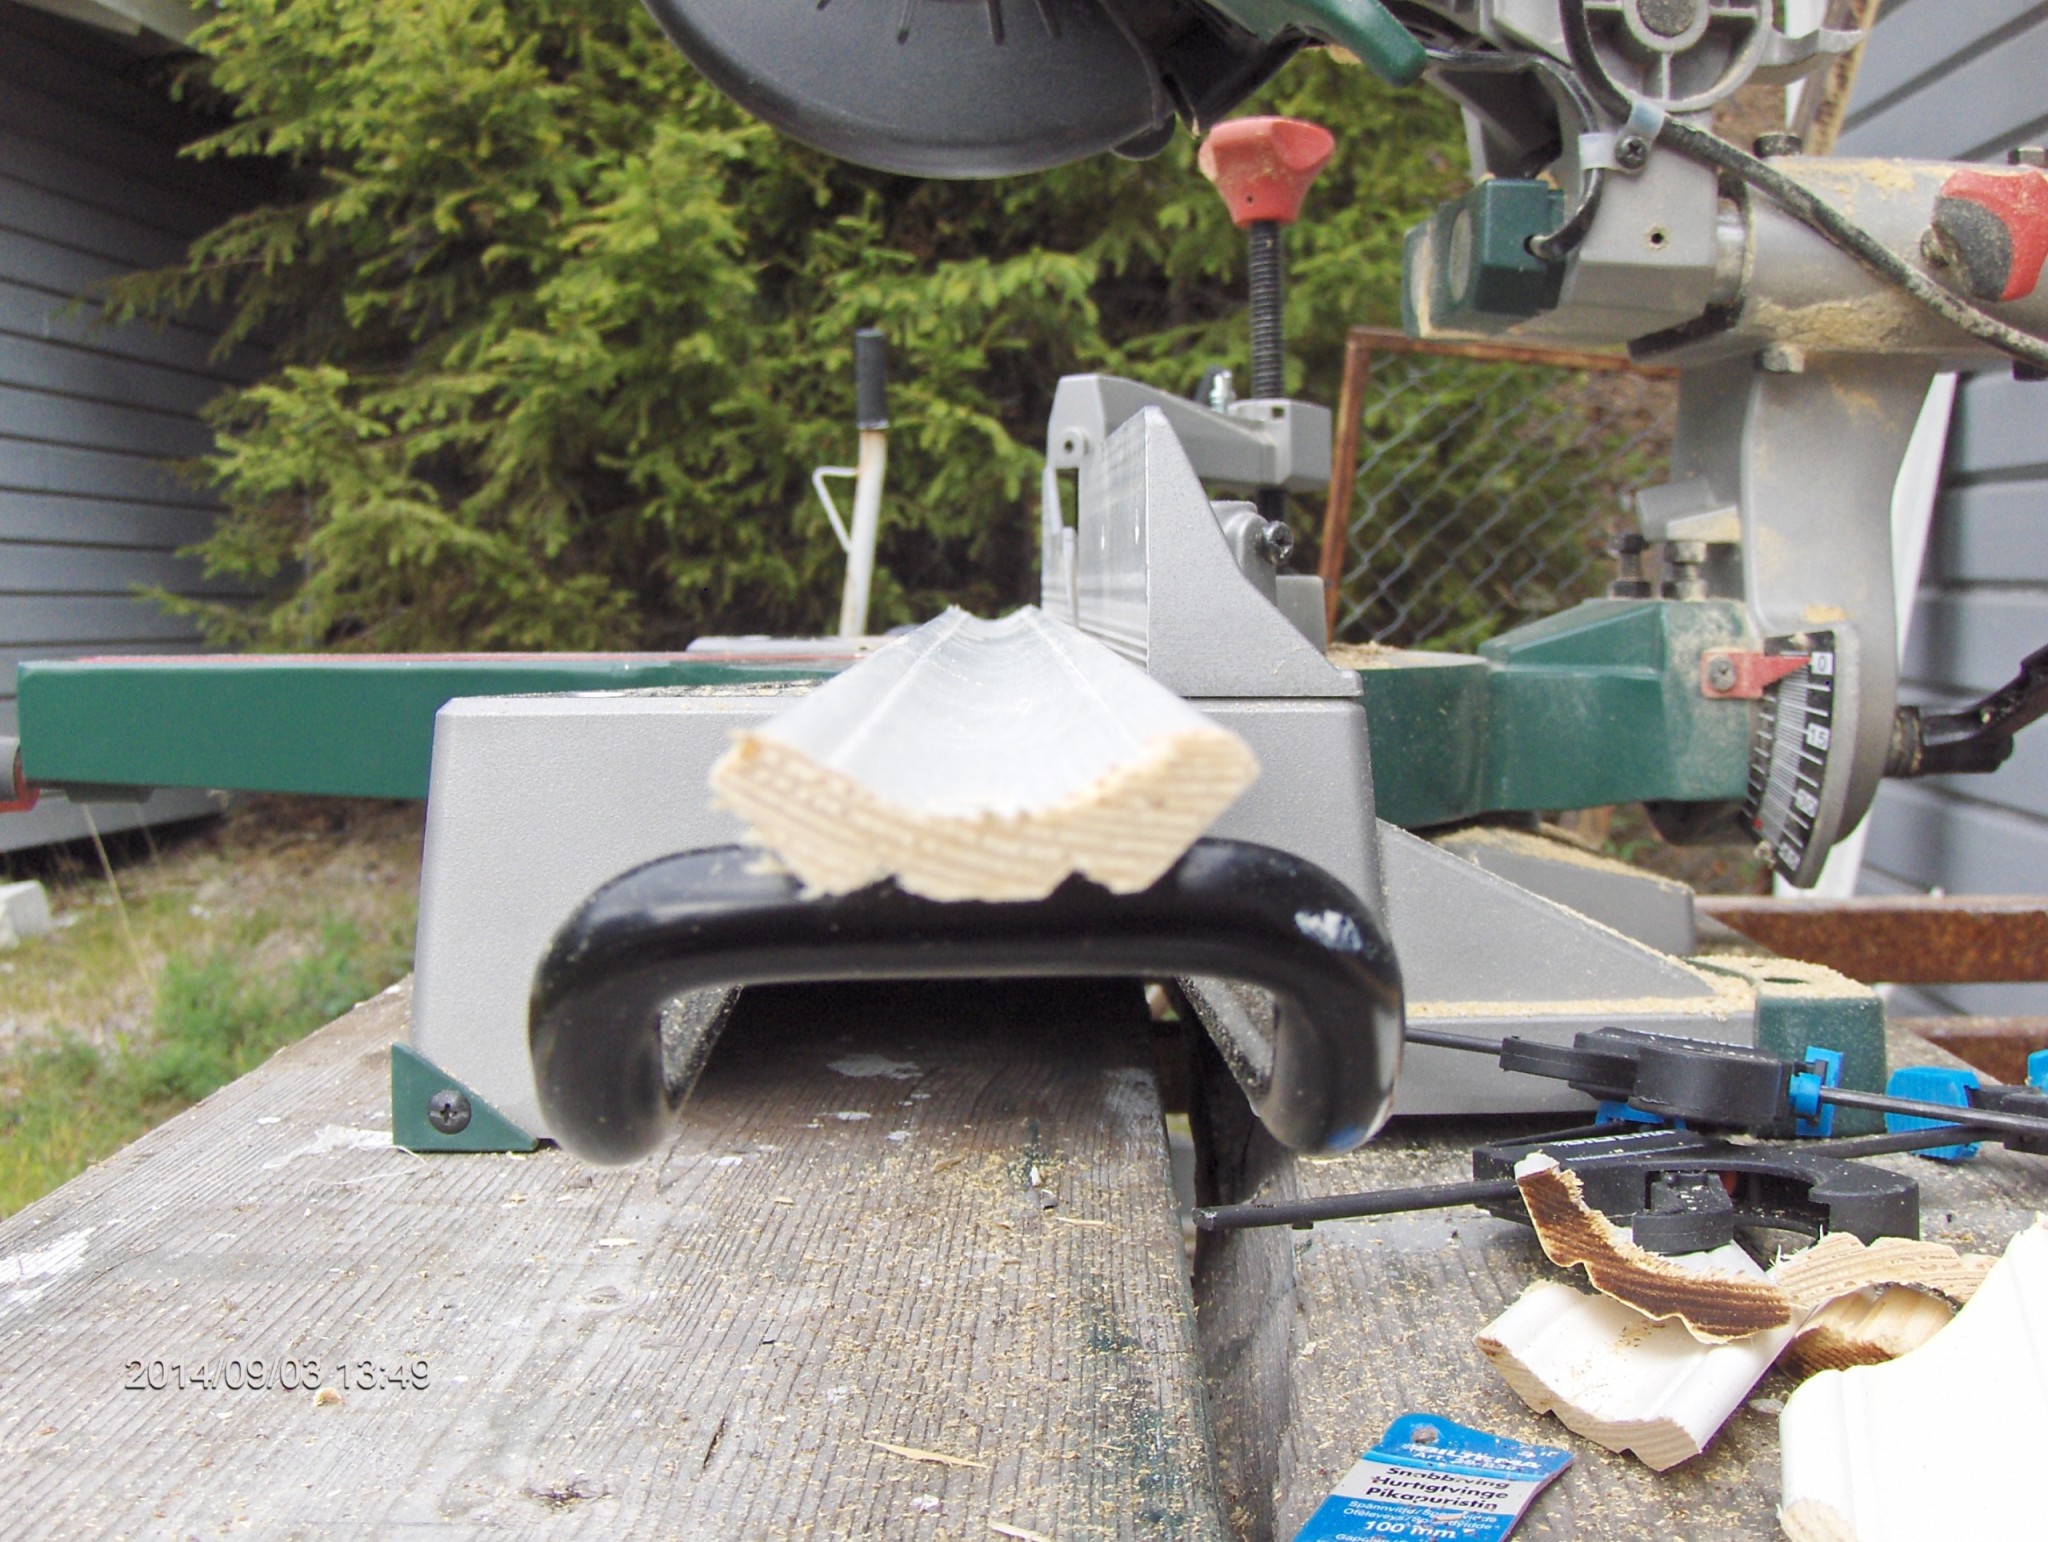
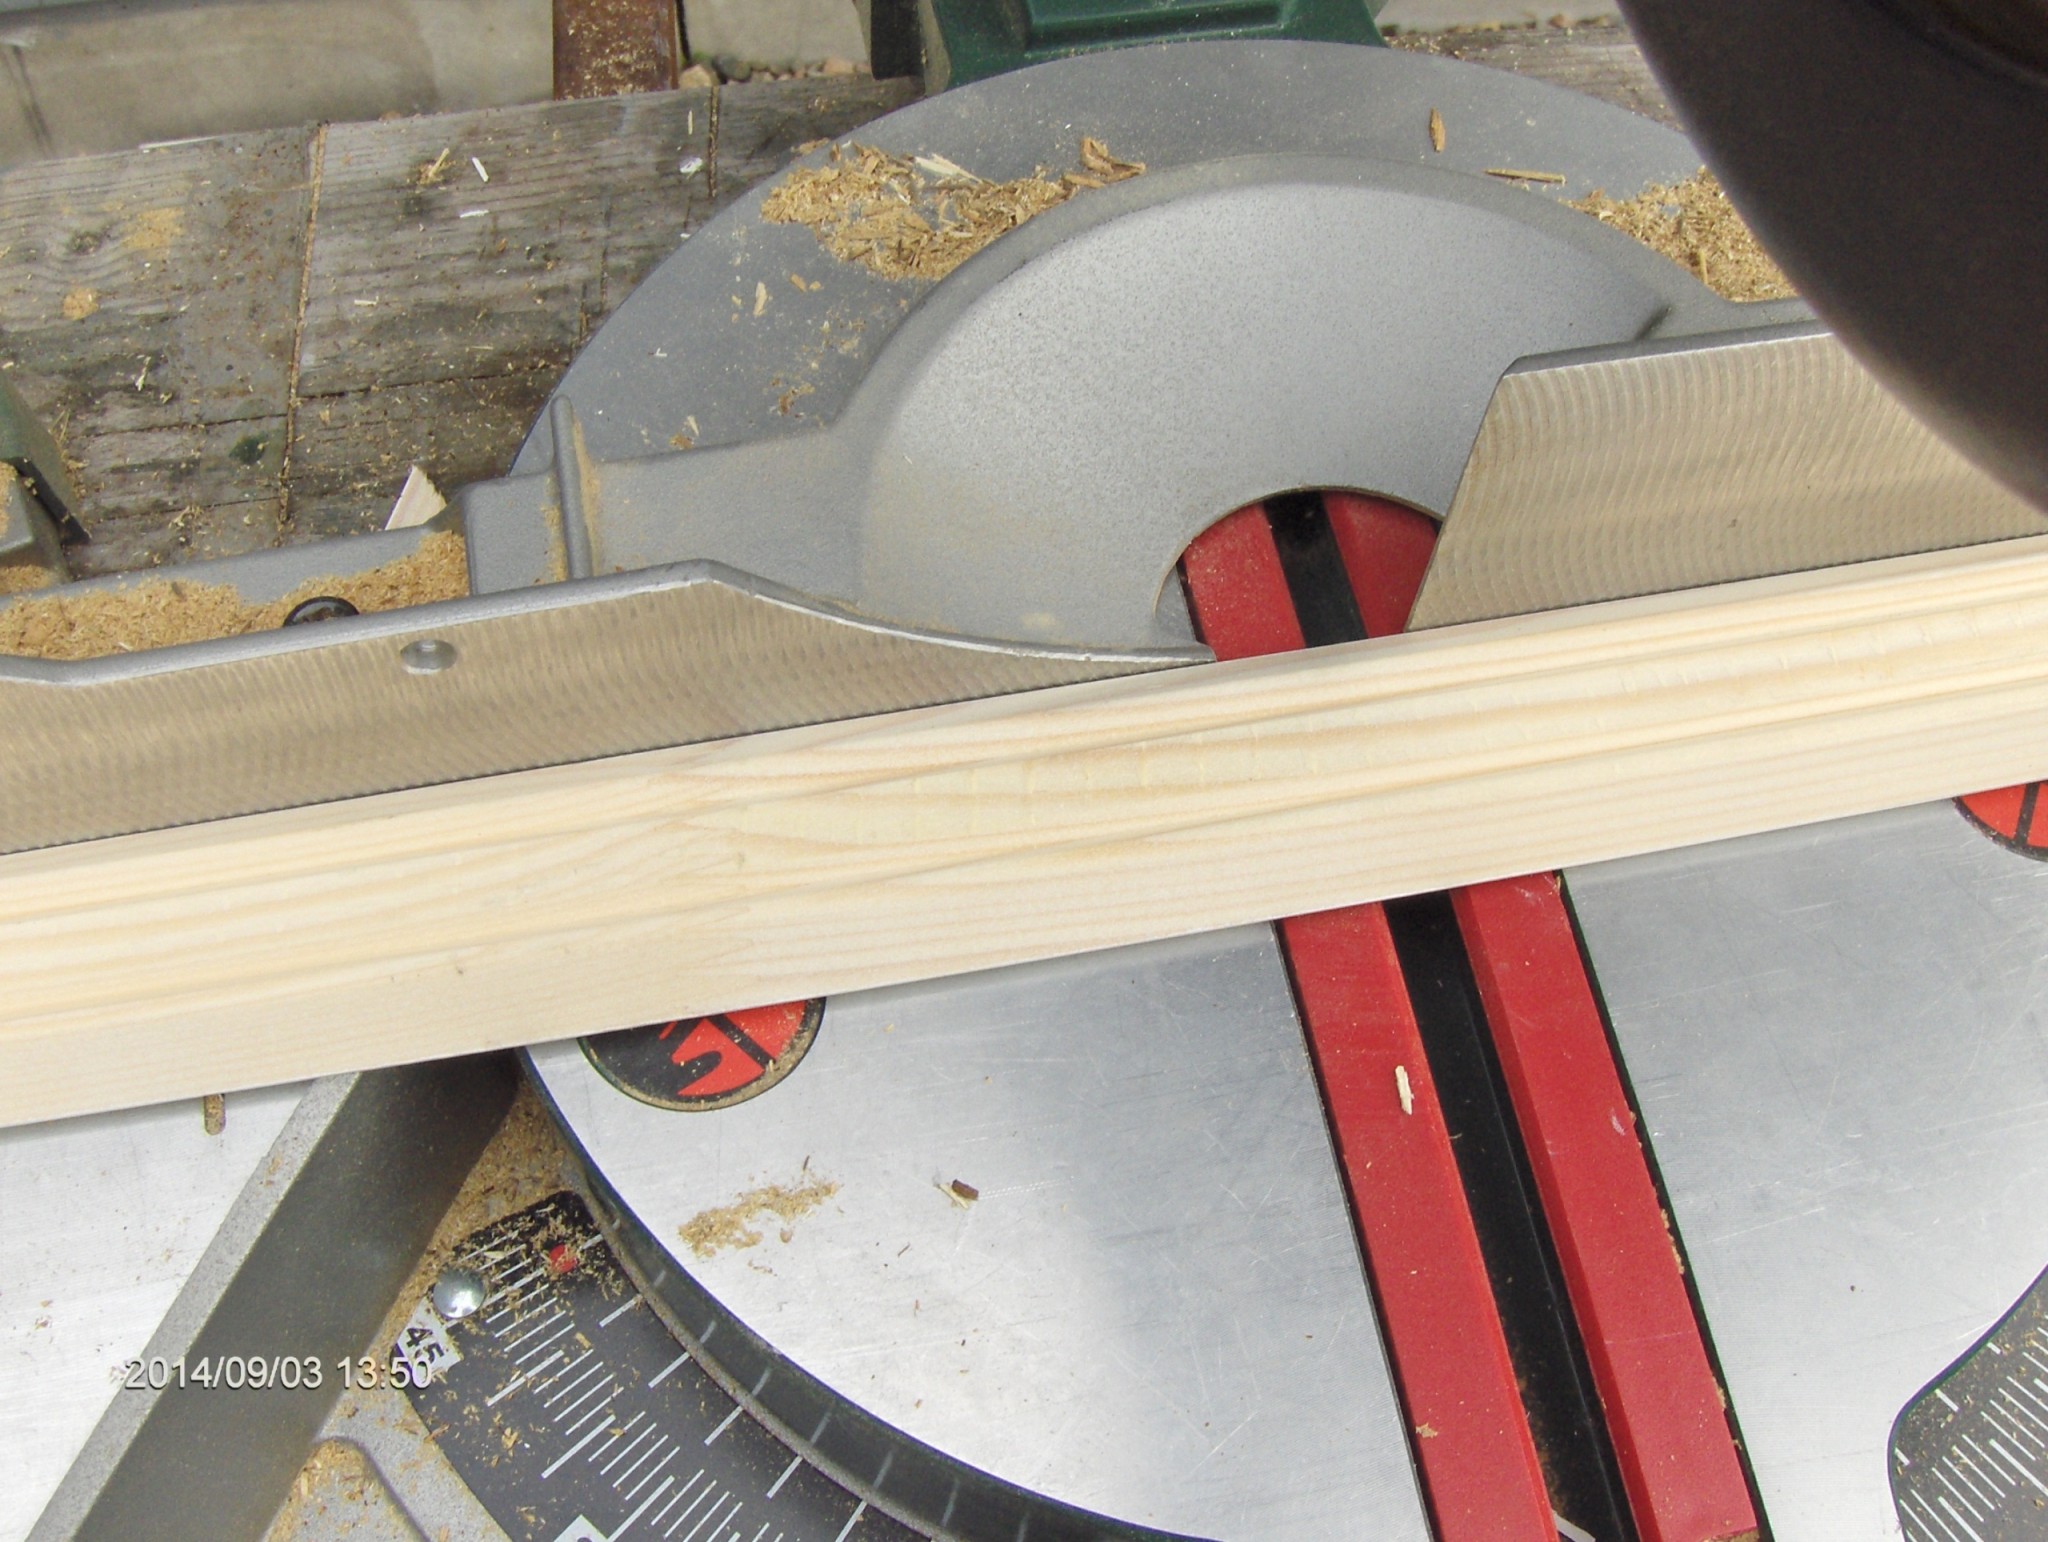
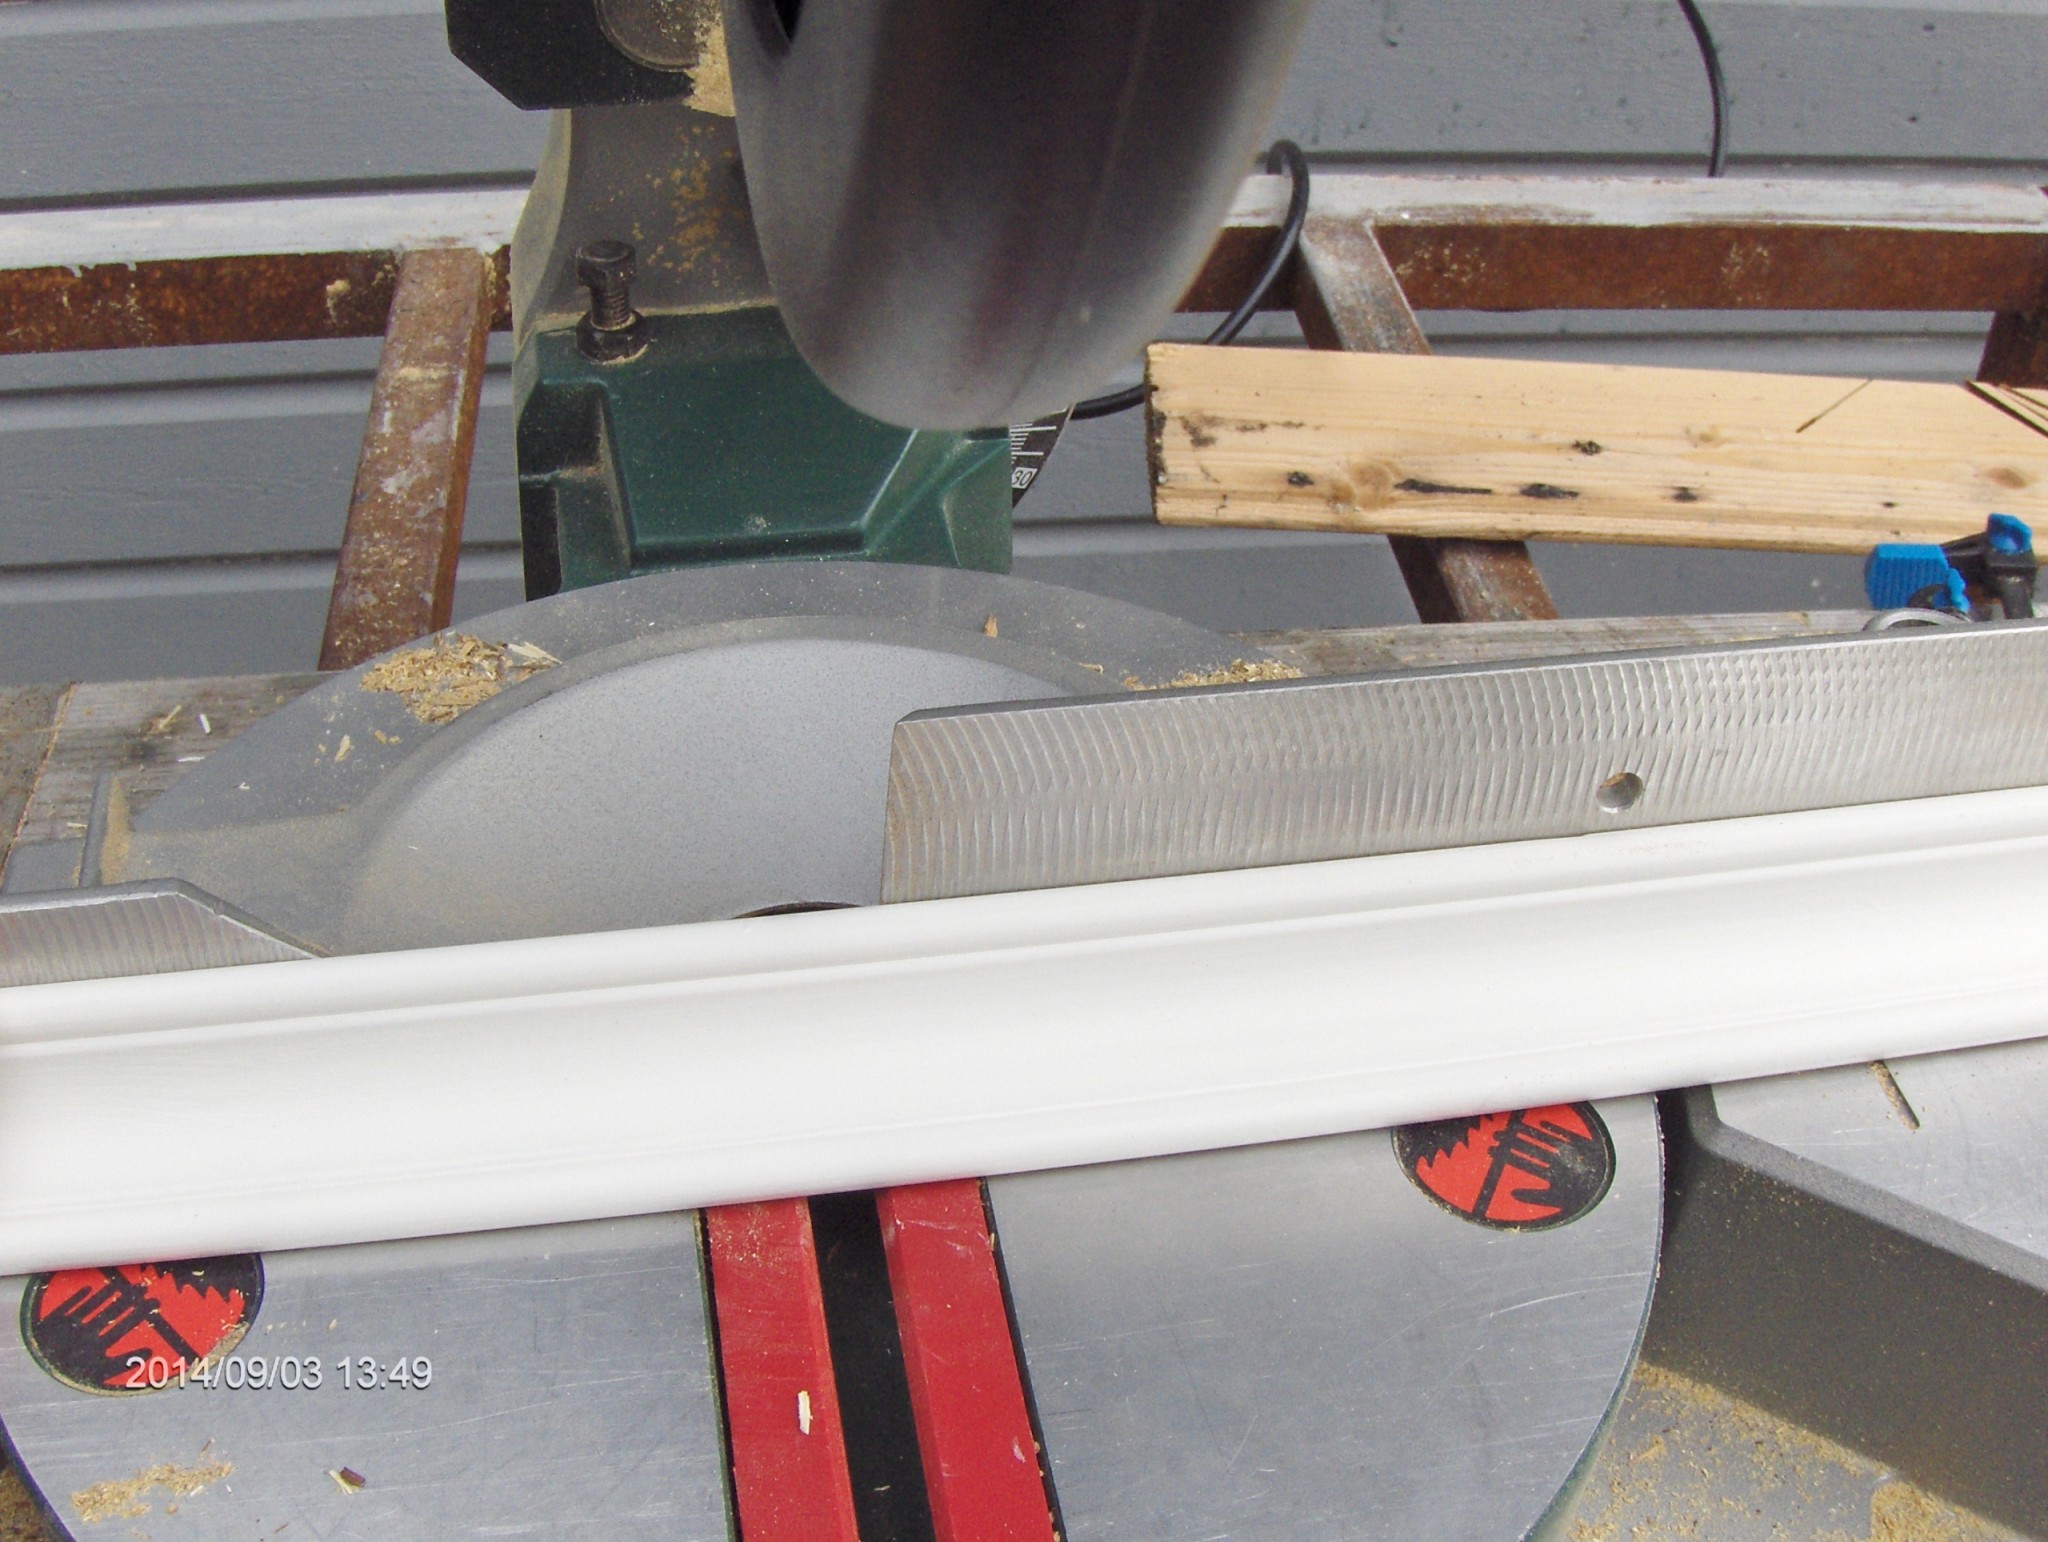
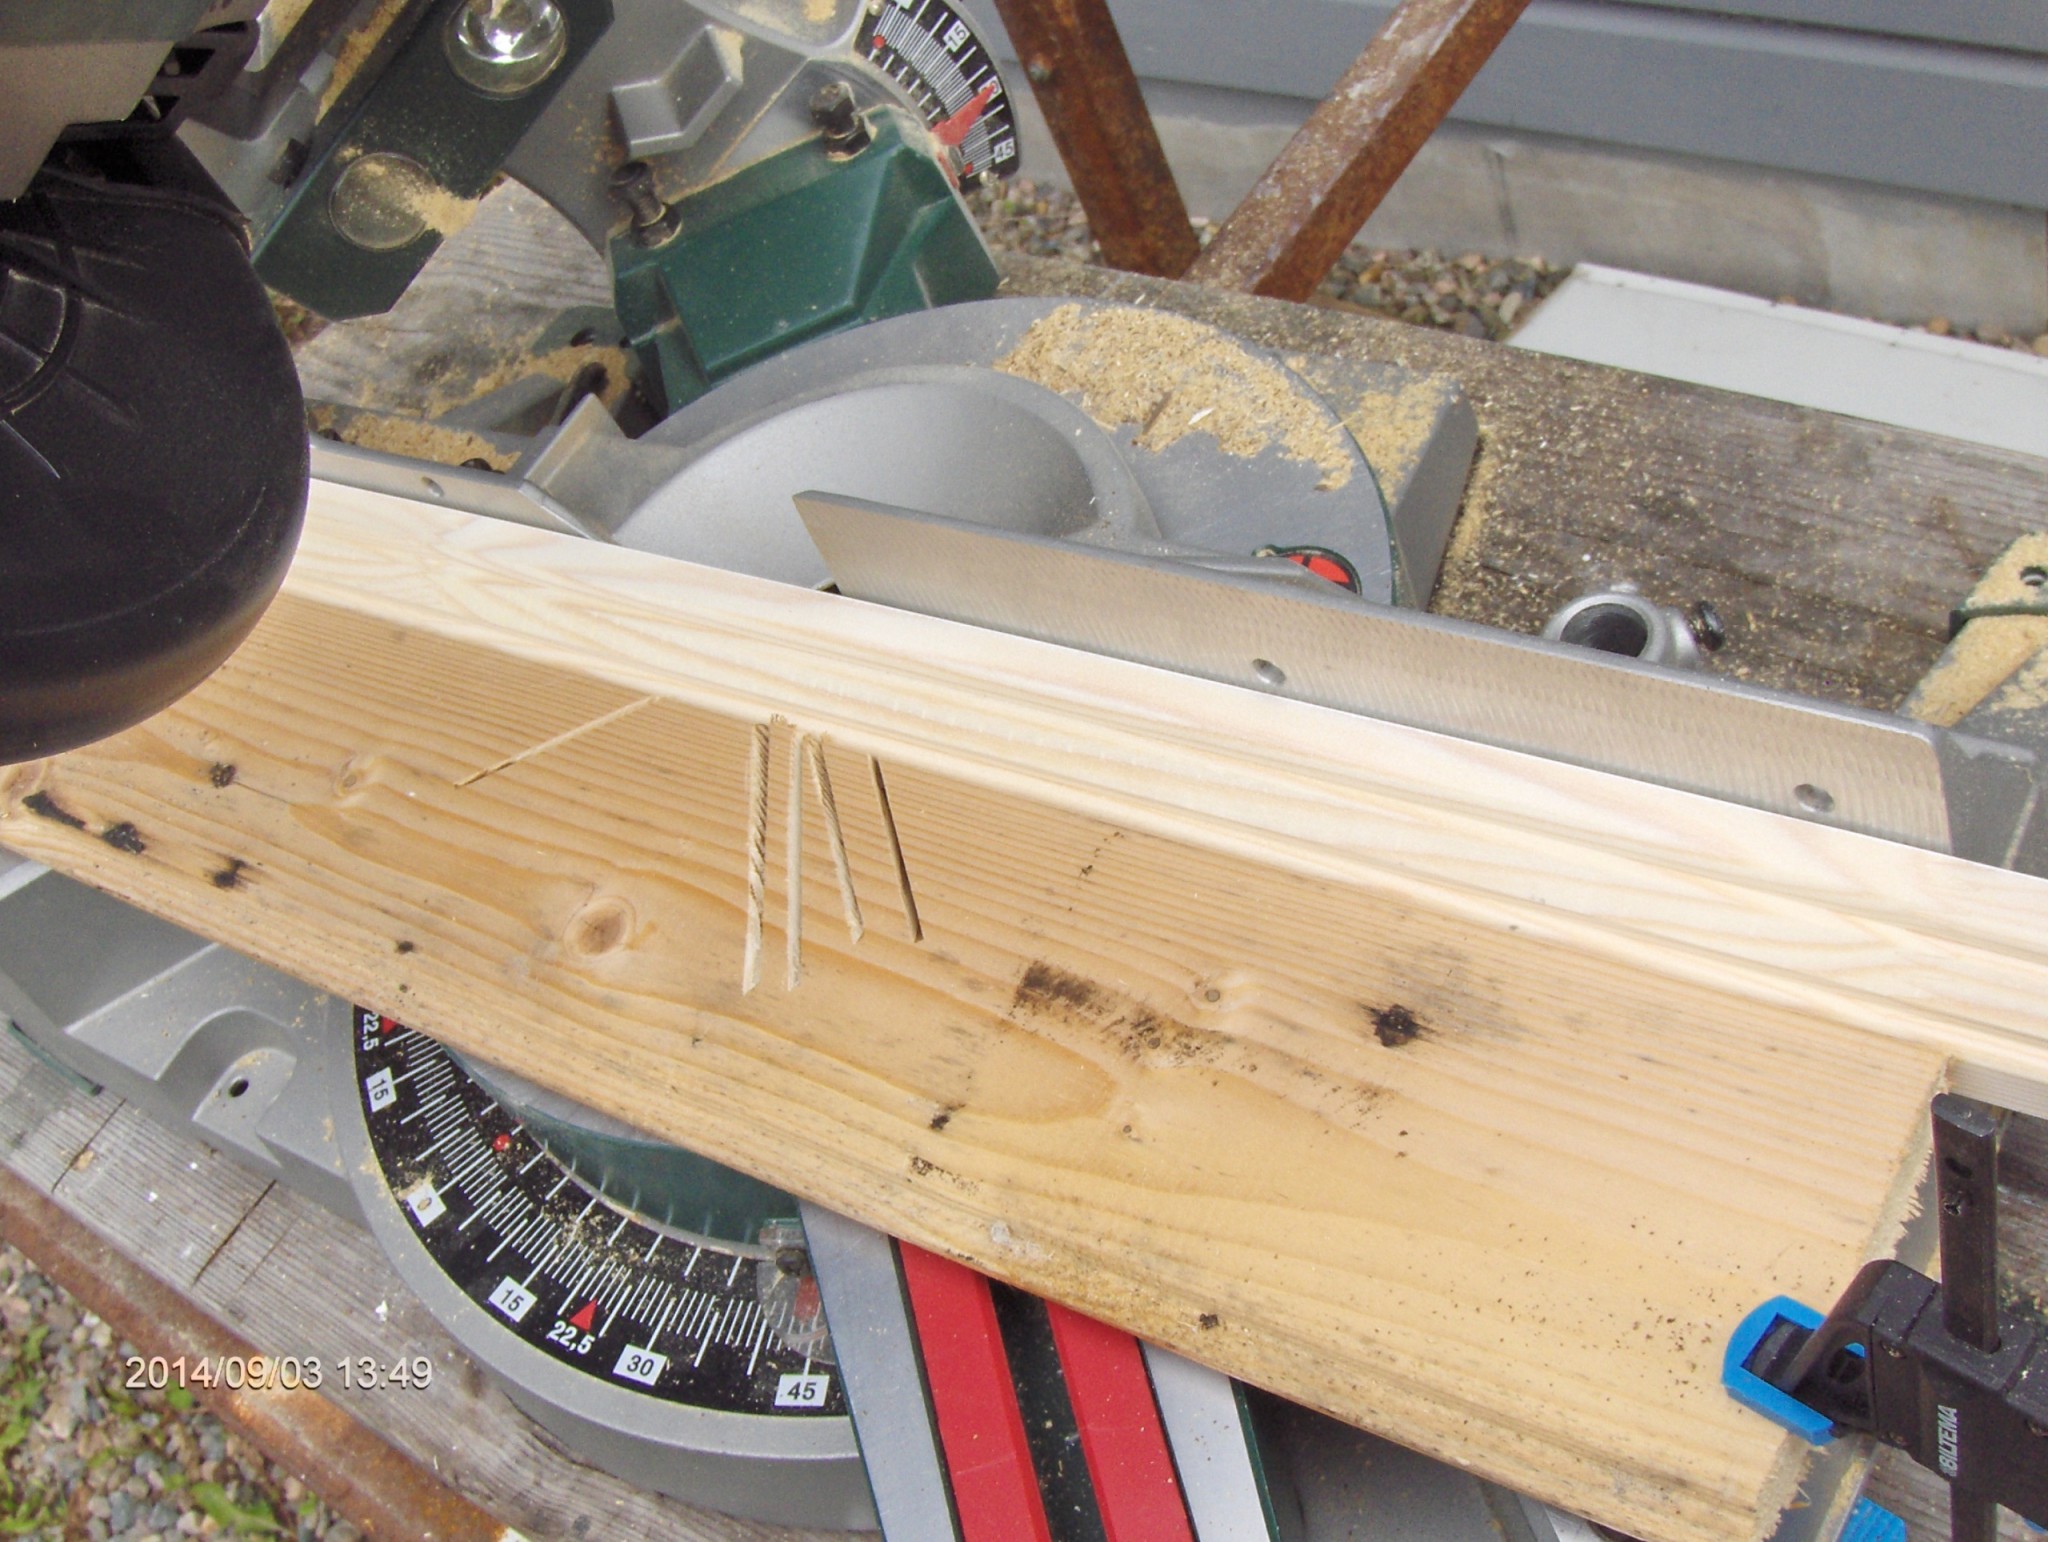
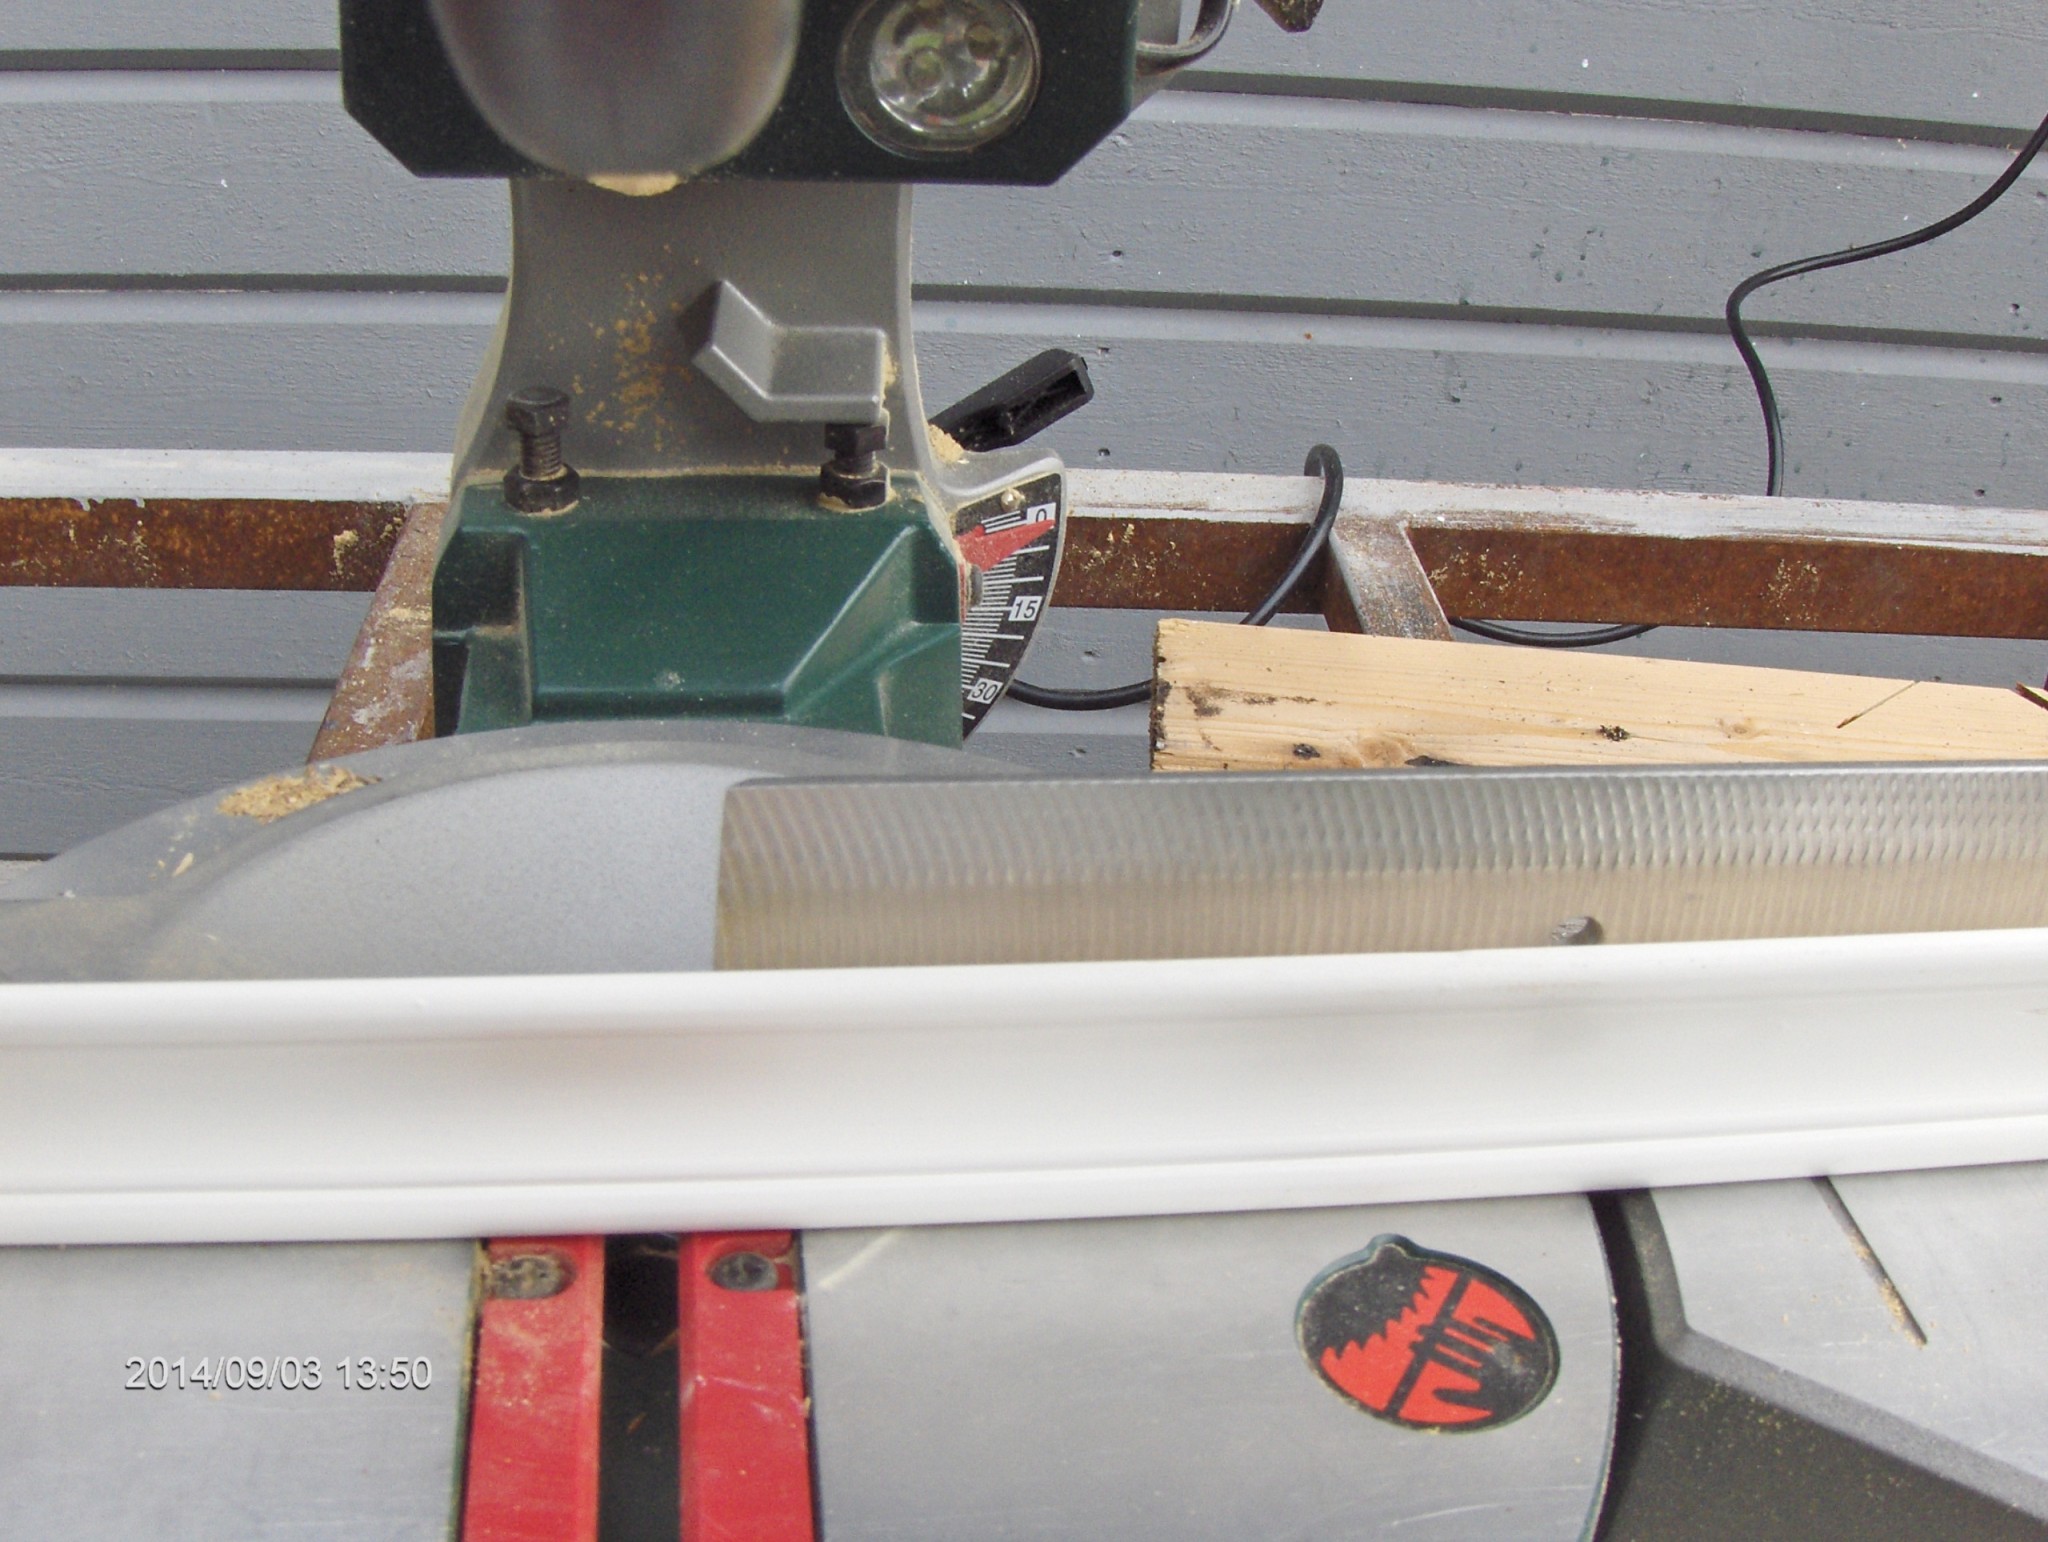
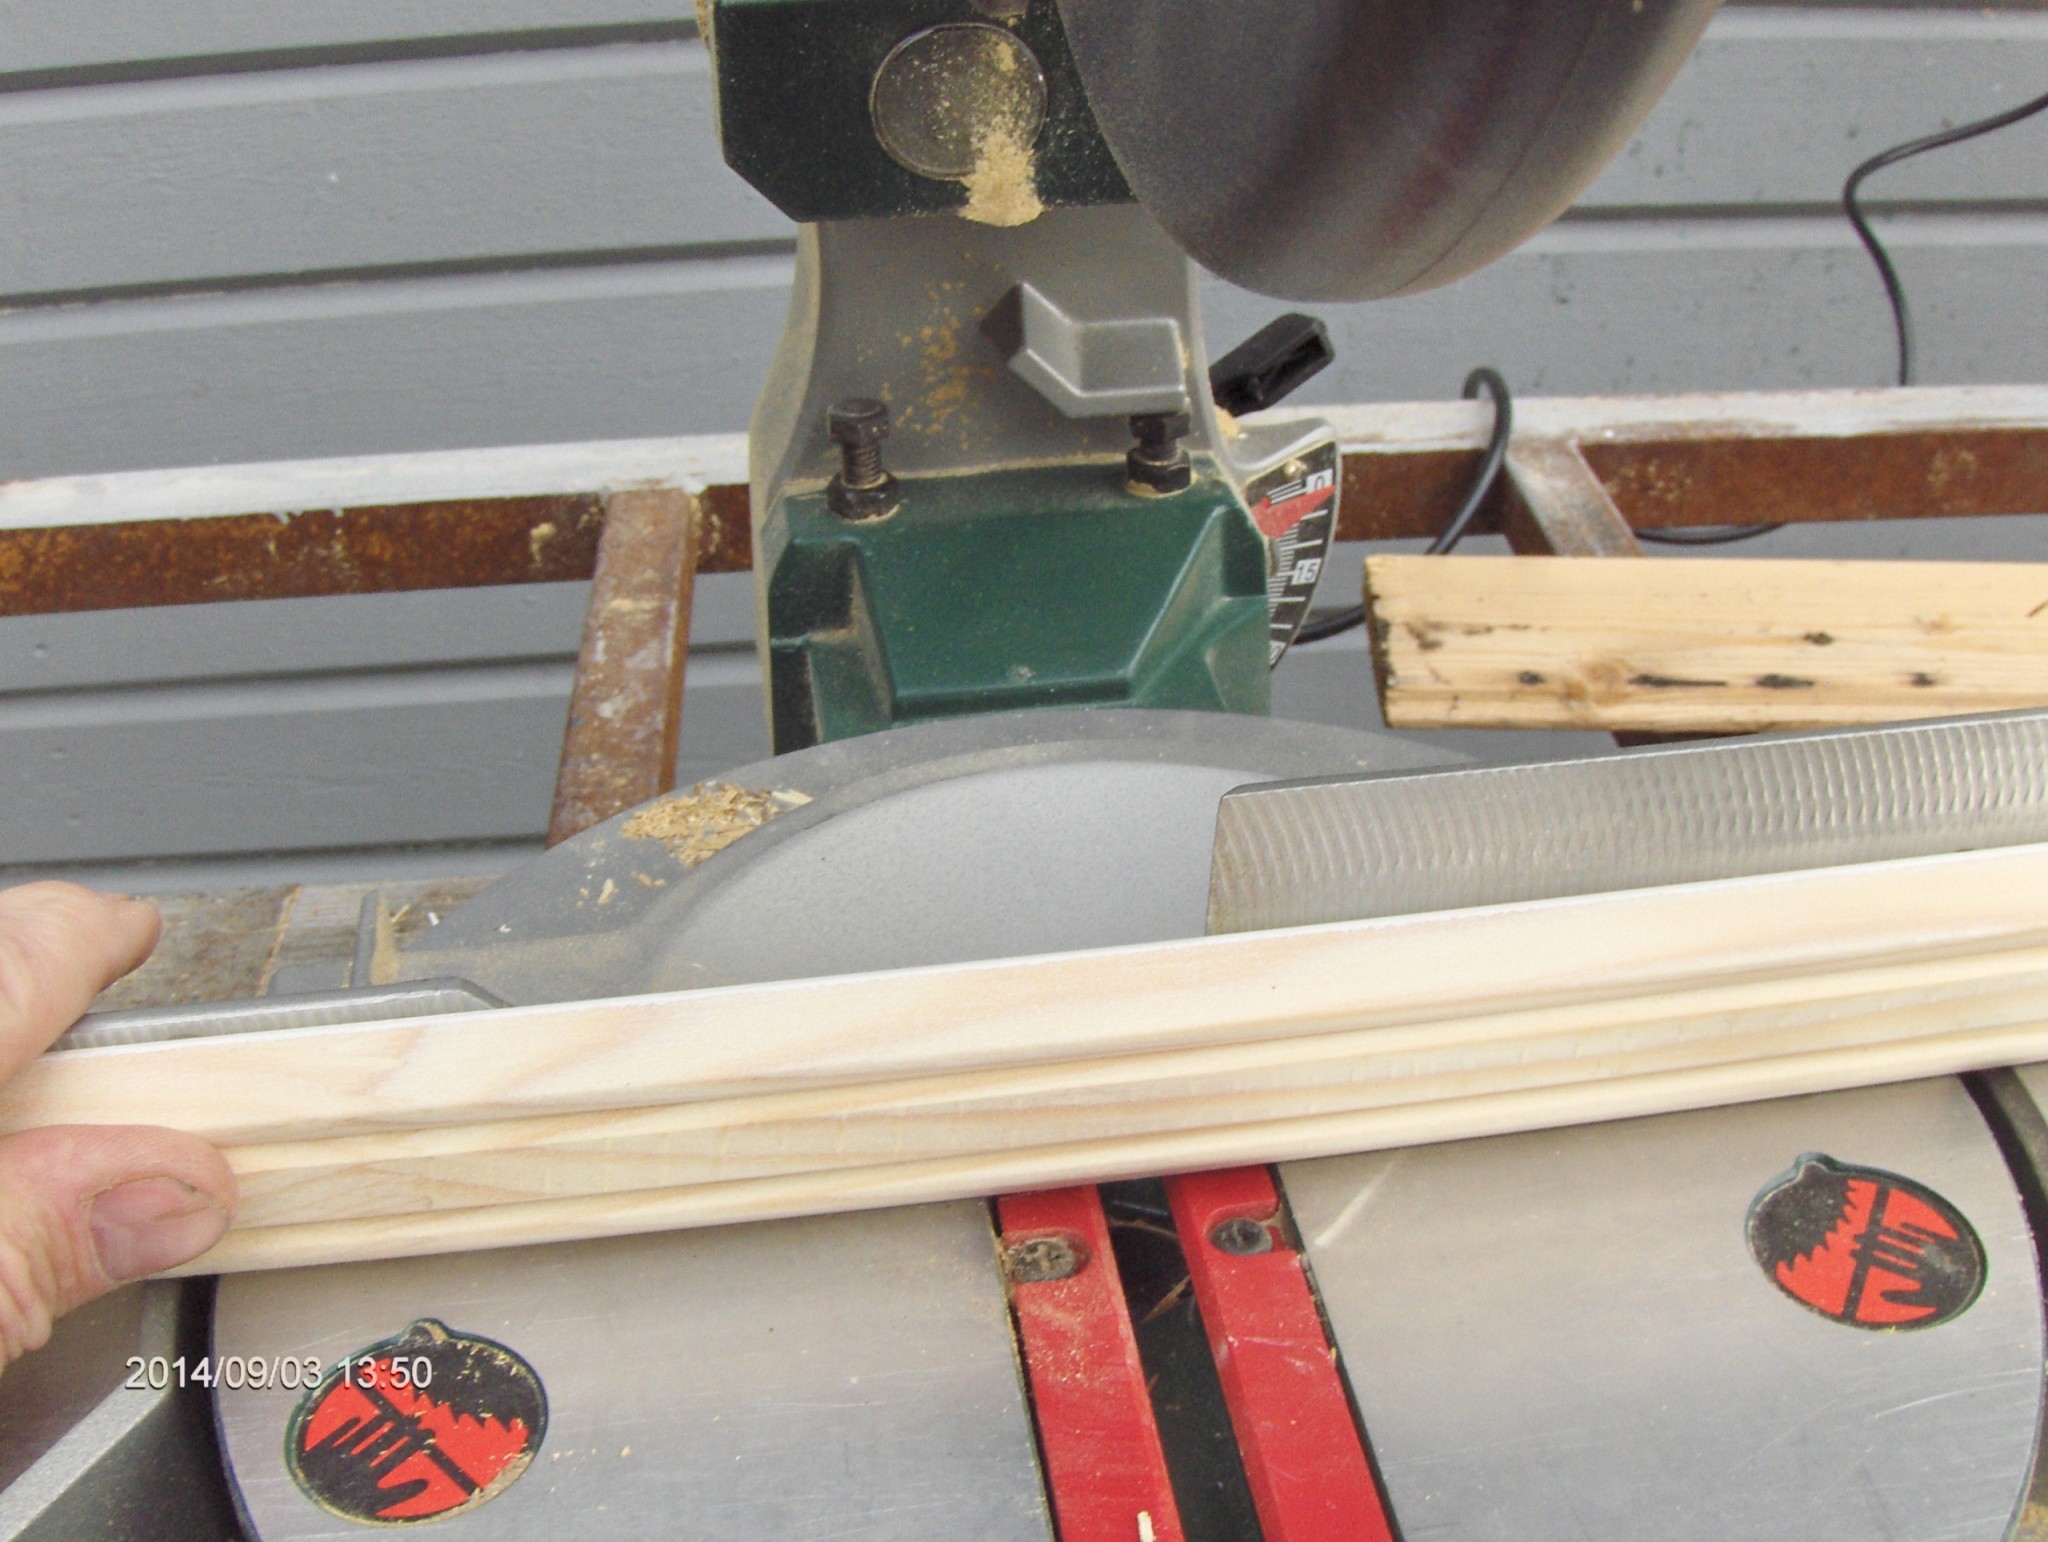
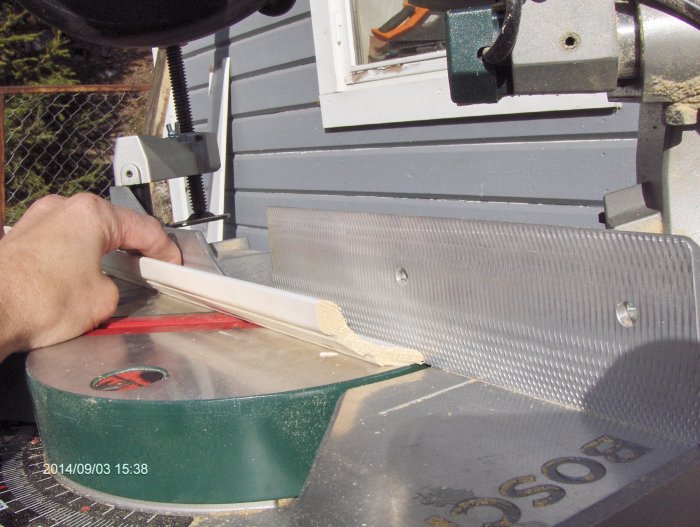
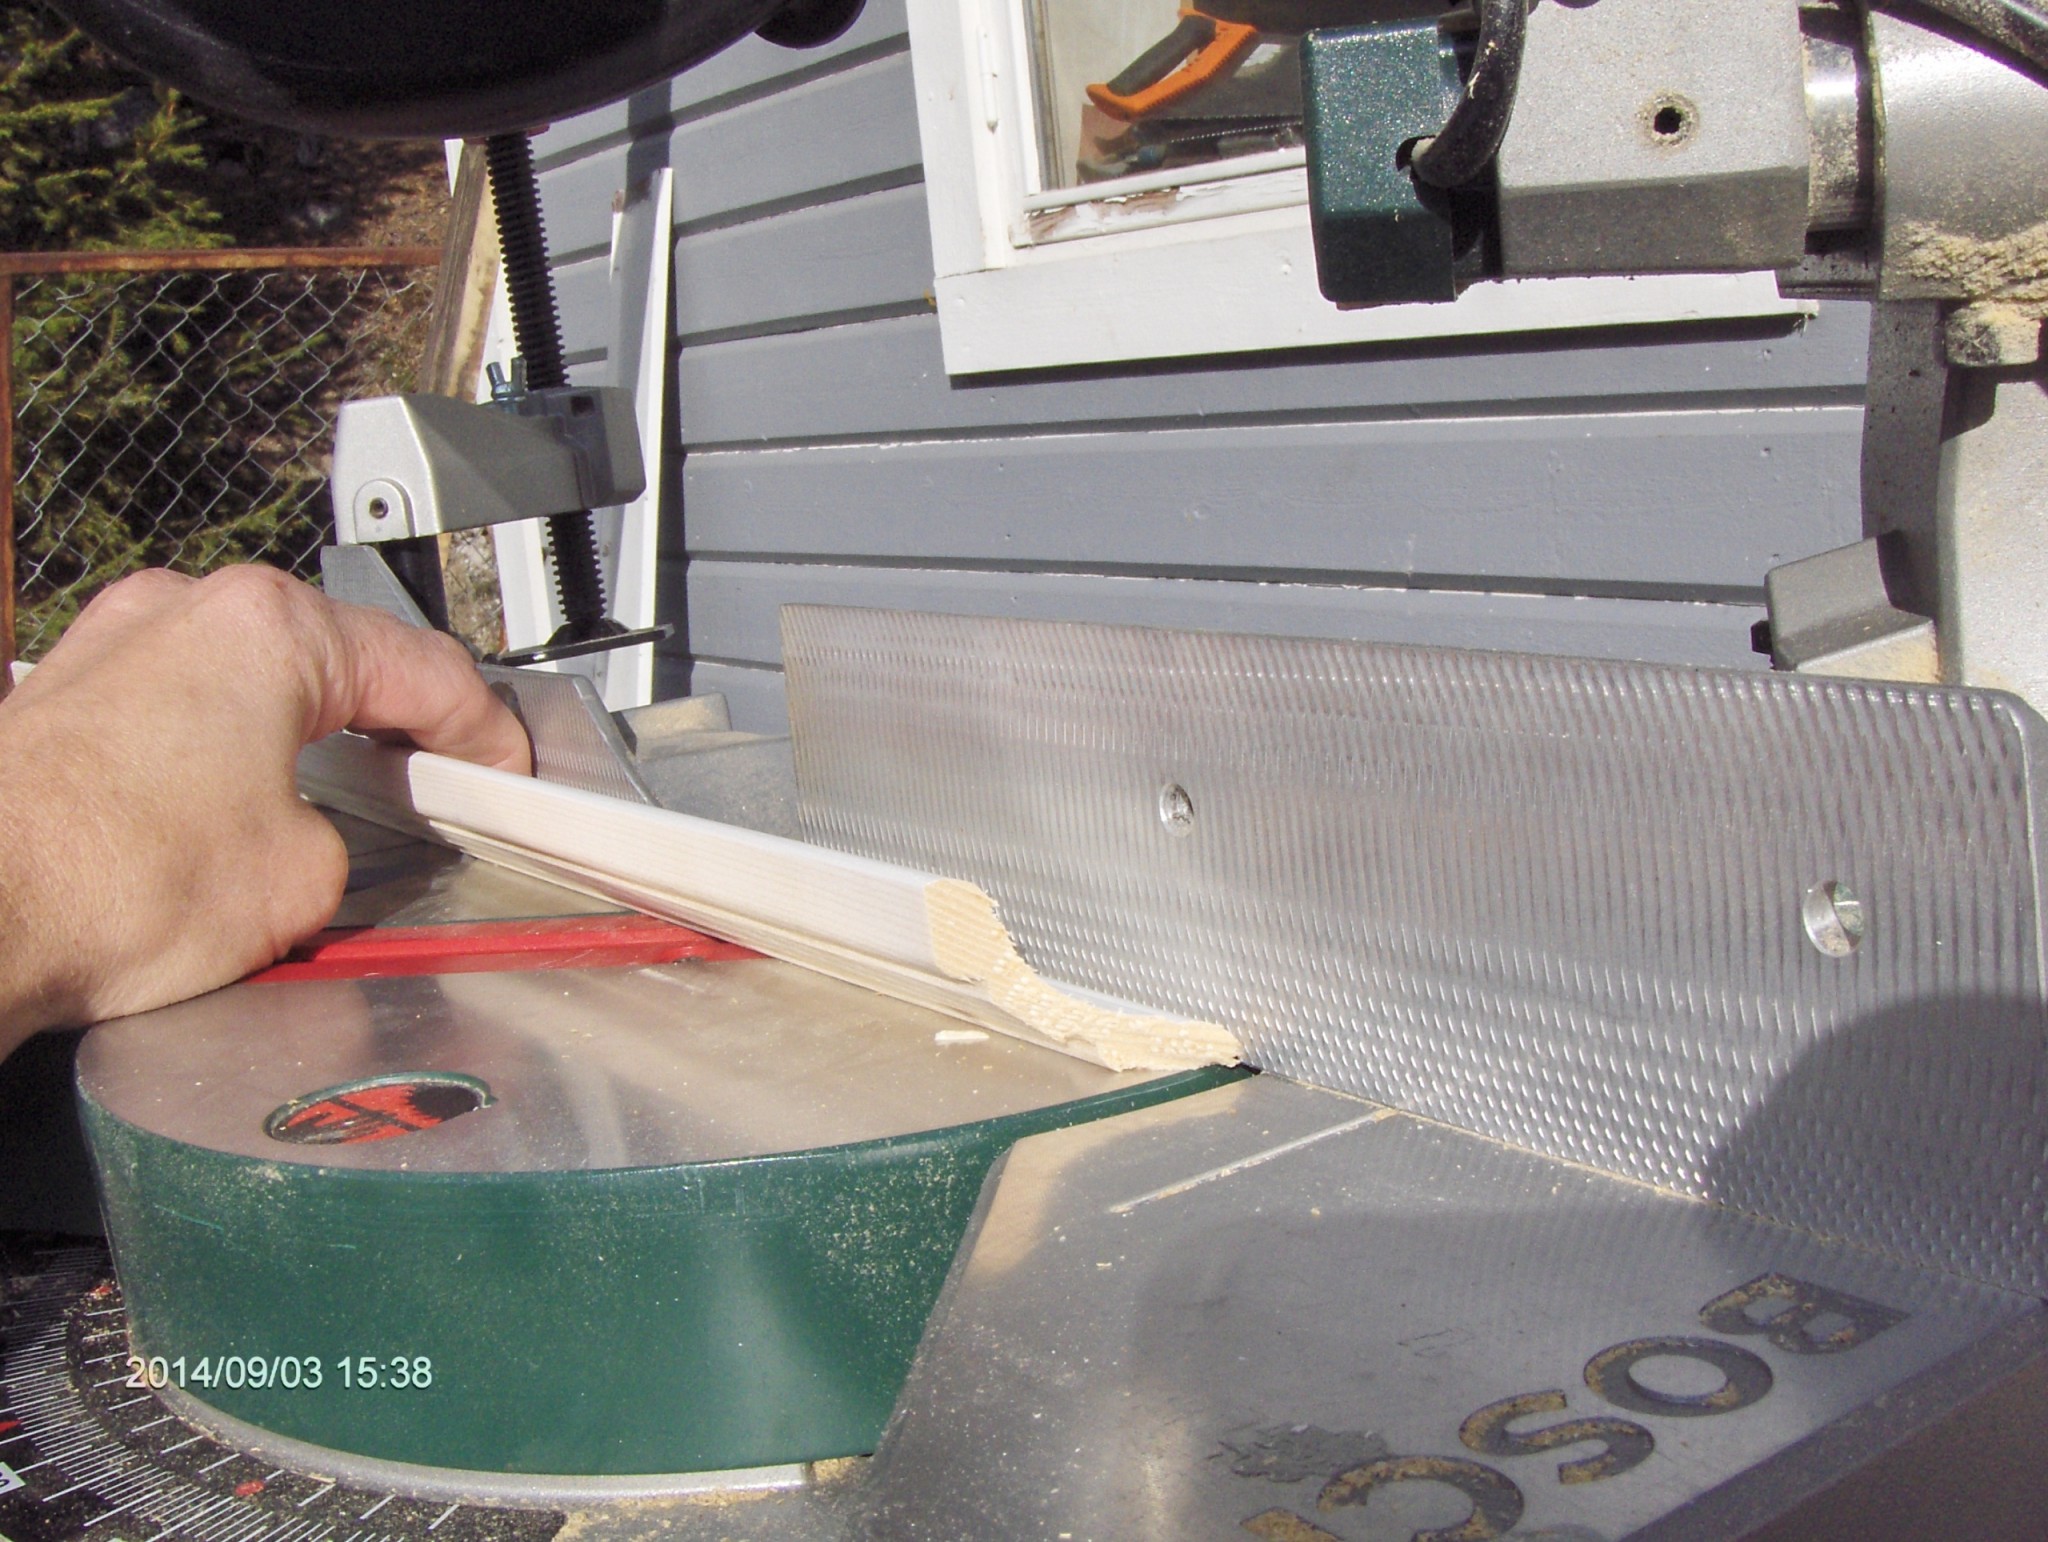
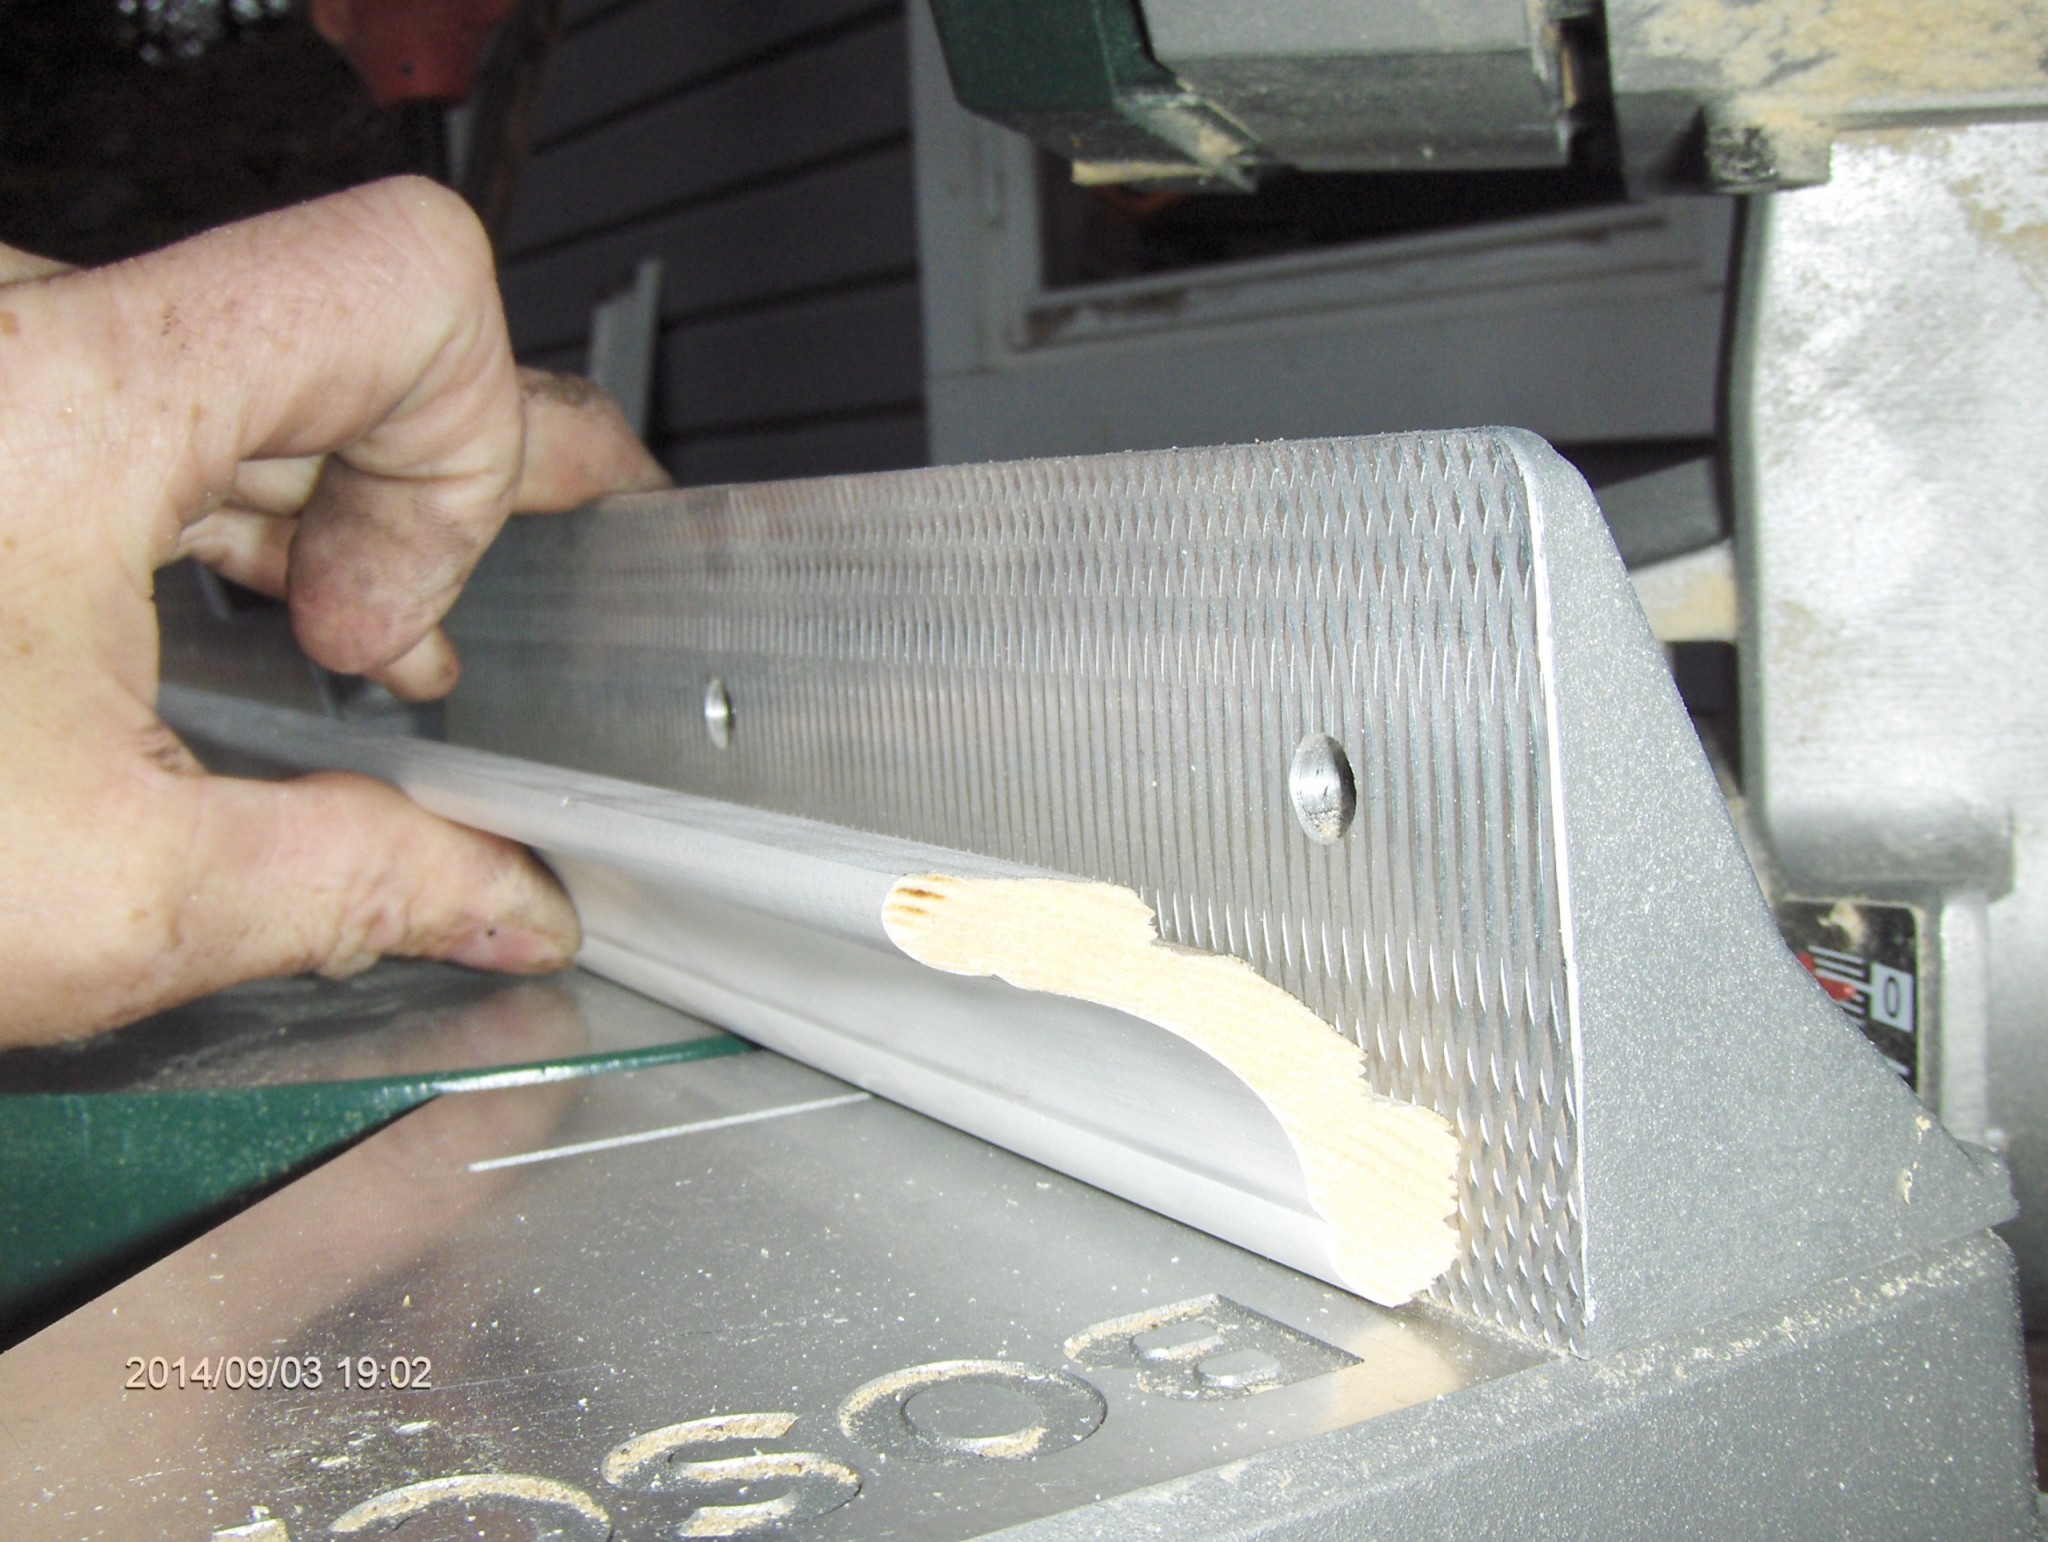
I know it has been explained several times in the threads I referred to, that's why I took some photos of the molding from the options I could think of.
The molding is upside down,
Normal as it is mounted
Normal but with the backside up
On its side
On its side with the backside out.
I have always thought that the molding should be positioned as I named "Normal as it is mounted"
but I can't manage to get any sensible angles.
I found a table that suggested a 90-degree corner should be cut with a miter angle of 35.3 and a bevel angle of 30 degrees.
The easiest thing is to saw a right and a left and use them as a reference when cutting. One of them will be placed backwards to get the correct angle. Always a 45-degree angle.
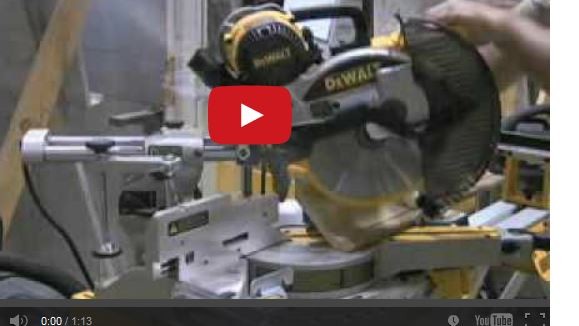
I usually place/set the molding in the miter saw just as it should sit, just like in your picture below! It should be correct, but maybe your angles are not 90 degrees? Otherwise, a good tip as mentioned above, is to cut two templates, one for right and one for left!
You have not placed the molding correctly in any of the pictures. Imagine that the back fence is the wall, and then you can place the molding against the "wall" and then just miter them. Measure the length from wall to wall and mark on the lower part and the back of the molding. Do not try to hit the drawn lines at once, but rather make the molding a little too long and then cut several times until you hit the line.
Aaahhh.......I remember when I was in the same situation as the OP and was pulling my hair out.....somehow it worked out. For a while, I thought it wasn't possible to achieve, but once I figured it out, it went smoothly thereafter. If I could explain it so someone understands.....?.....no!
No, not like that. That way you have the table as the wall. You should think of the back support of the saw as the wall. You should have the lacquered surface facing you when you saw. When sawing lacquered moldings, you should consider how a saw blade works. They splinter more where the blade exits than where it enters.
Seriously!? Are you supposed to hold it like that? It looks so wobbly. I was really certain that you should let it rest on both flat surfaces for good stability and the correct angle. I don't think I've ever held it like that.
Vi vill skicka notiser för ämnen du bevakar och händelser som berör dig.