13,329 views ·
15 replies
13k views
15 replies
Thoughts about flashing
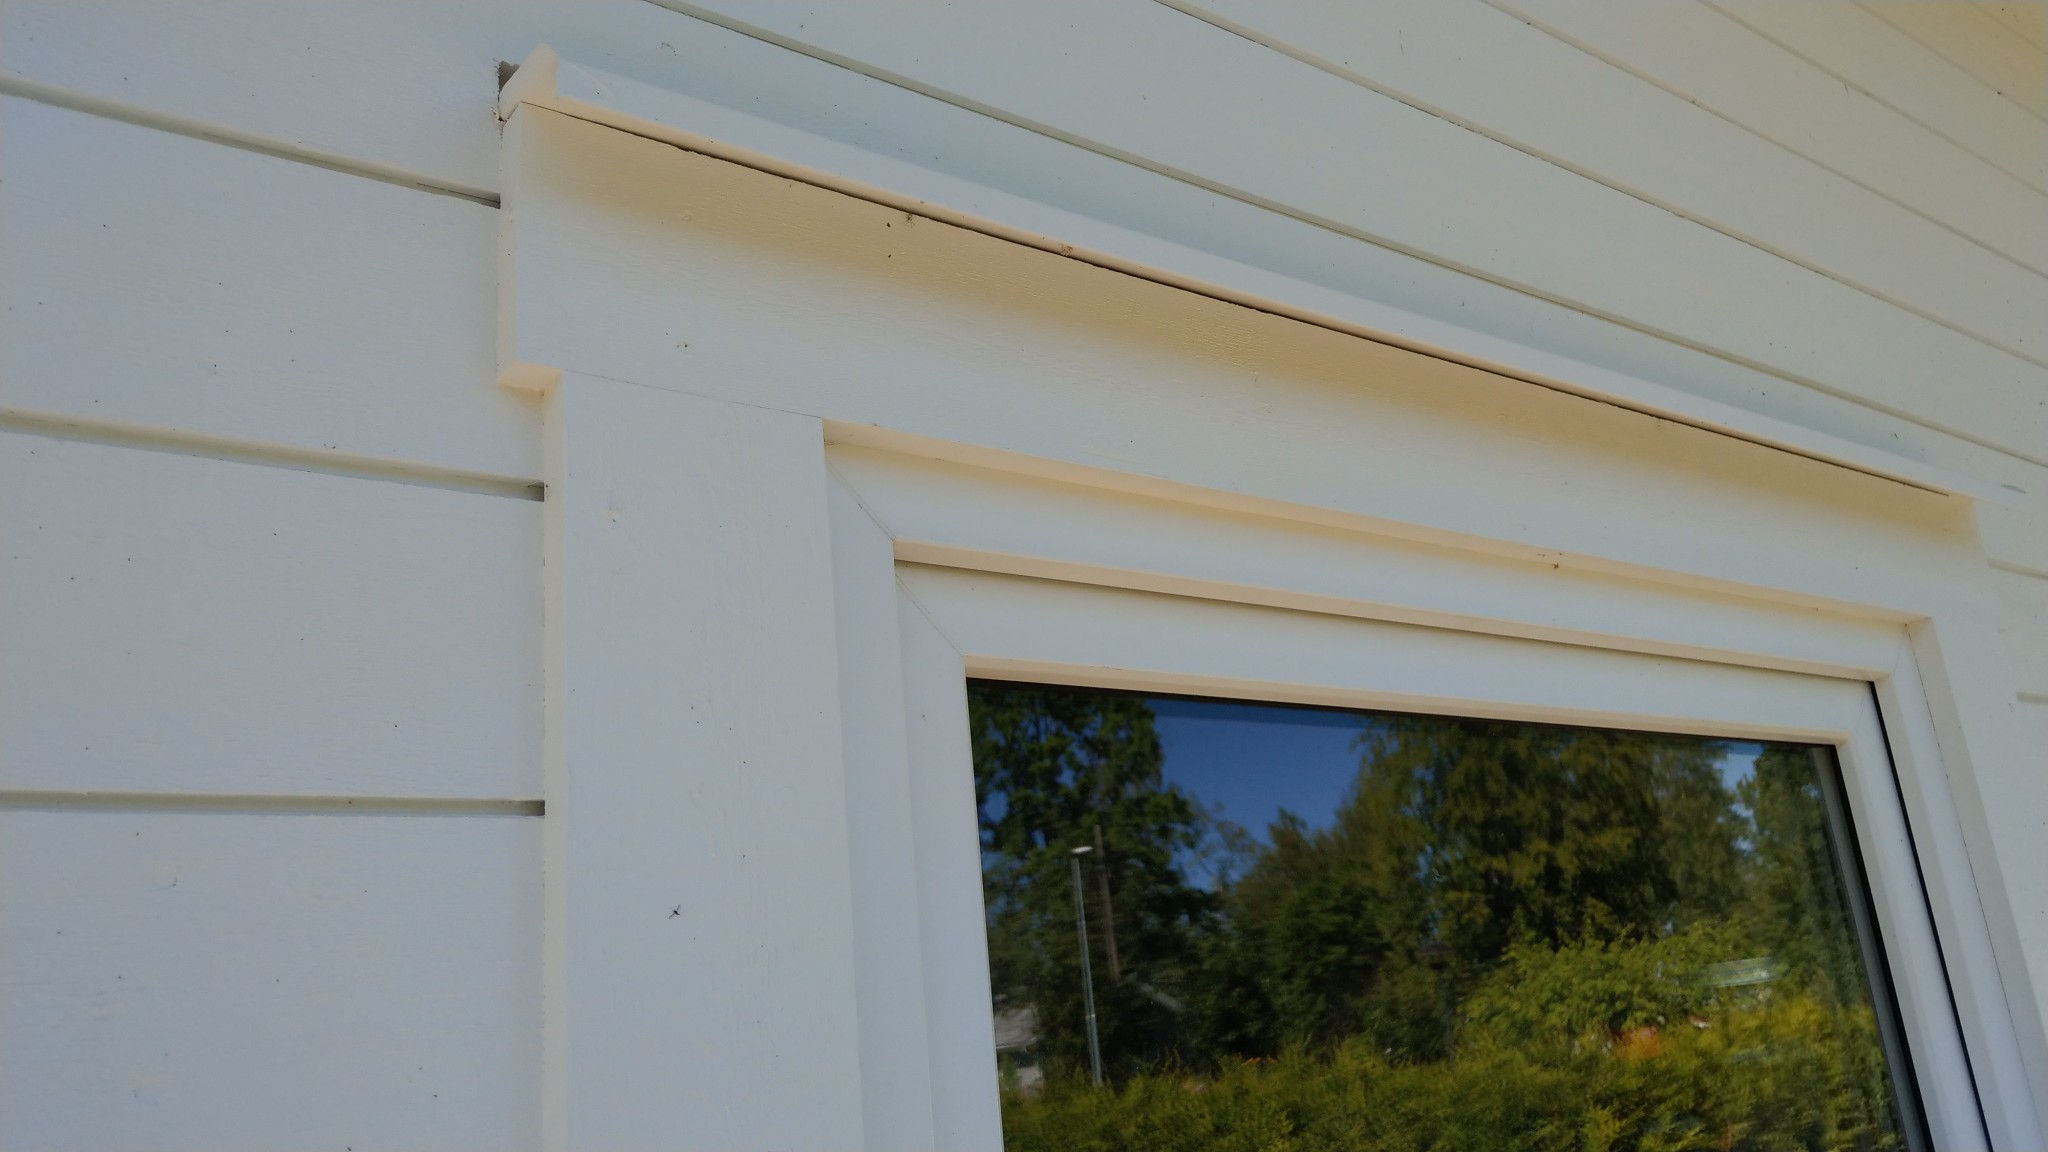
How do I best mount the flashings here?
The sheet metal worker has been here for a first look at it and he recommended that we should go up with the flashing to the first fold, but I don't want it that high for aesthetic reasons.
I would like to make a groove over the top casing and kind of insert the flashing there.
Best regards, Jonas
The sheet metal worker has been here for a first look at it and he recommended that we should go up with the flashing to the first fold, but I don't want it that high for aesthetic reasons.
I would like to make a groove over the top casing and kind of insert the flashing there.
Best regards, Jonas
Last edited:
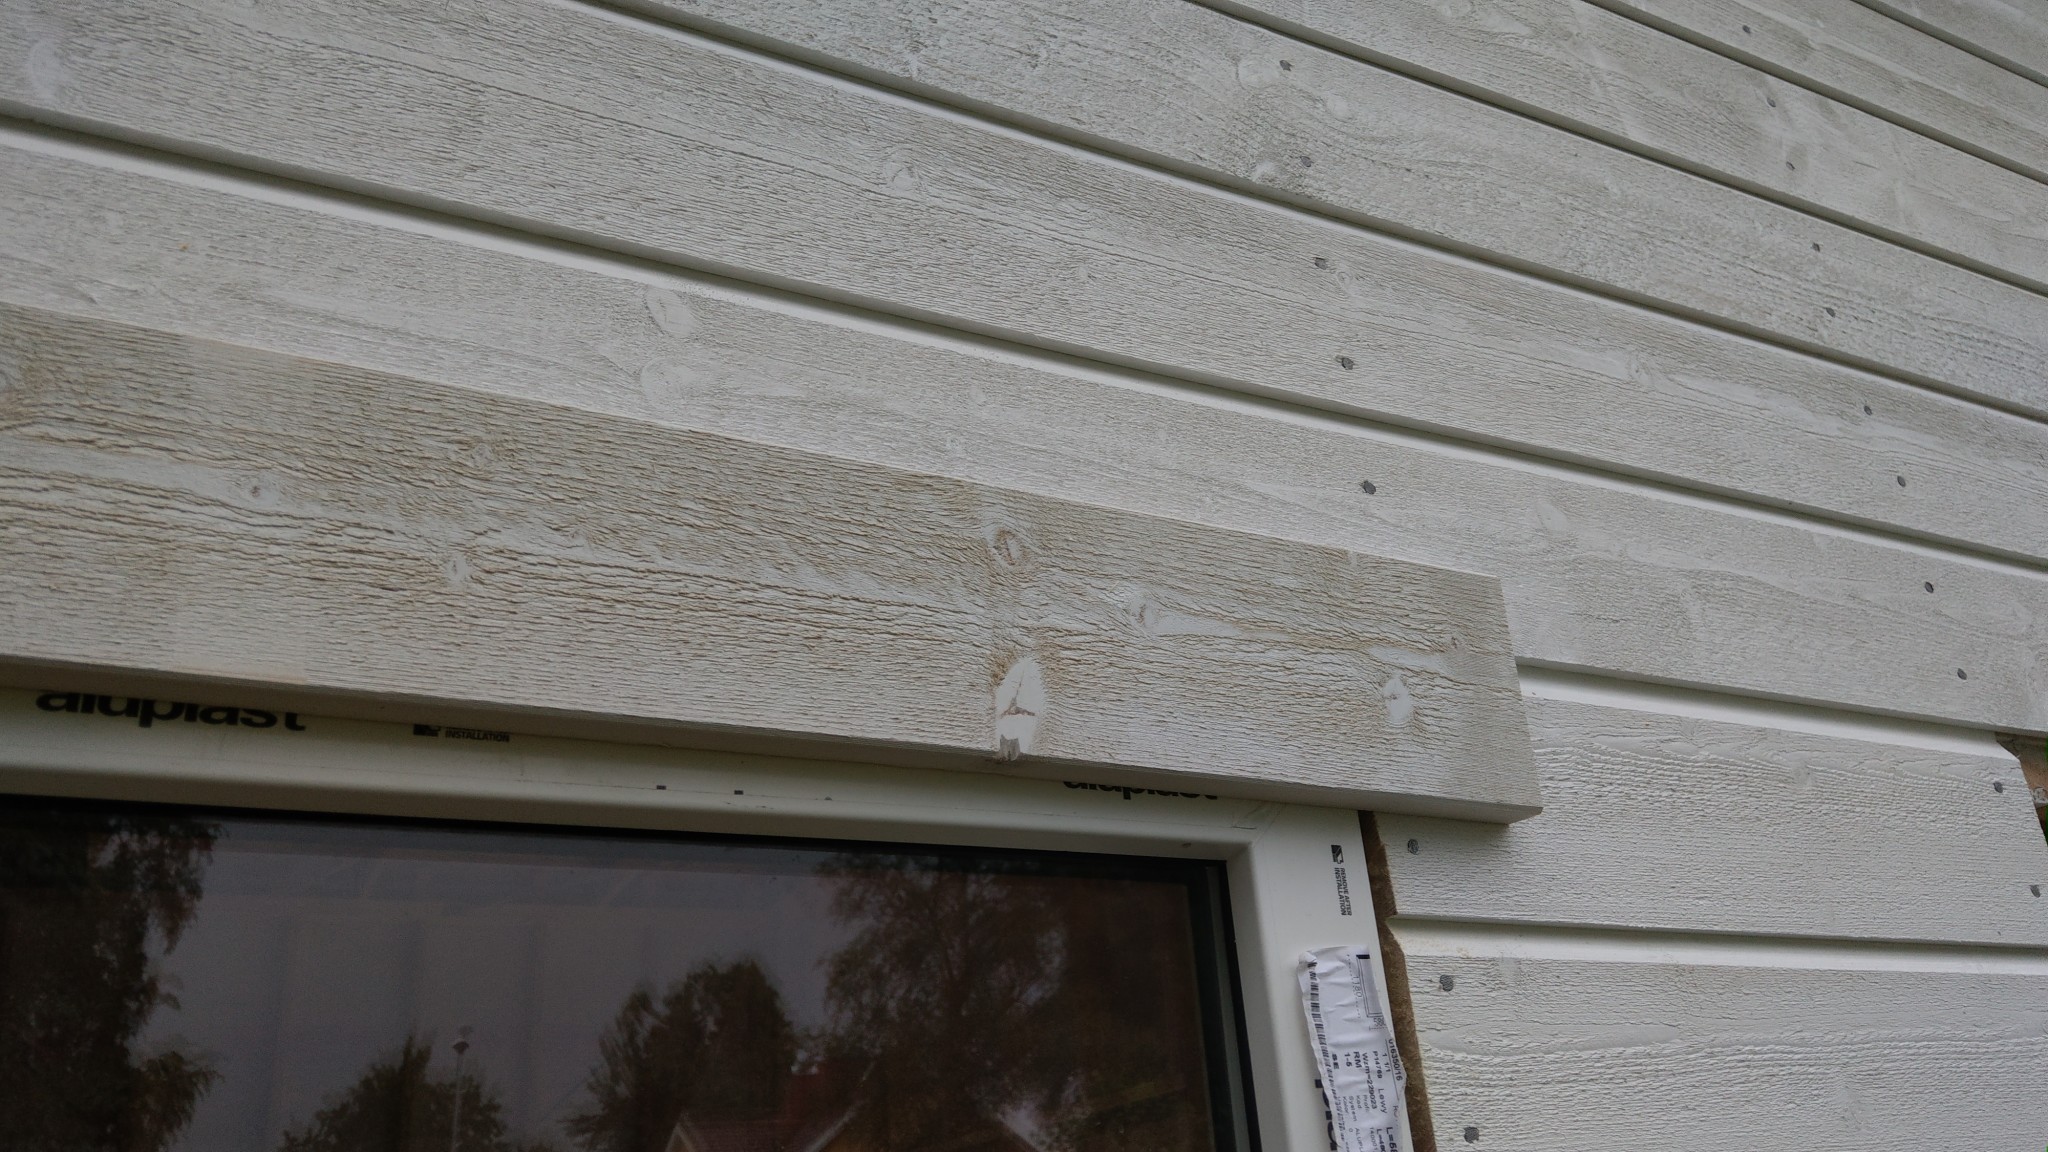
Unfortunately, that's what you should do - But I think it's really ugly if I may say so. I put new siding on the cabin a few weeks ago and chose to get under flashing instead of over flashing, mounted trim, used a piece of scrap from the siding as a spacer against the trim, and cut a groove with my Fein (used a blade intended for metal that's a bit thicker) and mounted the flashing directly against the siding with the tab in the groove with designated flashing screws. The groove was painted over 2 times before we mounted the flashing. I've also done the same solution on another property after discussion with the client, where 2mm deep grooves were cut with a plunge saw and rail which was then painted before the flashing was mounted.
There is certainly a risk that moisture will get in and damage the siding, but until then, I live with a neater installation.")
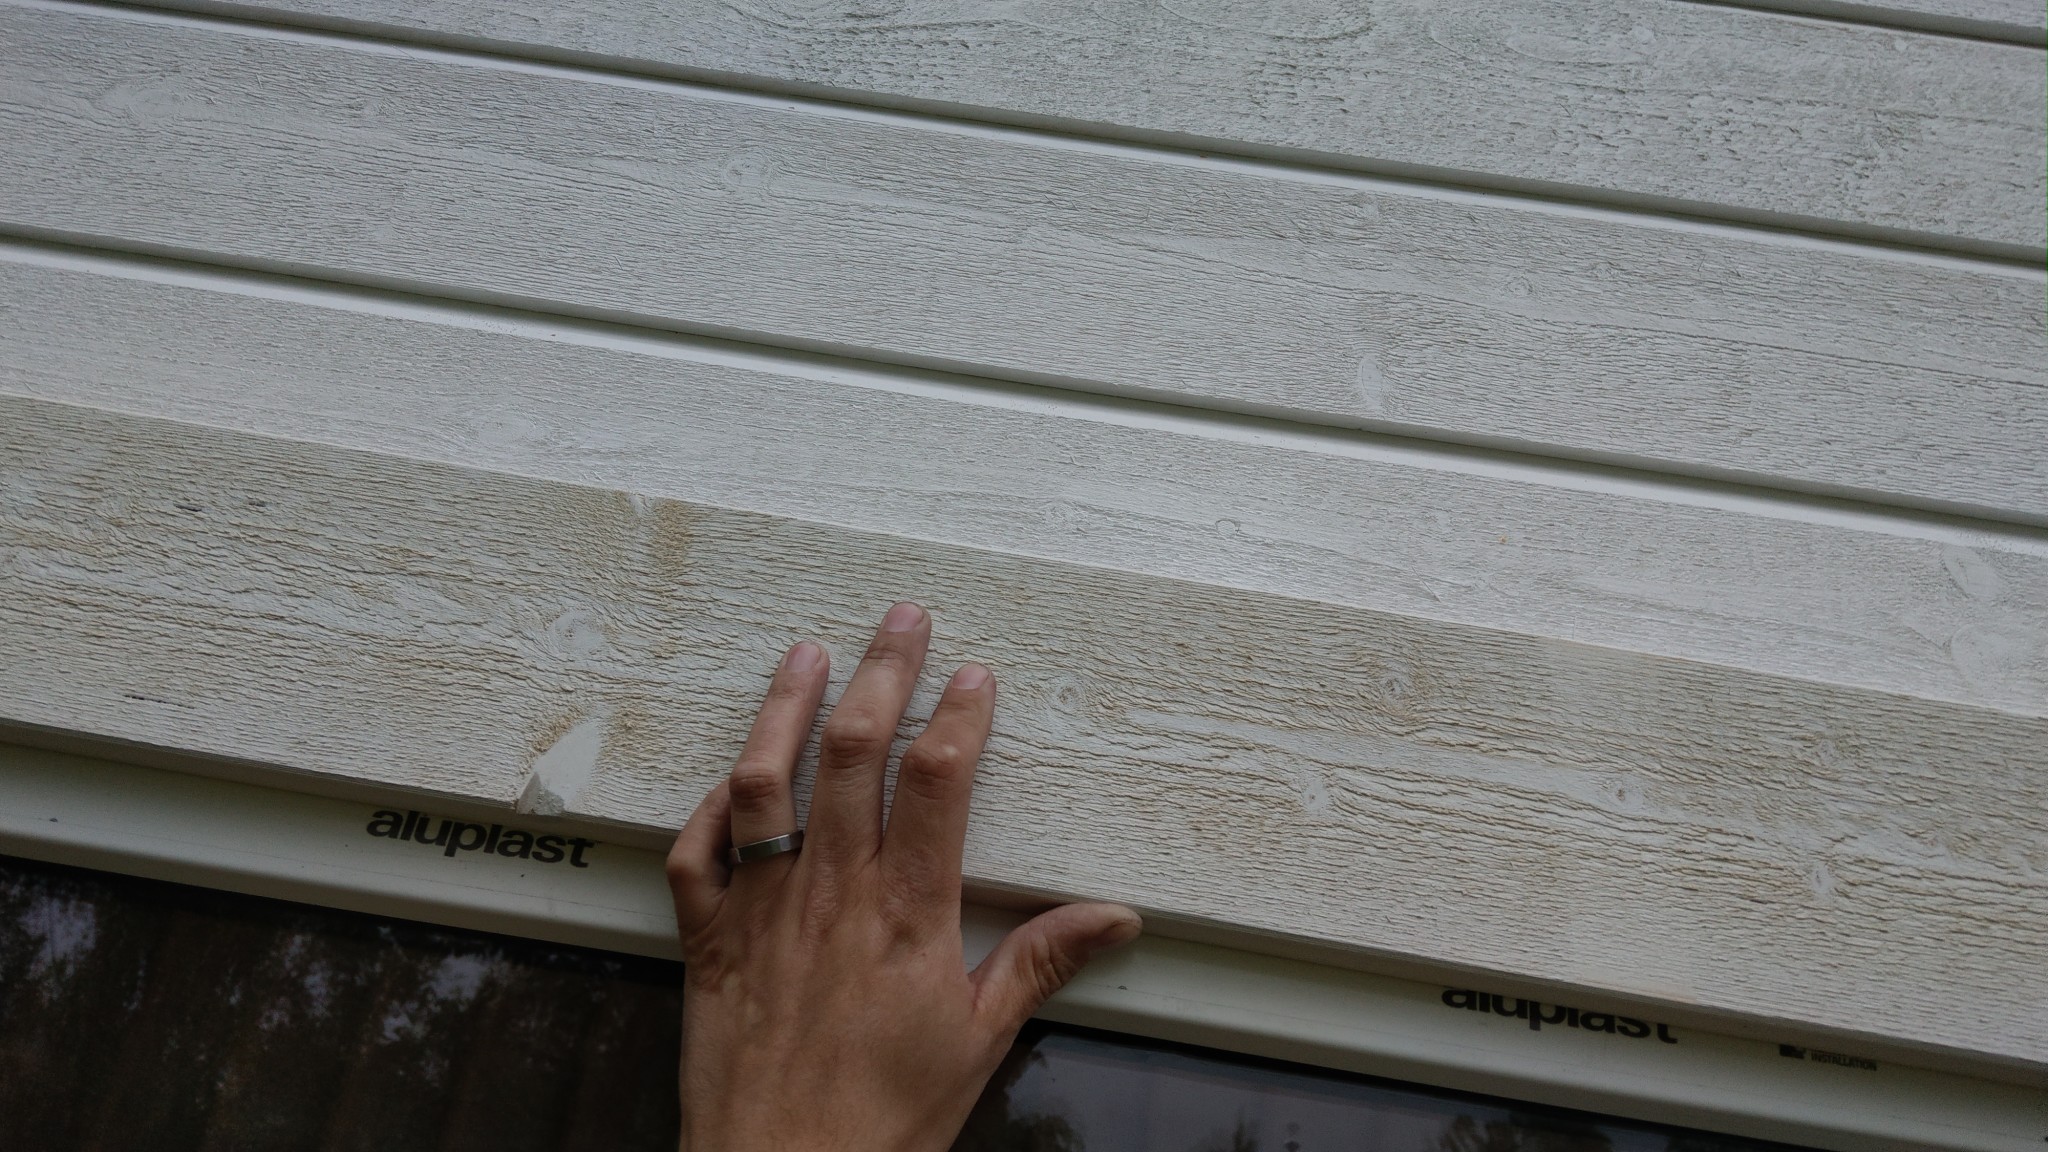
Definitely the wrong solution, but so much nicer. I don't have any decent pictures of the whole thing, but zoomed in, it looks like this:
There is certainly a risk that moisture will get in and damage the siding, but until then, I live with a neater installation.
Definitely the wrong solution, but so much nicer. I don't have any decent pictures of the whole thing, but zoomed in, it looks like this:

I have seen craftsmen who use a circular saw/plunge saw to cut a groove in the wall to fit in the flashing, but it's not easy to make it look nice, to get the flashing in place correctly, and then have something to attach the flashing to (there might not be any regulations behind it right there).
Hmm so that's what the sheet metal worker suggests that one might actually do then?
Maybe one could use a wider trim on the top so perhaps one can raise the block a bit at least..
I can add here now that the building is completely new, behind the panel there is sparse framework, felt, and bare studs. No insulation or plastic has been added yet.
Best regards, Jonas
Maybe one could use a wider trim on the top so perhaps one can raise the block a bit at least..
I can add here now that the building is completely new, behind the panel there is sparse framework, felt, and bare studs. No insulation or plastic has been added yet.
Best regards, Jonas
Absolutely, just make sure to angle the cut slightly and paint before installing the flashing, then I might consider screwing rather than nailing so you can take down the flashing and avoid masking when it's time to repaint the house. I always screw moldings with decking screws just to make my job easier the day I have to repaint... Laziness or Smartness - I don't know, but the difference is very fine...MalZon said:
Member
· Östergötland
· 253 posts
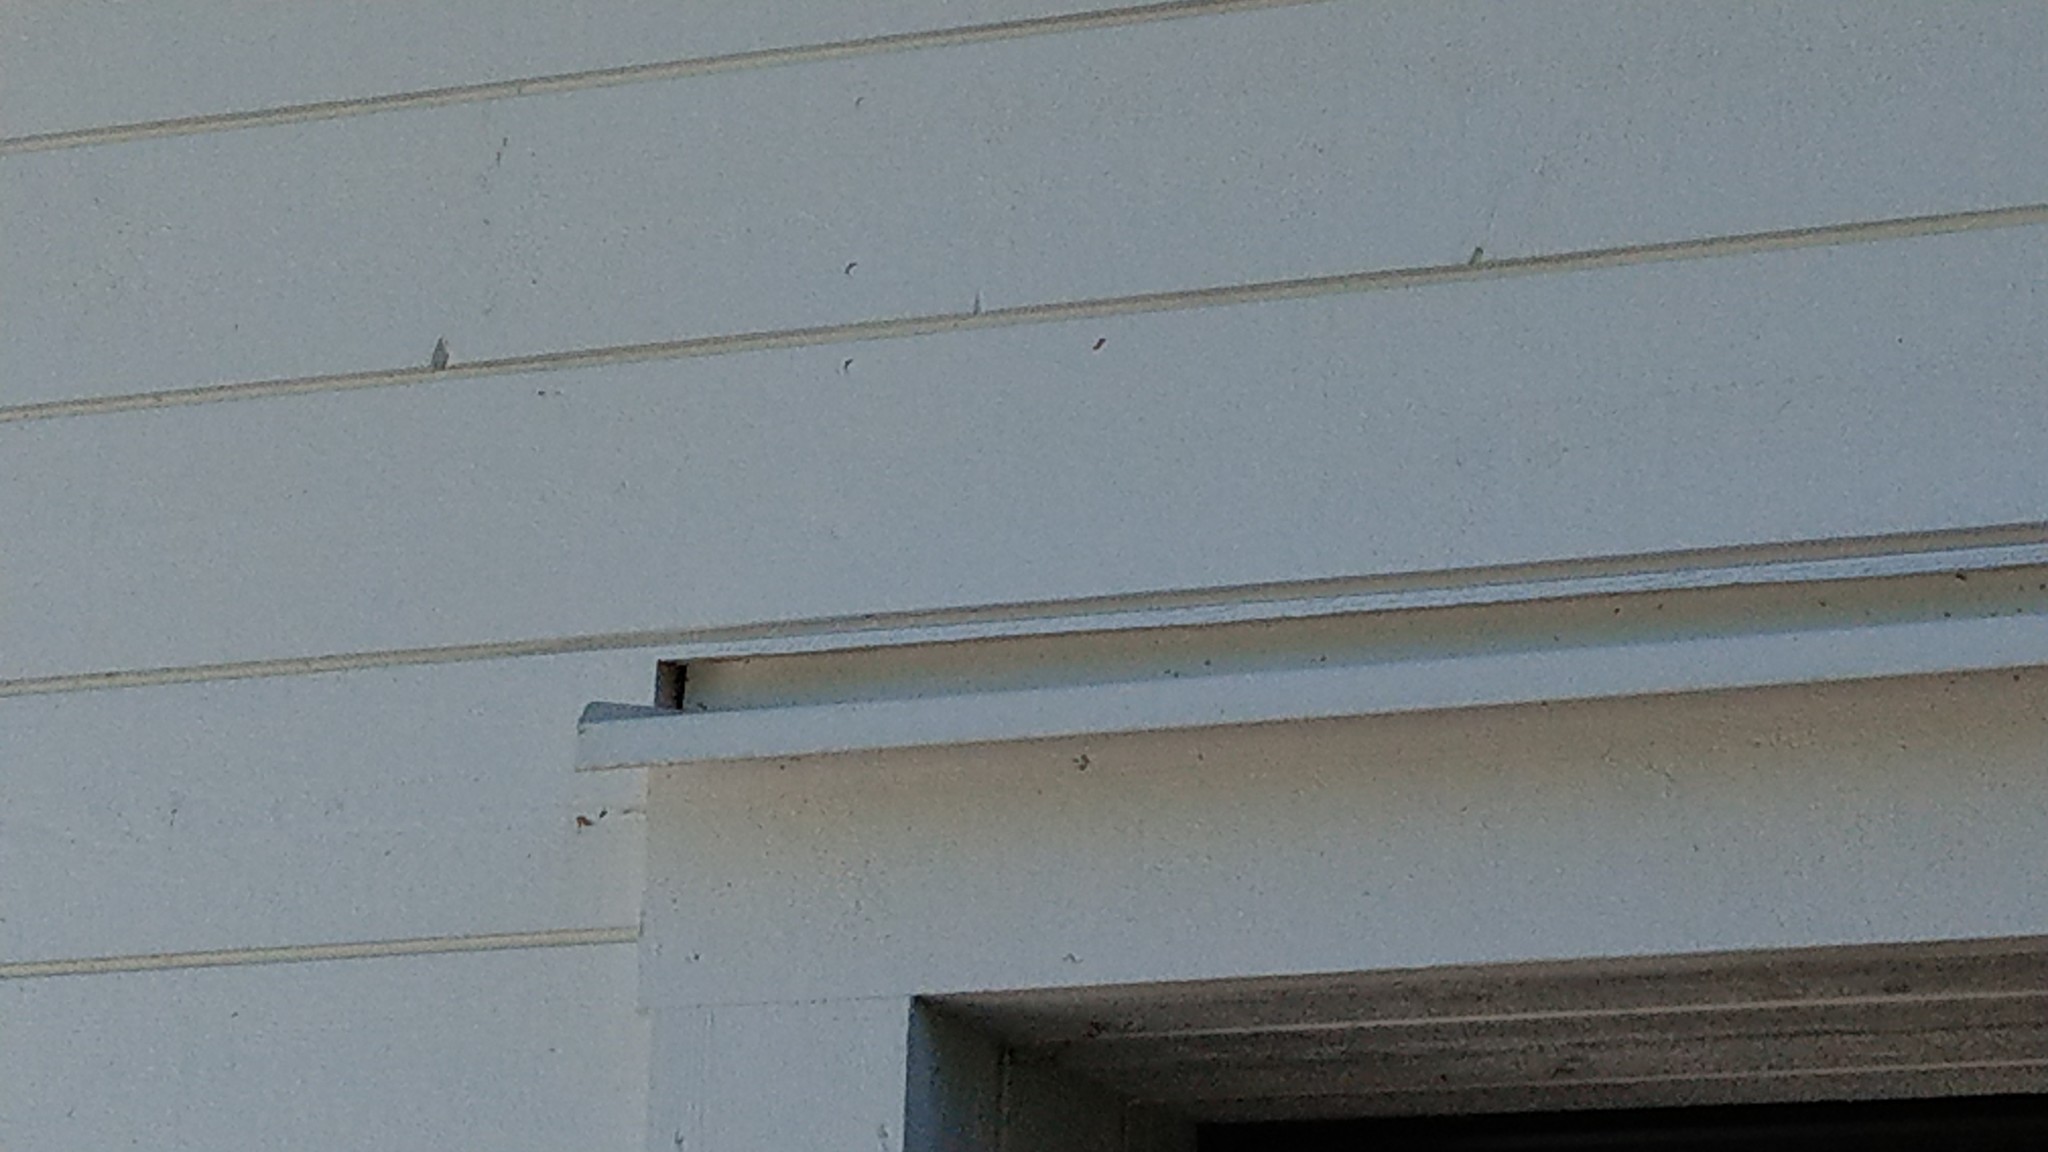
Otherwise, one avoids overbleck with horizontal paneling, I used a solid line of construction adhesive (Tec7) on the upper edge and painted it in!
It's not too often that the rain gets under the roof overhang anyway
It's not too often that the rain gets under the roof overhang anyway
I think the upper picture is mine, and I did it in the wrong order, I sawed crooked with a circular saw and then cut out the ends with a multimaster, and then painted and lastly added with the sheet metal, and trim around the window.
I had, I think, three horizontal spars above each other above the window, so the metal ended up between these and the panel.
Last edited:
It looks like TS photographed the gable (If you interpret it as the gutters are mostly on the long side) and then I would definitely have flashing, some rain probably blows in there even with a little wind.P Patrik Lidstedt said:
Yep, you're taking the thought right out of my head. Thought exactly the sameslacker said:
Absolutely, just make sure to angle the cut slightly and paint before the flashing is mounted. Then I might consider screwing rather than nailing so you can take down the flashing and avoid masking on the day it's time to repaint the house. I always attach trim with decking screws just to make my job easier the day I have to repaint.... Laziness or Smartness - I don't know, but the difference is very fine...
Best regards, Jonas
Yes, everything is new, so I shouldn't skimp on something like this.P Patrik Lidstedt said:
Best regards, Jonas
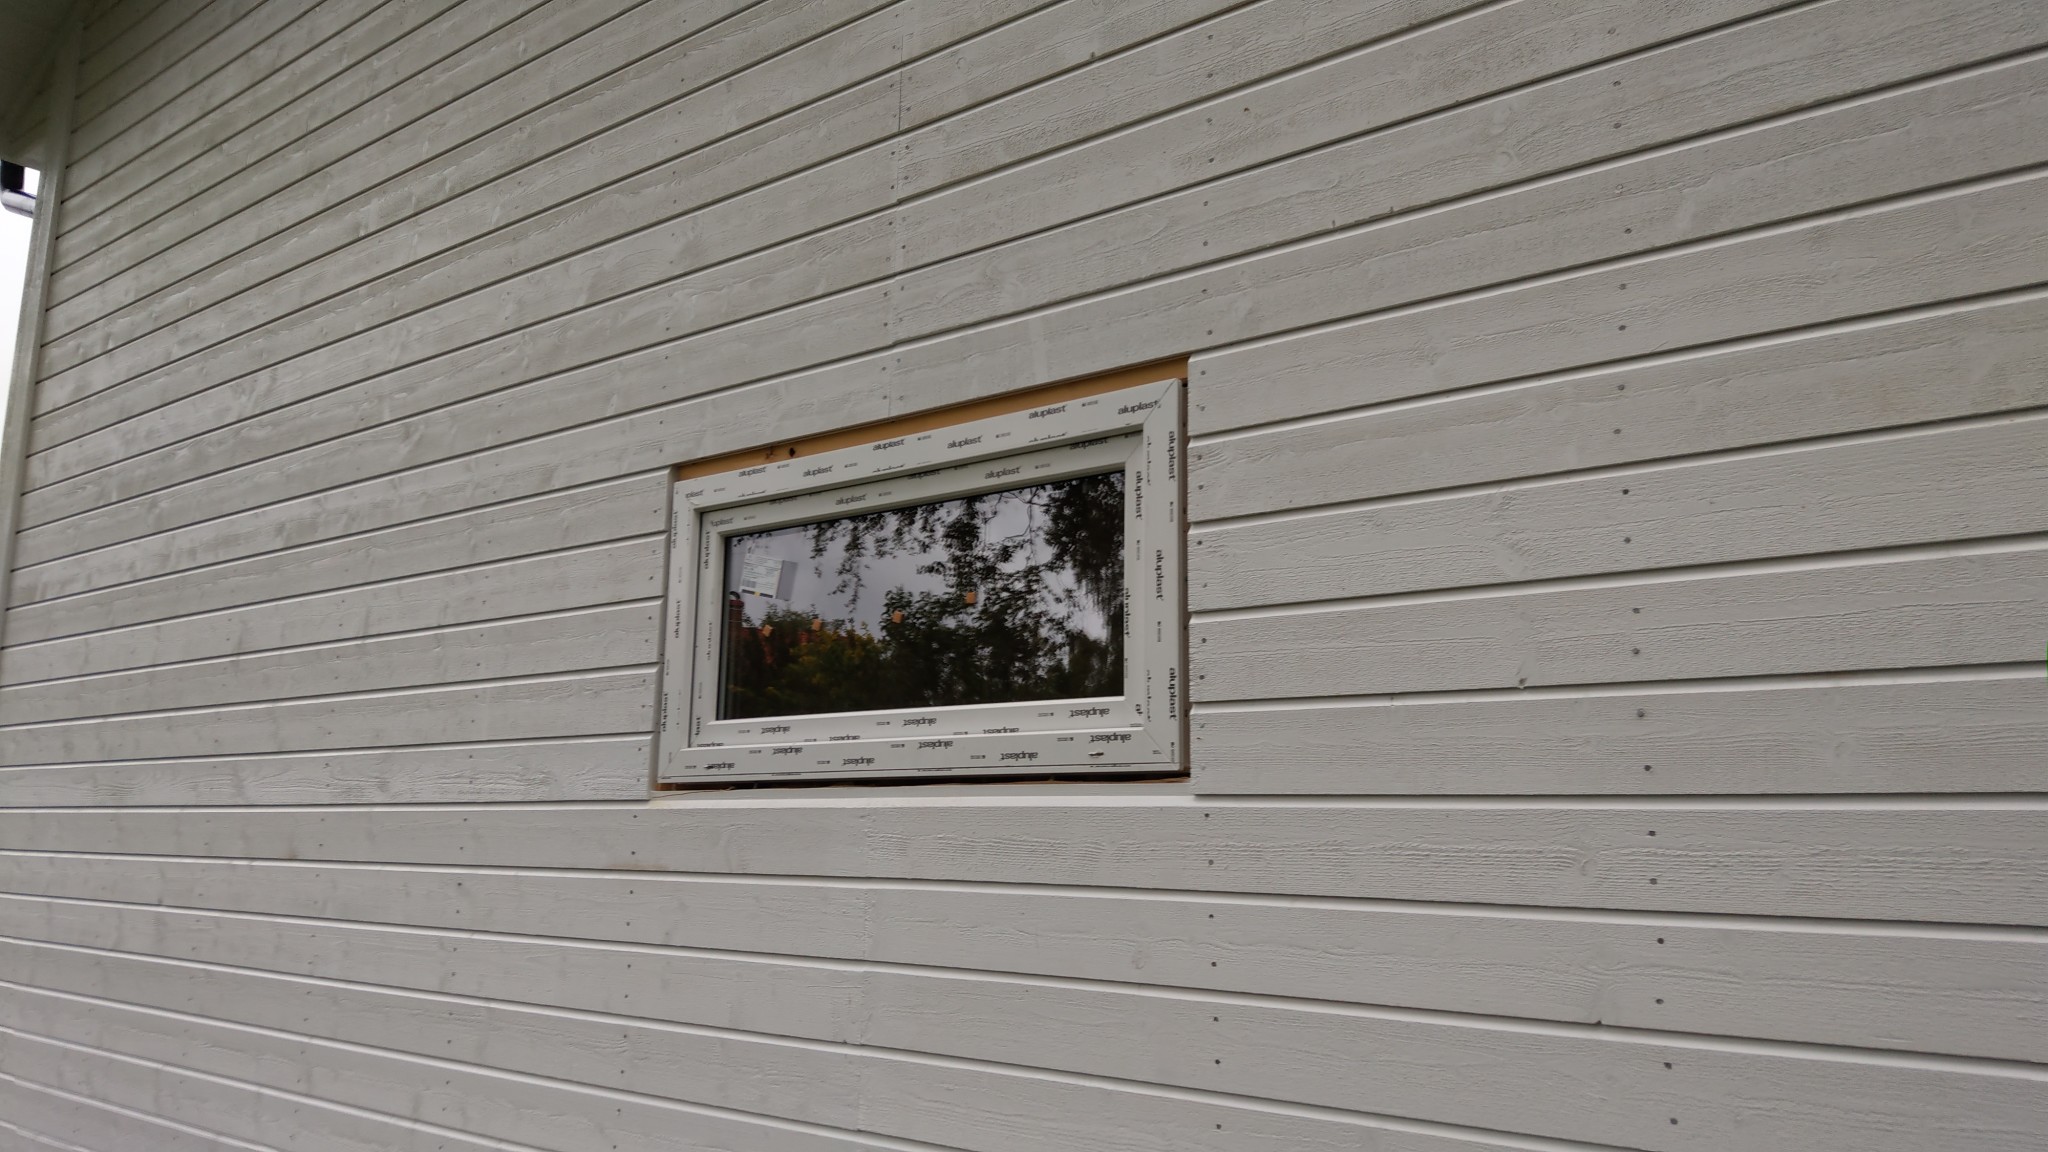
No, it's a picture I took myself of an acquaintance's garage. However, it was carpenters who did everything on it, so he doesn't have much knowledge of how they did it.Snailman said:
The upper picture I think is mine, and I did it in the wrong order, I cut at an angle with a circular saw and then made cuts in the ends with the multimaster, and then painted and lastly attached with the ink, and trim around the window.
I had, I think, three horizontal slats on top of each other above the window, so the sheet metal ended up between these and the panel.
Best regards, Jonas
The overall picture is of the gable, yes. That was the first thing I put in place. I have 3 on the long sides as well. It's 4m up to the roof overhang, so yes, flashing will go there.
Best regards, Jonas