Hi.
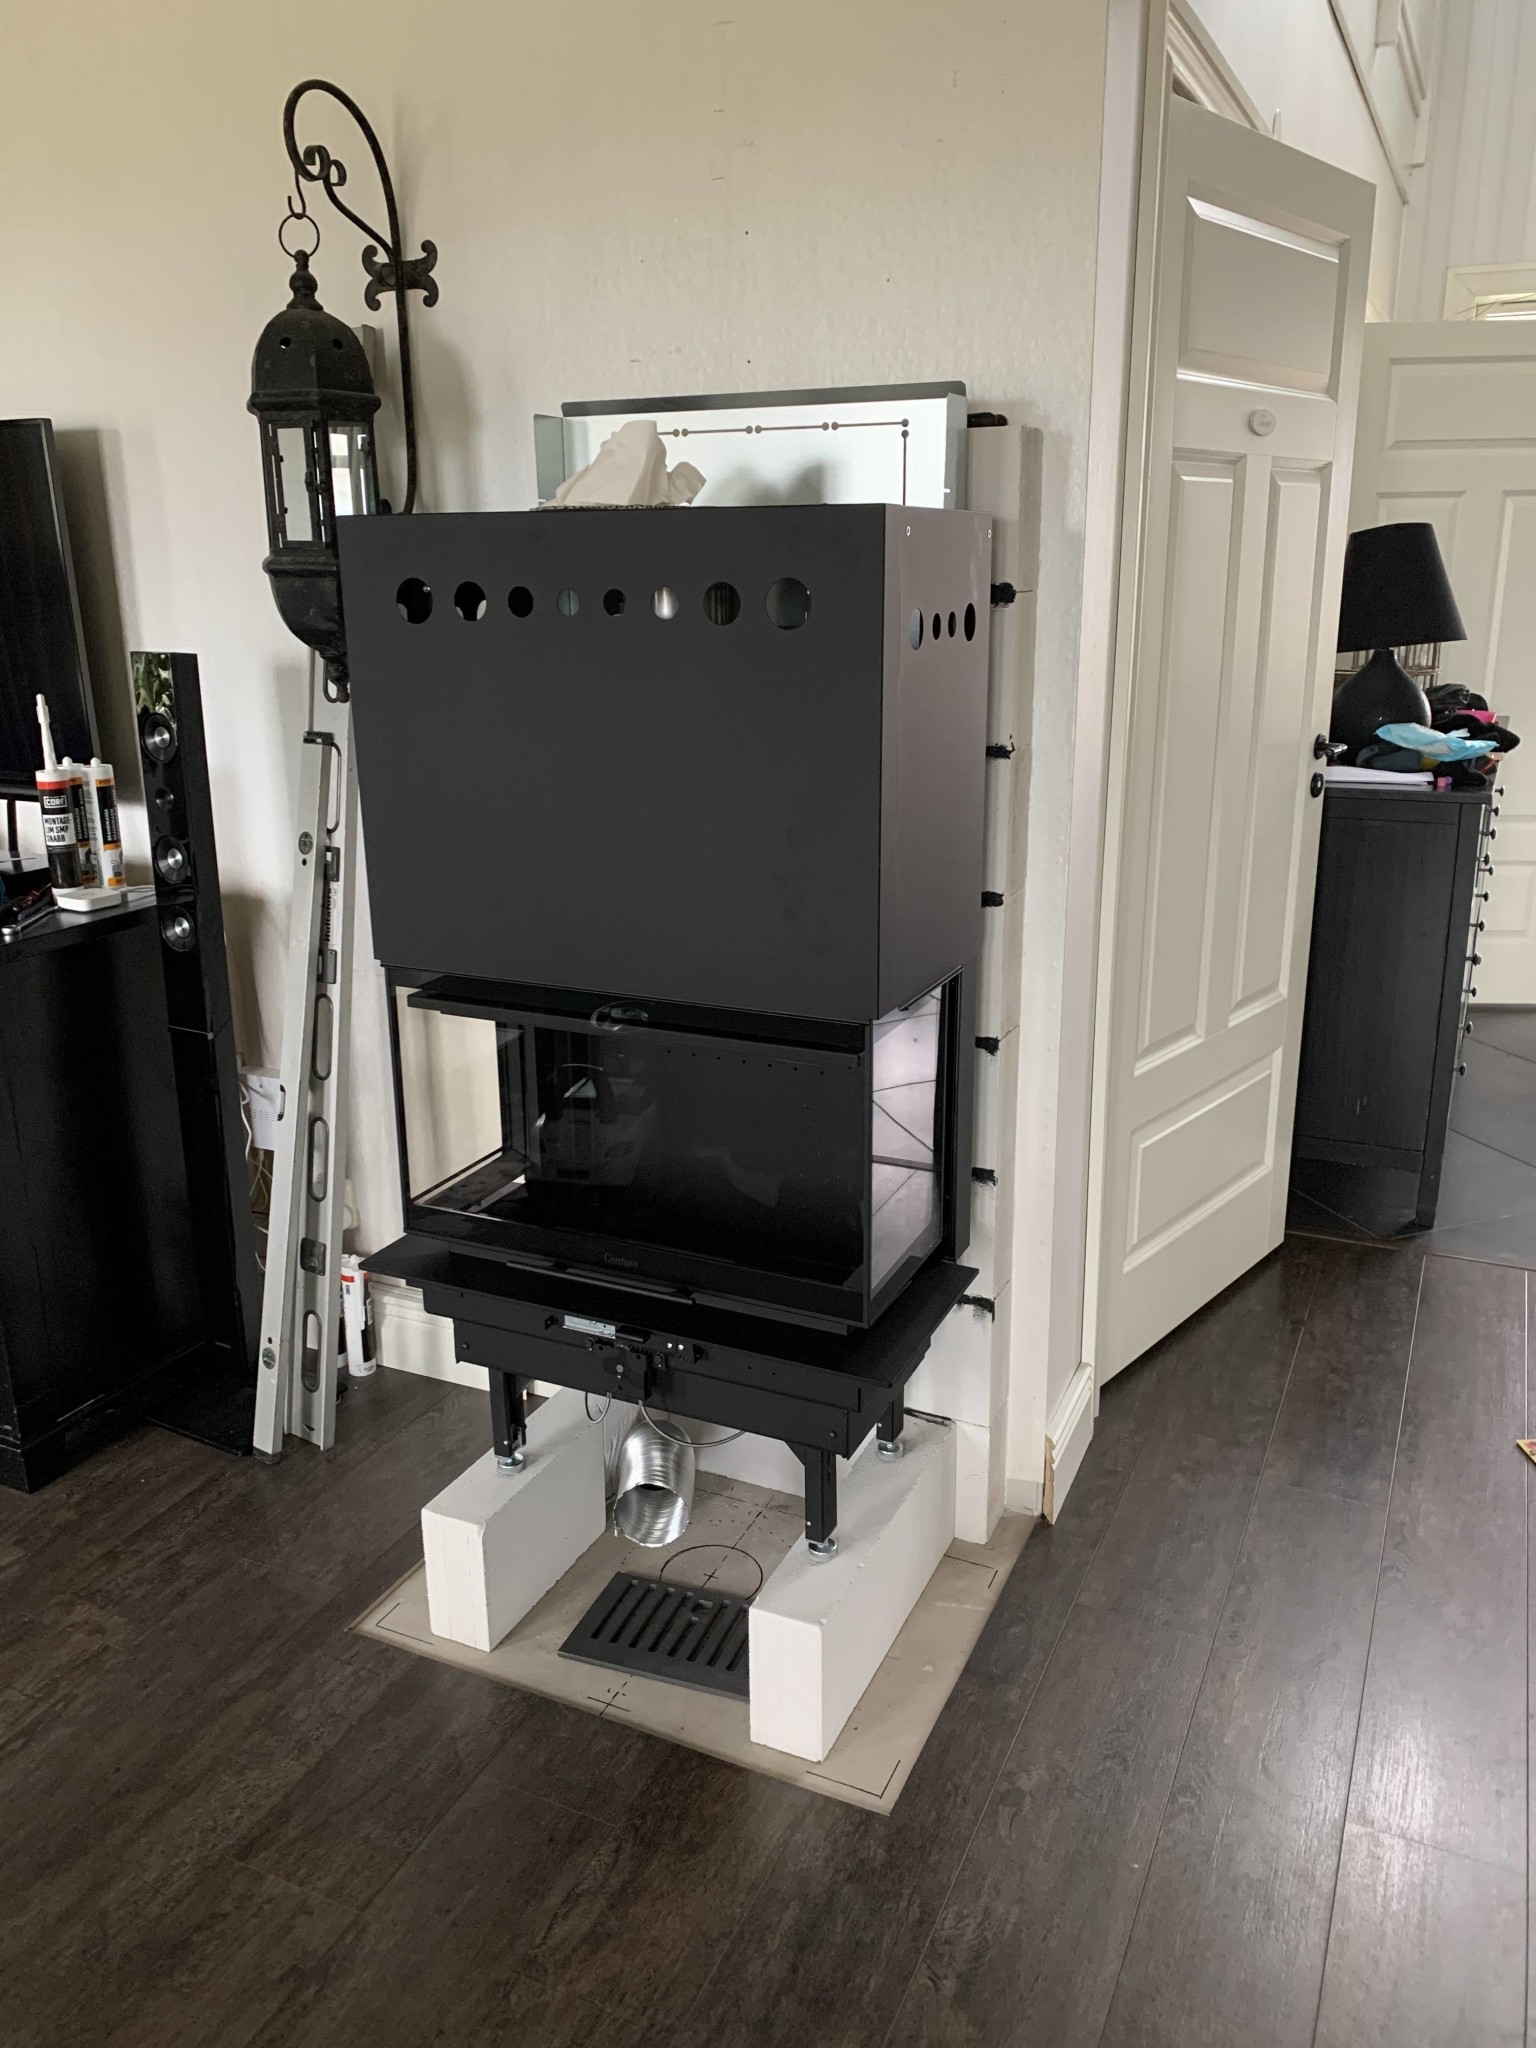
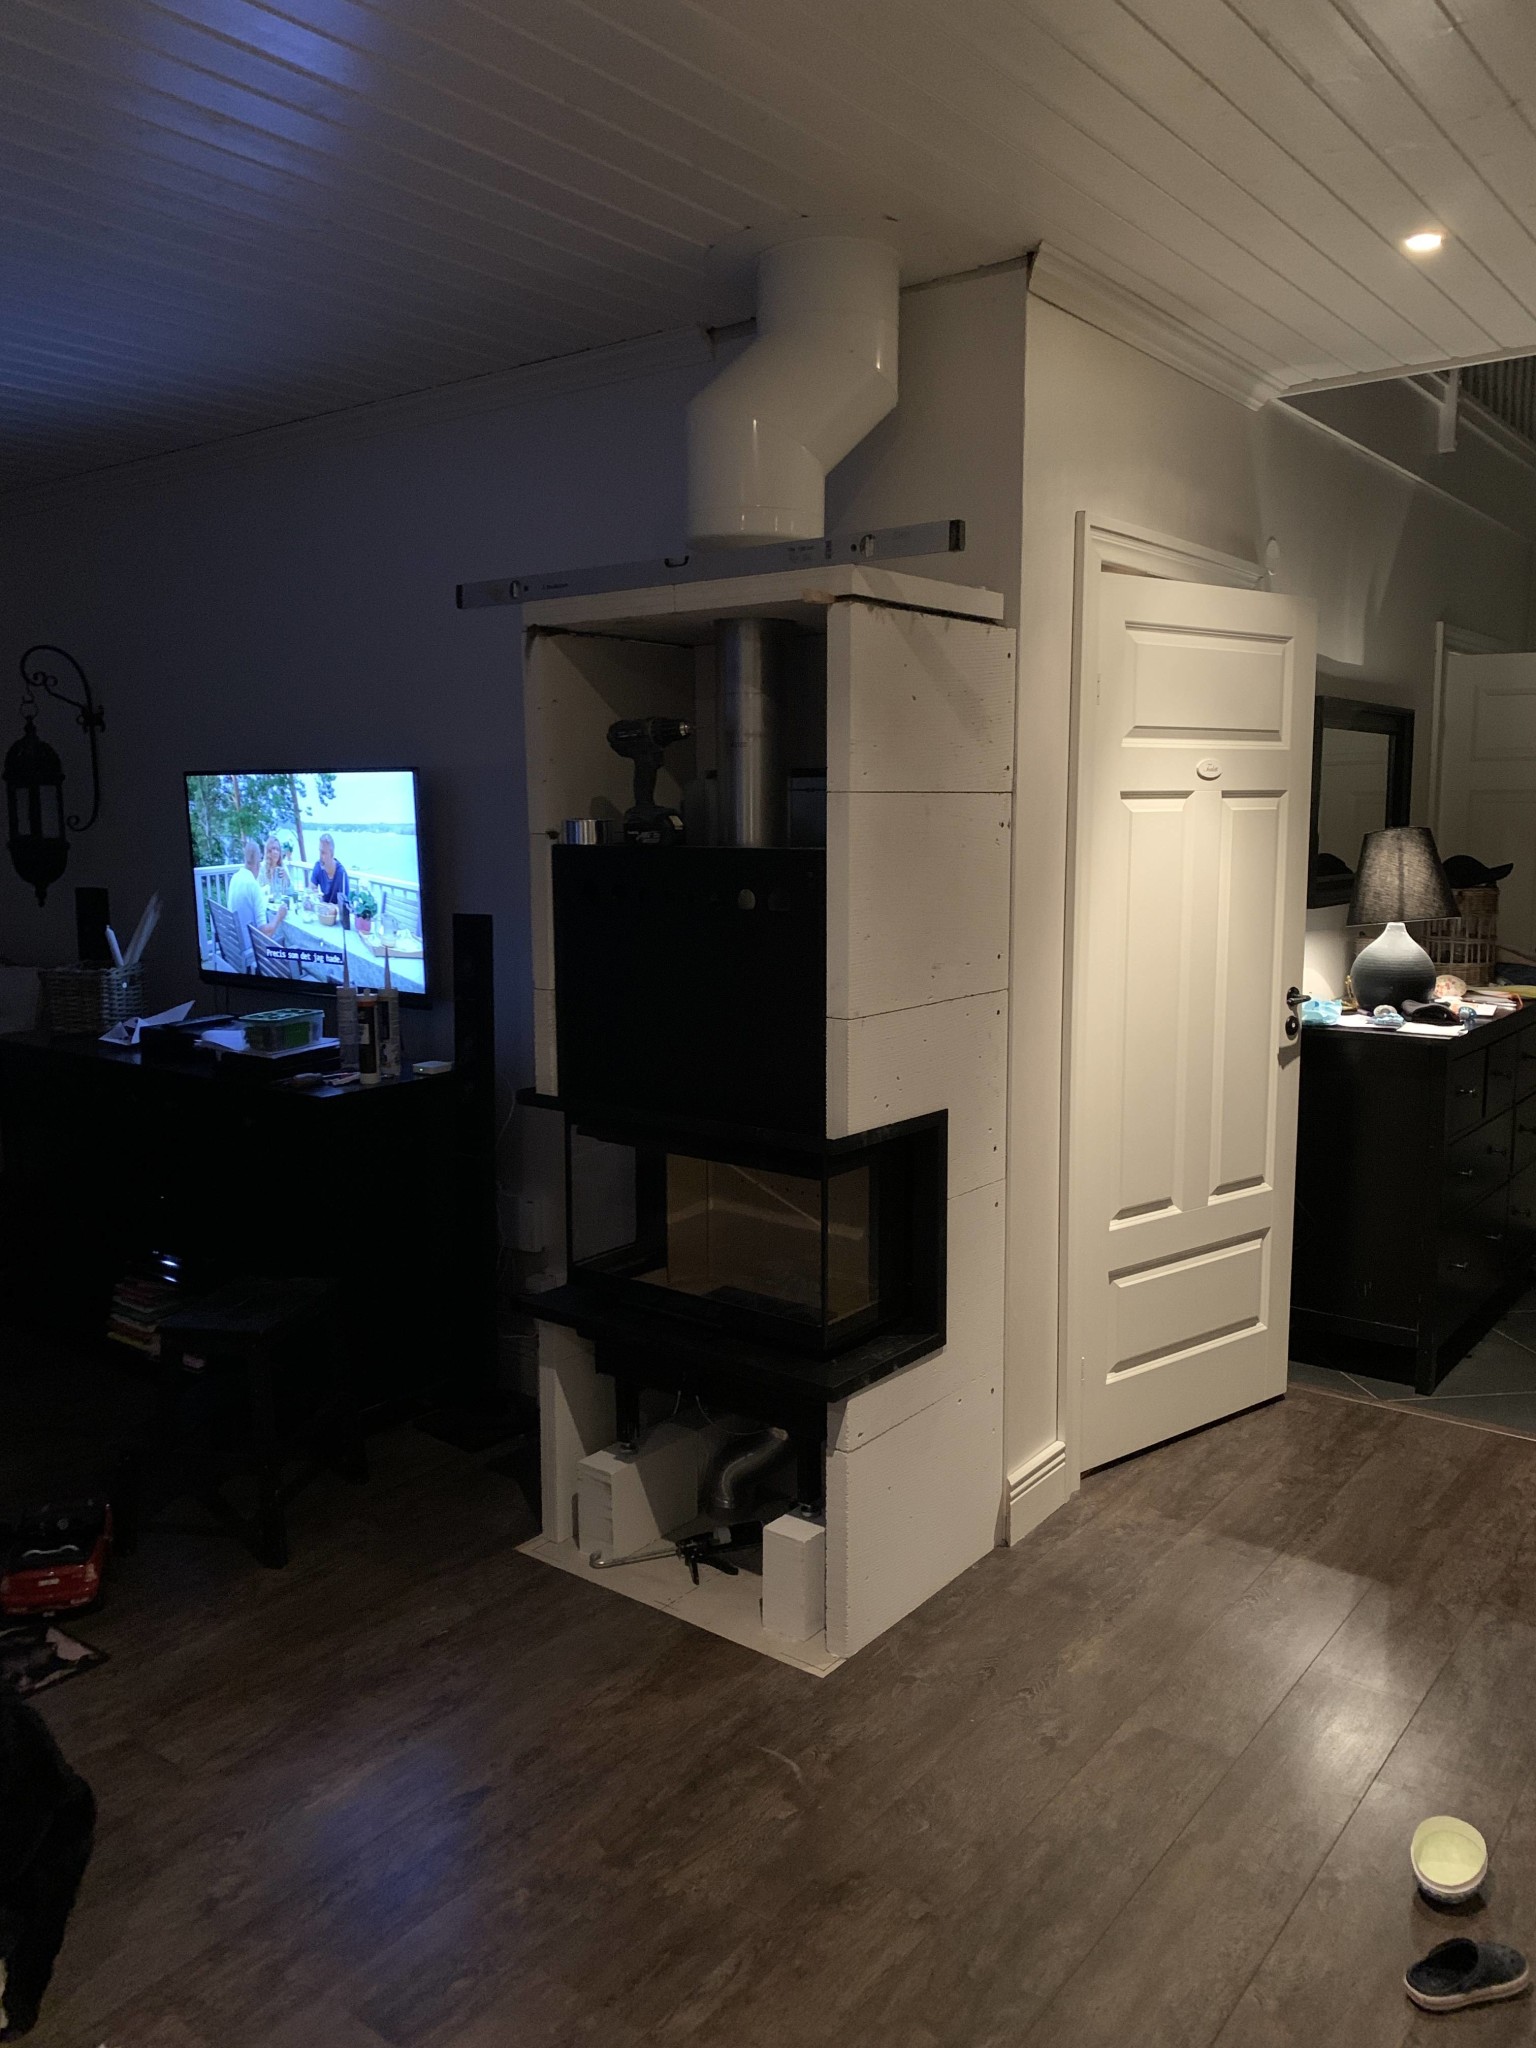
I'm going to build in a Contura I50 insert.
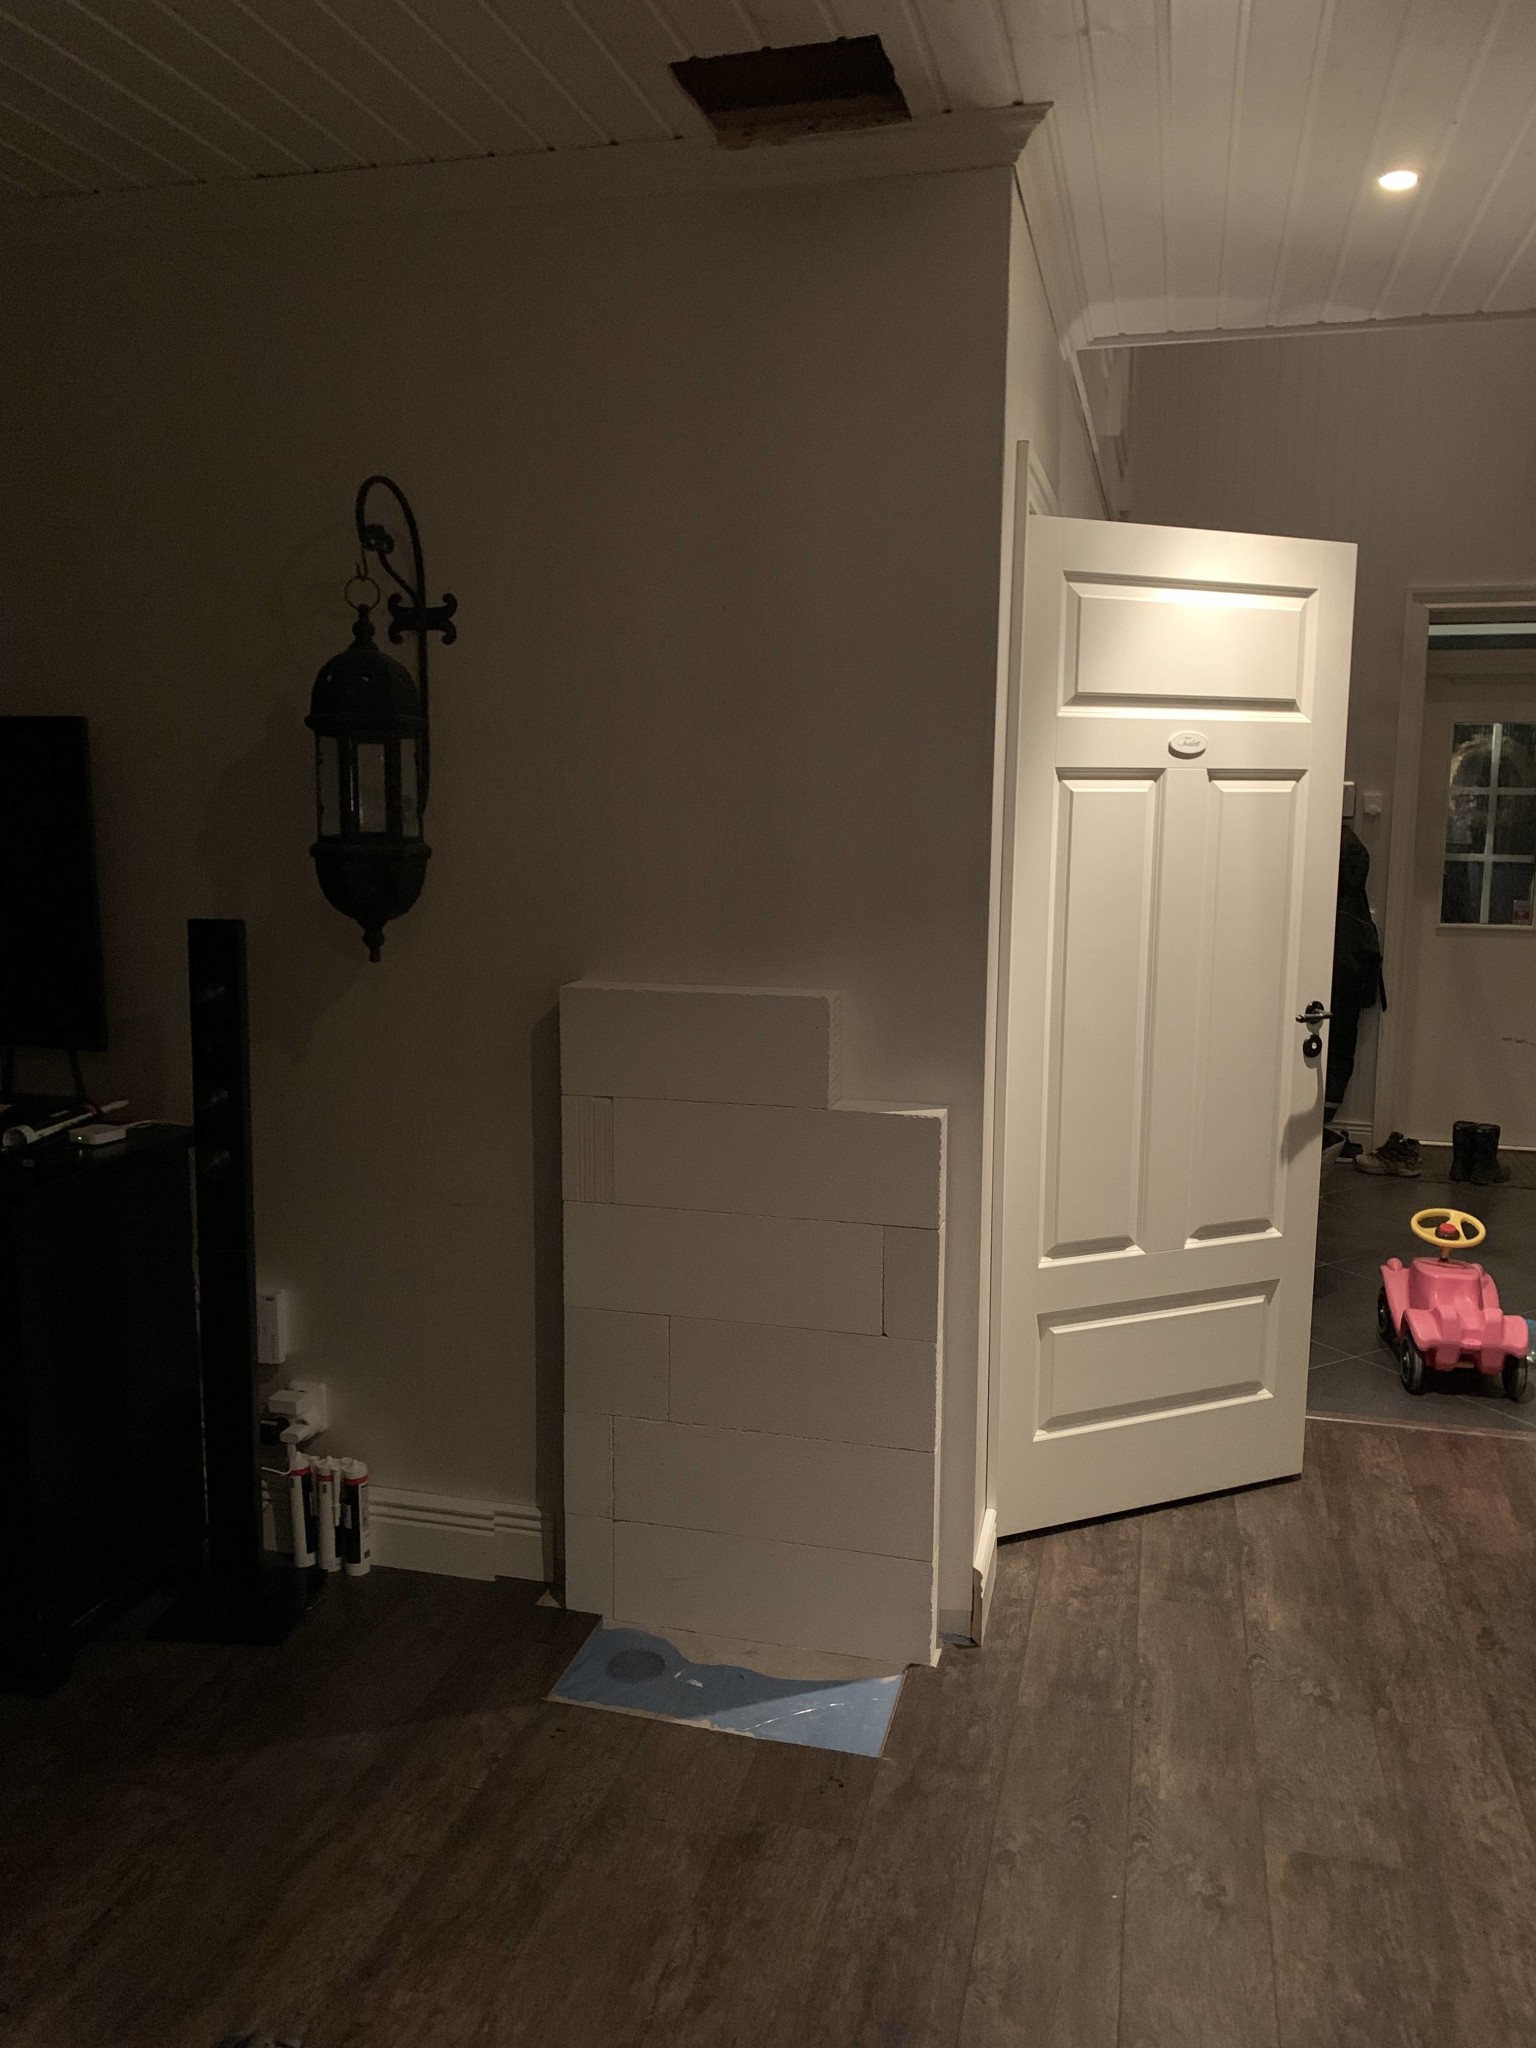
The seller suggested that I should use calcium silicate boards. But they are very expensive. Instead, I have chosen lightweight concrete blocks that are size 50x400x600. Weighing 9kg each.
The question is if anyone who has done something similar can answer how to do the front edge?
I have bought a built-in frame, but it can't bear any load.
I have seen many similar installations, but haven't managed to figure out how to do the front edge so that it doesn't collapse.
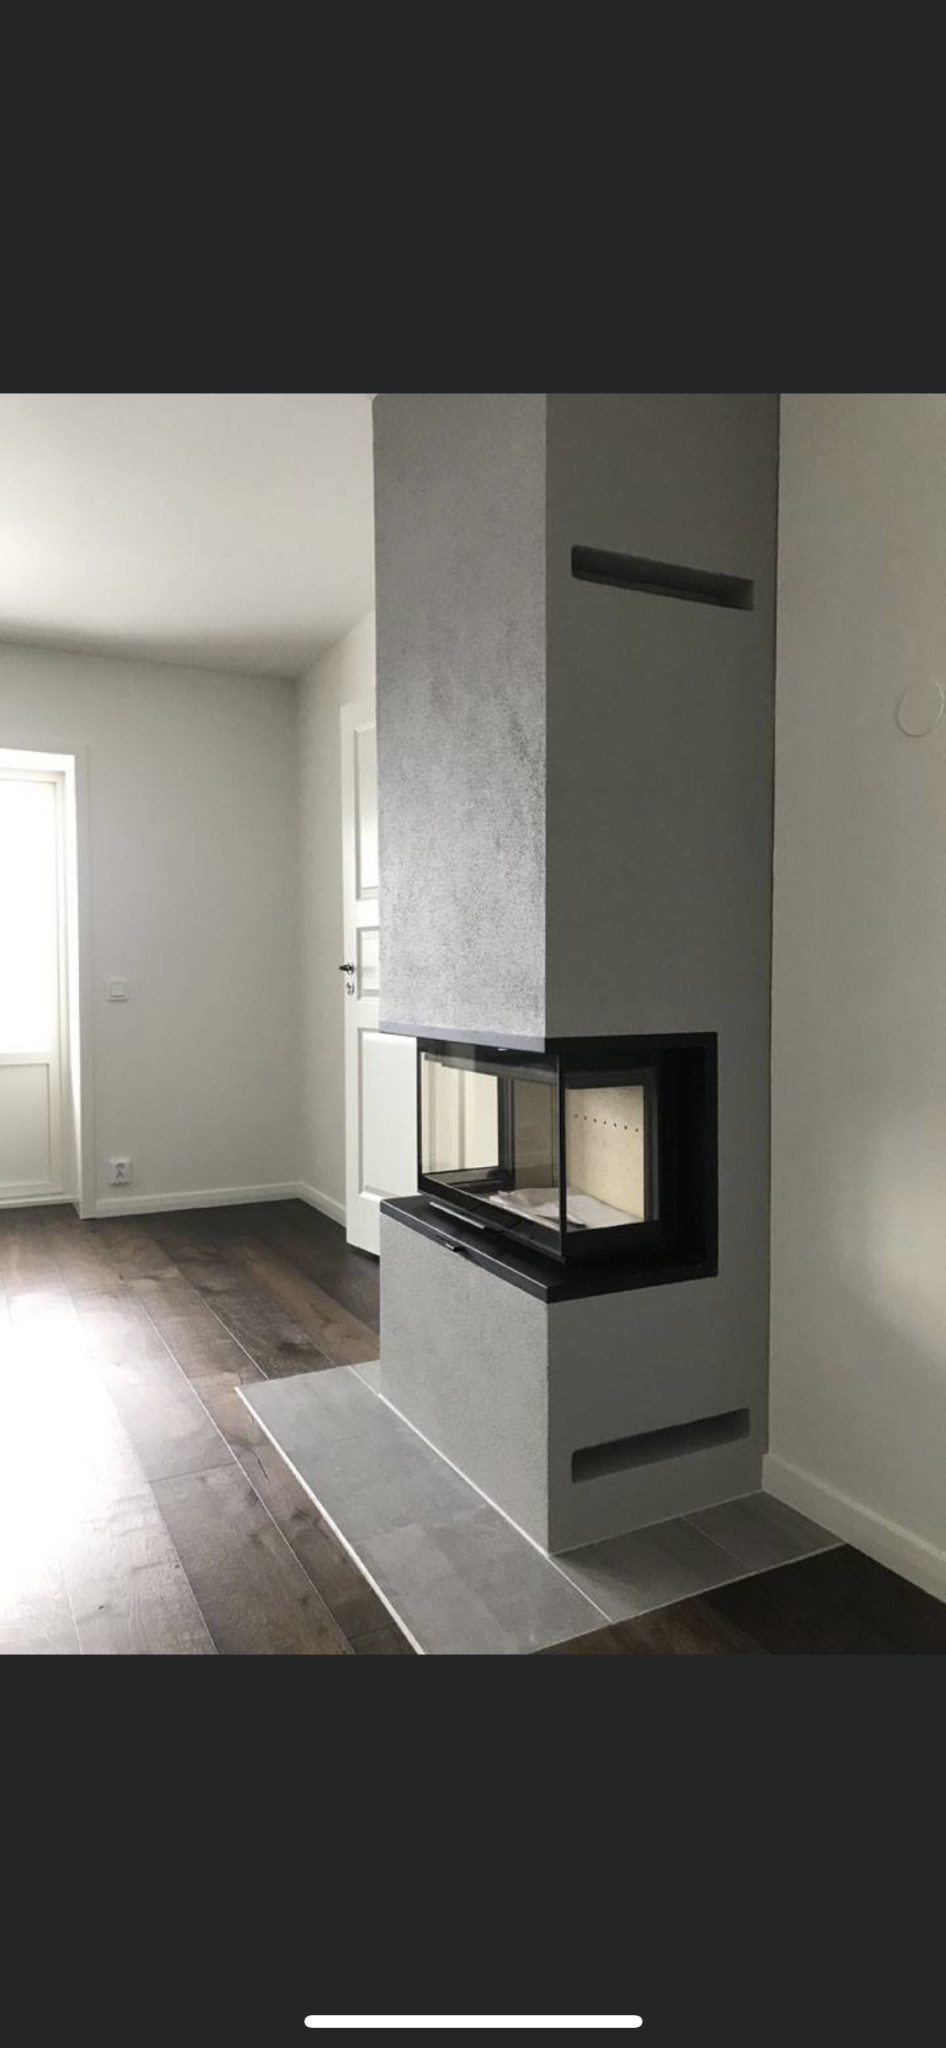
The picture of the finished one is a borrowed image.
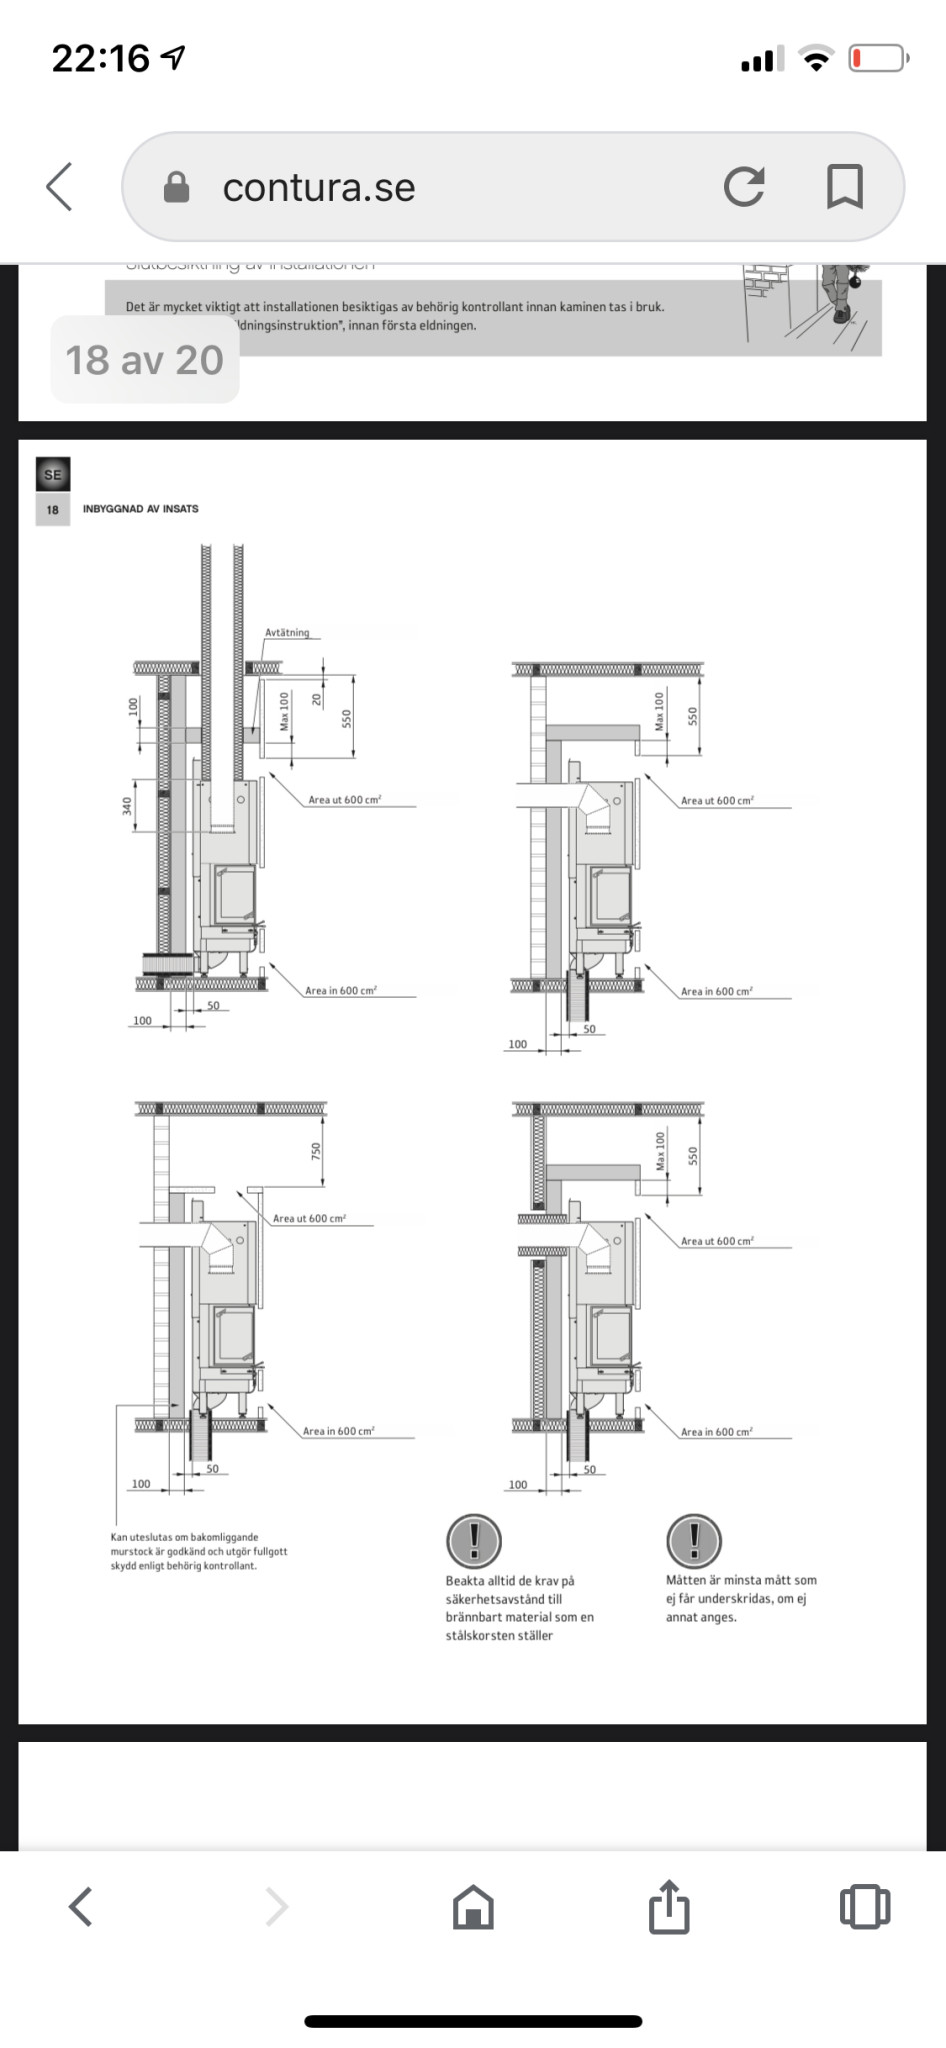
The illustration is from the mounting instructions of the insert.
[image] [image] Hi.
I am going to install a Contura I50 insert.
The seller suggested that I use calcium silicate boards. But they are very expensive. Instead, I have chosen lightweight concrete blocks measuring 50x400x600. Each weighs 9kg.
The question is if anyone who has done something similar can answer how to handle the front edge?
I have bought a mounting frame, but it can't bear any load.
I have seen many similar installations, but haven't been able to find out how to manage the front edge so it doesn't collapse.
The picture of the finished one is a borrowed image.
The illustration is from the installation instructions for the insert.
Check @Toddep and his build thread, he cast the sides in concrete and tied it all together. He also used lightweight concrete. However, not Contractor i50.
Please come back with your solution, it can help many. Including me, who is going to do the same thing in the future.
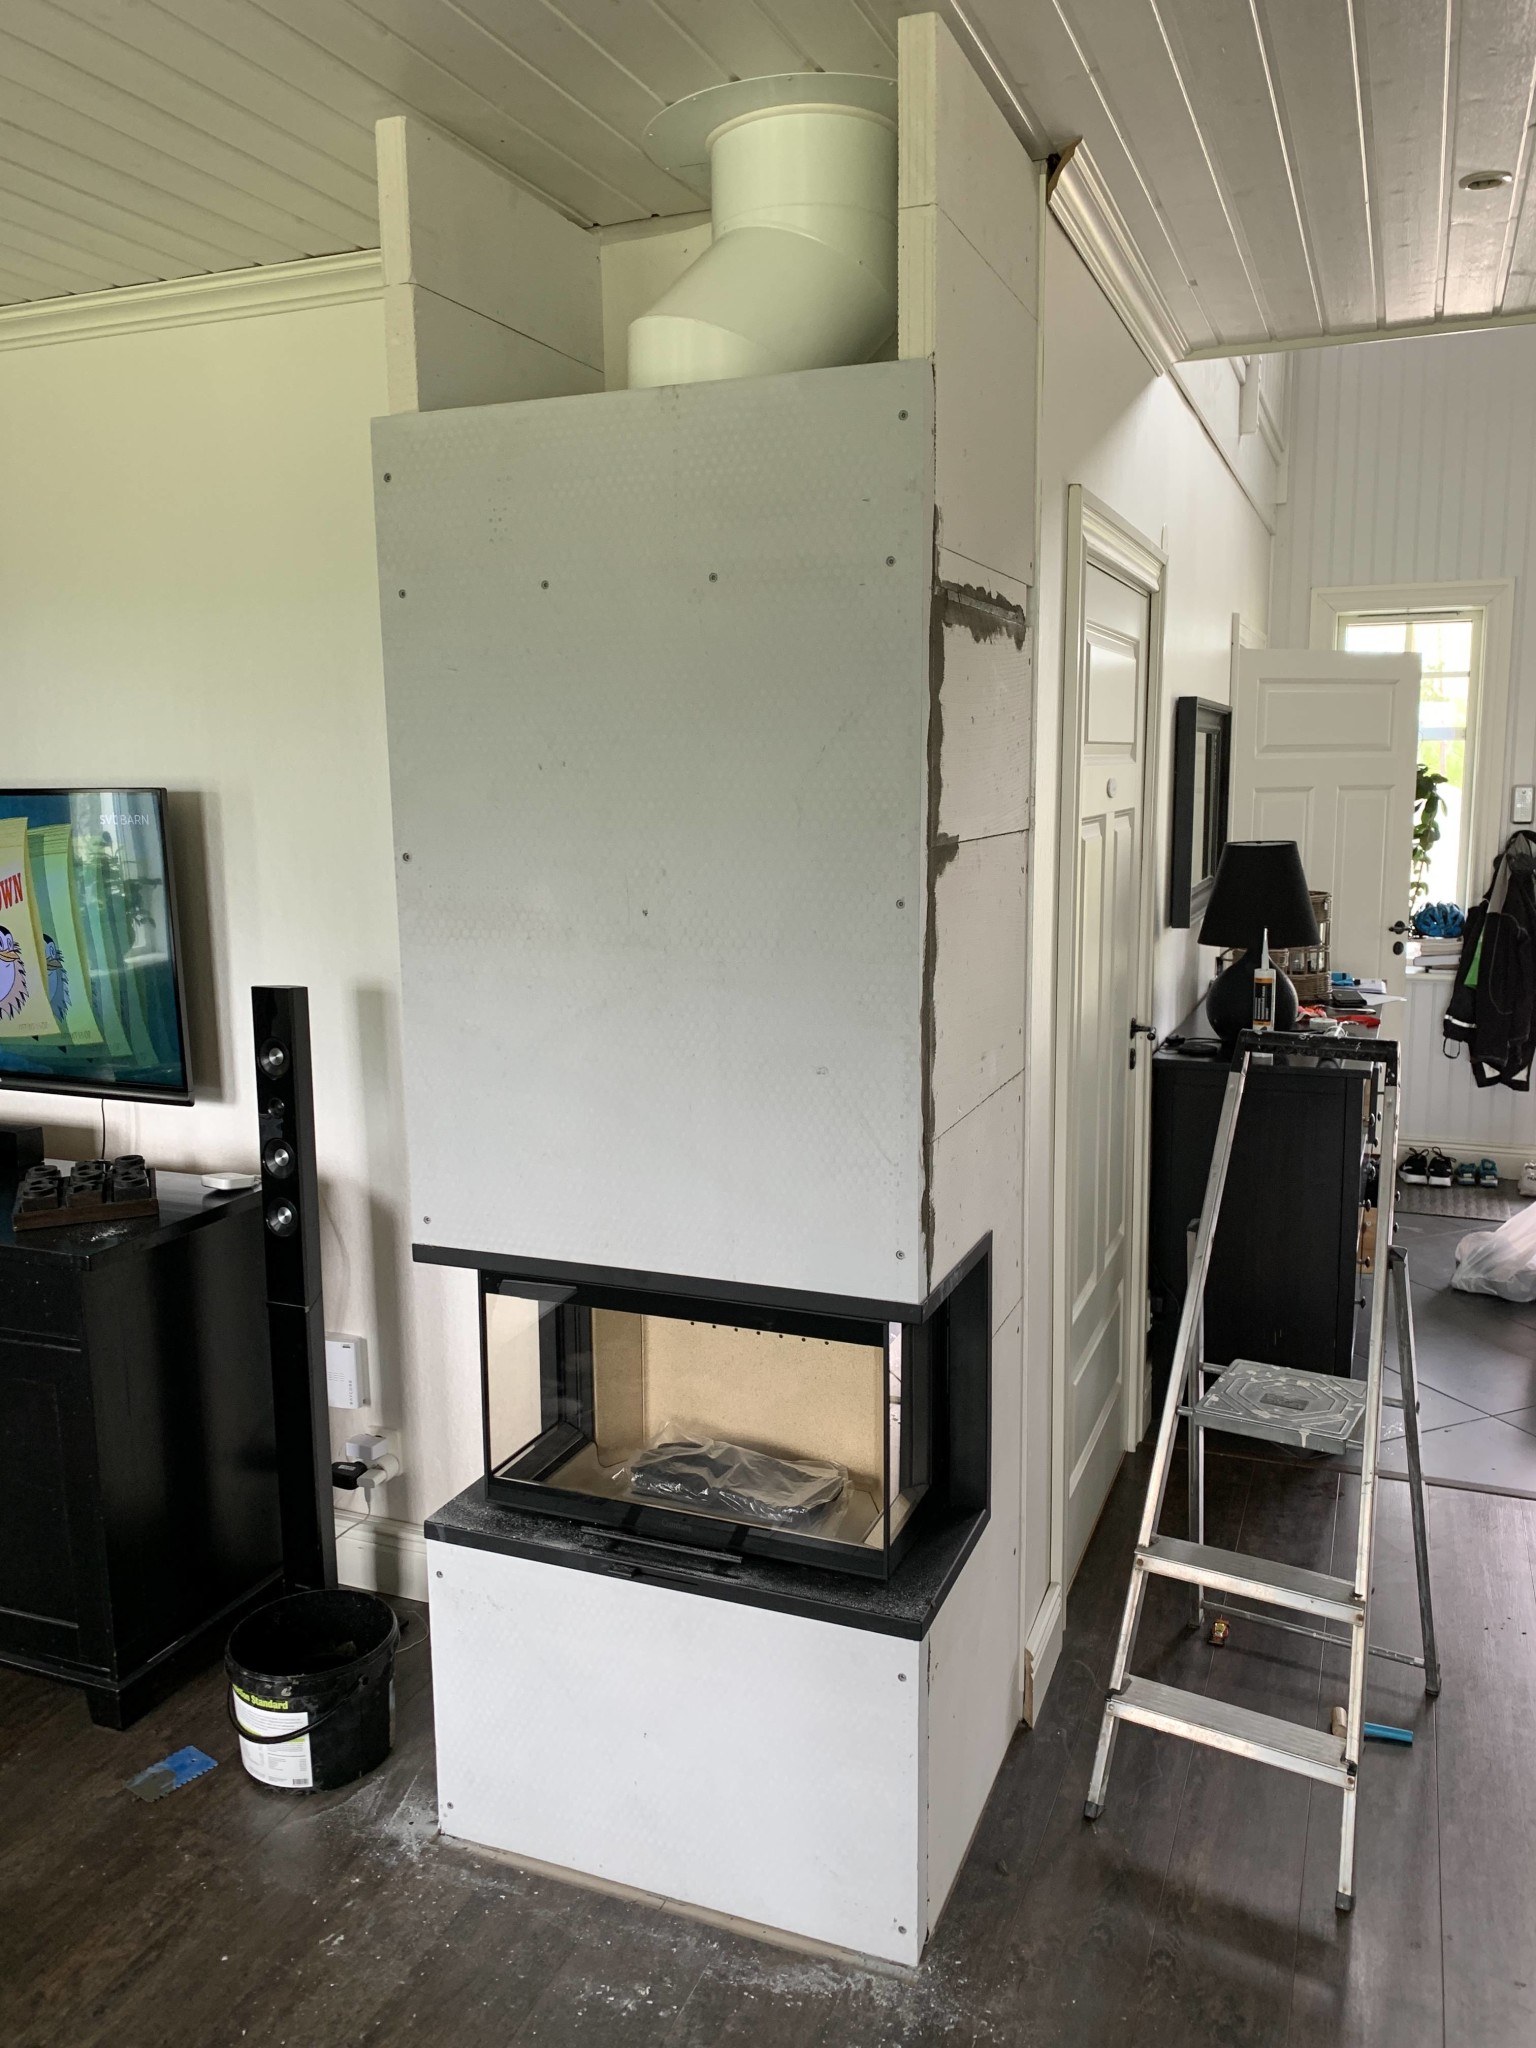
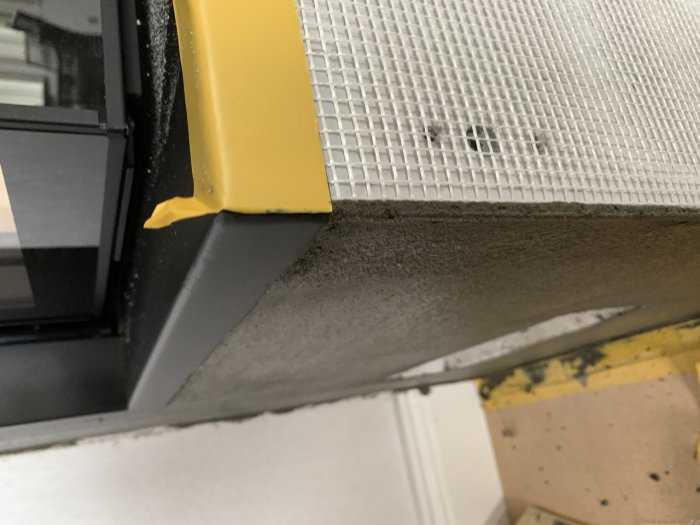
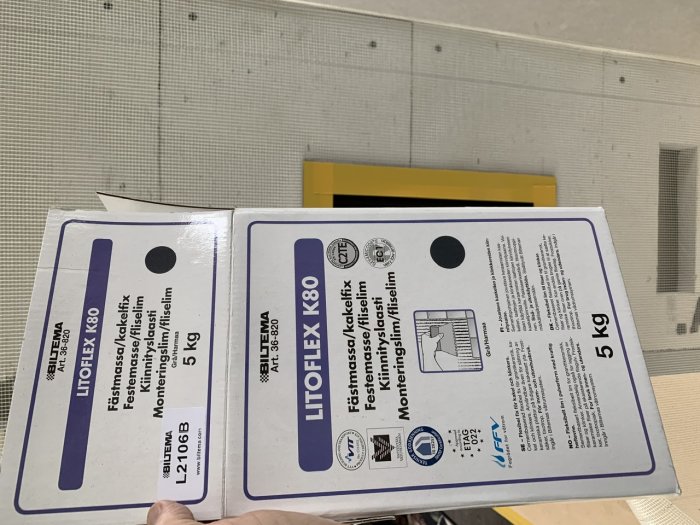
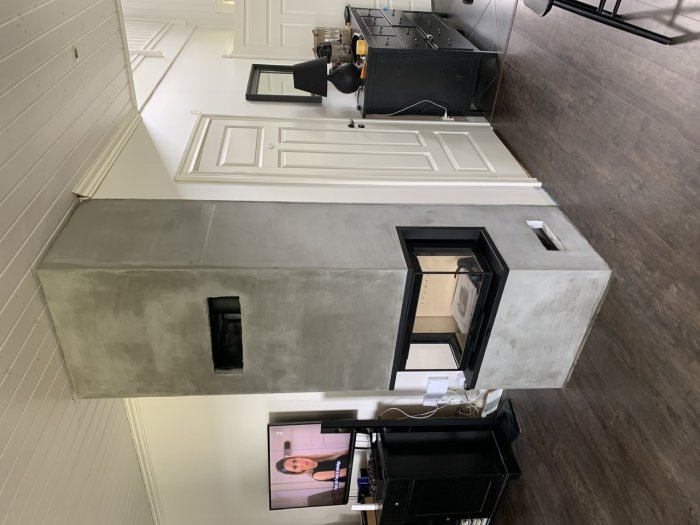
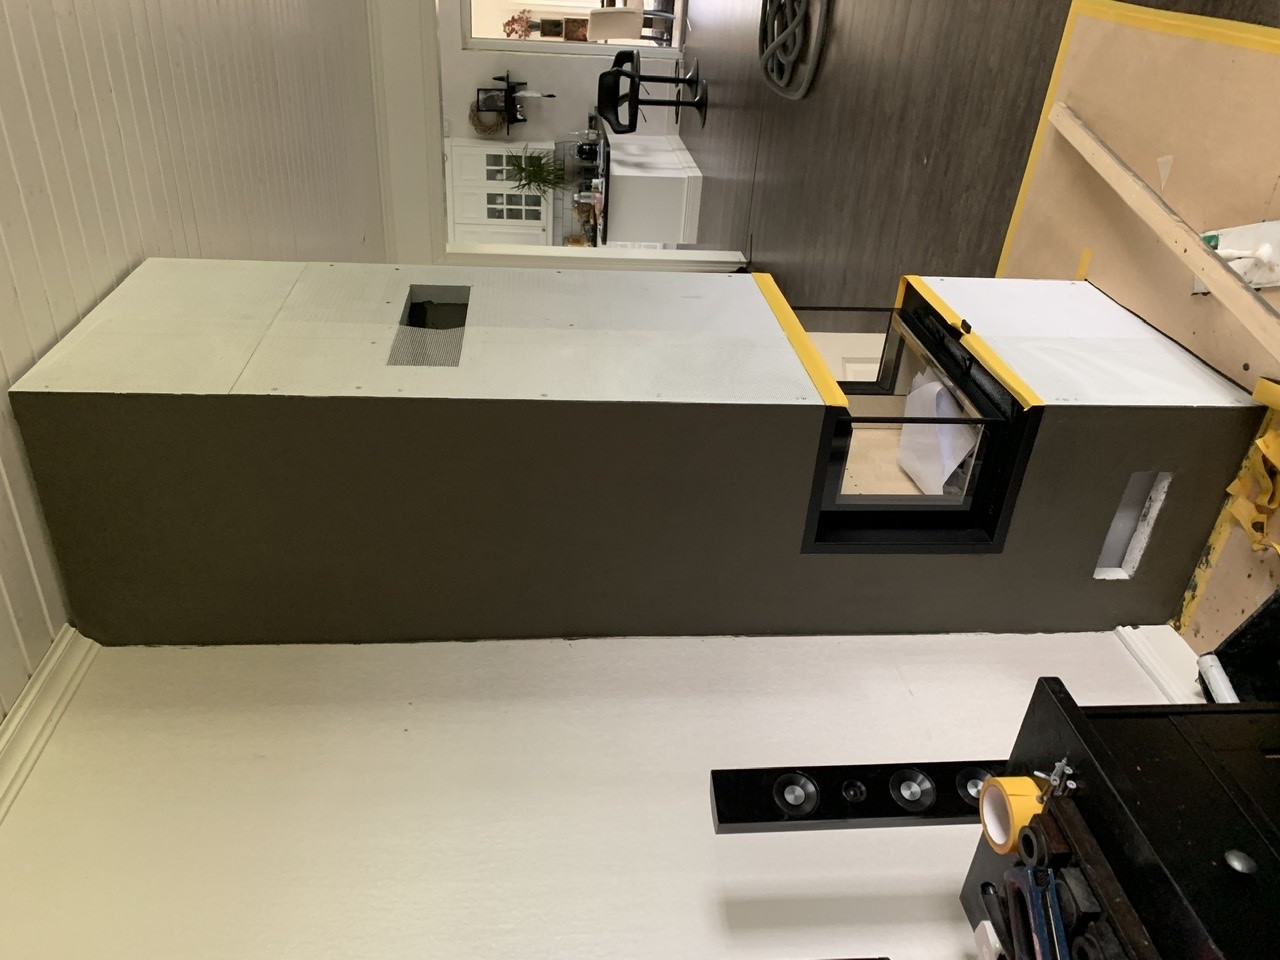
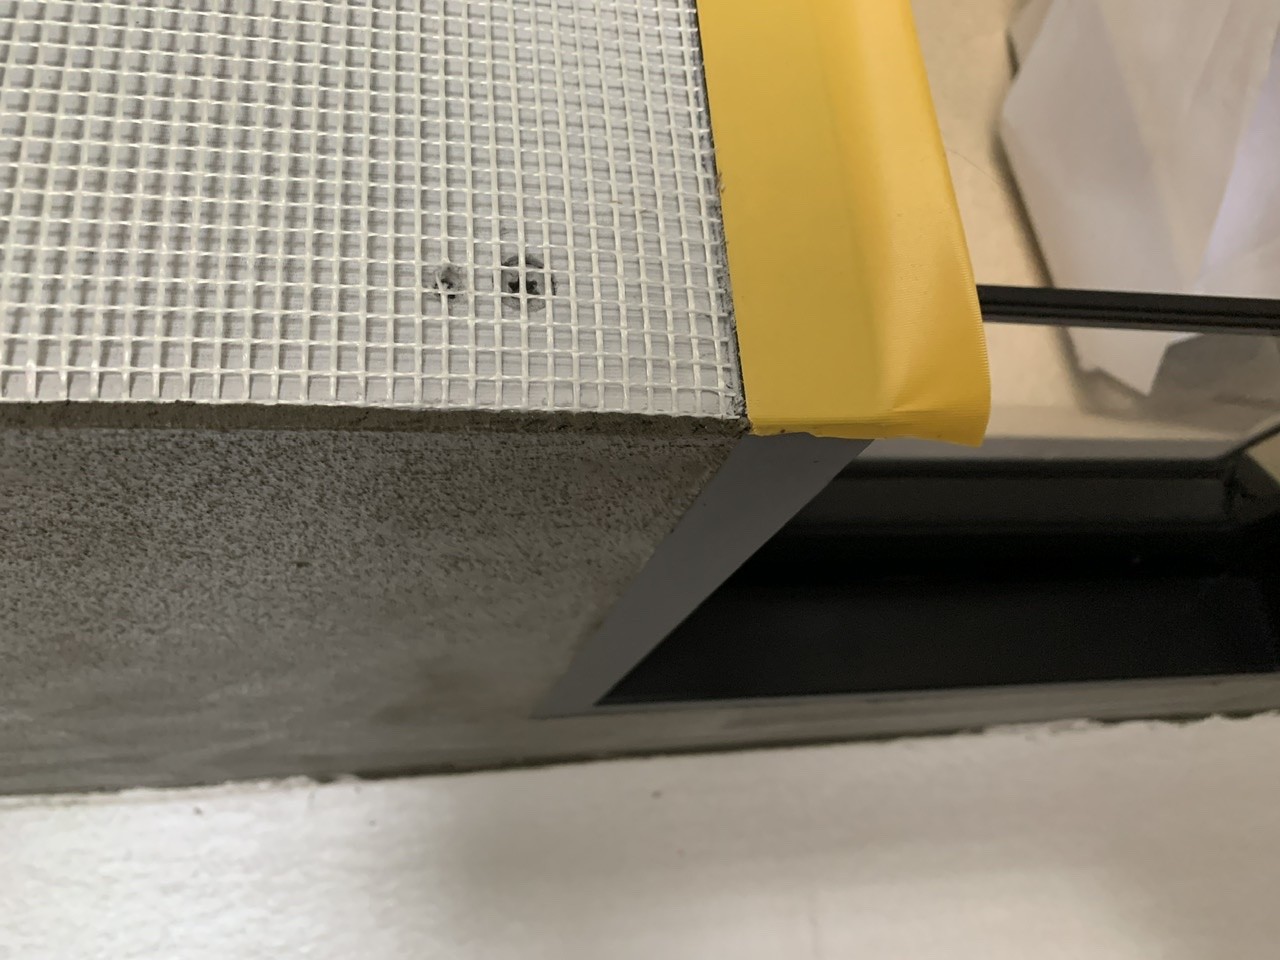
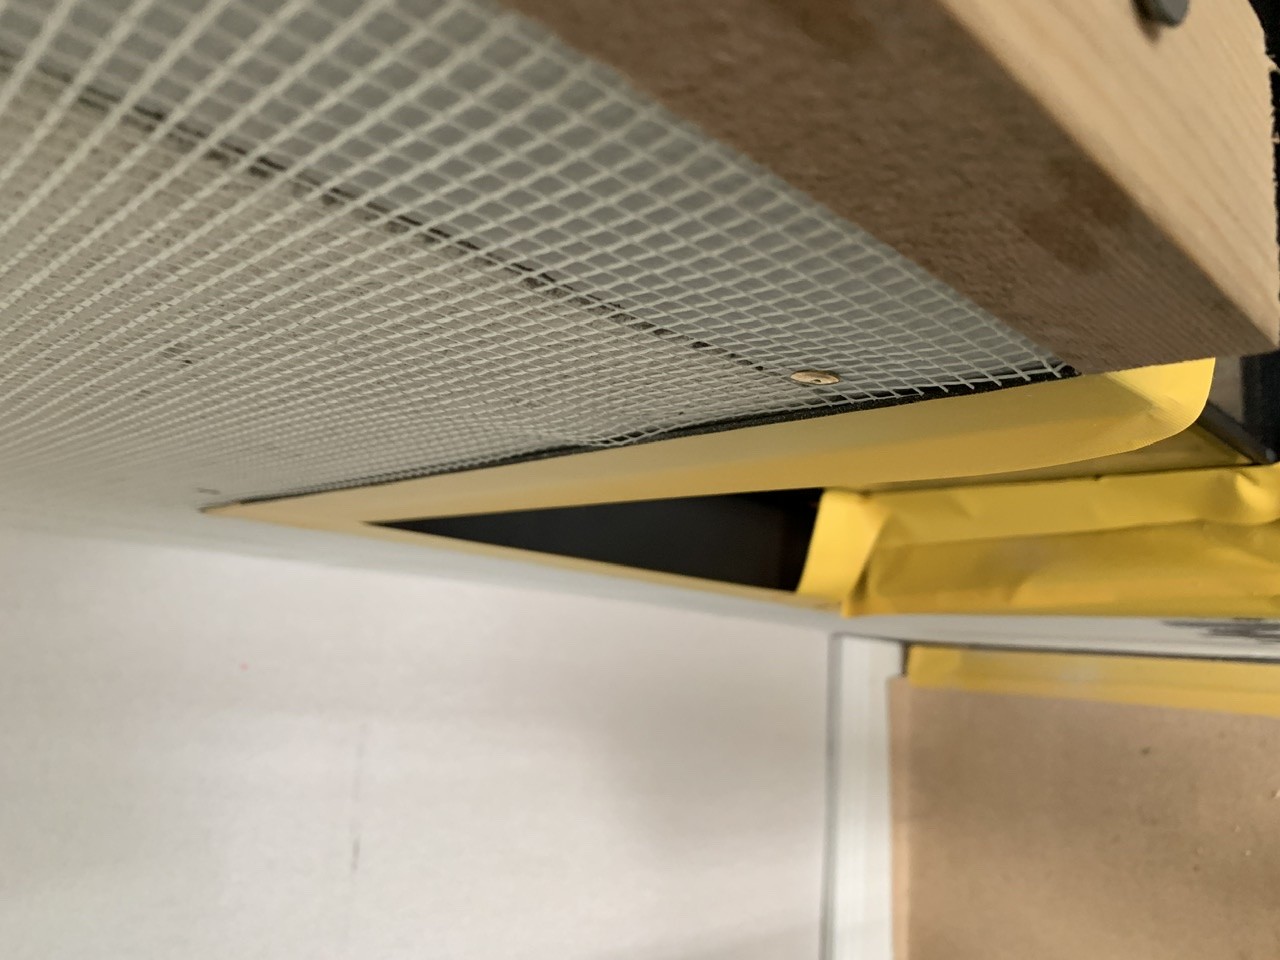
This is how it turned out. I glued 100mm thick lightweight concrete blocks to the wall behind. The sides are also 50mm lightweight concrete blocks. I glued these with Biltema's tile adhesive and screwed them with lightweight concrete screws into the lightweight concrete blocks behind. For the front, I bought calcium silicate boards that are significantly lighter, but much more expensive. However, since they are so light, they only hang on the sides with tile adhesive and screws. The next step will now be to plaster the piece and integrate air vents. I got a tip to use the same tile adhesive for this too. But first, I'm going to glue on a fiberglass mesh. I haven't purchased this yet. Suggestions for mesh are welcome.
With my experience of lightweight concrete, I don't understand how it holds up.
But very interesting, we will be doing the same installation ourselves. Is it a block you cut out by the side glass, or how did you put the blocks together there?
please continue to update with pictures during/after plastering
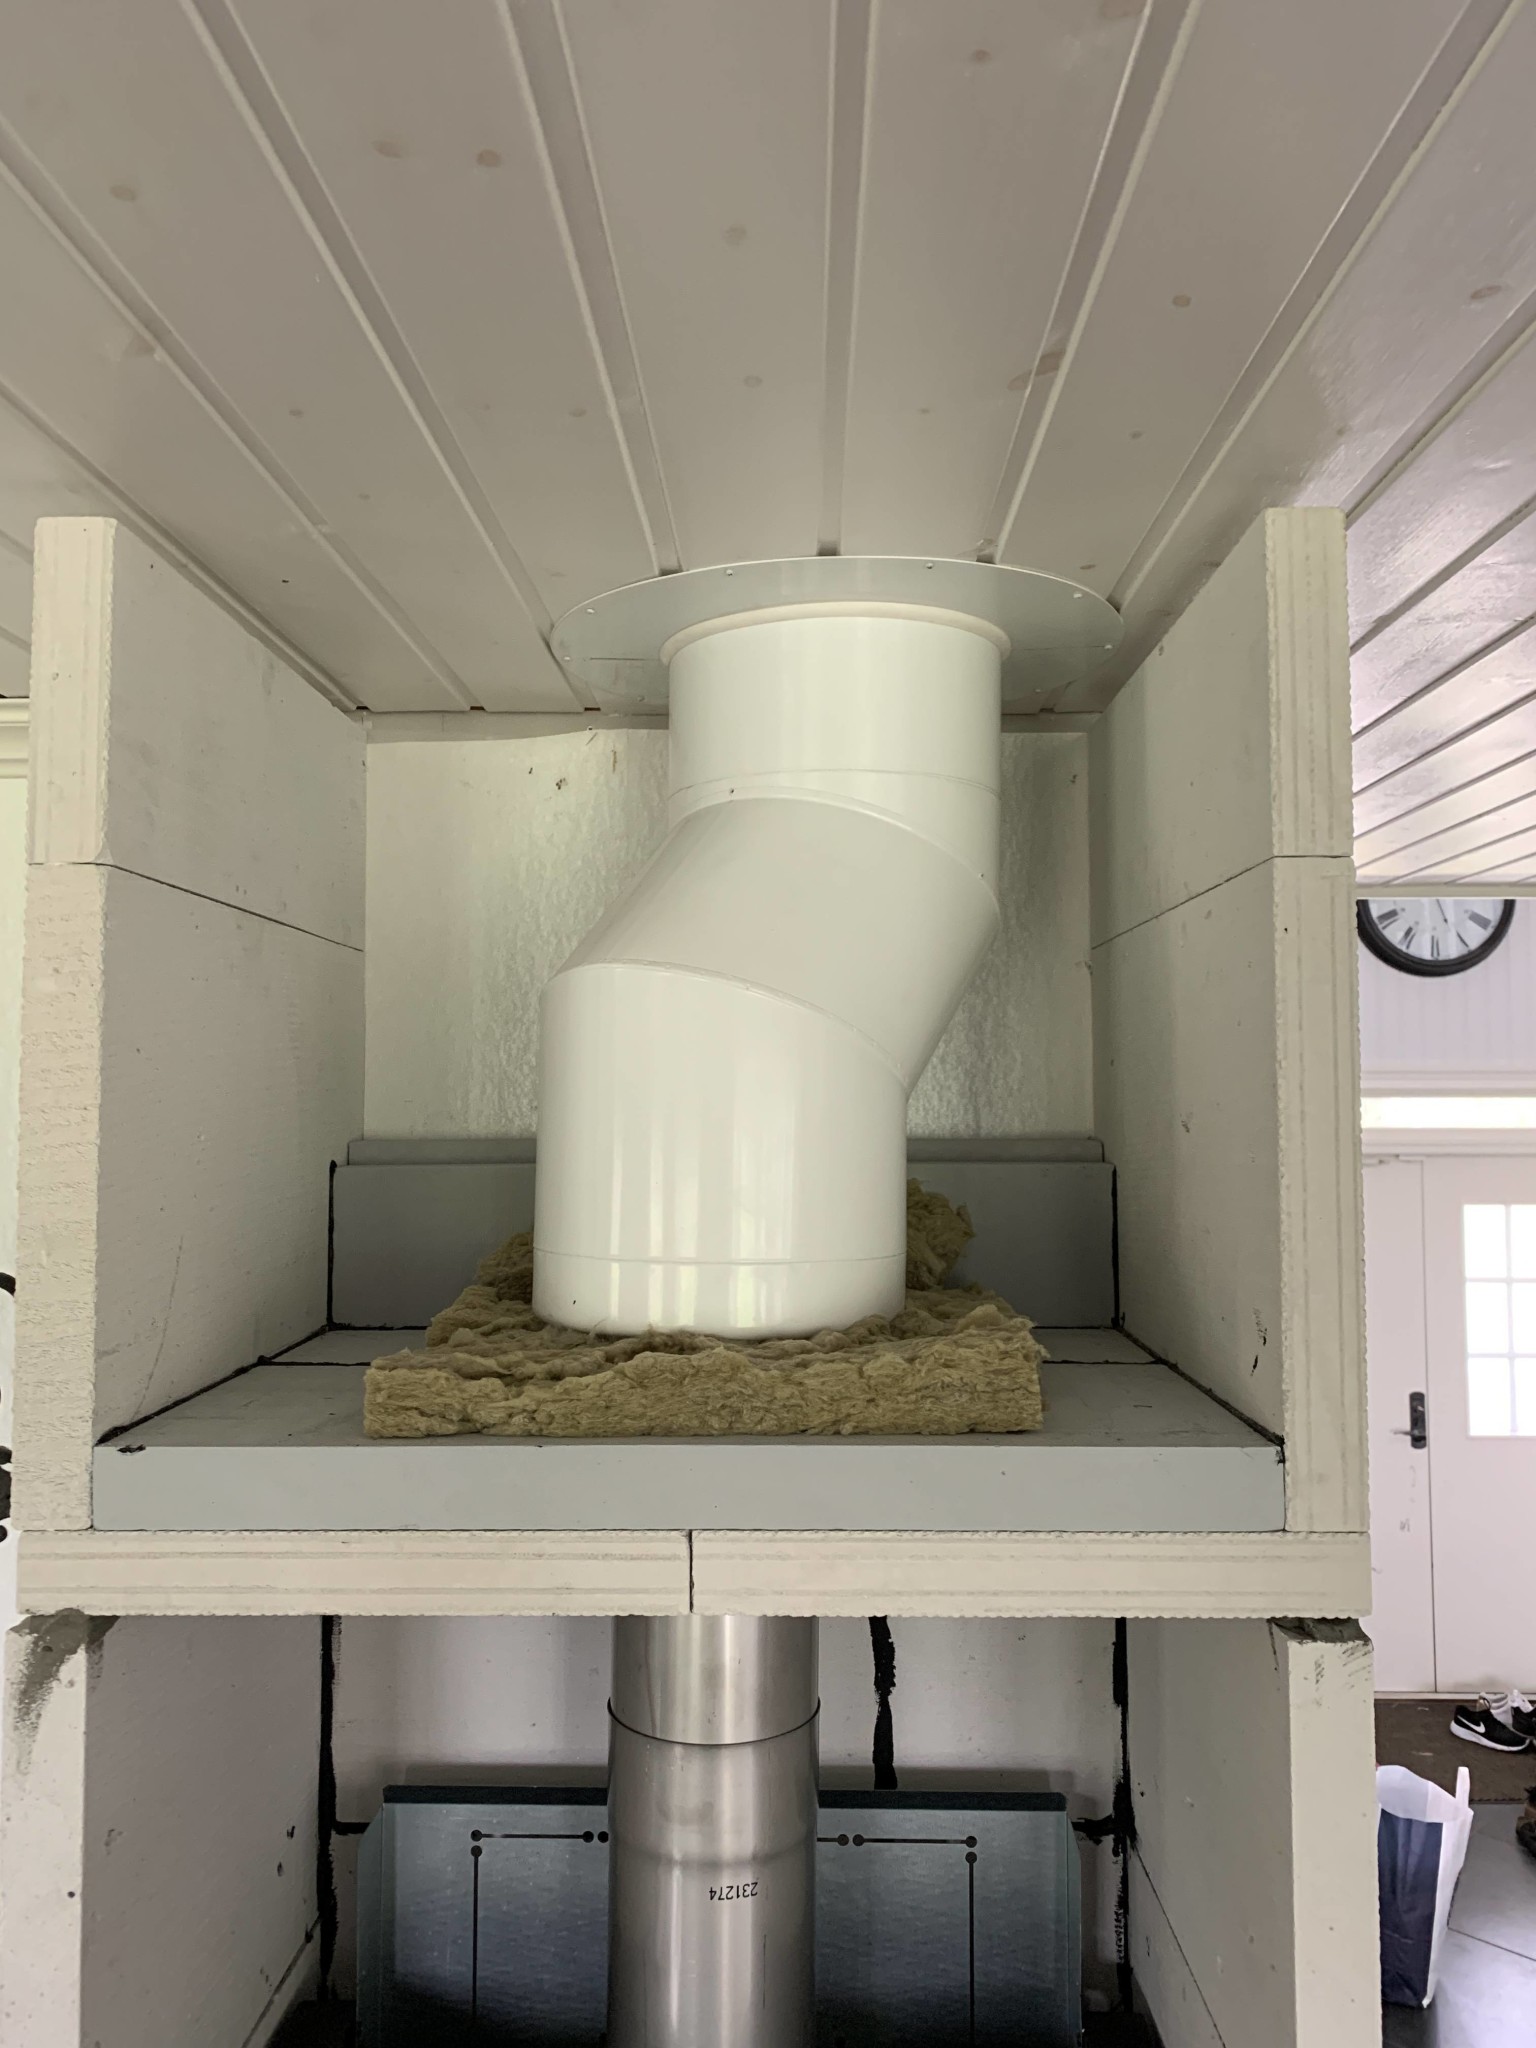
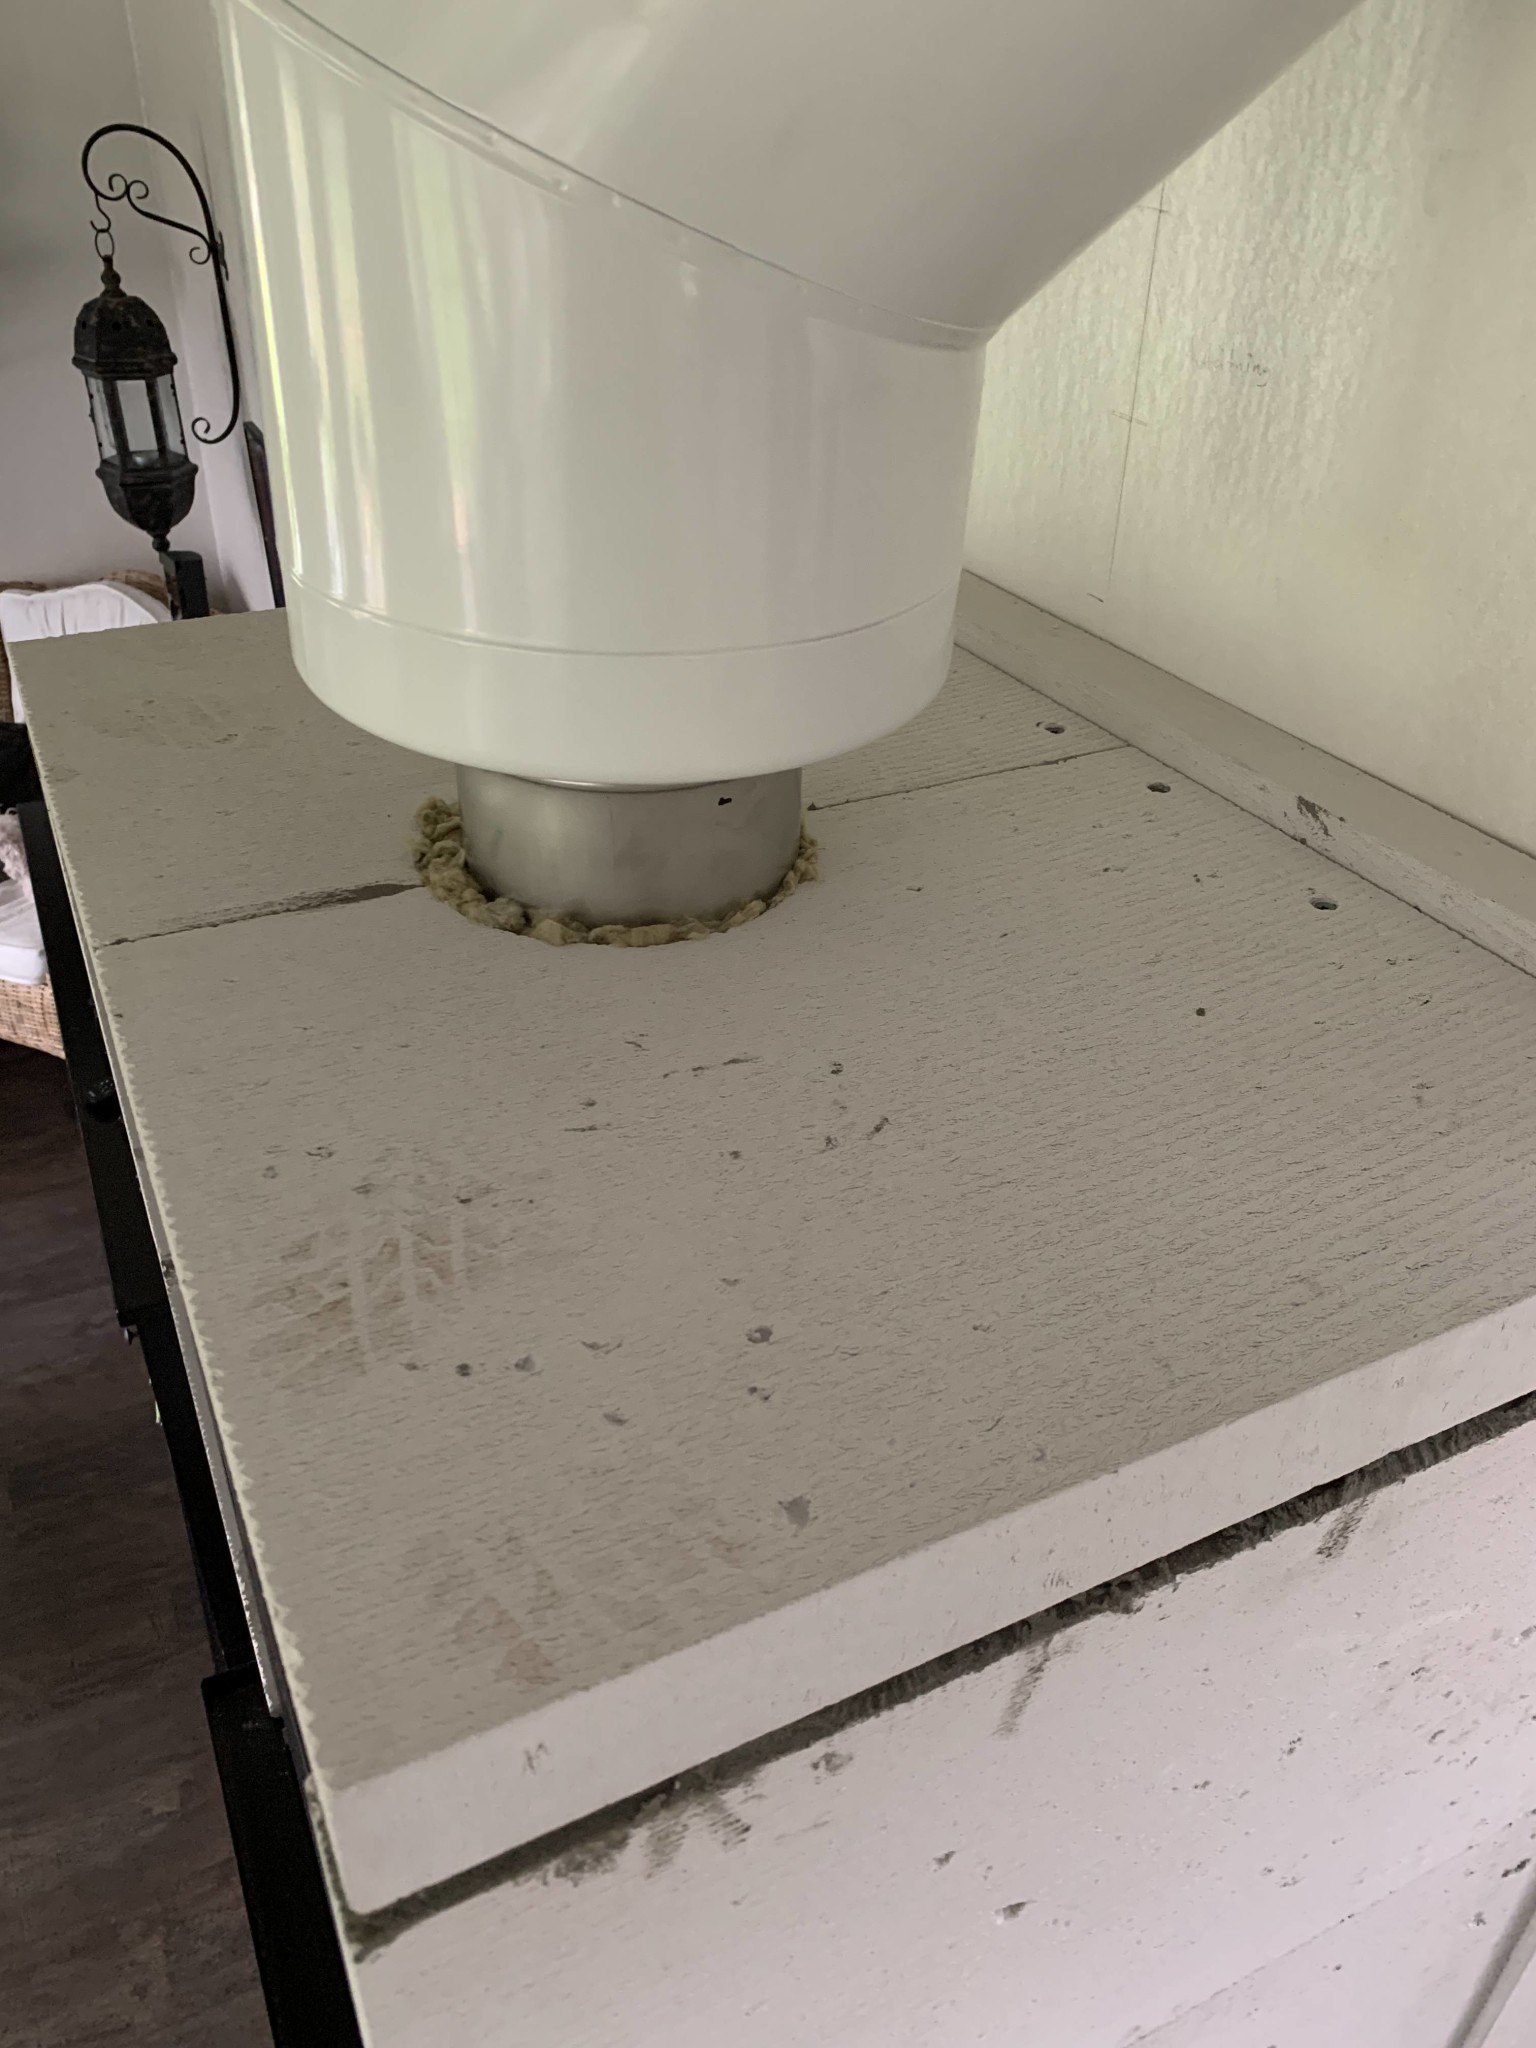
I first sawed out the blocks and then put in the built-in frame afterwards. I should add that I only built up two blocks at a time. But it became very stable.
I have now polished the built-in unit. Used Biltema's tile adhesive. Mixed according to instructions and applied with a trowel and broad spatula. Let it set for about 45 minutes. Then I used a sponge to smooth it out, giving it a nice texture.
I bought reinforcing mesh at glasfibernät.se, 10x1 meters for 299:-.
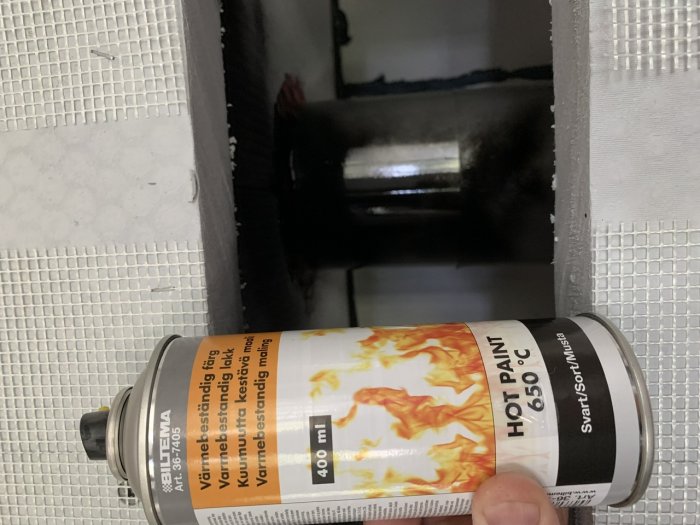
Got a tip to paint the flue pipes, etc. with Biltema's heat-resistant paint.
My father will make the vent grills, so they will come later. On Friday, the chimney sweep will come to inspect. Hopefully, we'll be able to enjoy a cozy fire in the evening.
Did you paint on the plaster or leave it gray? What brand is your stove and where did you buy the multi-board from?
Kind regards,
Rotehjon
Hello.
We painted on the plaster. The aerated concrete blocks are from the brand H+H and were purchased at XL bygg. I bought the calcium silicate board at a local stove dealer. (vegarn.se)