Hello,
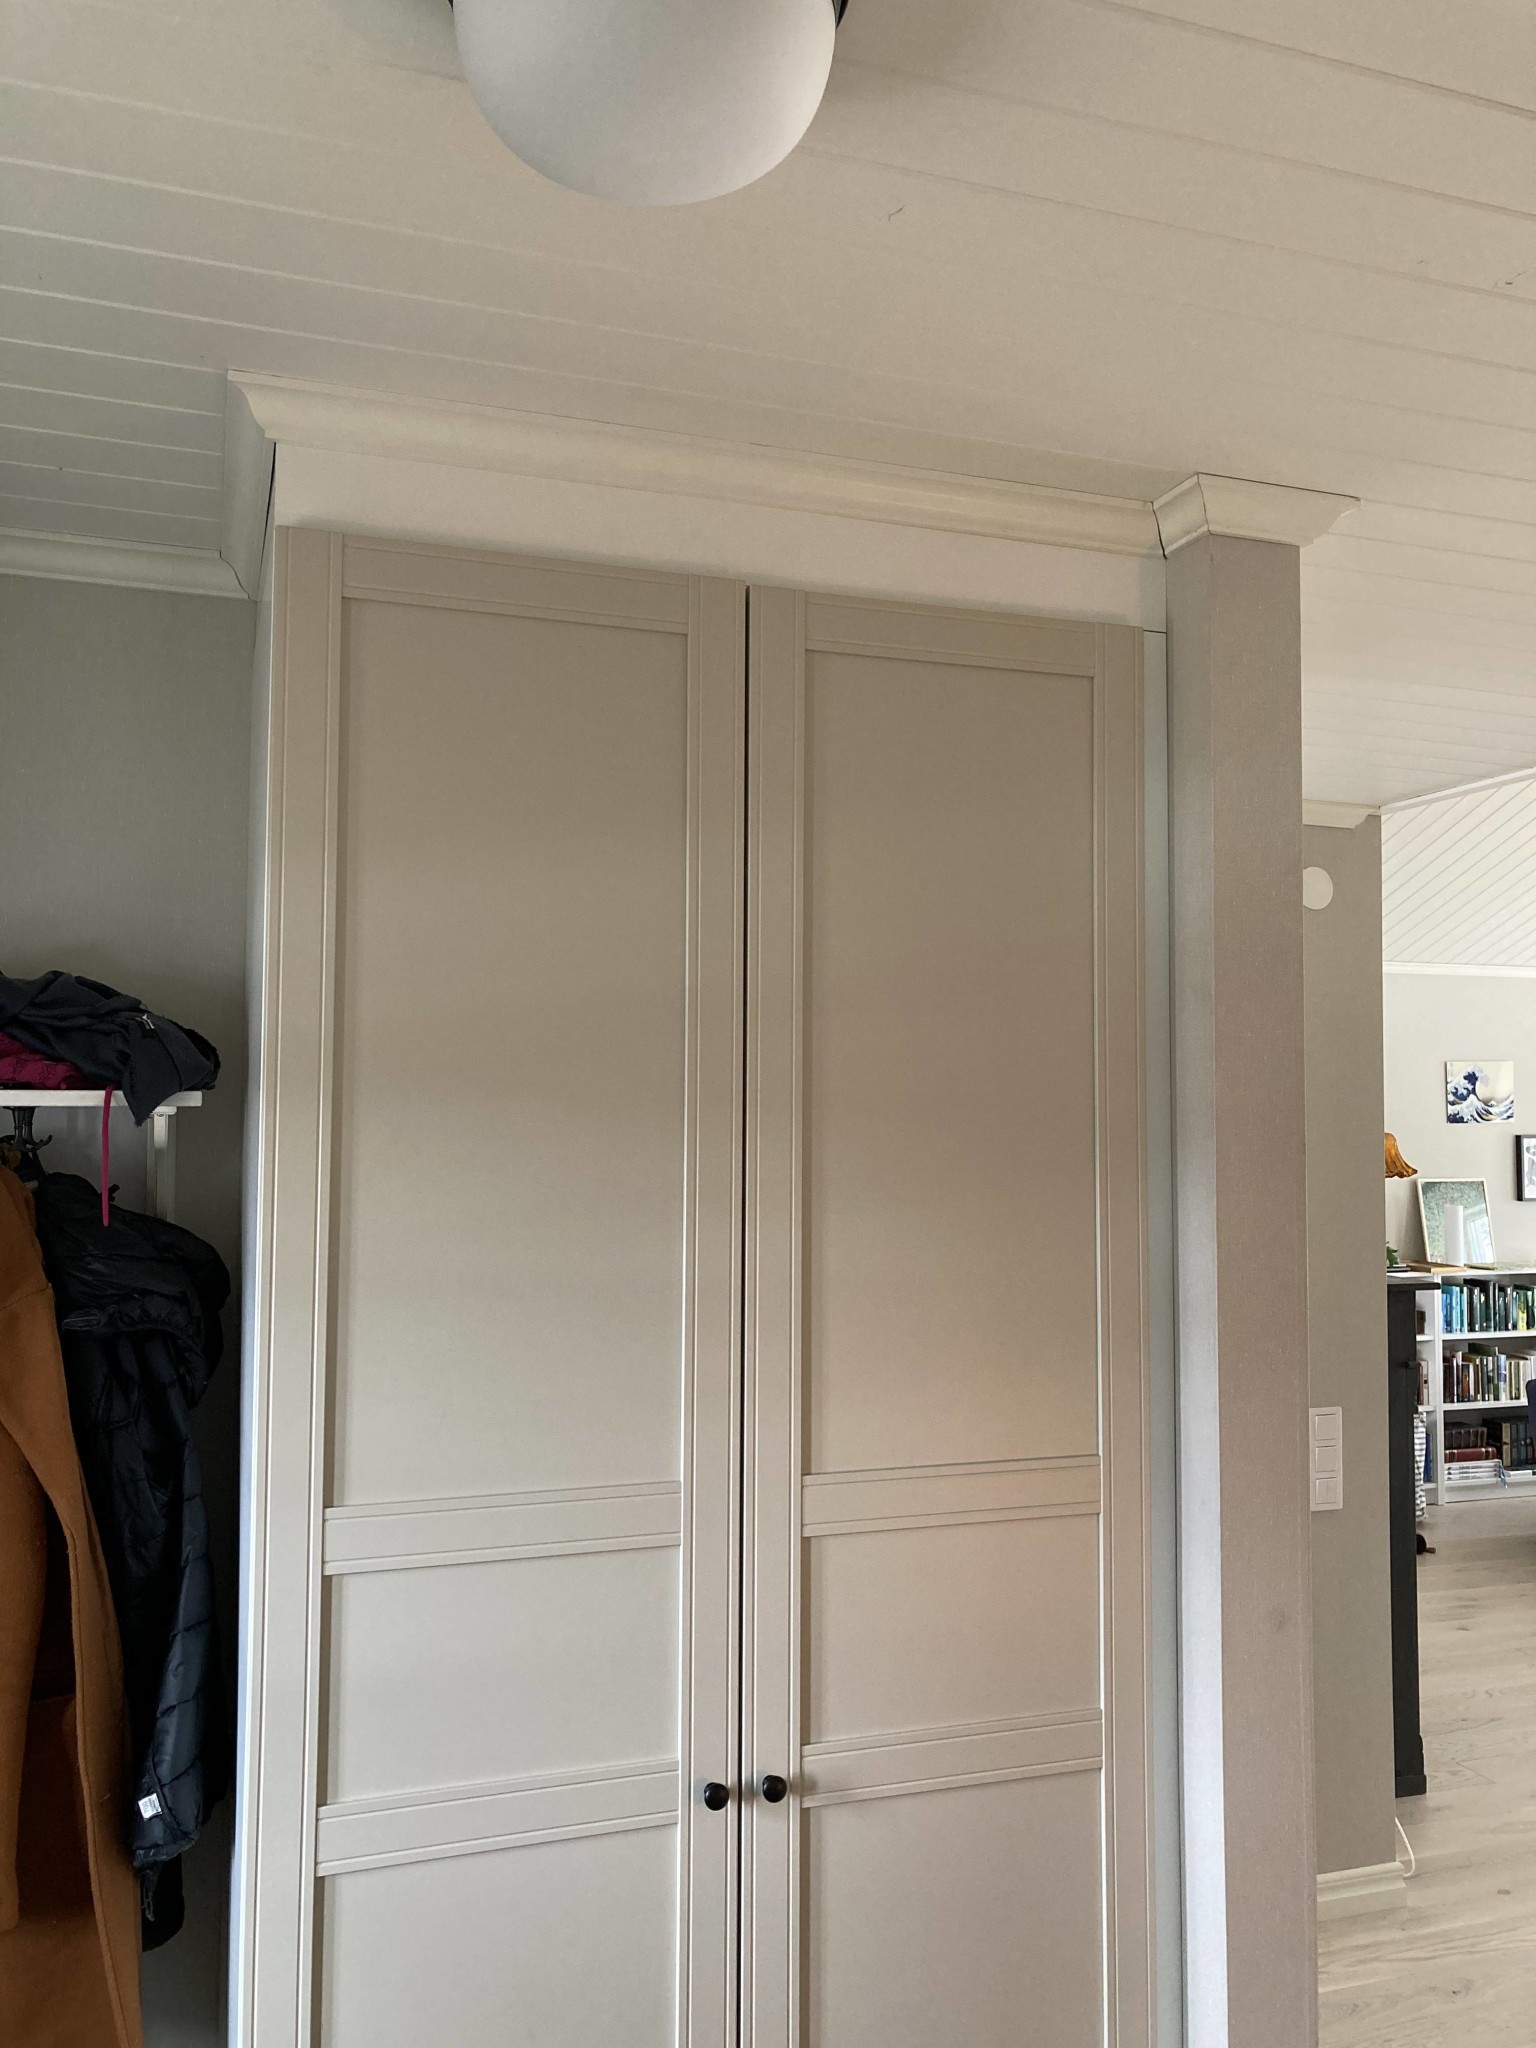
Is there anyone here who can explain in a (relatively) simple way how to neaten up our Pax wardrobe? I would like to cover the top, sides, and back. I've looked at previous posts but felt I needed some help as we've already attached the wardrobe. Is it easier to unscrew it and build some kind of frame, or can this be fixed as it is?
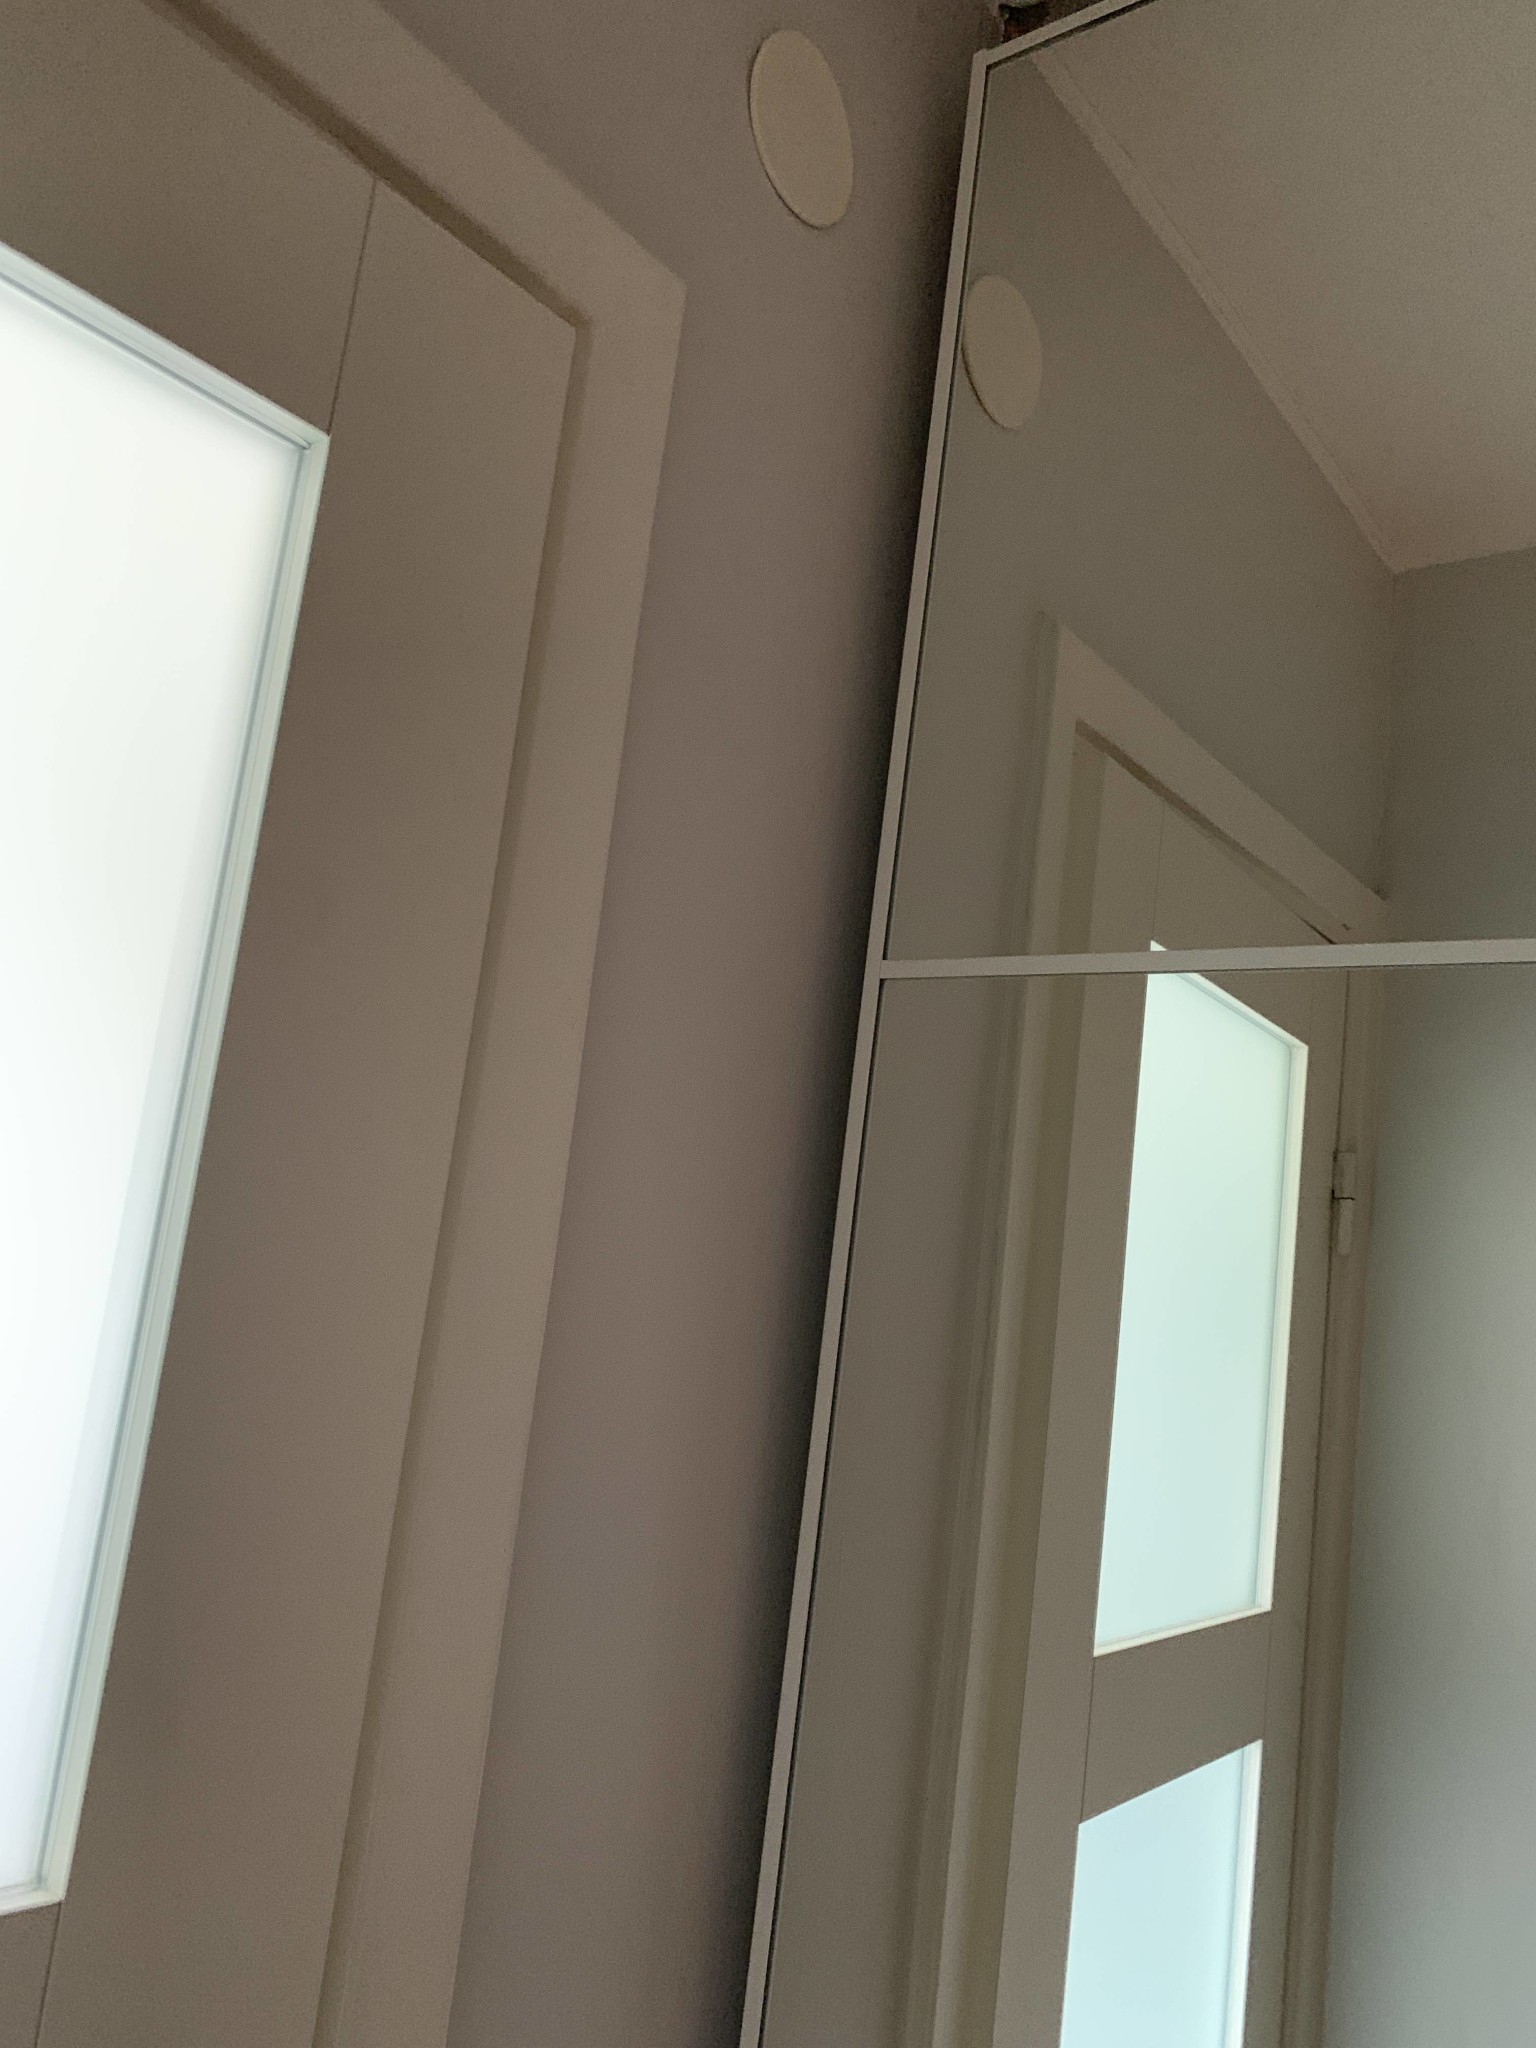
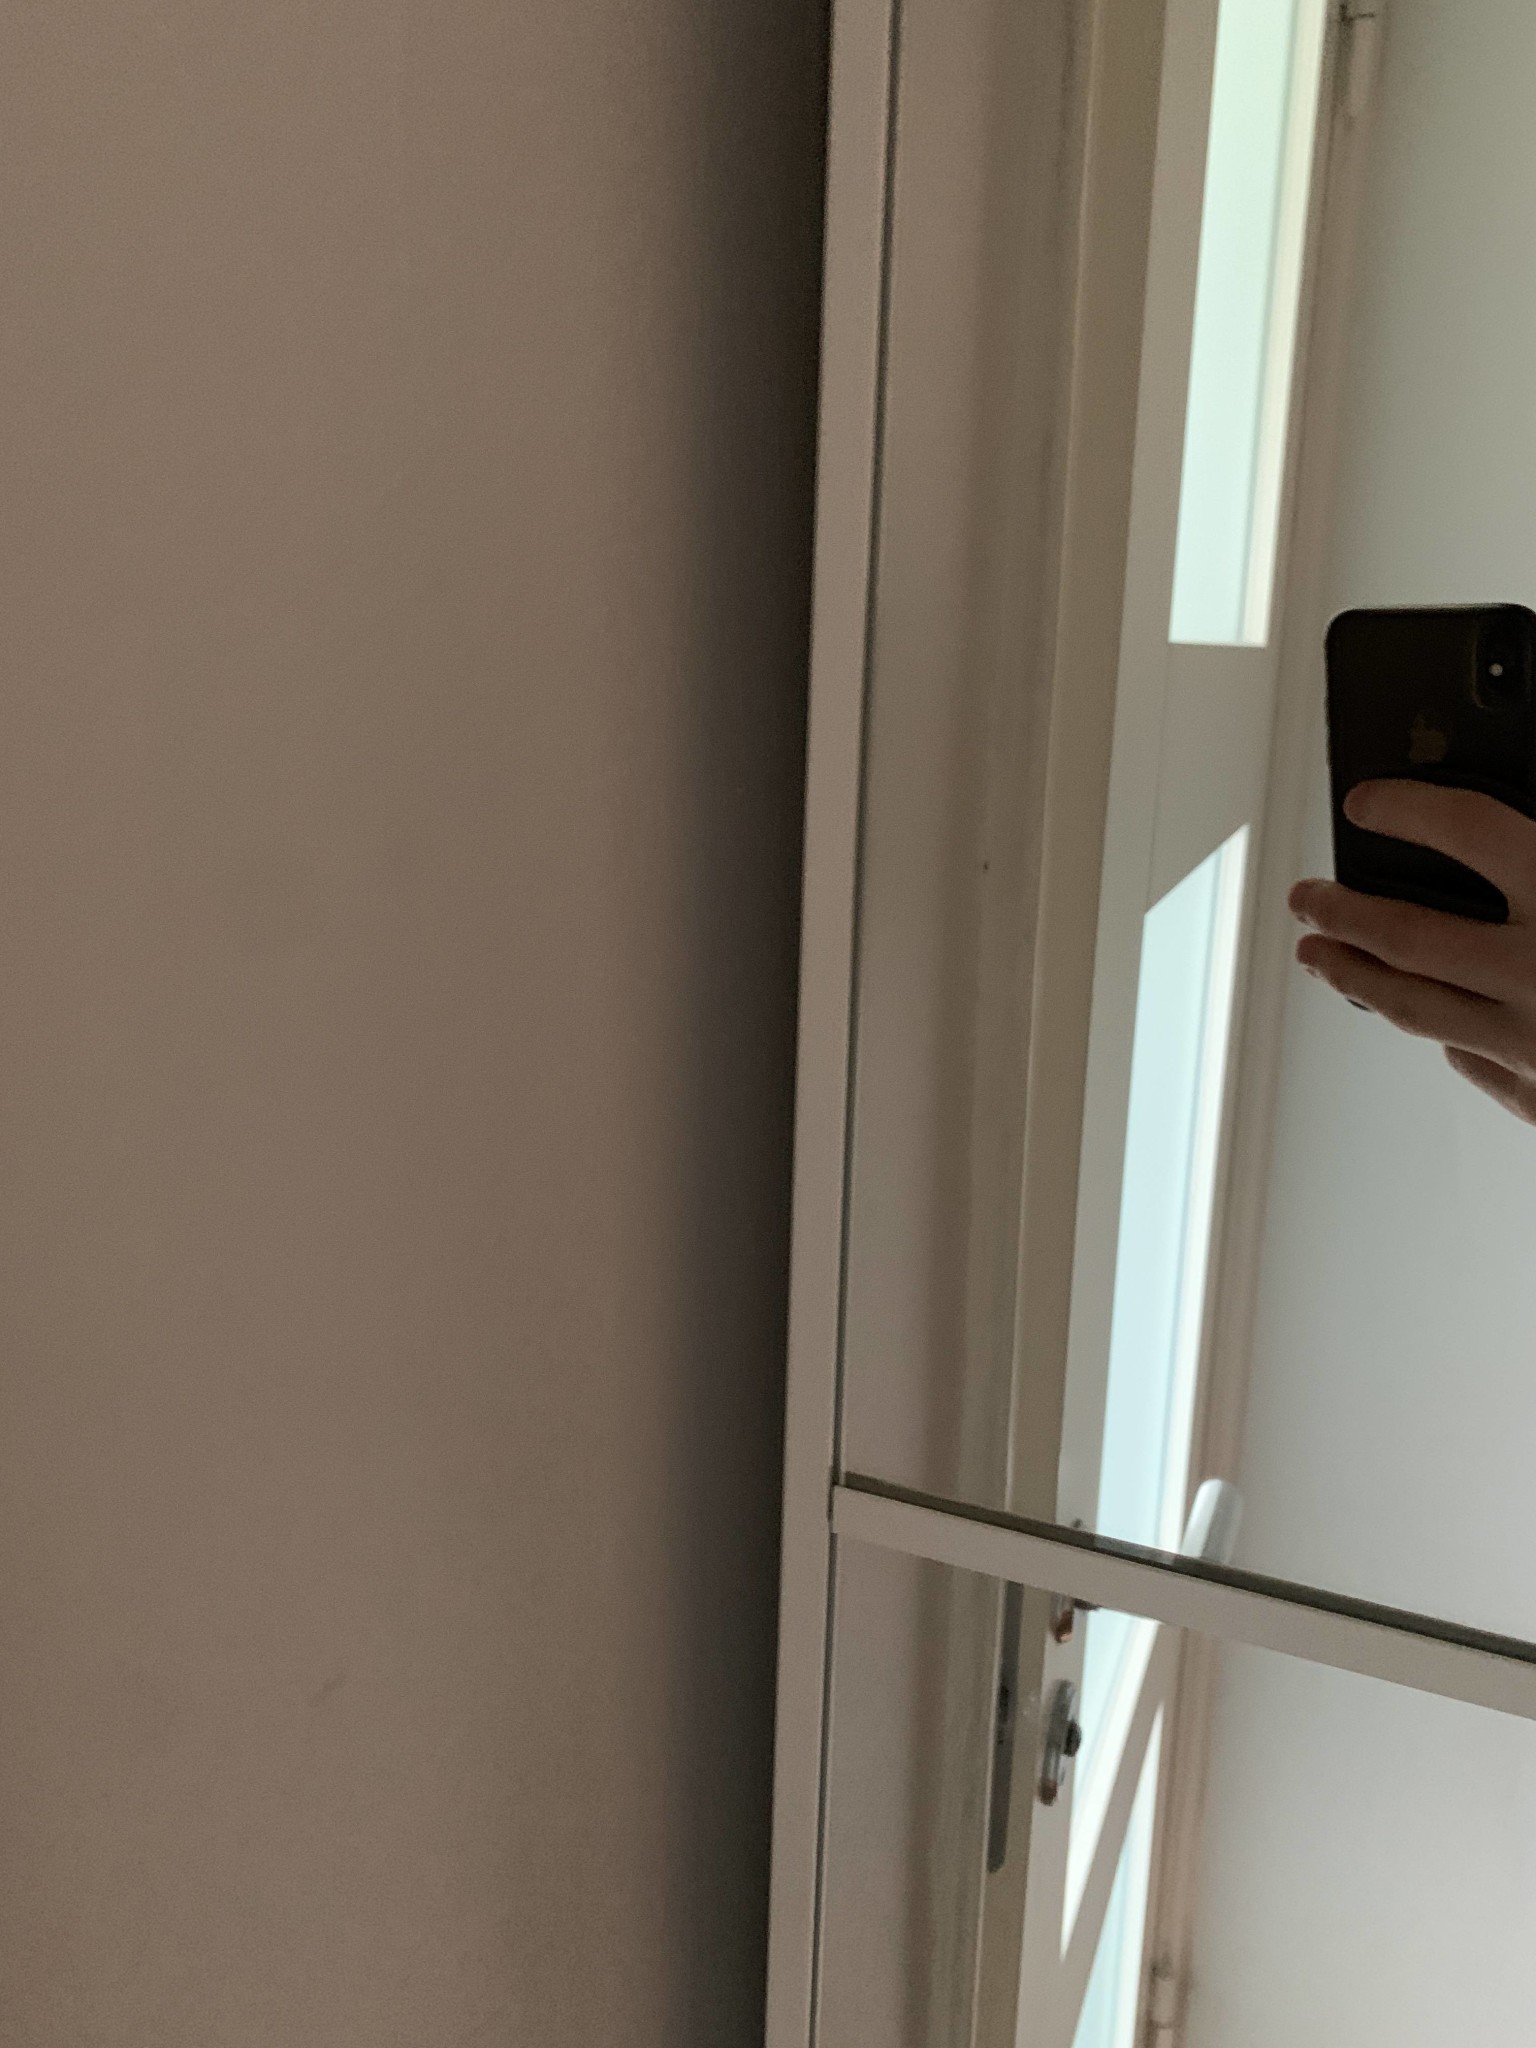
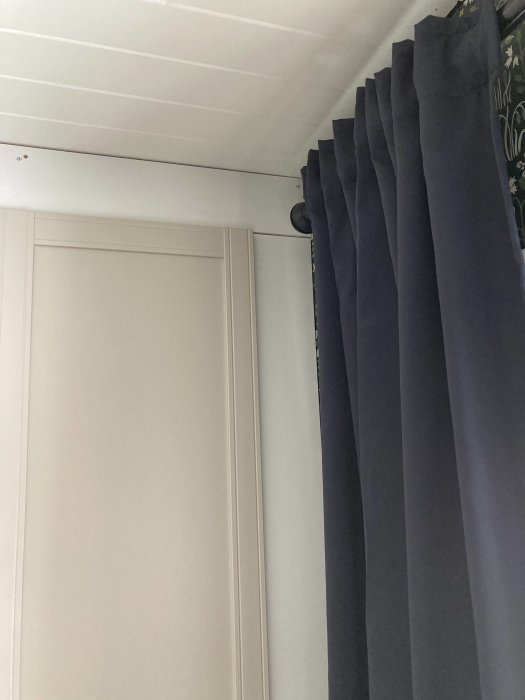
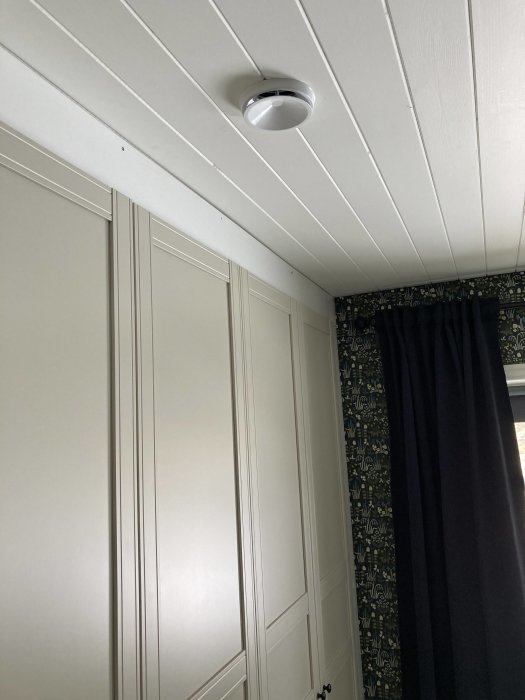
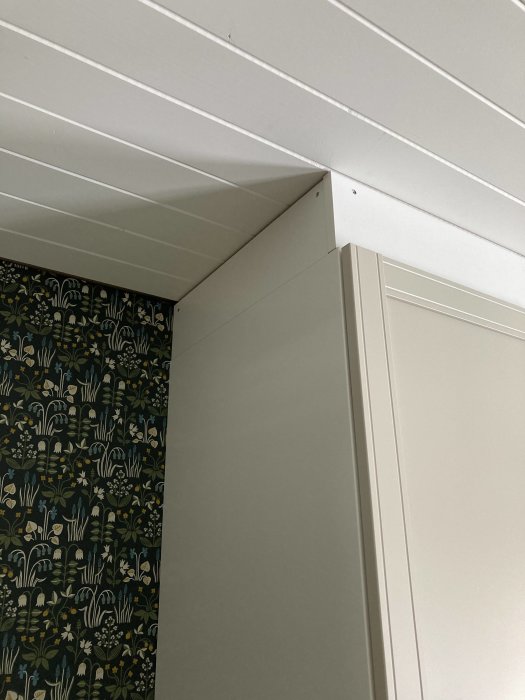
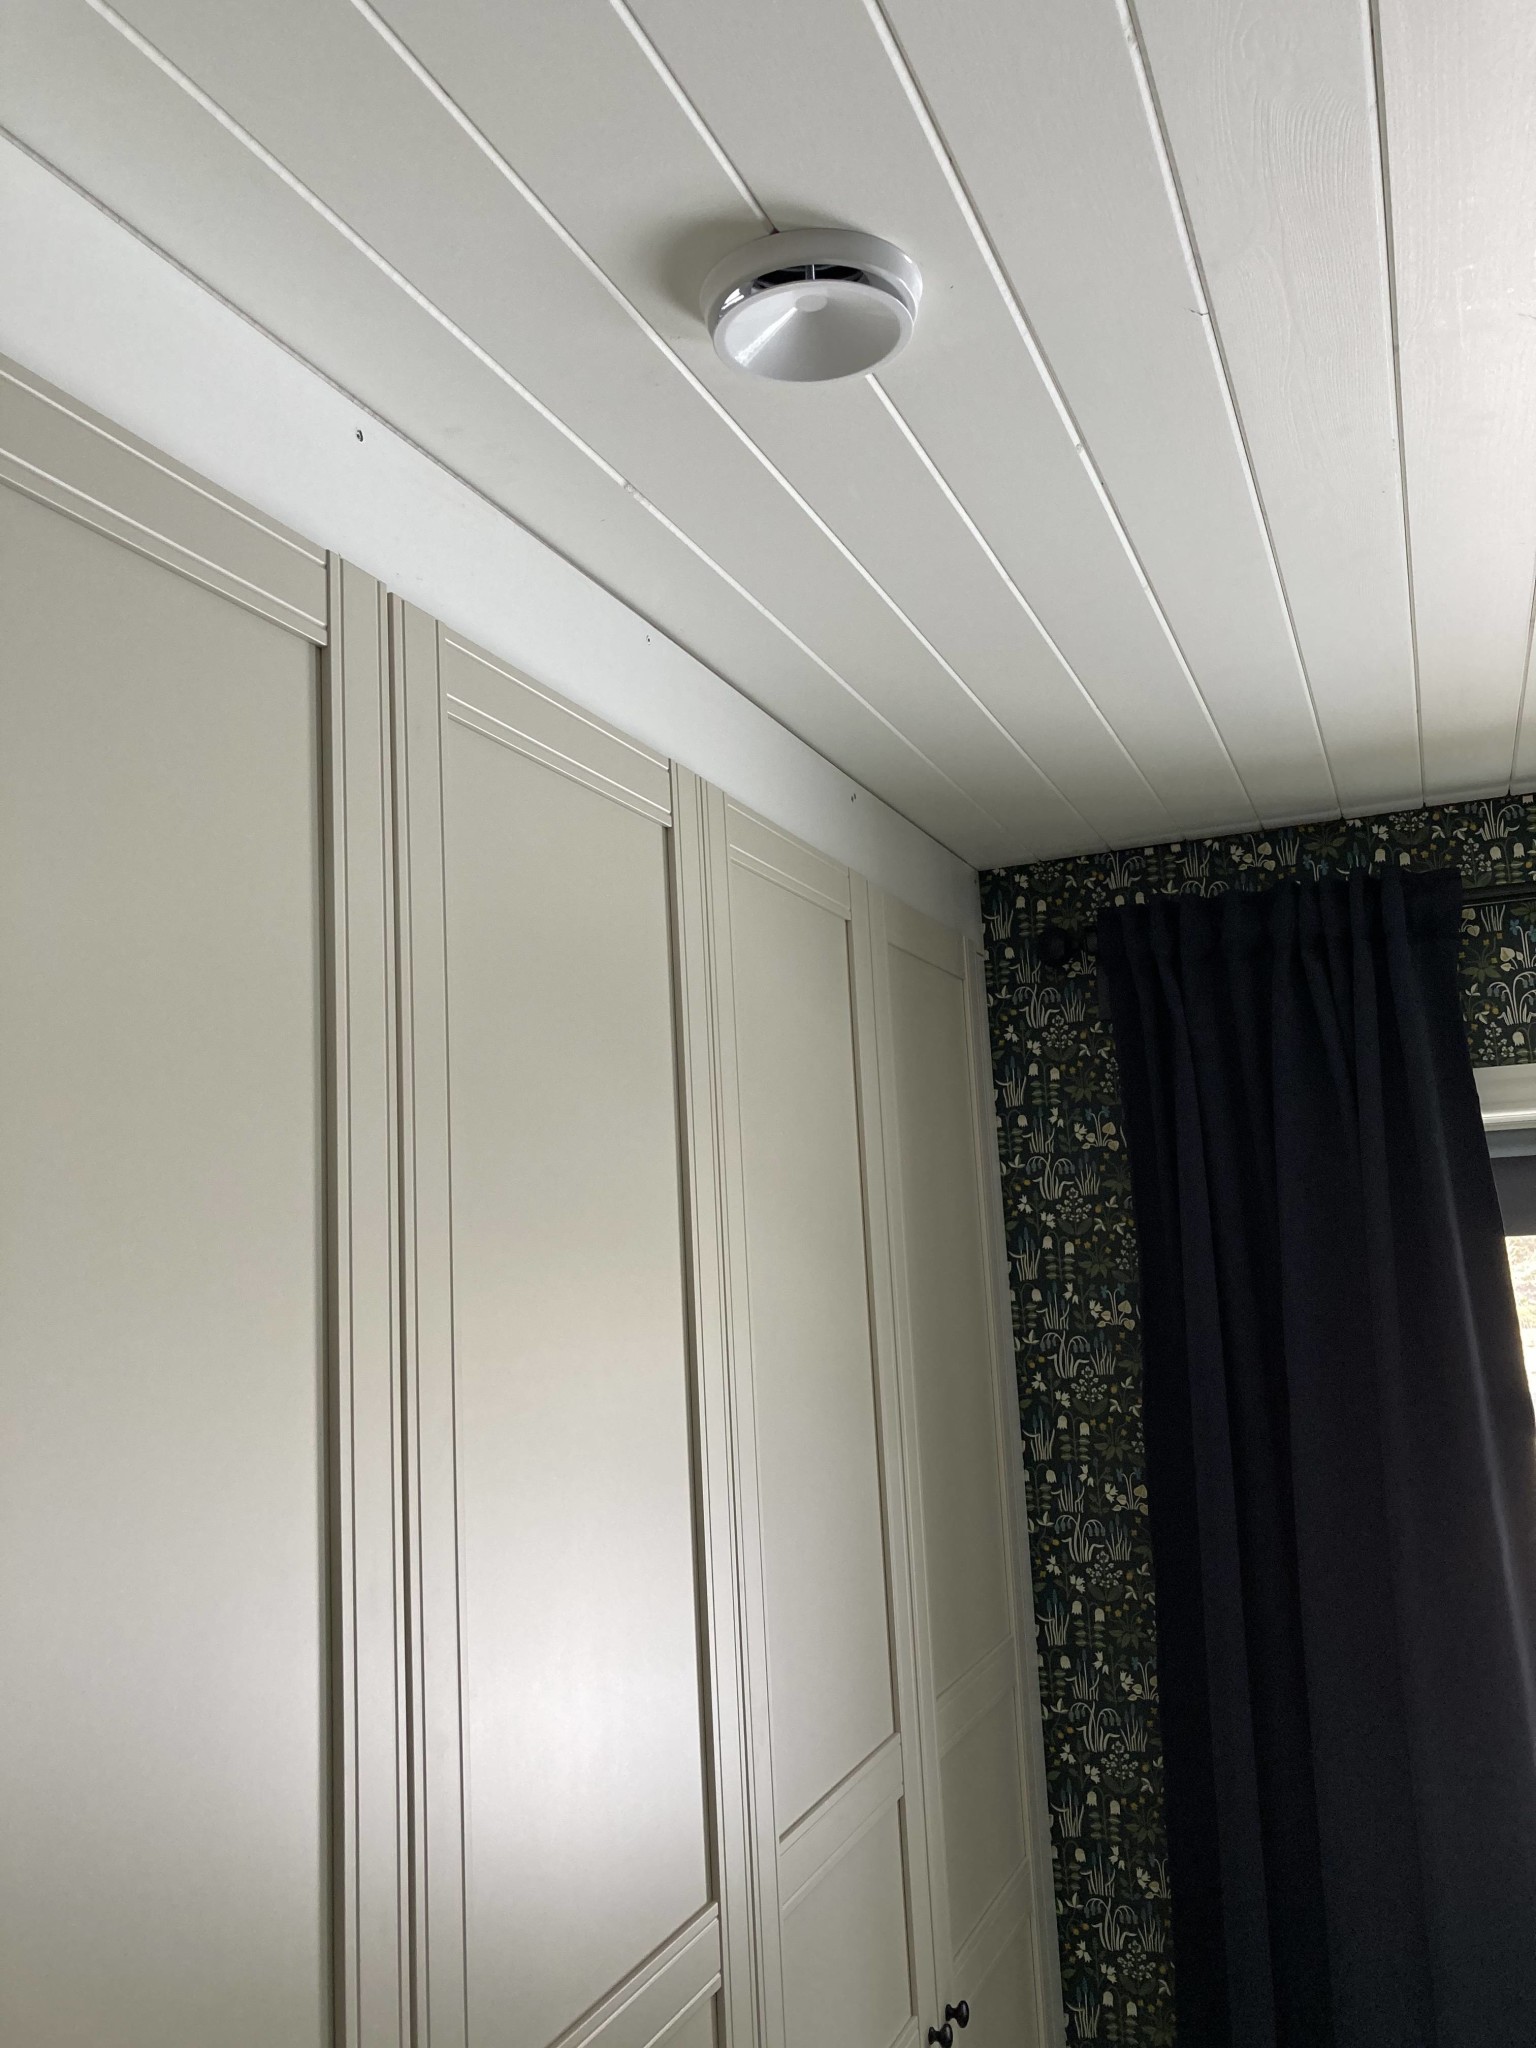
At the top, there's about 11cm of space, then on one side (left) against the wall there's a gap that's wide at the top and very narrow at the bottom, and the back against the wall (right side) has the same issue with an uneven gap. The wardrobe itself might not be 100% perfectly positioned, and the walls and ceiling are as they are in 50s apartments.
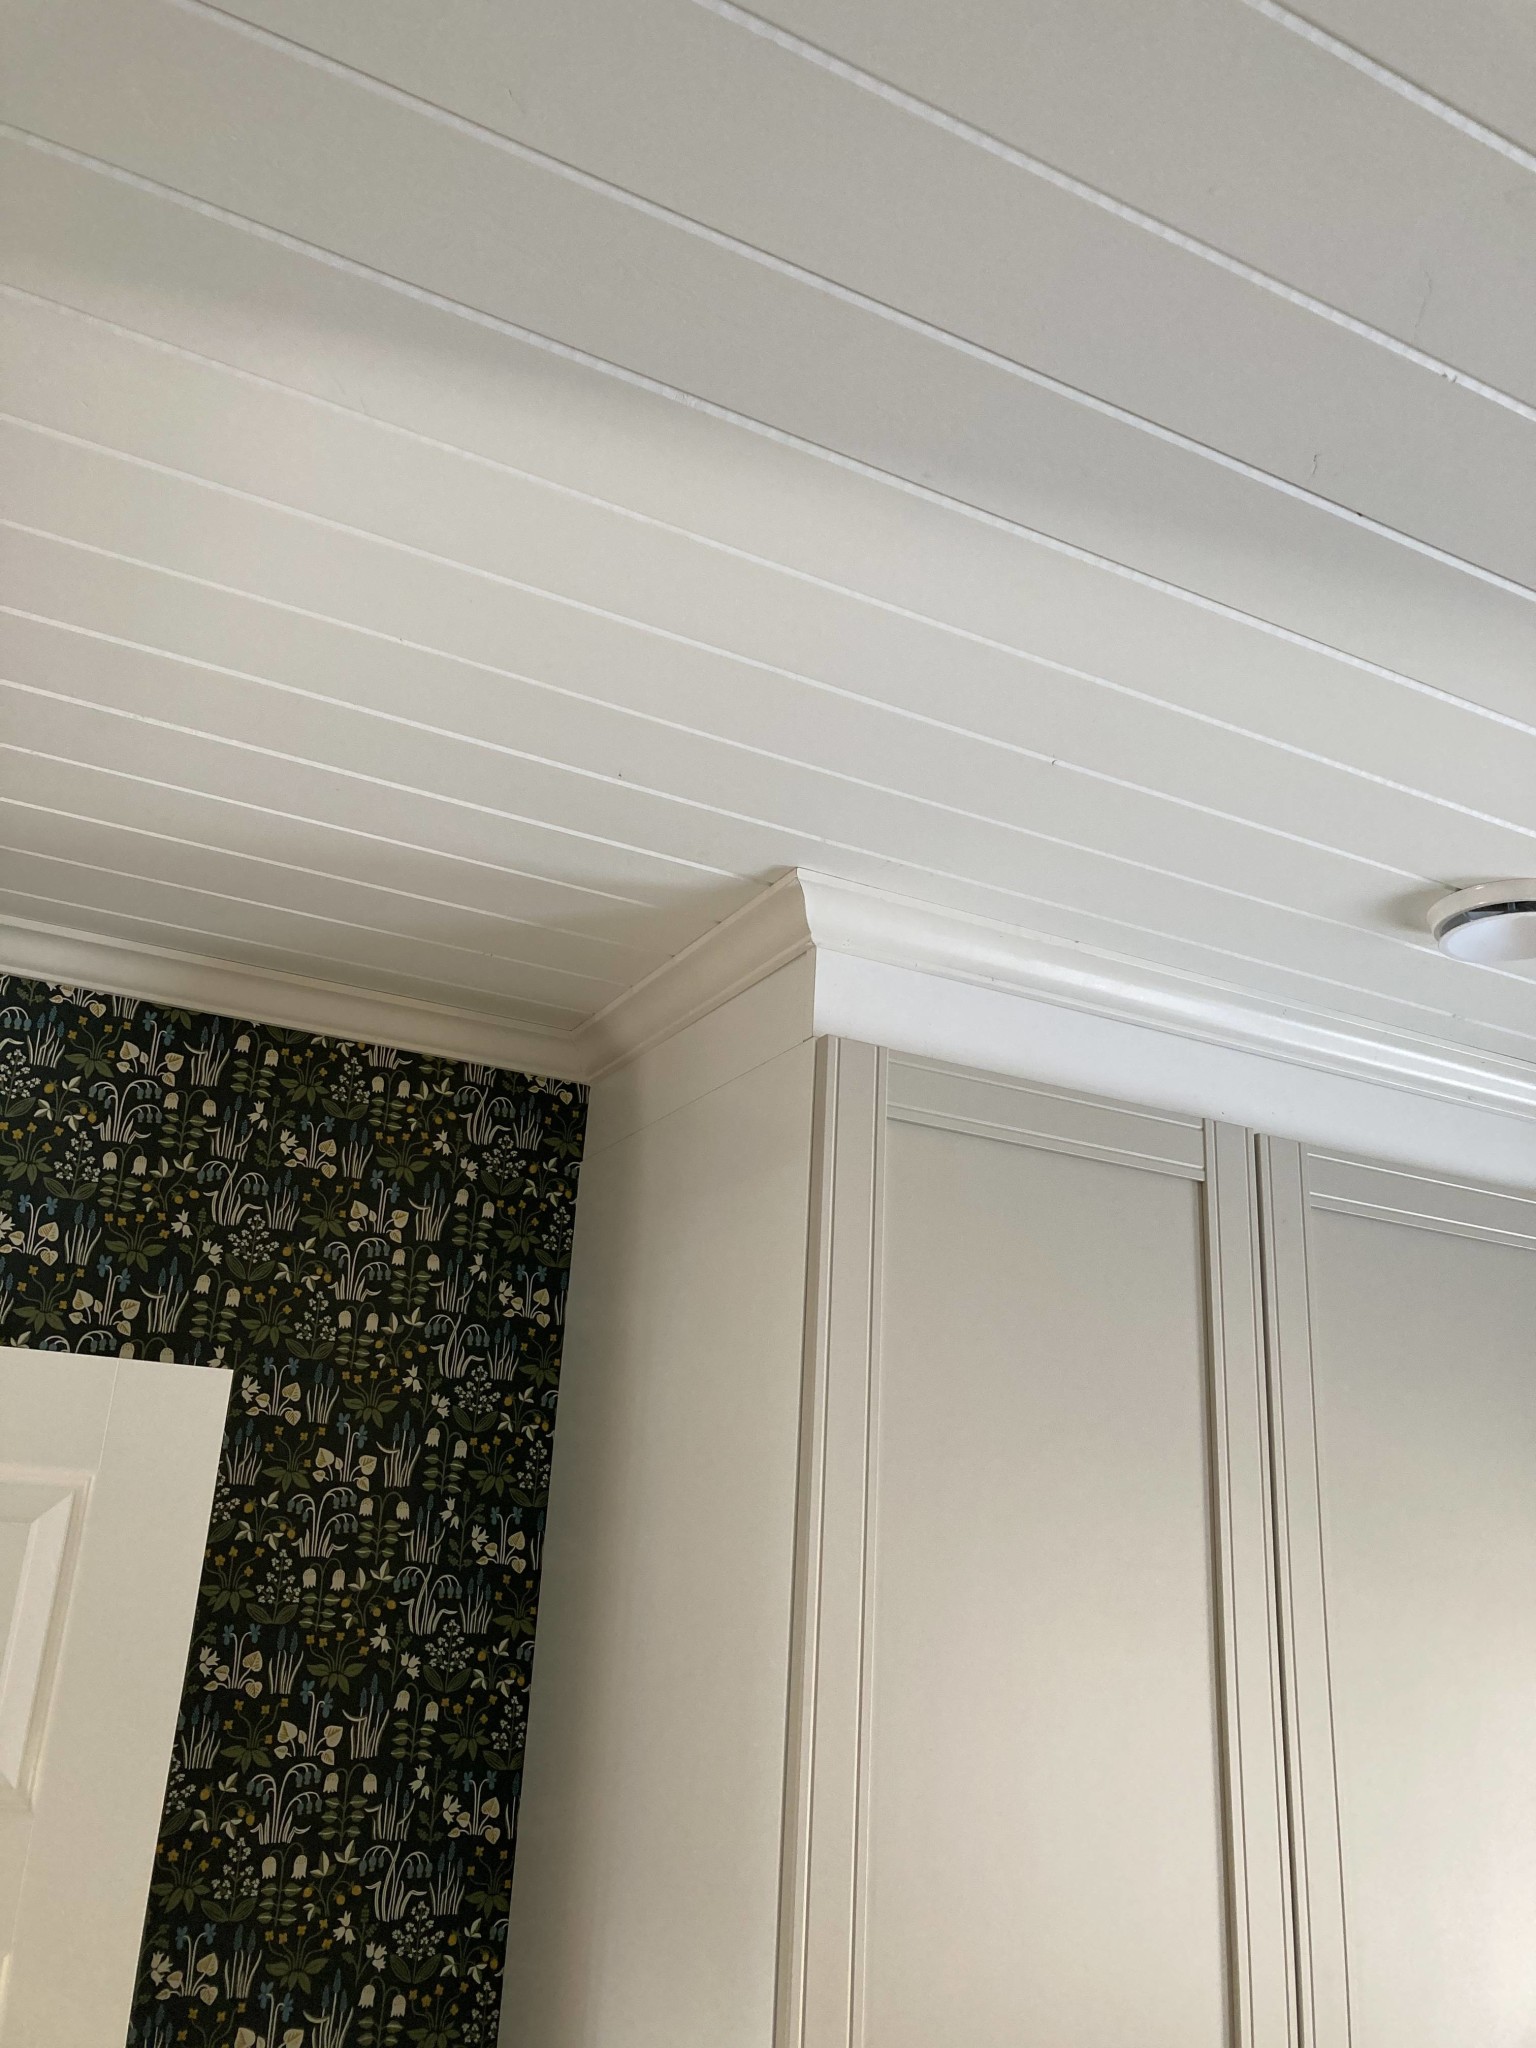
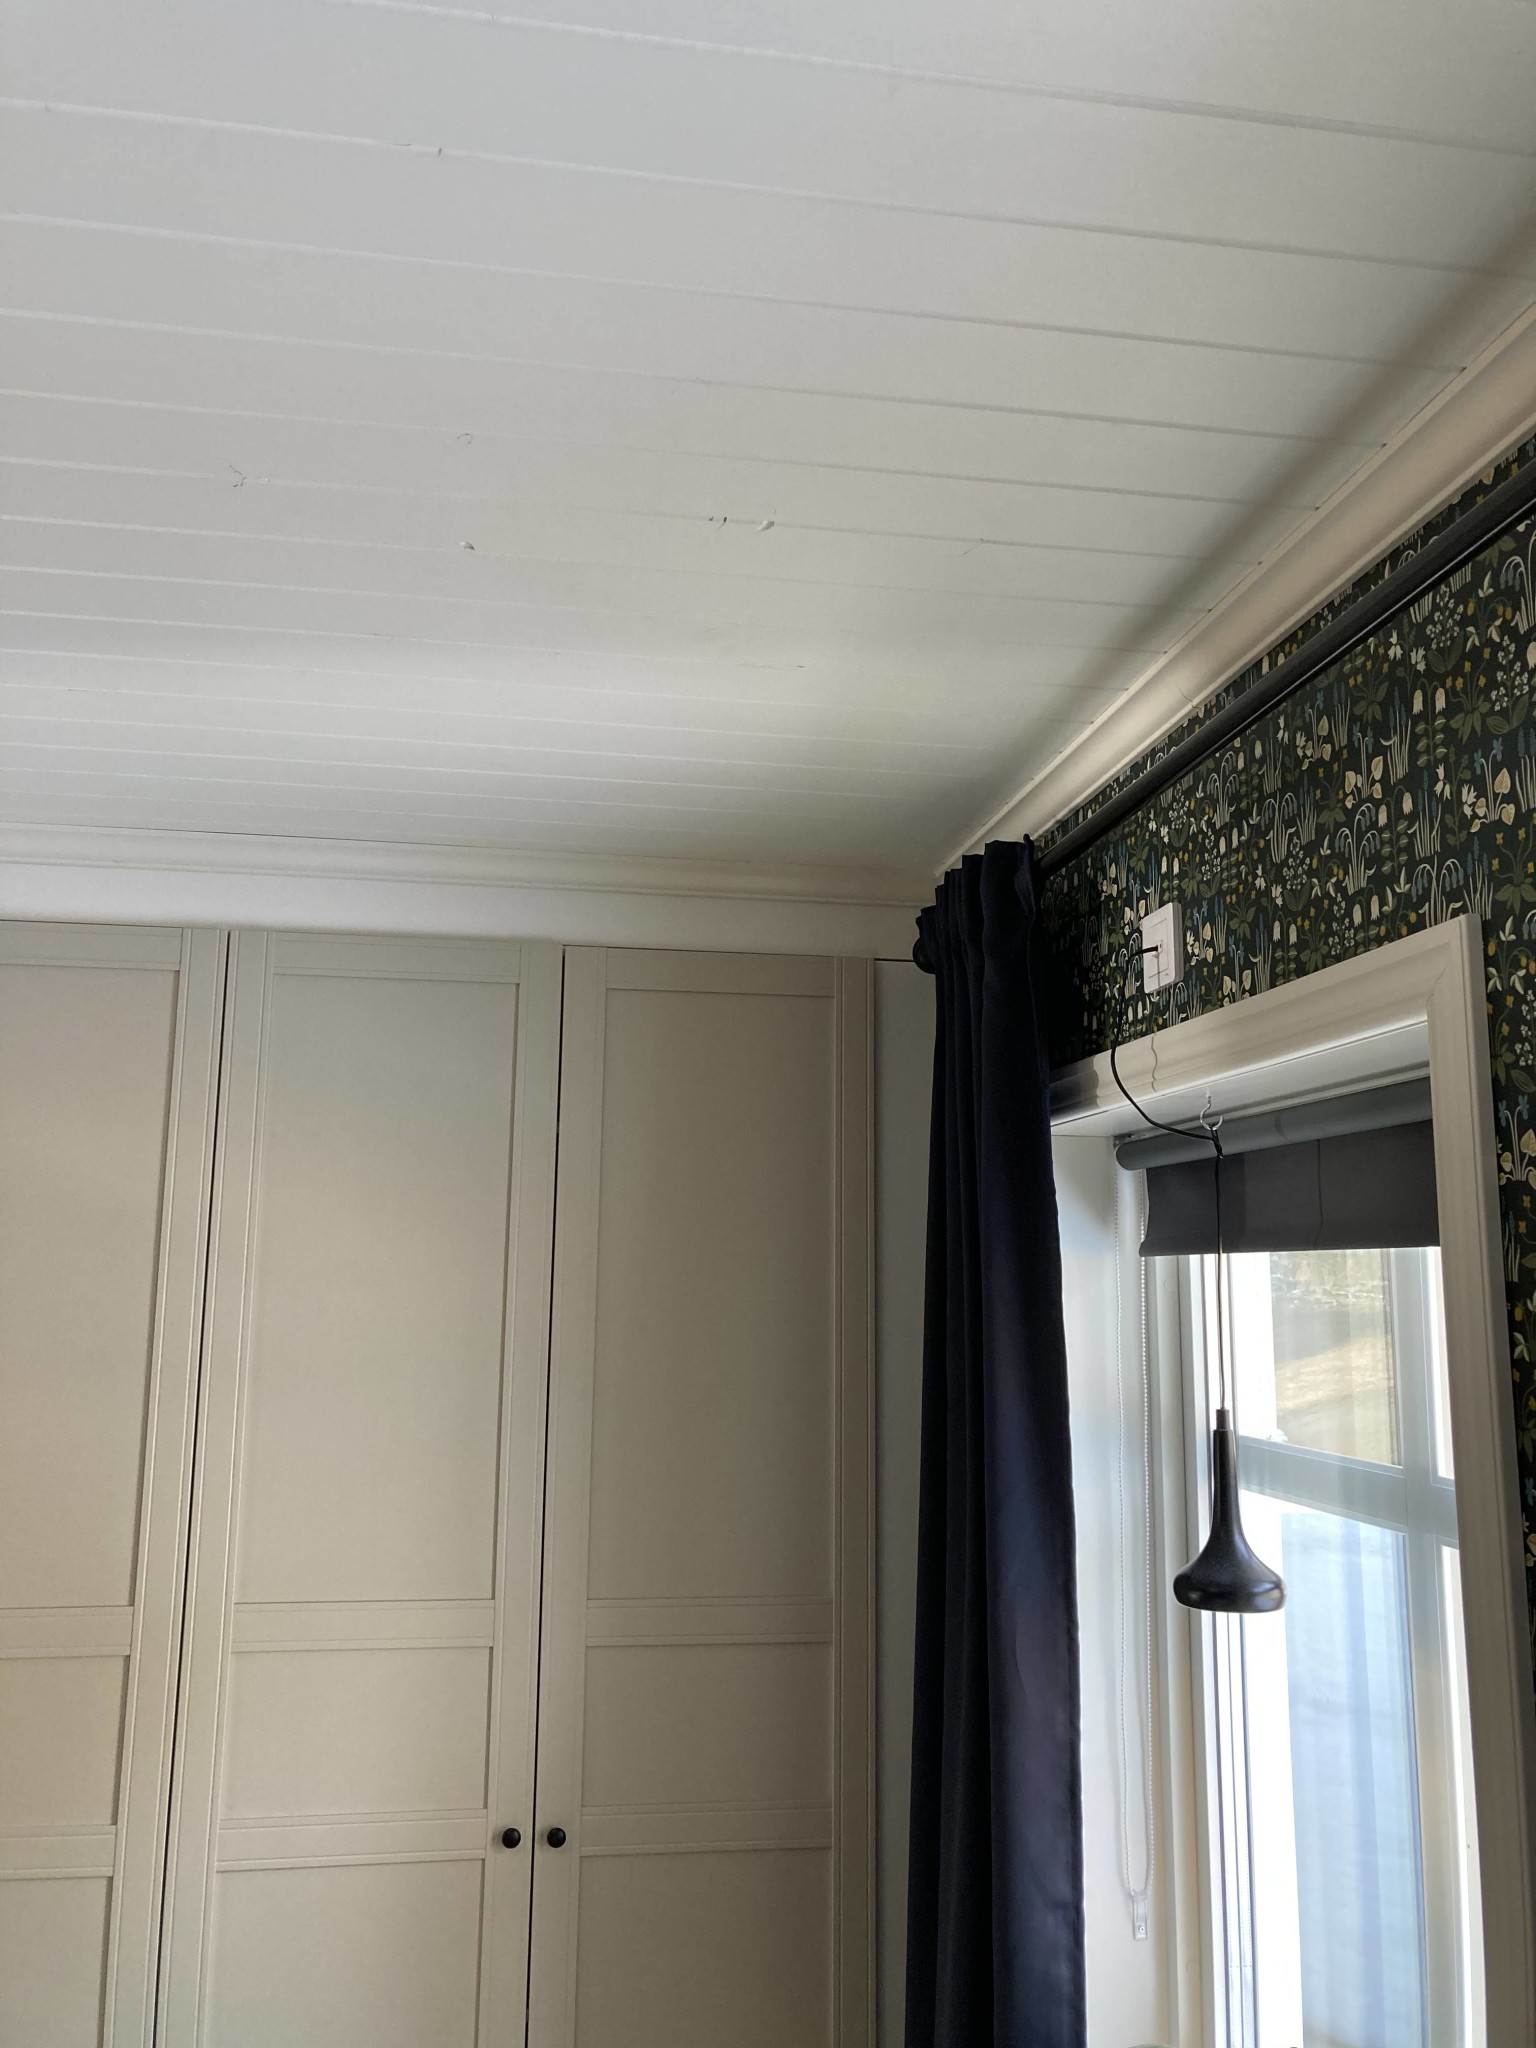
The edge of your second-to-last and last picture, I solved in my previous house by buying molding in the right thickness and screwing it into the wardrobe, looked really nice (before I put it in place, but maybe you can glue if you're careful now that it's in place).
Same at the back edge, molding in the right thickness installed in the wardrobe, so you didn't see the gap. I left the top as it was because I added lighting and the hallway was so narrow that you never had a view that high.
I checked if I had a picture, but just those details (or the wardrobe at large for that matter) I missed photographing. :/
Another option is to remove the baseboards so it gets closer if you haven't already done that. Personally, I wasn't really keen on messing with it right after having the hallway renovated, or messing with the wardrobe for that matter.
I screwed in a 45x70 from inside the closet and against the wall and ceiling both on the top and side, which I then attached drywall to. Then crown moulding, caulk, and paint.
I have built a bunch of wardrobes at home, and I created a framework, you could say, that the wardrobe was put into. All sides were then covered with hobby board.
Yes, it depends on how much work you want to put into it. The easiest way is probably moldings on the sides. Then you can buy shelves that are 248cm long and 30cm wide for a couple of hundred at byggmax. Rip it so that it fits on top, join the pieces with an angle bracket on the inside. Then it just needs to be placed on top. It won't move anywhere.
The edge on your next to last and last picture, I solved in my previous house by buying trim in the correct thickness and screwing it into the wardrobe, it turned out really nice (before I moved it into place, but maybe you can glue it if you're careful now that it's in place).
Same at the back, trim in the right thickness mounted in the wardrobe, so you didn't have to see the gap. I left the top because I had lighting and the hallway was so narrow that you never had a line of sight that high.
I checked if I had any pictures, but those particular details (or the wardrobe as a whole, for that matter) I missed taking pictures of.
Another option, of course, is to remove the baseboards so it can come closer if you haven't done that. Personally, I wasn’t that keen on doing it right after having the hallway renovated, or on going at the wardrobe for that matter.
Could we perhaps see how the end results with the trims turned out? I've considered trims but since there's such a big difference in the gap at the top and bottom, I haven't quite figured out how to make it look good...
I've thought about removing the wardrobe from the wall and doing it over properly, but I'm not keen on that I’d probably have to move the whole thing to the right to get new fittings in the wall again.
I screwed a 45x70 from inside the wardrobe against the wall and ceiling both on the top and side, which I then attached plasterboard to. Then ceiling molding, flexible sealant and paint.
[image]
Looks nice!
Right. In that case, it feels like I'll have to remove the wardrobe and start from there... Maybe not possible to avoid just that if I want it to look reasonably okay
I have built in a bunch of wardrobes here at home and I made a framework you could say that the wardrobe was placed into. Then covered all sides with hobby board.
That's probably what I should have done from the start
Yes, it depends on how much work you want to put in.
The simplest might be moldings on the sides.
Then you can buy shelf boards that are 248cm long and 30cm wide for a few hundred at byggmax. Rip it so that it fits on top, join the pieces with an angle bracket on the inside. Then it just needs to be placed on top. It's not going anywhere.
Moldings were the first thought but hard to see how I can make it look nice when the gap is so large at the top and narrow at the bottom...
Thanks for the tip with shelf boards and angle brackets!
Hello!
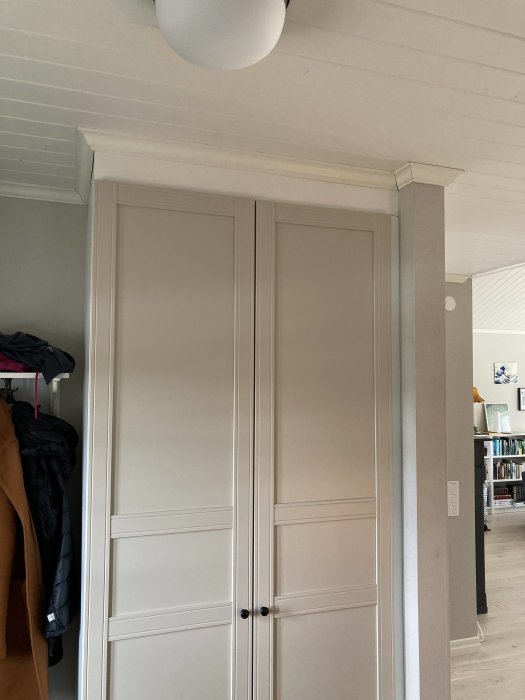
I am just in the process of finishing the trim around my built-in wardrobes. There are probably better ways than mine, but I bought white cover panels. Then I put battens in the ceiling to attach them to. Then trim around.
Yes, I know my miter cutting wasn't perfect, I will paint over that..
Is it possible to see the final results with the lists? I've been considering lists but since there's such a big difference in the gap at the top and bottom, I haven't quite understood how it can turn out well...
I've thought about removing the wardrobe from the wall and redoing it properly, but I'm not interested at all I would probably have to move the whole thing to the right to be able to get new fixings in the wall again.
Hi unfortunately it's not possible sold the house and of course, I completely forgot to photograph the final result
Vi vill skicka notiser för ämnen du bevakar och händelser som berör dig.


 I’d probably have to move the whole thing to the right to get new fittings in the wall again.
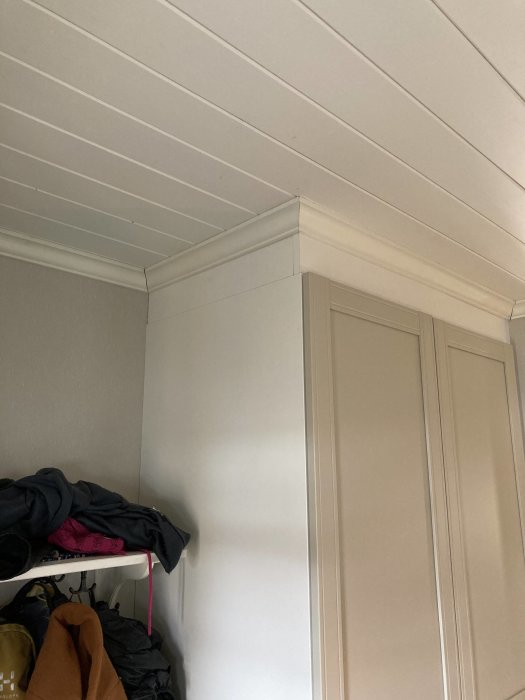


Dannelarsen said:
Is it possible to see the final results with the lists? I've been considering lists but since there's such a big difference in the gap at the top and bottom, I haven't quite understood how it can turn out well...