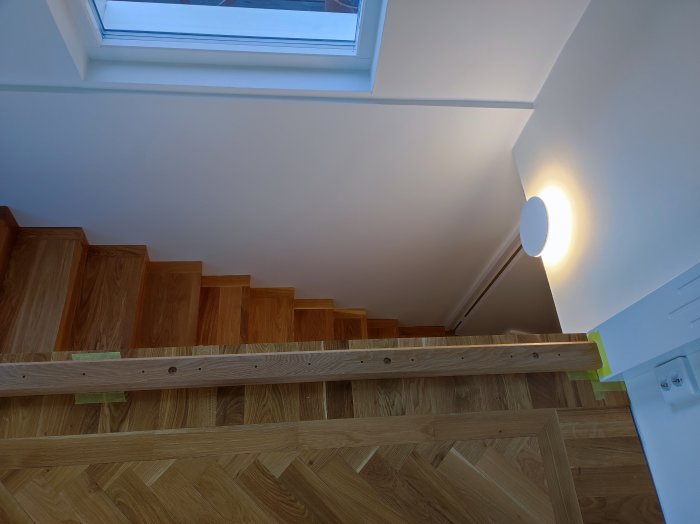
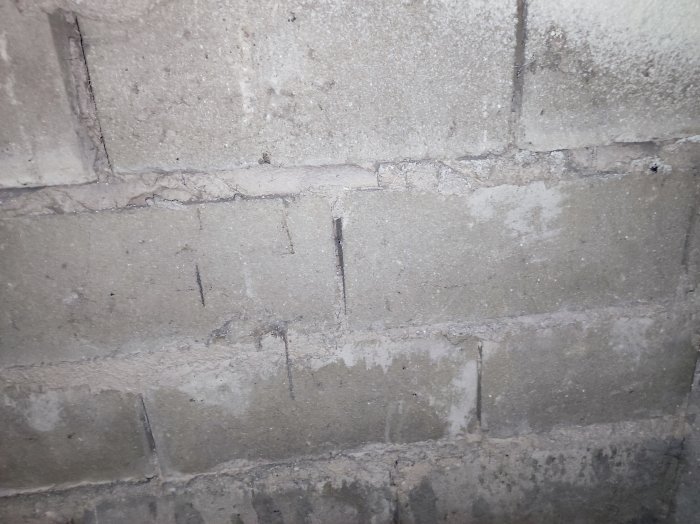
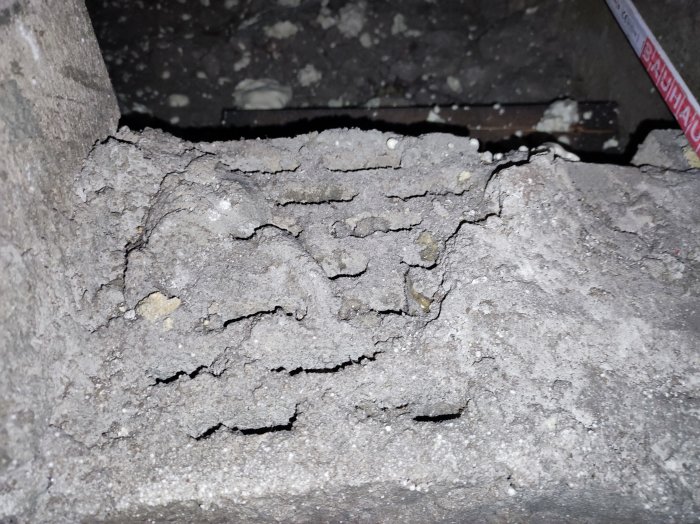
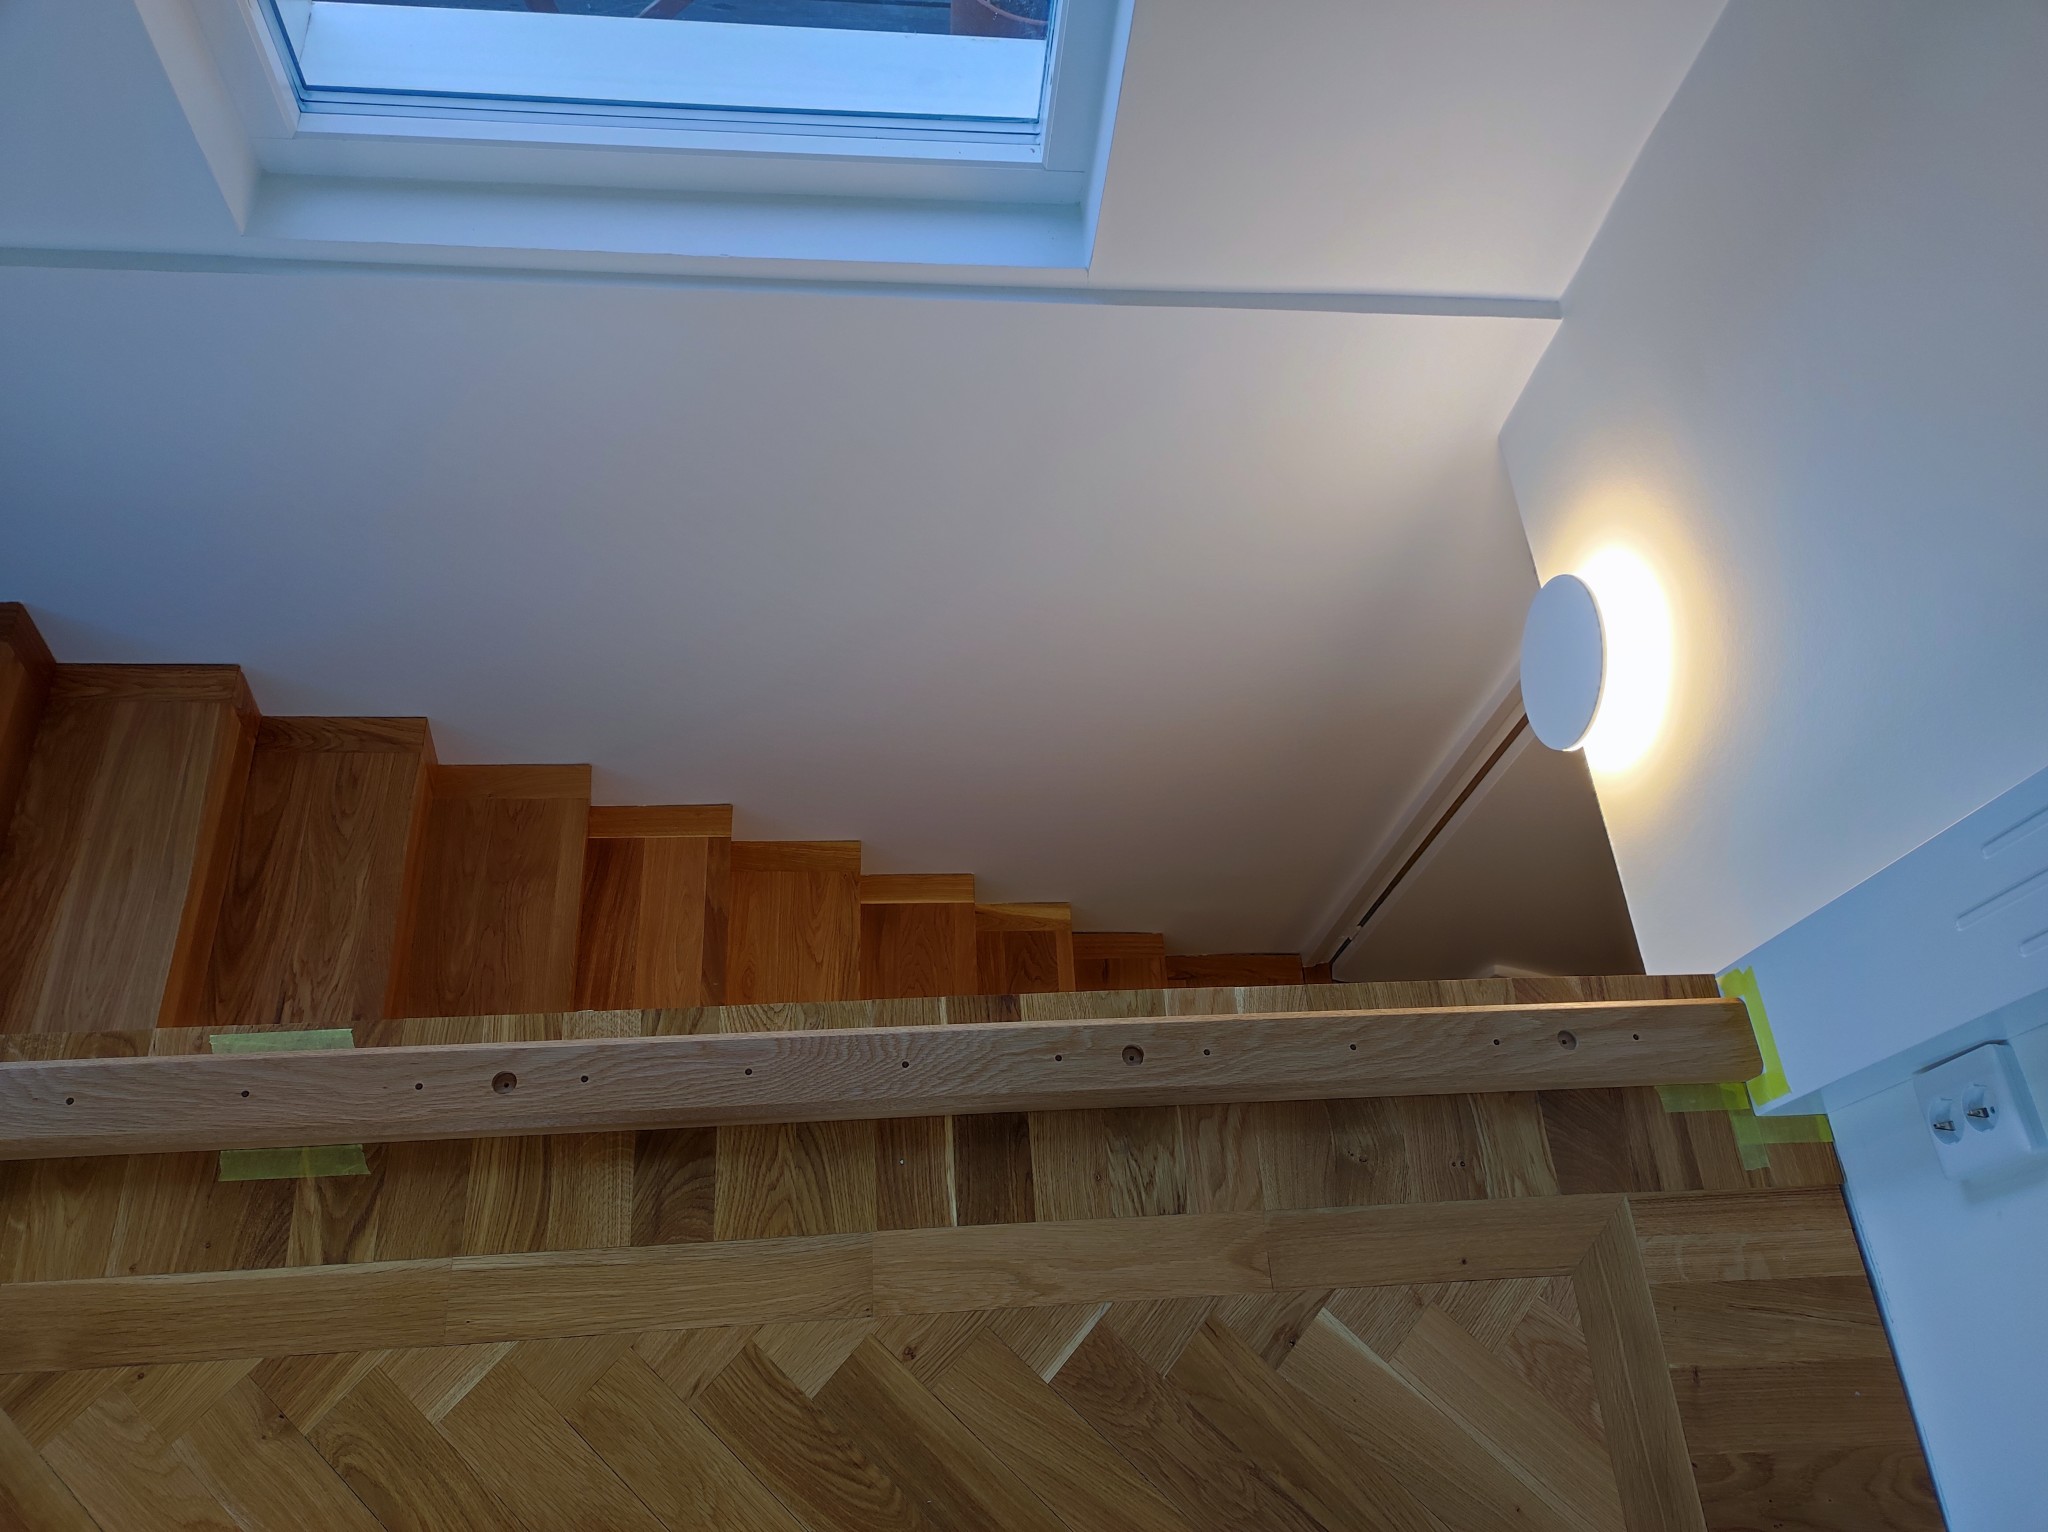
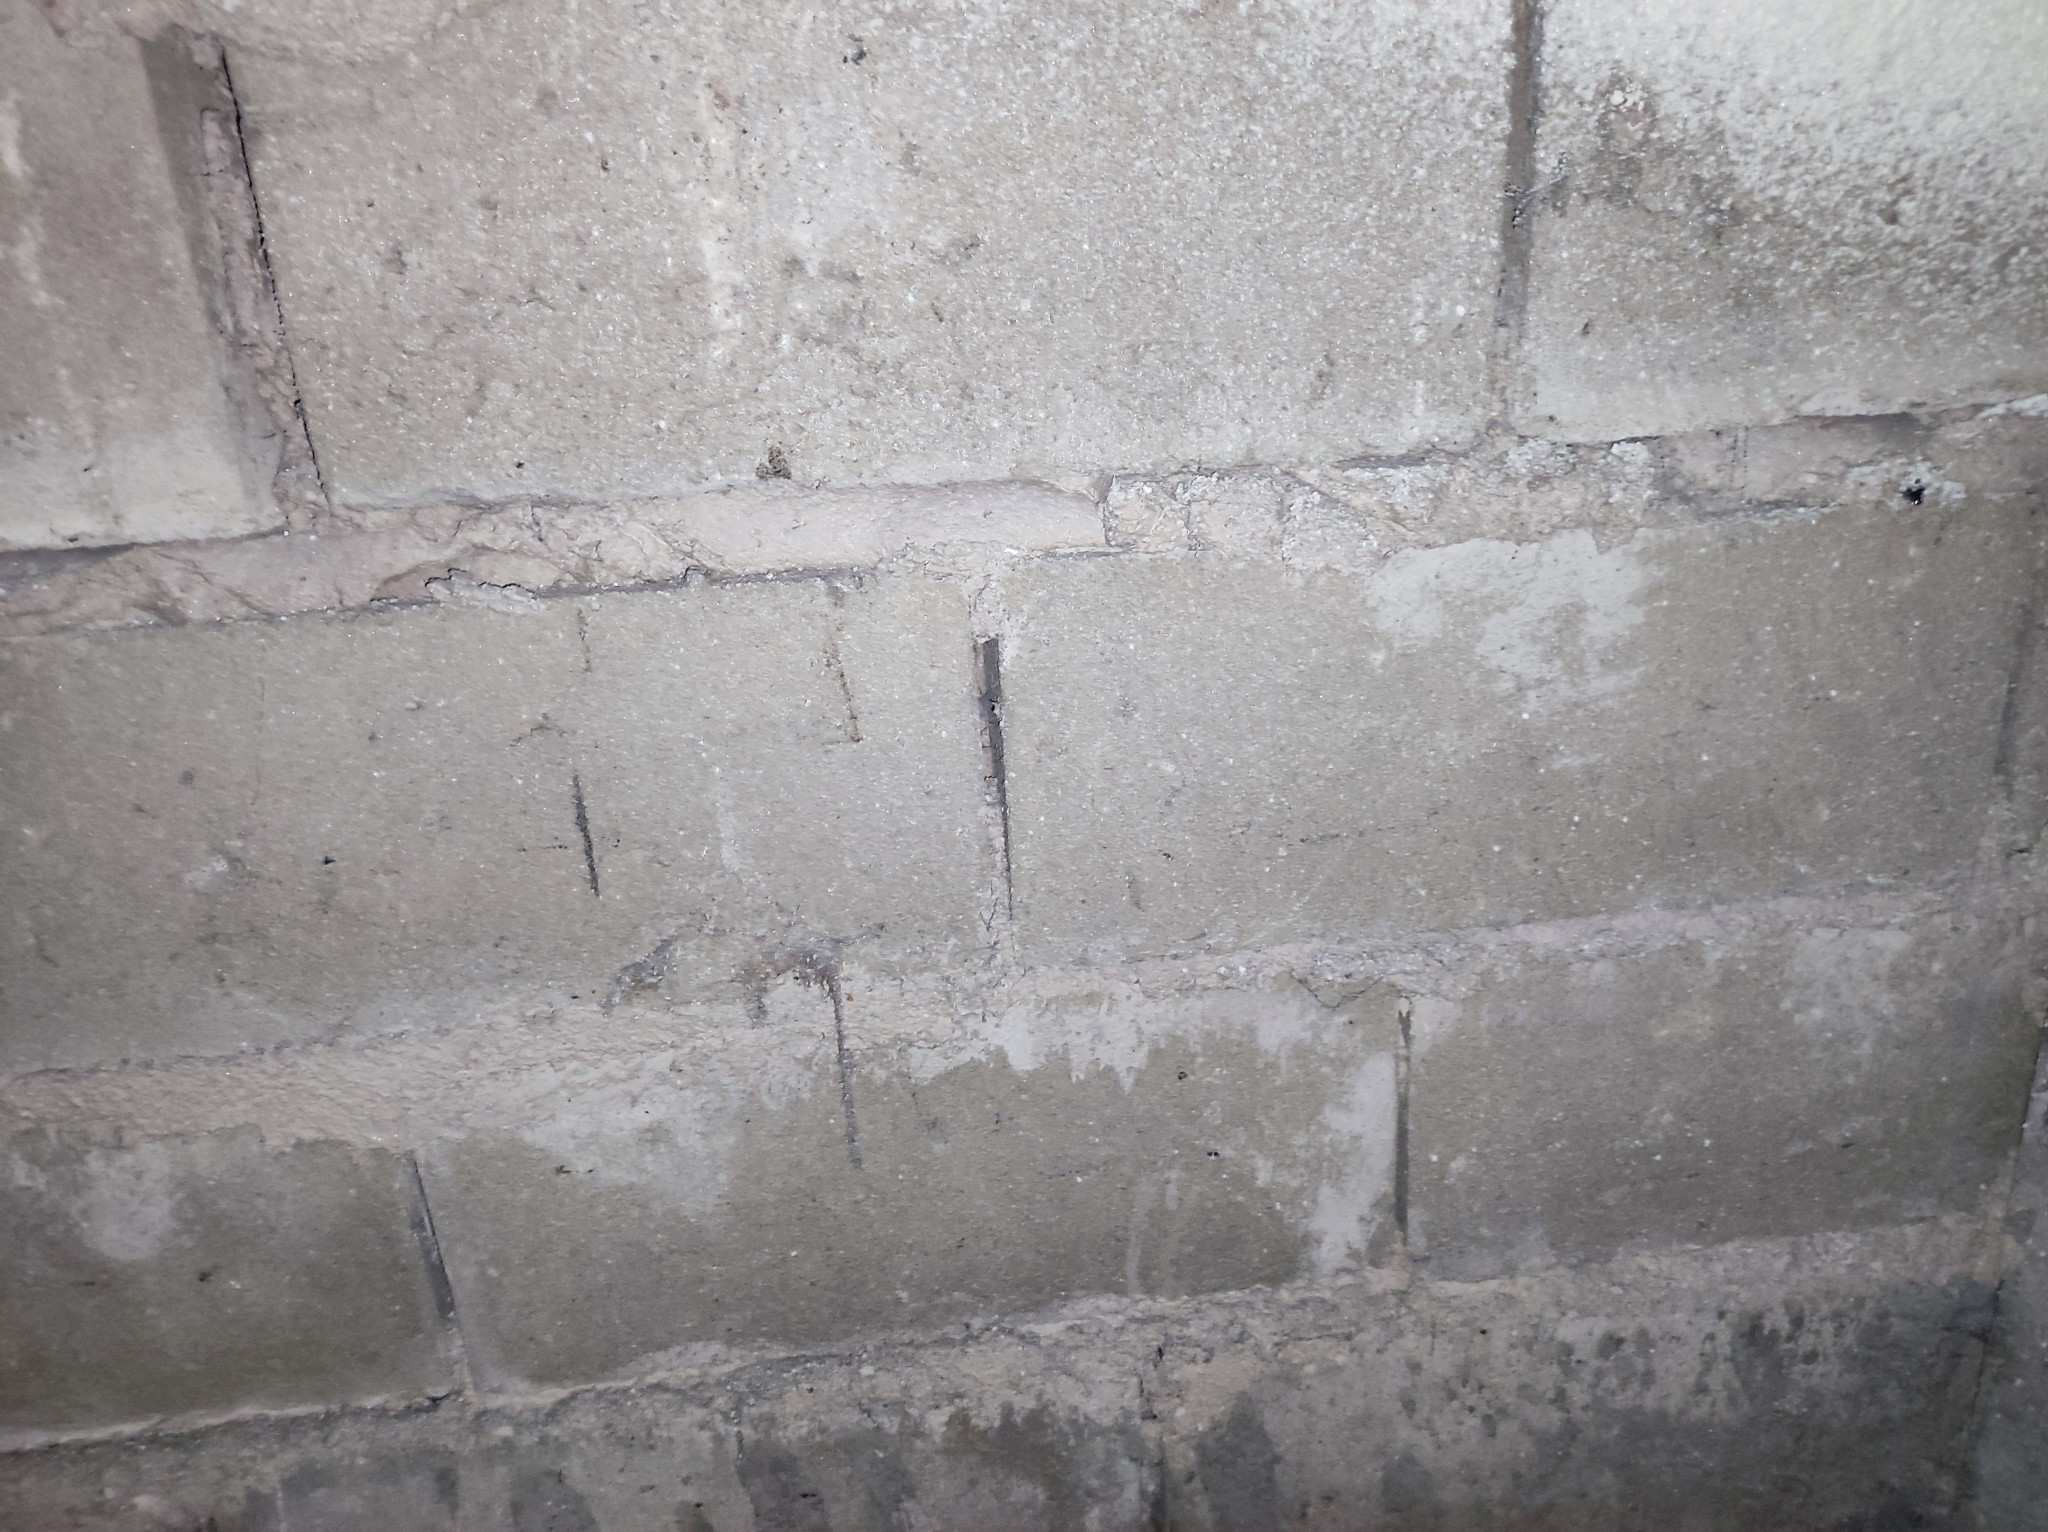
Since the stone is not solid, just plugging and screwing won't work.
I'm thinking of something like drilling away the wooden floor about 2 cm in diameter so it's not in the way.
Drill into the stone a bit spaciously and fill with chemical anchor.
Press in threaded rods and place the railing so everything really gets in the right place. That's why I'm thinking a bit of a spacious hole for some room for adjustment.
Good plan?
Can anyone recommend a chemical anchor, or warn against something?
How long does it usually take for these to cure?
Need to set 6 threaded rods and get the railing in place, you see.
There are sleeves to insert when there are porous stones, the curing time largely depends on how warm it is. But if you prepare everything, it usually works. Haven't found anything that's worse than anything else.
Do you have to get all 6 in place at once? Most chemical anchors set really quickly. Would it work to do one at a time? Like making a template that's at exactly the right distance, then fill one hole and get the threaded rod exactly in place before moving on to the next? If you fill all 6 and something goes wrong somewhere, it can be stressful to finish before they start hardening too quickly.
Do you have to get all 6 on at once? Most chemical anchors cure really fast. Would it be possible to do one at a time? Like make a template that is the exact right distance, then fill one hole and get the threaded rod in the right place, then move on to the next? If you fill all 6 and something starts to go wrong, it can be tricky to get them all in before it starts setting on you.
It's a long "board" that needs to be attached. But it should be possible to do it in parts. Attach one, wait until it has cured, then lift it off and start over. It seems to indicate about five minutes on the ones I've looked at, so it might be difficult to get them all in at once.
I would think that you can push out some material at regular intervals so it works, it mixes in the nozzle so the content in the tube does not cure. Otherwise, you will have to buy more nozzles and sacrifice as needed.
I have tested most of the different brands and variants of chemical anchors on the market, and they all behave similarly. But as a DIY enthusiast, it's probably easiest to buy something like eesve or fischer at Bygglåd.
I would guess you'll have about 5 minutes to align and then it's cured in about 60 minutes.
But the procedure is as follows, drill your holes preferably using the railing as a template so you know the holes are in the right place. Alternatively, measure very carefully, always increase the measurement chain, i.e., measure from start to finish and not center to center between holes, as it can quickly go wrong.
Drill your holes as straight as you can, a long drill is easier to align by eye than a short one. Don't complicate things.
Then blow the holes out with a pump and brush the holes with a round brush.
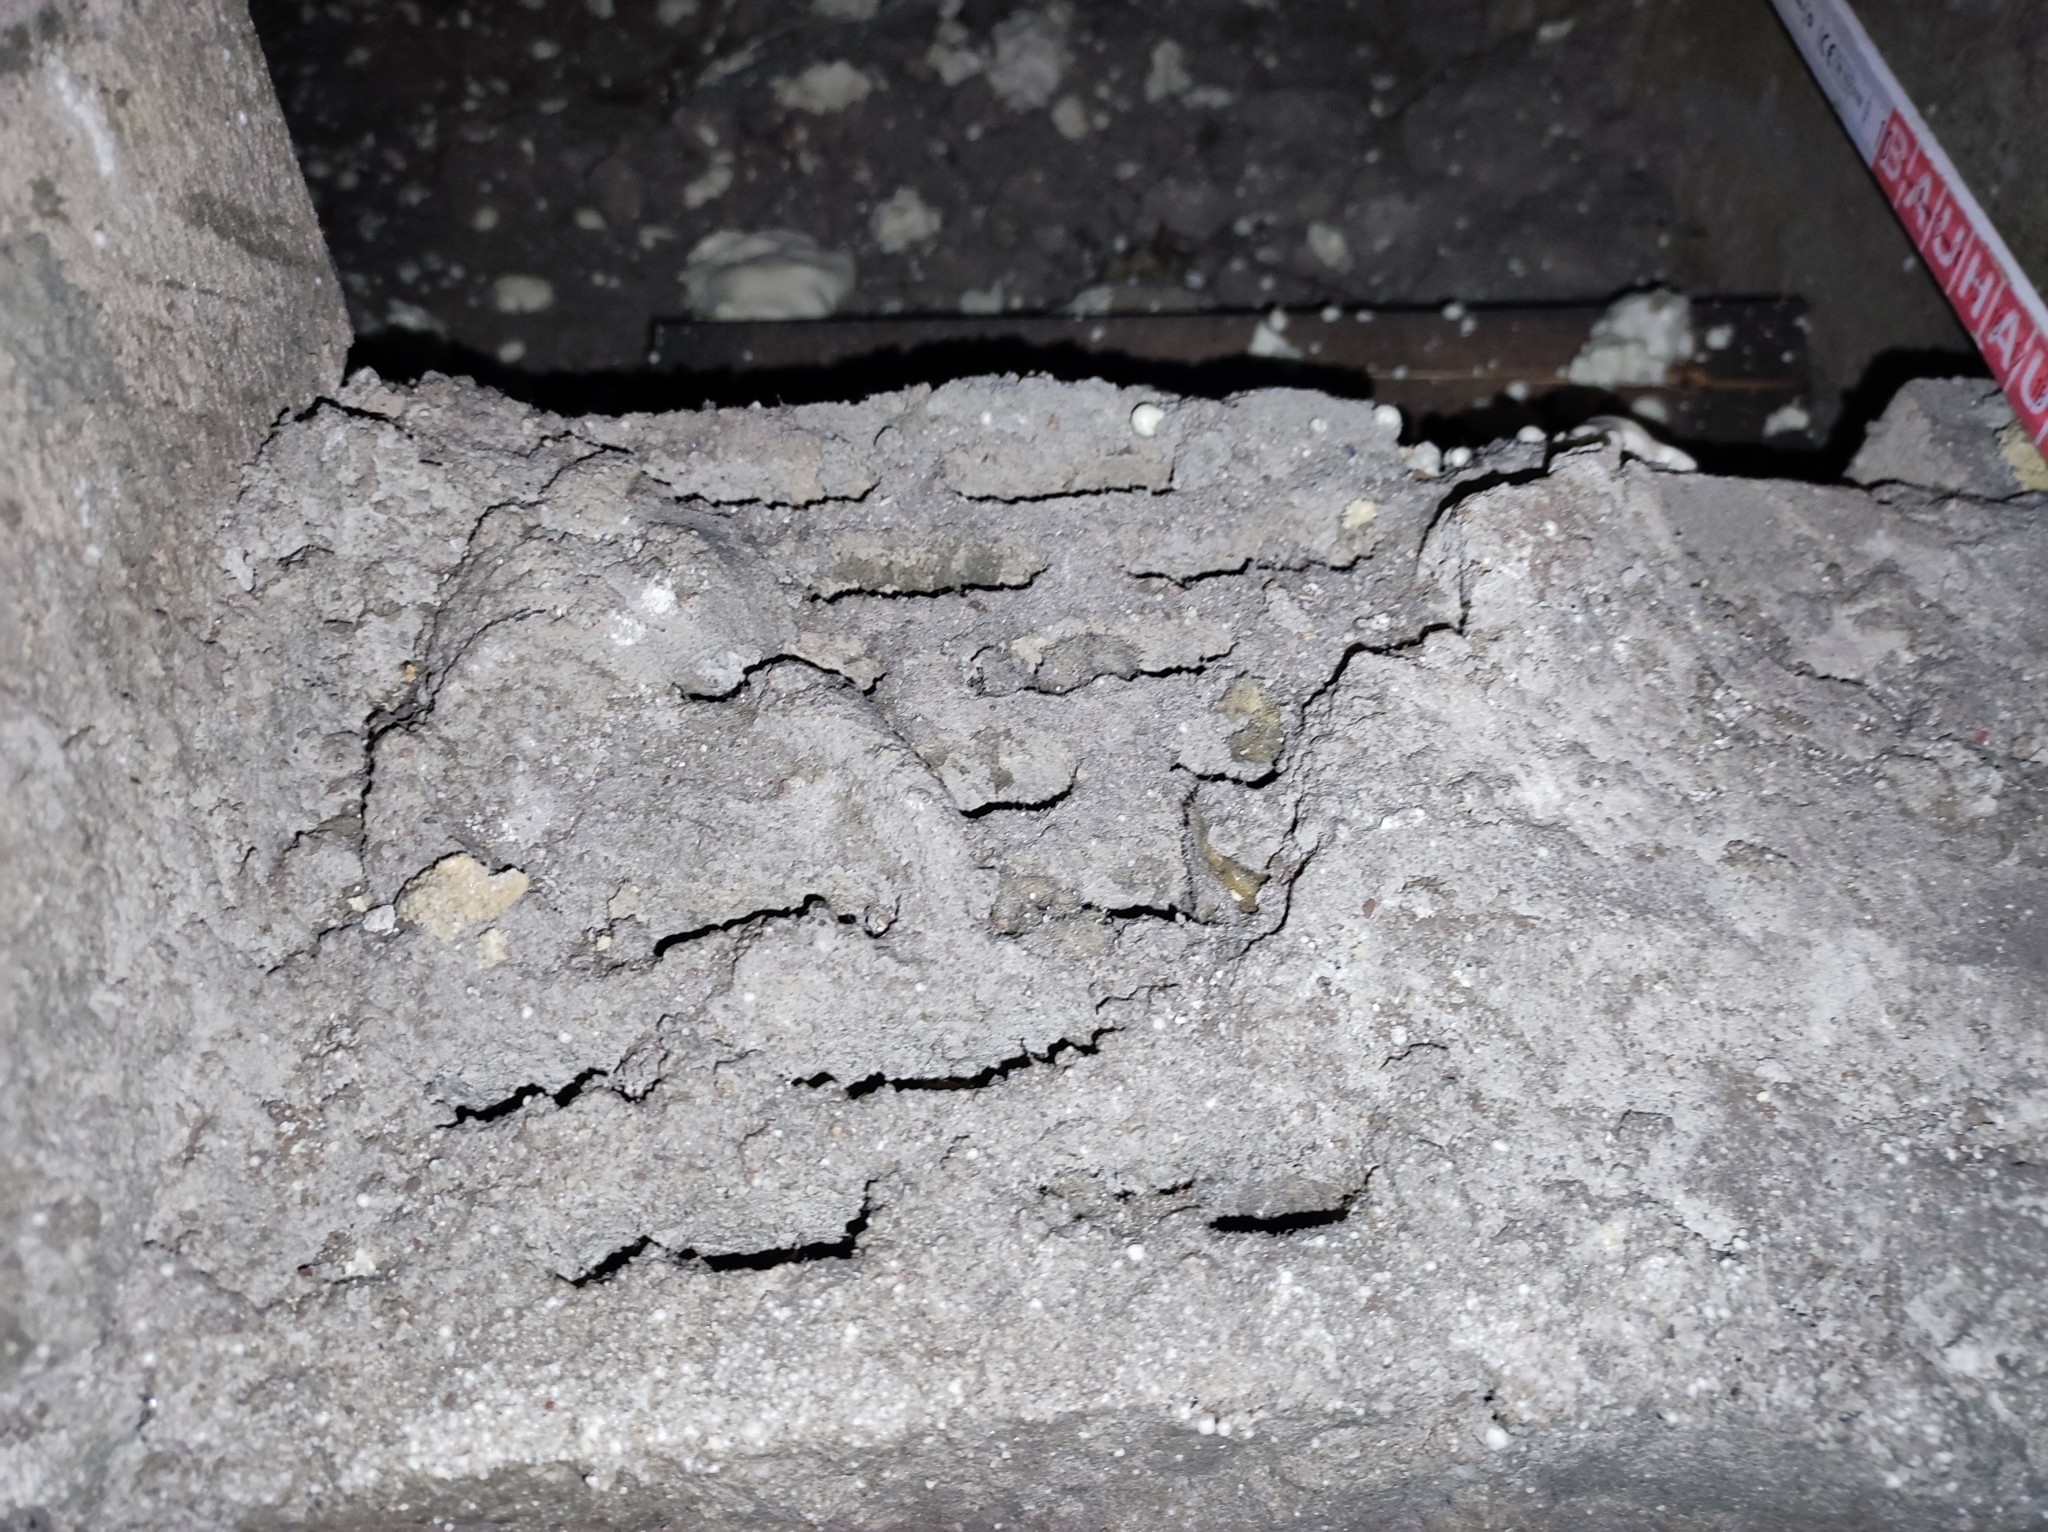
Then you should insert a sleeve because you don't have solid stone.
Now you're ready for the chemical anchor mass. You always "waste" the first pump because what's first dispensed isn't correctly mixed. You can see the color change when it's correctly mixed.
Fill from the bottom and 2/3 up, then push your cut threaded rod in with a rotating motion. A little mass should squeeze up for a correct installation. Let the mass that comes up harden before chiseling it off, otherwise, it just gets sticky.
When the rod is at the bottom, adjust it so it stands straight.
Then repeat this with all your rods.
When the mass has cured, chisel away the excess. Since you used the railing as a template, the hole placement is correct, but if any rod points crookedly, just use a tube and bend the rod until it's straight.
Shouldn't be any major problems, just be precise with marking or use the item to be mounted as a drilling template. Sometimes we've made drilling templates if we're drilling a lot of the same hole pattern. So if you can't use the railing, you can make a drilling template out of OSB or something similar.
Usually, when using chemical anchors, you drill 2 sizes larger than the rod up to M16. For M20 and larger, it's 4 sizes larger. But since you're using a sleeve, you need to check with the manufacturer about the hole size and which sleeve for your threaded rod.
I would most likely just use an embedment depth of about 100mm.
I have tested most different brands and variants of chemical anchors on the market and they are all quite similar in their behavior. But as a DIYer, it's probably easiest to buy something like eesve or fischer at the DIY store.
I would guess you have about 5 minutes to align and then it has cured in about 60 minutes.
The procedure is as follows, drill your holes preferably with the railing as a template so you know the holes are in the right place. Alternatively, measure very carefully, always have an increasing measurement chain i.e., from start to finish, do not measure cc between the holes as it can quickly go wrong.
Drill your holes as straight as you can, a long drill is easier to level by eye than a short one. Don't complicate it.
Then blow out the holes with a pump and brush the holes with a round brush.
Then you need to insert a sleeve since you don't have solid stones.
Now you're ready for the chemical anchor mass.
You always "waste" the first pump since the first thing that comes out is not correctly mixed. You can see how the color changes when it is correctly mixed.
Fill from the bottom and 2/3rds up, then press down your cut threaded rod with a rotating motion. Some mass should come up for correct installation. Let the mass that comes up cure before you remove it, otherwise, it just becomes sticky.
When the rod is at the bottom, correct it so it stands straight.
Then repeat this for all your rods.
When the mass has cured, remove what came up.
Since you have used the railing as a template, the hole pattern is correct but if any rod points sideways, simply use a pipe to bend the rod into position.
There shouldn't be any major problems, as long as you are careful with marking or use what is to be mounted as a drilling template.
Sometimes we have manufactured drilling templates if we need to drill a lot of the same hole pattern. So if you can't use the railing, you can make a drilling template from OSB or similar.
Usually, when you use chemical anchors, you drill 2 sizes larger than the rod up to m16 m20 and larger then it's 4 sizes larger. But since you need a sleeve, you need to check with the manufacturer for hole size and which sleeve for your threaded rod.
I would most likely just use an embedment depth of about 100mm.
Perfect, big thanks for that.
That's how I will proceed.
Unfortunately, it didn't work out to do it today, as I just discovered I didn't receive a drilling template that should be used for the side posts from the railing manufacturer.
Perfect, big thanks for that.
That's how I will do it.
Unfortunately, it didn't work out to do it today, as I discovered that I didn't receive any drilling template to be used for the side posts from the railing manufacturer.
I have used Biltema's chemical anchors several times. Cheap and works just as well as many more expensive brands.