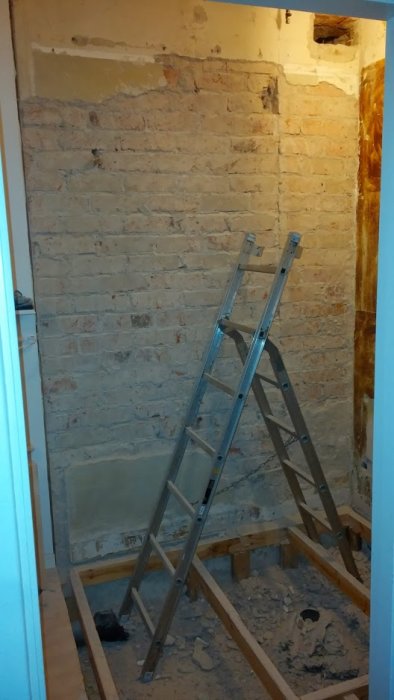
Currently building a bathroom on the lower floor right next to the chimney stack of my house from -48.
The interior walls have come down and I'm a bit unsure about the two remaining walls.
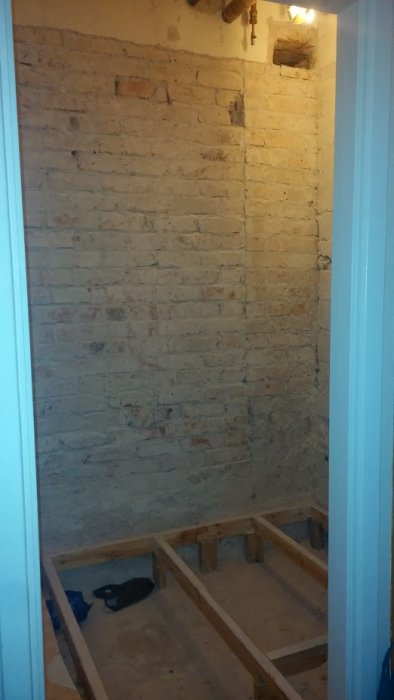
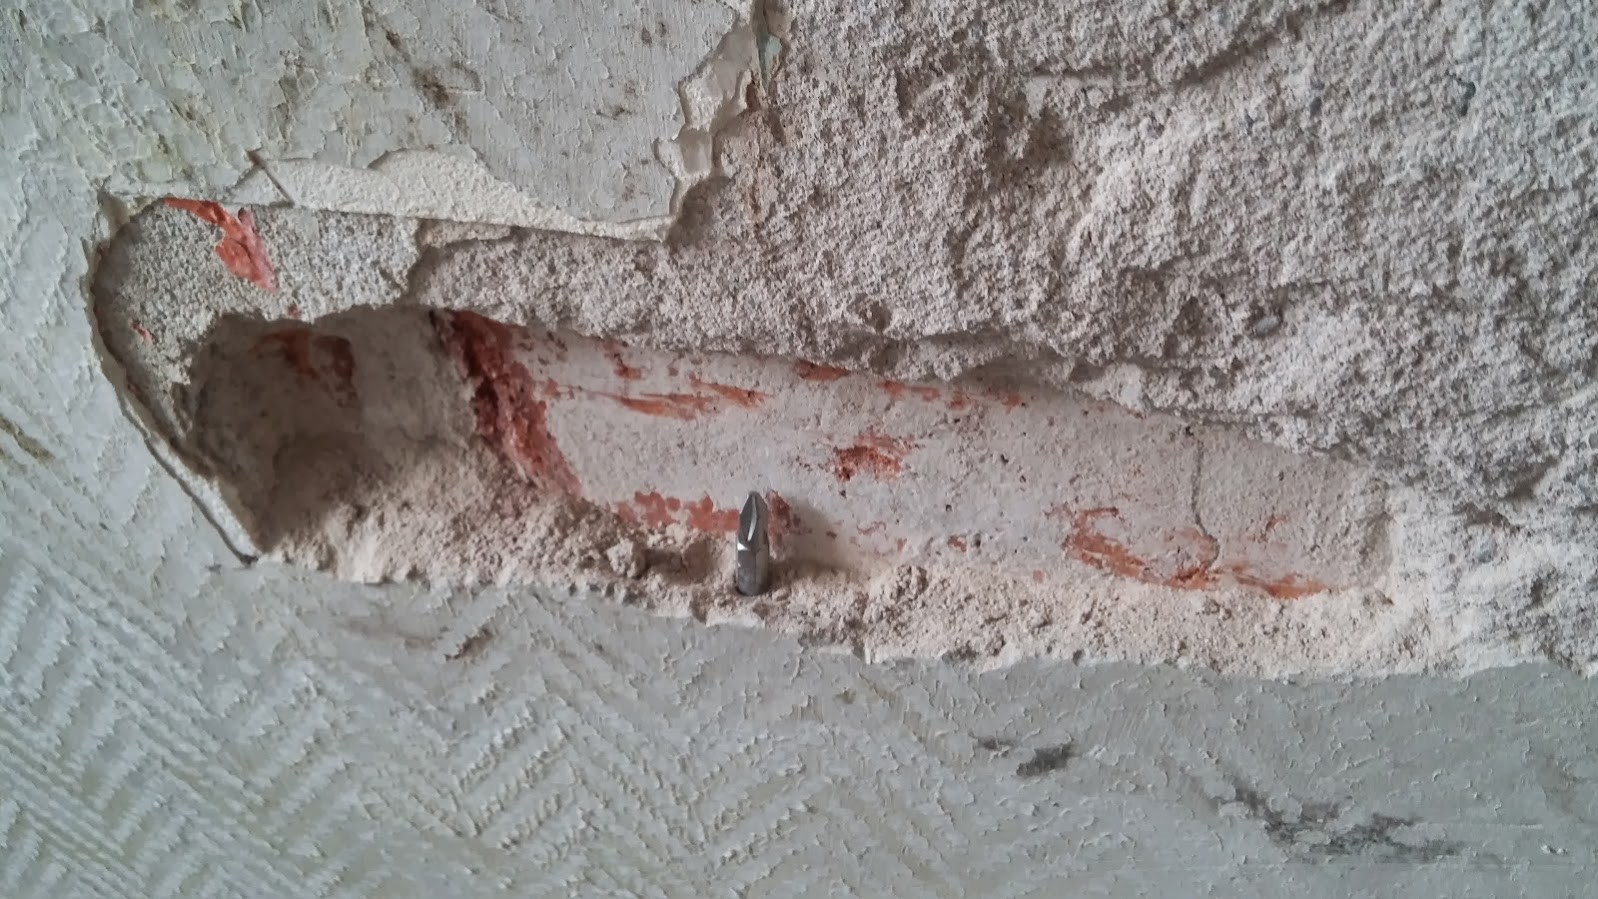
One of the walls is, as far as I can tell, a brick wall with lime plaster on top.
The plaster can be "scraped" off with a mason's hammer and often falls away like sand with occasional cohesive chunks that can be pried off without much force.
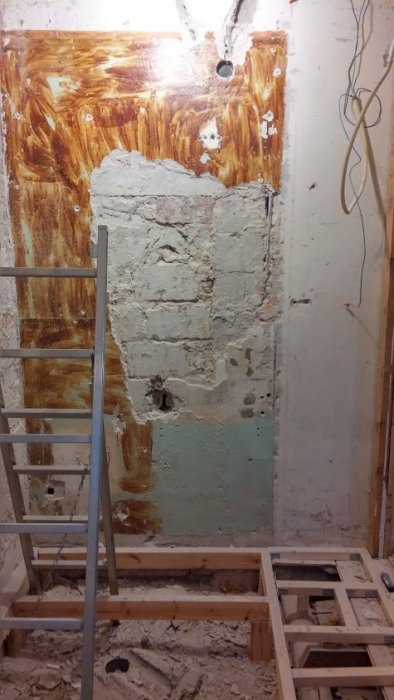
The other wall is a bit more peculiar.
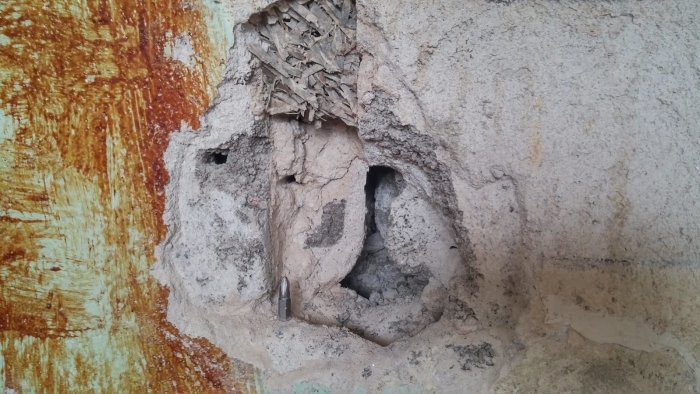
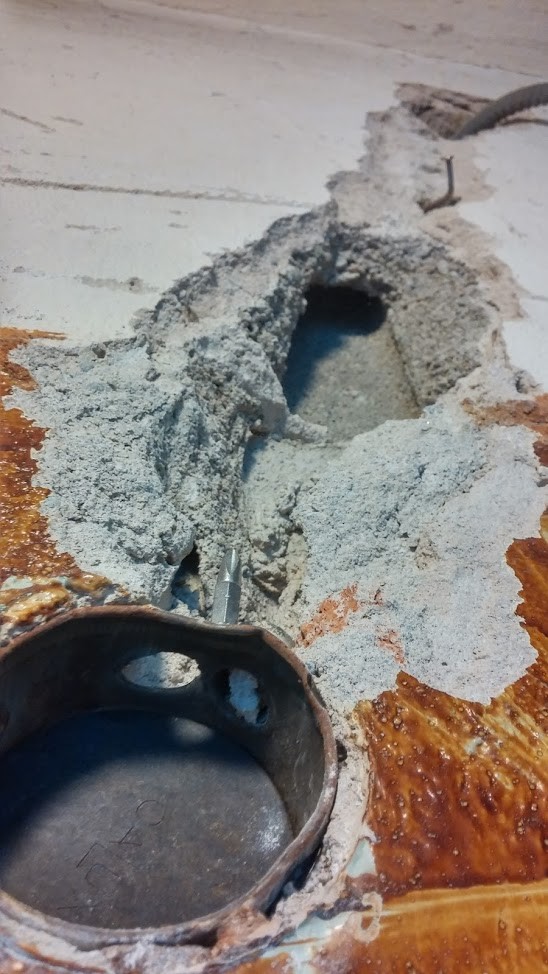
The pictures are partly from another type of plaster coating that I pulled off and partly from the old electrical conduit routing that I've removed.
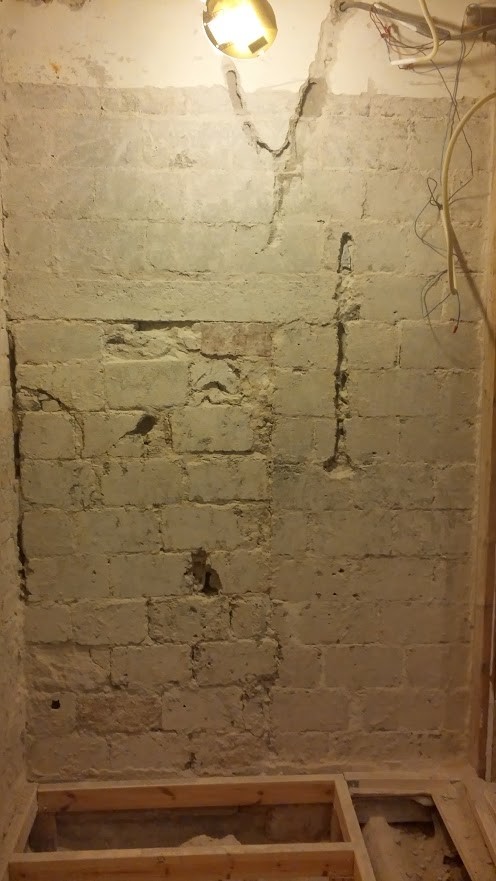
It seems to be some kind of lightweight concrete (blue-grey color, stones up to maybe 3mm, MUCH more stable than the plaster but still possible to scratch off some stones and small chunks) with cavities and air passages, and covered with the same type of lime plaster reinforced with reed.
Initially, I considered plastering the wall until I realized it was lime plaster, then considered framing inside the wall. But since every cm in the bathroom is important, I'm now leaning towards tearing down the lime plaster and plastering with KC plaster instead to avoid the framing.
Can anyone provide guidance on this?
It seems like it could create quite large holes to plaster over...
Clarification is that the reed covers certain cavities in the concrete rather than directly in the plaster, and the lime plaster is between 8mm-22mm from what I have seen so far.
An idea.. remove the plaster that you can fairly easily get rid of until you reach a solid base (brick or lightweight concrete). Then smooth out the worst irregularities. Finally, spot glue the wet room boards with adhesive. A blob of glue every 15 cm should probably suffice.
I assume it will be incredibly uneven when the plaster is removed, and there are quite high demands on vertical walls without bulges - can you really get the wet room boards vertical with just adhesive?
Feels like you have to stand there and plaster the walls...
After some googling, it seems to be lightweight concrete hollow blocks in the wall...
Yes, exactly, if you glue on boards, you don't have to plaster as much. On the other hand, if you are used to plastering and don't mind running around with plaster mortar (you'll need quite a lot), it's probably best to plaster, preferably with some form of reinforced plaster.
Yes, exactly, if you glue panels you won't have to plaster as much. On the other hand, if you're used to plastering and don't mind dealing with a lot of plaster (you'll need quite a bit), it's probably best to plaster, preferably with some form of reinforced plaster.
No, I've never plastered before; it seems quite heavy.
Just took a swing with the mason's hammer now. The brick wall was no problem to expose and it seems you can spot hollow bricks on the other?
Is there a better way than chiseling with a mason's hammer to remove plaster?
It goes quite fast with the brick hammer, great workout for the forearms too
Seems like the best thing is to smooth this out nicely enough to apply the waterproofing directly afterwards.
According to GVK/BBV, it is KC Rendering, but how smooth? B? B then C?
GVK said:
Rendered surfaces should have a surface smoothness equivalent to a board-finished smooth render. See rendering structure 12 according to section LBS in AMA Hus.
BBV said:
5.4 Lightweight Concrete
Floors and wall surfaces of lightweight concrete should be filled or rendered.
5.5 Rendering
Rendering mortar can be lime-cement mortar. Surface smoothness should correspond to structure 23 according to the photo appendix rendering structures in AMA Hus. Water and/or fine material that has been worked up in the surface layer during aftertreatment should be removed.
Alternatively, gypsum-based rendering mortars that meet the basic requirements in the current standard* for gypsum renders can be used. The gypsum render manufacturer's instructions regarding drying time, suitable surface texture for the waterproofing substrate, and lasting moisture stability should be followed.
The substrate's unevenness must not exceed the requirements according to table 43.CB/20 in AMA Hus.
Lime plaster is not a suitable substrate for waterproofing and ceramic cladding.
How should one think when constructing massive walls for bathrooms?
As I see it, there are three options:
1. Smooth it out well enough to apply a waterproof membrane directly
2. Glue moisture-resistant boards (doesn't it need to be smoothed in any case?)
3. Attach moisture-resistant boards with tile adhesive (needs to be plastered/spackled if the irregularities are more than about 2cm?)
How should one think?
This is how it looks at my place right now, but one would like to know how to proceed once the knocking is done..
Primarily, there are some large holes to plaster over.. will it involve stuffing KC Putsbruk B into the holes and smoothing out the entire walls at the same time?
Even though it requires a bit more work to plaster, I find it better than fiddling with plasterboard.
It's not difficult to plaster, you learn quickly and then get a great base for rolling on a few layers of waterproofing. (if it's interior walls/shower corner)
Okay, I have now jotted down everything and cleaned up most of it. What exactly needs to be done now? There is a dry layer of plaster dust over both walls; when I "scrape" it down as flat as possible, should I try to reach and scrape between the bricks and the hollow blocks?
What do I do next?
Should I go ahead and dampen it? How much? A few rounds with a spray bottle or rather a garden hose? Both on the brick and the lightweight concrete hollow blocks?
Prime? Is it either water or priming or both?
Anything else to consider? Plaster mortar B? C? Both?
I still think you should glue a våtrumsskiva there, so you can avoid the "plaster hassle," and then you'll know the surface is smooth and nice.
When it comes to plastering, Byggmax had quite a sensible description... "Plastering on a new or existing surface differs. If you are plastering an existing surface, you need to know which plaster was previously used, and which plaster works with it. It is very important that the plaster you use is not stronger/harder than the old one. In a dry and warm indoor climate, it is also necessary to pre-water the surface for better adhesion.
If you are plastering on a surface that absorbs, this should be primed, which you do by mixing plaster with water until it reaches a porridge-like consistency, then applying it over the surface in a 2-3 millimeter thick layer. When this layer starts to lighten, it's time to apply the plaster. To achieve as smooth a wall as possible, it can be helpful to nail up battens to plaster against; the slats should be 5-10 millimeters thick and placed vertically at about half-meter intervals.
Then apply plenty of plaster and use a straightedge to scrape from bottom to top along the slats with a sawing motion. In this way, the plaster layer will be completely smooth. When the wall is fully plastered, remove the slats, and fill the grooves with plaster. In dry and warm climates, watering twice a day for three to five days is recommended."
I looked at KC Putsbruk C but it says a maximum 5mm layer, and I'll need to plaster thicker than that. Especially since I haven't found "putsläkt" or strips that are thinner than 6mm; the thinnest is usually 8mm.
And what do you do about the gaps? Do you stuff in some foam board first, or what can you use to fill it?
You can apply more than 5 mm thick, it depends a bit on the size of the ballast in the mortar. The finest around 1 mm is used for surfaces that should be laid thin and ballast of 3-4 mm is used in mortar for thicker coats.
You repair the holes in the wall with mortar before plastering.
Since you possibly had pure lime mortar before, you should clean the wall first, by brushing and possibly washing.
Since your walls look old, you can probably expect them to be dry and need to be pre-watered thoroughly, maybe even for a couple of days before you start plastering the wall.
If you've never plastered a wall and you want it straight, smooth, and at an angle with other walls, I recommend letting a mason plaster the wall. You can do a lot of preparatory work yourself like watering, etc., but starting to practice on this wall might underestimate the craft itself.
I definitely think you should plaster the walls and avoid boards because it won't be better and it's not entirely simple to attach boards to that wall without thorough cleaning and leveling. The end result with plaster is a sure bet.
I'm thinking of doing very meticulous prep work with battens, laser pointer, and angles beforehand so that it becomes difficult to get it crooked. In any case, I have a bit of experience with mortar from building and coating a grill last summer..
The question is just exactly which mortar to use for rendering and filling in the holes.
The new suggestion now is to use gypsum mortar or something like Finja LagaVägg, which can be applied in thicker layers without reinforcement.
KC Putsbruk C 0-1 seems to be too fine with a maximum of 5mm, KC Putsbruk C 0-3 seems to favor 10-12mm layers which could possibly work, but I think it might be up to 20mm in places.
Laga Vägg can handle up to 100mm (!) without reinforcement.
Is there any disadvantage to Laga Vägg besides it appearing to be roughly twice as expensive?
Vi vill skicka notiser för ämnen du bevakar och händelser som berör dig.


")