
18,436 views ·
19 replies
18k views
19 replies
How do carpenters calculate which exterior panel width to use?
When I need to do something, I create 3D drawings and experiment to come up with a safe plan.
But how does an experienced carpenter handle replacing a worn pick-up-sticks panel that can't be copied? I guess he takes out his notebook and does a simple calculation.
The wall is 7100mm wide.
Say I want a narrow 45mm overlap panel.
If I choose 170 panel, then I need 41.77 pieces if they are placed edge-to-edge.
* 41 x 170 = 6970
* 7100 - 6970 / 39 (no overlaps on the wall edges) = 3.3mm
So I can go with 41 pieces of 170mm and set them with 3.3mm spacing, which should work despite the narrow 45mm overlap panel... Or am I completely off track?
Should I consider that they might expand when summer kicks in?
But how does an experienced carpenter handle replacing a worn pick-up-sticks panel that can't be copied? I guess he takes out his notebook and does a simple calculation.
The wall is 7100mm wide.
Say I want a narrow 45mm overlap panel.
If I choose 170 panel, then I need 41.77 pieces if they are placed edge-to-edge.
* 41 x 170 = 6970
* 7100 - 6970 / 39 (no overlaps on the wall edges) = 3.3mm
So I can go with 41 pieces of 170mm and set them with 3.3mm spacing, which should work despite the narrow 45mm overlap panel... Or am I completely off track?
Should I consider that they might expand when summer kicks in?


Should work with this. http://peo.yliniemi.se/fasad/
For an experienced carpenter, it's as simple as it looks. He just nails. No calculations are needed.
All that needs to be determined is the width of the panel and the cover panel. Also, whether there should be trim around doors and windows or not. Adjustments to make everything line up are solved as the work progresses.
Calculating what is required doesn't work. It's enough to measure wrong by a millimeter for there to be "disaster" towards the end. An old wall is also never straight, which creates different distances at the top and bottom. Additionally, you often have windows and doors to consider.
All that needs to be determined is the width of the panel and the cover panel. Also, whether there should be trim around doors and windows or not. Adjustments to make everything line up are solved as the work progresses.
Calculating what is required doesn't work. It's enough to measure wrong by a millimeter for there to be "disaster" towards the end. An old wall is also never straight, which creates different distances at the top and bottom. Additionally, you often have windows and doors to consider.
If there are slightly different distances here and there, it's not so tricky, it won't be noticeable anyway.
On my construction, I set the panel "correctly" at windows and doors. In between, I adjust using perspective and estimation by eye.
On my construction, I set the panel "correctly" at windows and doors. In between, I adjust using perspective and estimation by eye.

When you have a couple of meters left to a corner or a door, you can start calculating the distance you can and need to have for it to look nice against the ends and make adjustments then.
I believe you when you say an experienced carpenter solves it as they go along, but if I were to install almost an entire wall and start making necessary adjustments in the last meter, I have a feeling it would be a visible fiasco.
This wall is 7100mm long. I want narrow and elegant overliggare or whatever they're called. What panel width would be right to use then? I said 170, but what do you say?
View attachment 174581
This wall is 7100mm long. I want narrow and elegant overliggare or whatever they're called. What panel width would be right to use then? I said 170, but what do you say?
View attachment 174581
You can closely examine the existing from the distance you photographed, then walk around and measure the distance and report if there is a difference of a few cm here and there or if they are at 3.3mm.
Of course, you try to maintain your calculated distance, but make a new calculation before the goal and place all the bottoms first with the same distance at the end.
Of course, you try to maintain your calculated distance, but make a new calculation before the goal and place all the bottoms first with the same distance at the end.

If you want the new wall as vibrant and stylish as the old one, different widths on the panel boards are required, along with slightly crooked and uneven battens. In other words, throw away everything called tape measure, level, and plumb line, and use your eye for measurements and compare with Persson's barn.
The beauty of this is that it's quick and easy, and also more fun (in my opinion).
The beauty of this is that it's quick and easy, and also more fun (in my opinion).

It looks like the left part of the wall has been replaced, continue with the same width of the boards and it will be fine. When you have about a meter left, measure and consider whether you need to cut any board, or if you should divide it among several to make it look nice. Remember to plumb the boards and trim off any warping at the corners.Yrrol said:I believe you when you say that an experienced carpenter fixes things as they go, but if I were to install almost an entire wall and start making necessary adjustments in the last meter, I have a feeling it would end up visibly disastrous.
This wall is 7100mm long. I want narrow, elegant moldings or whatever they're called. What panel width would be appropriate to use then? I said 170, but what do you say?

A width of 170-195 mm fits well for the panel, then there will be a 45 mm lockläckt on top. And you don't need to measure, just go ahead. Start in the middle and move towards the sides as you don't seem to have any windows/doors. Then split at the corners where you will hide with the knutbrädan and then you get your "dead wall" because that's also done in new construction. Don't choose a narrower panel unless you want a striped wall, and if you go up to 220, I think they become more sensitive to dry cracks. Keep in mind that the lockläckt removes 40-45 mm on each panel board.
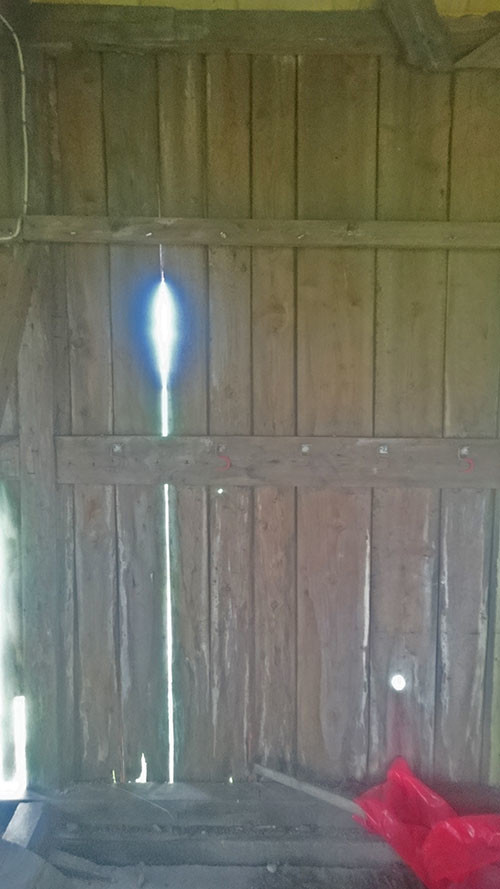
The horizontal beams are of varying timber, a bit like different planks fitted into the pillars. The thickness of the pillars varies but let's say 9cm from the pillar down to the panel.
Would you just remove the old panel, apply paper to the beams that are already there, or start creating new beams between the pillars to make it more serious for when laying insulation and interior wall boards?
Concerning creating an air gap between the future wind barrier and the new panel. Has there been any mention of a minimum, or can I go with ~10-15mm? Afraid that it will be a complicated reconstruction of the building if I build out too far and need to get everything to match the roof and other walls, etc.

I don't know, haven't thought that far, thoughts on it:
Slam paint:
+ price.
- easily rubs off
- short time until you have to repaint again.
The villa a few meters away is painted with Alcro Bestå, so maybe I'll use that on the cabin too to make them match each other.
Slam paint:
+ price.
- easily rubs off
- short time until you have to repaint again.
The villa a few meters away is painted with Alcro Bestå, so maybe I'll use that on the cabin too to make them match each other.