12,474 views ·
17 replies
12k views
17 replies
Coving sloped ceiling
Hello,
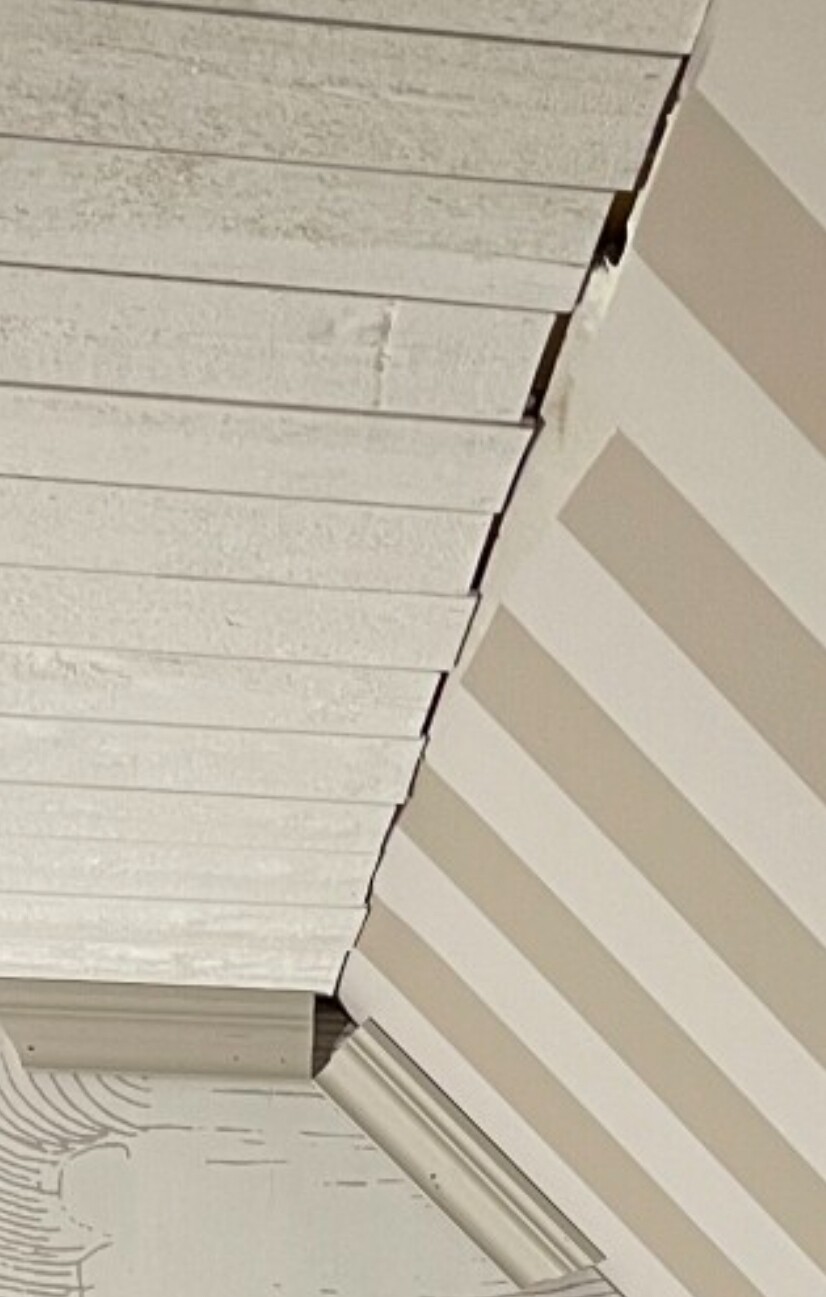
Yet another cunning thread about coving and slanted ceilings. I have searched the forum and the rest of the web without understanding how to handle the meeting of the coving from the ceiling to the slanted ceiling. I have twisted and turned in all directions and angles, even first with filler pieces but can't get it right. Is it possible?
Regards,
HP
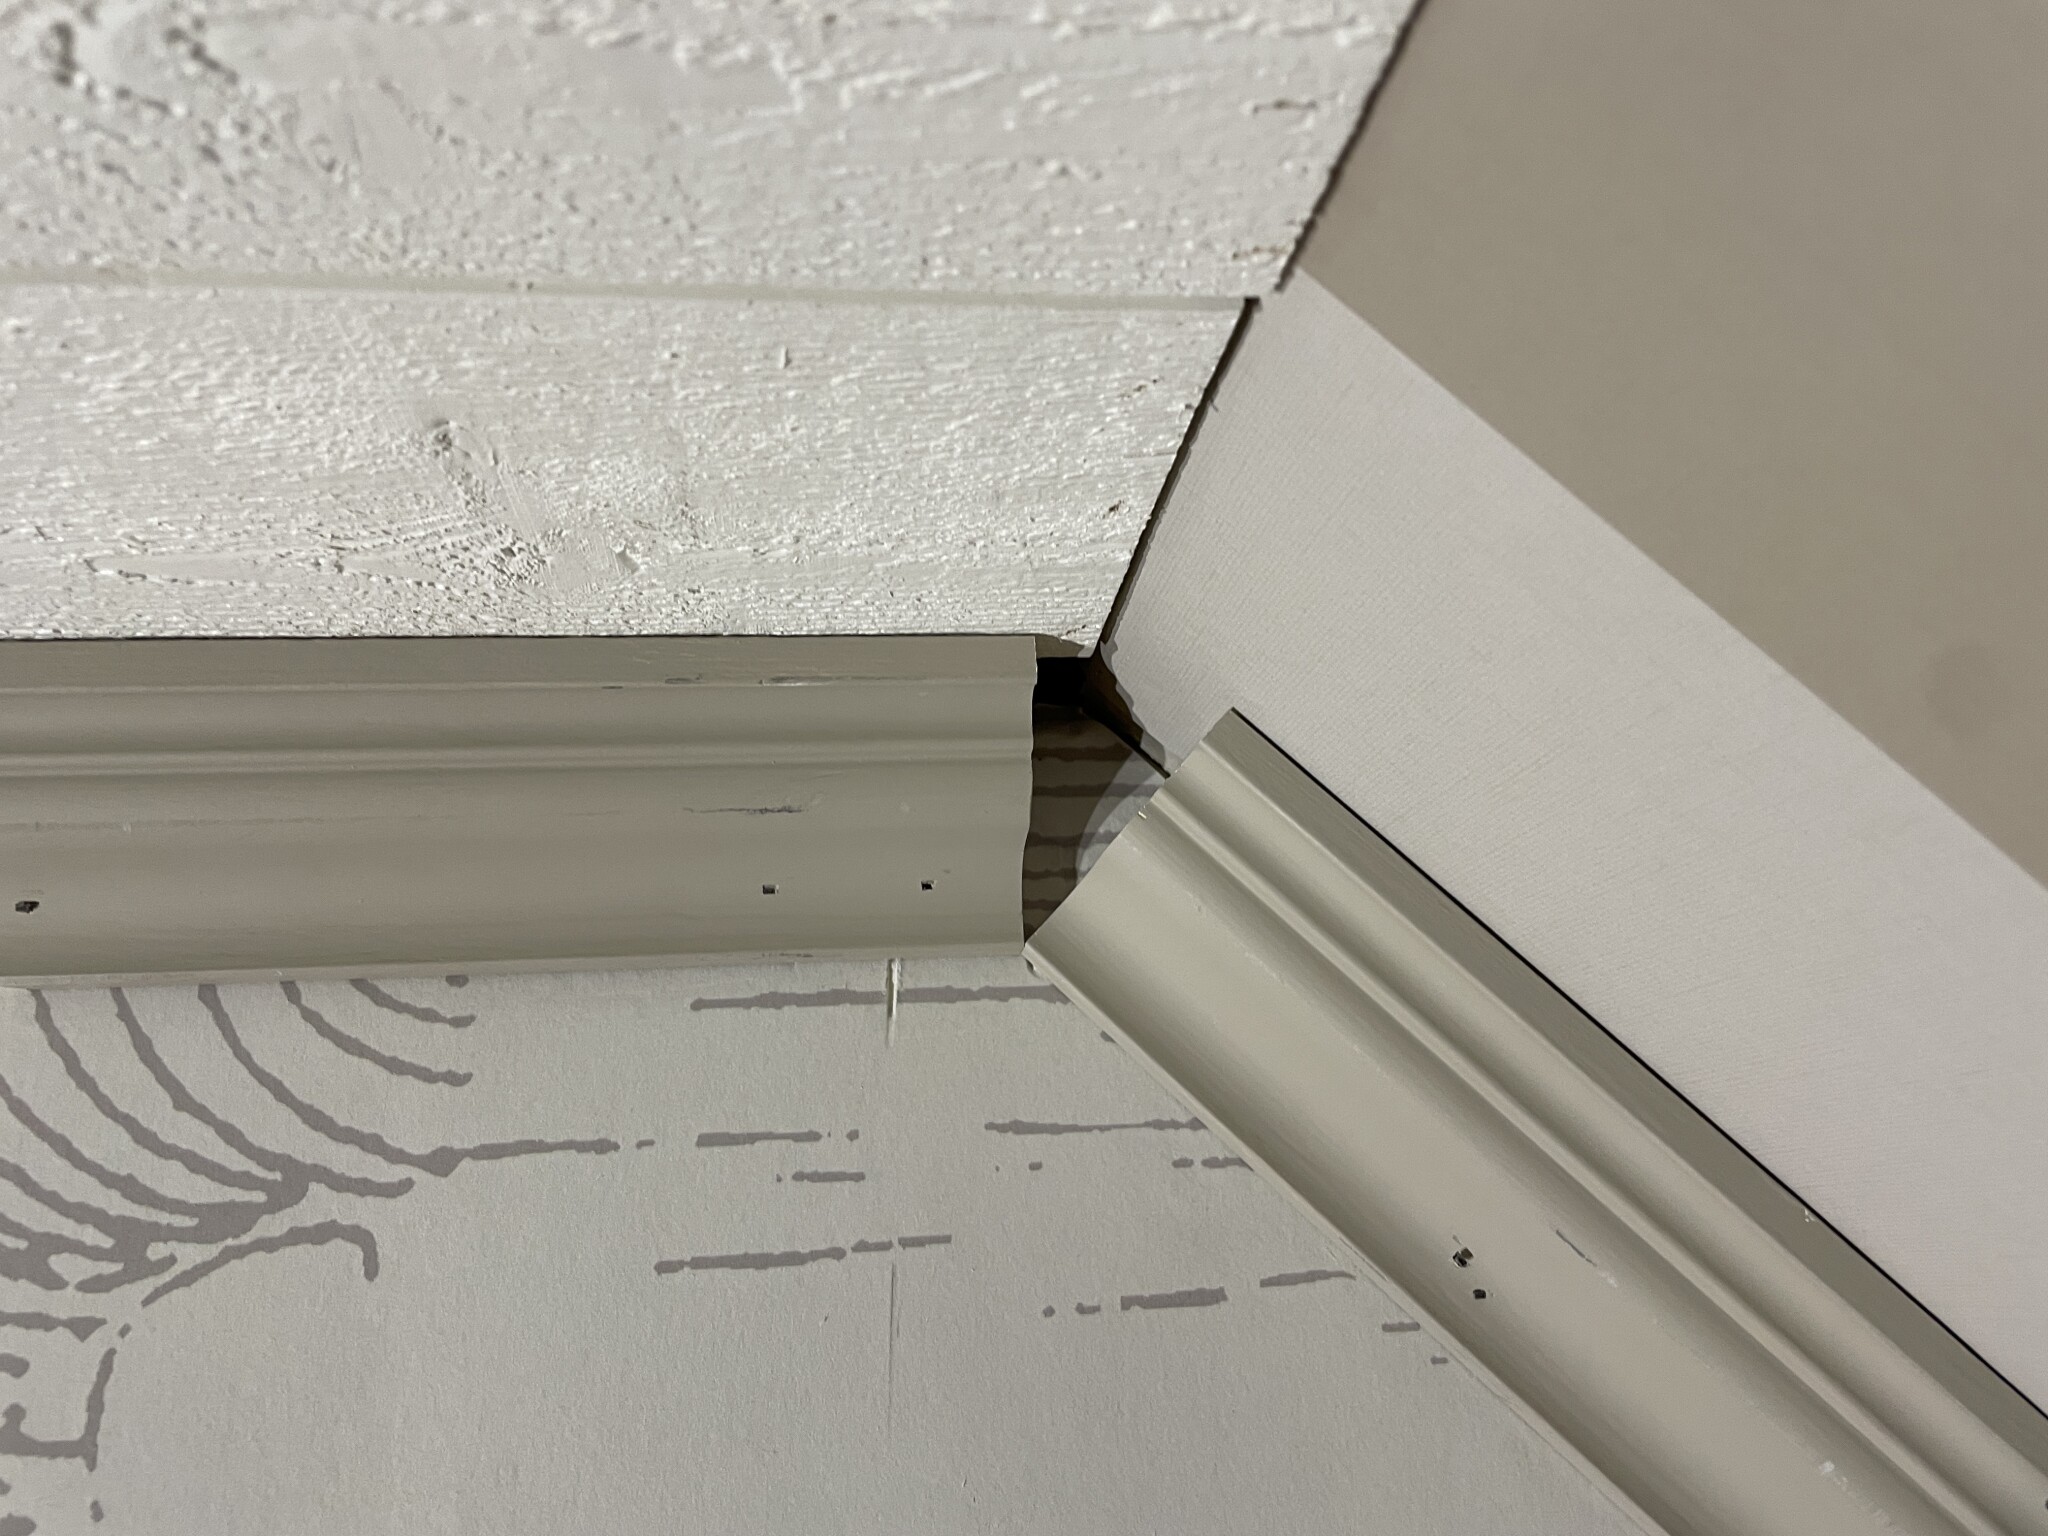


The left piece looks decent, and the right one should have a bit more angle so the top moves in to the right. If you have an adjustable angle square, take the angle with it and halve it. Then it's important from which direction you saw. Turn the pieces around and have the cove toward the inner angle of the saw. Also, ensure they are flat against the underside and backside of the saw table, the base should rest the same as it will in place. Tricky, I've made mistakes many times myself.
Exactly, the tricky part is how they should be positioned in the saw and on which side of the blade you want to cut. It's understandable, but I started by making test pieces that would fit together at any angle. Then you know how they should be placed in the saw, and from there you can start making test pieces.

As @sinuslinus mentioned.
Starting from your very first picture:
1. Measure the angle between the roof and the sloped ceiling. Let's assume it's 135°.
2. Set the miter saw to (180-135)/2 = 22.5° to the right, like 1 o'clock (actually a quarter past).
3. Take the left molding in your first picture and place it so that the part against the completely horizontal wall rests on the base plate of the miter saw.
4. Cut off the right part of the molding.
5. Turn the miter saw to 22.5° in the other direction, like a quarter to eleven.
6. Place the right molding in the same way, with the part that will be against the horizontal wall downwards in the saw.
7. Cut off the left part of the molding.
As for making a whole molding that is cut on both ends, that's just forgettable. It will have to be two moldings spliced together.
Edit: In post #4, you placed the left molding the wrong way in the saw.
Last edited:

Can you show how you placed the molding in the saw?H HPLIND said:Hello,
Yet another clever thread about cove molding and sloped ceilings. I have searched the forum and the internet without understanding how to handle the meeting with cove molding from ceiling to sloped ceiling. I have twisted and turned in all directions and angles, even tried with test pieces but can't get it right. Is it possible?
Best regards,
HP
And which direction you angled the saw.
Place the molding between the ceiling and the slanted ceiling first. And....... use a simple molding without frills. When you then need to place the molding between the ceiling and the wall, it will be much easier to connect to the previously mounted molding.
Good luck
/W
Good luck
/W