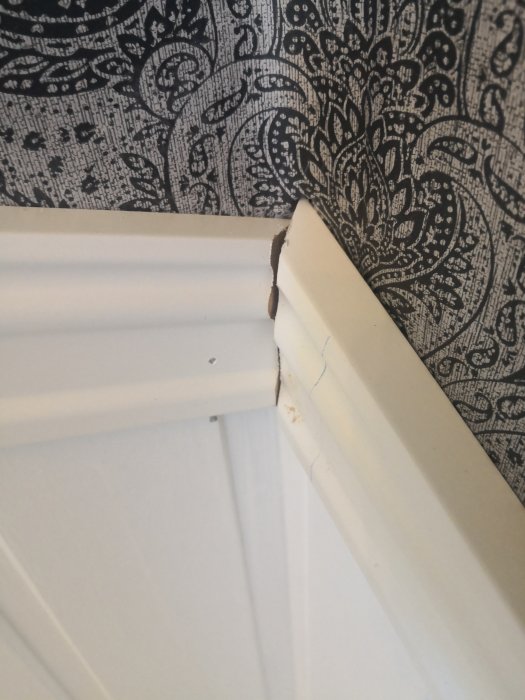
How do you cut crown molding in stair corners so it fits correctly? I've tried in several ways, but it doesn't work out. I'm adding a picture. I can handle both the floor and cove molding, but this has truly defeated me, it feels like.
Difficult molding in two angles. I have no "correct" solution. But I have seen that some divide the angle so that you make a regular 45/45 angle in the corner, as if it should not also be angled downward. This in the form of a wedge where the bottom is 0. The other side of the wedge you divide into an angle with the connecting molding from below, so about 22.5.
Another solution is to add a corner block. Maybe not the most desirable solution, but it can actually look really nice if you find or make one in the right style.
One option is to work with two small gauge blocks. These are meant to act as templates so you can find the right angle. The gauge blocks are worked on with a rasp until you are satisfied. Then you try to adjust the saw according to these. There are several steps, (test sawing until the saw is correctly adjusted), before the right molding is put in the saw, then it will be no surprise that it will fit.
I have tested the issue in a 3D program. I also believe that a corner block will be the most aesthetically pleasing solution. The top side of the corner block should be horizontal.
Miter saw and use a scrap piece that you cut until it fits right (keep the saw close at hand) and then take your long piece when the saw is set. Make sure the first piece is really in the right position, right in the corner, a millimeter off and it's impossible to succeed neatly.
The problem is that the miter edges are not the same length, so it's completely impossible to get them to fit together properly.
I agree, but if you do as I wrote earlier, you will realize that you have to finish the top of the lower one with a rasp/file; there you can apply a bit of paint on the superficial small miter edge, right in the corner.
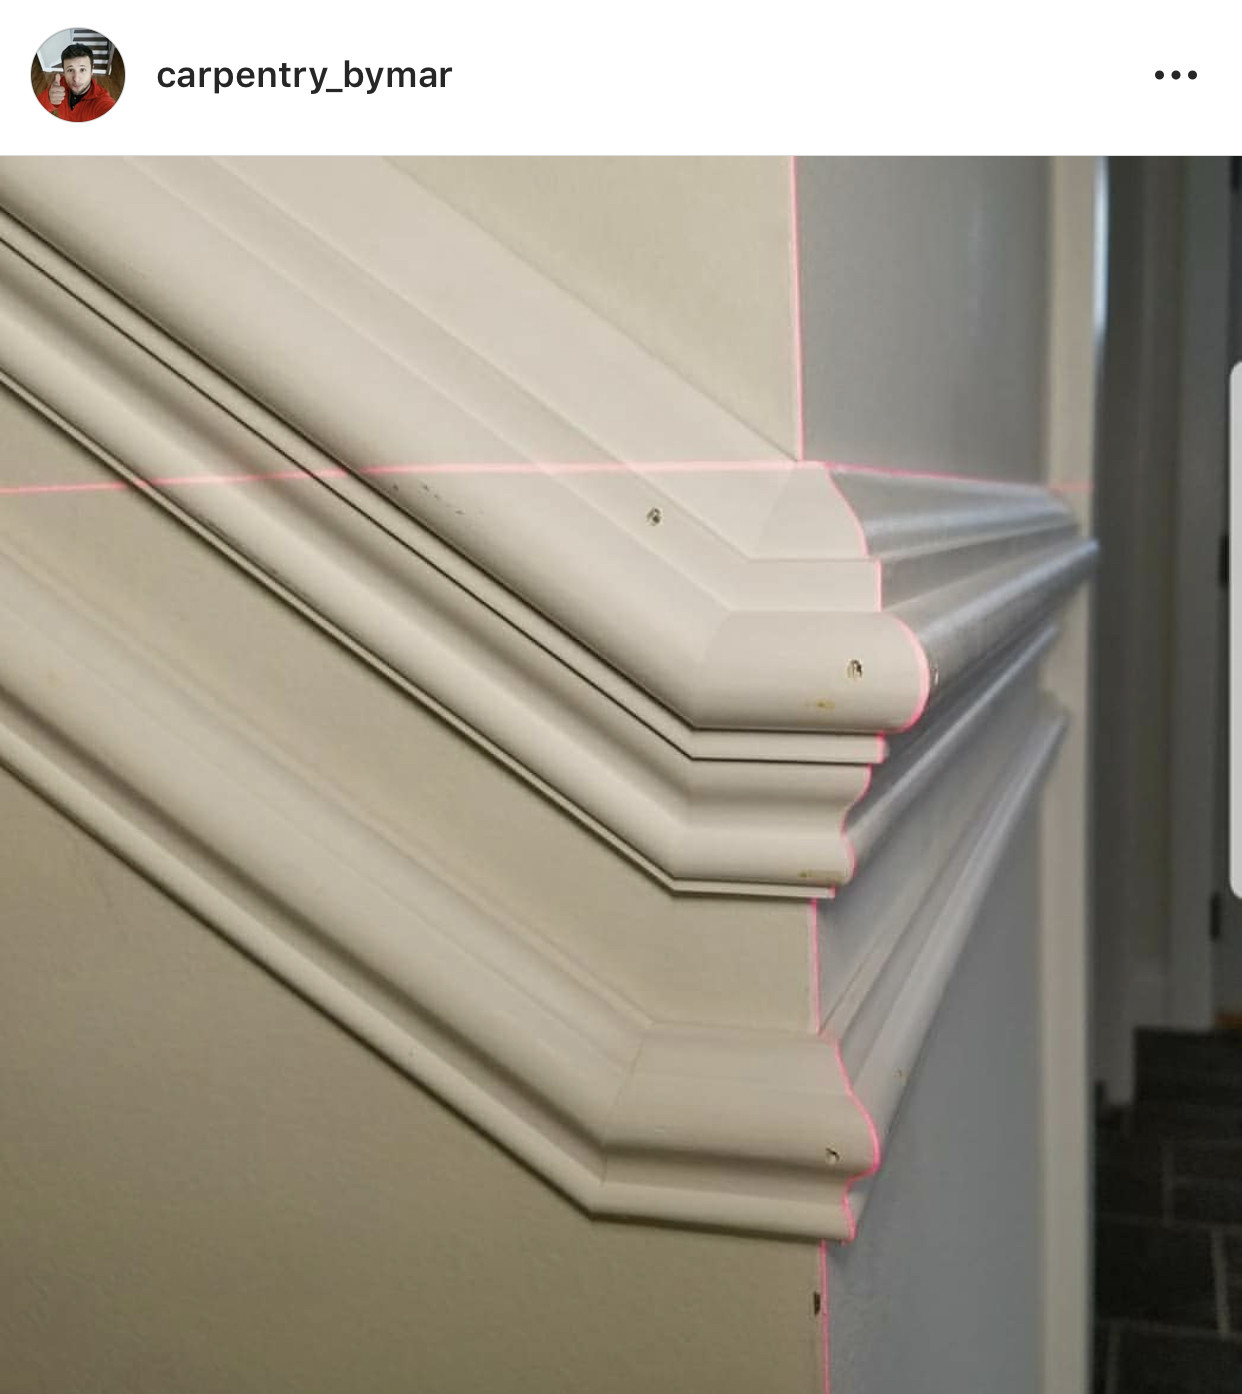
You need a middle piece. It's not possible otherwise. Corner block is ugly, cheating, and completely unacceptable. Post #8 gives a hint of how it should look.
You need an intermediate piece. It doesn't work otherwise. Corner block is ugly, cheating, and completely unacceptable. Post #8 gives a hint about what it should look like.
Do you have a good suggestion on how to make a good intermediate piece?


useless said:
