I am about to contact a fireplace store and an independent masonry firm to explore the possibilities of modifying our open fireplace. Below are our thoughts and considerations. (Aware that some suggestions might be totally crazy, but since I know nothing about fireplace/chimney construction, I am sketching without limitations.)
I would appreciate input from you on the forum to capture other ideas, experiences of similar projects, and any control questions I should ask the firms.
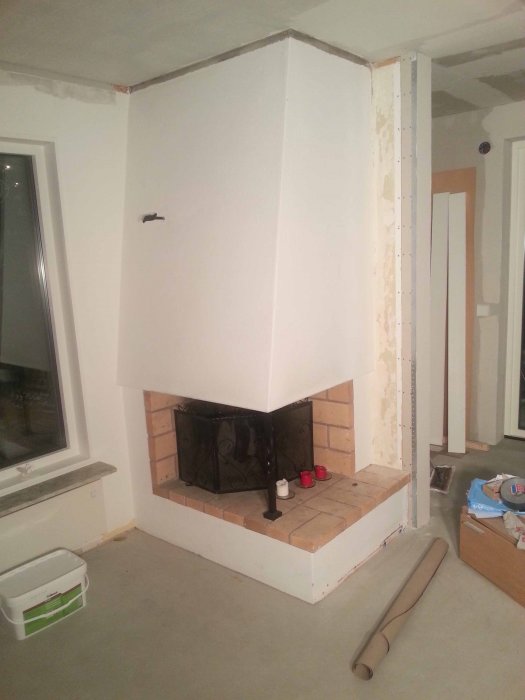
We have an open fireplace with a masonry chimney
that looks like this:
Even though we like the shape of the fireplace, we dislike that the firebox is placed so low. We have long considered installing an insert, but hesitated since the fire would become even more 'invisible' than it already is.
We have pondered whether it is somehow possible to modify the fireplace so that an insert/stove can be installed in a way that brings the fire higher up and thus makes it more visible. It must be done in a safe manner to prevent the chimney from collapsing into our living room.
If you have experience with similar modifications, we would appreciate a home visit so we can discuss various potential solutions together. We assume you have insurance that covers any accidents/collapses.
If no solutions can be found, we might consider demolishing the chimney and hood and just keeping the foundation and install a stove with a premodular chimney or similar.
A little background:
We live in a 1.5-story house from the '70s.
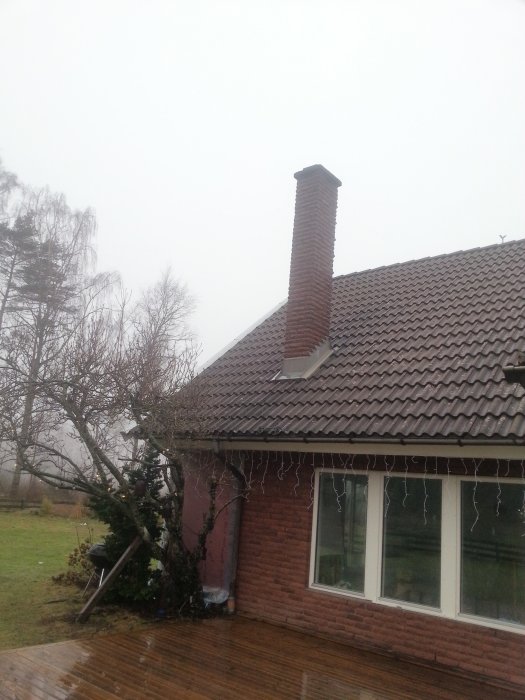
The chimney is masonry and reaches up to the ridge.
Most of the chimney is above the roof.
The chimney was pressure tested about 2 years ago.
We think we want:
A black cast iron insert/stove
Fresh air intake
Possibly heat storage function
Possibly a fan
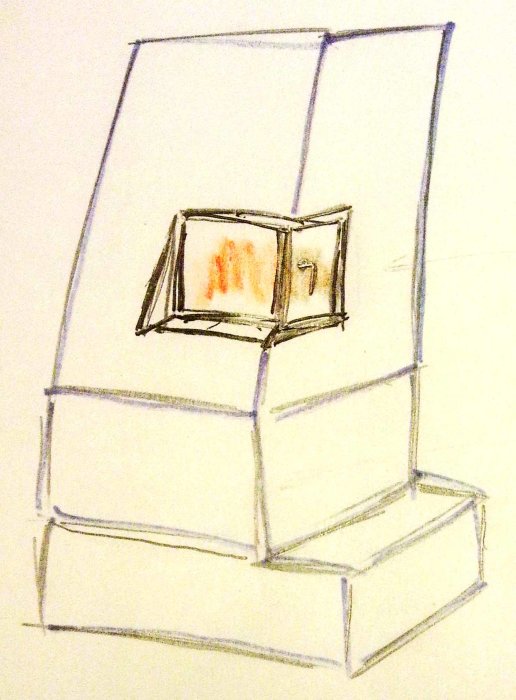
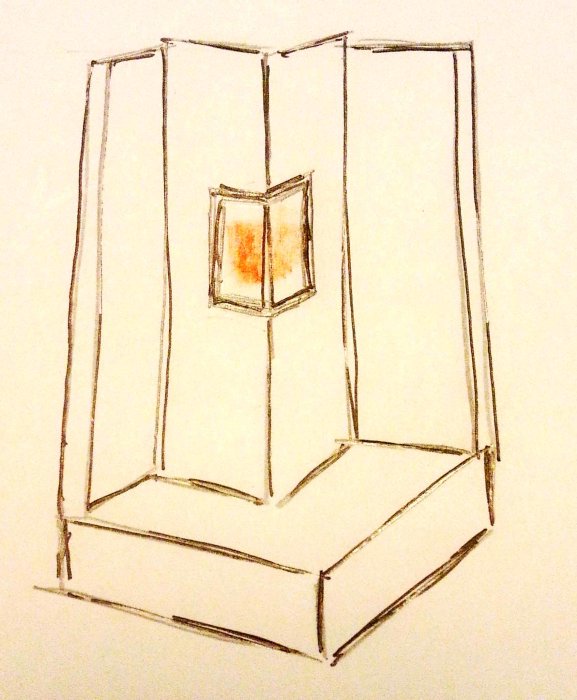
I have sketched a few different ideas (just conceptual, not to scale).
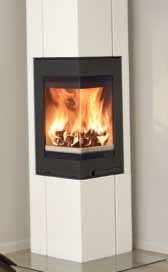
Alternative 1 – keep fireplace hood/Nordpeis N36
Thoughts: somewhat uncertain about the final result aesthetically. It feels like the angled fireplace hood complicates things.
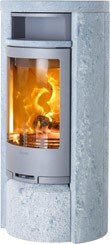
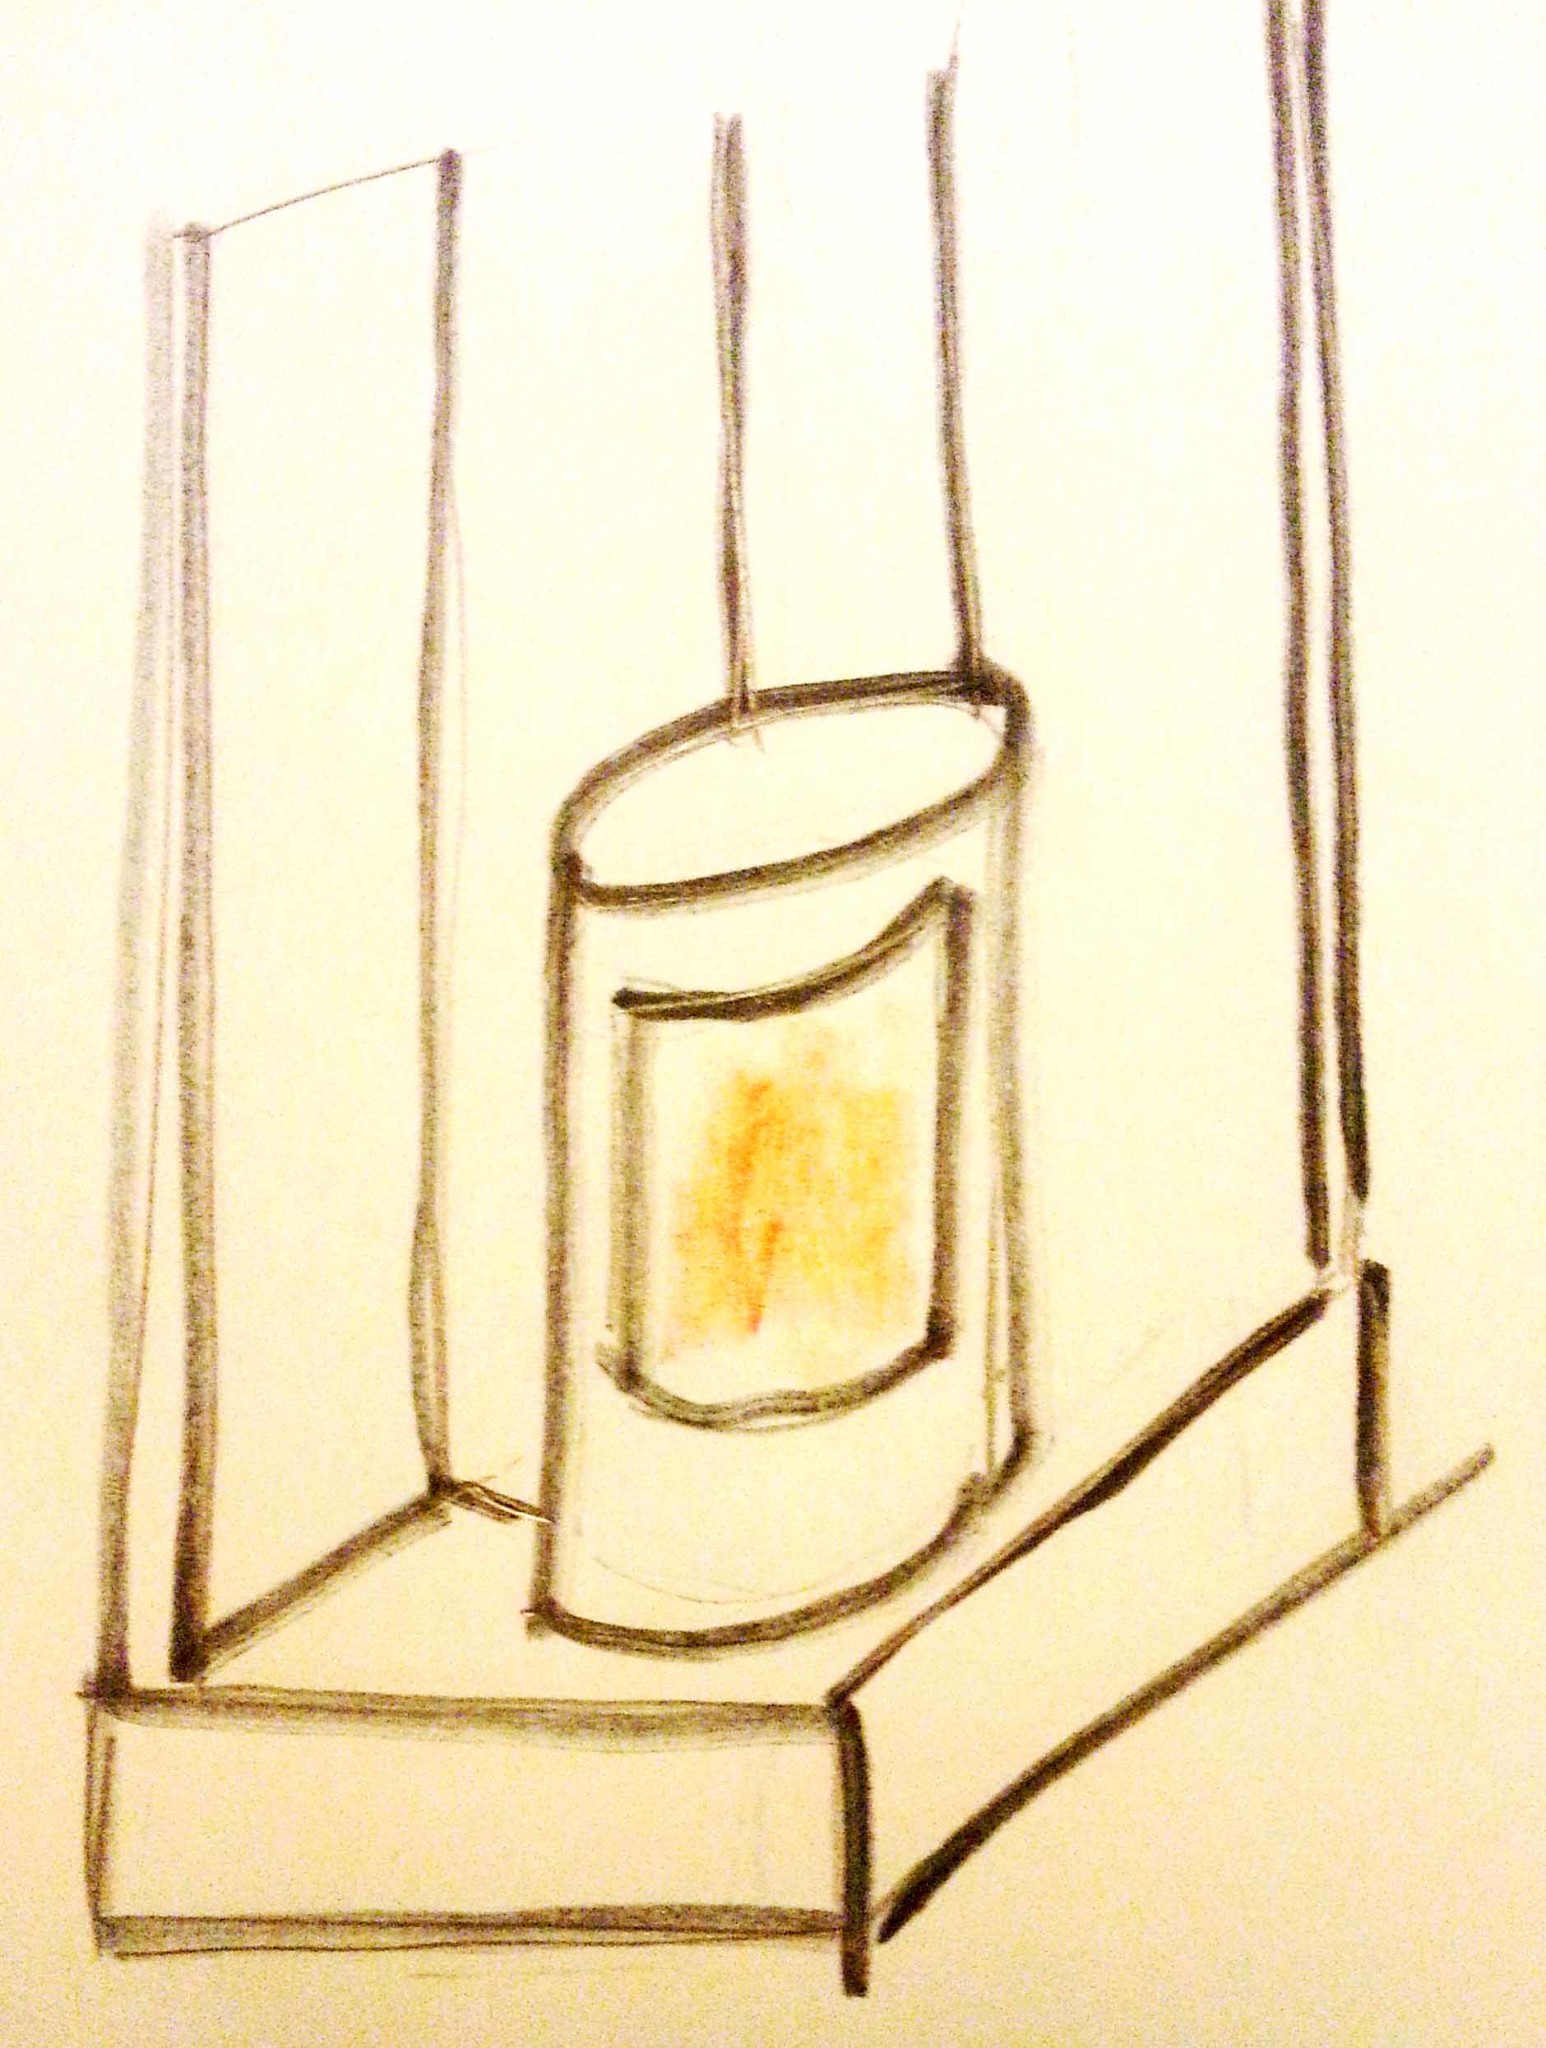
Alternative 2 – demolition of hood/lowering of chimney/Nordpeis Havanna
Thoughts: the solution that feels 'best' and most elegant.
Alternative 3 – demolition of hood/lowering of chimney/
I think the first example is the nicest and perhaps the least work. Just replace the fireplace bricks with something that matches the stove more. However, how effective it will be, I do not know. That chimney probably doesn't store heat very well. The risk, if you have a well-insulated house, is that the stove emits a lot of heat that you have to ventilate away. I would probably have a new fireplace built that stores the heat better. More expensive but nicer warmth.
quick update.
The home visit from the fireplace store resulted in a statement like: 'everything is possible'..
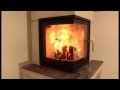
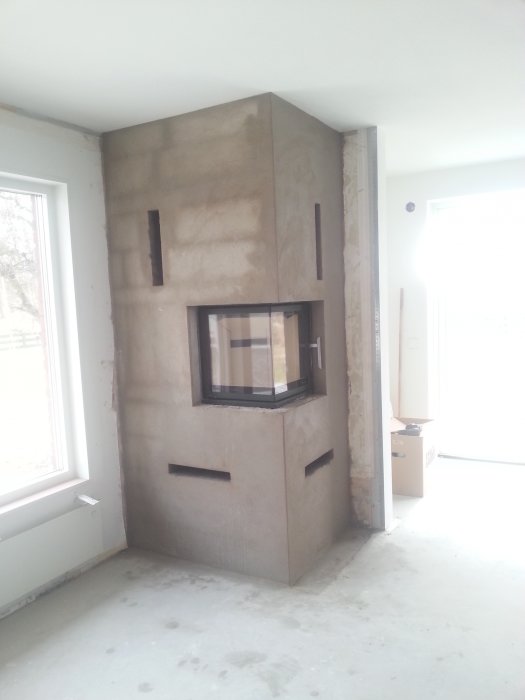
After some reflection and consideration, we decided not to go for one of those simplest-cheapest solutions (which you often regret), it eventually led to this:
Added by installing pipes and insulation in the chimney as well as a chimney cap.
Chose not to install a fresh air connection. Instead asked for an 80mm opening through the wall on the back of the stove.
Inspired by the article https://www.byggahus.se/varme/flytta-varme-huset, I'm thinking about experimenting with air control/ventilation. Both with indoor and fresh air, with and without a fan.
The mason gave the go-ahead to start a fire already today, the day after the last plastering, but I choose to wait a few days/a week so everything has time to cure reasonably well.
Then light a fire about 5 times before painting - so that the painting can fill any hairline shrinkage cracks.
He also mentioned that it might smell bad the first few times.
When asked about which paint to use, he thought any good wall/ceiling paint would do. Now, one should listen to the professionals, but I will probably double-check that beforehand.
We painted with Beckers ceiling paint and think it turned out well. However, we need to paint again - smoked a bit too much before we learned.
Demolition, masonry, and stove installation cost around 45 after ROT. We only covered the removal of the demolition debris.
I must say that the people who were here worked really well - got a lot for the billed hours.
I think it heats up well - but feel that the distribution could be better. It takes over an hour before it reaches retirement temperature. We do have an open floor plan of about 90 sqm on the ground floor, plus the first heat naturally rises to the upper floor. There's a hole on the back where I installed a computer fan to help out.
We had planned to use an air supply channel, but the company thought it was better to go without.
Nicely done. I'm curious about how you calculated the weight and which stone was used for the masonry? Is it the same stone around the cassette all the way up to the ceiling? I have an idea about using bricks as long as the floor supports it, and then complementing with leca or lightweight concrete for filling upwards. How did the conversation with the mason and chimney sweeper go regarding fire protection and so on?
Of the old stove, only the sides facing the room were torn down, so the sides facing the walls are burnt hollow bricks. For the sides that were built up, ordinary lecablocks were used, I recall he used standard mortar.
When it came to fire protection, the focus was mostly on maintaining correct distances to combustible material and following guidelines for the placement and size of ventilation openings.
1000% sure that no precise stability or weight calculation was ever performed. My guess is that he estimated the new solution didn't weigh significantly more than the old one.
A year later, we tore down the masonry chimney (another long story), which was replaced with a metal one. I can safely say I was a bit nervous when it was being chipped out - but knock on wood, it held, and so far, there's not a single crack or the like in the stone around the cassette.
Only the sides of the old stove that faced the room were torn down, so the sides facing the walls are burned hollow bricks. Regular lecablock were used for the rebuilt sides; I recall it was standard mortar he used.
When it came to fire safety, the focus was mainly on maintaining proper distances from combustible materials and following guidelines regarding the placement and size of ventilation openings.
1000% sure that no thorough structural or weight calculation was ever performed. My guess is he estimated that the new solution didn't weigh significantly more than the old one.
A few years later, we tore down the brick chimney (another long story) and replaced it with a metal one. I can calmly say I was a bit nervous when it was being knocked down - but knock on wood, it held, and so far there's not a single crack or similar in the stone around the stove insert.
Nnameloser said:
Hello everyone,
a short update.
The home visit from the fireplace store resulted in a verdict like: 'everything is possible'..
After some reflecting and pondering, we decided not to go with one of those simplest-cheapest solutions (which are often regretted), and ended up with this:
[image]
Complemented with the installation of pipes and insulation in the chimney as well as a chimney cap.
We chose not to install a fresh air connection. Instead, we requested a 80mm opening through the wall at the back of the stove.
Inspired by the article [link] I thought I'd experiment with air control/ventilation. Both with indoor and fresh air, with and without a fan.
The mason gave the green light to start a fire already today, the day after the final plastering, but I choose to wait a few days/a week so everything can cure somewhat.
Then fire about 5 times before painting - so that the paint can fill any fine shrinkage cracks.
He also informed that it might smell bad the first few times.
When asked about which paint to use, he suggested that any good wall/ceiling paint would do. Now one should certainly listen to professionals, but I will probably double-check that before proceeding.
Will return with an update.
Hello Nameloser,
It turned out great! We are facing a similar question as we are considering rebuilding our open fireplace at our summer house outside Falkenberg and we are now looking for masons and have also contacted the Elda store. I wonder which mason you used? I get the impression that you are satisfied with the work and if I interpret it correctly, you live in Halland. Thanks in advance!
Click here to reply
Vi vill skicka notiser för ämnen du bevakar och händelser som berör dig.