Hello ")
Preface: I am not in the habit of building or renovating often with wood, but it happens when necessary.
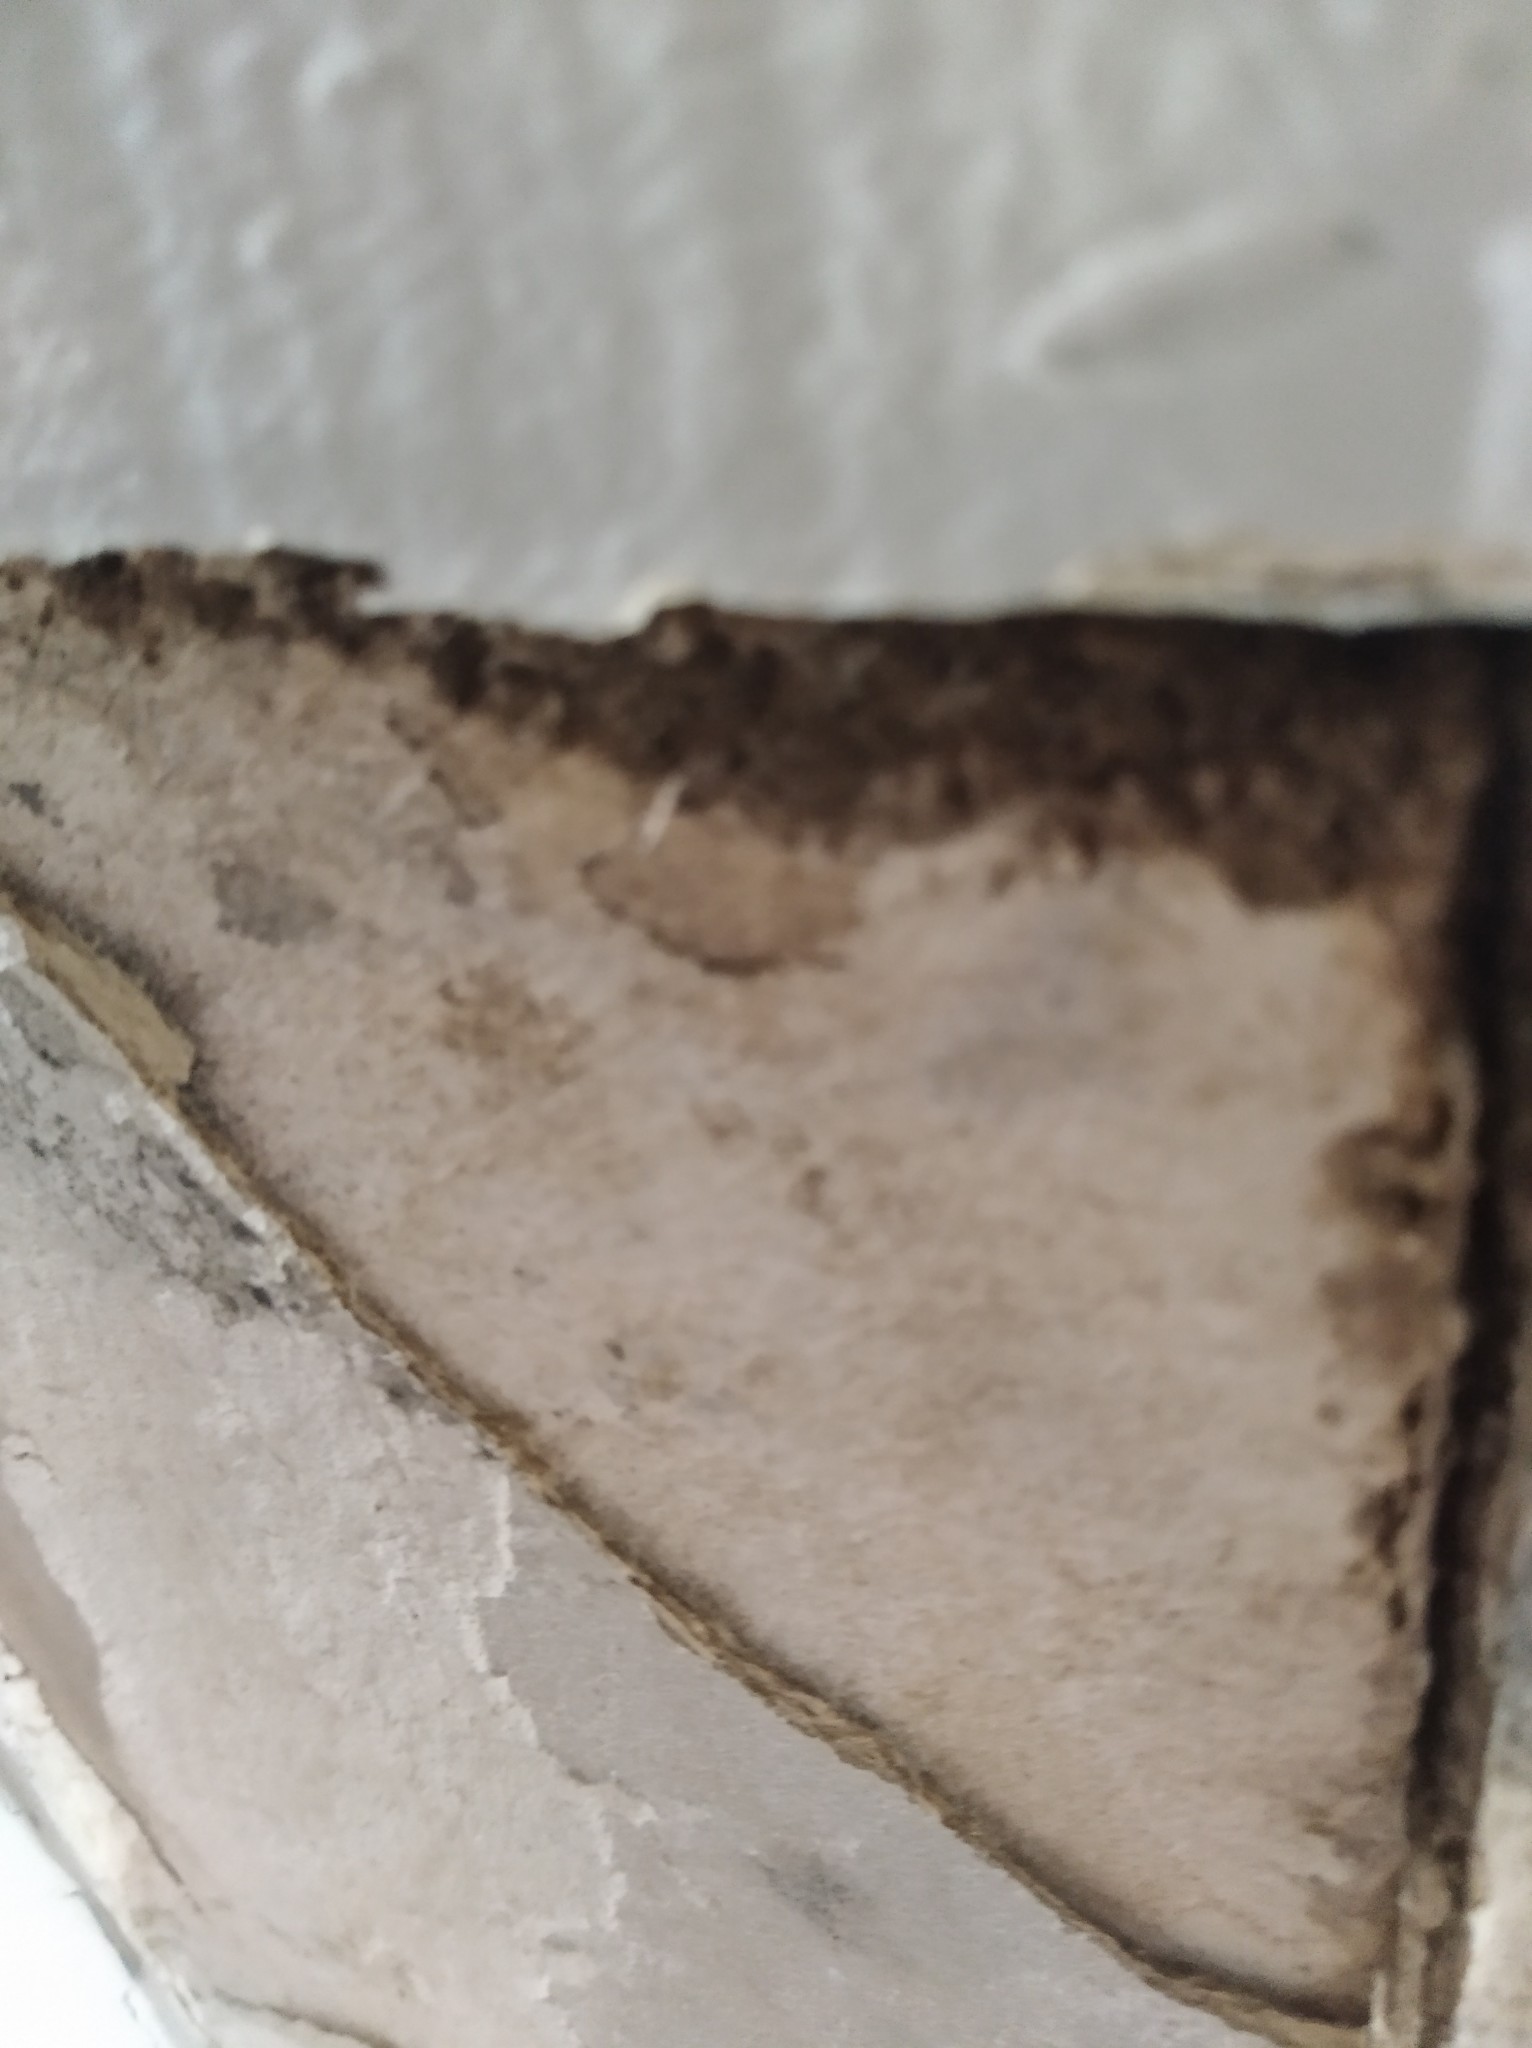
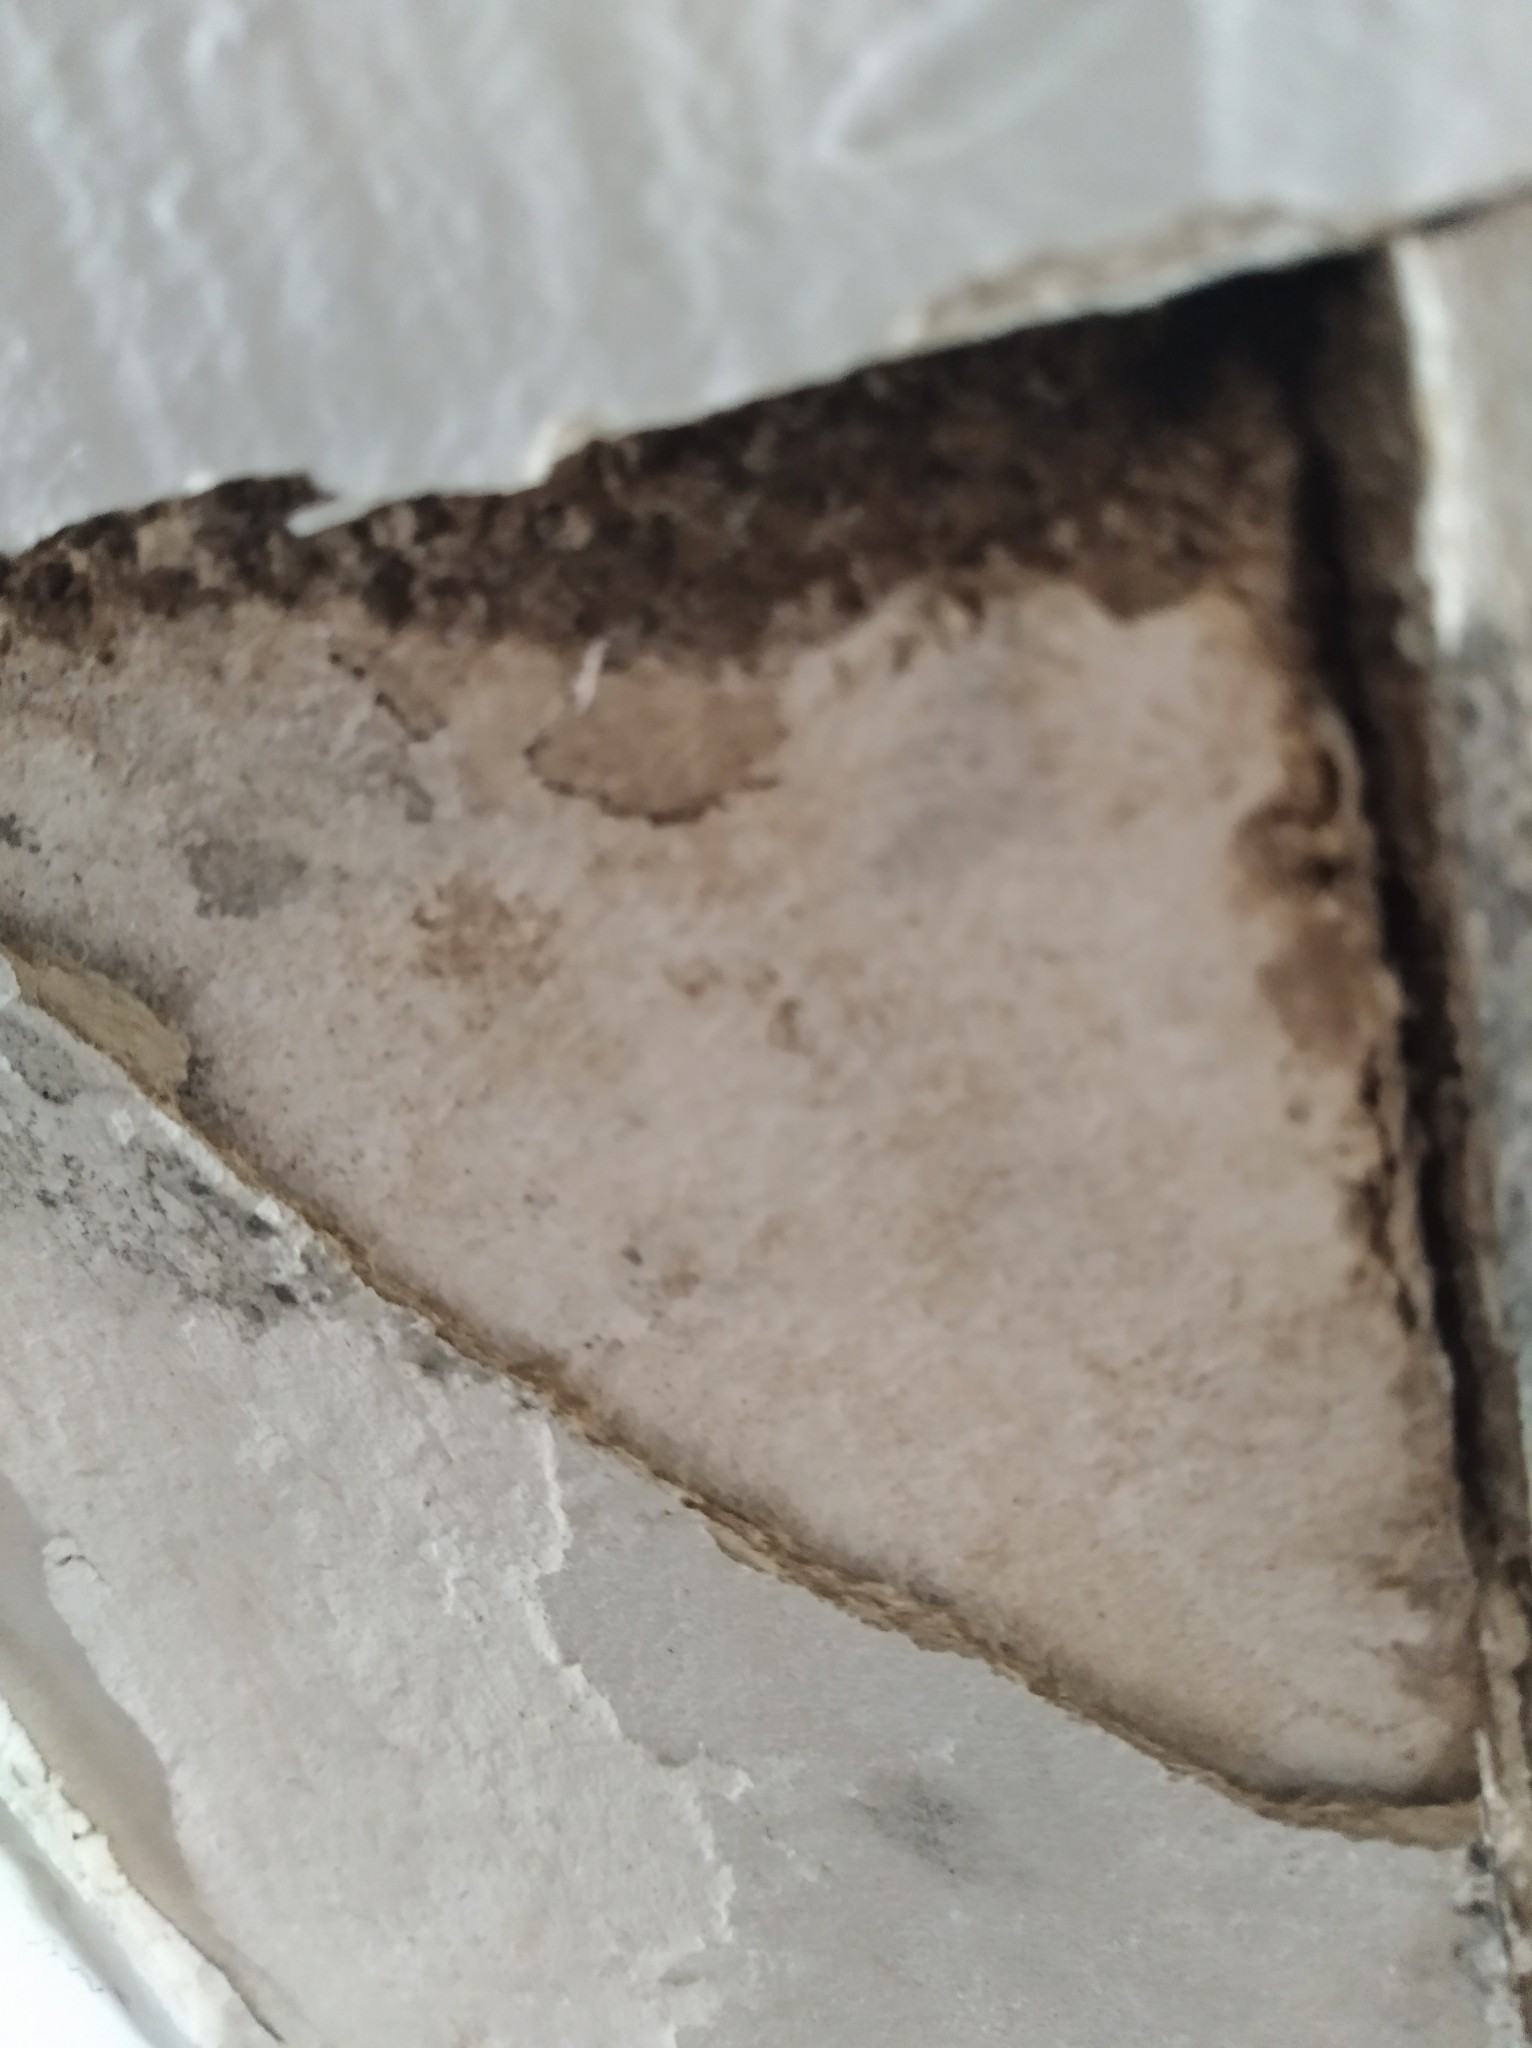
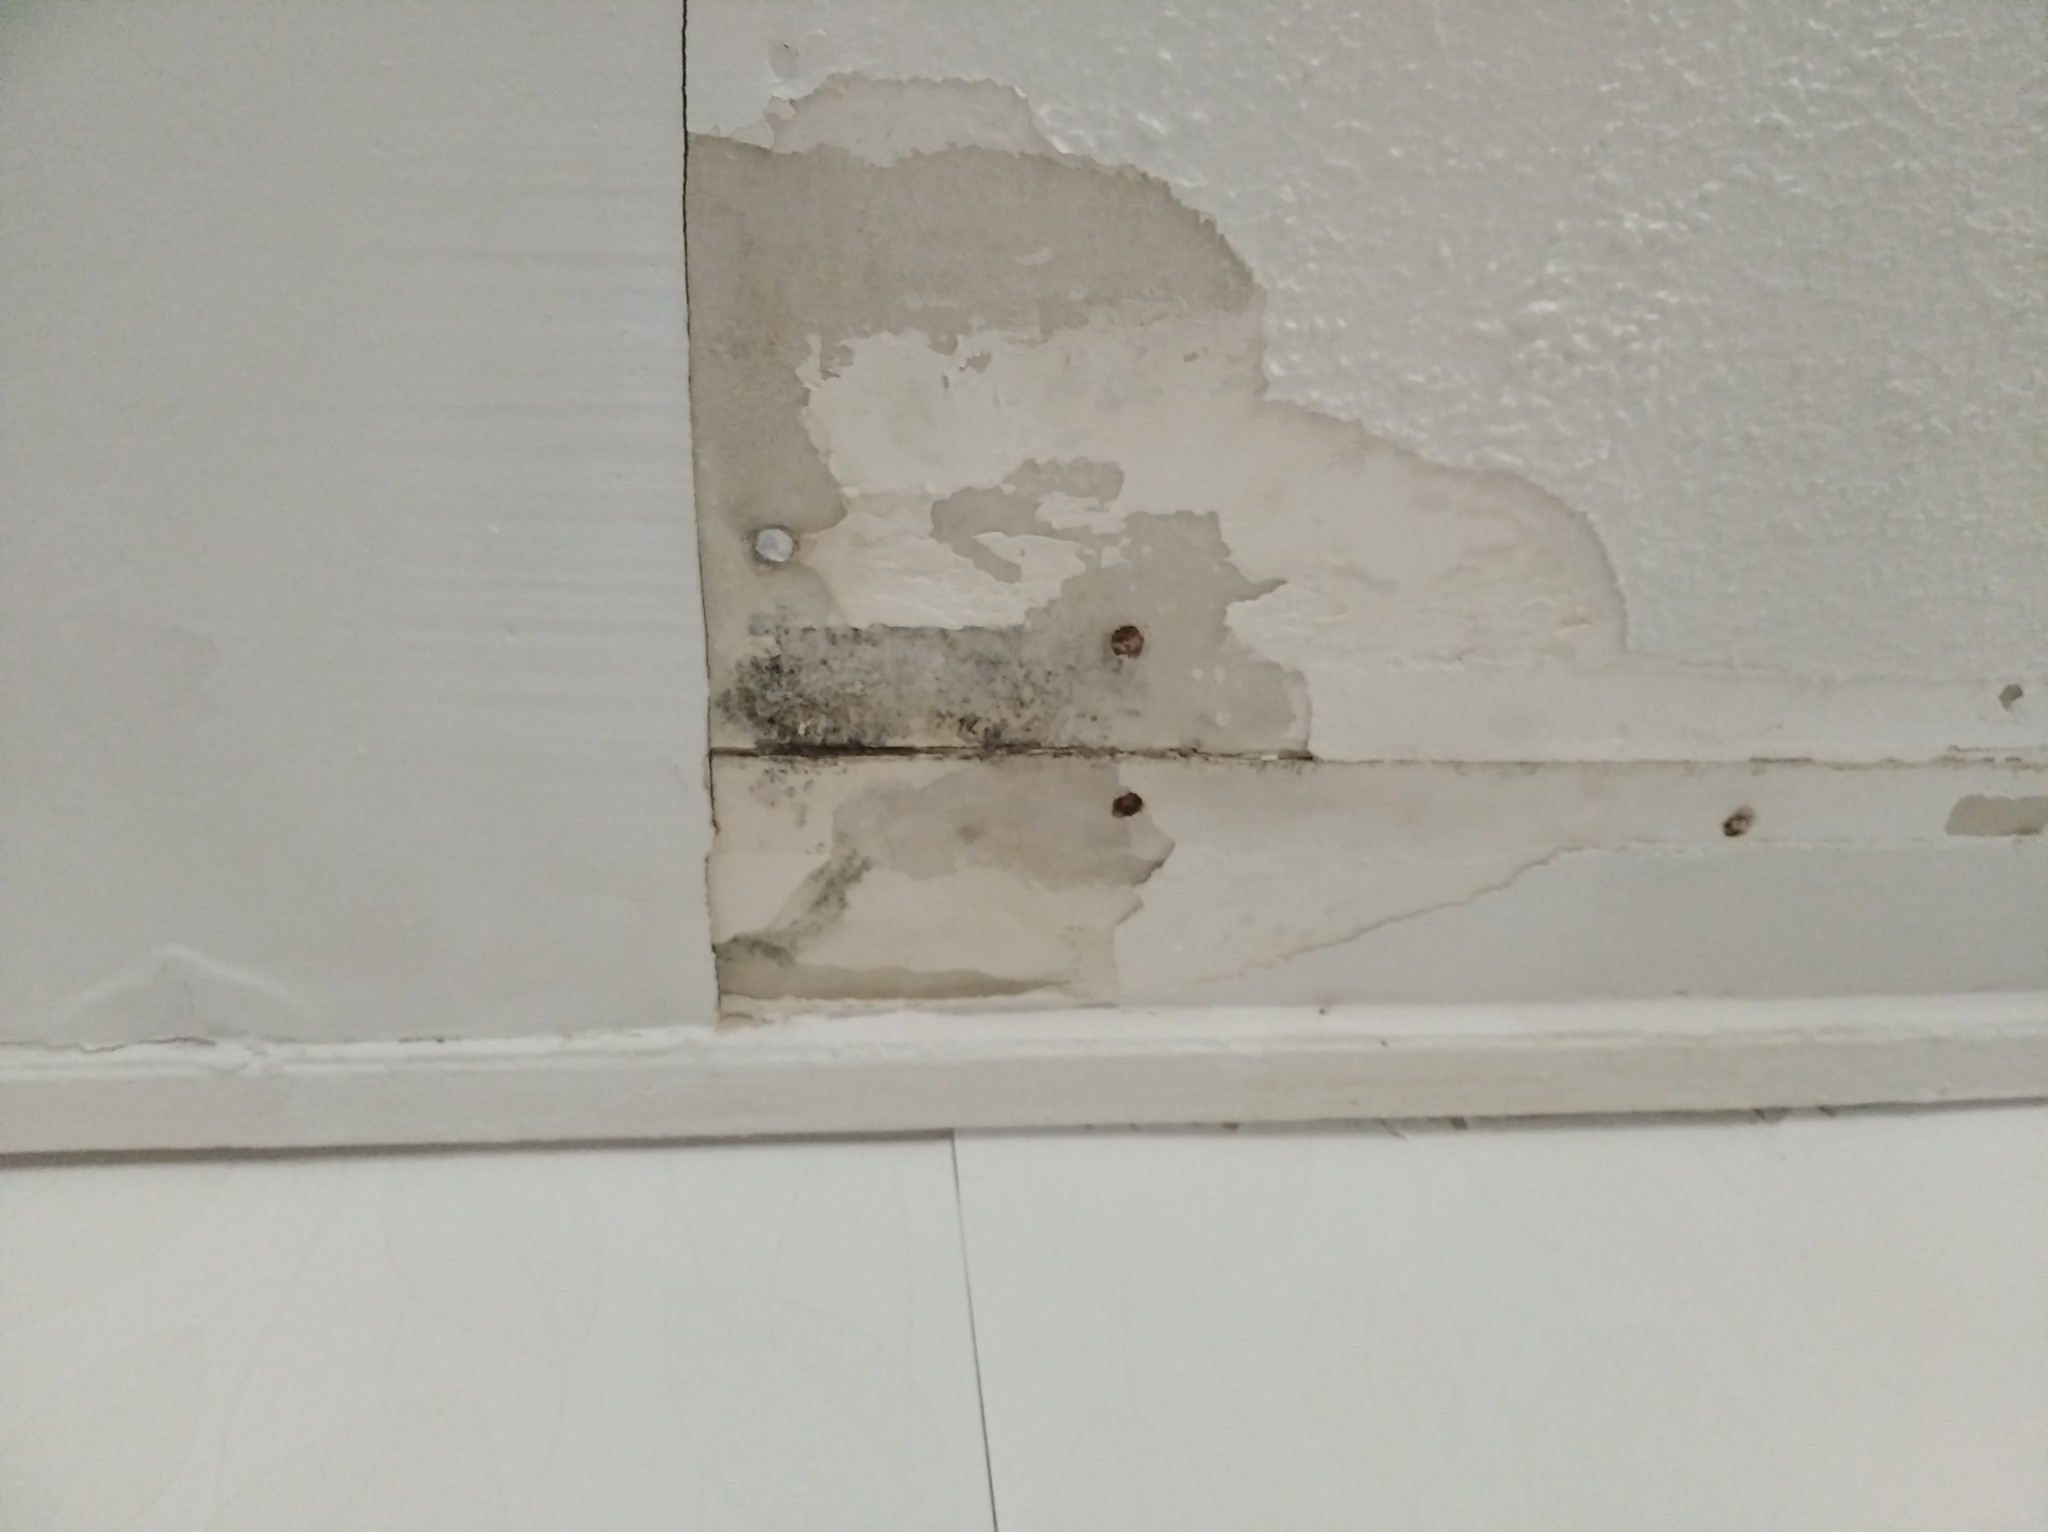
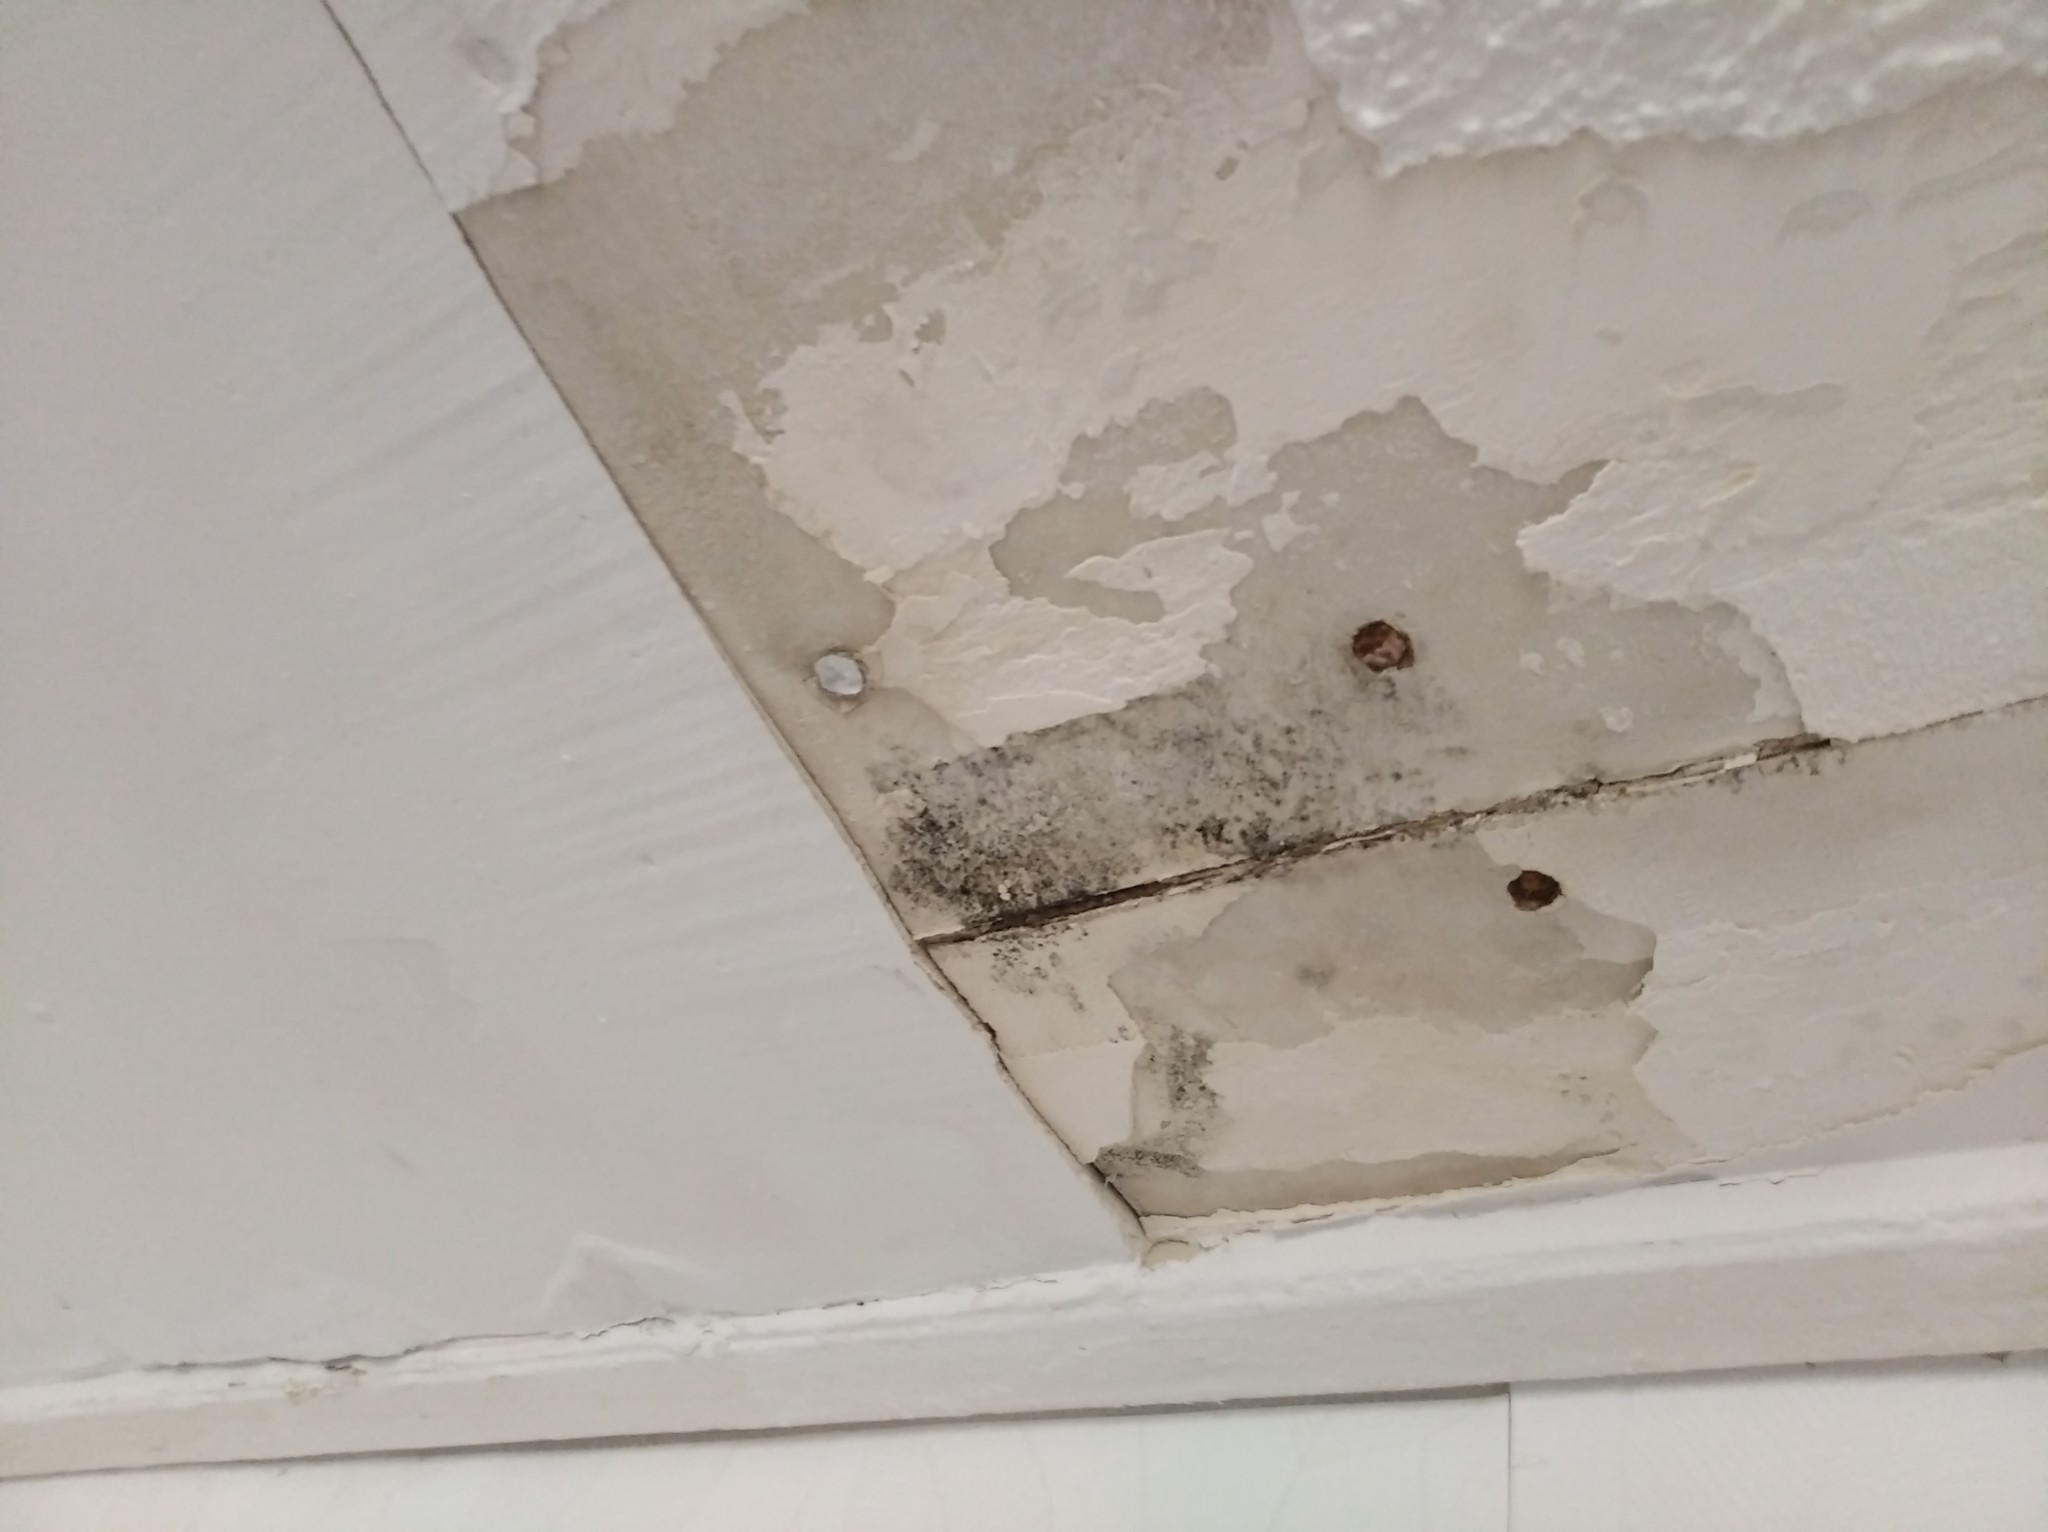
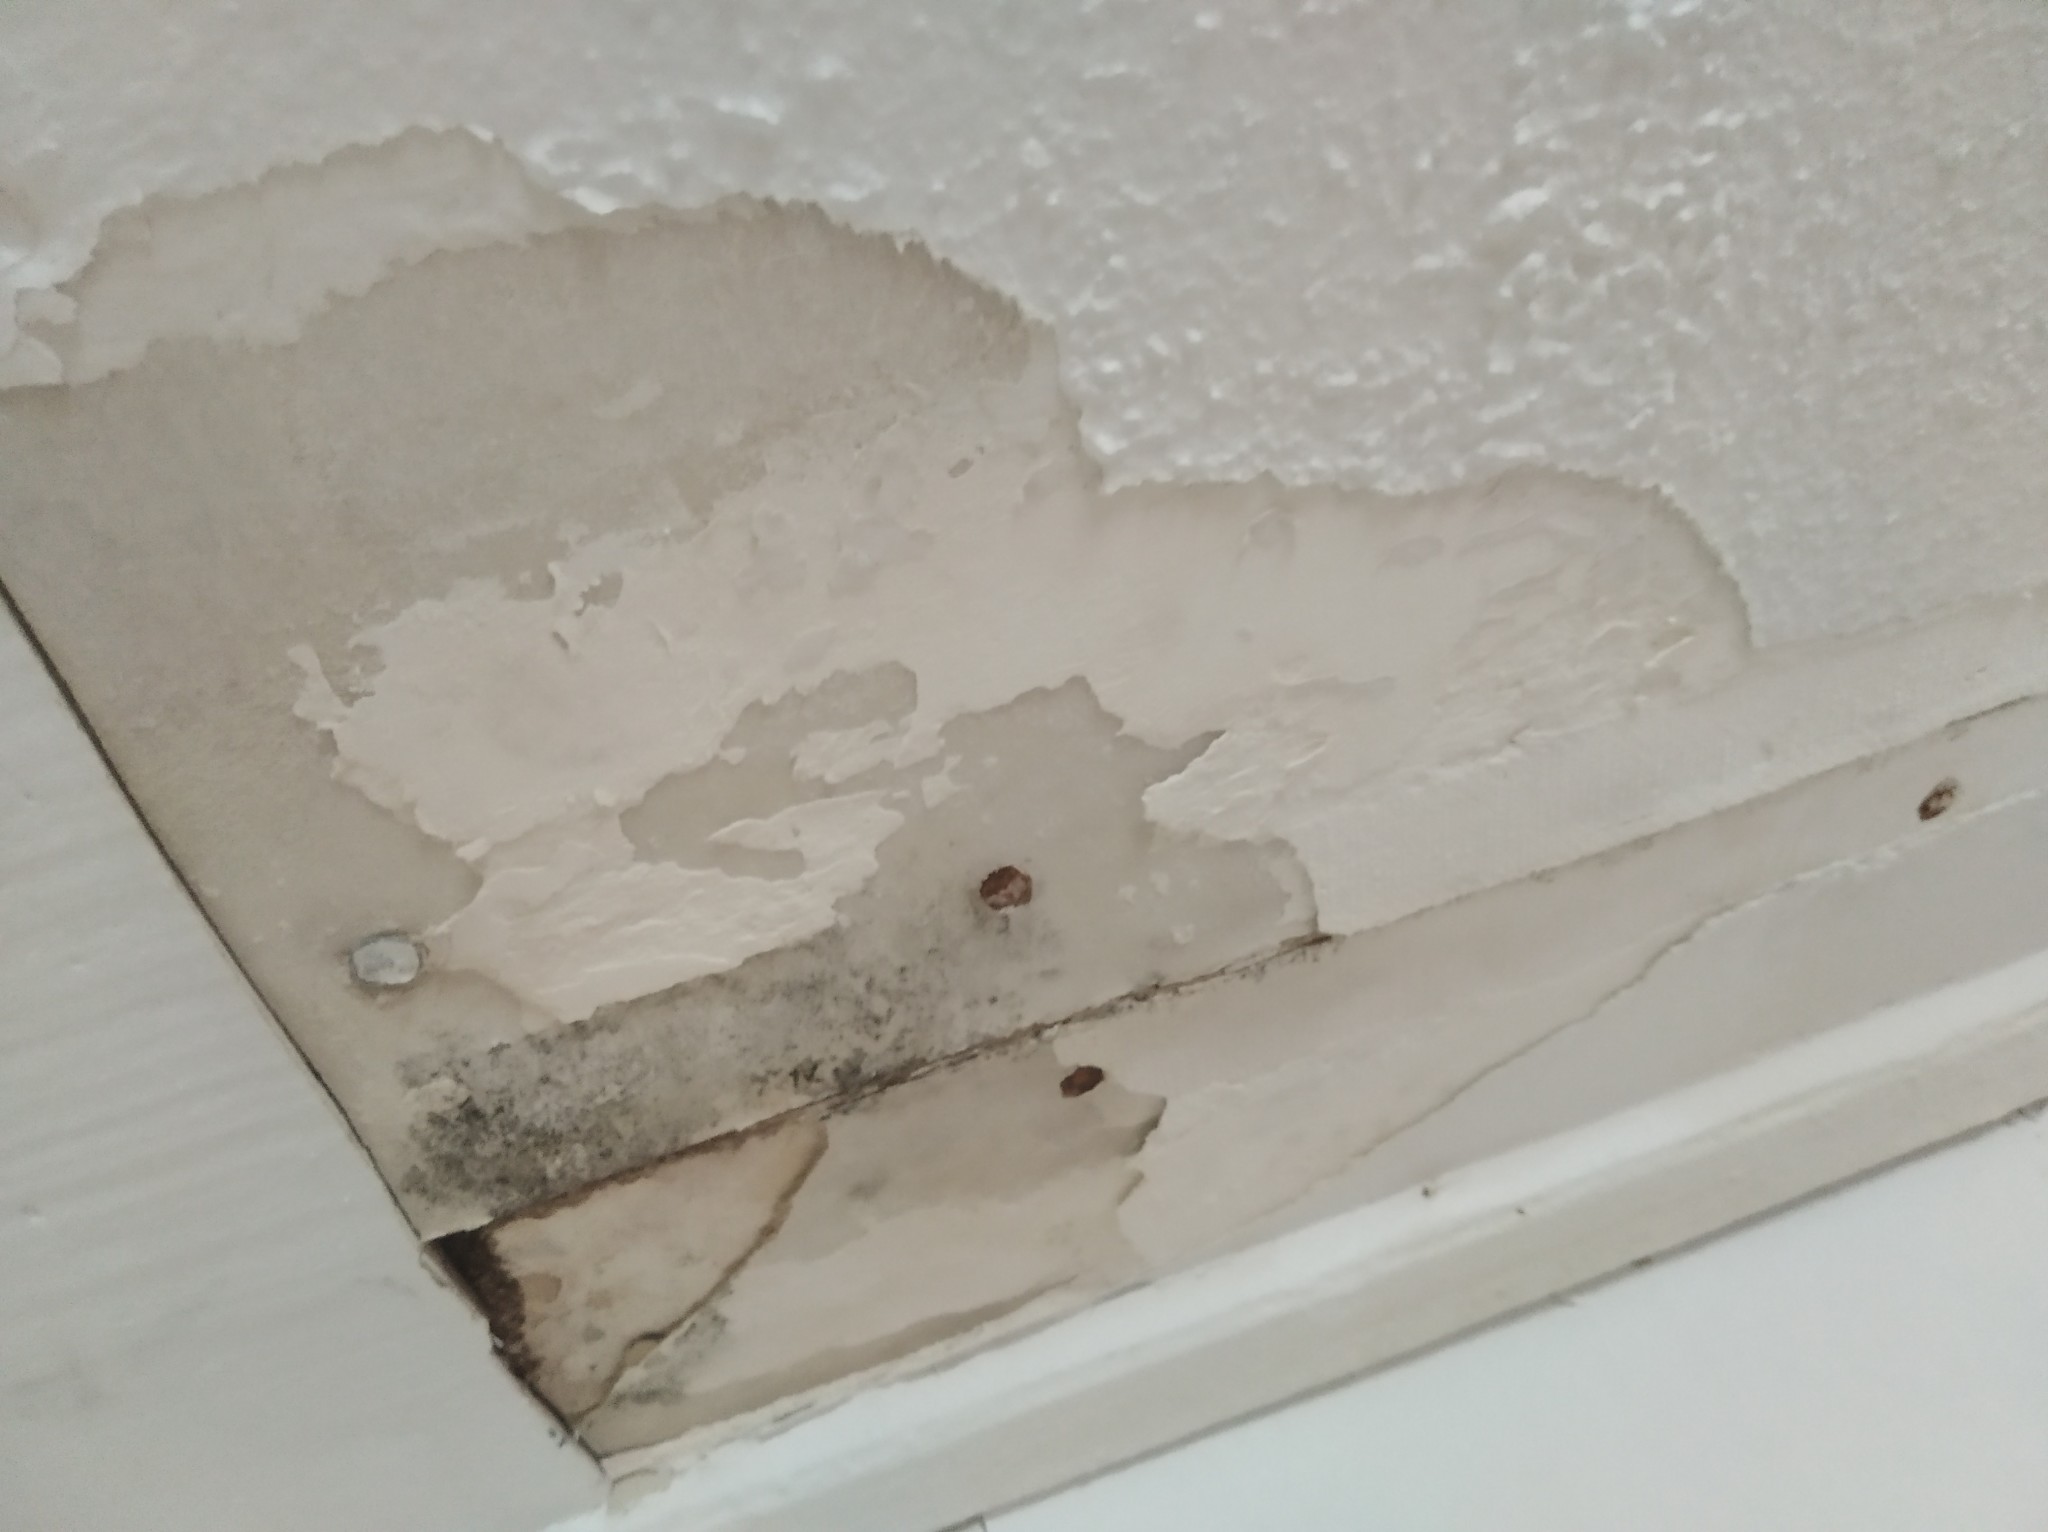
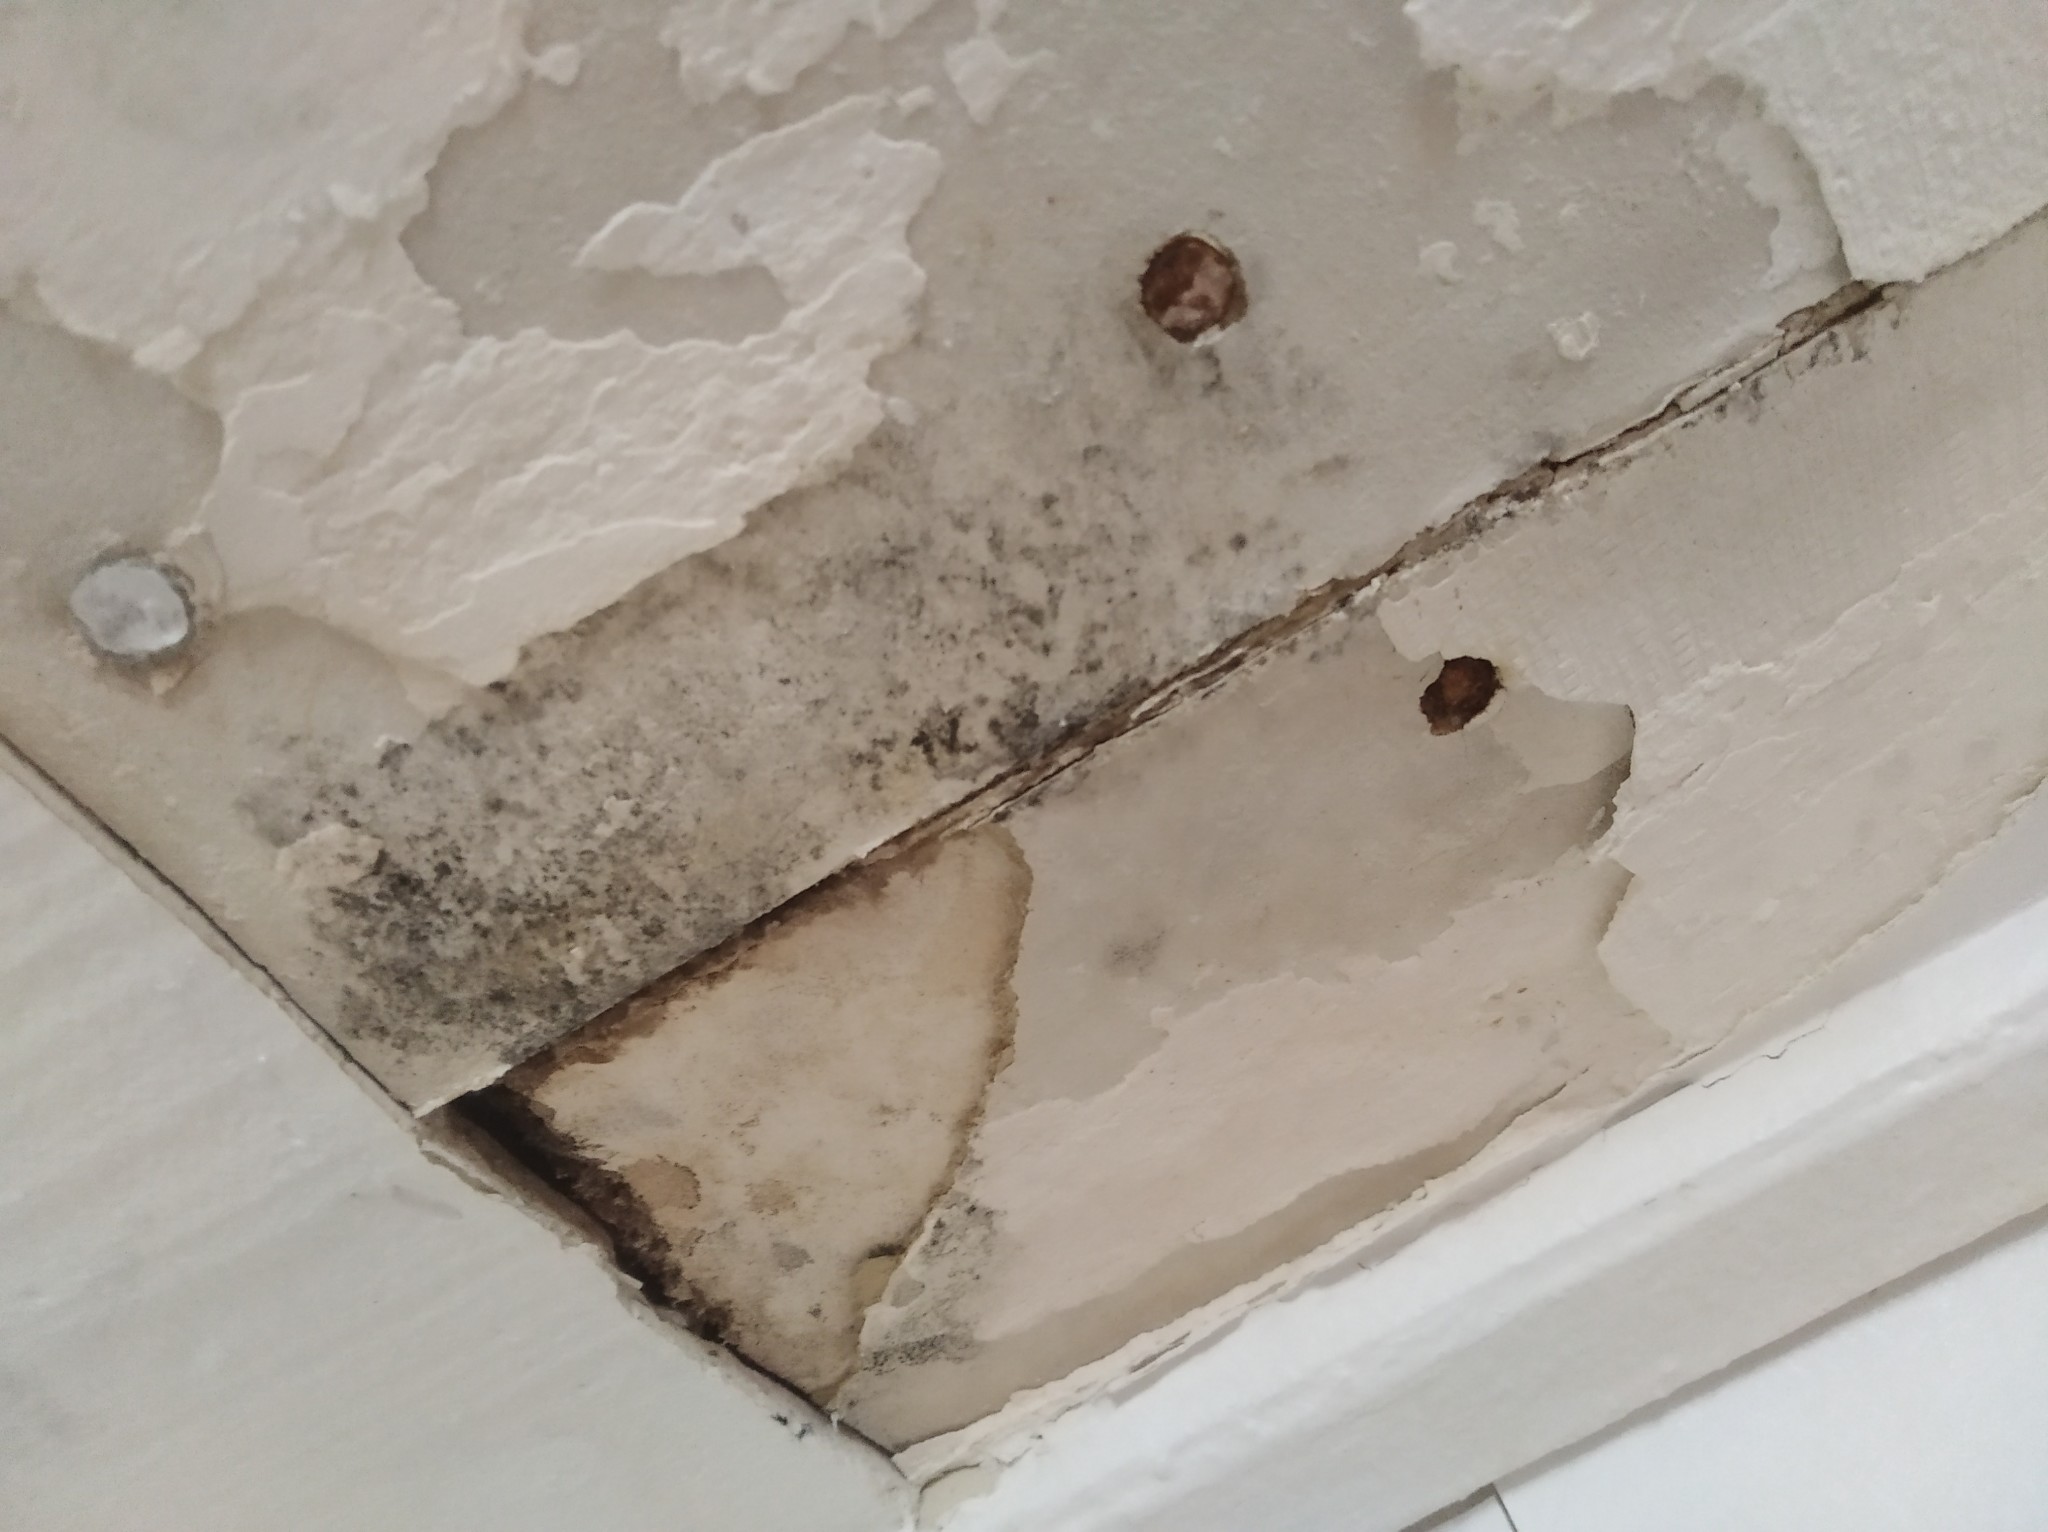
We had a leak/hole in an outer roof (which is now sealed) that, when it rained, dripped down through to the sub-ceiling into the joint to the apartment's interior ceiling. The ceiling consists of some kind of wooden boards...
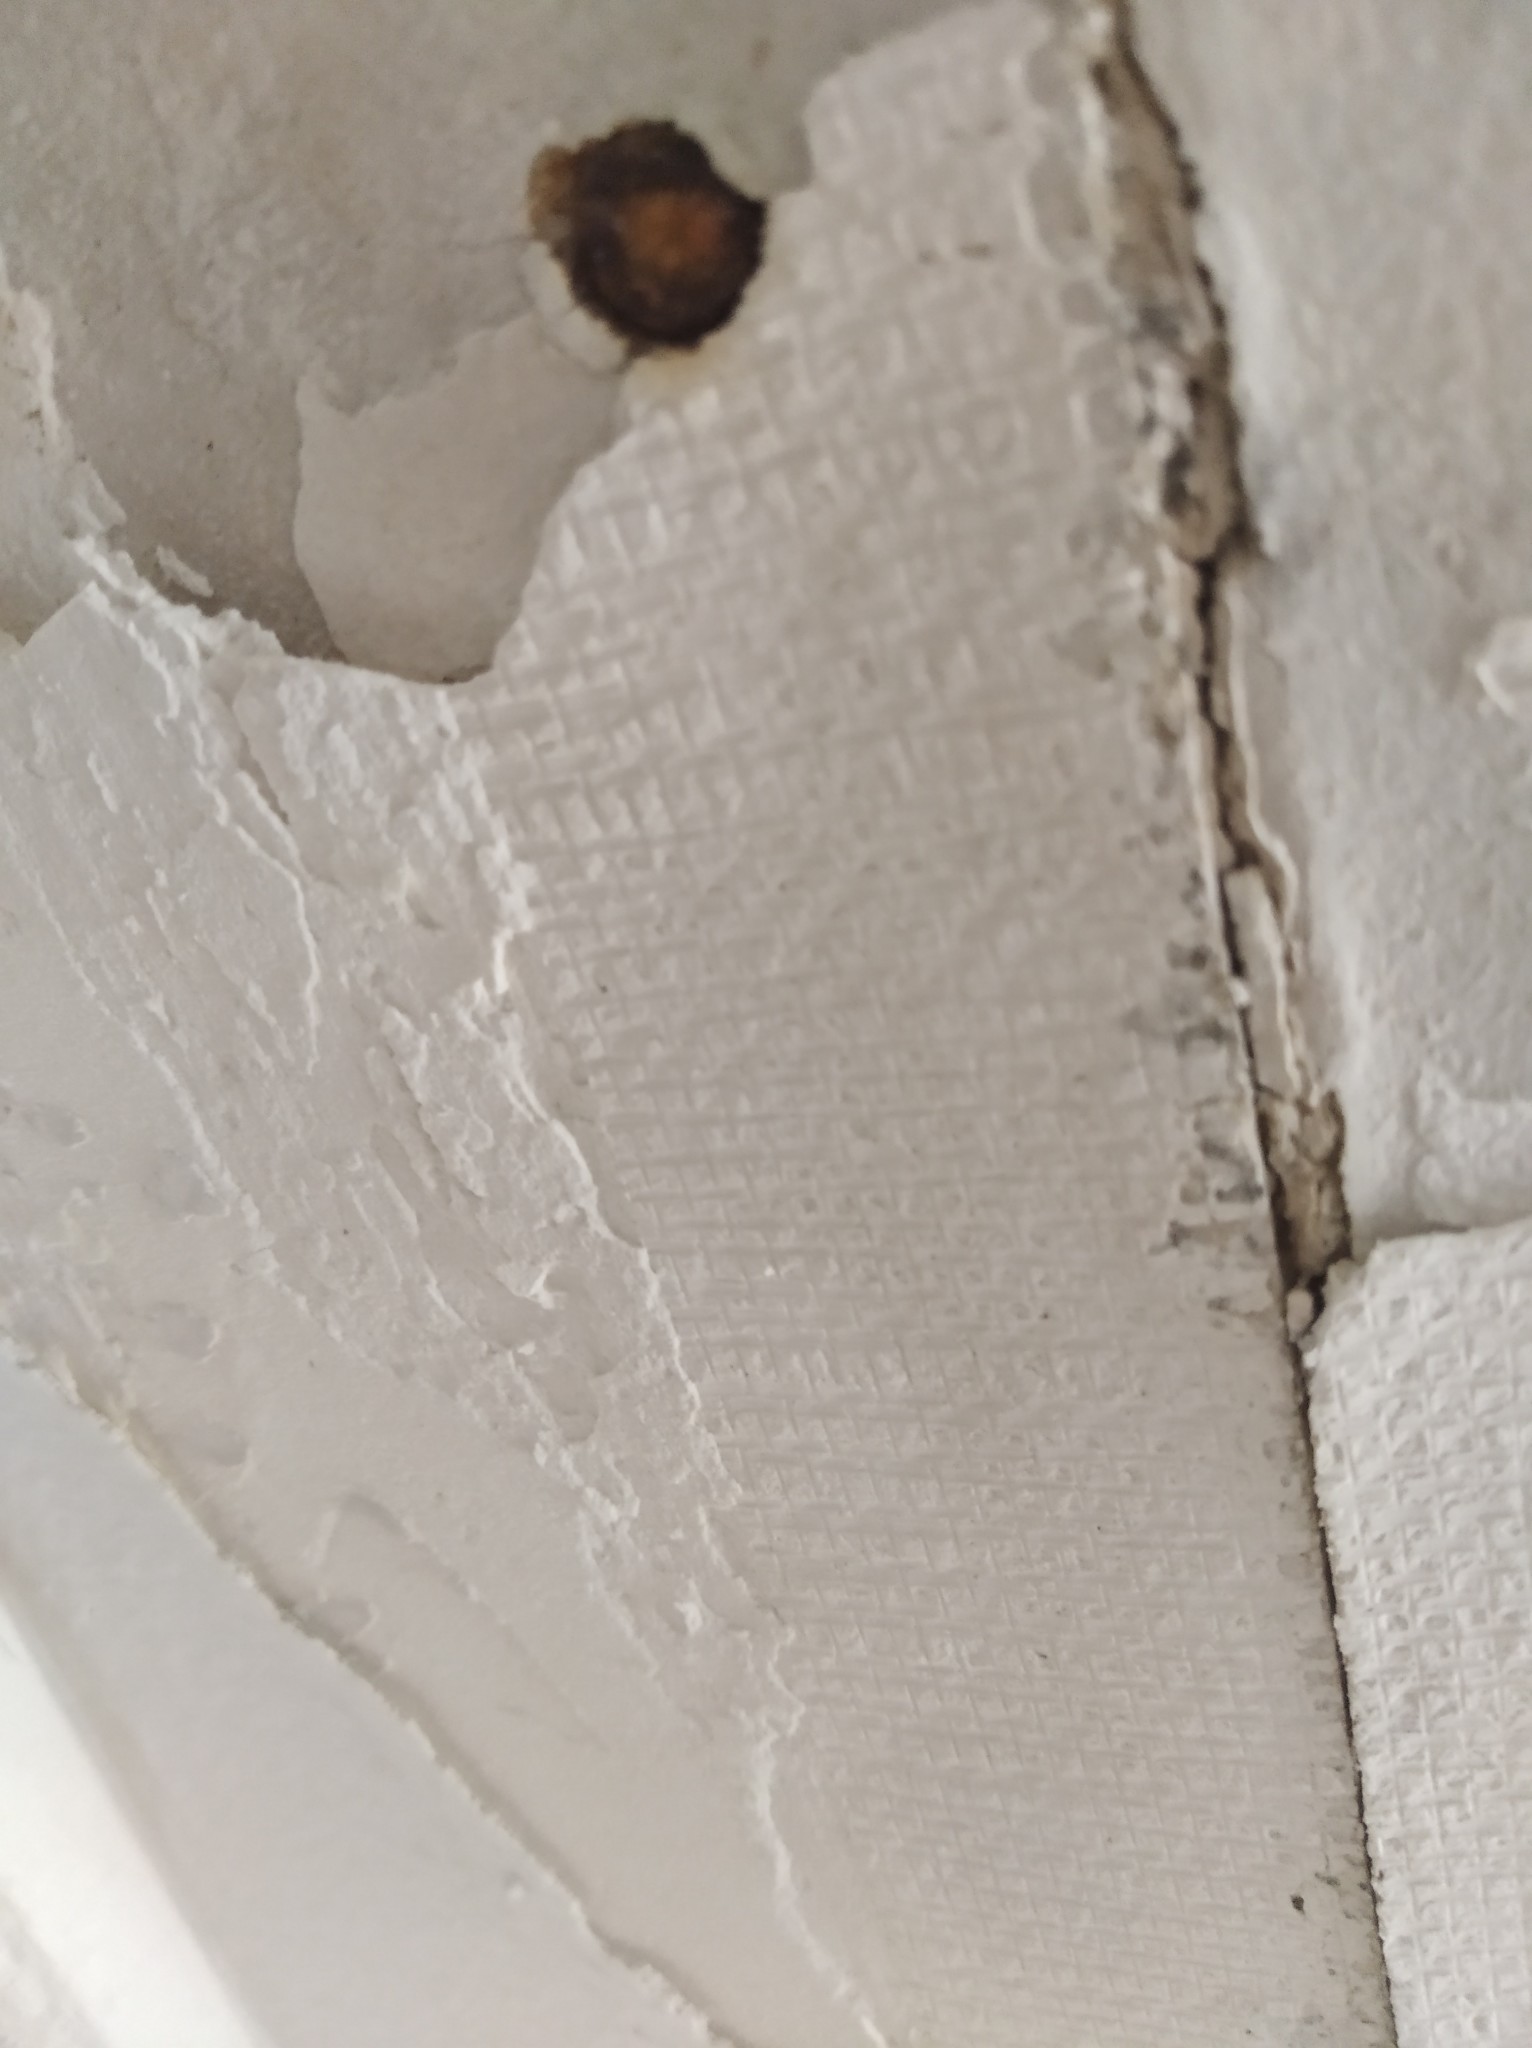
- It looks like coated particle board (some paper on the board), or can you see what it is more exactly?
- Then it looks like some "roofing tape -strip" has been laid in the joint between the boards and then some kind of roof paint?
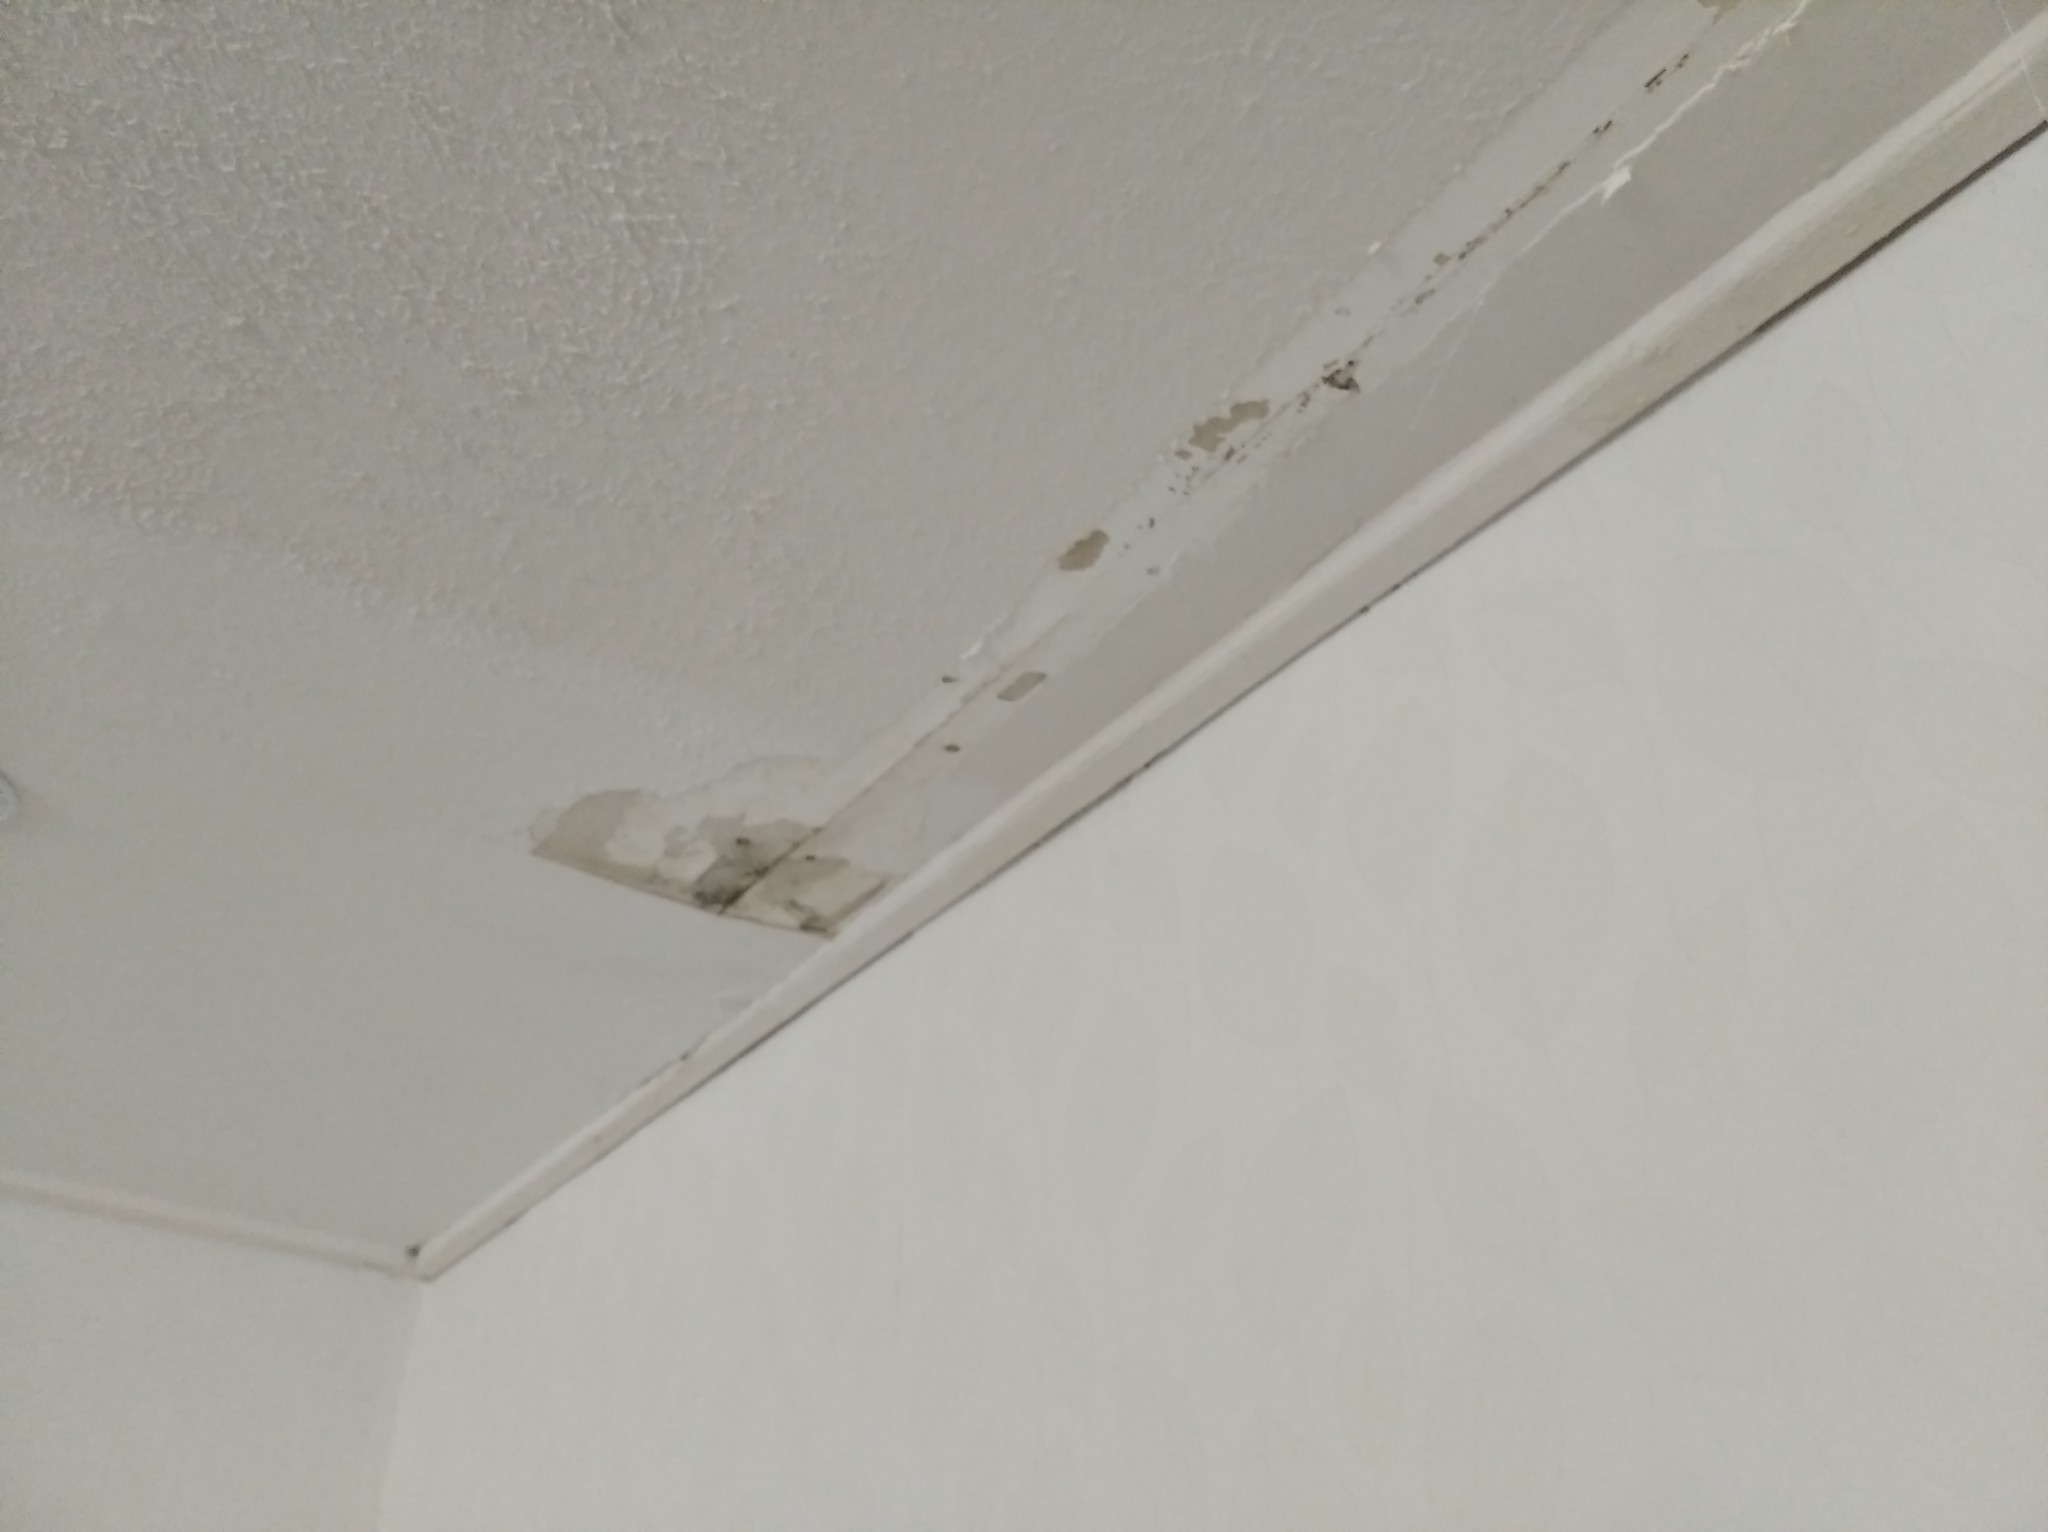
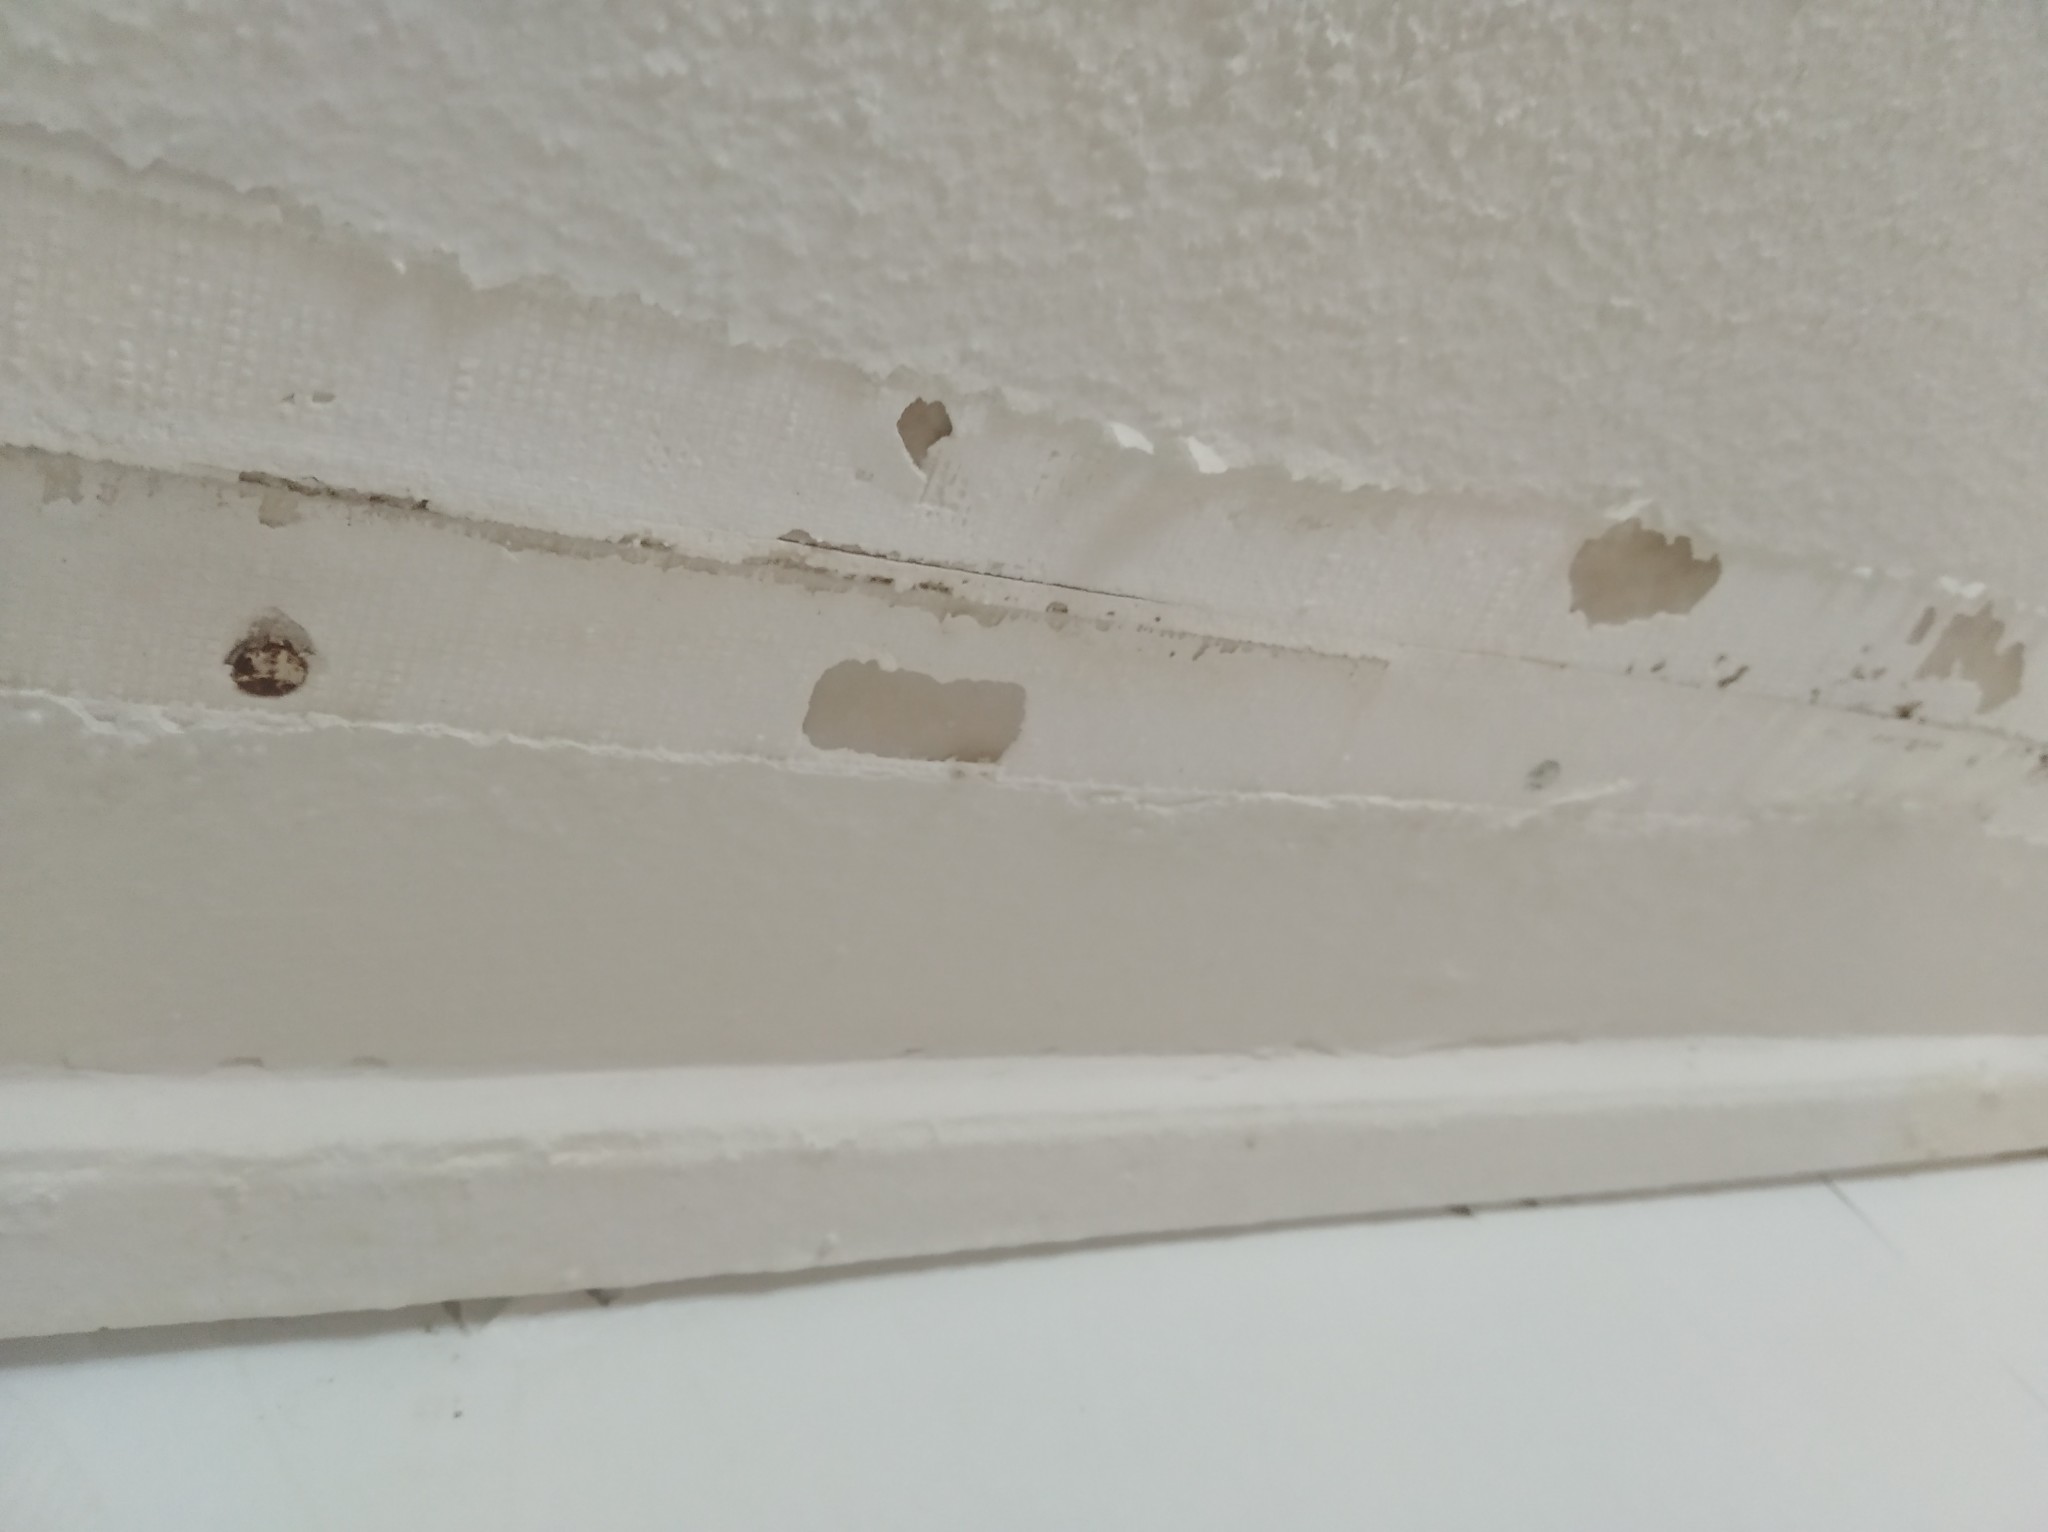
I intend to repair this myself without tearing down more, except possibly scraping away where the paint looks like it is bulging from the water damage in the attached picture "water damage paint bulging".
Regarding the painting task
So, I wonder what adapted materials I need to ensure it turns out as well as possible? There are always better and worse ways to address this and material choices, i.e., what items do I need?
Then, at the end, when I have sealed the roof, and just released the air, for example with (sealant in joints, glue, fabric, filler, paint), I intend to screw a board to the ceiling where visible water damage has occurred.
Regarding the carpentry task, Mounting the board
What type of board works well? For example, plywood, thickness, any sealant around the edges or on the backside of the board, what type of screw, plug, sealing the screw holes, etc.?
As you understand, I actually want material advice and what to select for the range... I want to try to make the remediation as professionally as possible but without tearing down more or totally overdoing it... The questions I ask here I would probably have asked during a physical visit to a hardware store with these attached pictures below.
Once I have all the necessary products, I will use them according to the manual on how they should be used, e.g., when plugging the attached board for fastening, anchoring the board can be critical, i.e., what type of screw, plug, drill depth, drill dimension, sealing in the drill hole, overlapping, distance between screw holes as an example.
Grateful for all the help regarding which material I should buy to repair the damage as well as possible without overdoing it.
I gratefully welcome practical advice and tips on how to proceed as well, step by step, it never hurts. "Do it yourself" instruction type.
Width about 30 cm of what's torn away in the pictures on the larger part (not the strip).
I hope someone engages without payment ;-) for advice and tips that are completely the right method.
Preface: I am not in the habit of building or renovating often with wood, but it happens when necessary.
We had a leak/hole in an outer roof (which is now sealed) that, when it rained, dripped down through to the sub-ceiling into the joint to the apartment's interior ceiling. The ceiling consists of some kind of wooden boards...
- It looks like coated particle board (some paper on the board), or can you see what it is more exactly?
- Then it looks like some "roofing tape -strip" has been laid in the joint between the boards and then some kind of roof paint?
I intend to repair this myself without tearing down more, except possibly scraping away where the paint looks like it is bulging from the water damage in the attached picture "water damage paint bulging".
Regarding the painting task
So, I wonder what adapted materials I need to ensure it turns out as well as possible? There are always better and worse ways to address this and material choices, i.e., what items do I need?
Then, at the end, when I have sealed the roof, and just released the air, for example with (sealant in joints, glue, fabric, filler, paint), I intend to screw a board to the ceiling where visible water damage has occurred.
Regarding the carpentry task, Mounting the board
What type of board works well? For example, plywood, thickness, any sealant around the edges or on the backside of the board, what type of screw, plug, sealing the screw holes, etc.?
As you understand, I actually want material advice and what to select for the range... I want to try to make the remediation as professionally as possible but without tearing down more or totally overdoing it... The questions I ask here I would probably have asked during a physical visit to a hardware store with these attached pictures below.
Once I have all the necessary products, I will use them according to the manual on how they should be used, e.g., when plugging the attached board for fastening, anchoring the board can be critical, i.e., what type of screw, plug, drill depth, drill dimension, sealing in the drill hole, overlapping, distance between screw holes as an example.
Grateful for all the help regarding which material I should buy to repair the damage as well as possible without overdoing it.
I gratefully welcome practical advice and tips on how to proceed as well, step by step, it never hurts. "Do it yourself" instruction type.
Width about 30 cm of what's torn away in the pictures on the larger part (not the strip).
I hope someone engages without payment ;-) for advice and tips that are completely the right method.


Member
· Västra Götaland
· 3 295 posts
Spackle, sandpaper, painting. In that order =) 100 SEK in materials, starting is the most important
Didn't quite do it just to close the subject ...
- Used a razor blade to get a smoother edge at the seam
- Roughed up the surface with sandpaper and a little on the painted surfaces
- Also cut away some loose paper along the ceiling molding that had blistered, as well as along the vertical edge in a so-called elongated triangle in both cases. This was done away from home, so it wasn't at my place.
- Filled up the seam with filler
- Then I smeared a string of filler along the seam
- Then I laid a so-called paper strip on the filler string, then pressed with the filler spatula so there was at least some filler on the outside of the paper strip
- After that, I took a thin layer of filler and laid a so-called painter’s tape / mesh tape parallel to the paper strip which is on the seam and on the sides where the largest open spot is, as you can see. And then I pressed the painter’s tape with the filler so it sinks in a bit
- Let everything dry, then sanded a bit and filled twice more (with a little sanding in between)
- Then I painted
Not sure if I did it right but it felt right at least, but thanks for the "detailed" responses earlier.
I might have used paper strips everywhere in smaller pieces branching to the seam tape?
i.e., where the spot/damage is largest
Another question? Can you lay so-called painter's tape mesh tape first with a little filler, then let dry, sand a bit, and then put on filler again with paper tape and finally fill over it and paint? That is, painter's tape and then paper tape on that with filler in between? Or is it completely incorrect?
This was sorted out a long time ago by the way, not sure if there were blisters but it should be fine.
Click here to reply