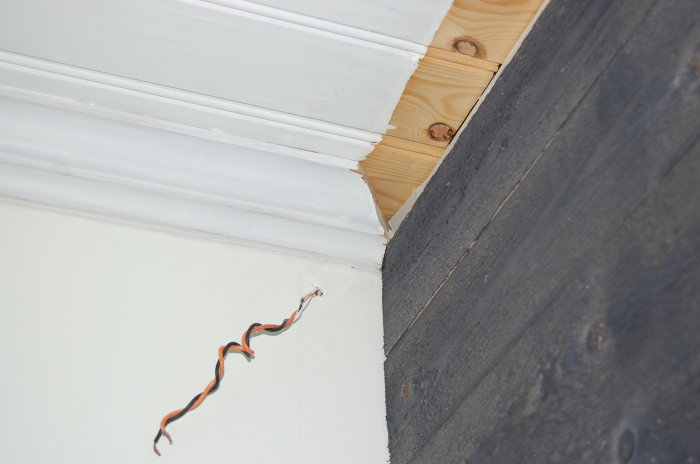
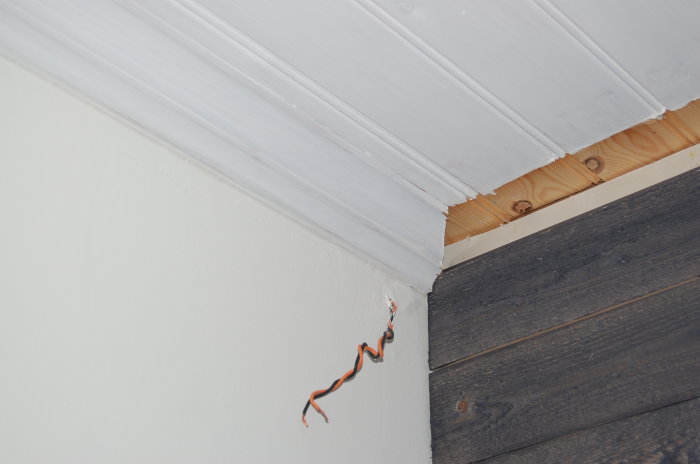
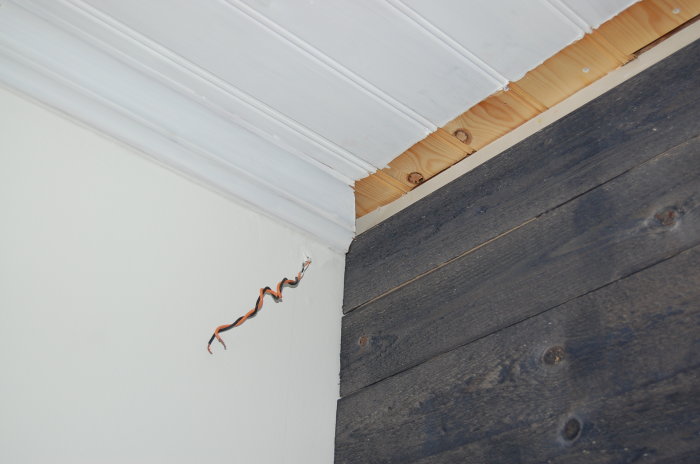
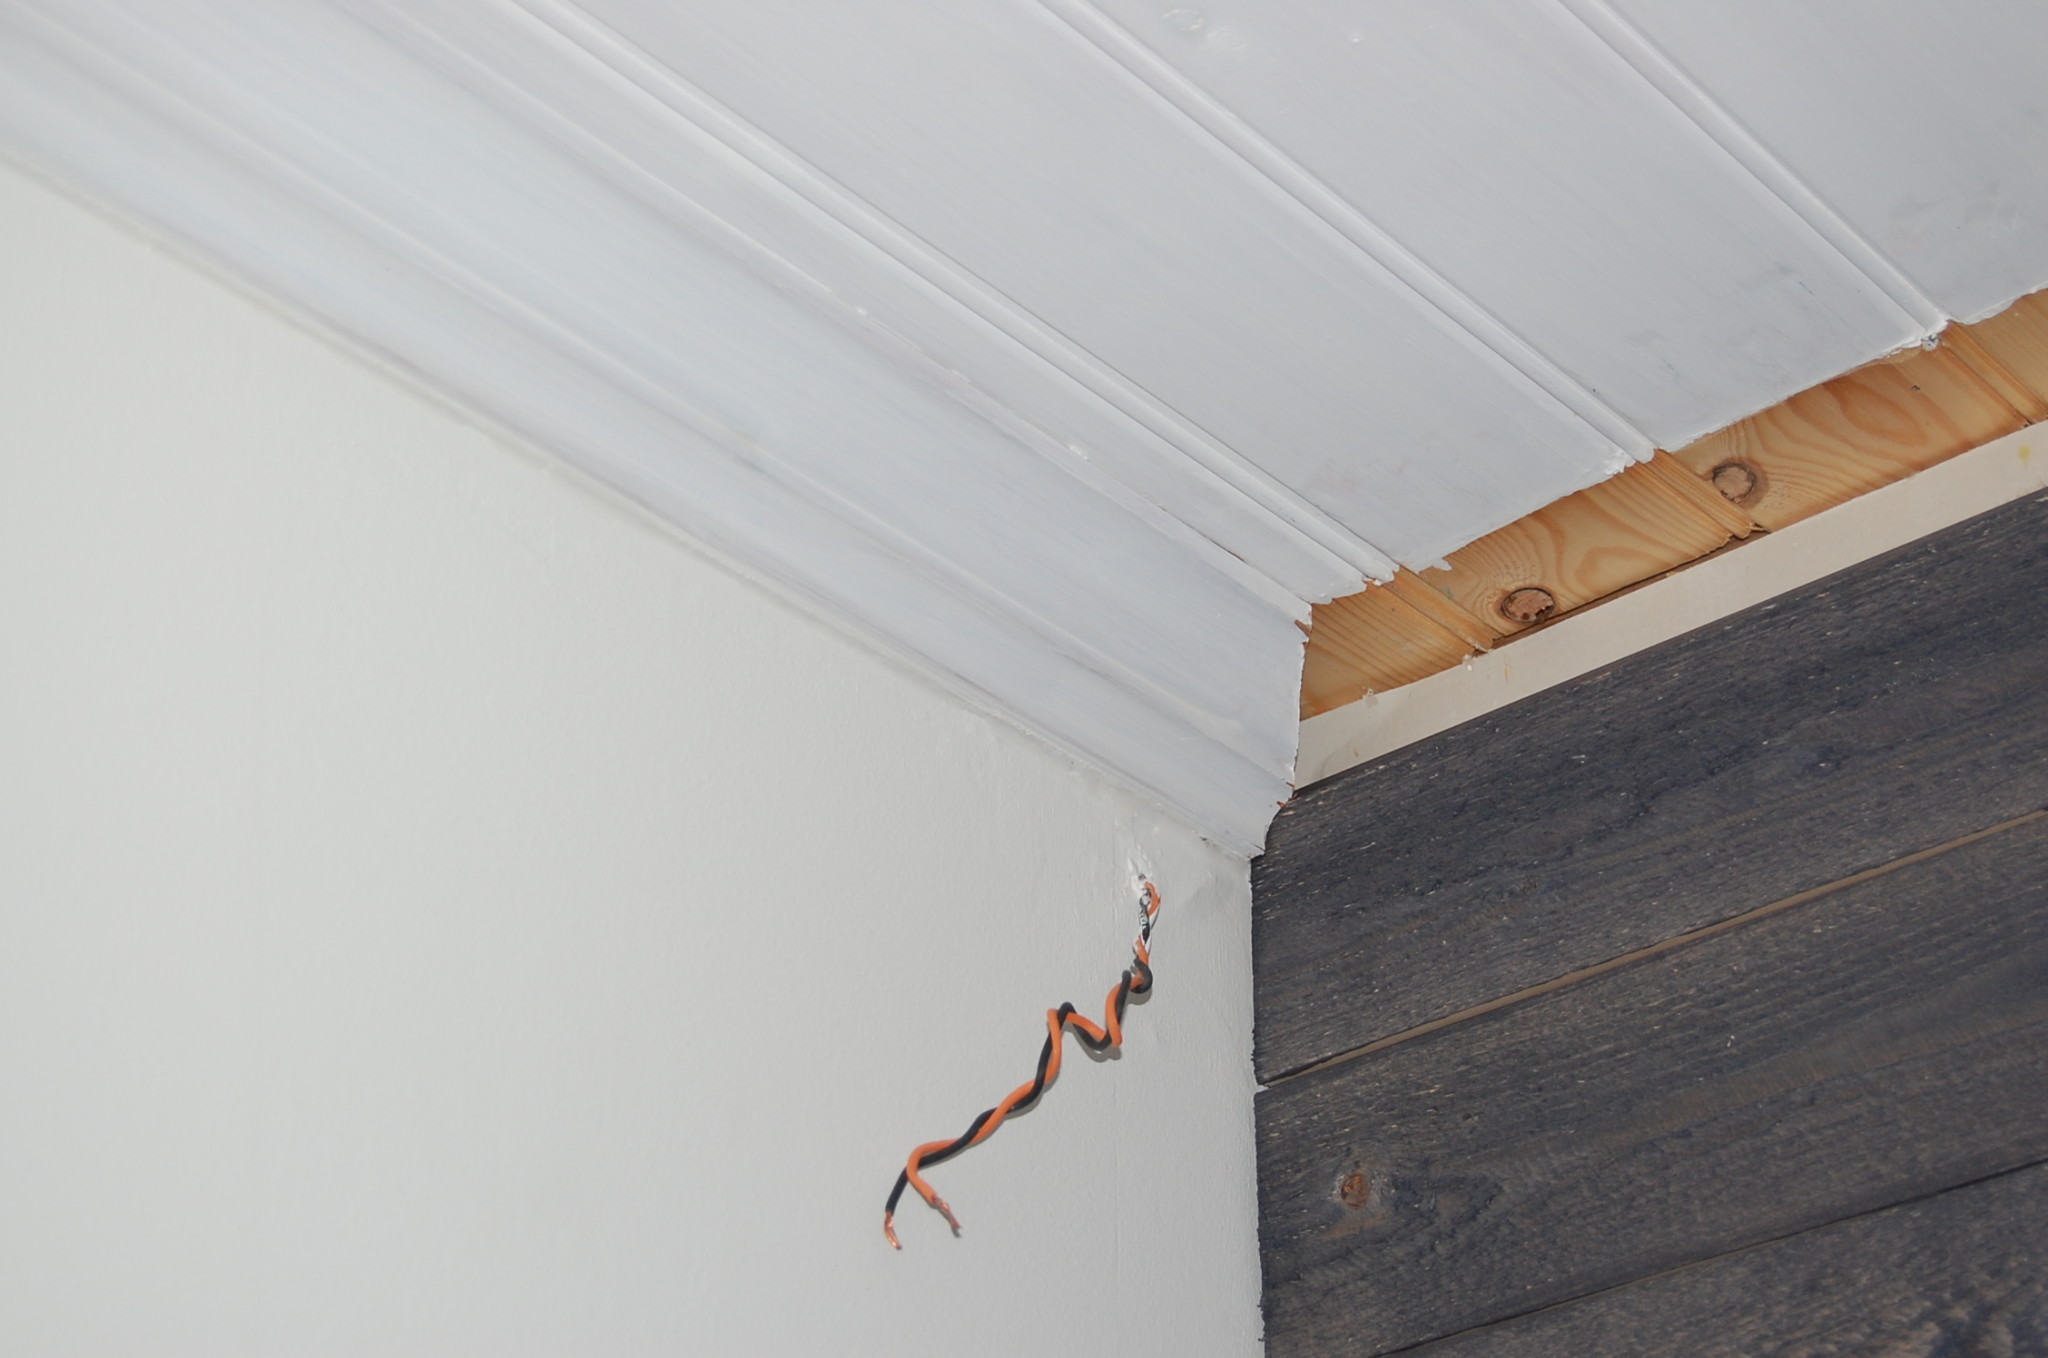
I tried to take a little shortcut at home when I was working on the ceiling moulding. I put up paneling on a gable in the living room, and instead of removing the moulding on the long sides, I let them stay and only removed the moulding on the wall I was working on.
I thought it would be fine not to miter saw the moulding but to shape-saw it instead so that it fits into the other one, so to speak.
But I keep making mistakes, mistakes, mistakes, it's driving me crazy! Is it even possible to do it this way? Baseboards work fine but they're straight, and this moulding is at an angle.
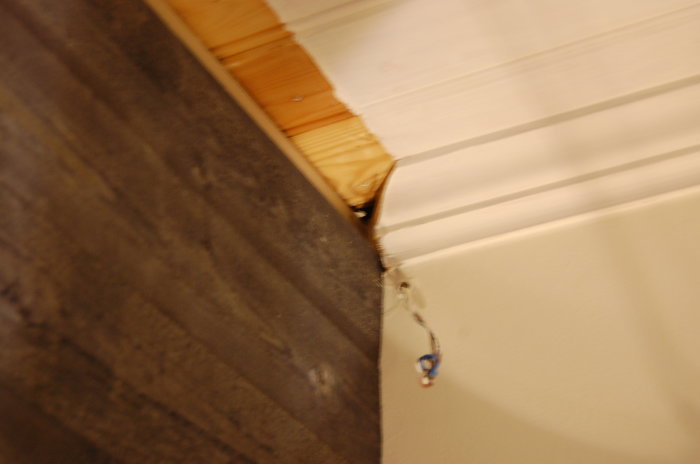
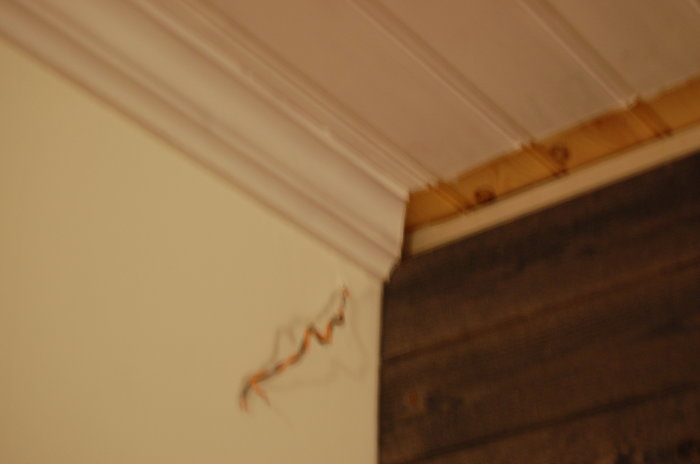
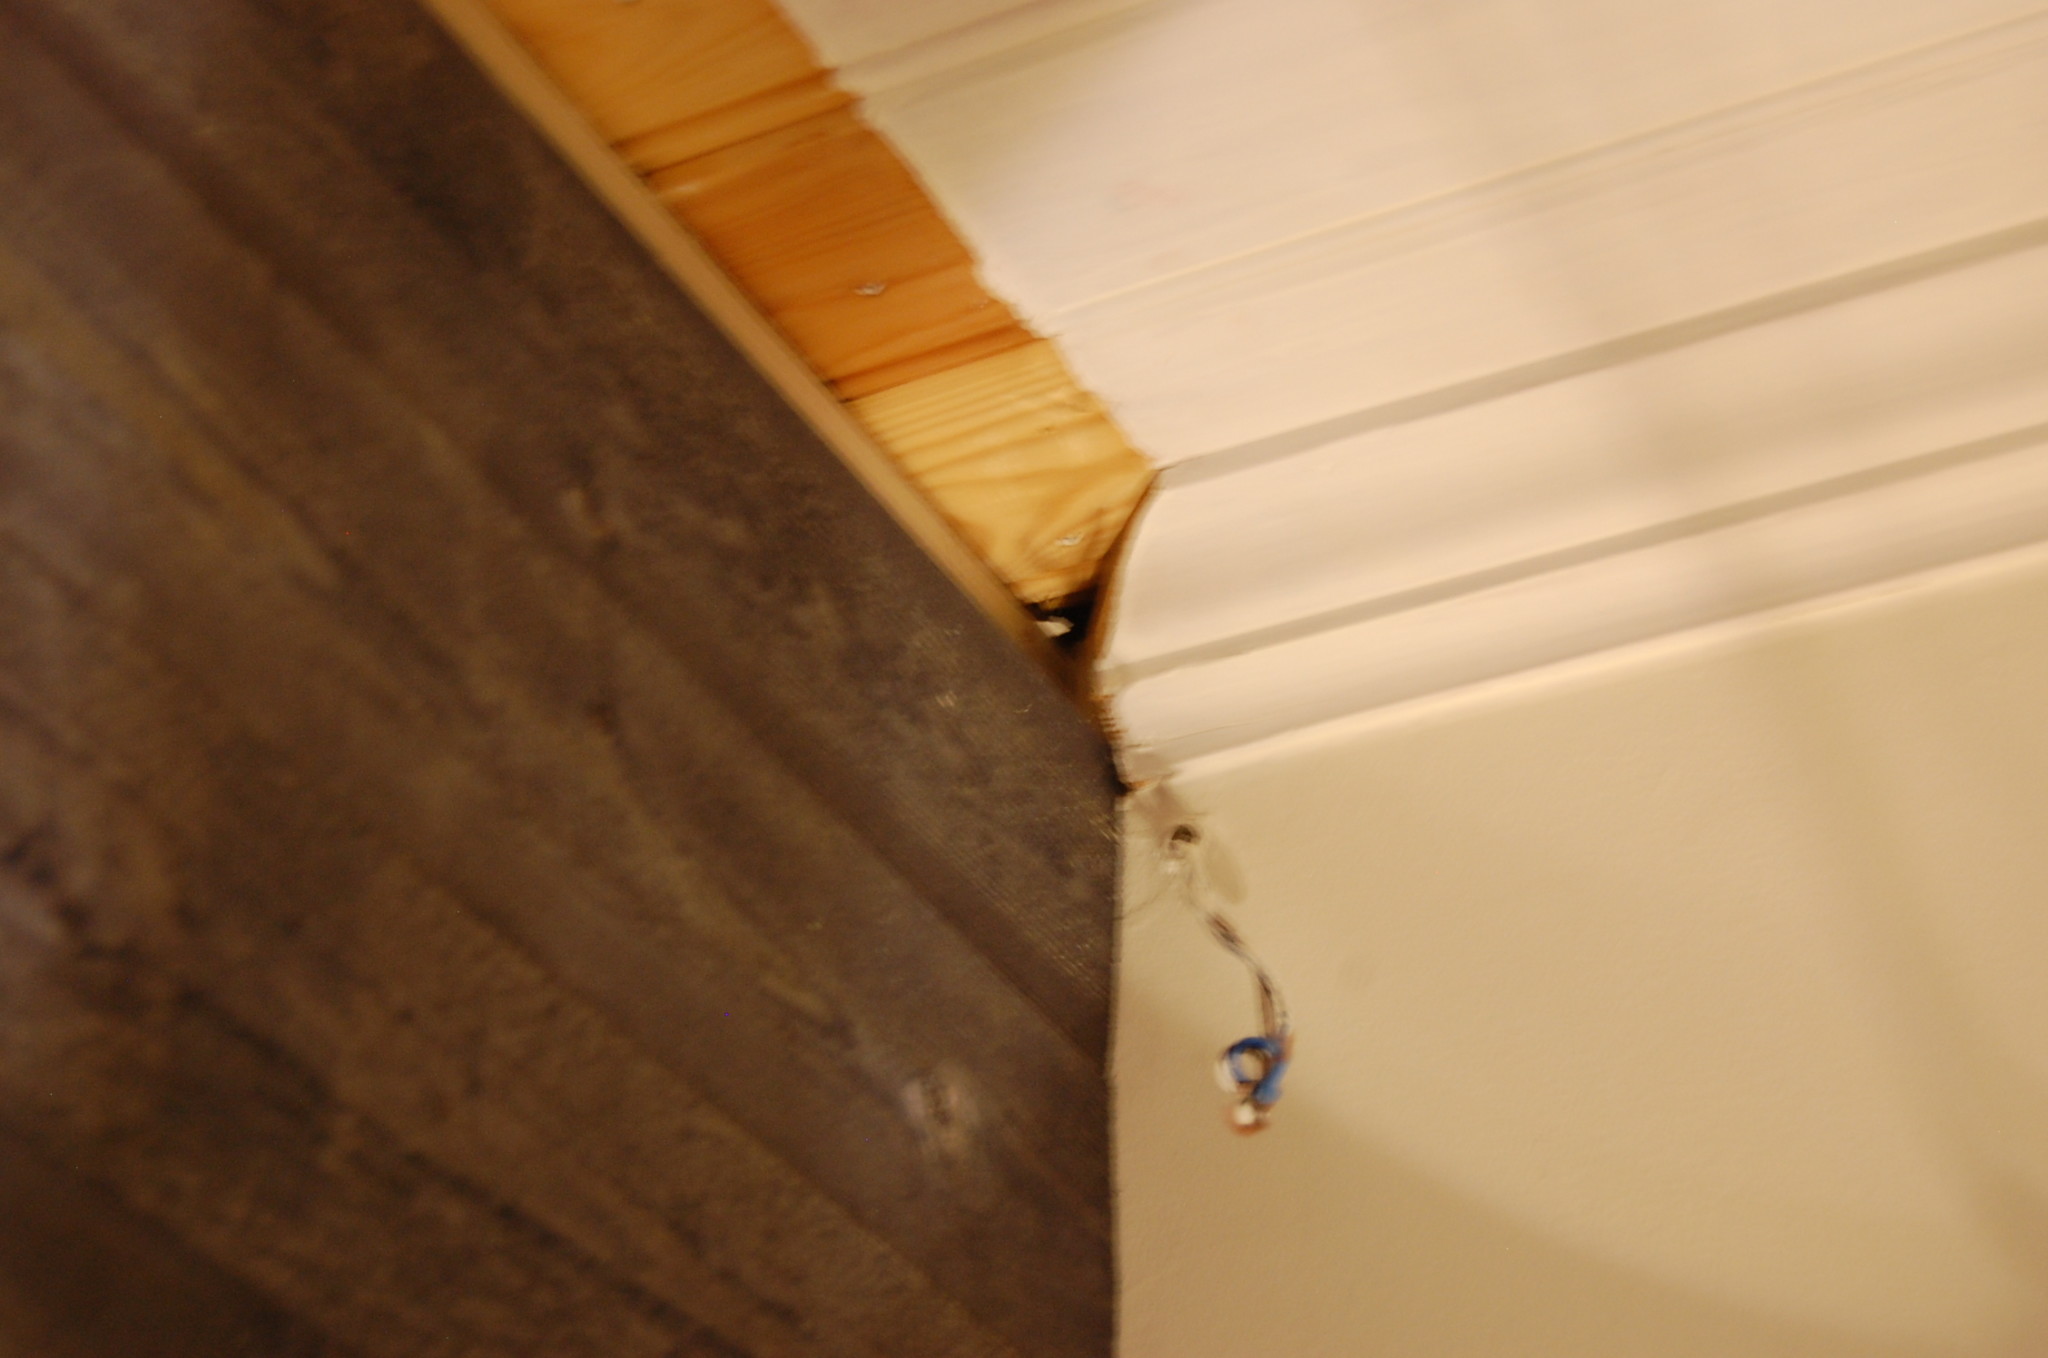
The pictures show it. If it doesn't work out, I'll have to remove the other mouldings and put up new ones
Do you get a gap in the corner? I think coping only works if the other trim is straight cut and goes all the way to the wall. I've never tried this myself, so these are just my thoughts.
Thanks for the tips!
It's quite easy to gera except now when I'm not supposed to gera but saw the shape.
Just as you say Snobben, one should go all the way against the wall, but since I've added a 20mm panel, the molding will extend far enough that it should work anyway.
I simply can't get the shape sawing right since the molding is not straight like a baseboard :/
I've tried templates, drawn, sawed and I don't know what haha
Fits relatively well if I place the strip at an angle slanting downward toward the floor on the one I have shaped. I'm making some fatal mistake that I don't understand
You must cut the molding "the wrong" way for it to be correct, then whittle out the part that is "uncolored" with a knife, but you must keep the whittling flatter than 45 degrees, and when you're almost done, the part of the molding that goes into the existing one is so thin in some places that it easily cracks! Take a regular cove molding and practice first; when you master the technique, do the same on the old one you have! Easy if you know how!
I believe it's called "forging" when you "carve" the moldings, there might be a good film on the "net". Good luck and don't forget to buy some extra moldings!
You must cut the moulding in the "wrong" direction for it to be right, then carve out the "unpainted" part with a knife, but you have to keep the carving flatter than 45 degrees. Also, when you're almost done, the part of the moulding that fits into the existing one is so thin in some places that it easily cracks! Take a regular cove moulding and try it first; once you know the technique well, do the same with the old one you have! Easy if you know how!
Hmm, I'm not quite sure about the wrong direction.
Sure, it's easy if you know everything, I want to be able to do it too!
Can you illustrate it in some way? I know I've seen pictures of this before but now I can't find any.
Peeked at the blog a bit, it was good, but I still think you should buy a pre-painted cove molding so that you get a bit of an idea before you tackle your ceiling moldings. The point of using a painted molding is that it makes it easier to tell if you've turned and cut the molding the right way, then you "only" remove the unpainted part. If you really want to understand the technique, you whittle away the unpainted part in stages. Step one, whittle away the unpainted part at 90 degrees, then hold the piece up to the existing one that is cut at 90 degrees in the ceiling. If you've done step one correctly, you'll have the right profile so that it looks like it fits, but it doesn't yet. You need to carve out the back, and quite a bit! Personally, I do a "rough cut" with the miter saw to avoid having to whittle too much. The important thing then is that when the molding is correct, it should be clamped against the other one, which means that no caulking is needed if the whittling is flat enough. It looks perfect from all angles if done well! I can take some pictures of my ceiling moldings, but it doesn't help much! Hope it works out!
Click here to reply
Vi vill skicka notiser för ämnen du bevakar och händelser som berör dig.
")