Hello!
I am in the middle of renovating the girls' new bedroom when I realized that the wooden ceiling I planned to install would end up in the "wrong" direction since I have learned that ceilings and floors should be installed perpendicular to the window.
After a short discussion with my better half, it became clear that the ceiling should be installed perpendicular to the window, even though the furring strips do not support this. It is also desirable not to just add an additional layer of furring strips under the existing ones as this would lower the ceiling height to around 235-236 cm.
So my question is: Does anyone have a good solution to this or experience with similar issues? Is there a simple solution that I can buy that doesn't involve squeezing furring strips above the existing panel and then cutting small pieces that I then screw together with my squeezed furring strips to thus get a furring panel at the right height and in the right direction?
You can say that again! Luckily, it's a two-story house, so above it is the living room. I have an idea that generally, you don't place a vapor barrier between floors in a villa, but I might be wrong. When the house was built in the late '60s, apparently only the ground floor was finished, and the upper floor was completely unfinished. That had to be resolved after moving in. But I'll put a vapor barrier between the sparse paneling and the ceiling. Not super tight but better than nothing at all, besides, nothing in the house is particularly tight, so I think it'll work out in the end
A thought just occurred to me, is there thinner glespanel I can get for home? How thin glespanel can I get away with? The ceiling will consist of chamfered pre-painted ceiling planks from all our favorite: Bauhaus.
What kind of panel will you have on the ceiling? Consistently going perpendicular will result in a long-striped ceiling, which can make it look larger. However, any unevenness becomes immediately apparent. Laid across, unevenness is concealed and above all, there will be no joints that could create edges or gaps that disrupt.
One option is to install huntonit panels, they can be mounted both along and across the sparse paneling
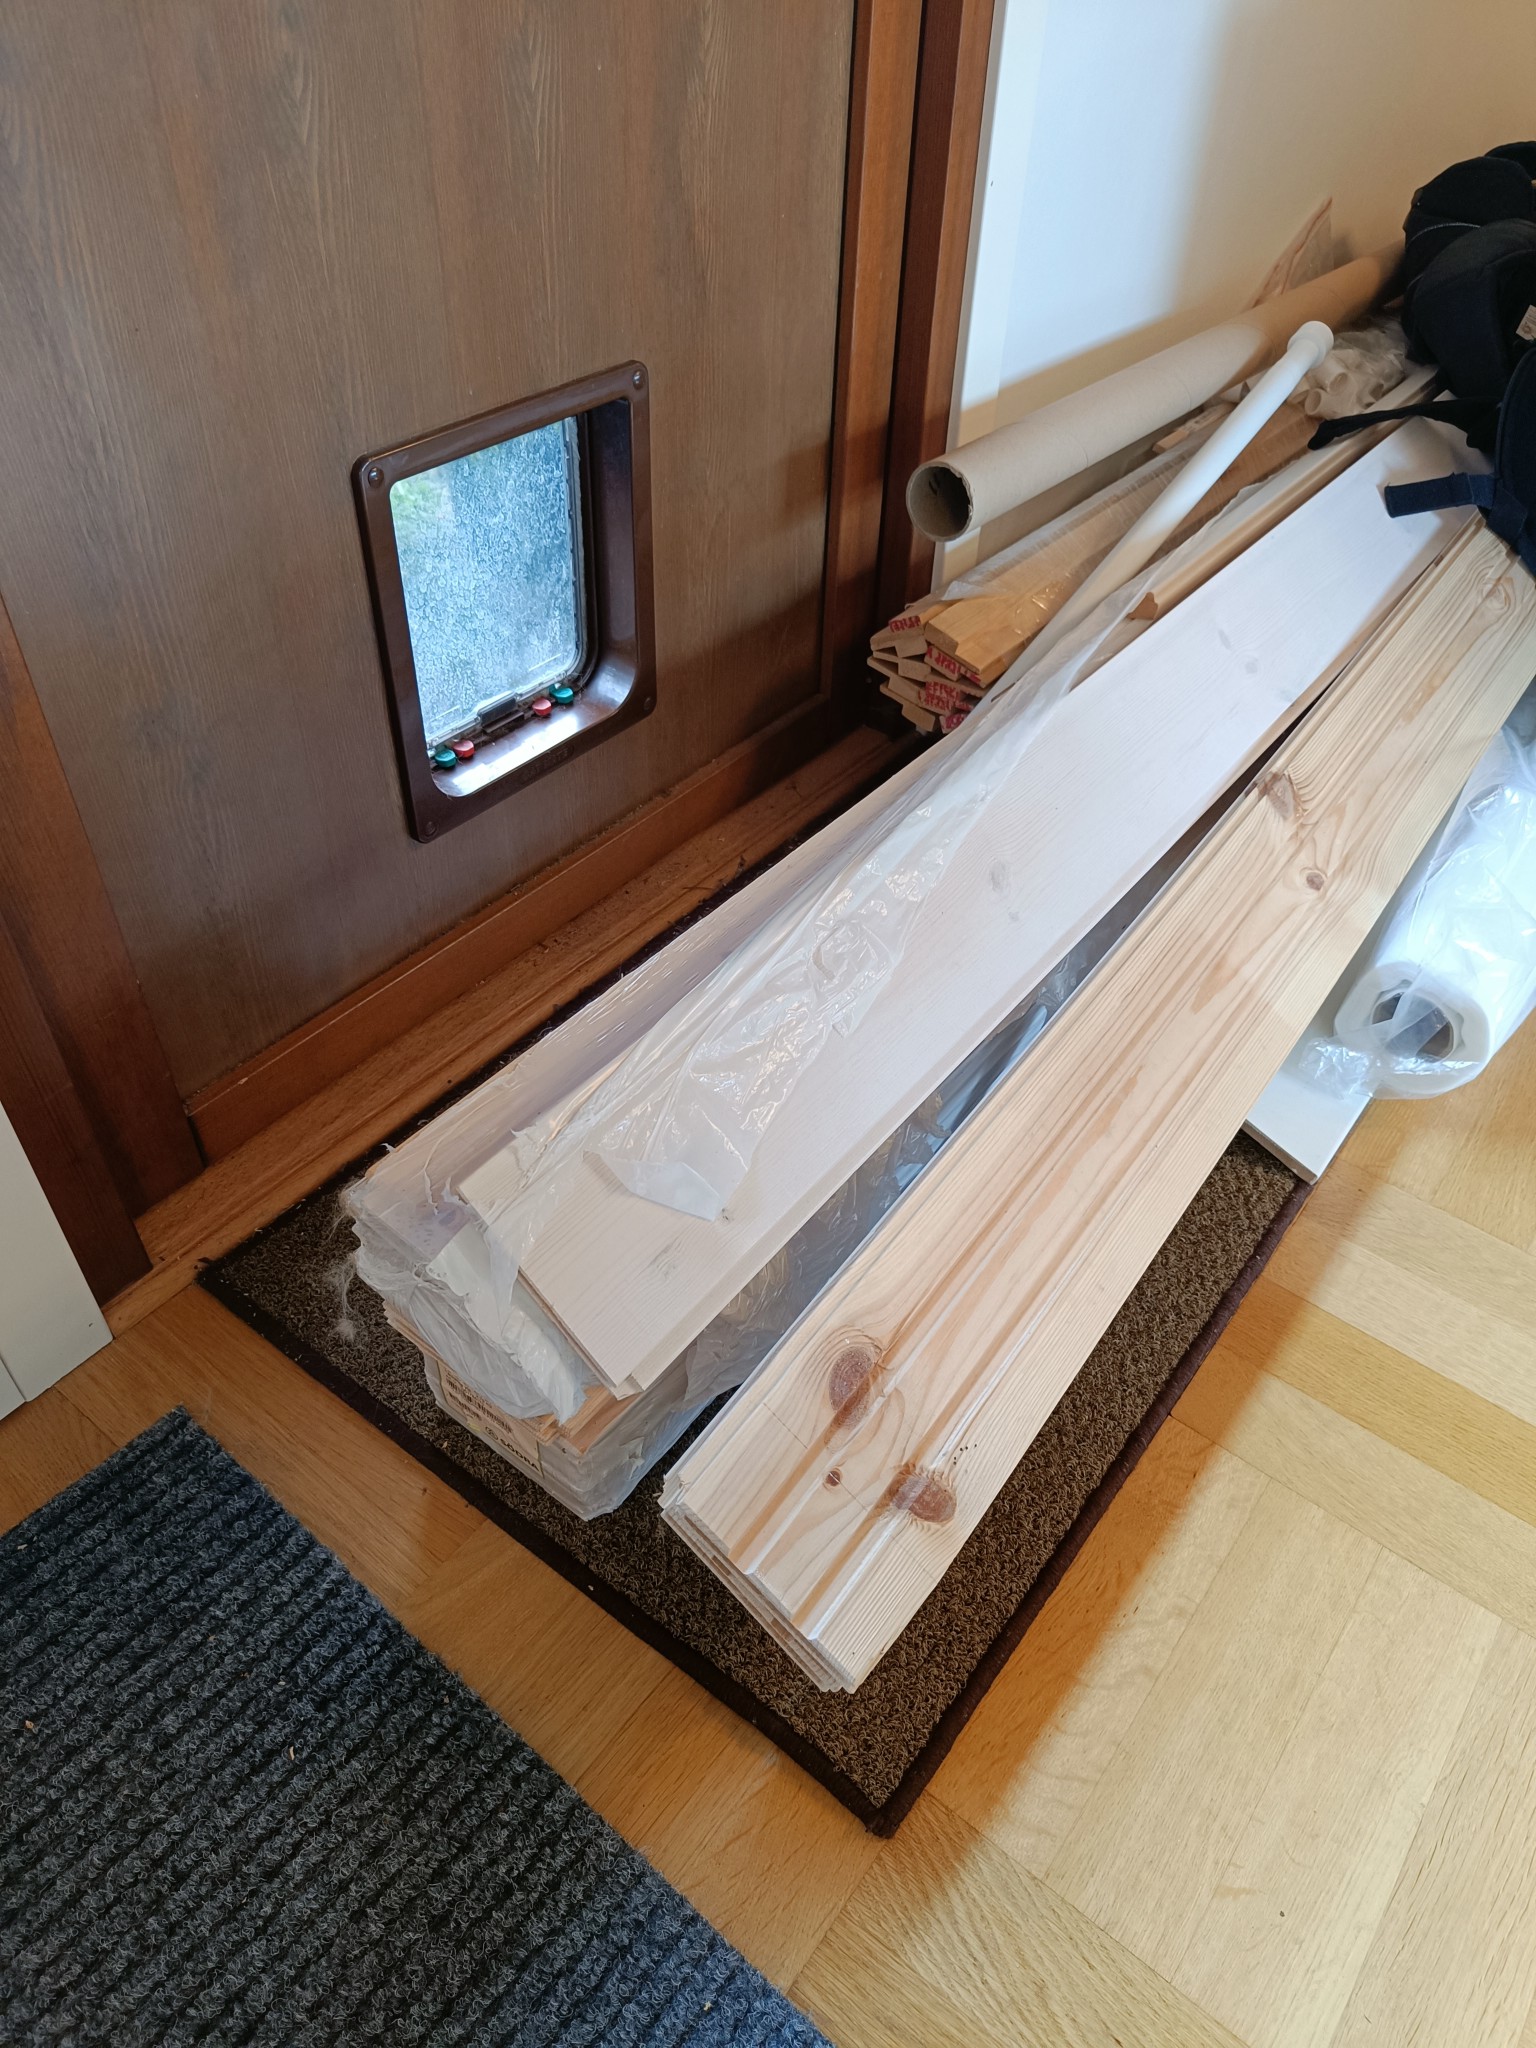
Ah thanks for the idea! My problem, however, is that the ceiling was already purchased about 2-3 years ago and is taking up valuable floor space in the living room:
So one way or another, the ceiling will adorn the children's room...
You can place "kortlingar" of battens of the same dimension as the battens on each stud between the old battens. It's enough if it's cc60 to nail the panel
What kind of panel are you planning to use for the ceiling? Consistently going perpendicular results in a striped ceiling, which can make it look larger. However, any crookedness becomes immediately apparent. When laid crosswise, crookedness is concealed, and there are no joints that might split, creating edges or gaps that are distracting.
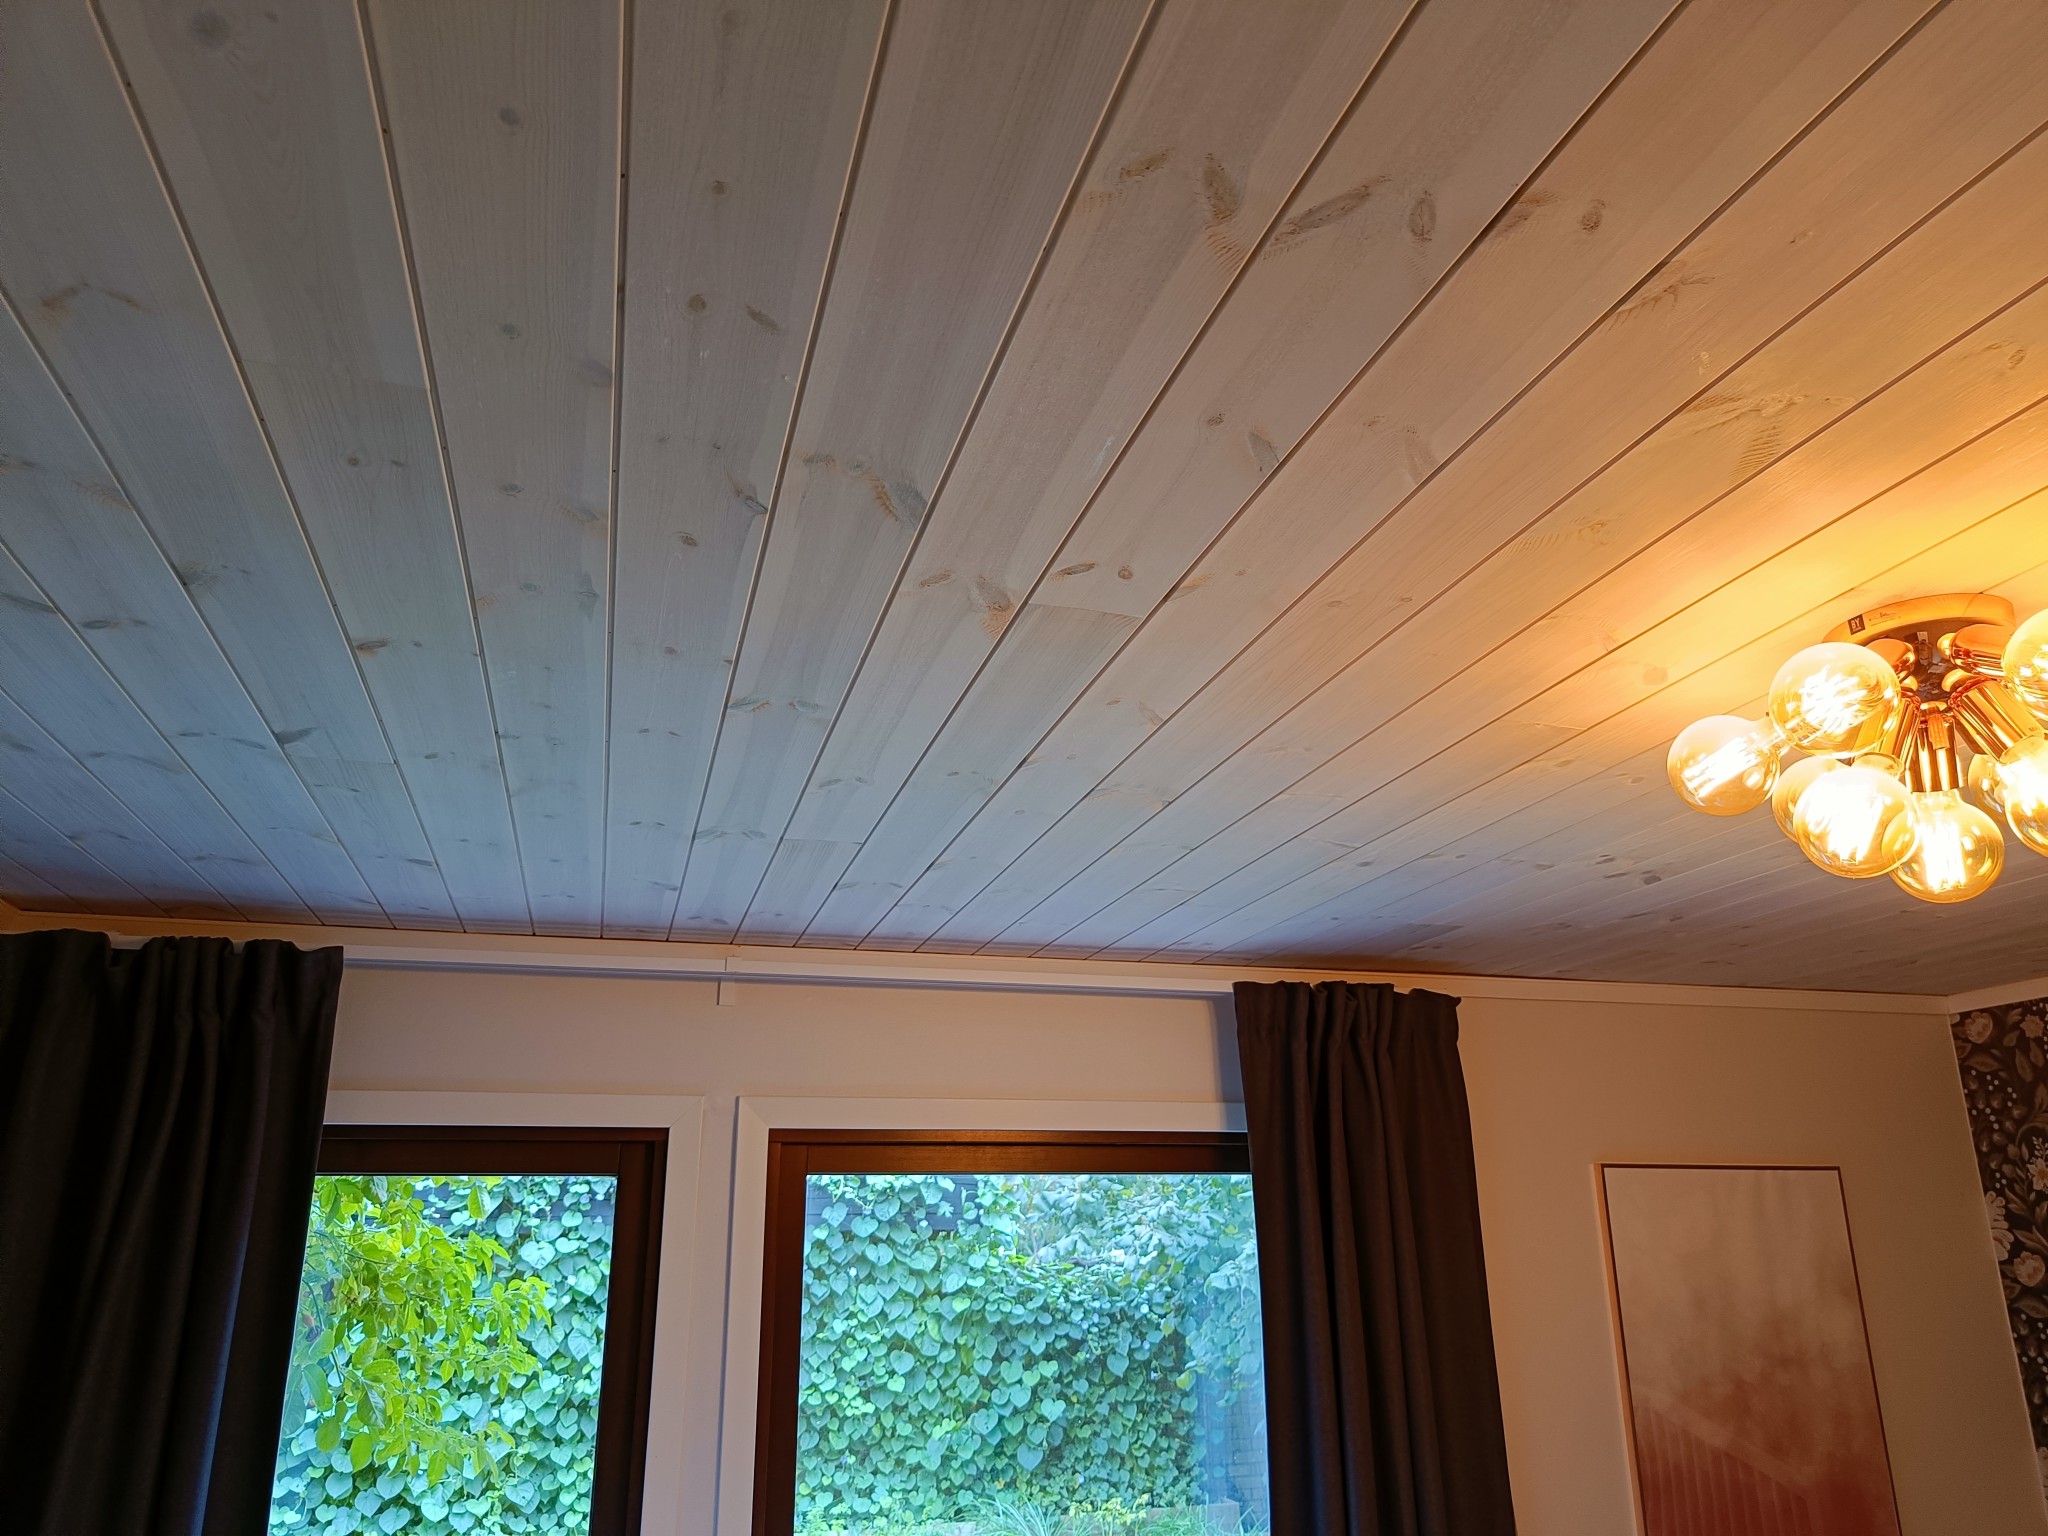
I agree with you, but we have installed ceilings in the rest of the house perpendicular to the windows, so it's not only my better half advocating for this; it also becomes a discussion about consistency. This is how it turned out in our bedroom as a reference:
It's a perfectly OK roof, but there's an issue with the measurements, as a little warning, if there's already sparse ready and the room is large, and you want to lay the boards lengthwise with the sparse, it won't align between the sparse and boards. Huntonit has narrower dimensions than the normal 300 or 600 C/C measurements for the sparse. I ran into this issue myself when I was installing Huntonit in the large room, had to take it down and redo the sparse. It's important to measure the sparse properly.
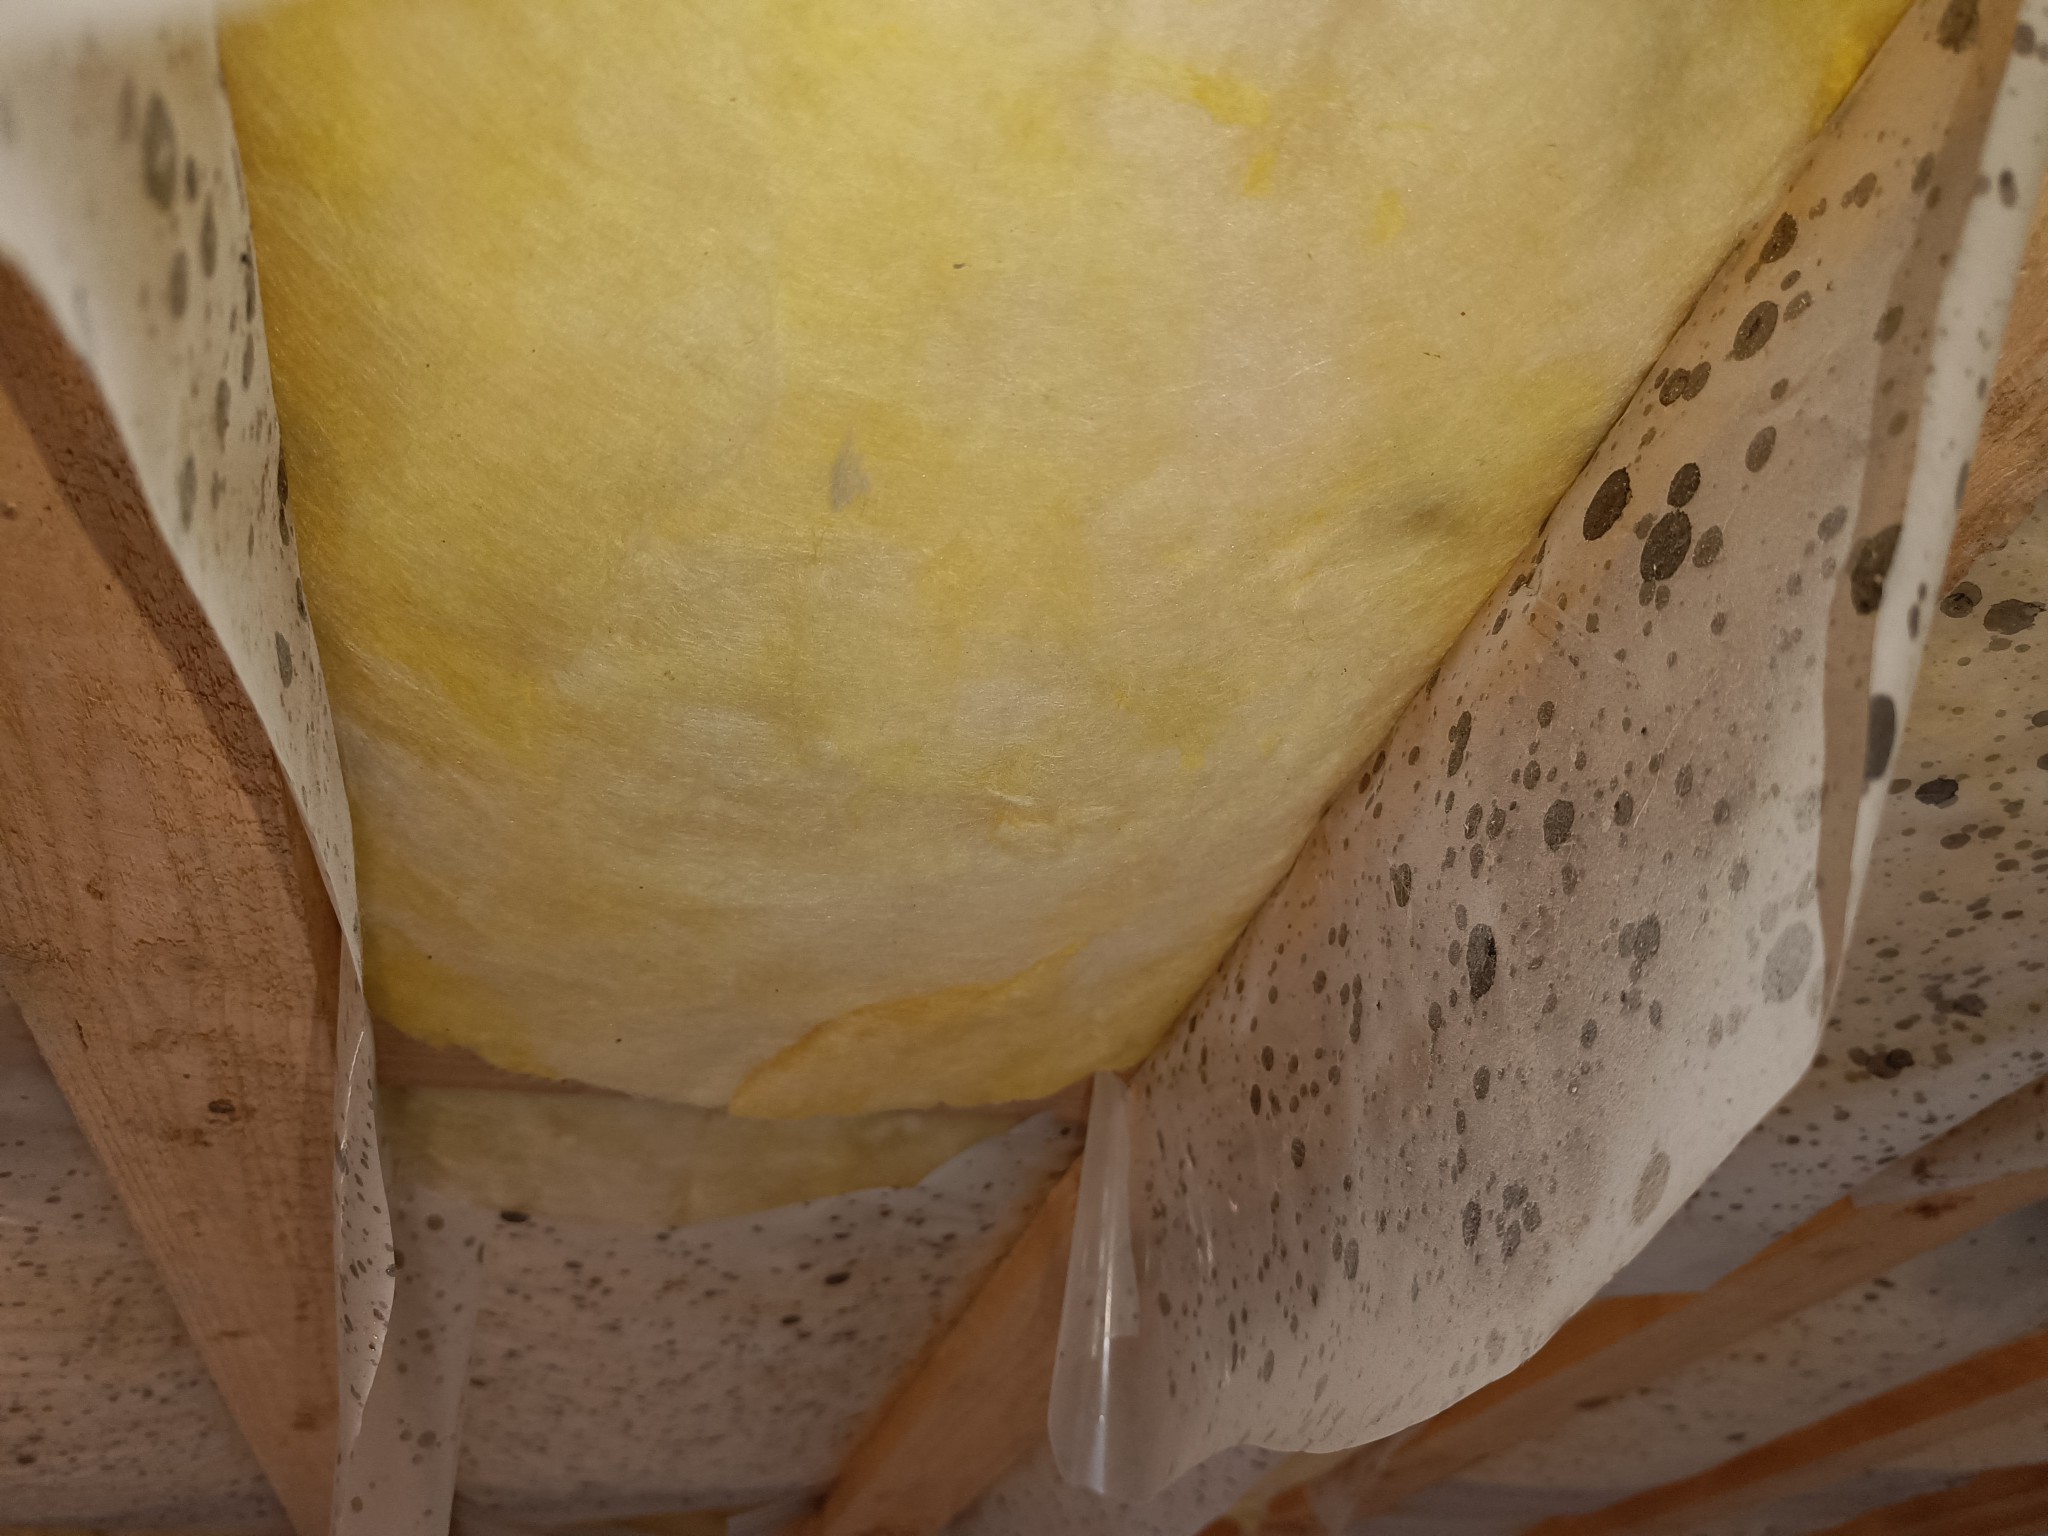
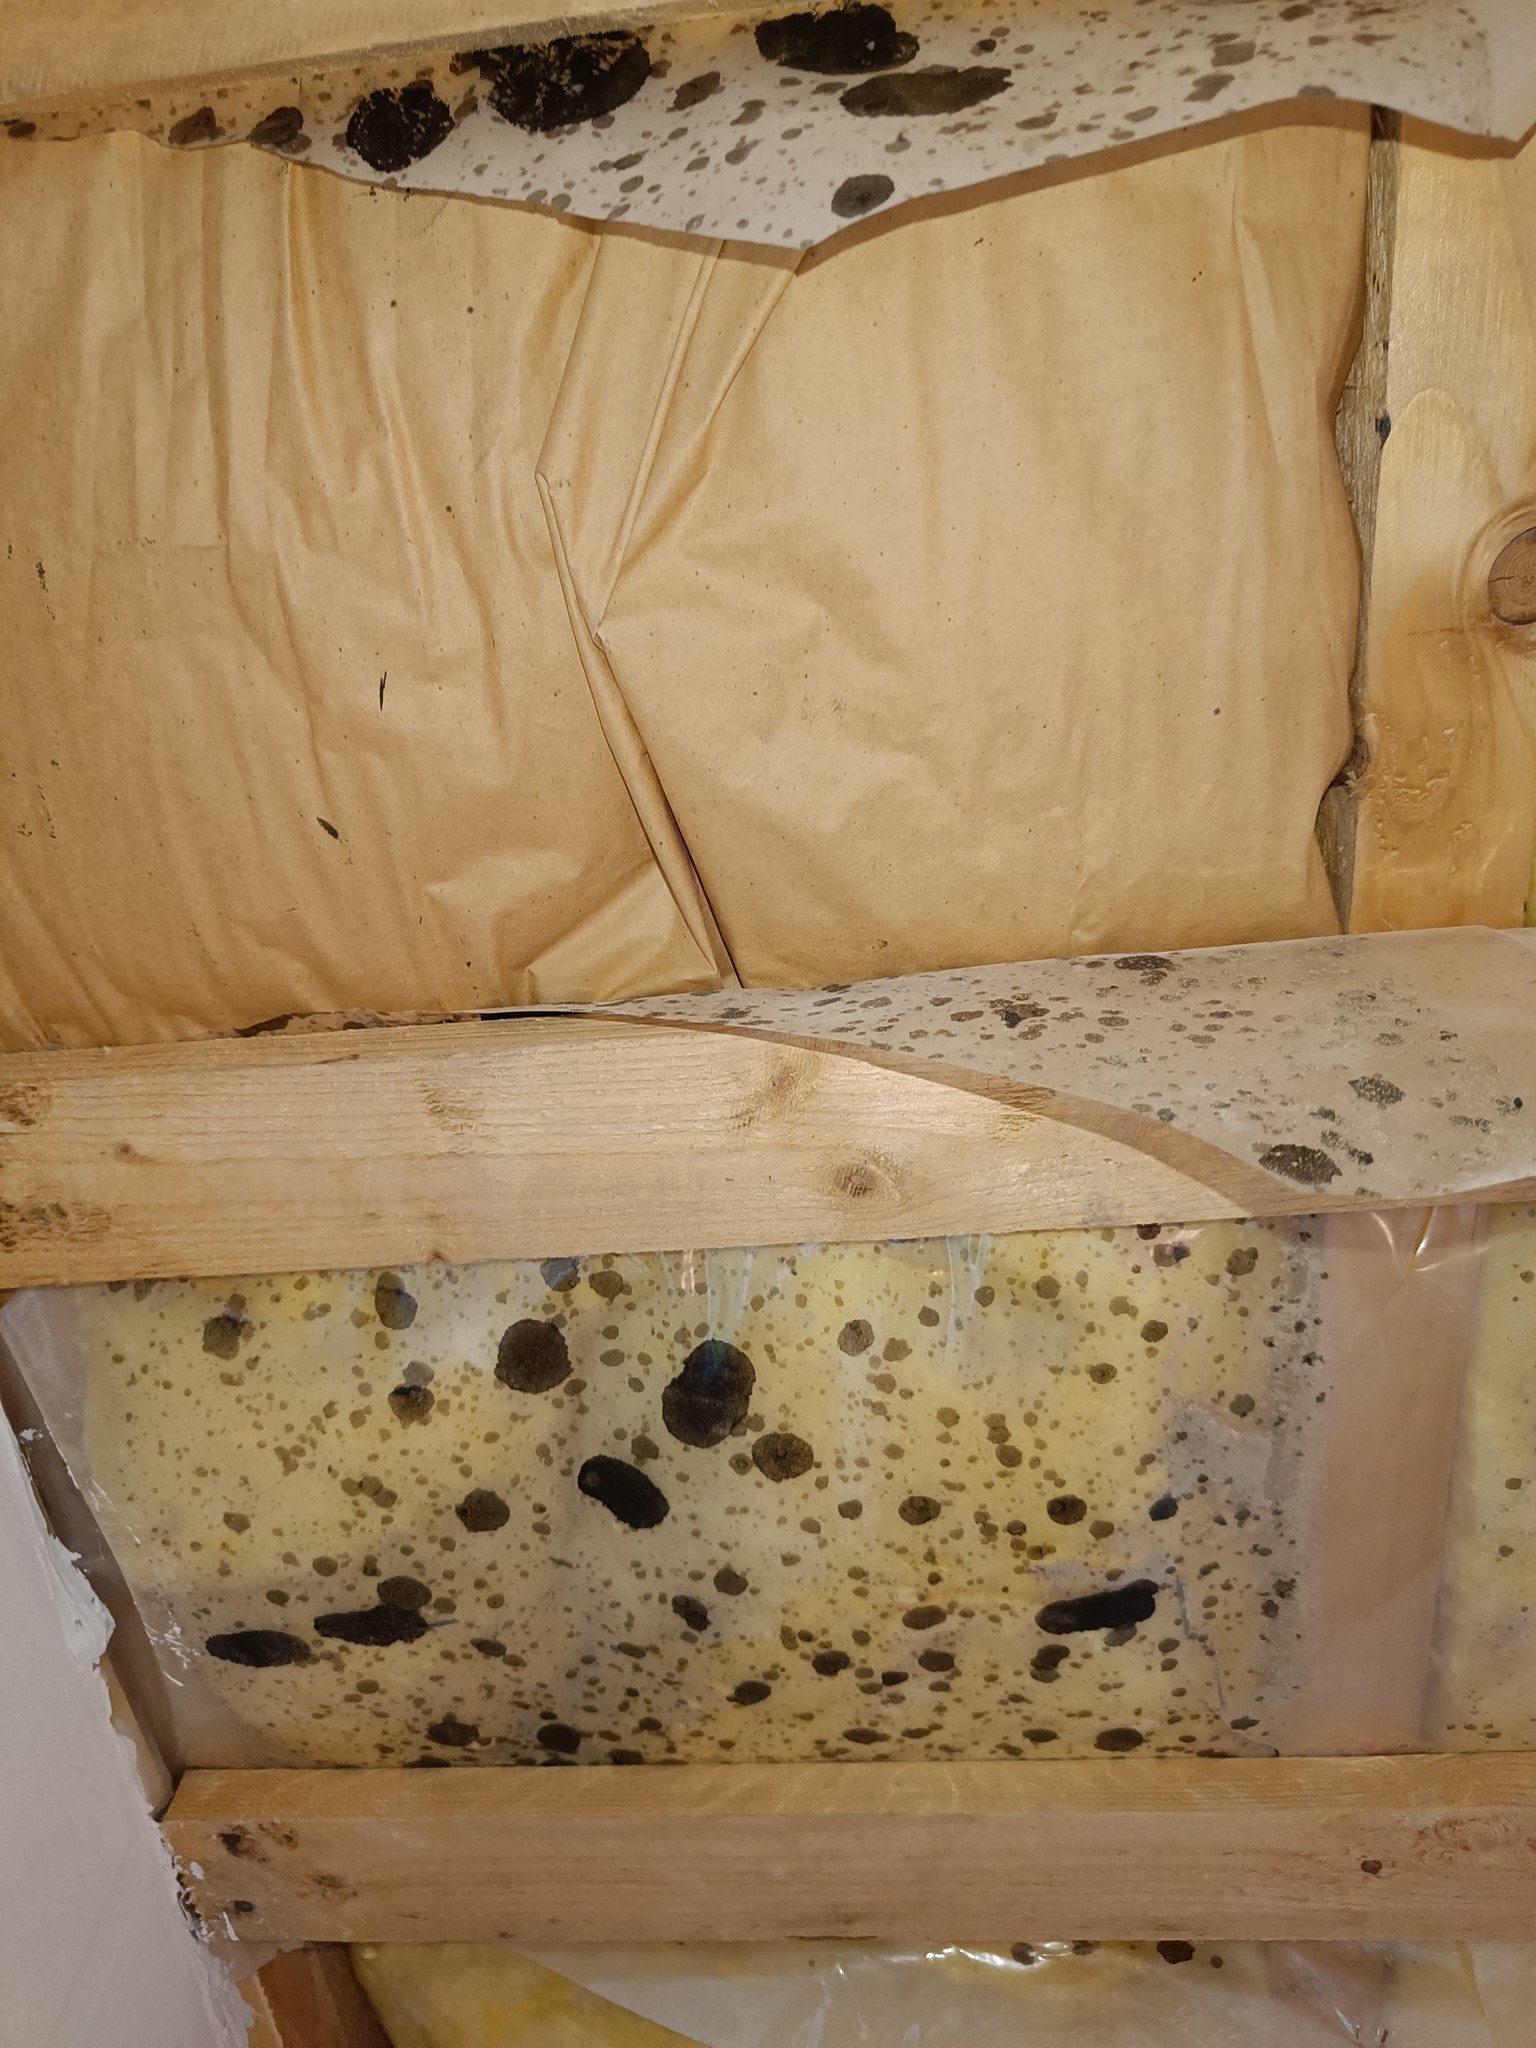
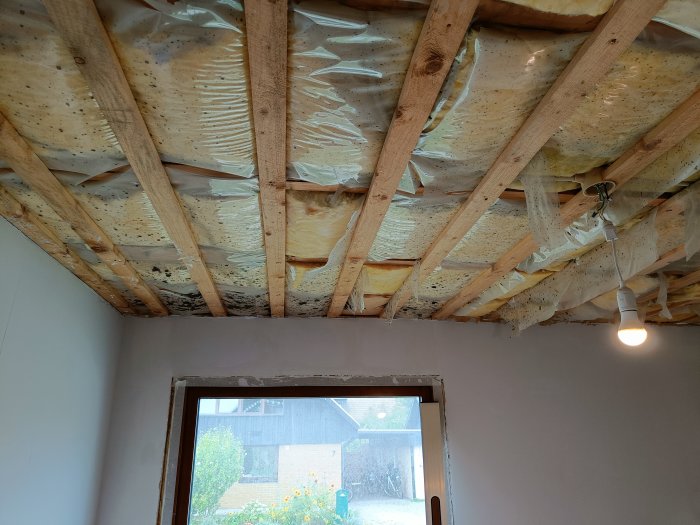
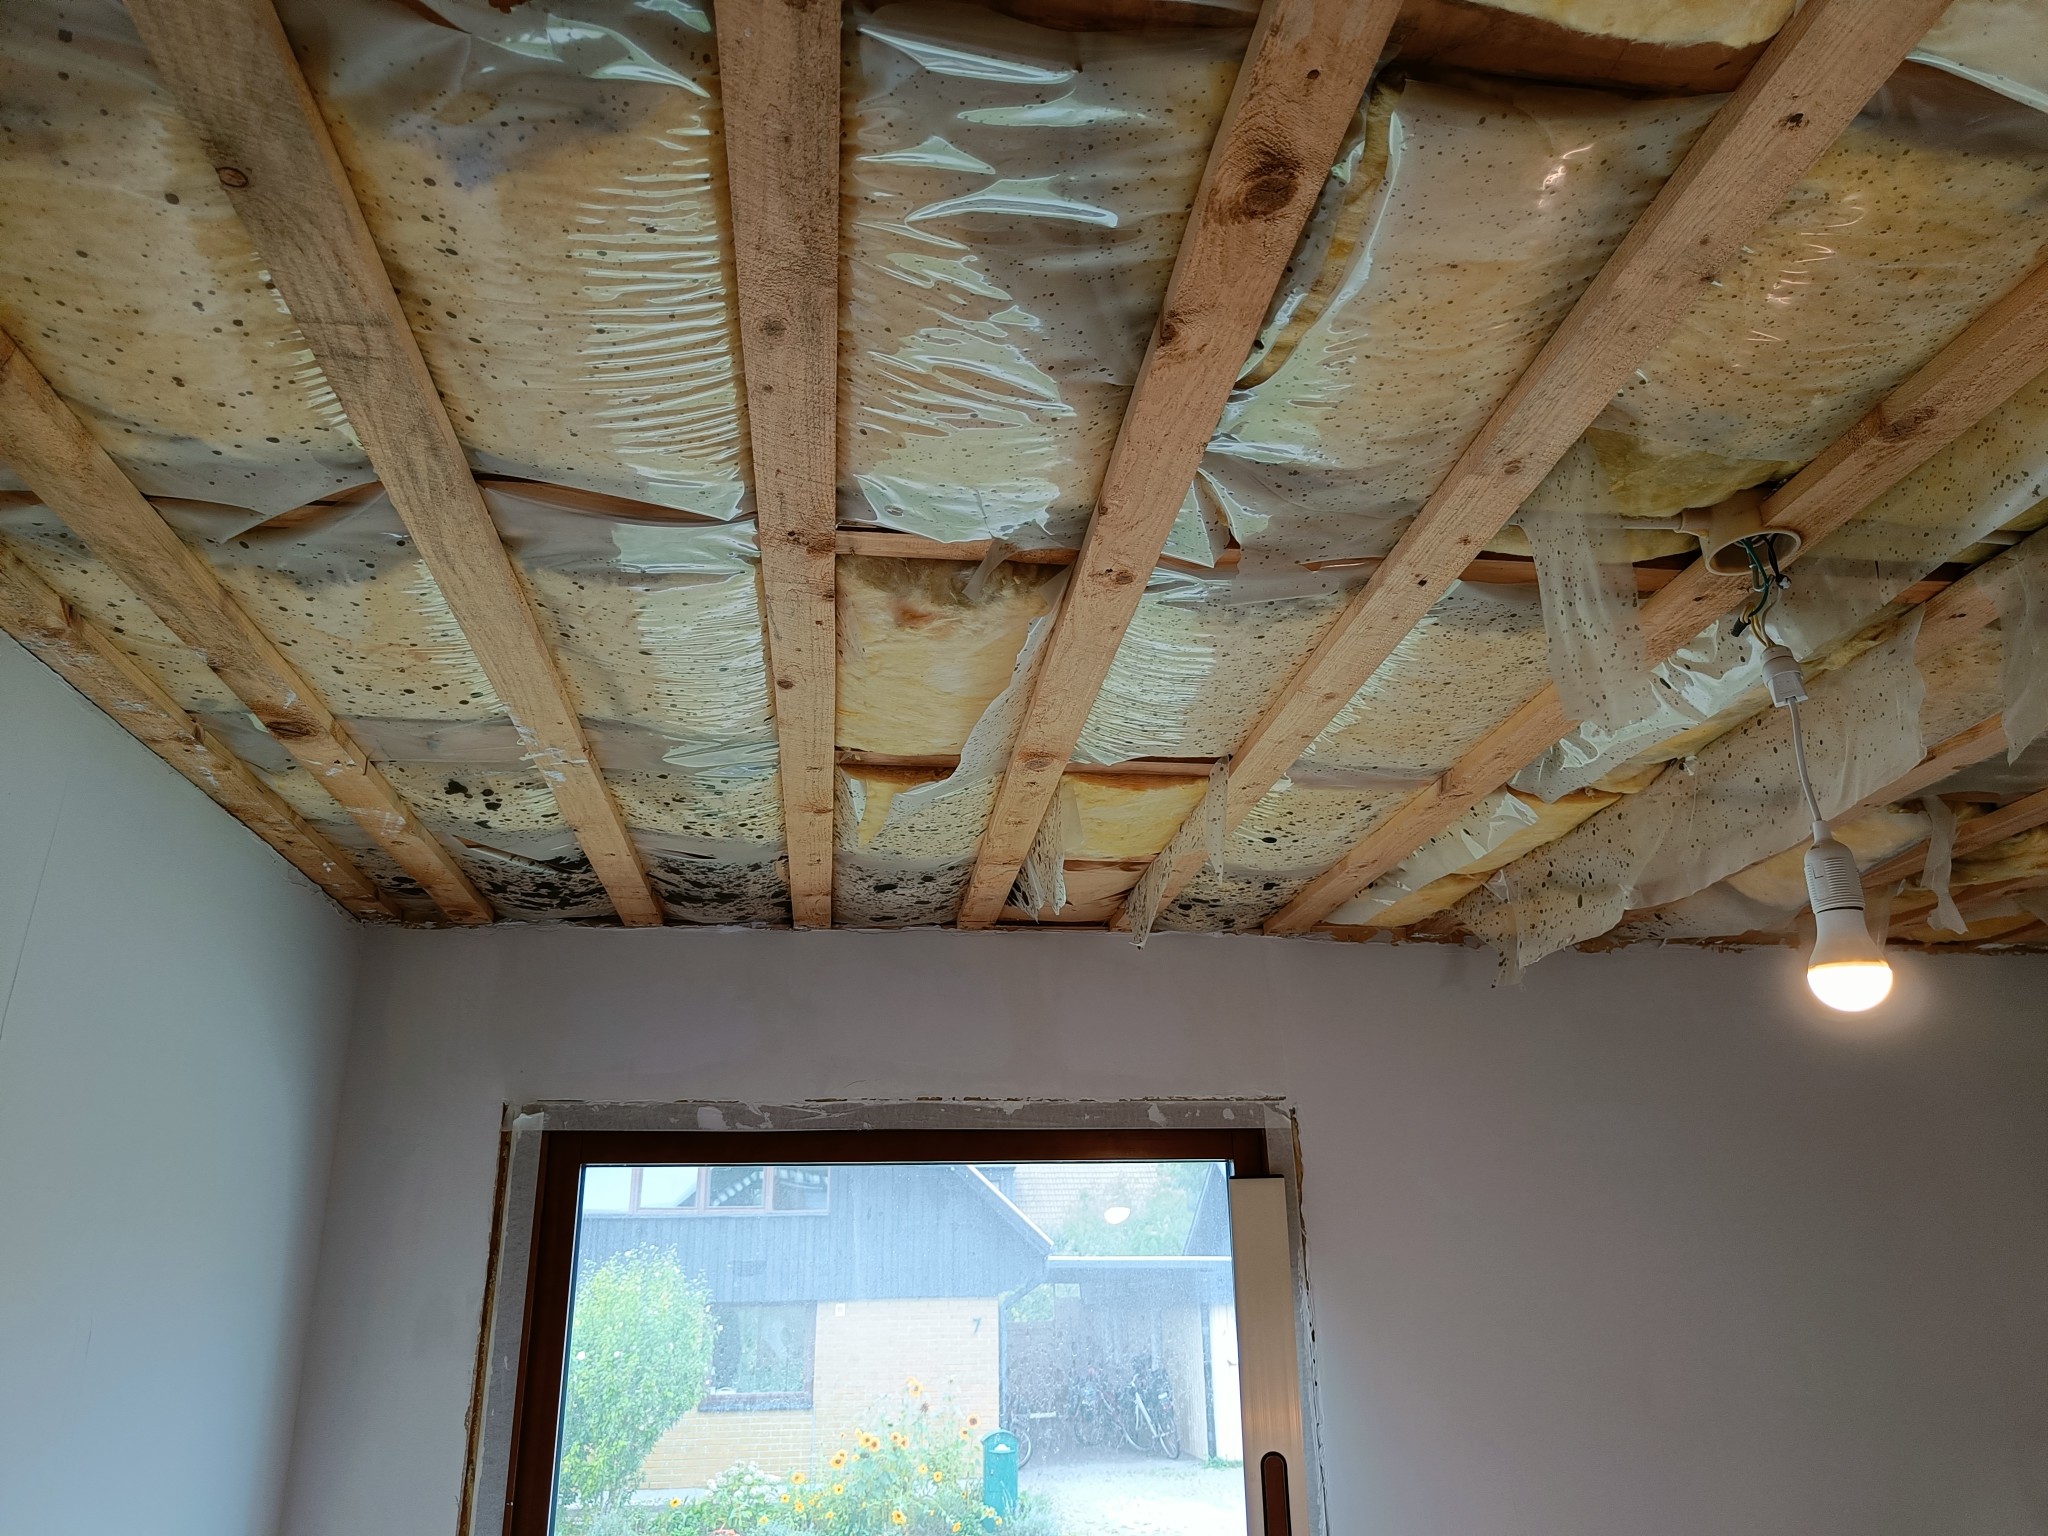
To follow up on the issue with the vapor barrier, the black spots, what are they?
Good question! We got a bit of a panic when we took down the ceiling. However, we have determined that the black spots are facing upwards, meaning they are against the insulation and the insulation looks completely unaffected, the same goes for the beams, it's only the vapor barrier that is spotty. Our best guess is that it was outdoors or got dirty during installation, but if you have a good idea of what it might be and how worried we should be, please let us know, attaching close-ups:
Battens at cc 600 according to johnsvis's suggestion, or tongue and groove plywood on the entire ceiling as a substrate for the roof
One advantage of this forum is that you quickly get many good ideas for solutions, and the advantage of this is that you can also fairly quickly discuss this with your better half who then also realizes that all solutions that do not involve installing new battens on the old ones (but crosswise) or simply installing the ceiling in the "wrong" direction will result in a lot of extra work on a project that has already massively overrun with time . I think we'll settle on installing new battens on top of the old ones and lowering the ceiling, but I have found battens 22x70 at Beijer byggmaterial as well as "timber" 22x70 at Bauhaus. Can these be used as a substitute for 28x70? So we'll save 6 mm
Vi vill skicka notiser för ämnen du bevakar och händelser som berör dig.
Düsseldorff said:
")